When you click on links to various merchants on this site and make a purchase, this can result in this site earning a commission. Affiliate programs and affiliations include, but are not limited to, the eBay Partner Network.
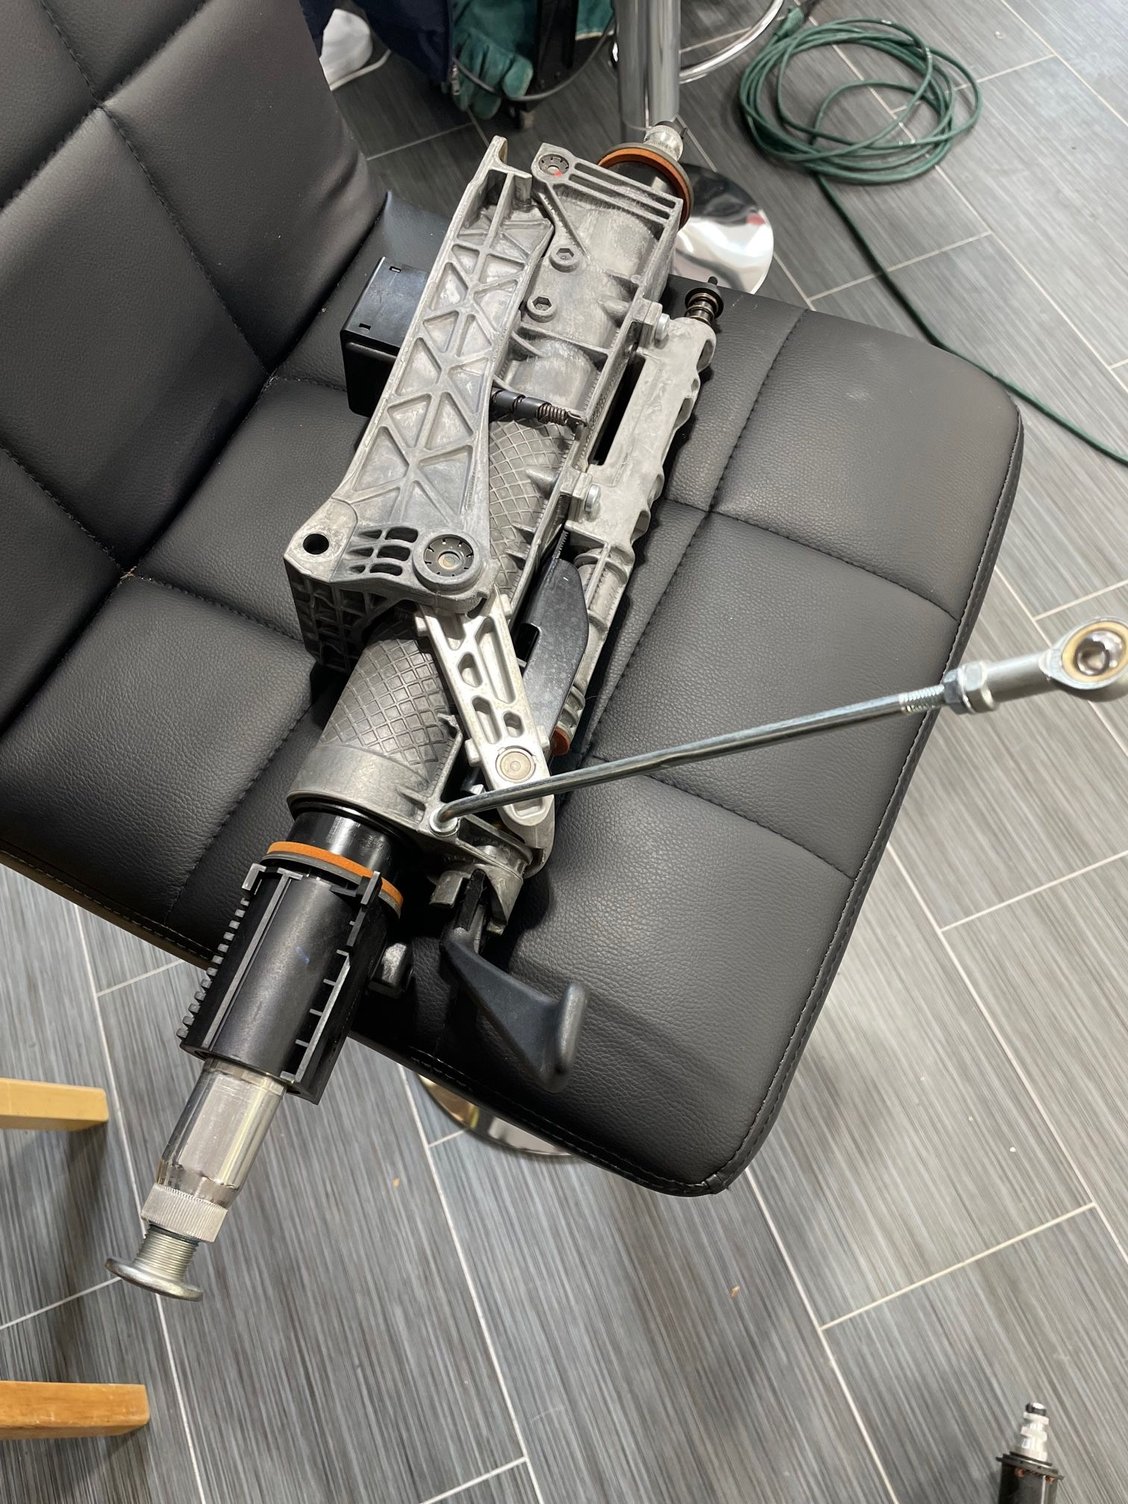
It turns out that the tilt and telescope actions of the steering column were frozen. You could not move the release handle and it eventually snapped (it is plastic...). But the column would not move. I suspect the Miami humidity conspired against it and the only resolution was to source another steering column to restore the lost functions. I found a column from a Boxster for $200 including shipping that was a far cry from the $2,600 for a new piece from Porsche.
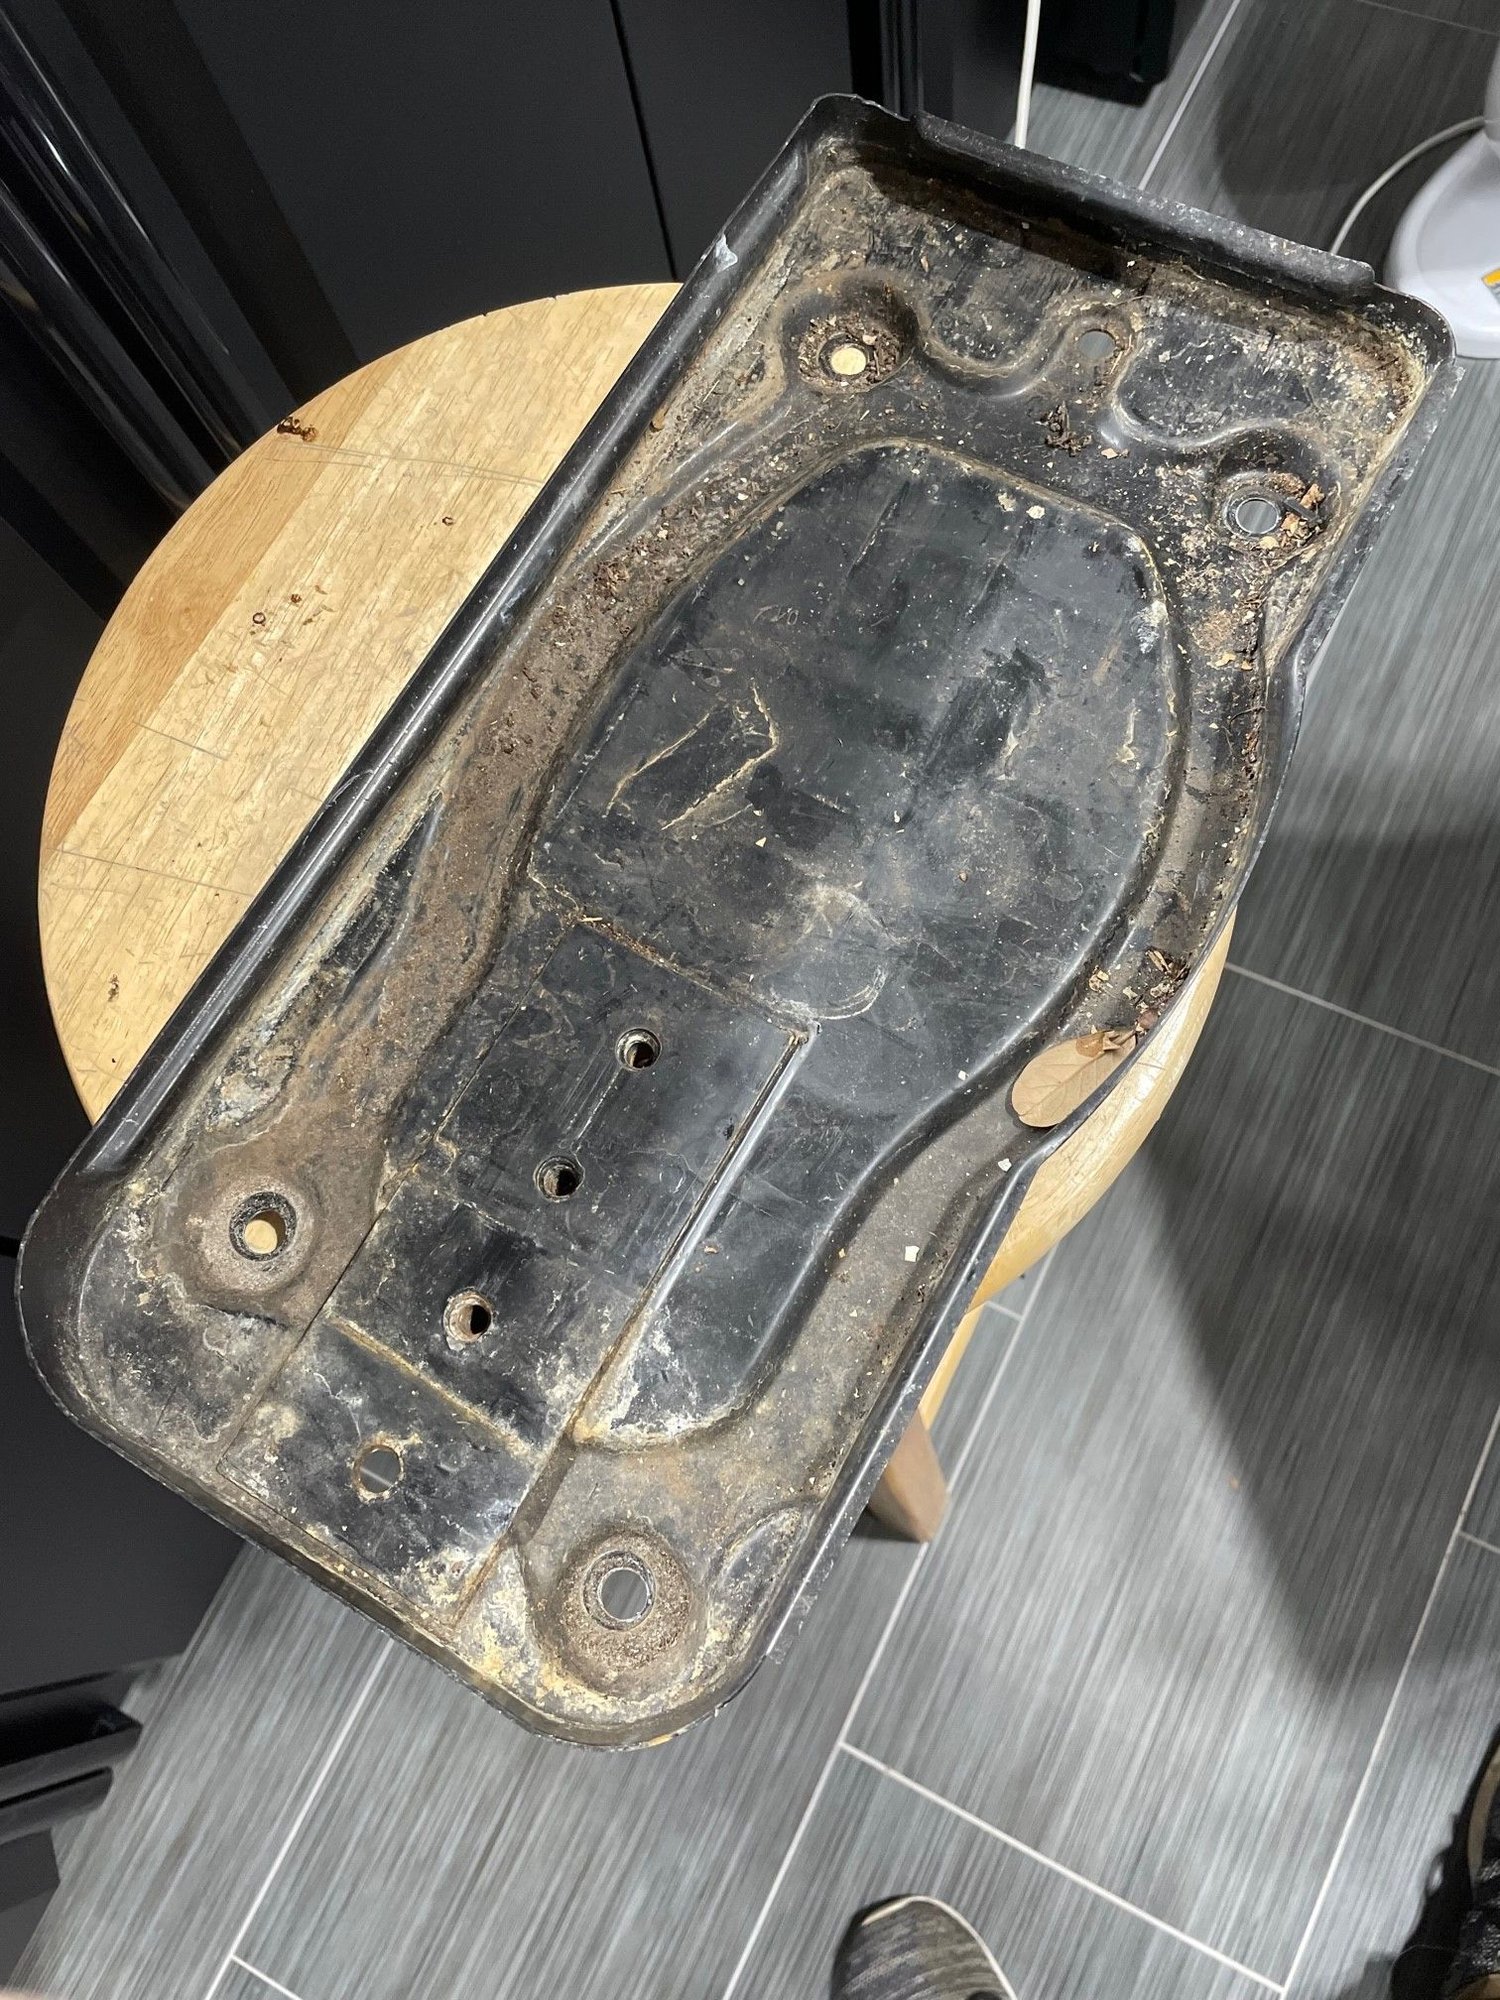
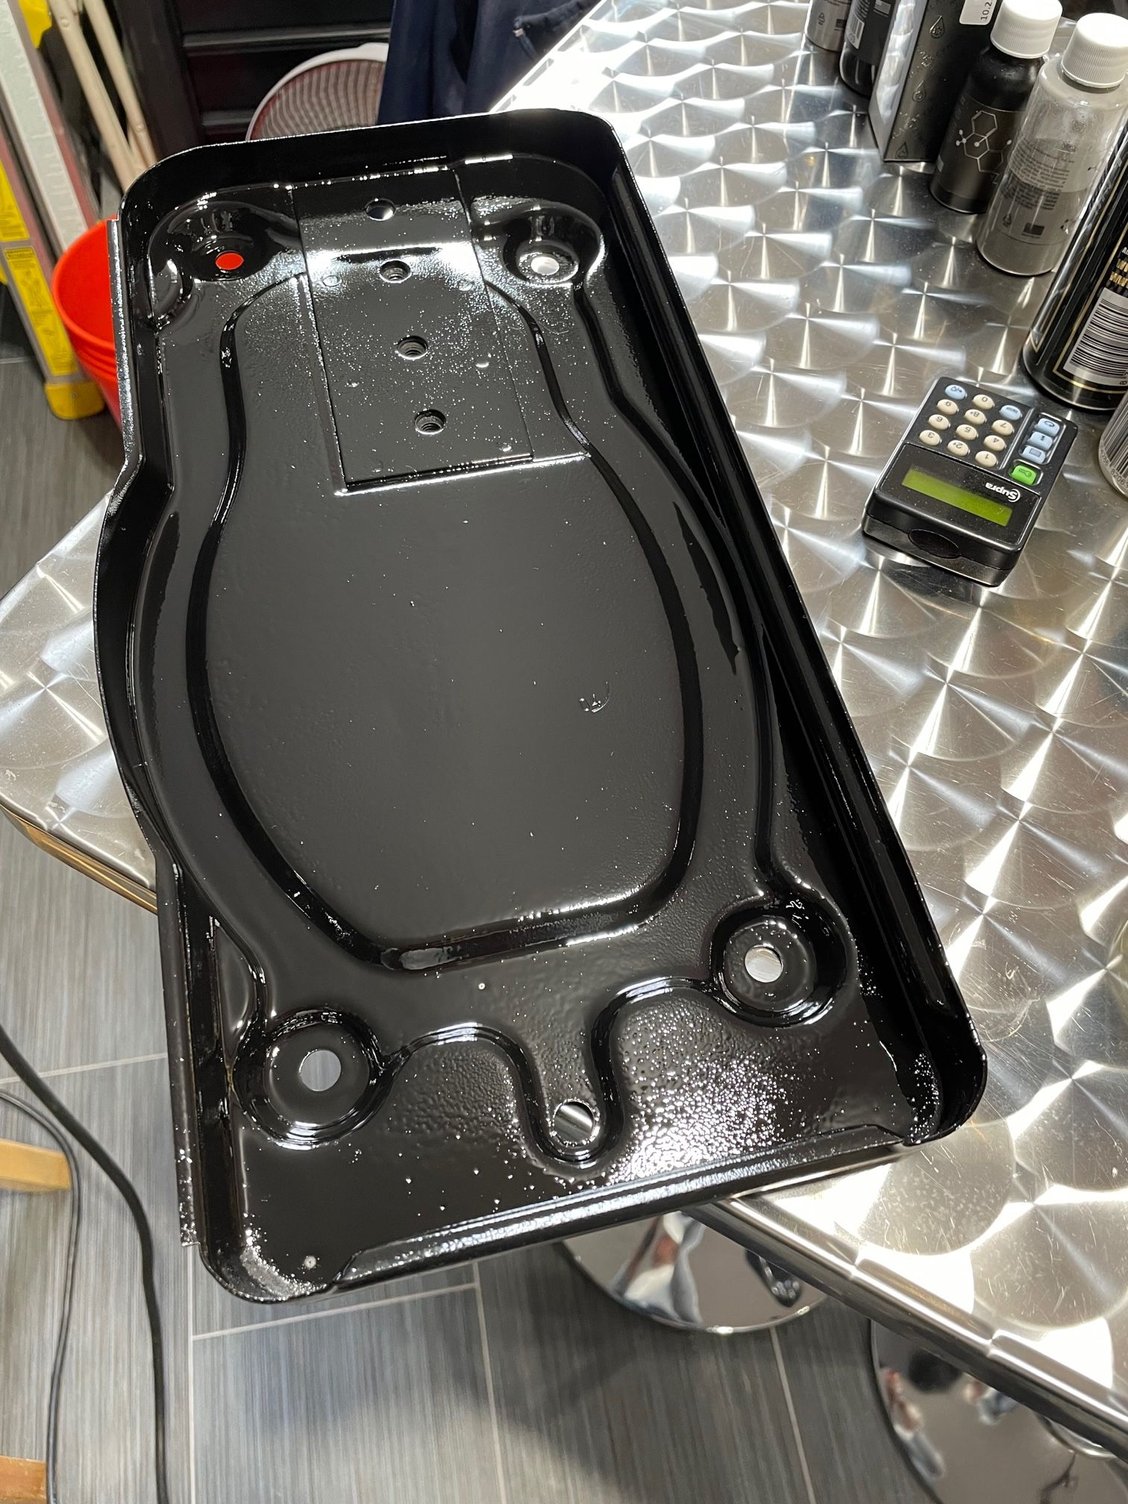
Before releasing the air bag, I removed the ground cable from the battery and in doing so, found a battery tray in need of help...not to mention a compartment in need of thorough cleaning. The tray was refinished and reinstalled....
To remove the steering column, most of the dash needs to be disassembled. There is one large bolt holding it in place as the rear (towards the floorboard) hooks over a shaft and allow it to collapse inwards and upward in the event of a frontal accident. You also need to remove the heim joint on the support strut, the clutch/ignition activation switch and the bolt securing the steering shaft to the universal joint at the floor before tugging and wiggling the column out of its position.
Note: should you ever have to perform this action, make sure that you take your ELV (electric steering column lock solenoid) from your column as it is programmed to your car. The allen head bolt securing the solenoid is blue Locktited into the housing, so be prepared to cut the bolt using a hack saw blade from above. Cut right under the bolt head so that when you remove the ELV you will be able to put a vice grip on the remaining/protruding bolt shaft and remove it. There are no new replacement bolts available and the only way to get one is to buy a new solenoid...which of course has to be programmed. I found an allen head bolt of the right length at the hardware store, filed down the head a bit to allow it to pass down into position.
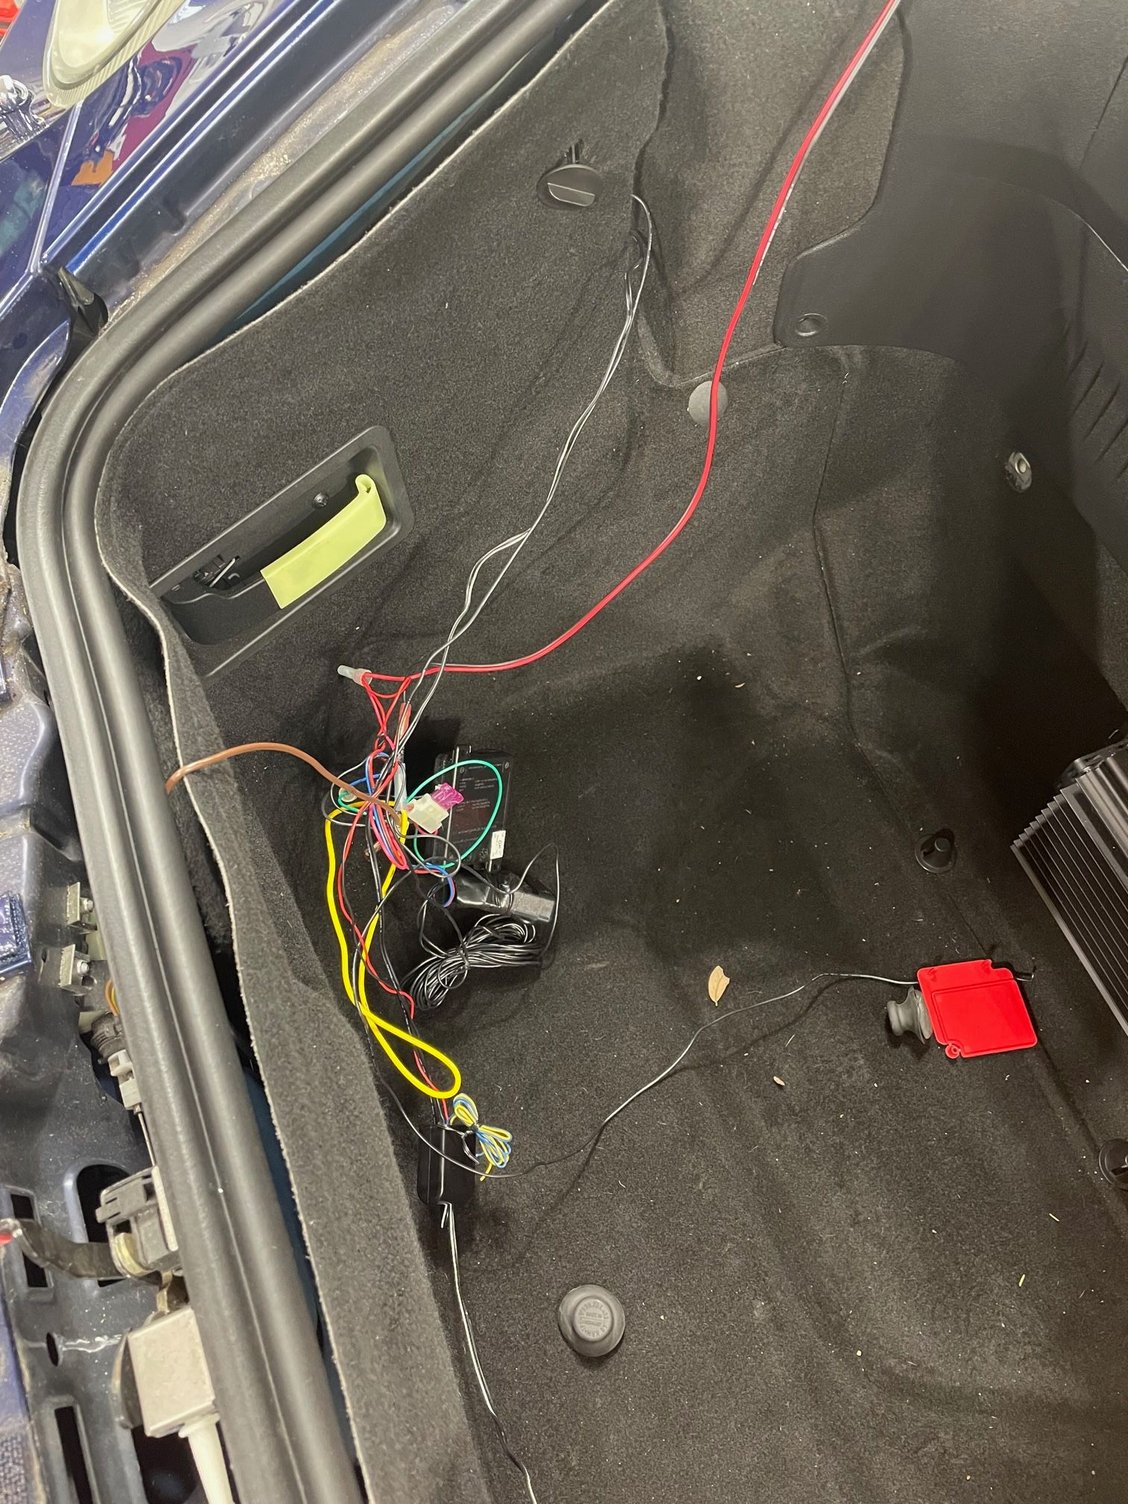
There was some sort of anti theft unit in the frunk. I read that when 997 came around there was a rash of stolen headlight (as they are expensive) in the Miami area and the only thing I can figure is that the headlights were linked to this alarm system...which went in the trash...
I also sent the Bose amp to Becker repair in NJ as it was not functioning correctly. Upon its return, i also installed an LA Power (now marketed as a Rennkit by Pelican Parts) blue-tooth unit for streaming and hands free phone operation. I velcro'd the unit to the rear of the head unit mounting slot.
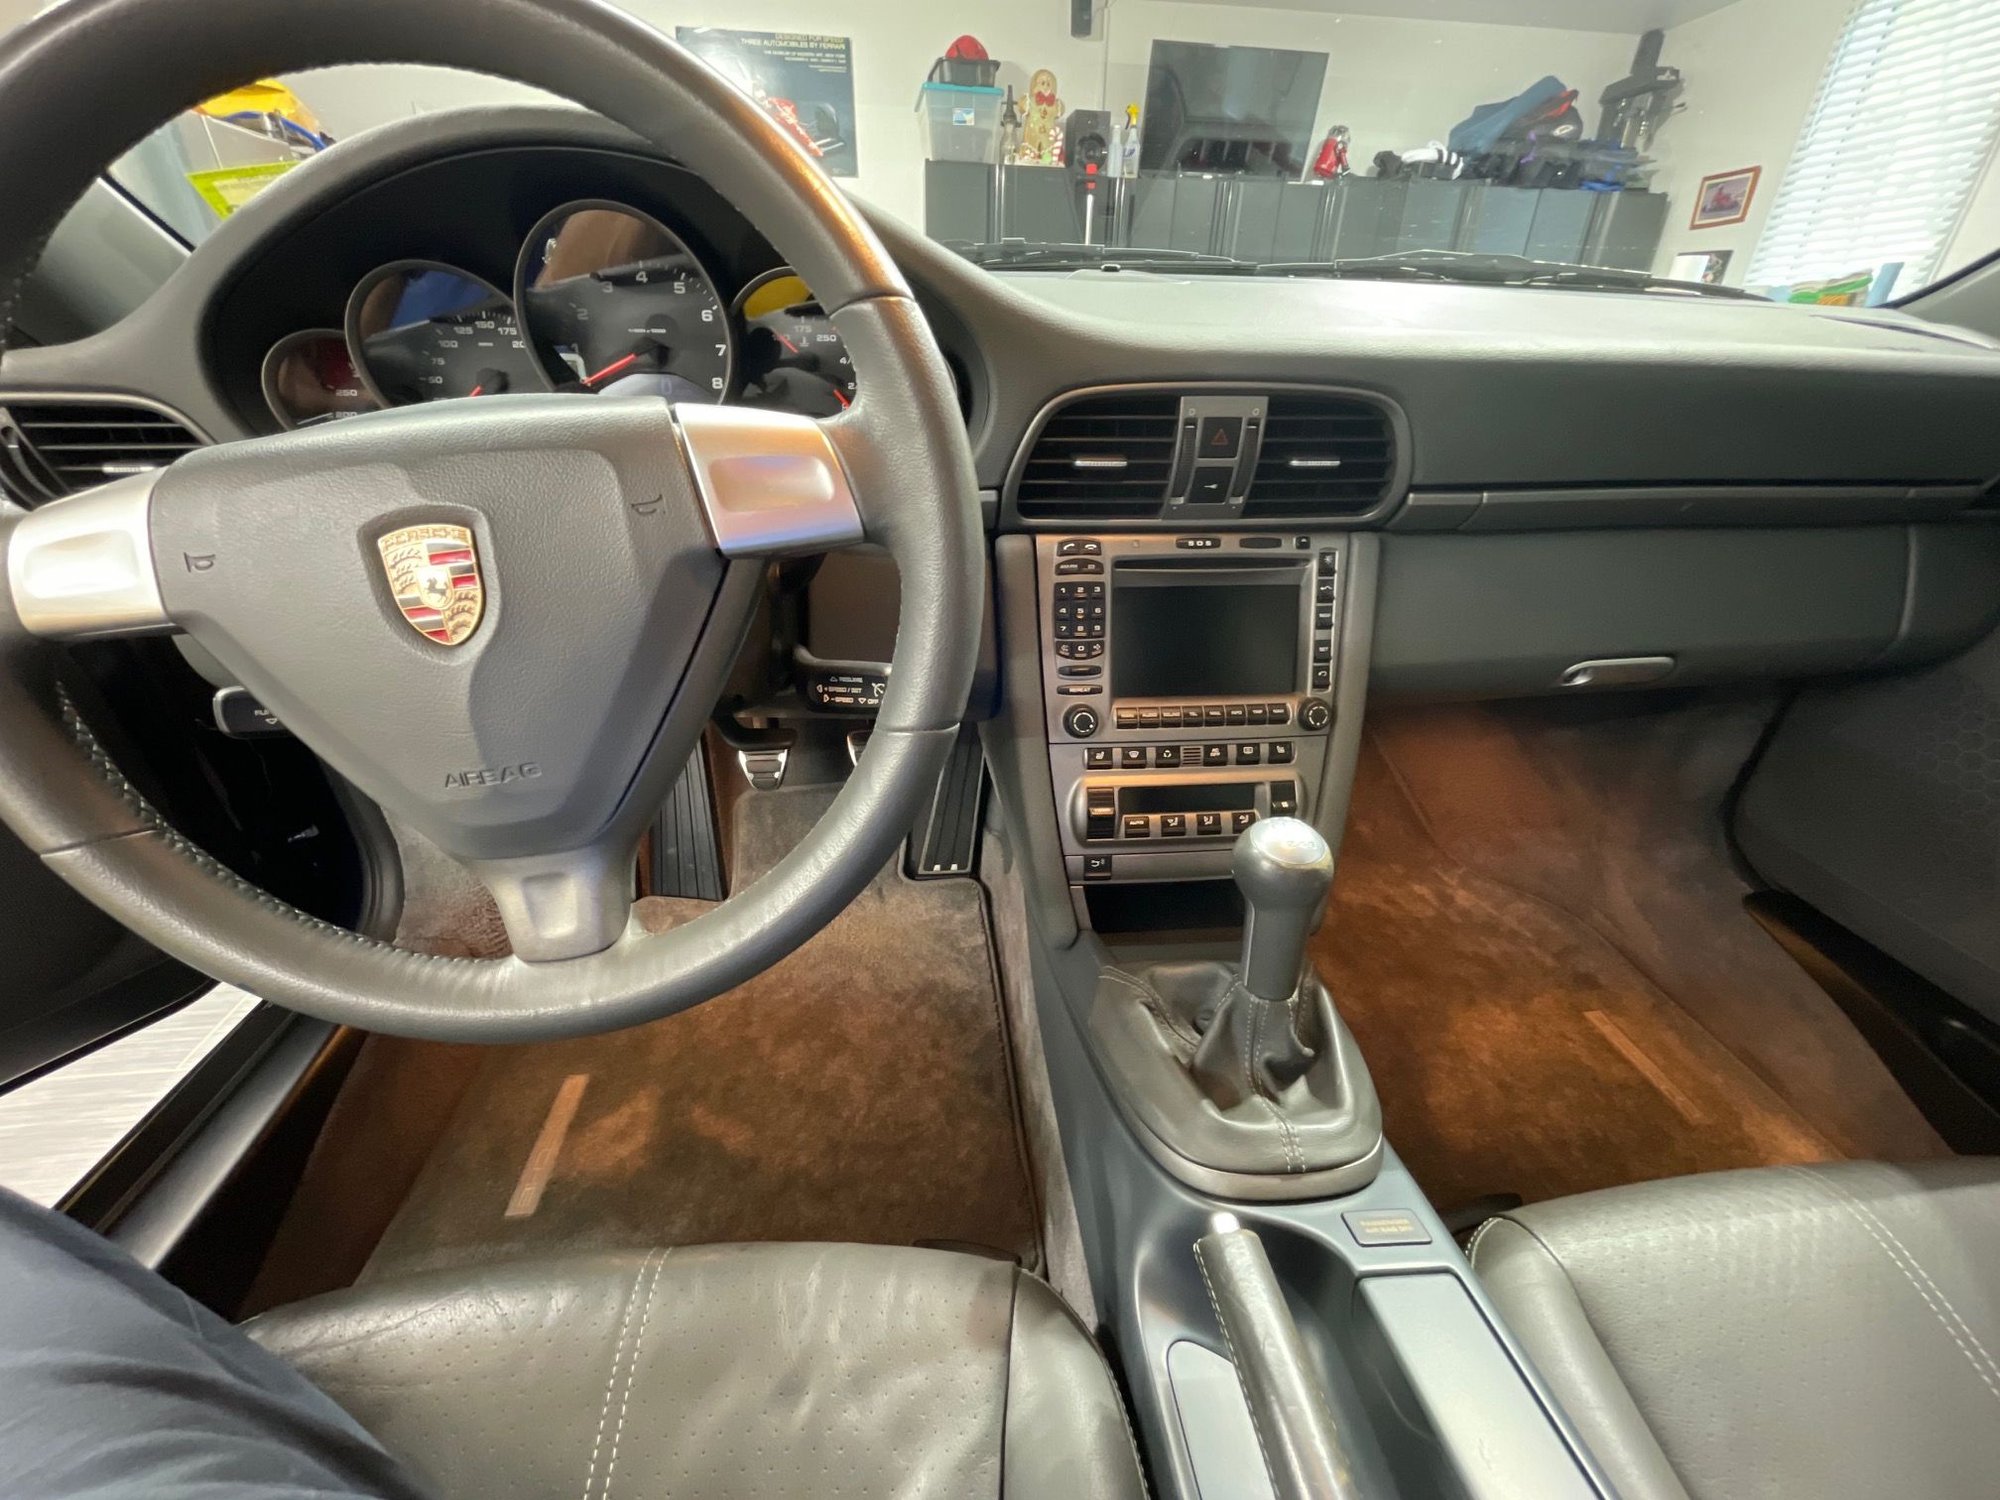
With the blue tooth unit in place, the head unit returned to its nest and the amp secured in the frunk, the audio + phone + streaming works perfectly and it was time to put the interior back together.
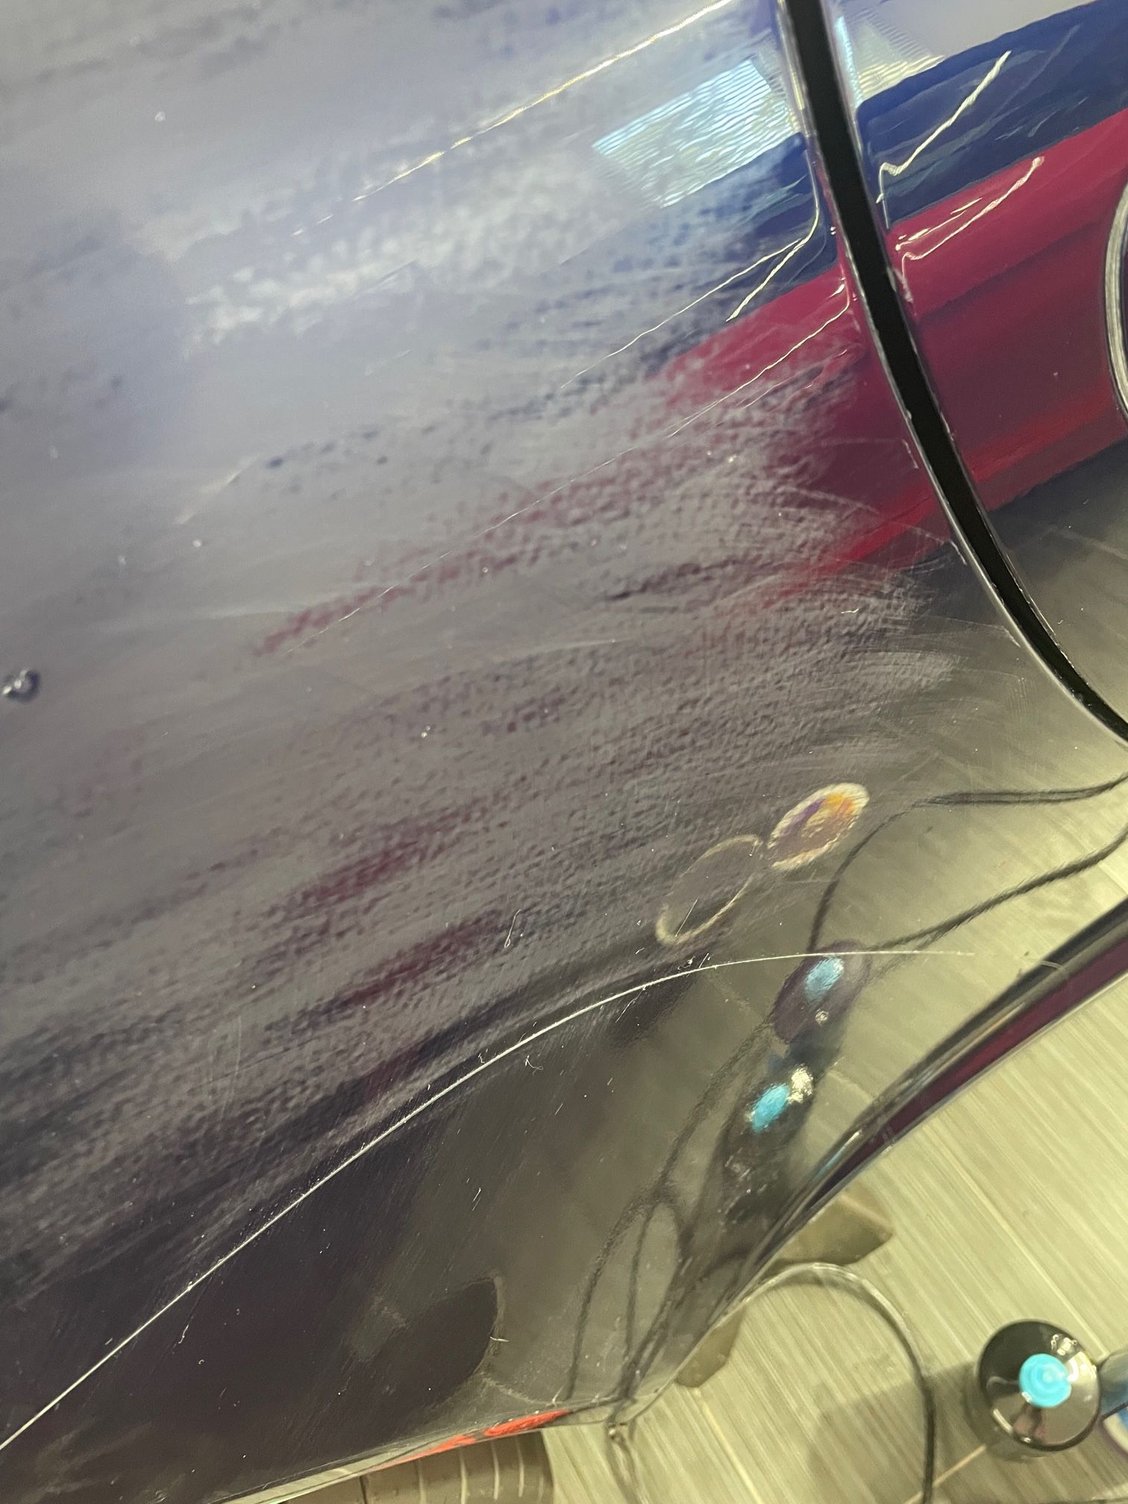
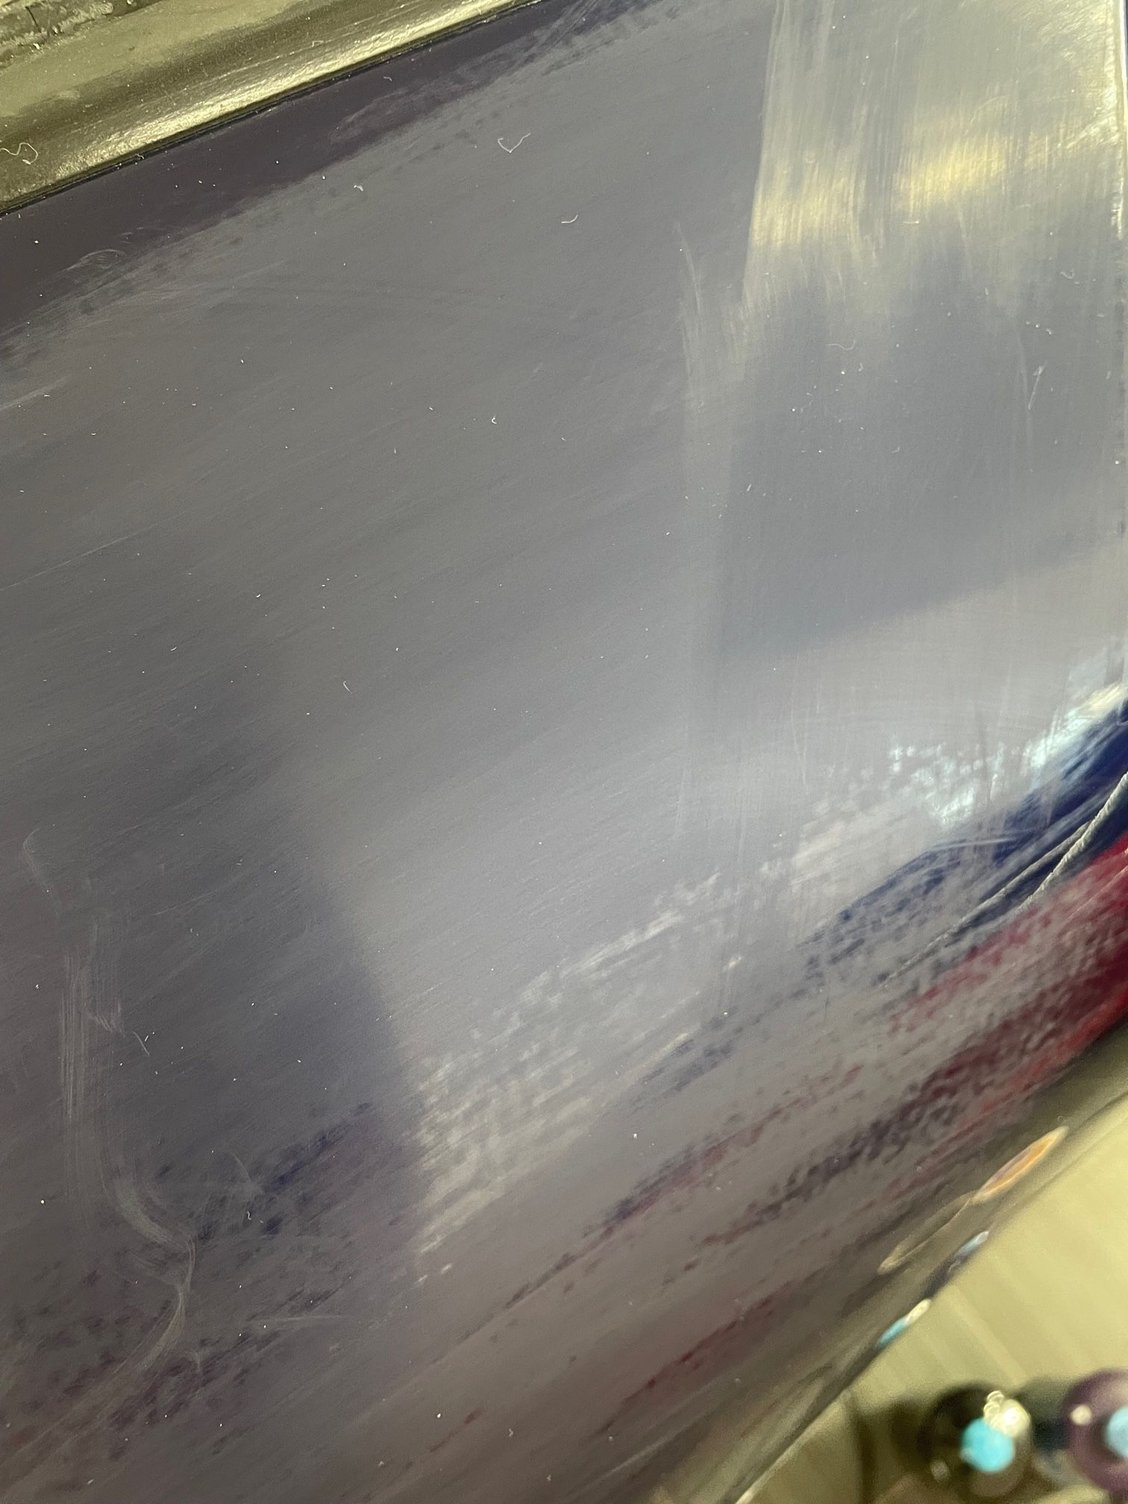
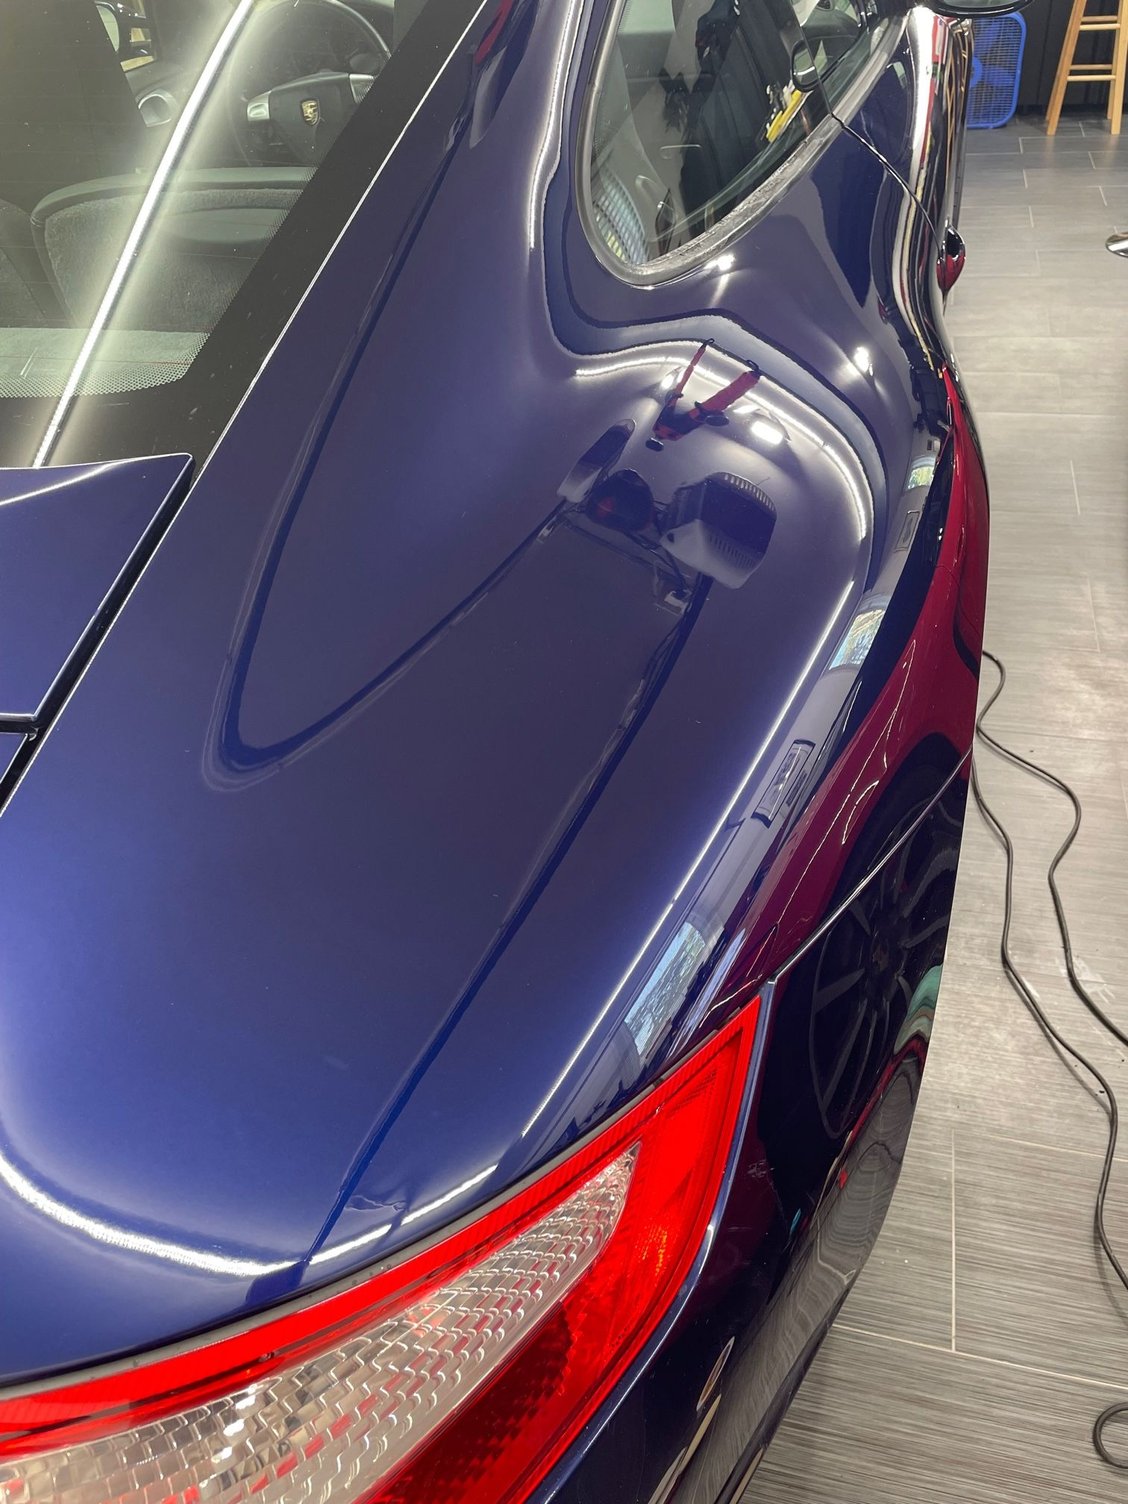
Now it is onto the paint correction. I found that with some initial passes with the polisher that the paint was not coming back to 'flat' and there were some irregularities in the finish under the right lighting. I've embarked on a color-sand process with #3000 wet/dry paper worked by hand until the surface is 'flat' with no visible irregularities. This work is not for the faint of heart, but be careful and approached the finish with some reserve. Once achieved, It was a 3-stage polishing that brings the finish to a near glass-smooth gloss. When the car is done, we'll be applying a Feynlab's ceramic coating.
Now it is onto the paint correction. I found that with some initial passes with the polisher that the paint was not coming back to 'flat' and there were some irregularities in the finish under the right lighting. I've embarked on a color-sand process with #3000 wet/dry paper worked by hand until the surface is 'flat' with no visible irregularities. This work is not for the faint of heart, but be careful and approached the finish with some reserve. Once achieved, It was a 3-stage polishing that brings the finish to a near glass-smooth gloss. When the car is done, we'll be applying a Feynlab's ceramic coating.
Good work! Having the same color combo, it is good to know that the lapis can really show with the right care.
I started changing the disc pads on the front and the rotors. Pulled the disc off and tried to remove the anti squeal devises. Someone has screwed a screw into the larger cylinder and I can not remove them on both sides. Anyone ever heard of some idiot doing this??
I started changing the disc pads on the front and the rotors. Pulled the disc off and tried to remove the anti squeal devises. Someone has screwed a screw into the larger cylinder and I can not remove them on both sides. Anyone ever heard of some idiot doing this??
Unlikely that's what happened. Those syckinders on the rear of the pads that go into the caliper pistons are riveted to the pad carrier. I'm sure they just corroded into the caliper pistons. You have a pic of what you describe here? I only buy flat backed pads and then use the OEM vibration dampeners which are an adhesive rubber pad with a metal prong that snaps into the caliper pistons
Suncoast sells pre-assembled kits with the right sizes for your particular car.
I started changing the disc pads on the front and the rotors. Pulled the disc off and tried to remove the anti squeal devises. Someone has screwed a screw into the larger cylinder and I can not remove them on both sides. Anyone ever heard of some idiot doing this??
Yes. Just found this on a friend's car. OEM, never touched outside of the factory.


 05-01-2022, 12:11 AM