When you click on links to various merchants on this site and make a purchase, this can result in this site earning a commission. Affiliate programs and affiliations include, but are not limited to, the eBay Partner Network.
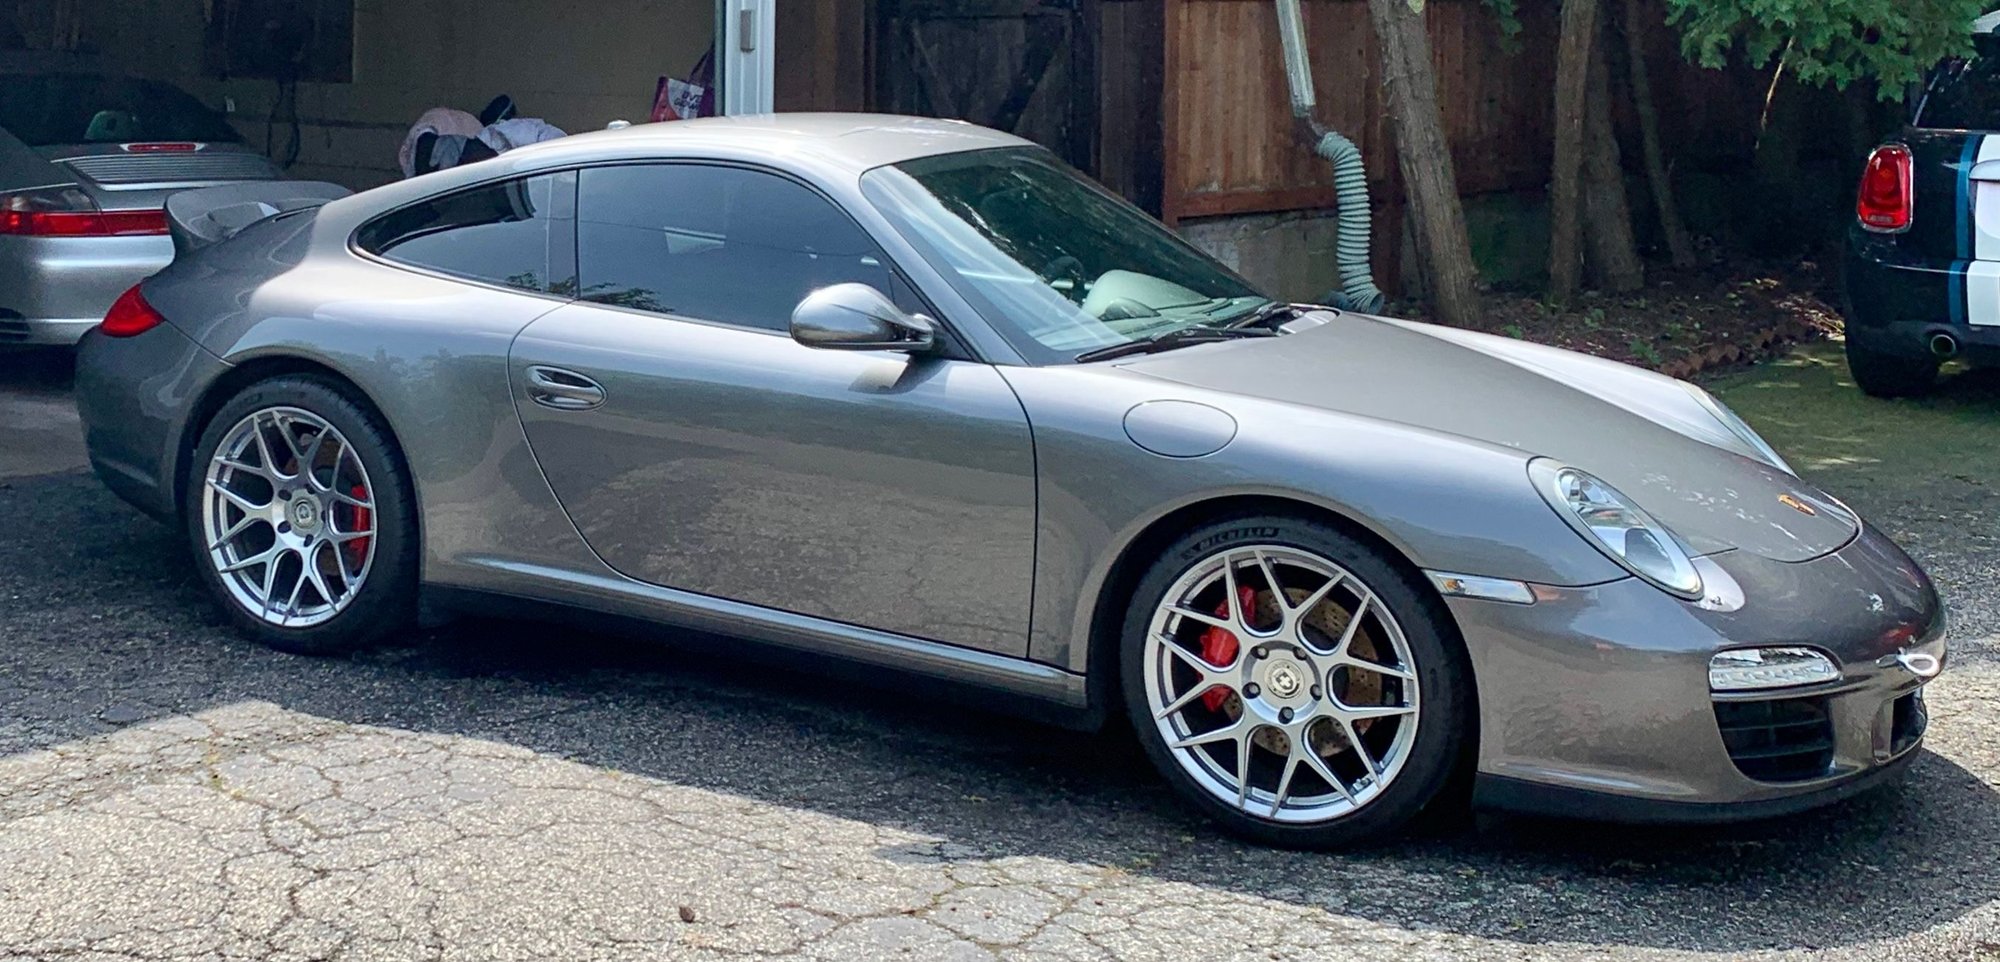
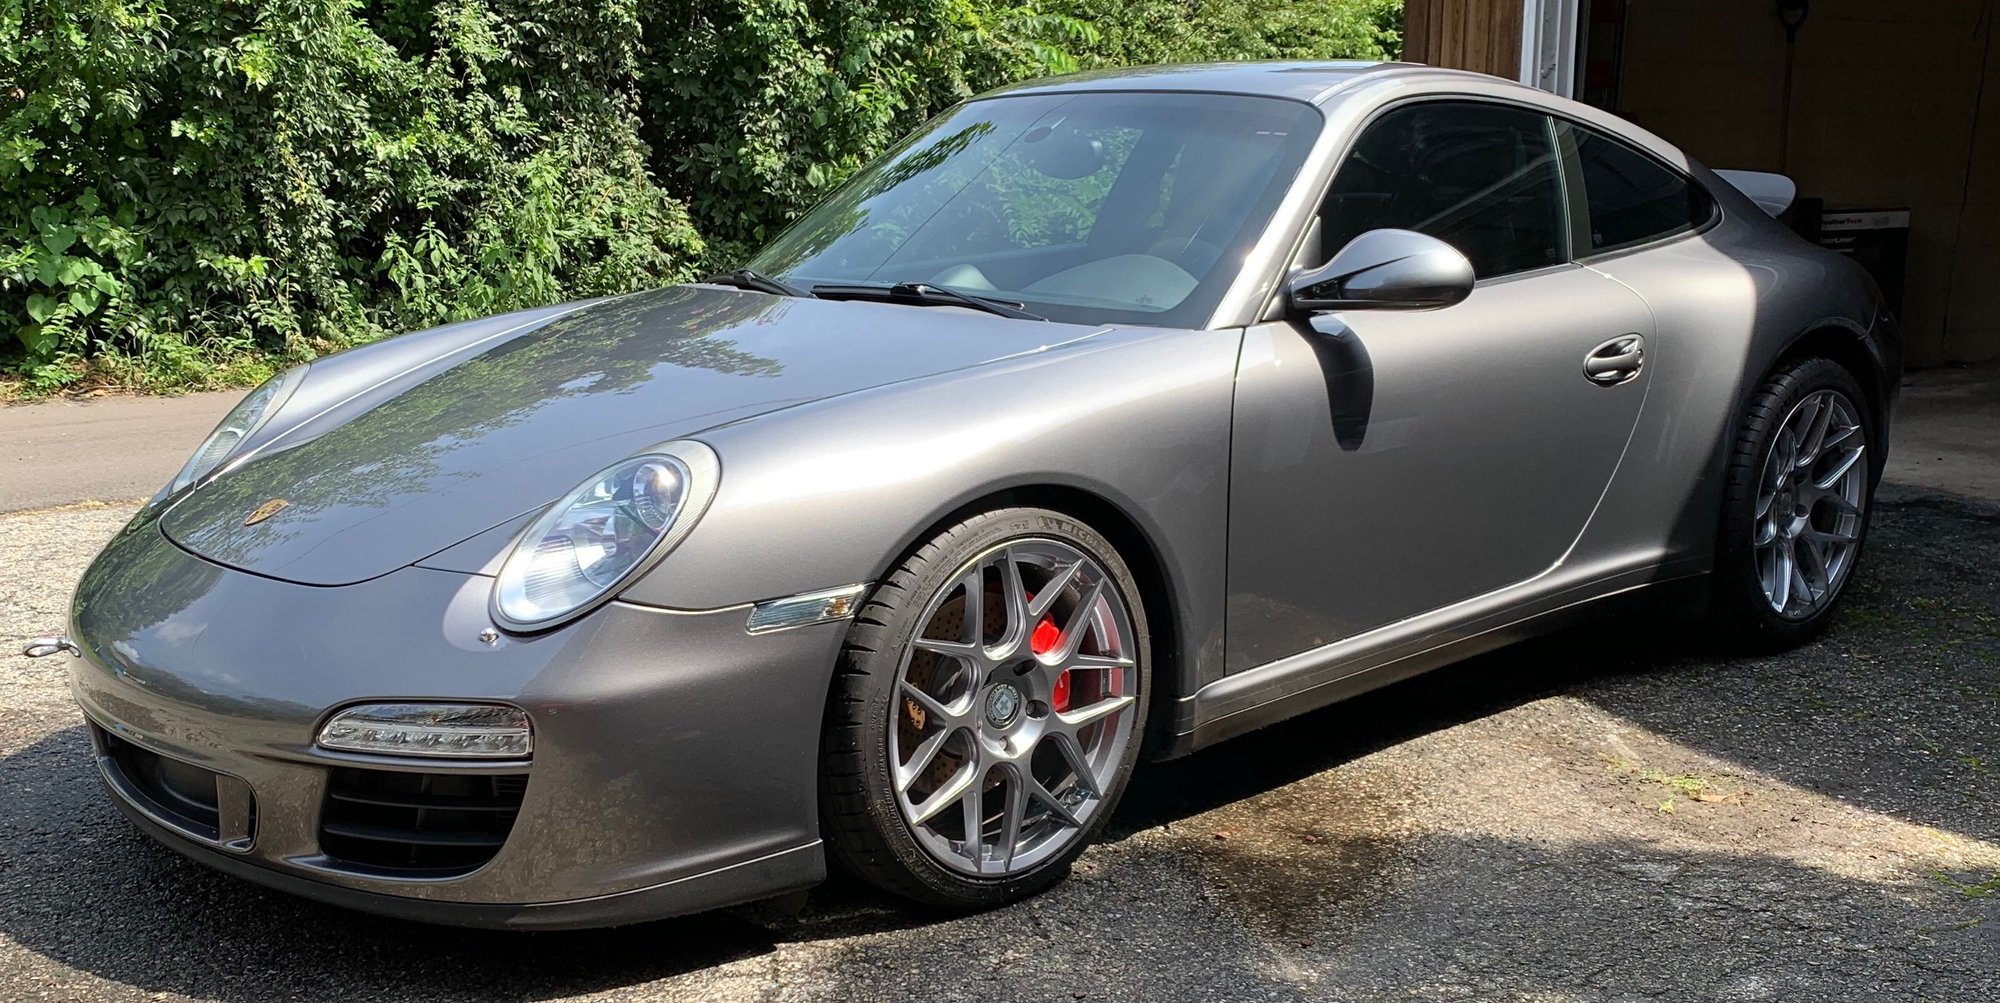
Developed some film, including this shot of little car at about 7,000 feet in the Sierras the day before it got parked at a trail head and we took off into the wilderness for three days.
Busy maintenance week for me; serpentine belt, spark plugs and coils, water pump and thermostat... Hopefully made those jobs easier for future self by replacing all the exhaust nuts and bolts with stainless
Really embarrassing but...I finally set up Homelink for the garage doors, and finished cleaning up the garage from our center exhaust replacement fiasco. Feels good to get the garage back to where I know where to find everything.
Bob
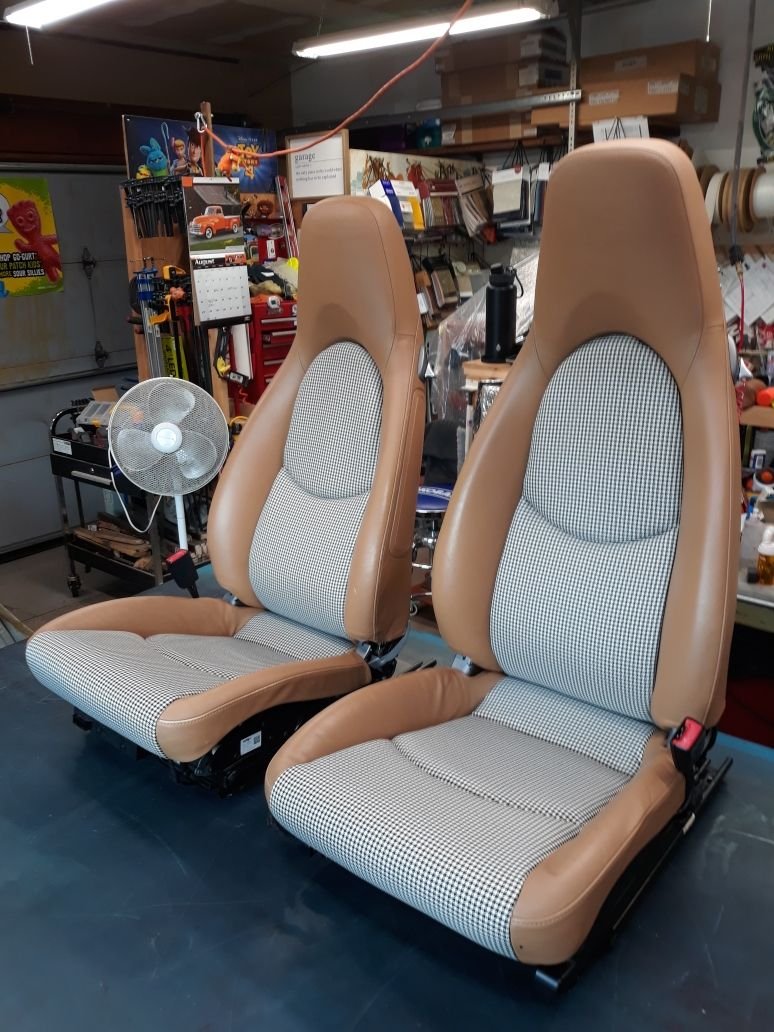
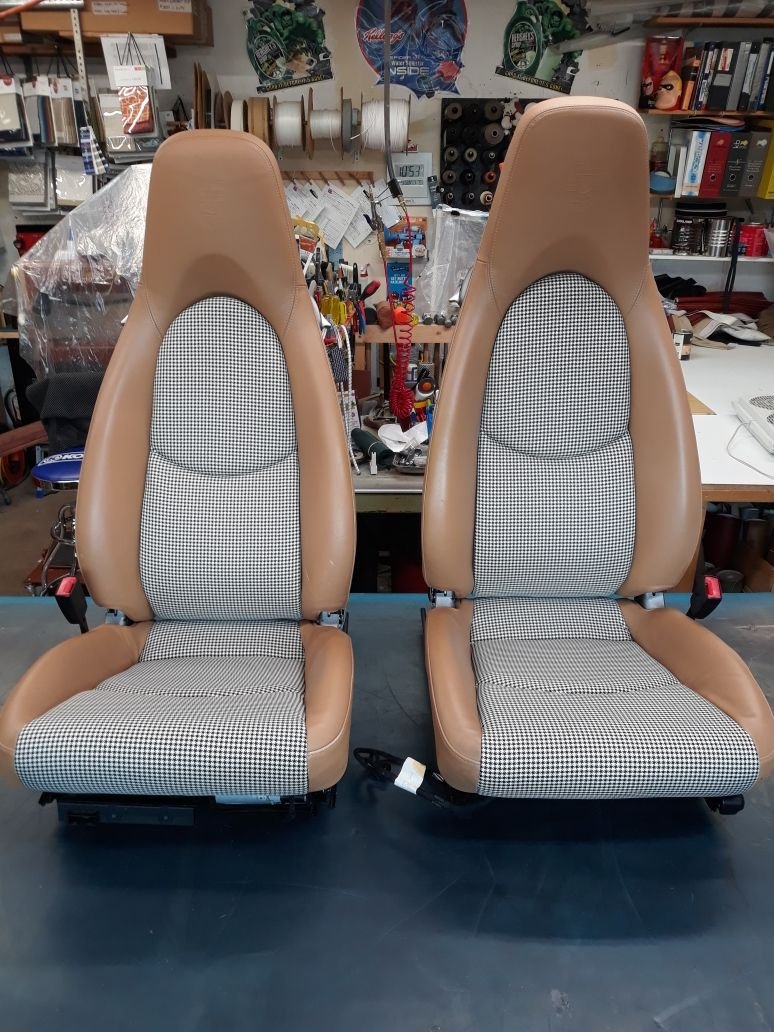
Got my seats back from the upholstery shop. Installing them tomorrow. This houndstooth is awesome. Got it from Relicate leather. He has tons of period correct Porsche fabric and leathers. If your into the Tartan stuff, he has that too.
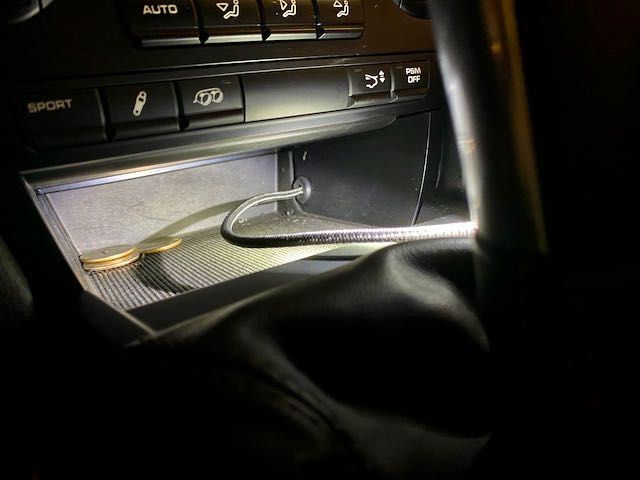
Well, more was done later in the day to install a hardwired lightening cord, thanks to @rtl5009 (post #10098) and @myw (post #10096) for all of their direction/inspiration/assistance in planning things out.
Special thanks to my son, too, who applied his usual 'Do it right' attitude that included using a rubber grommet on the hole we drilled into the cubby...doing so gives it a nice finished look (for those who peer into cubbies...) and, more importantly, serves as a terrific device to prevent the lightening cord from ever being accidentally pushed back behind the center stack.
Cheers, gentlemen, and thank you!
Bob
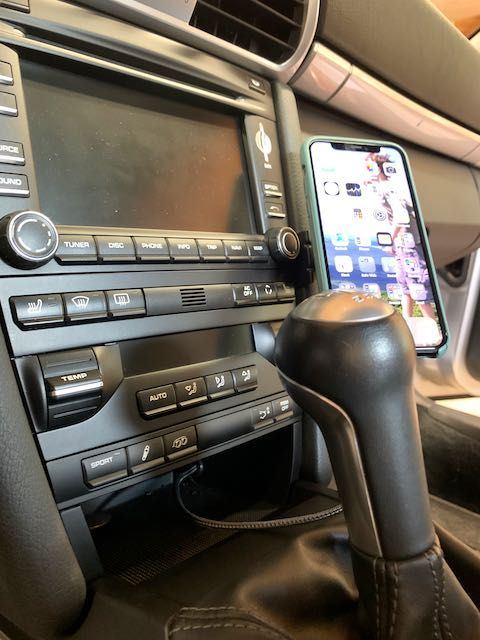
We found routing the lightening cord was best done from the side and toward the back of the cubby to keep things discreet. The rubber grommet just makes a simple hack a bit more elegant. It's a PITA to find the right size and then get it in place, but it was well worth the effort, IMO. Not a great shot but now fully integrated with the Rennline phone bracket.
VT Blue; thanks, I had to do it twice because the first go around I learned a few things, second go-around I rough masked it off using plastic sheets and ~1" wide painters tape, and then used this really thin (1/8") to do the final masking to make the line, this allowed me two key things, one the tape is super flexible to match contours and curves in that area, the second was I was able to pull the tape off quickly right after doing it, lay it on heavy, and pull the tape off within the first minute, leave a nice clean line.
The first time I masked it with lots and lots of small pieces of 1" wide tape and then waited for it to dry and then pulled it all off, basically if pulled all the plasti dip off and looked terrible. It took an hour to tape it, and another hour to untape it... and looked terrible. The second time around I did the entire thing in less than an hour and it looked better and was easier to tape.

 08-22-2020, 02:00 PM