When you click on links to various merchants on this site and make a purchase, this can result in this site earning a commission. Affiliate programs and affiliations include, but are not limited to, the eBay Partner Network.
I think the most correct spelling is Metzger, but I've only got six characters to work with on this plate design, and I refuse to fall back to our ugly 7-character default plate.
I think the most correct spelling is Metzger, but I've only got six characters to work with on this plate design, and I refuse to fall back to our ugly 7-character default plate.
New vanity plate on the way: I think the most correct spelling is Metzger, but I've only got six characters to work with
...
I see now it's Hans Mezger, without the 't'. Fortuitous.
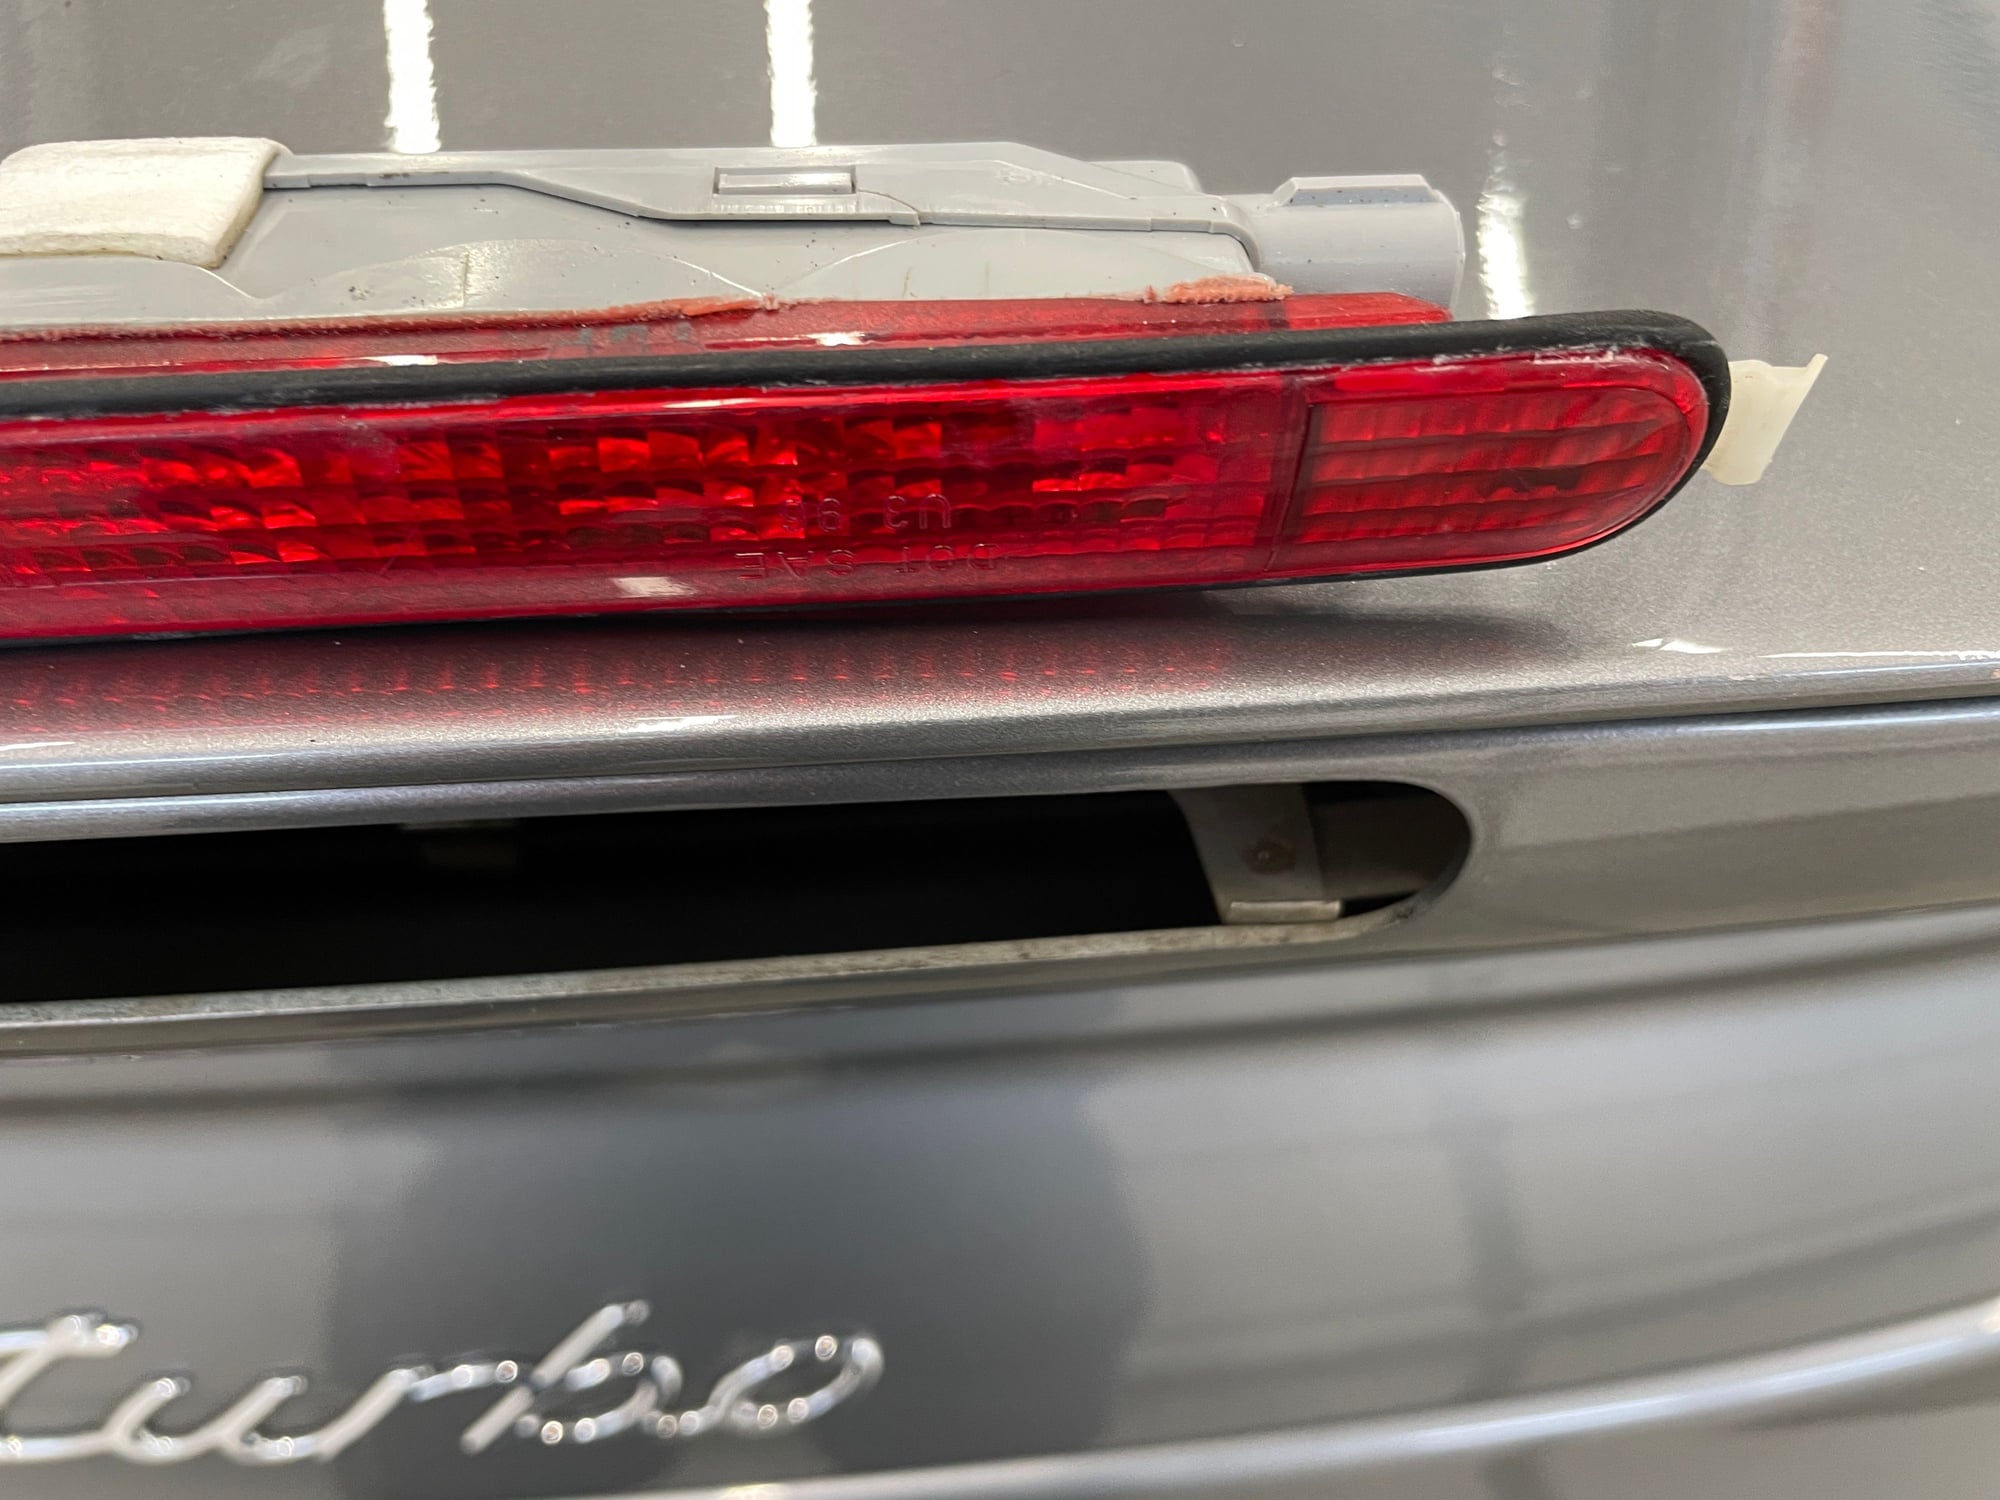
Light Gasket around my 3rd Brake light housing on my Turbo and Targa need replacing due to age. After looking at prices for new Light housing @ $205.00 2022 prices, I thought I'd try to replace it w some rubber "O-Ring" material.
At the local H/W store they had a O ring kit which contained many sizes of O Ring material for making you own, I bought some 1/8" material and new Gorilla Gel Super Glue to make a solid continuous large gasket.
I cleaned off old gasket material w sharp pocket knife to give a new flat surface to Glue the Round Rubber material to the housing to,
Strech the Rubber material to where you feel it's streched but not to much, Rough mark the spot and Cut the ends of the new Gasket material w a razor sharp knife, you want to square end cuts to mate together to create Loop shape on the housing.
At this point, If you haven't already Clean and Polish the Red side light housing, because from here, it's mounting of the rubber to the plastic w super Glue.
Establish a glue line first, This can be established w/ Masking tape on the Housing before you start. The Glue line w/ tape also makes it easier to keep your new gasket line straight as you glue, Starting a very small continuous bead of Glue on one rounded corner , Once you have it glued around corner you can use Rubber to pull a nice straight line down the length of a longr Glue trace You don't need much glue either. I proceeded to establish a small glue line up next to edge of light housing in 3-5" increments to allow time to position and dry the rubber material before moving on.
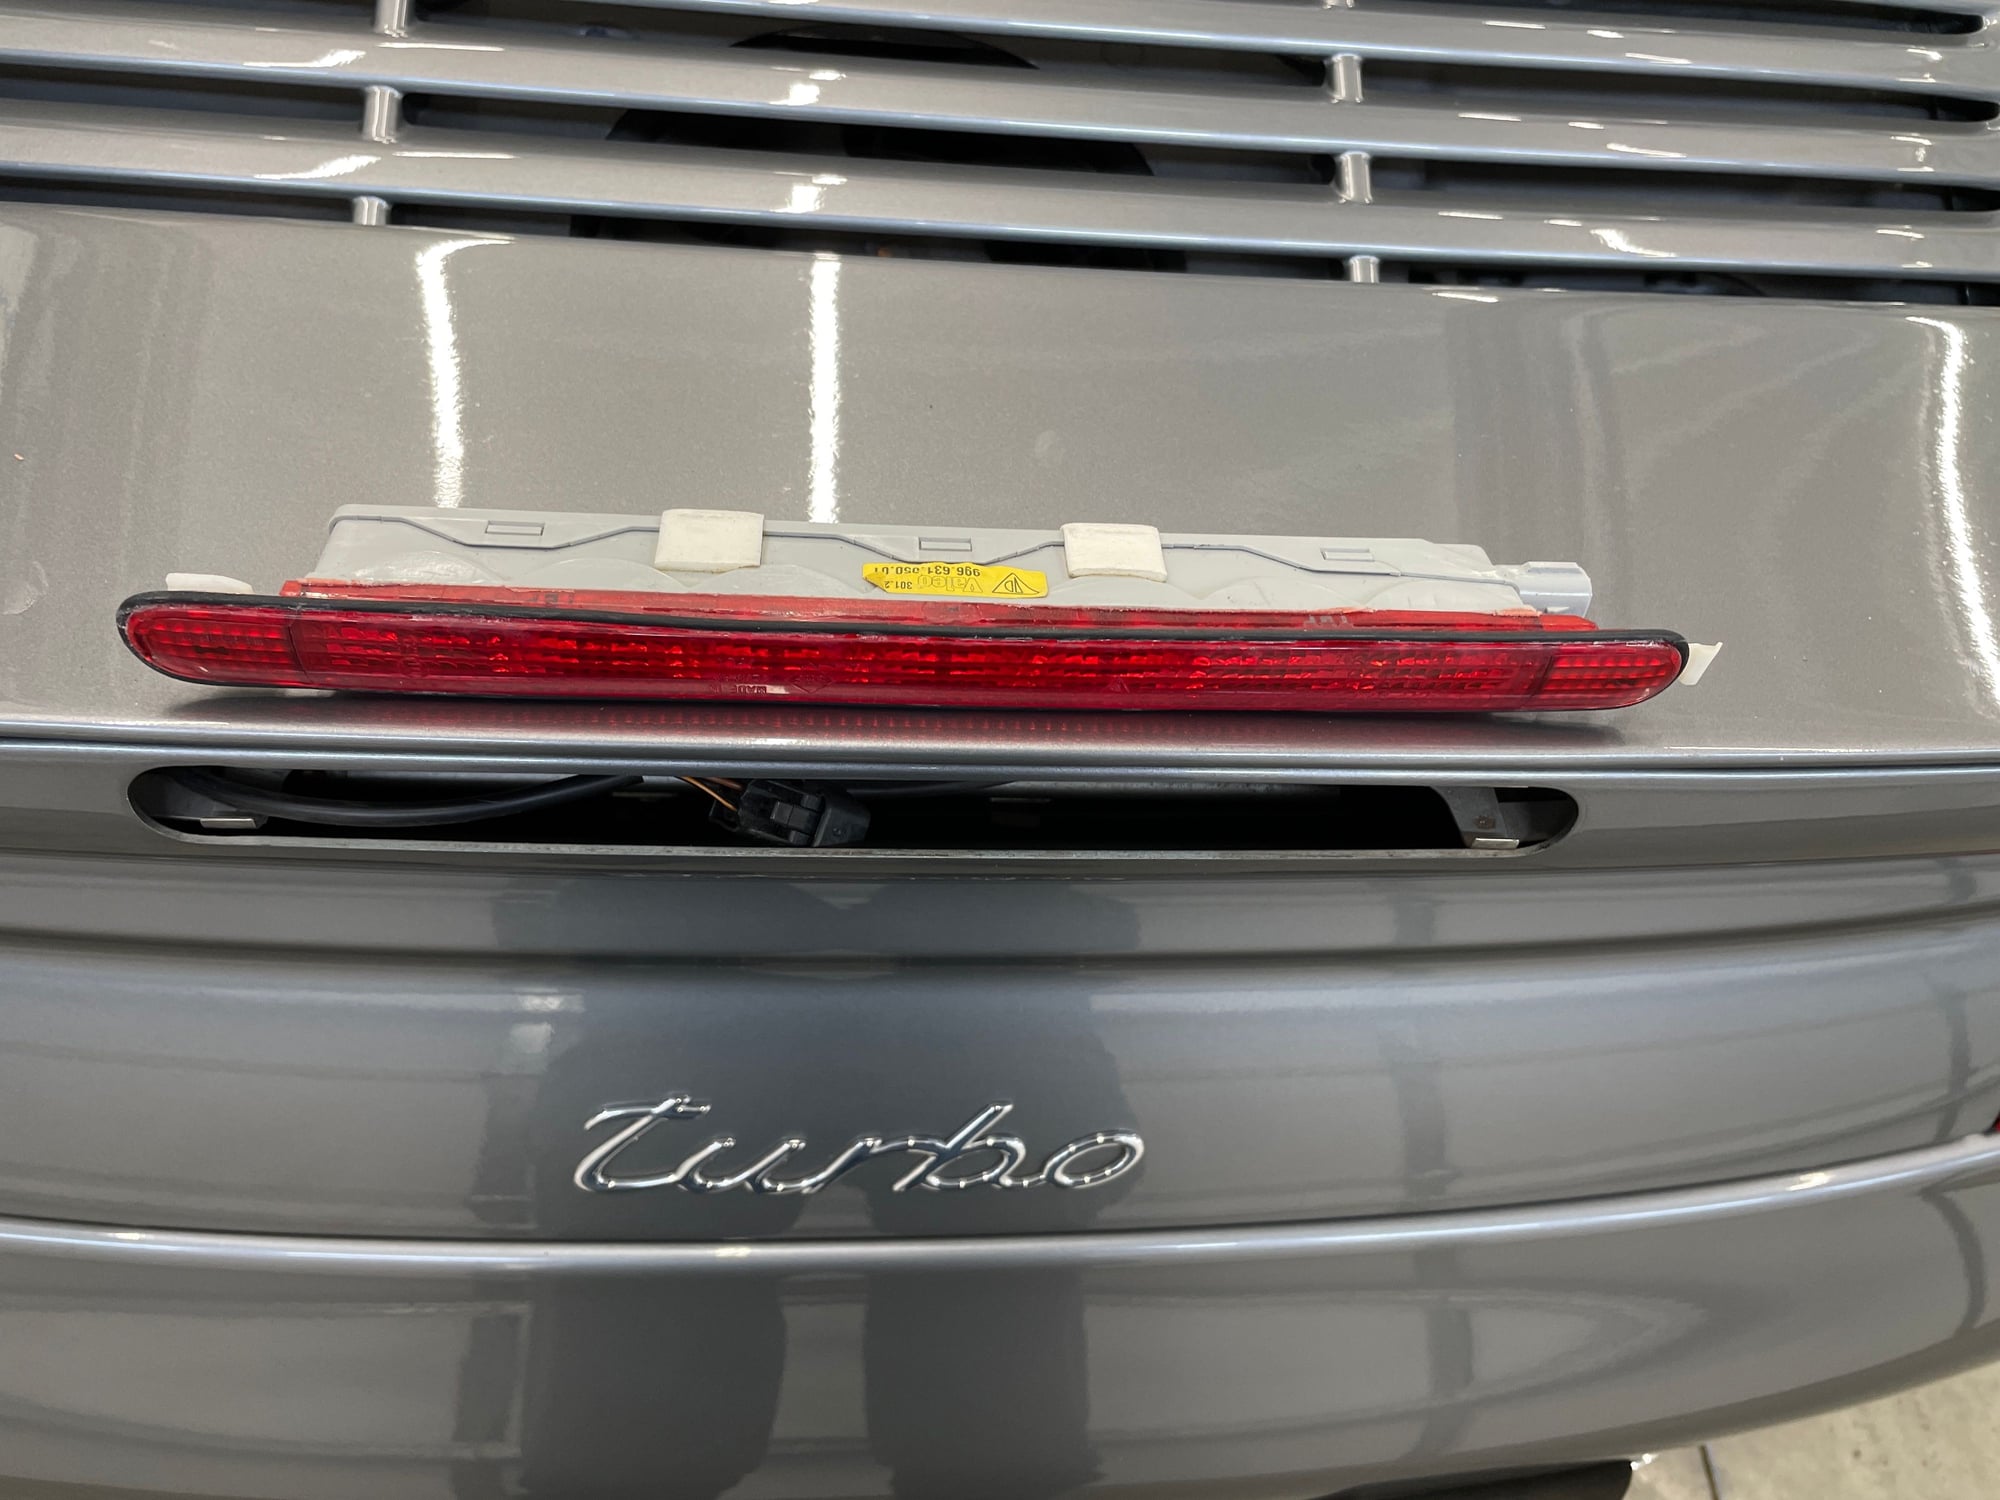
Once completed, I took a "Finger Nail" sanding block your GF or Wife gets at Wagreens to flatten the outside edge to allow it to wedge fit into the opening of the Spoiler with a tight fit. I feel this is going work in even tighter in coming months of warm weather.
One of the cheapest but most satisfying of repairs I've done, w exception of cleaning Radiator trash or something.
O ring rubber is approx $0.25/inch. you'll need 18-20" for a nice tight fit w/ stretches ,the round rubber material thinner yet from original size. Fitment is nice and tight in spoiler. Make sure your'e material is glued every where to the plastic Housing. It takes a little work to get a flat Wedge shaped edge on the outer circumference of the new gasket seal.When you press the new rubber in place, take your time Fit it in the housing, Once you get a Flat edge on top of the Gasket material Try fitting it in the housing. Careful not to break any Tab's clips, etc. Clean up the look of dried Glue, Scrape edge, clean excess, Do not use any Acetone to clean Glue off Plastic Light Housing, BAd Looks happen. Once Dried Glue clean up any remaing , u then take a Black Ball point to color it Black, It blends in great.
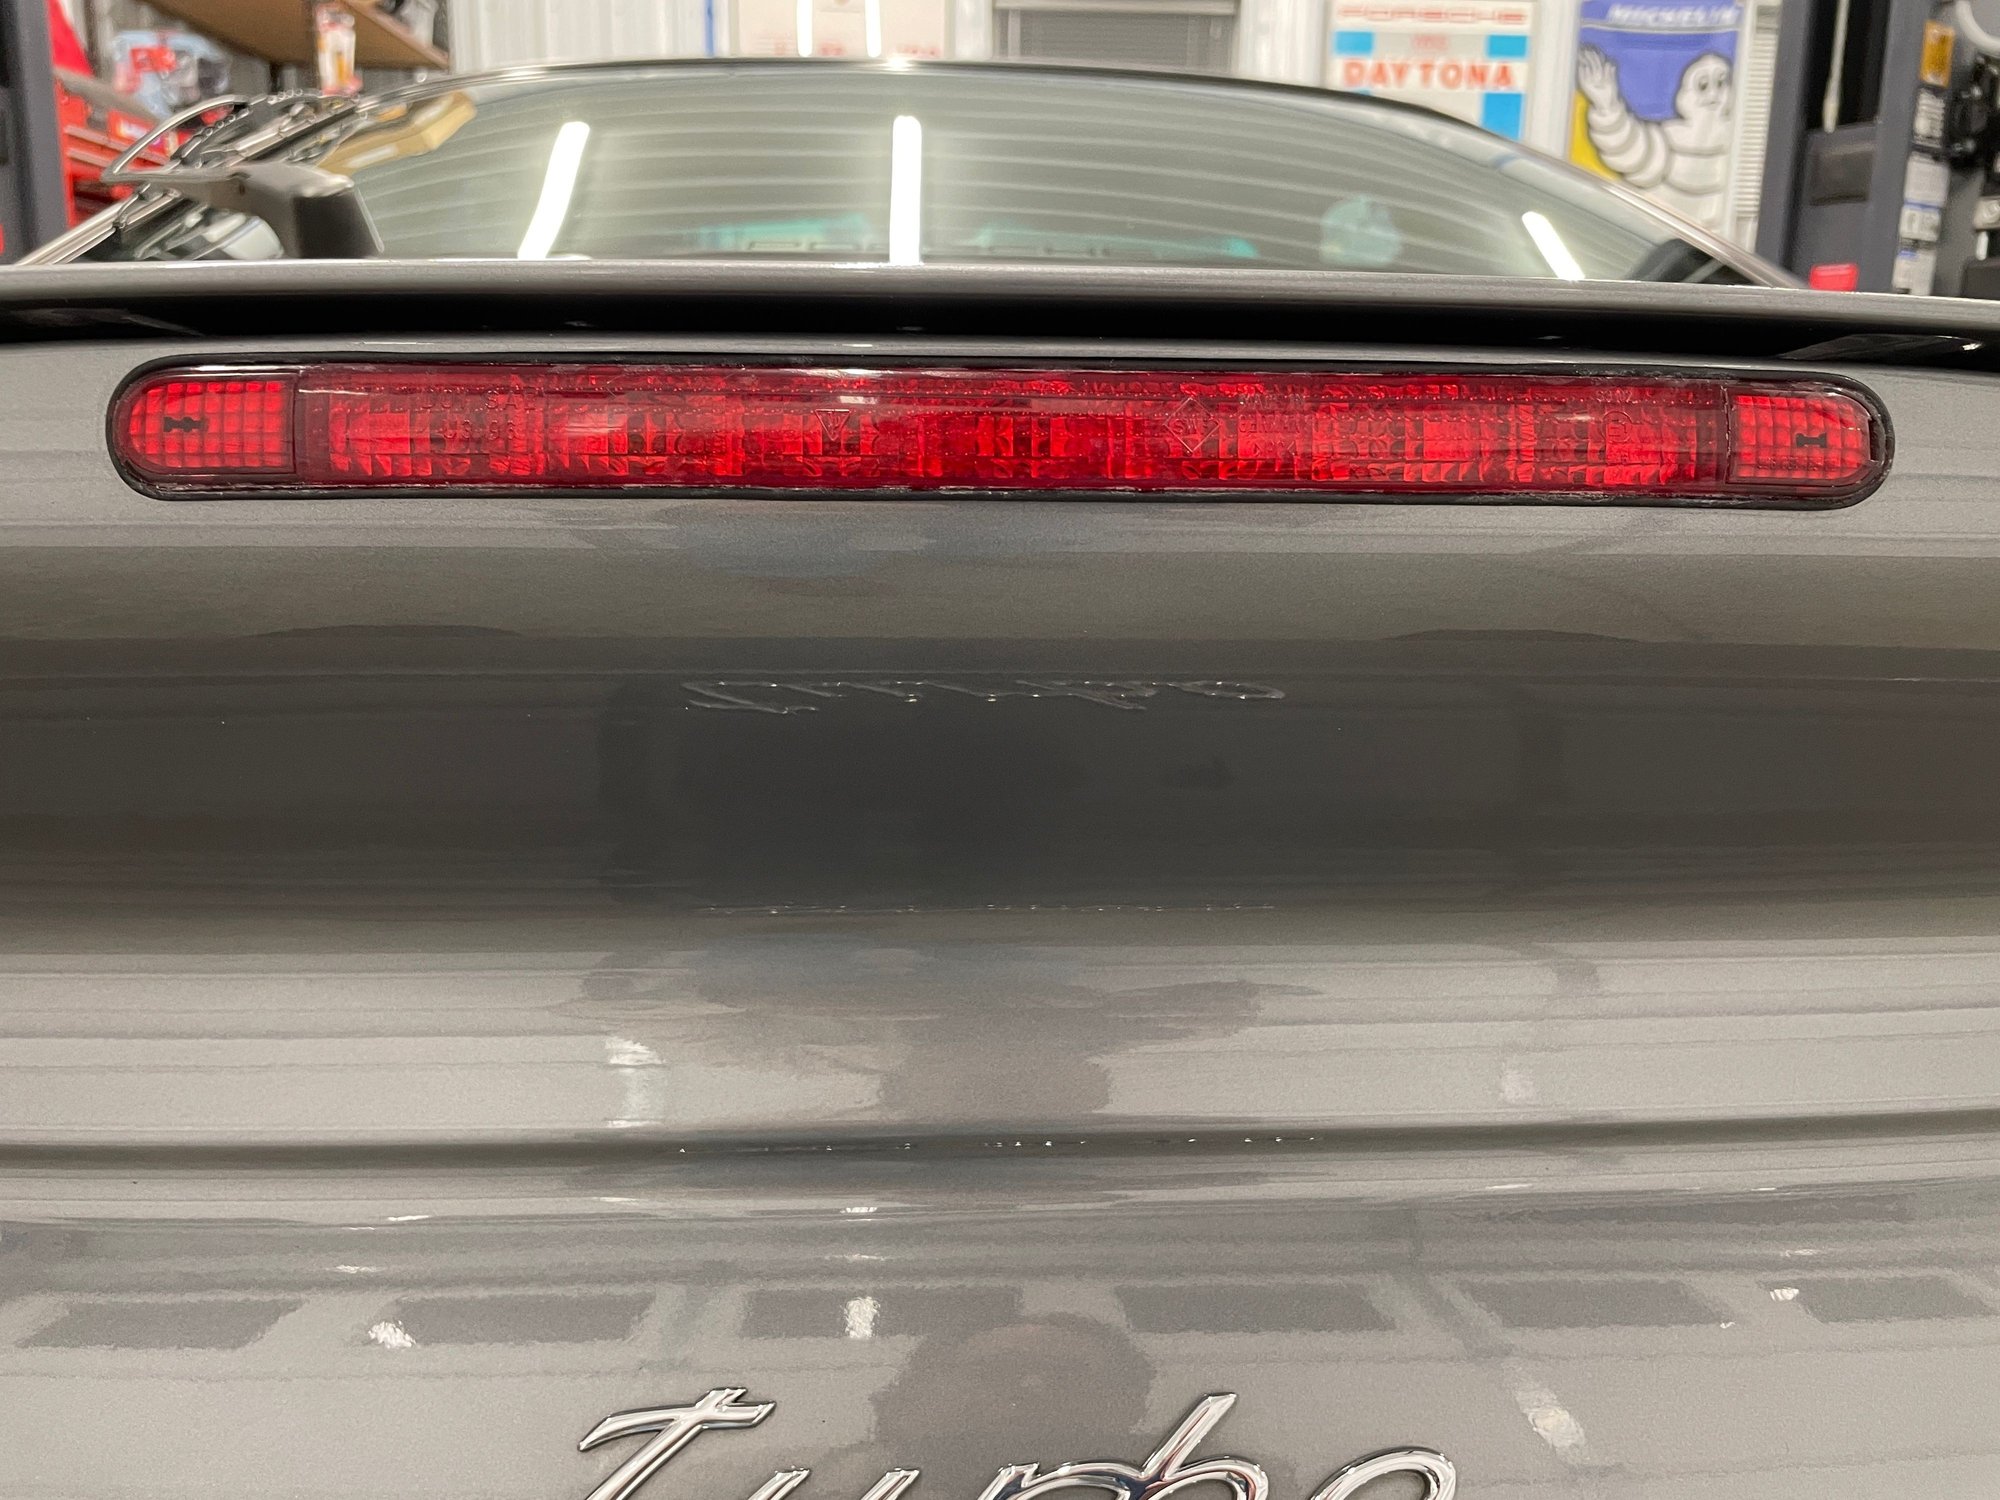
Now on to replace one on in the Targa, similar part look, different mounting material, steel housing instead of Plastic on Turbo tail.
Both made same to keep water out, which I really don't drive them usually in the rain, I still wash it around the housing.
Whether at Home, or $.25 car wash.
Good Luck
.
Mike
O ring material w Old Gasket in place Glued in place Ready to set in spoiler
After giving time for Glue to dry, Light Body slipped in to opening. Holds a nice set in place. Covers any gap on the Body work like original one, Fits tight, sanding a flat edge w emory board does trick of giving flat fitting rubber, and allows for slip movement . I got $10.00 in it and it looks Concurs better looking than what I had.
Last edited by Mike Mullins; 03-05-2022 at 05:32 PM.
Gasket around my 3rd Brake light housing on my Turbo and Targa need replacing due to age. After looking at prices for new Light housing $205.00 I thought I'd try to replace it w some rubber "O-Ring" material.
At the local H/W store they had a O ring kit which contained many size of O Ring material for making you own, I bought some 1/8" material and new Gorilla Gel Super Glue to make a solid continuous large gasket.
I cleaned off old material gasket and had a new flat surface to Glue to, Starting on one rounded corner, I proceeded to establish a small glue line up next to edge of light housing in 3-5" increments to allow time to position and dry before moving on. Once completed, I took a Finger Nail sanding block to flatten the outside edge to flatten round ring.
Once it was completed I remounted light housing in spoiler with a tight fit. I think this will work for me .
O ring rubber is approx $0.25/inch. you'll need 18-20" for a nice tight fit.
Fitment is nice and tight in spoiler. Careful not to break any Tab's clips. etc.
Now on to replace one on in the Targa.
Mike
O ring material w Old Gasket in place Glued in place Ready to set in spoiler
nicely done - I got tired of looking at the tattered gasket on mine years ago, so I pulled the light out and trimmed all the visible gasket off with a razor blade and reinstalled. Seems to work just fine and have never had any issues.
nicely done - I got tired of looking at the tattered gasket on mine years ago, so I pulled the light out and trimmed all the visible gasket off with a razor blade and reinstalled. Seems to work just fine and have never had any issues.
I got tired of looking at the tattered gasket on mine years ago, so I pulled the light out and trimmed all the visible gasket off with a razor blade and reinstalled.
 03-03-2022, 05:37 PM