When you click on links to various merchants on this site and make a purchase, this can result in this site earning a commission. Affiliate programs and affiliations include, but are not limited to, the eBay Partner Network.
I need to hook up with @powdrhound to try out his clutch pedal feel. I'm pretty sure all the ones I've tested locally haven't had the GT2 master cylinder and that's why I can't stand the clutch pedal effort.
For the hose that attaches to the outlet of the master cylinder, I bought O-Ring 999-707-333-40. Is this Pentosin compatible? I think it might be GT2 specific but it shows as applicable to the Turbo on Pelican Parts. My car still has the master with the green rod end and uses Pentosin.
For the hose that attaches to the outlet of the master cylinder, I bought O-Ring 999-707-333-40. Is this Pentosin compatible? I think it might be GT2 specific but it shows as applicable to the Turbo on Pelican Parts. My car still has the master with the green rod end and uses Pentosin.
that's the gt2 o-ring. Check here. They have the parts diagram right overlayed to one another. This is the correct (turbo) sealing ring for the green hard pipe that connects to the clutch master at firewall: 99970740340
that's the gt2 o-ring. Check here. They have the parts diagram right overlayed to one another. This is the correct (turbo) sealing ring for the green hard pipe that connects to the clutch master at firewall: 99970740340
Thanks. I like how that website highlights the part in the list to the right when you move your mouse over it. Looks like the Pentosin compatible seal is 999-707-403-40. It's been a few months since I ordered, doubt they will let me return them. I think the same o-ring works on the reservoir tube that attaches to the top of the master.
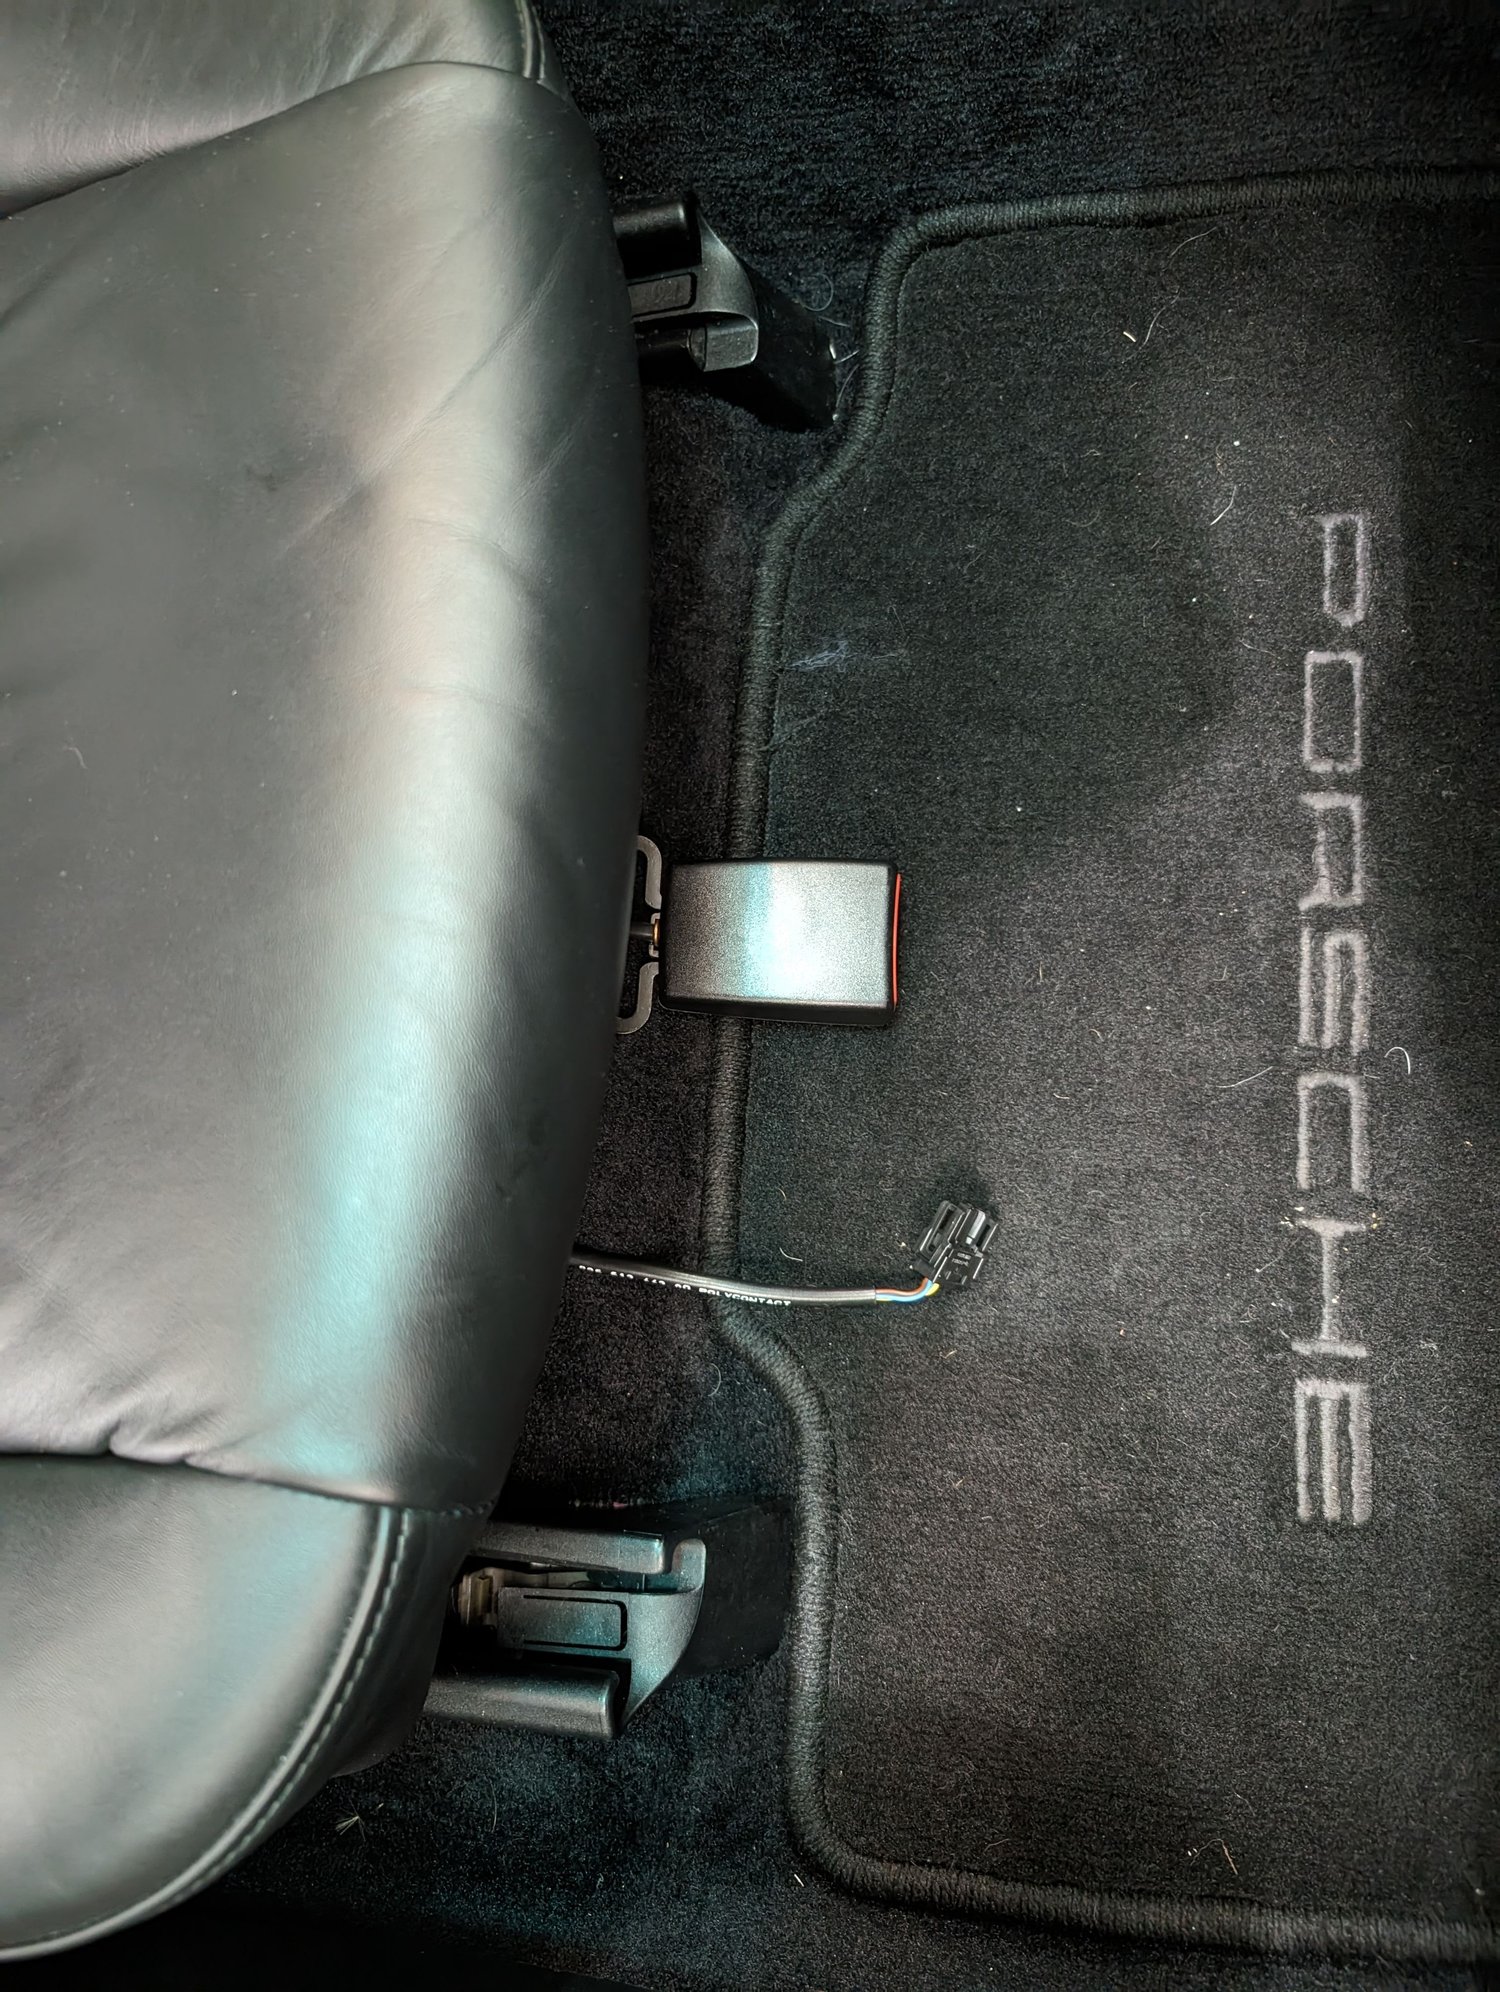
Found the buckle for the factory passenger airbag deactivation from a parts recycler, but it doesn't have the factory mounting bar. I'm OK with this as the buckle was $100 while the full kit is $700 new (and seems to be rare to find it used). I know I could use a switch and a few resistors but I wanted something "factory" robust and unlikely to be left in the on or off position by mistake.
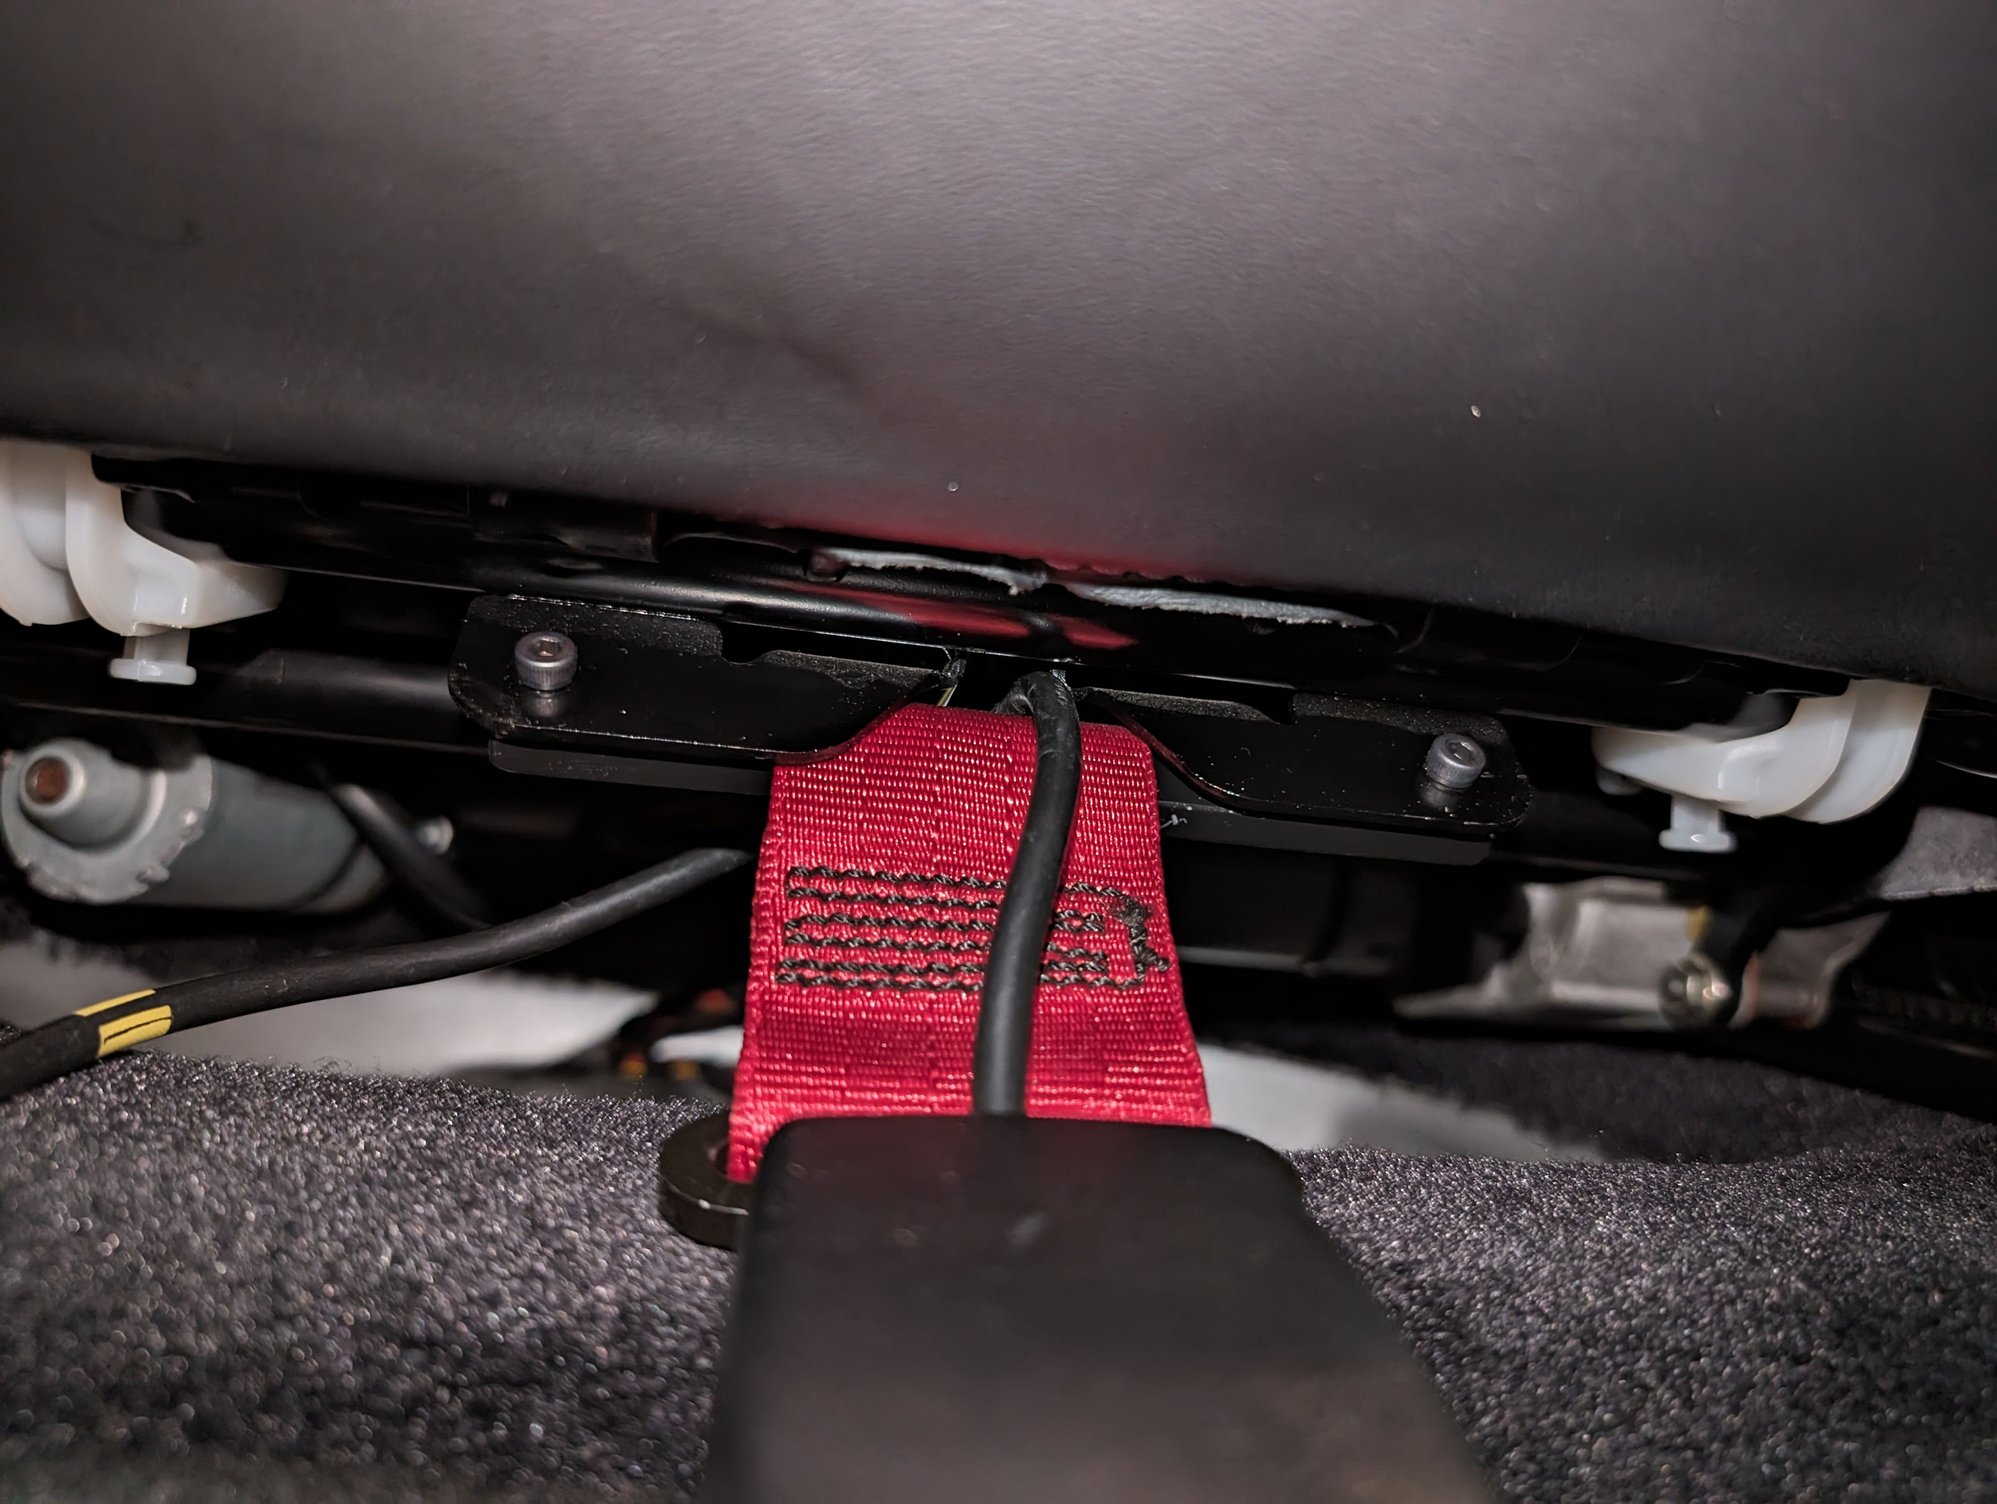
I fabricated a way to mount it on the passenger seat. I'm quite surprised I managed to measure, drill, and tap holes that lined up with the bracket on the seat.
Going to an indy this afternoon to have the option coded.
Found the buckle for the factory passenger airbag deactivation from a parts recycler, but it doesn't have the factory mounting bar. I'm OK with this as the buckle was $100 while the full kit is $700 new (and seems to be rare to find it used). I know I could use a switch and a few resistors but I wanted something "factory" robust and unlikely to be left in the on or off position by mistake.
I fabricated a way to mount it on the passenger seat. I'm quite surprised I managed to measure, drill, and tap holes that lined up with the bracket on the seat.
Going to an indy this afternoon to have the option coded.
If you are going to use this for a child seat PM me and I'll send you the actual mounting bar.
Found the buckle for the factory passenger airbag deactivation from a parts recycler, but it doesn't have the factory mounting bar. I'm OK with this as the buckle was $100 while the full kit is $700 new (and seems to be rare to find it used). I know I could use a switch and a few resistors but I wanted something "factory" robust and unlikely to be left in the on or off position by mistake.
I fabricated a way to mount it on the passenger seat. I'm quite surprised I managed to measure, drill, and tap holes that lined up with the bracket on the seat.
Going to an indy this afternoon to have the option coded.
Is that bracket not tapped? Did you drill out the threads? I am trying to mount a fire extinguisher there on my passenger seat.
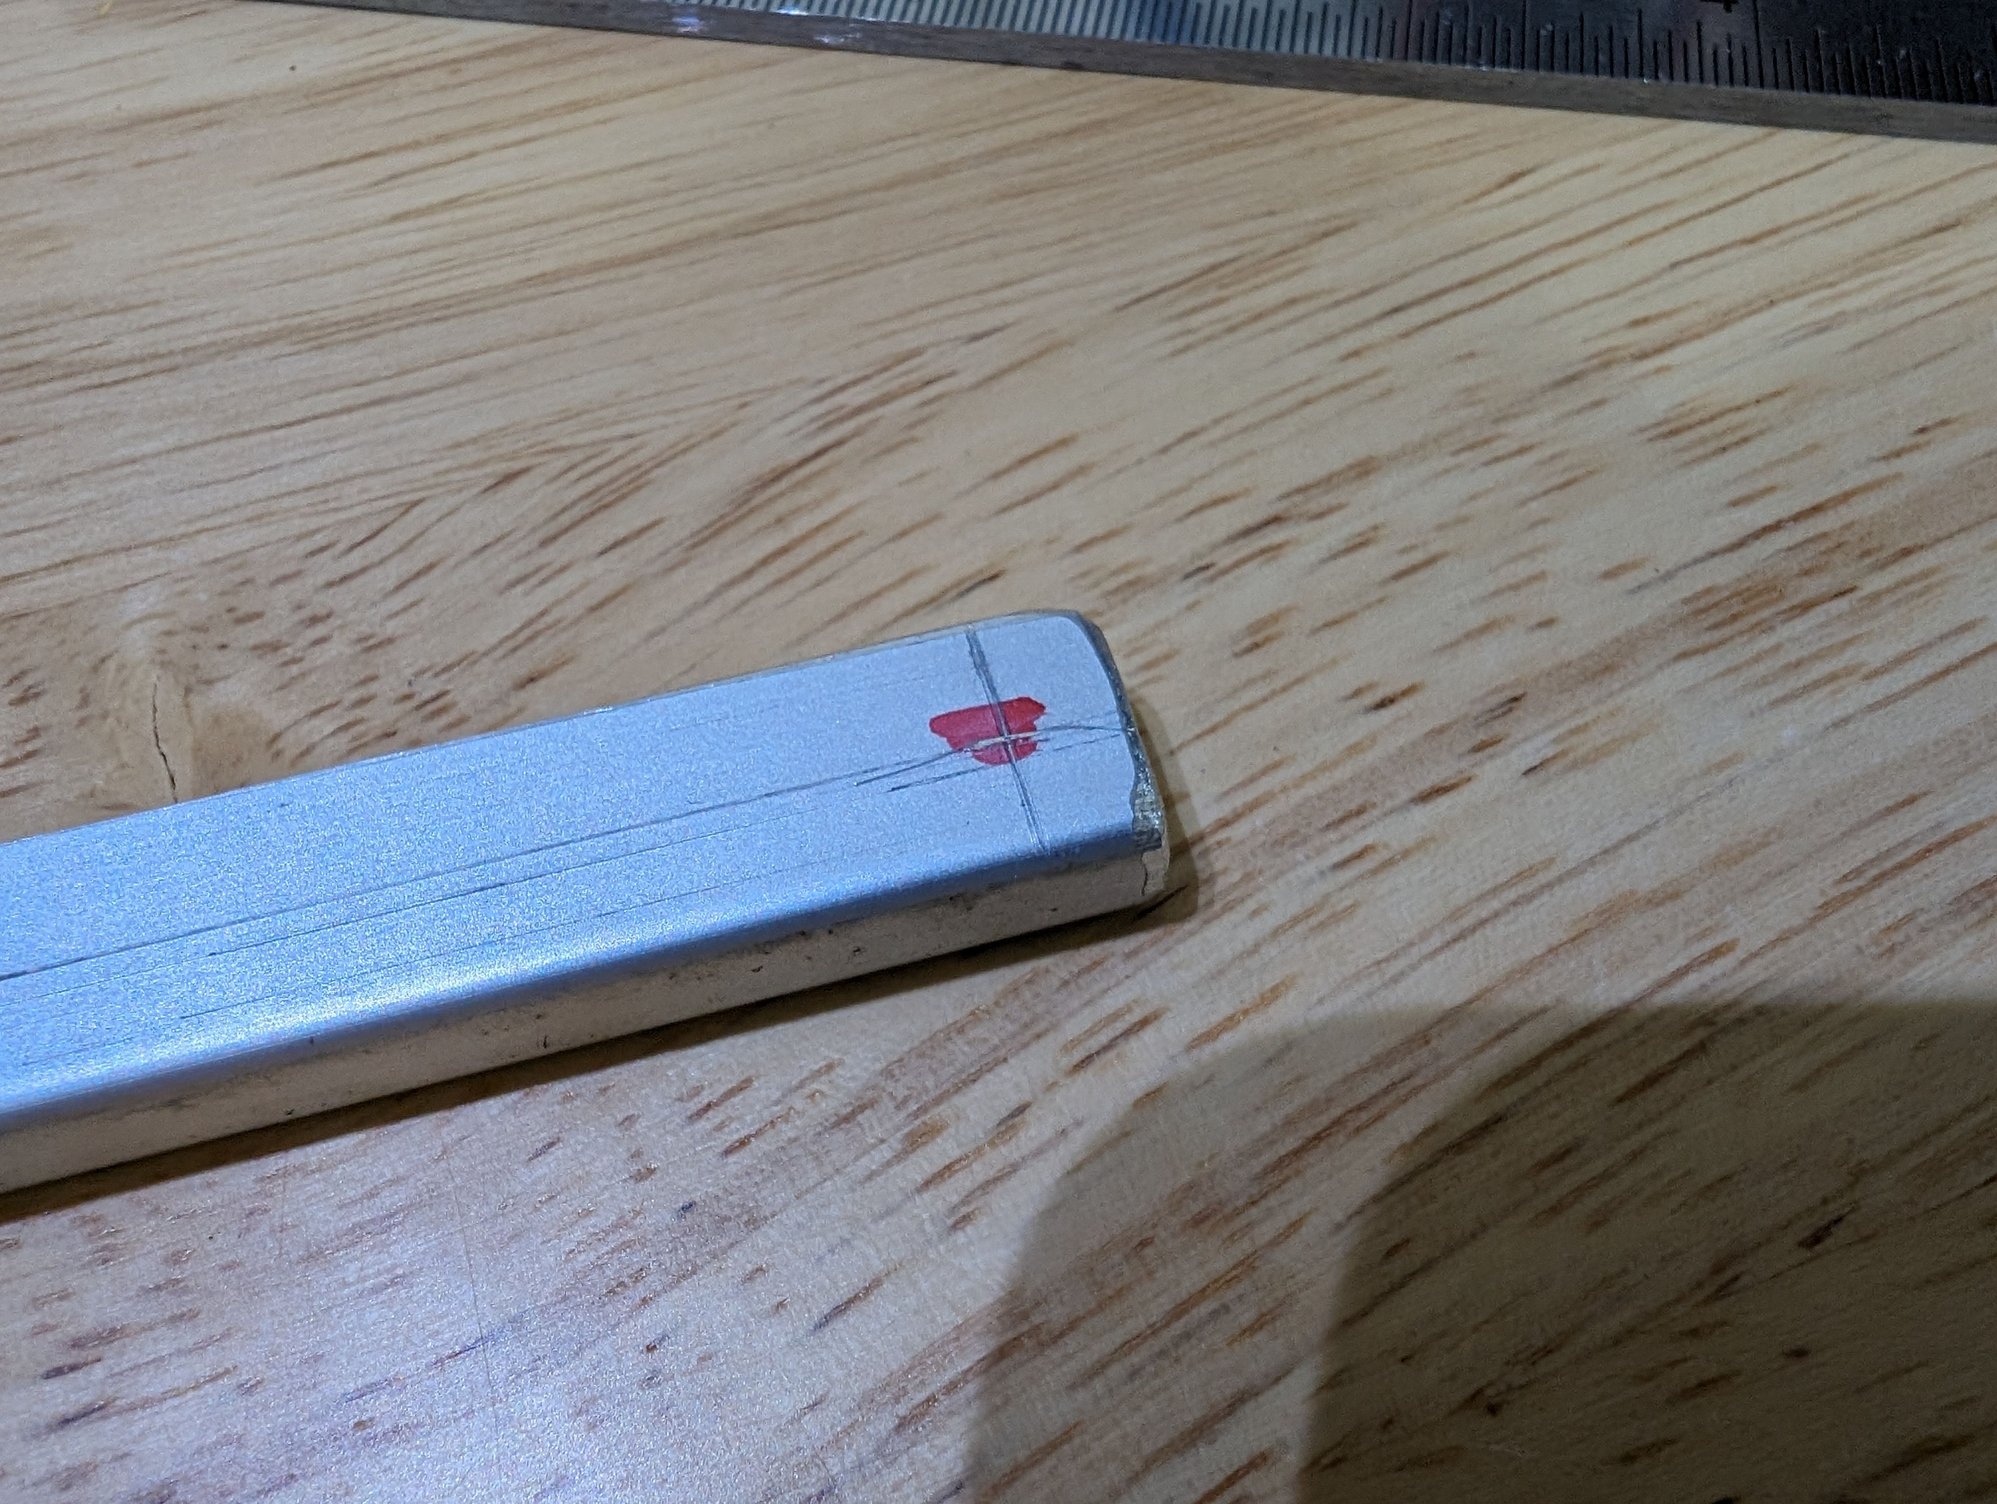
For that type of fab I scribe a straight line with the edge offset I want with my digital calipers locked in place then I drill one hole and attach the bar to the first hole. Line up the bar to be parallel or flush with bracket and use a pick or center punch to make a mark on the aluminum. You can rotate the bar using the first fastener as a pivot. The pick will leave an arc on the bar. Where the arc and the straight line intercept is your 2nd hole center.
I need to hook up with @powdrhound to try out his clutch pedal feel. I'm pretty sure all the ones I've tested locally haven't had the GT2 master cylinder and that's why I can't stand the clutch pedal effort.
His car with the Tilton clutch and no slave cylinder is not going to be an accurate comparison. It has a hydraulic throwout bearing in place of the slave cylinder and those Tilton clutches are super light pedal to begin with.
Having the rest of the components does seem to make a difference though. A friend has a BBI slave with stock everything else on a Sachs clutch setup and the pedal effort in his car is significantly more than my car with GT2 master/slave/pedal spring and also had a really short engagement window that made it pretty rough to drive. Only caveat there is we don't have the same clutch and pressure plate can make a big difference in pedal feel and engagement too.
Is that bracket not tapped? Did you drill out the threads? I am trying to mount a fire extinguisher there on my passenger seat.
For that type of fab I scribe a straight line with the edge offset I want with my digital calipers locked in place then I drill one hole and attach the bar to the first hole. Line up the bar to be parallel or flush with bracket and use a pick or center punch to make a mark on the aluminum. You can rotate the bar using the first fastener as a pivot. The pick will leave an arc on the bar. Where the arc and the straight line intercept is your 2nd hole center.
I struggled to get anything I had in the space to punch / scribe the second hole on center. Now thinking about it again, I could have done it upside down on the top of the seat bracket and just put the punch in from the bottom.
I swear I know how to use tools.
And no, it was not tapped and I didn't want to tap it, not knowing u til today that it was actually for the factory fire extinguisher. I've googled sone and it looked like installs of the factory extinguisher bracket seem to indicate that you need to flip the seat back and tap the holes in that bracket. Looked like the Rennline bracket that goes on the seat, not on the floor, is itself threaded and you just pass the bolts through the untapped holes on the seat.
Last edited by homelessdave; 05-07-2024 at 03:14 PM.
I struggled to get anything I had in the space to punch / scribe the second hole on center. Now thinking about it again, I could have done it upside down on the top of the seat bracket and just put the punch in from the bottom.
I swear I know how to use tools.
And no, it was not tapped and I didn't want to tap it, not knowing u til today that it was actually for the factory fire extinguisher. I've googled sone and it looked like installs of the factory extinguisher bracket seem to indicate that you need to flip the seat back and tap the holes in that bracket. Looked like the Rennline bracket that goes on the seat, not on the floor, is itself threaded and you just pass the bolts through the untapped holes on the seat.
It's definitely a tight area to work in. Directly path to those holes is under the front of the seat. I believe I marked mine from below with plate on top of the bracket.
My bracket looks factory threaded as the material is pushed out like a punch would make. I believe I have seen images of the factory extinguisher setup and it just uses screws, no nuts, but I could be wrong.

 05-07-2024, 10:55 AM