When you click on links to various merchants on this site and make a purchase, this can result in this site earning a commission. Affiliate programs and affiliations include, but are not limited to, the eBay Partner Network.
All done. Thank you to all the tips and guidance. Helluva job. Kris, Murphy Thank you for your help and pics. PLPETE Thank you for your posts to as they were well detailed. Just one question though. Why cant the bottom of the AOS be shaved so the bitch bolt is easier to access? The UAOS is sealed so it shouldn't make a difference, right.
Looks like the coolant is leaking from here. I have it tightened all the way. Skip, let me know if i got the caps swapped or if it is not on right
Hi Red,
That 10mm silicon cap should go directly on the aluminum plate that is bolted on the case below the alternator, just follow the hose on down to the end and remove all of the rubber hoses and install the cap and clamp.
Install 10mm cap where the O is on the coolant plate.
@Red998 - Very glad you found the photo DIY helpful! Skip is correct here. You may need to pull the belt and pulley to gain better access. It's a good idea as you'll loose some coolant there and it will get on the belt and other parts. I'd also note that it's possible that your clamp is ever so slightly too low. That fitting has a "collar" towards the bottom and if you clamped on that or close to it you could be causing the leak. Perhaps try sliding the clamp slightly higher without over tightening it. If not then I'd follow Skip's direction to remove that piece completely.
To clarify, I went a slightly different route as seen in my photo mainly as Skip's coolant line delete became available just as I was getting to start my install. What I did in my case was use 2 silicone caps on both block off points (smaller and a slightly bigger over it). They were a tight fit and ensured a good seal. I also used a slightly different hose clamp as they tend to provide a more even clamping pressure. It's possible that the plastic mount could have a hairline crack in it causing the leak. They are prone to cracking and thus is deleted with Skip's updated design. My set up has been running flawlessly since the install in mid-April. Below is a photo for reference of my block off method.
All done. Thank you to all the tips and guidance. Helluva job. Kris, Murphy Thank you for your help and pics. PLPETE Thank you for your posts to as they were well detailed. Just one question though. Why cant the bottom of the AOS be shaved so the bitch bolt is easier to access? The UAOS is sealed so it shouldn't make a difference, right.
Hi Red, I'll let Skip jump in here, but I think your drain tube is too far up. It uses gravity or the draining, and it looks like with your install the oil would have to go up hill to drain back into the case. When I did mine, I fully removed the tube and put it very close the the base of the tube.
Hi Red, I'll let Skip jump in here, but I think your drain tube is too far up. It uses gravity or the draining, and it looks like with your install the oil would have to go up hill to drain back into the case. When I did mine, I fully removed the tube and put it very close the the base of the tube.
I'm with Kris - I was pretty **** about how I ran mine to make sure I got as much gravity assistance as I could. It's the hose with the yellow dashes as a differentiator.
I can't say what, if any difference it will make in real life though. What I do know, my setup works and is directing A LOT of oil back into the sump.
You guys are both correct. I attached it as close as I could for now but ordered a new oil tube.
honestly, I was at a pint where everything was just about together again and I didn’t feel undoing everything. The bitch bolt, rear AOS bolt were in place after hard struggle. I had everything just about buttoned up when I realized the mistake with filler tube.
I figured when brake hard enough the oil should go forward. Most of the oil accumulation should happen on track because on the road I barely rev past 4K.
Kris, I was pretty close to asking the RTR guys for your number. Definitely tricky job.
Skip, huge thanks for making a great piece and sharing it with us.
Hi Red, I'll let Skip jump in here, but I think your drain tube is too far up. It uses gravity or the draining, and it looks like with your install the oil would have to go up hill to drain back into the case. When I did mine, I fully removed the tube and put it very close the the base of the tube.
Originally Posted by zbomb
I'm with Kris - I was pretty **** about how I ran mine to make sure I got as much gravity assistance as I could. It's the hose with the yellow dashes as a differentiator.
I can't say what, if any difference it will make in real life though. What I do know, my setup works and is directing A LOT of oil back into the sump.
Originally Posted by Red998
You guys are both correct. I attached it as close as I could for now but ordered a new oil tube.
honestly, I was at a pint where everything was just about together again and I didn’t feel undoing everything. The bitch bolt, rear AOS bolt were in place after hard struggle. I had everything just about buttoned up when I realized the mistake with filler tube.
I figured when brake hard enough the oil should go forward. Most of the oil accumulation should happen on track because on the road I barely rev past 4K.
Kris, I was pretty close to asking the RTR guys for your number. Definitely tricky job.
Skip, huge thanks for making a great piece and sharing it with us.
I love the 996 RL community so much !!!
Members helping members on Technical issues just warms my heart. No-one can know it all and the sharing that goes on in here just helps to advance the platform.
Thanks to Red998 , Kris, and Zbomb !!!! ( BTW I'll start dropping a photo of the location in with the written instructions for the HM/XTDD )
Signed;; Dr. h.c. Porschetech3
Last edited by Porschetech3; 08-15-2021 at 05:26 PM.
Just purchased the UAOS-AL version via your website / PayPal for my "new to me" 2000 Cab w/ Tip. Hoping it comes with detailed instructions (my Indy mechanic would appreciate that). We'll be doing this in addition to the LN Engineering IMSB Solution. Approximately how long will it take for delivery, so I can give him a heads up?
Just purchased the UAOS-AL version via your website / PayPal for my "new to me" 2000 Cab w/ Tip. Hoping it comes with detailed instructions (my Indy mechanic would appreciate that). We'll be doing this in addition to the LN Engineering IMSB Solution. Approximately how long will it take for delivery, so I can give him a heads up?
Thanks!
Joel
Hi Joel.
I got your order for the 2000 996 Cab UAOS-AL and will ship tomorrow. Thank you !!.... I have this kit in stock at this time..
If you are not Tracking your 996, you will not need the "Track Drain kit" (hm/XTDD), but I don't have any more of those in stock at this time. but I think LN Engineering has a few of the full hm/XTDD kits (pre-assembled with a new oil fill tube) still in stock.
All instructions are included in the kit and will be no problem for your Indy, the install is really pretty straight forward for an experienced Tech., You will be very pleased with the UAOS..
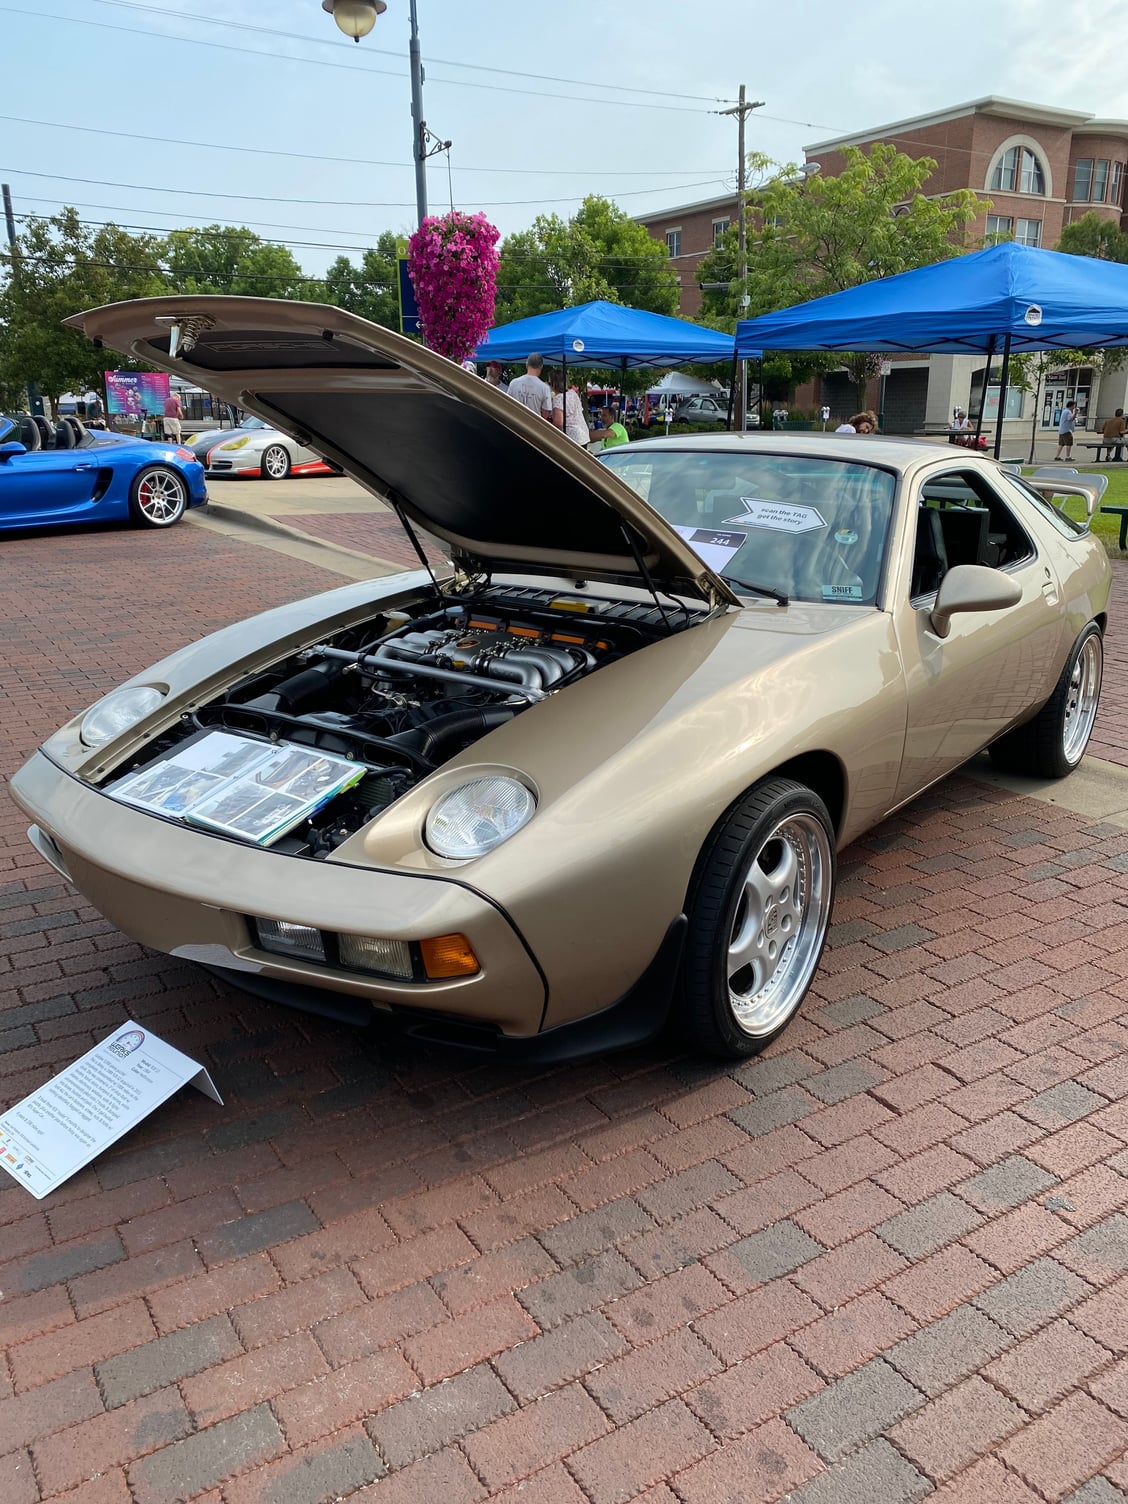
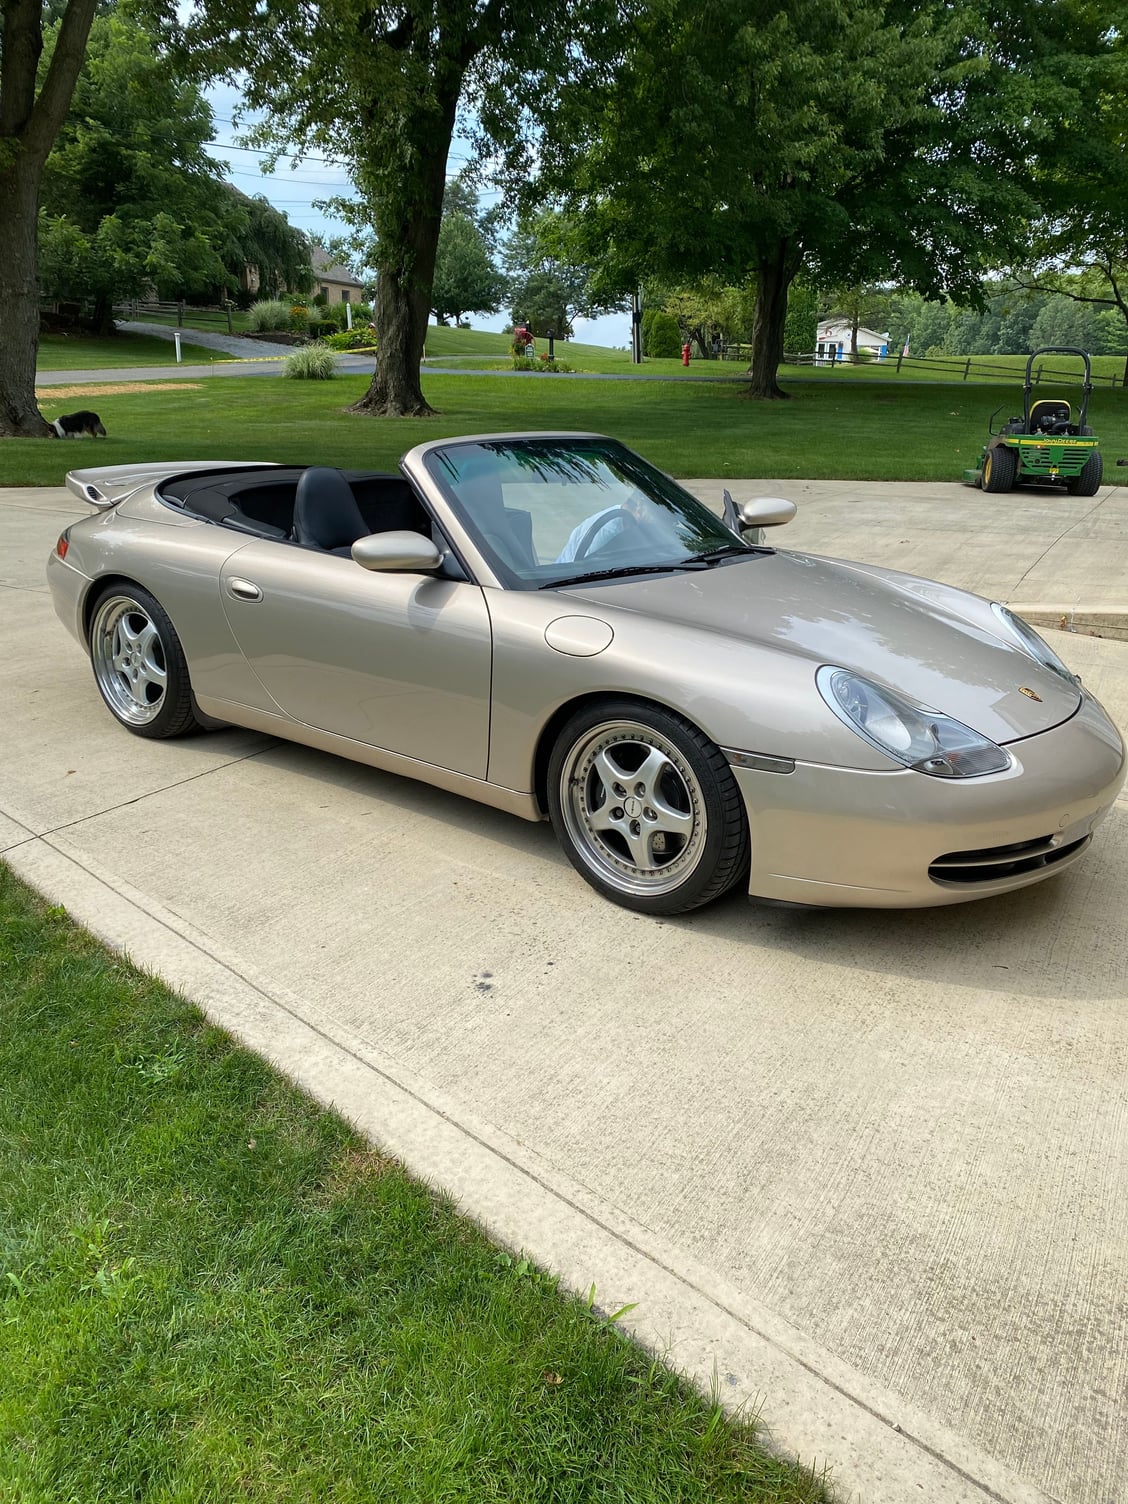
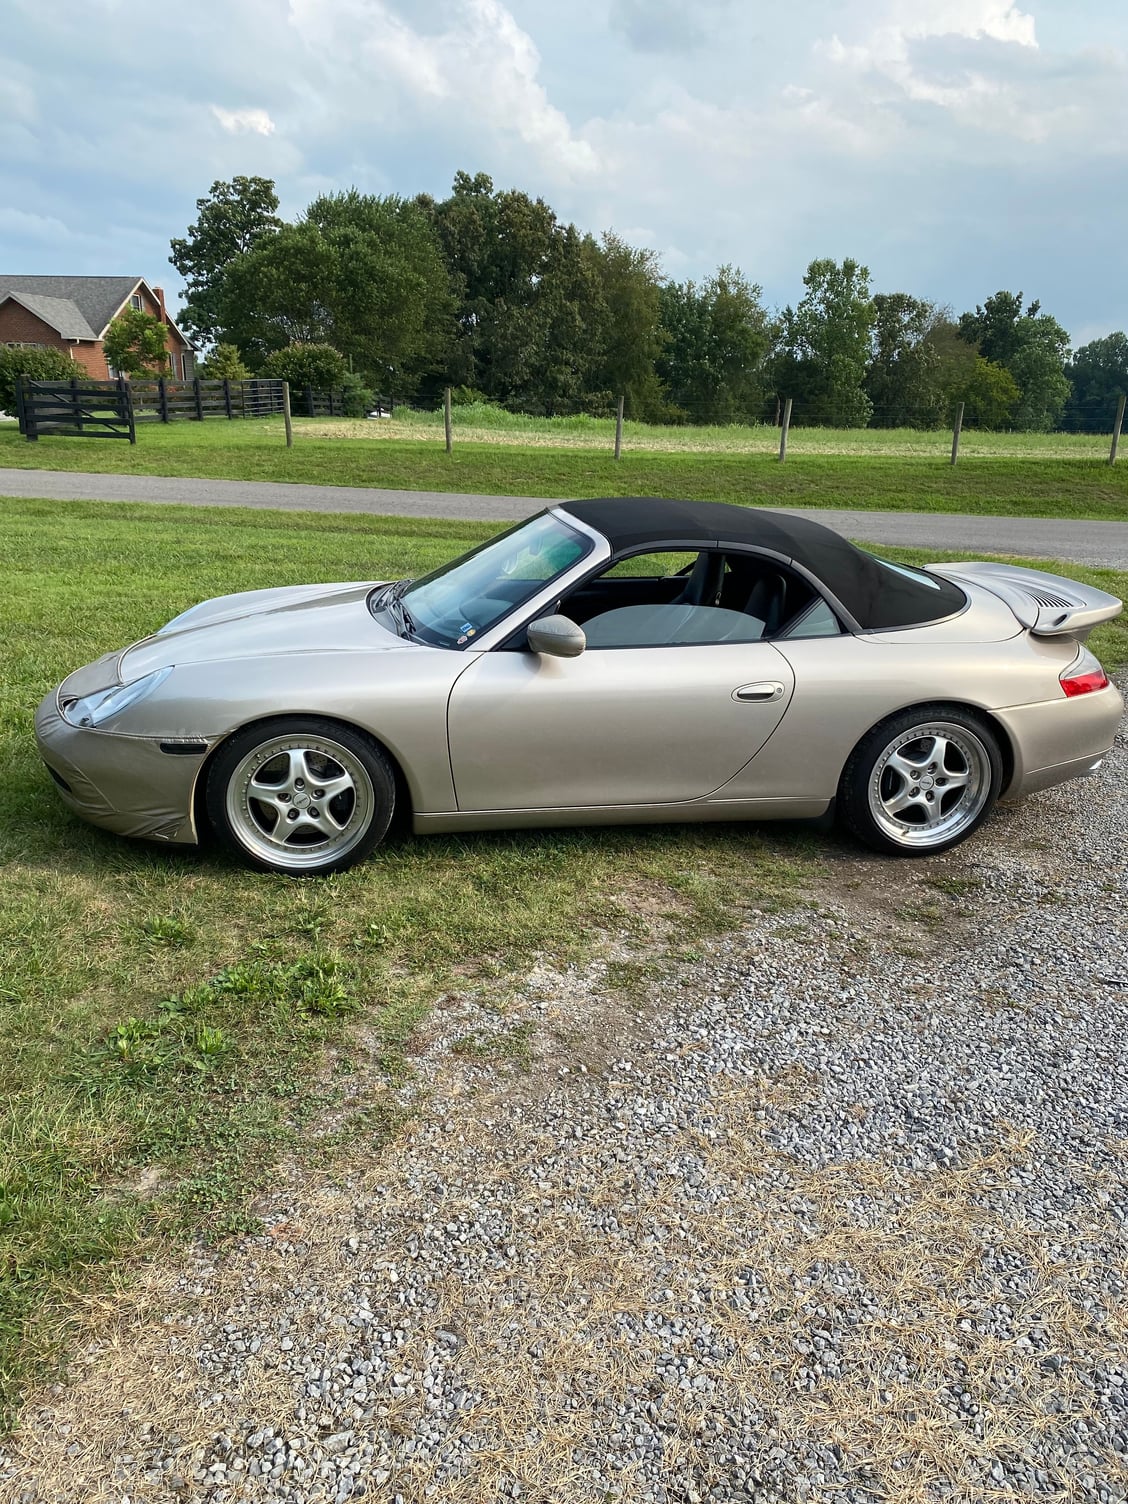
Nope I�m not tracking the car�. It�s toooo nice with lots of options, only 32K miles, and a Cab with Tip so it�s fun car & my �other� Car Show car when I�m not driving my 928 Euro. I�ll try to attach a couple of pics.
Her name is Betsy on display at the all Porsche car show Red Brick Reunion last week in Oxford, OH. Nicely optioned 911. Needless to say I love big butts�. I mean spoilers 😎 Lowered with Speedline 3 part wheels and Palladio Metallic paint. Love it!!
I got a chance to ship out your UAOS-AL today instead of tomorrow. The Tracking # is in your inbox,thank you !!
I appreciate you posting the pics, WE LOVE PICS !!!!
03 C2 with Tiptronic, is it possible to swap out the AOS with the UAOS WITHOUT removing the engine/trans as a unit?
Yes, the UAOS can be installed without removing the engine/trans unit, even on the Tiptronic, although it is a bit harder to get to the AOS drain hose on a Tip.
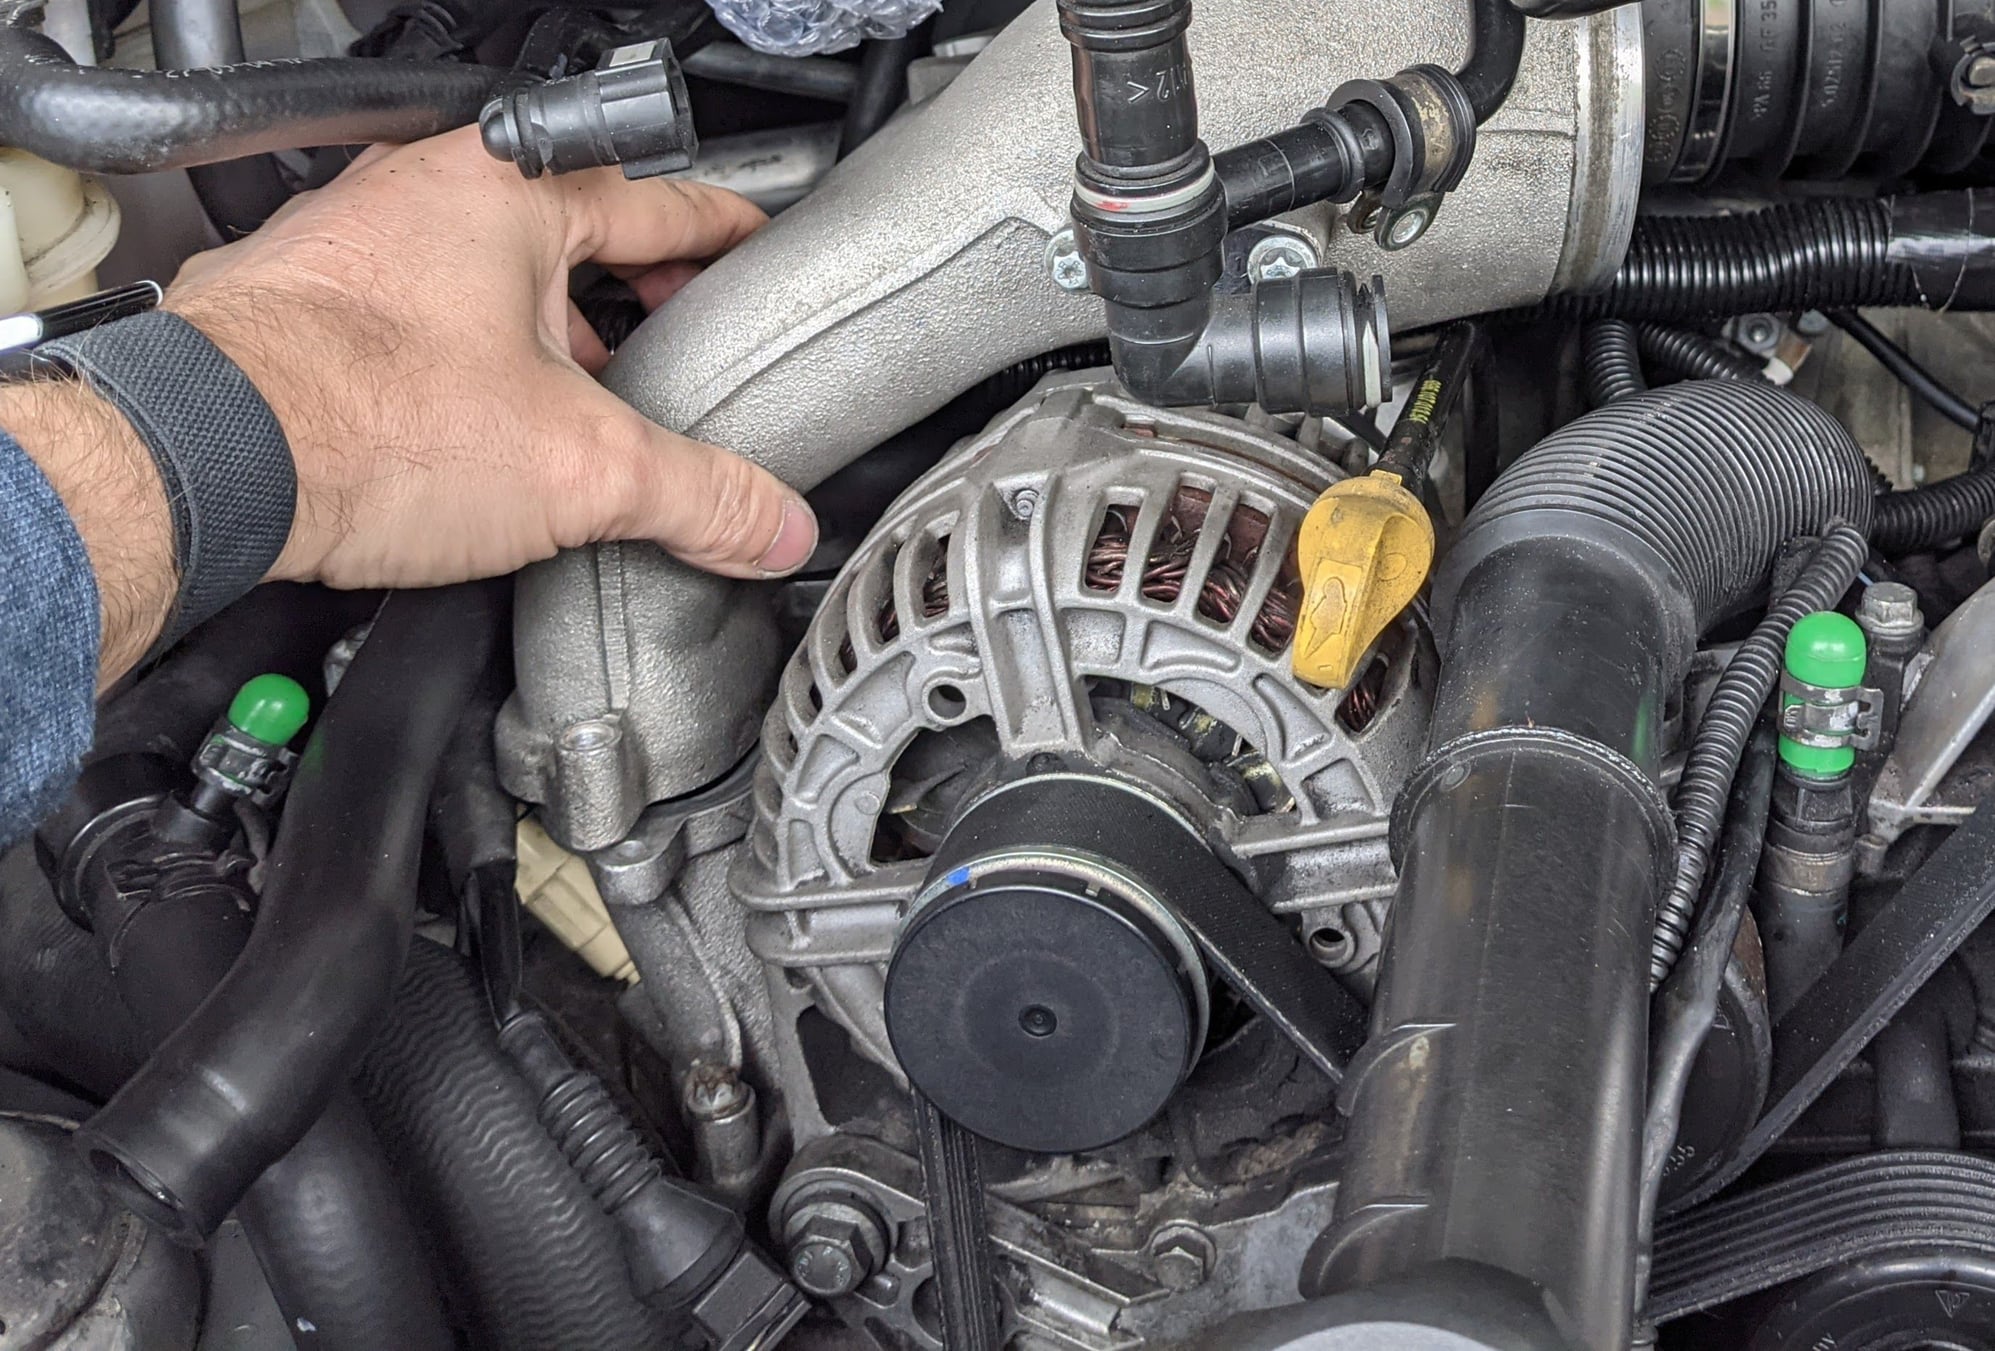
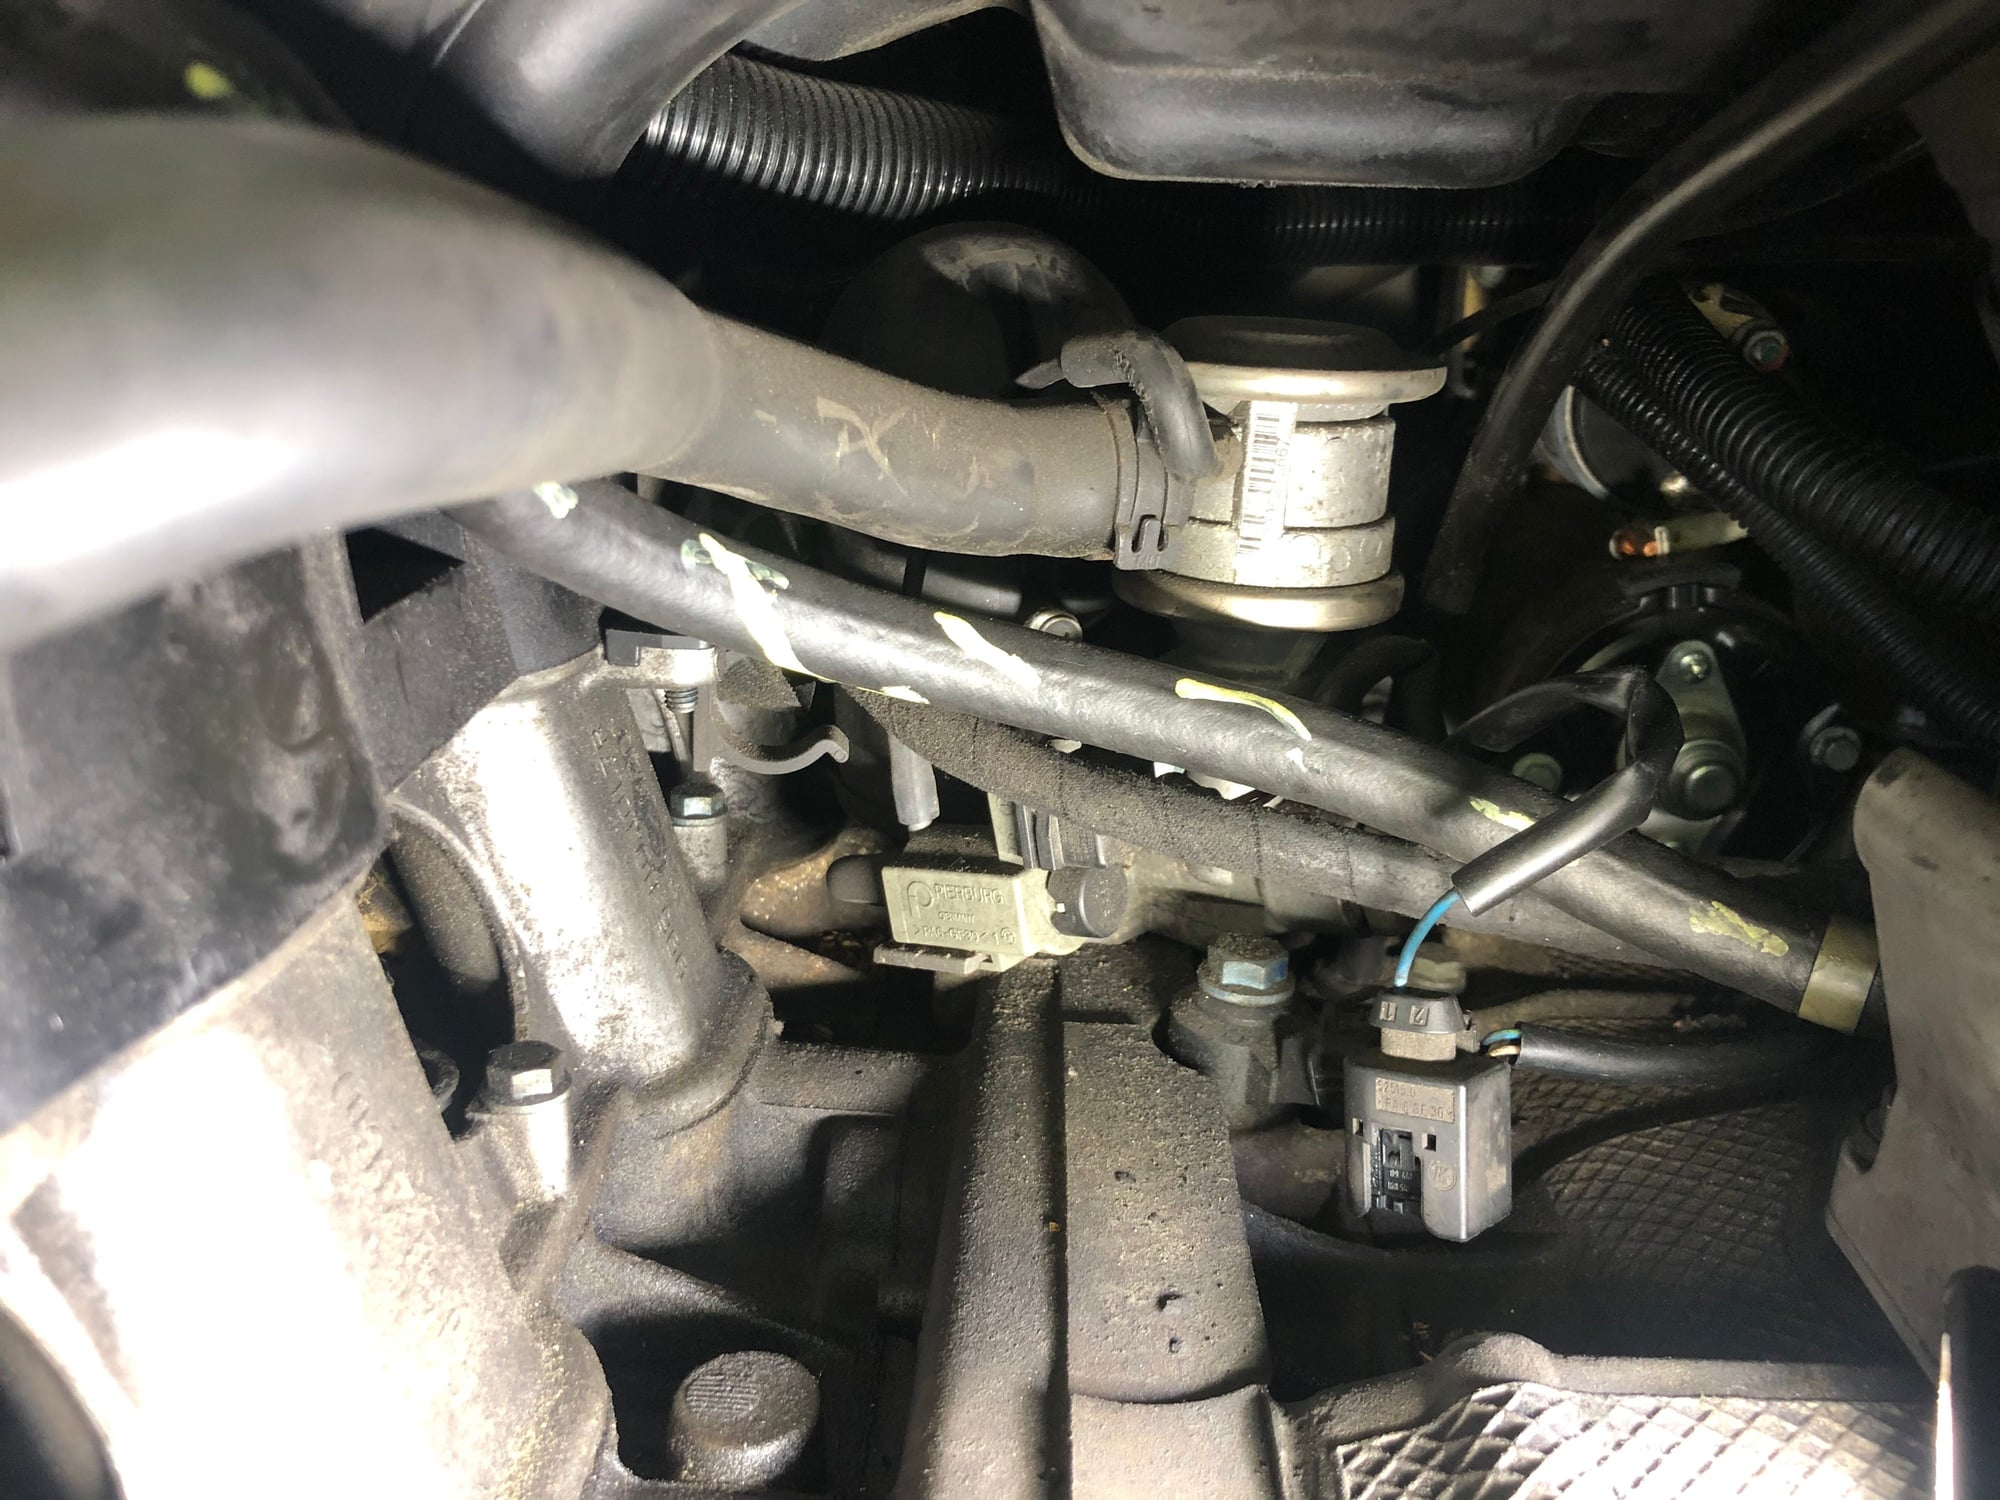
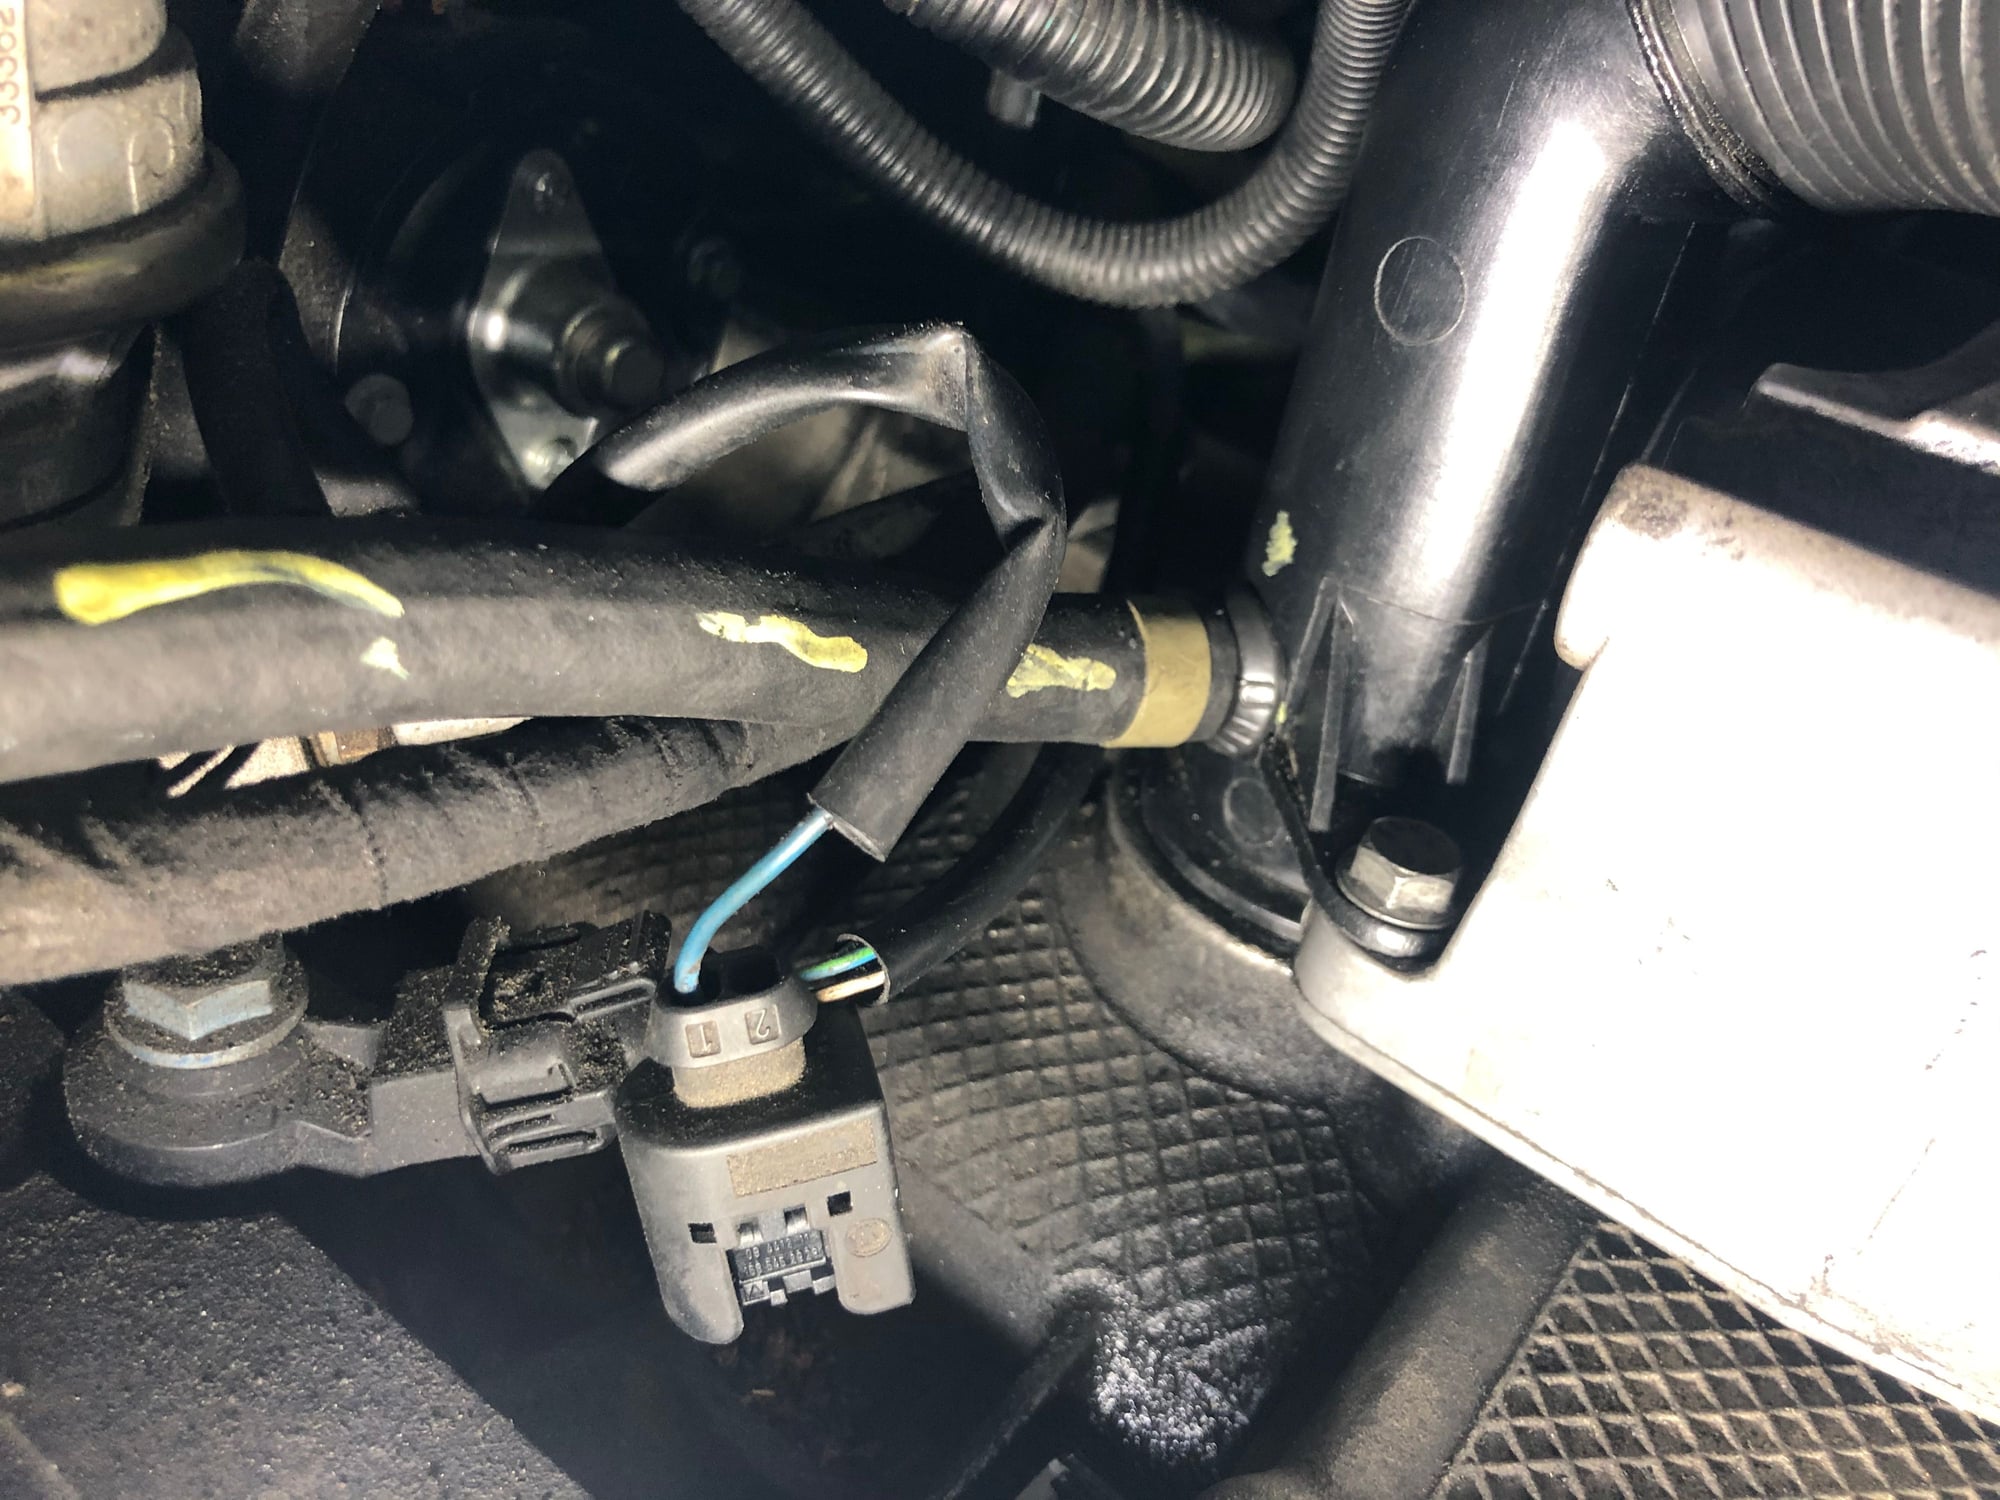
The AOS is mostly replaced from the top by just lowering the engine down to the crossmember , and removing the bank 1 intake manifold . There is a "bitch bolt" than has been thoroughly documented and covered in this thread that has to be dealt with, and the drain hose/clamp that needs to R&R'd from underneath (see pic below).
The rest of the install is the same as all others. The usual shop time is 4 hours for the UAOS install in situ, or 1 hour extra to install the UAOS if engine is already out for other needs.(IMSB Clutch ect)
This is for a 996.1 MT6, but the location of the drain hose on the 996.2 Tip is the same location.
 08-12-2021, 09:22 PM