

New! 9m93 Speedster widebody - full build in detail
 01-09-2010 | 03:46 PM
#151
Racer
Joined: Jul 2009
Posts: 297
Likes: 28
From: Cheshire UK
Hey JP - et al, I waiting myself with baited breath!
As you may of heard, the whole of the UK has ground to halt because of a little bit of snow and Siberian weather!!
I took this on the way to the office the other morning (nicely timed!!)

The new carpet set has arrived now, and all the rest of the interior is about to go off to the trimmer to get adorned in new black hide!
Also got the headlights converted to HID spec, and have the new red rear lamp clusters and clear fronts!
I'm sure we'll ahve some more piccies soon!
Graham
As you may of heard, the whole of the UK has ground to halt because of a little bit of snow and Siberian weather!!
I took this on the way to the office the other morning (nicely timed!!)
The new carpet set has arrived now, and all the rest of the interior is about to go off to the trimmer to get adorned in new black hide!
Also got the headlights converted to HID spec, and have the new red rear lamp clusters and clear fronts!
I'm sure we'll ahve some more piccies soon!
Graham
01-09-2010 | 04:58 PM
#152
Nordschleife Master
Joined: Dec 2008
Posts: 5,472
Likes: 32
From: In front of you and to the left ...
 01-18-2010 | 08:49 AM
#153
Racer
Joined: Jul 2009
Posts: 297
Likes: 28
From: Cheshire UK
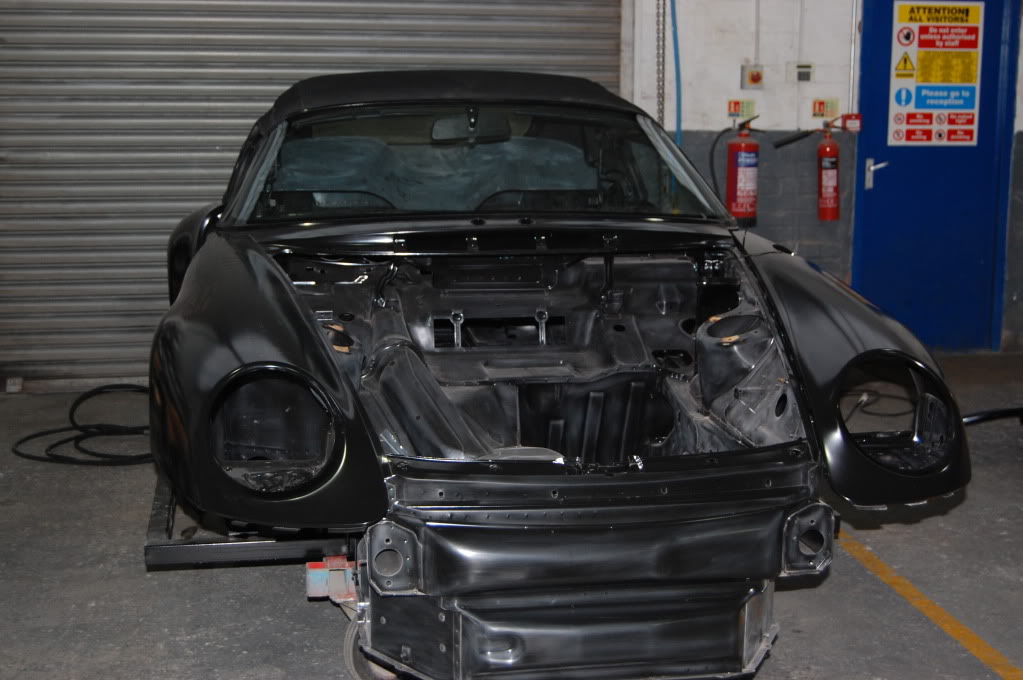
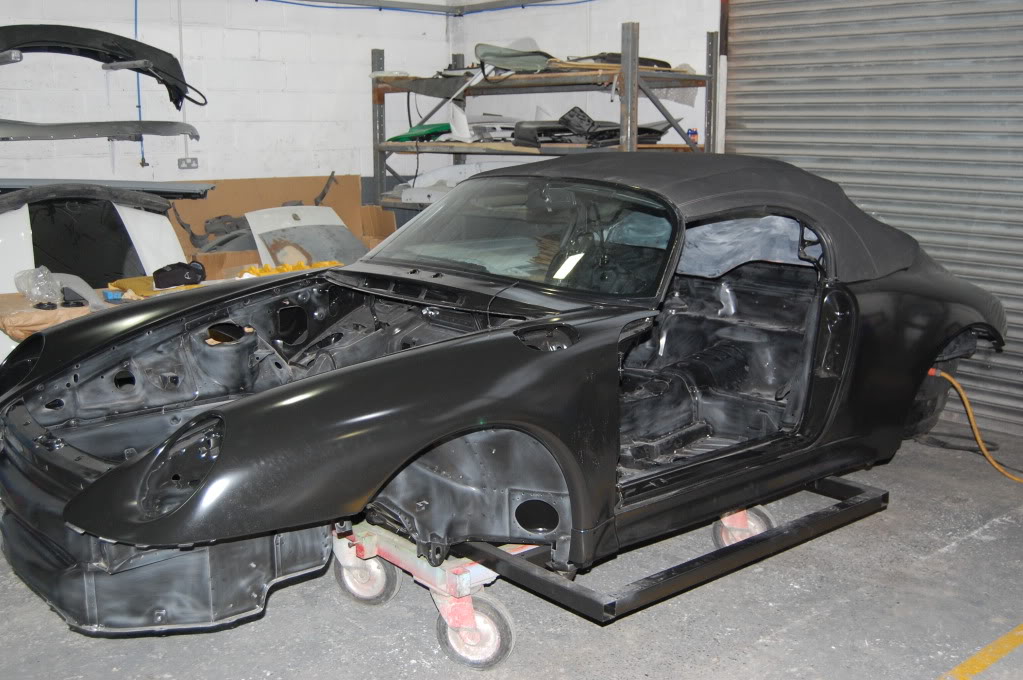
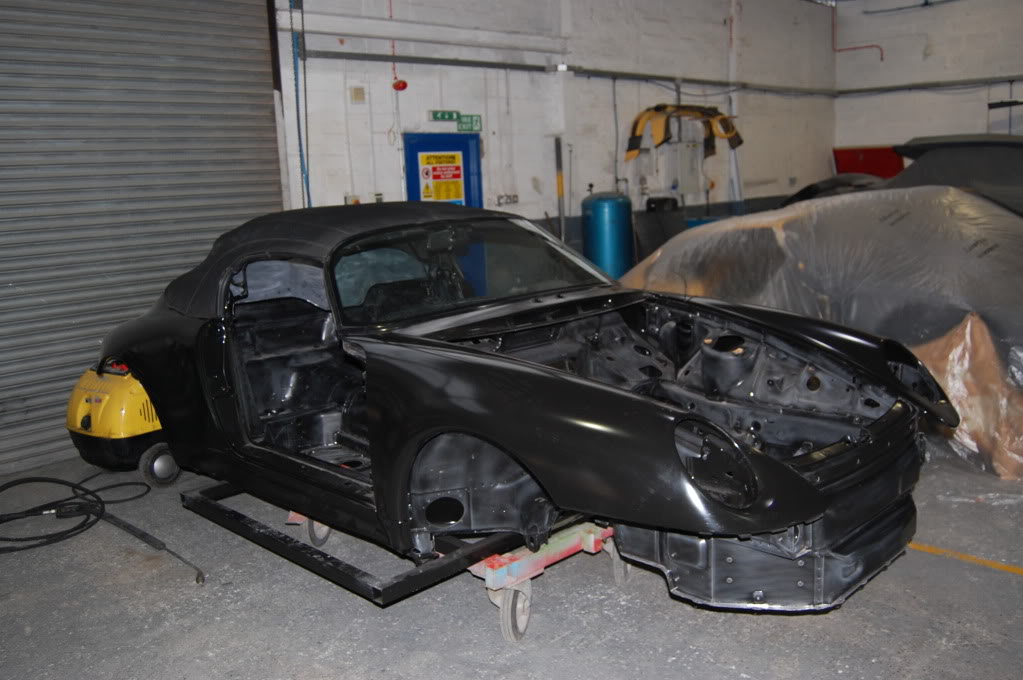
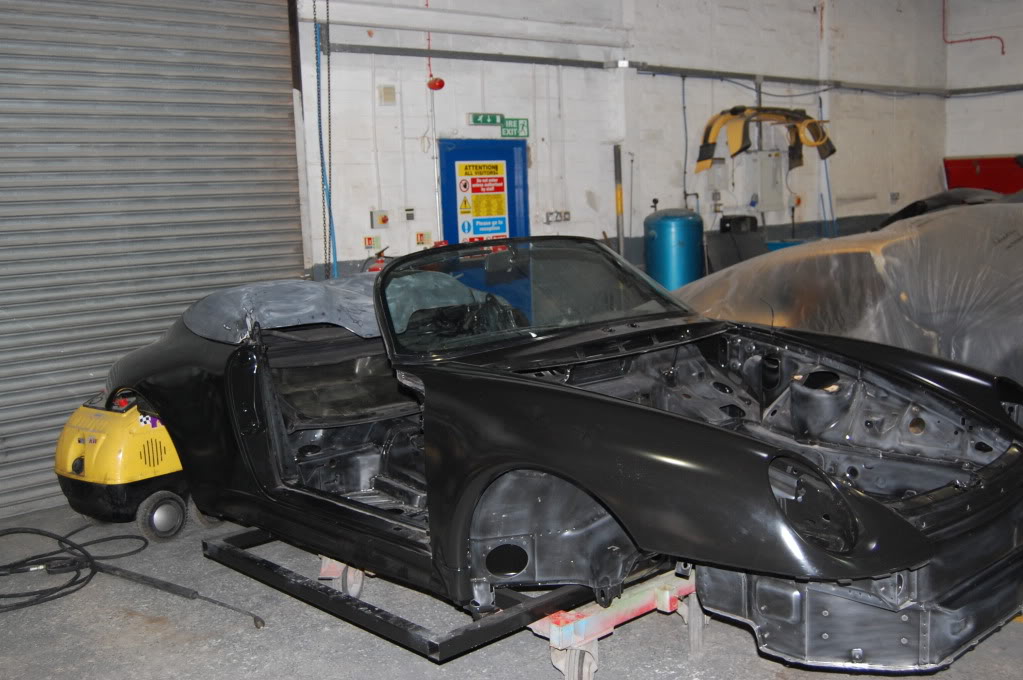
I got an update from the guys over at 9M - the screen fits!!! Good job really! All the 964 Speedster screen roof and hump mechanism have been trial fitted and the orginal dash top moulding cut and shaped to suit - now gone away to be trimmed in leather!
Now just perfecting the gapping between the hump and shell. The inner surfaces of the car have been prepped ready for sealing and first coat of primer etc, so hopefully we should see a colour change quite soon!
Not the best pictures I'm afraid, taken with Marcs Nokia - I'll be there soon with the Nikon, but the car's takin shape!
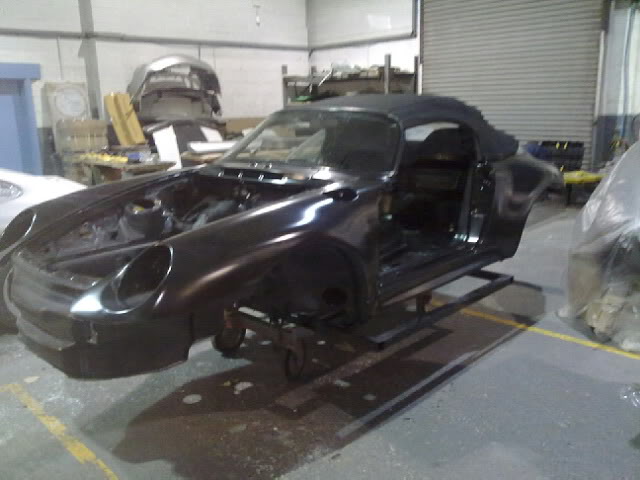
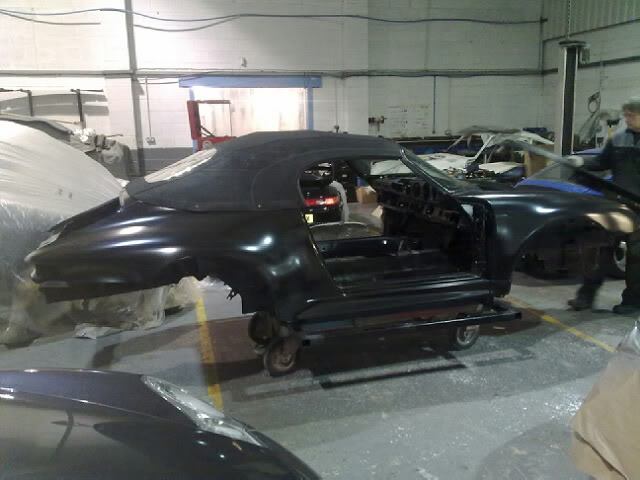
Graham
Now just perfecting the gapping between the hump and shell. The inner surfaces of the car have been prepped ready for sealing and first coat of primer etc, so hopefully we should see a colour change quite soon!
Not the best pictures I'm afraid, taken with Marcs Nokia - I'll be there soon with the Nikon, but the car's takin shape!
Graham
01-18-2010 | 09:41 AM
#154
Addict
Lifetime Rennlist
Member
Lifetime Rennlist
Member
Joined: Nov 2004
Posts: 9,588
Likes: 17
From: USA
G-- Looks good 
P.S. They put the dash on the wrong side") & it's not a Tiptronic, but if helpful in any way:
& it's not a Tiptronic, but if helpful in any way:
Check out Freisinger's 993 Speedster restoration, started November 2009.


P.S. They put the dash on the wrong side
& it's not a Tiptronic, but if helpful in any way:Check out Freisinger's 993 Speedster restoration, started November 2009.
01-18-2010 | 10:23 AM
#156
Drifting
Joined: Jan 2005
Posts: 2,386
Likes: 1
From: Chicago
This may be a dumb question and the answer is probably very carefully, but how the F... do you keep all of the nuts and bolts and everything else straight when you strip a car like this. I can image a bunch of ziplock baggies, or do you start fresh with new bolts. Or do you usually end up with a bunch of stuff you have no idea where it goes.
01-18-2010 | 11:08 AM
#157
Racer
Joined: Jul 2009
Posts: 297
Likes: 28
From: Cheshire UK
Hey - I hope we don't have too many spares left over! But during the strip down, all the bolts etc from each area were bagged & tagged (LH Door / RH Door / Luggage bay etc) - and then boxed & stored. I'll let you know late next month!
9M / Marc has stripped and rebuilt quite a few cars over time, so could probably enter MasterMind and have 'Porsche Bolt and Fastener Recognition' as his specialist subject!
Graham
9M / Marc has stripped and rebuilt quite a few cars over time, so could probably enter MasterMind and have 'Porsche Bolt and Fastener Recognition' as his specialist subject!
Graham
01-18-2010 | 12:11 PM
#158
Drifting
Joined: Oct 2007
Posts: 3,236
Likes: 12
From: Seattle, WA
It's called organization and careful documentation is necessary down to what fastener came out of which opening during disassembly, written and photographed, assures that the same fastener goes in the exact same location it came out of during reassembly. Damaged fasteners are immediately replaced in the "baggie" of fasteners so there's no need to hunt during reassembly. I've worked on a few 356 and SC restoration/repaints.
 01-22-2010 | 07:22 PM
#162
Racer
Joined: Jul 2009
Posts: 297
Likes: 28
From: Cheshire UK
01-28-2010 | 09:09 AM
#164
Thread Starter
Addict
Rennlist
Site Sponsor
Rennlist
Site Sponsor
Joined: Oct 2002
Posts: 4,447
Likes: 194
From: Cheshire, England
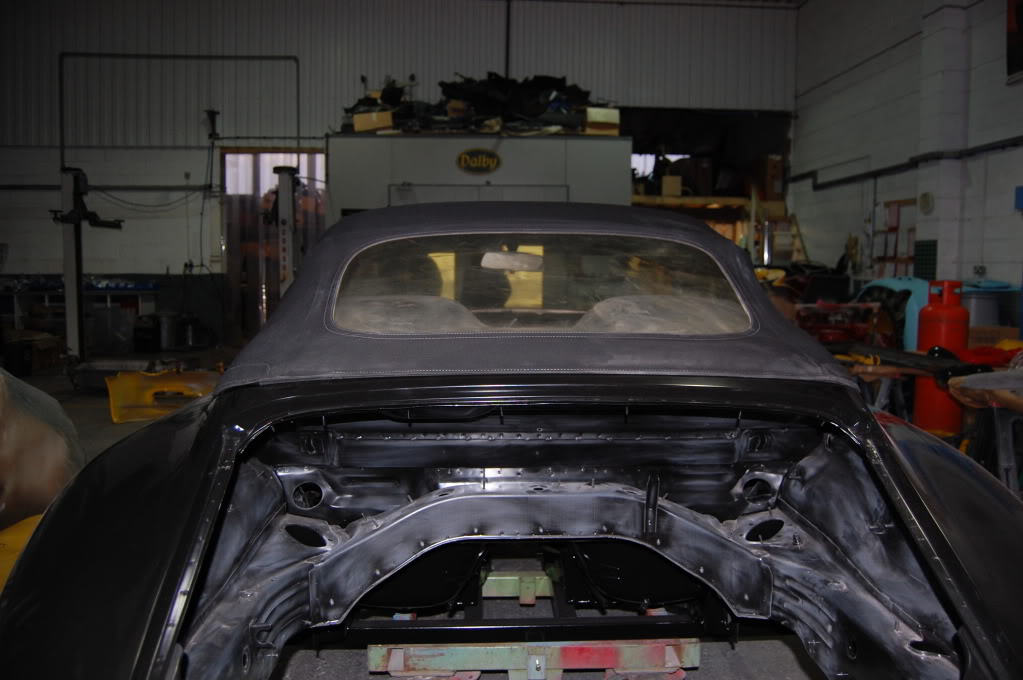
From the previous photos you could see that all but the outer panels of the shell had been partially skuffed with scotchbrite to prepare the surface for priming. Todays update is that the shell has now been etched and primed, so here are the photos of it in the booth.
The next stage will be to seal all the seams (by hand), then put the shell back onto the spit for full access to the underside so we can spray out the underfloor protection.
The next stage will be to seal all the seams (by hand), then put the shell back onto the spit for full access to the underside so we can spray out the underfloor protection.
01-28-2010 | 11:50 AM
#165
Drifting
Joined: Oct 2007
Posts: 3,236
Likes: 12
From: Seattle, WA
Those are stunning photographs of the body shell with every nook and cranny sealed and surface finished with the materials, asuuming you are using the best materials available. It looks far better than what they probably were off of the "body in white" rack at Porsche. Beautiful work thus far!