When you click on links to various merchants on this site and make a purchase, this can result in this site earning a commission. Affiliate programs and affiliations include, but are not limited to, the eBay Partner Network.
Spyrex- I agree, and will be buying a power washer this summer, but I think in this case, yes there is a lot of black crud on the bottom from oil drips etc over the years, but under that is all the original cosmoline. It's insane. Everything is intact. I felt terrible replacing the ball joints on the front control arms. They were still the original ball joints, never moved (so never had an alignment), still submerged in brown goo...amazing. So i think when it finally get washed, in this case, we may do it carefully with dawn dishwashing liquid, just to preserve some of the oem factory character....cuz the stuff is gross, unattractive, and all, but it does offer protection, and it is part of the story...
Spyrex- I agree, and will be buying a power washer this summer, but I think in this case, yes there is a lot of black crud on the bottom from oil drips etc over the years, but under that is all the original cosmoline. It's insane. Everything is intact. I felt terrible replacing the ball joints on the front control arms. They were still the original ball joints, never moved (so never had an alignment), still submerged in brown goo...amazing. So i think when it finally get washed, in this case, we may do it carefully with dawn dishwashing liquid, just to preserve some of the oem factory character....cuz the stuff is gross, unattractive, and all, but it does offer protection, and it is part of the story...
And to some extent that crud does protect a bit!
My 89 looked like it had been driven on dirt roads for 30 years underneath. (always a san diego car!)
I had the under carriage steam cleaned (no chemicals... so cosmoline is still there)
It is SO clean, the plating his shiny, the what looked like spray painted black fenders are RED, etc. All hidden by the layer of road dust.
Main reason was to get it clean so i could watch for any seepage hidden by the grime.
I've probably beat this topic to death, but on the other car to get the rigid collars, did you drive it? Any feel difference? I asked the guy who writes for Speedhunters about asking some of the 964 people there what they get out of it. He just said that they all work in a similar fashion in all cars, he referred me to another guy in Japan that has a 964, but he works for Spoon so I didn't think it would be the most honest feedback
I've driven with and without them. So far, I can't say they make a difference. I suspect they make a difference given the amount of moment possible without them, but can't be sure yet...
If I were spending a few hundred on suspension...this wouldn't be the first 200. It's wouldn't be the second two hundred...a bunch of hundreds would pass before I would go to rigid collars. So when you have it all worked out and done, get them....
I drove the bama car again today. It doesn't have the collars and it's amazing.
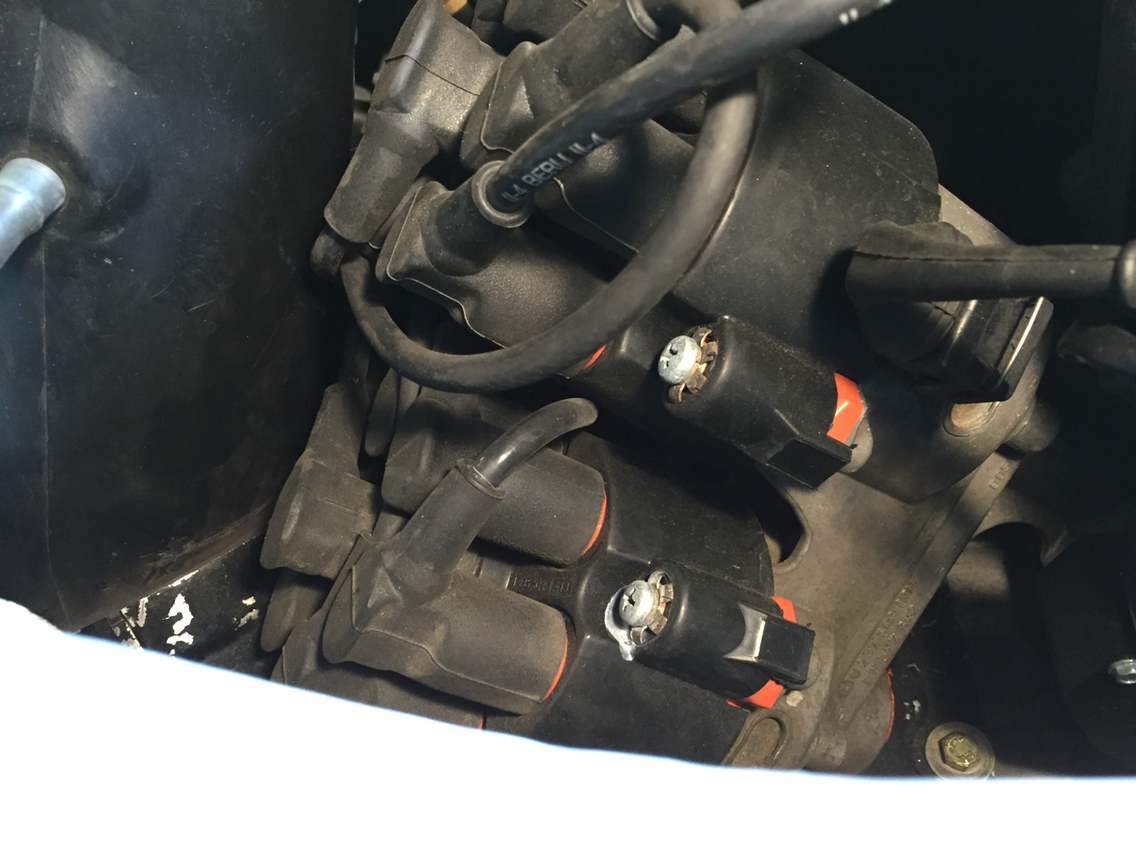
I buttoned up the engine bay, noticed his dizzy isn't ventilated, so that will have to happen soon...
And then noticed that his WOT switch wasn't working, cuz that cheep *** little plastic fart of a Porsche f-up, is broken. Which is way too common for a company that was supposed to know what it was doing. I have news for the designing world....there are plastics that expand and contract, and that get brittle and shrink...basically, this applies to most plastics. Plastics do, in fact, break down. They are not always the best material for the job. Especially when you could just make the dam part out of metal and be 100% certain that it won't break. Just saying.
Anyway, all the pieces were there, so I squose the metal retainer down a bit to give the pieces some support, and tested it and it was working well. So we popped it off and glued the bits with a little plastic epoxy and put that back on....should be good to at least until our friend Christian makes another rennlist run of aluminum ones...
So look at that...the Spotted Owl got a free horsepower upgrade...
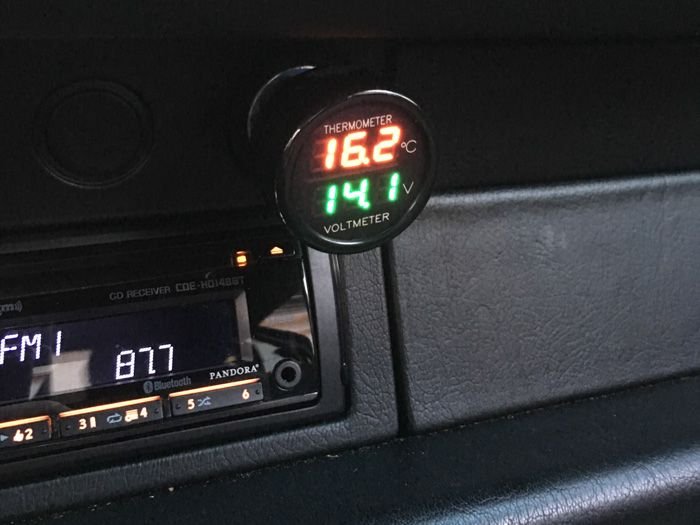
A brief detour from suspension madness as yesterday the DFBD garage went all hands in on replacing the alternator on my '91 C4.
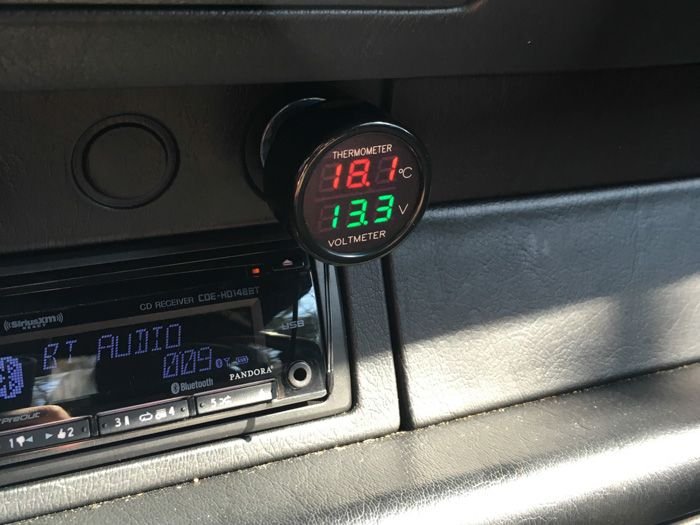
Voltage at idle was very low - 13.3v, and it didn't go up much at cruising speed.
At best, I was seeing 13.5v-13.6v with no lights, blower, or radio, and with all the accessories on I often saw voltages as low as 13.0v.
Luckily, a local alternator repair shop had a freshly rebuilt 964 alternator on hand.
I verified that the correct Bosch parts had been used for the rebuild, and picked it up for a steal at $165 + core.
Thus, (brief) alternator madness begins!
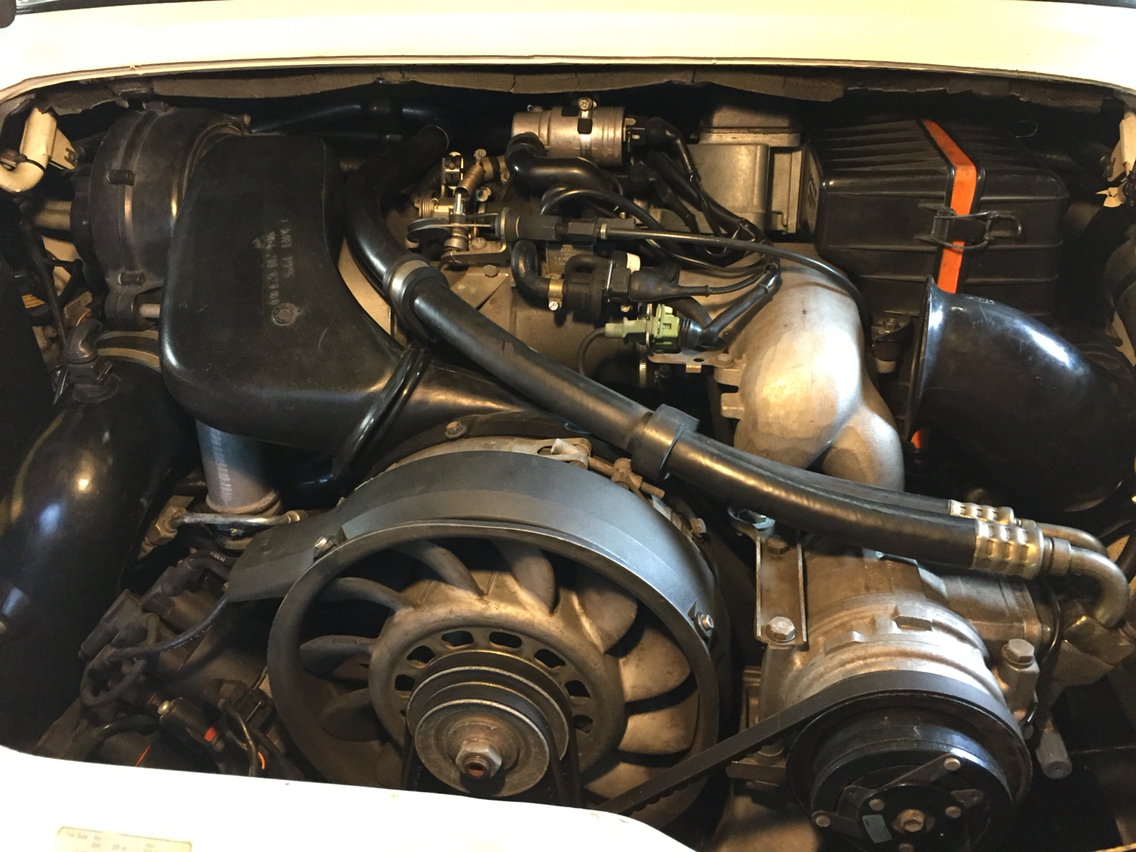
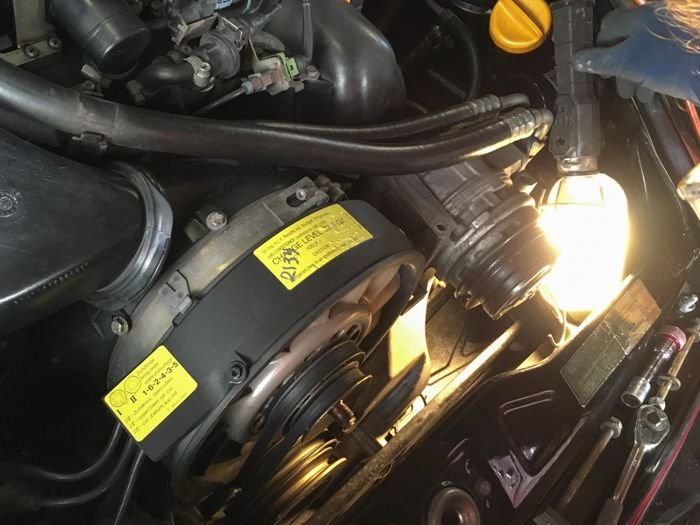
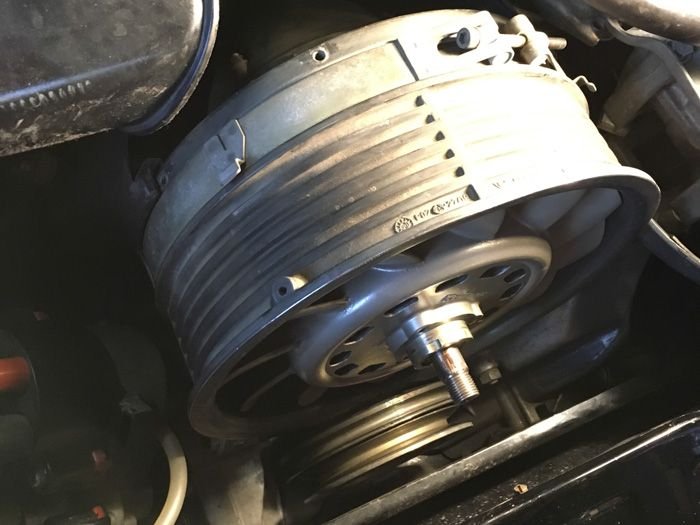
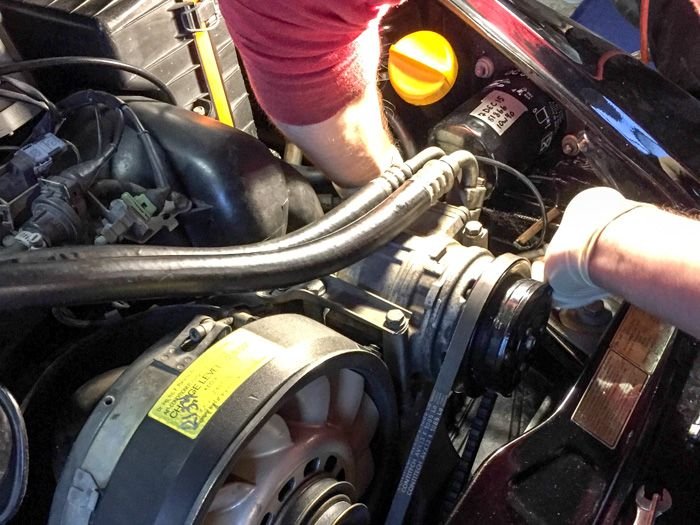
Remember, disconnect your battery before starting this job.
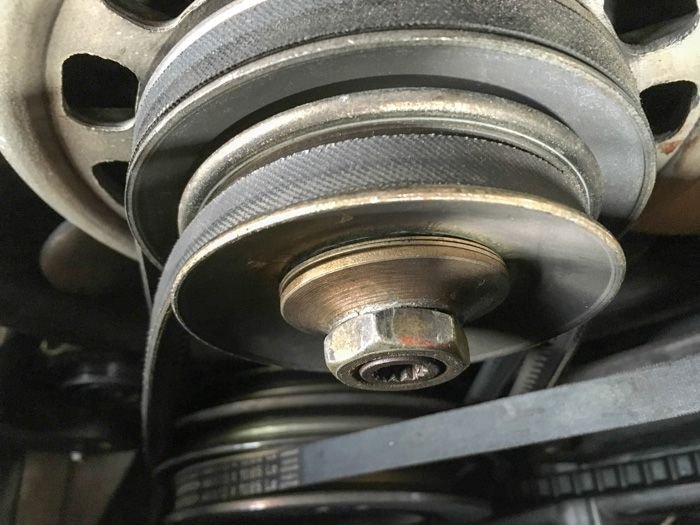
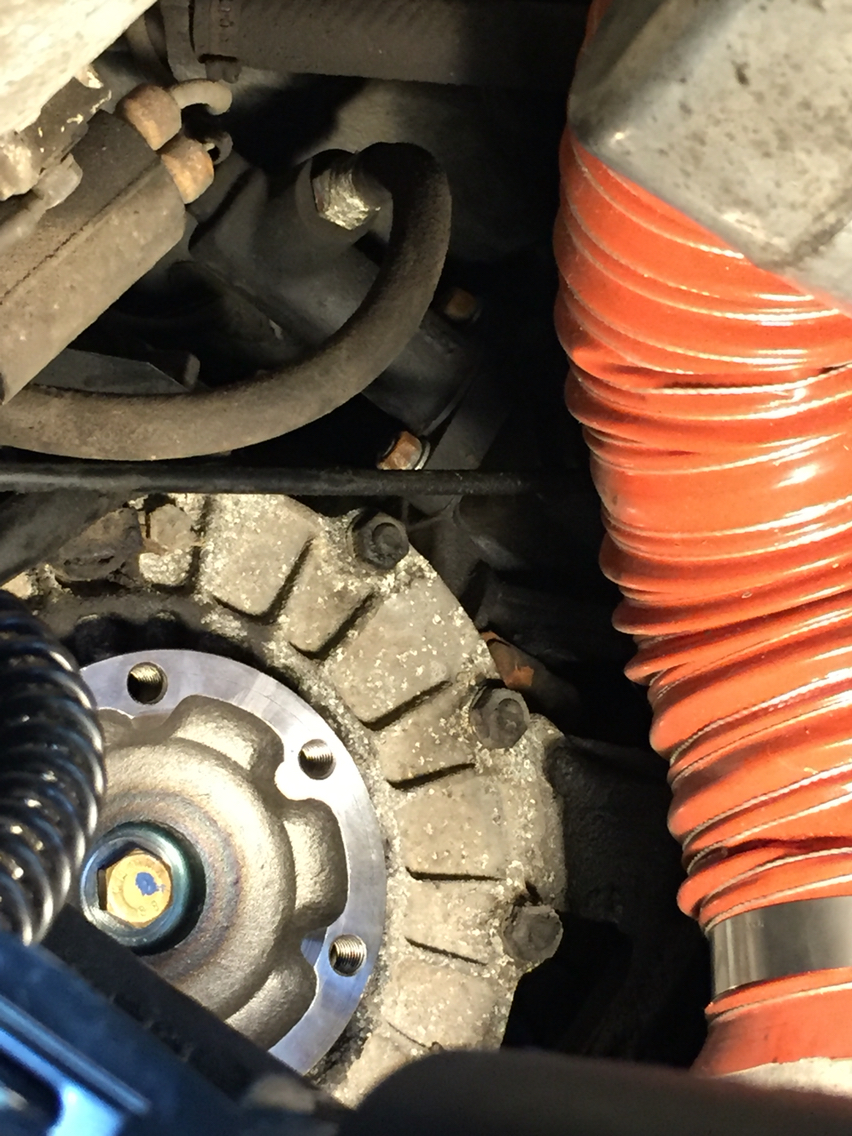
Here's where we started - all belts in place.
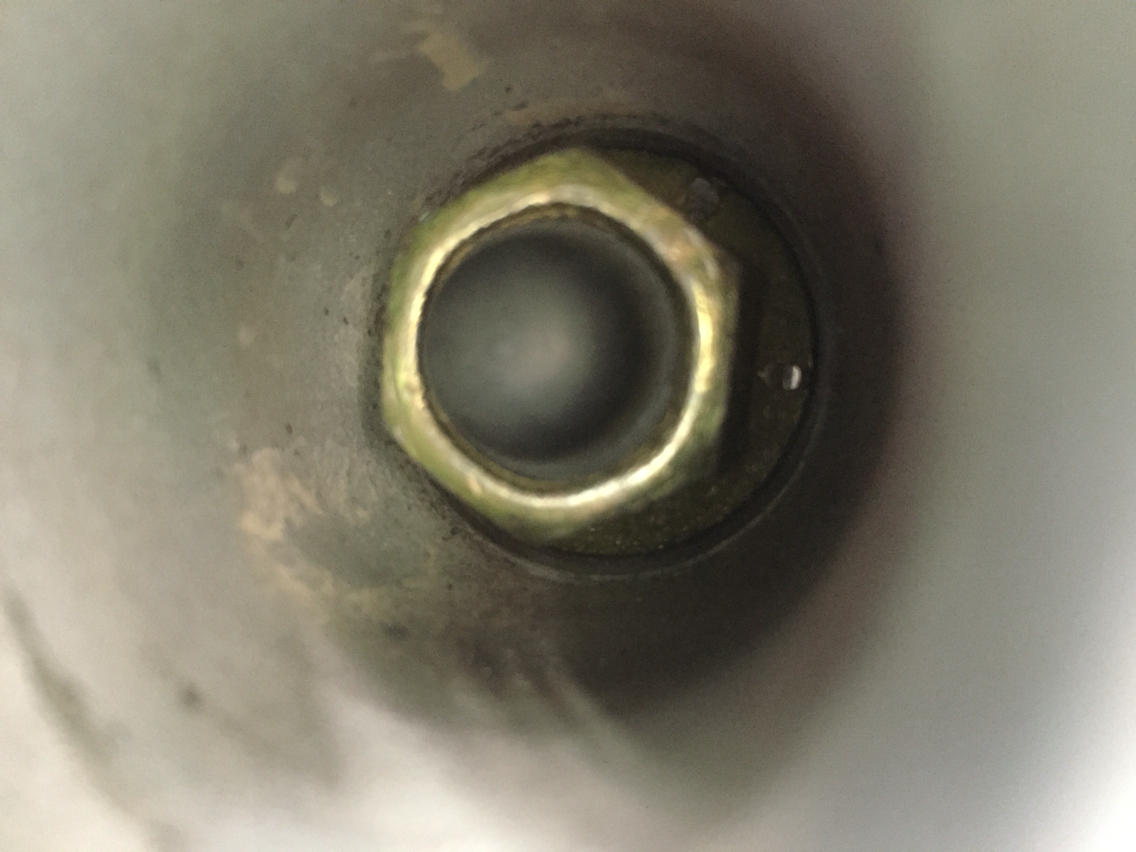
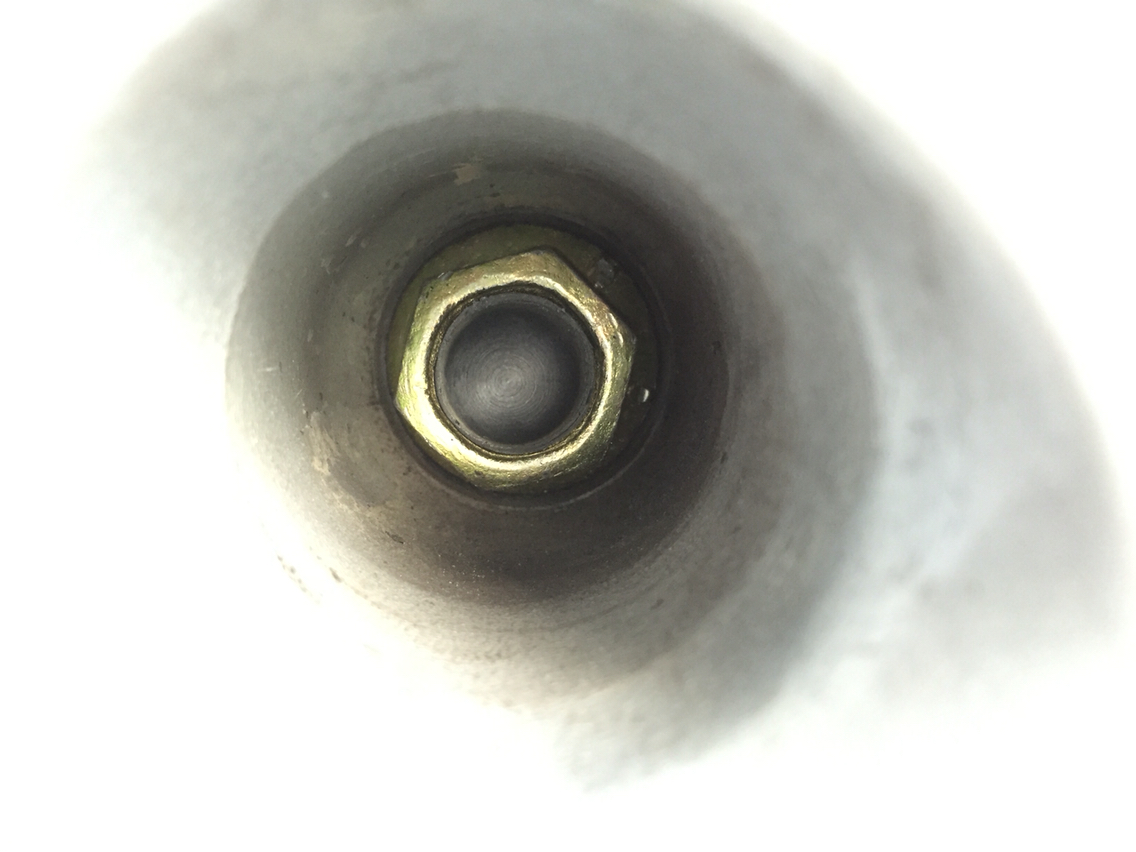
You're going to need a 24mm wrench and the special M10 Triple Square wrench or socket to hold the alternator shaft in place while you remove the nut.
It might take some force - mine did!
Once you have the nut off the shaft, make sure you keep track of all the parts that you remove and the order that they came off in - this makes reassembly much easier.
Take pictures too (I'm uploading lots here for your reference)
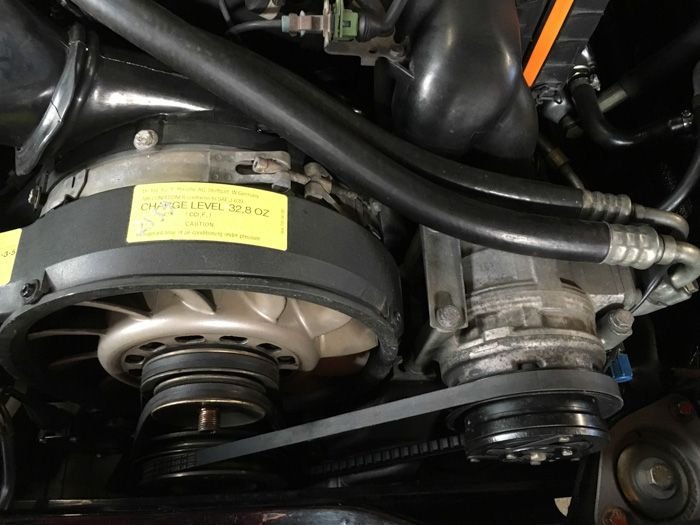
Now, lets start removing things.
Partially unscrew the tension bolt on the right side of the A/C, and then undo the two long bolts visible here that are holding the A/C unit in place, making sure to catch the square nut beneath.
Then undo another identical bolt on the back right of the unit.
Don't unscrew the fourth long bolt, instead, find the short bolt just behind it (under the A/C lines) and remove that as well.
Unclip the plastic clip holding the A/C hoses in place, and at this point, the A/C should come free.
No need to remove it further, you'll have plenty of space to work.
Now you can remove the A/C belt.
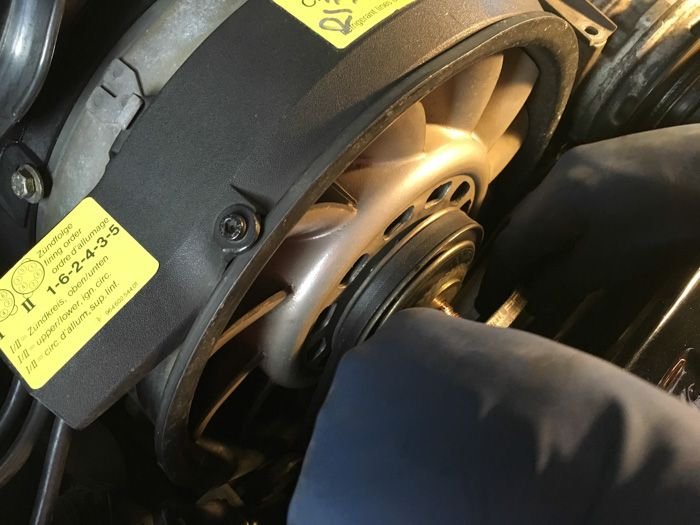
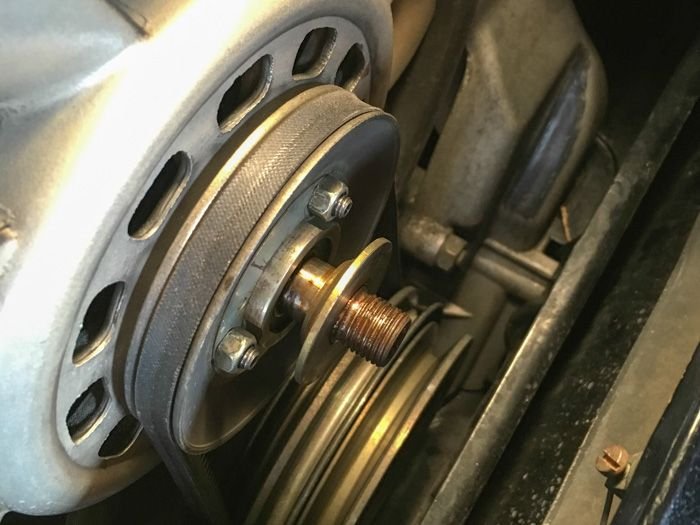
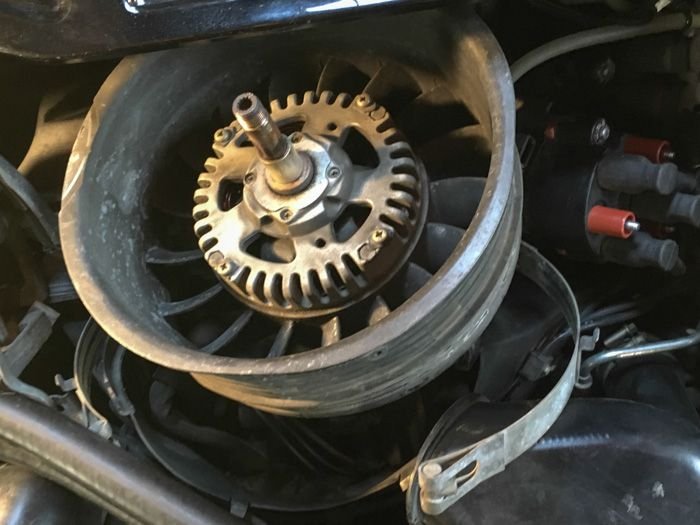
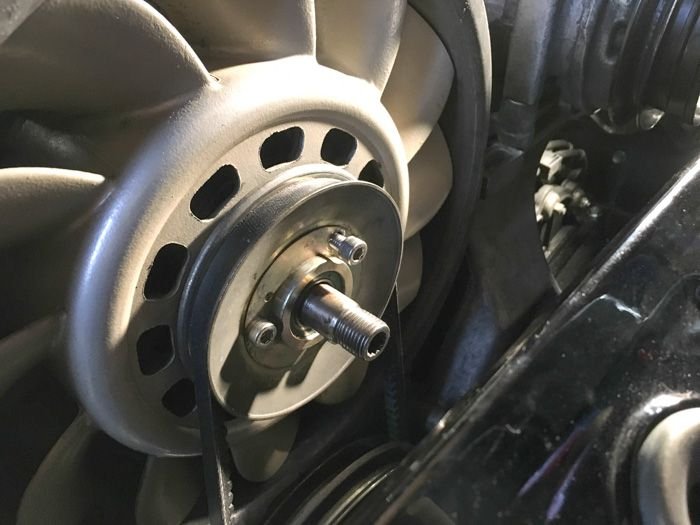
With the A/C belt off, start removing the pulley assemblies from the alternator shaft.
Pay attention to your shims!
It helps if you keep them in the order that they came off.
Take pictures to show the correct orientation of the unidirectional parts!
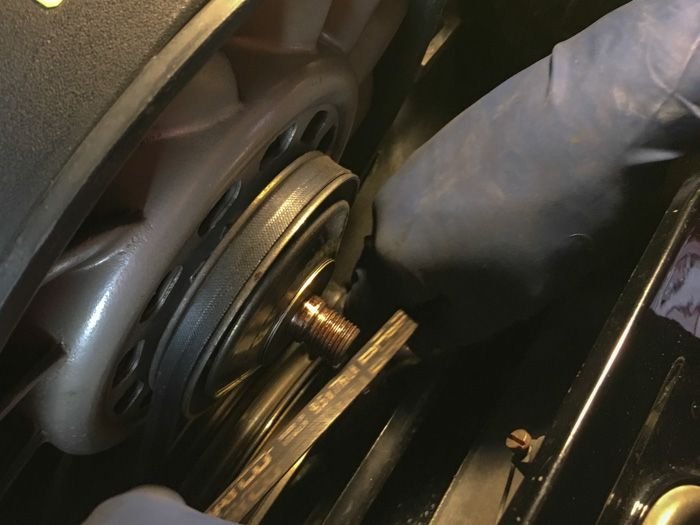
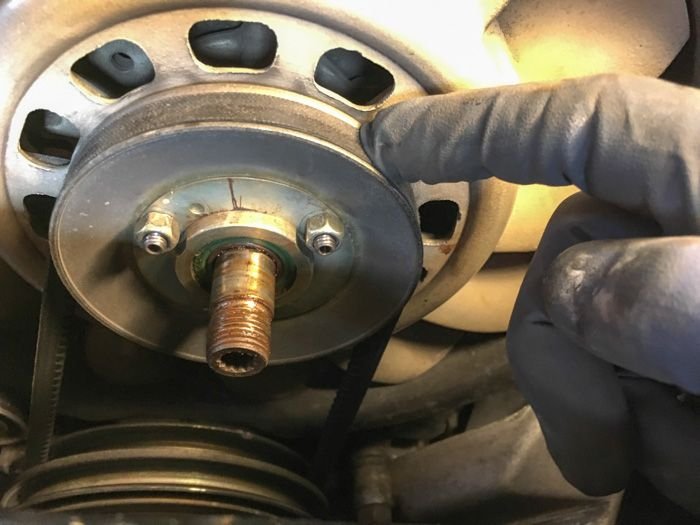
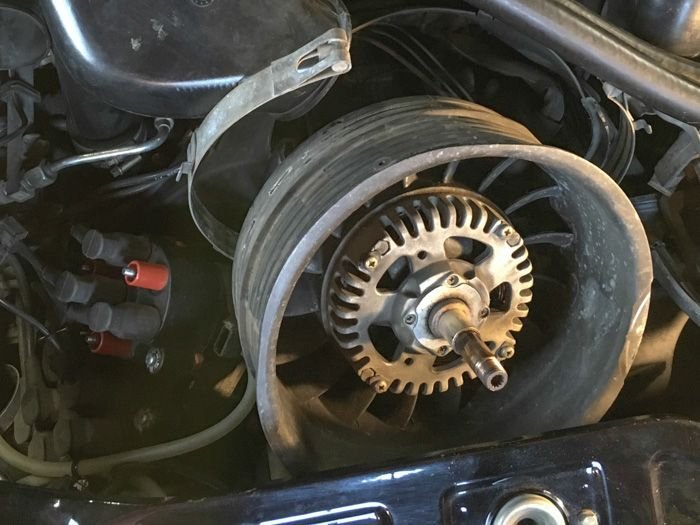
At this point, you have to remove three nuts to get to the second pulley and its shims.
Remove the belt tensioner for the second belt.
Be careful not to drop anything into the engine bay!
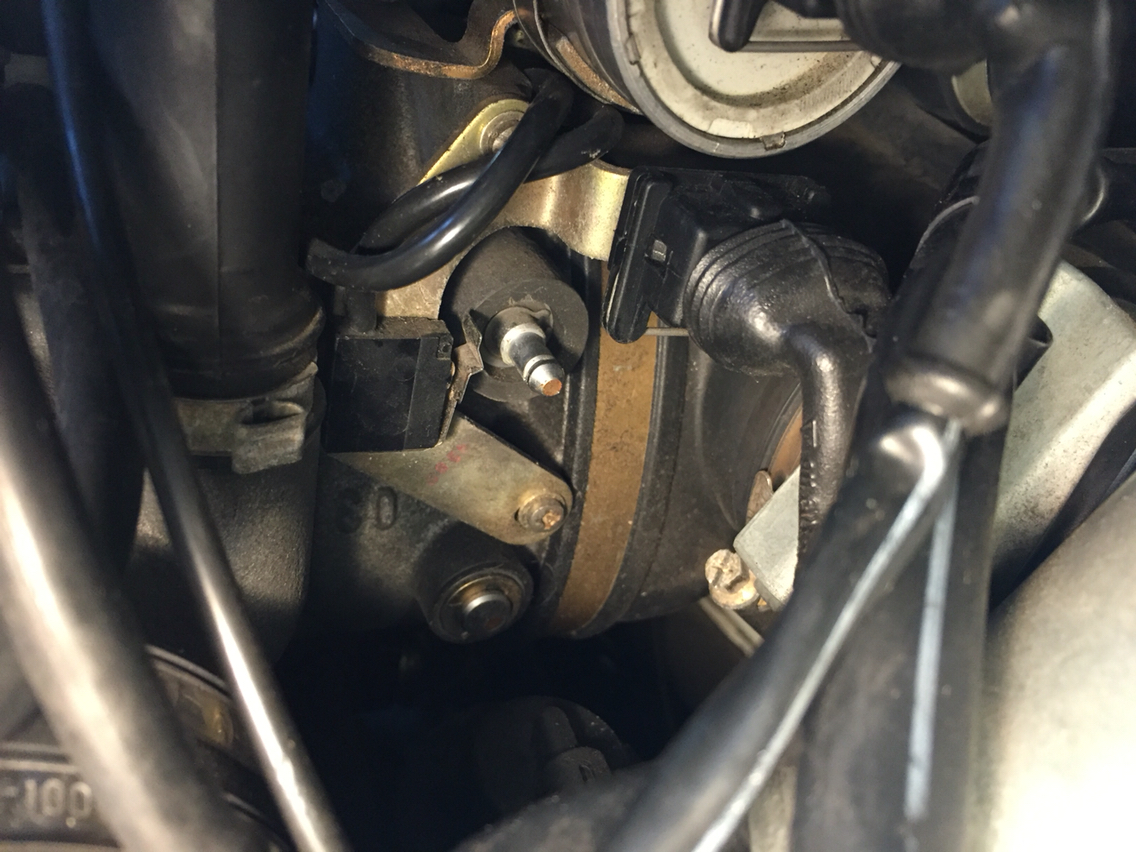
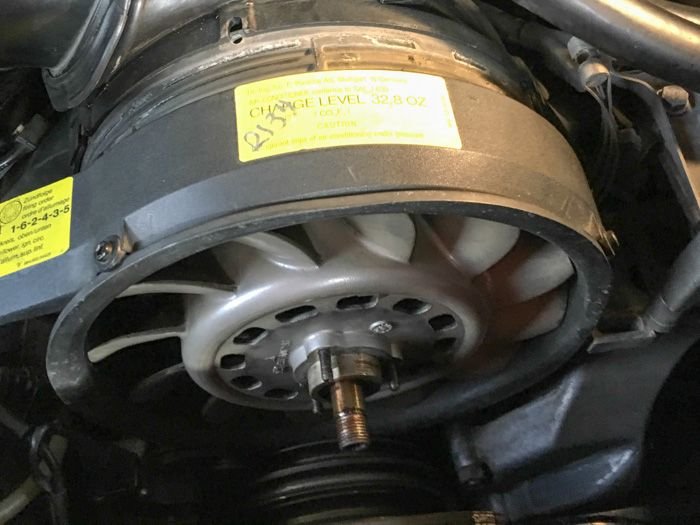
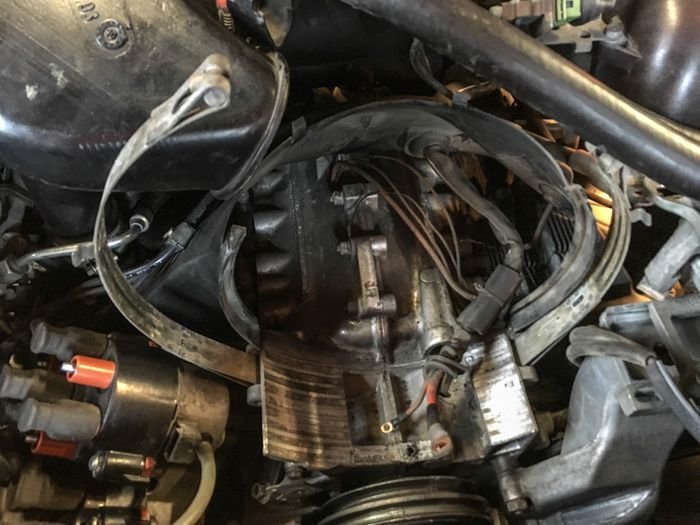
The next step is to remove the spark plug wires for the 4, 5, and 6 cylinders from the distributor and fold them out of the way.
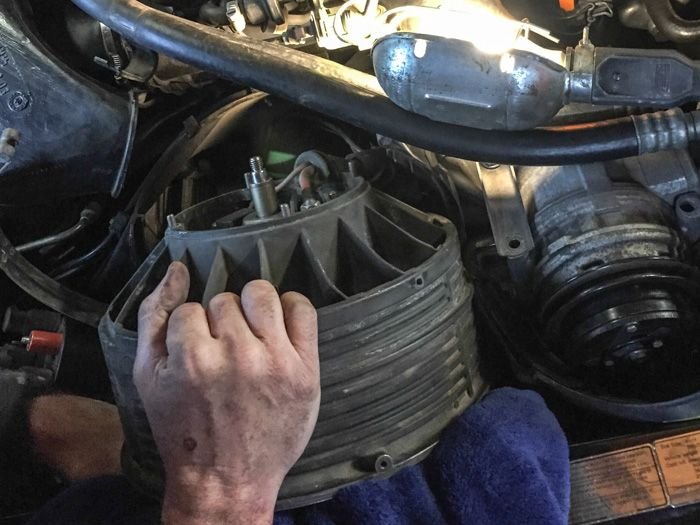
Then unscrew the metal strap holding the fan housing in place.
Once that's done you can lift the entire housing up and out.
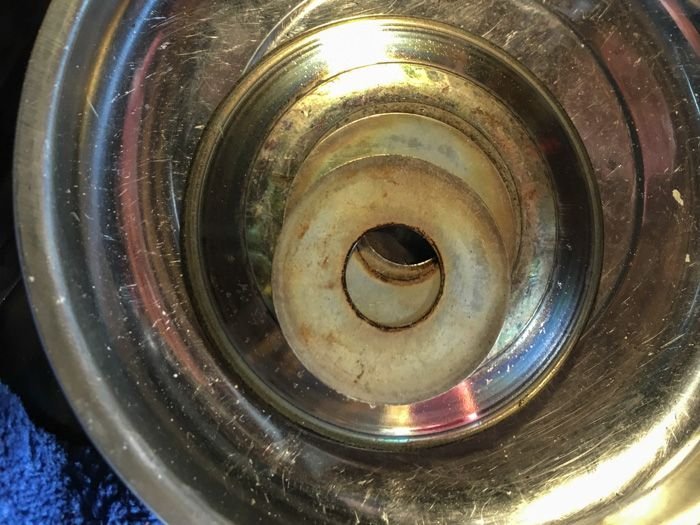
Make sure not to lose or forget the spacer on the alternator shaft - this keeps the fan from smashing into the housing!
Now you can remove the four 10mm nuts holding the plastic cover on the back of the alternator.
When you remove this, there's nothing holding your alternator into the fan housing anymore except for the wiring, so be careful.
STOP!!! DID YOU DISCONNECT YOUR BATTERY? DOUBLE CHECK
There are three wires connected to the alternator underneath the plastic cap.
Remove all three and the alternator and housing will come completely out!
At this point, take a moment to clean and inspect your fan, fan housing, and the small fan that attaches to the back of your alternator.
You'll need to use the triple square and a wrench to remove this fan and swap it to your new alternator.
Then, insert the refurbished alternator into the housing, replace the fan, and work it back into the car.
Re-attach the wires just as they came off the old alternator, and cover with the plastic cap.
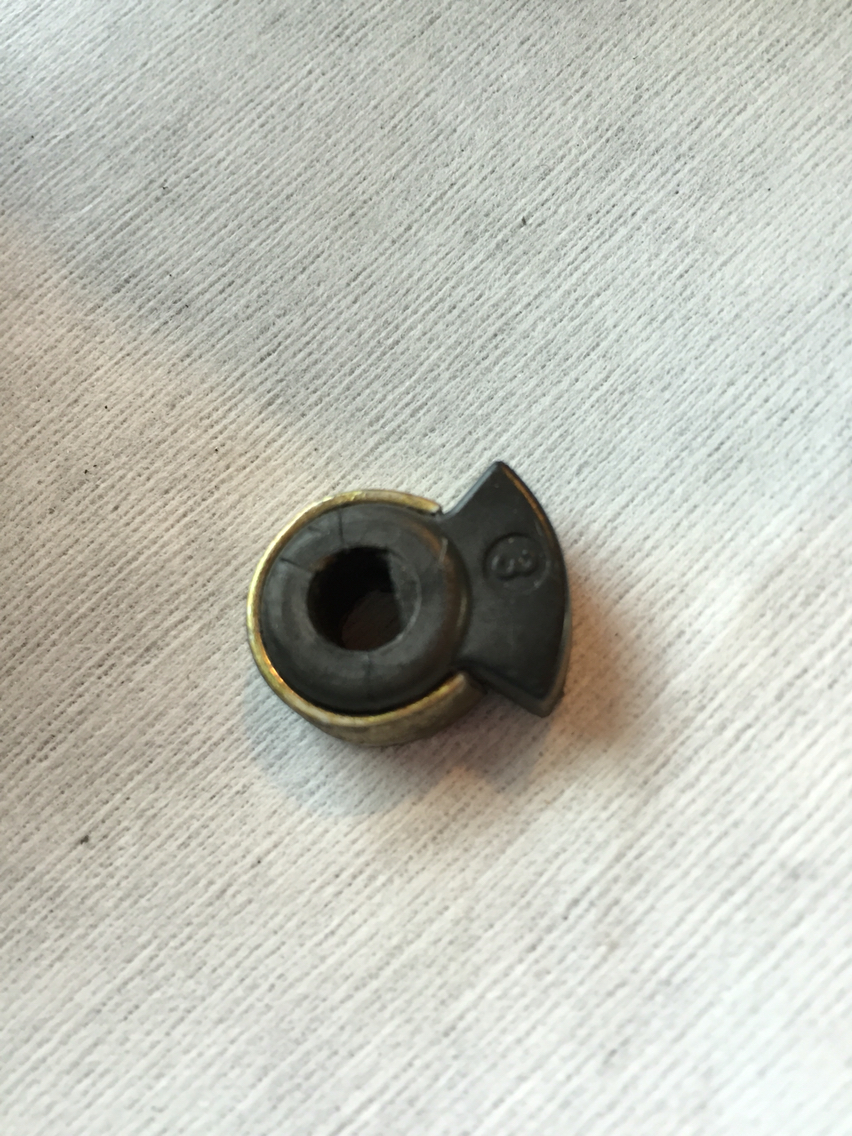
Be careful working the rubber grommet back into place.
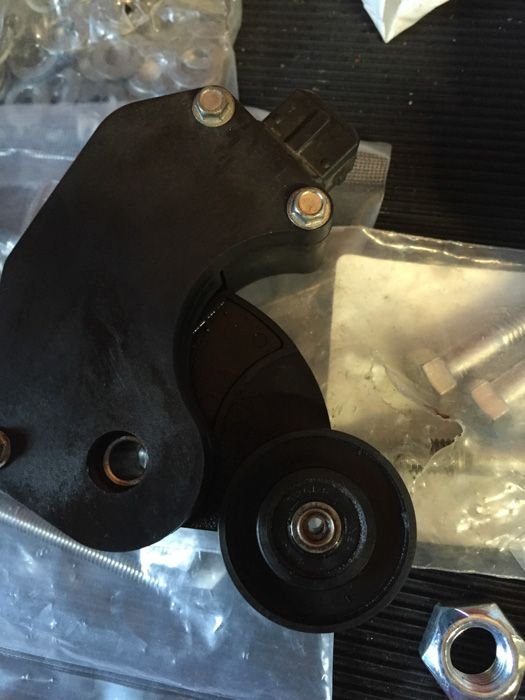
We did two small repairs/modifications during the re-install.
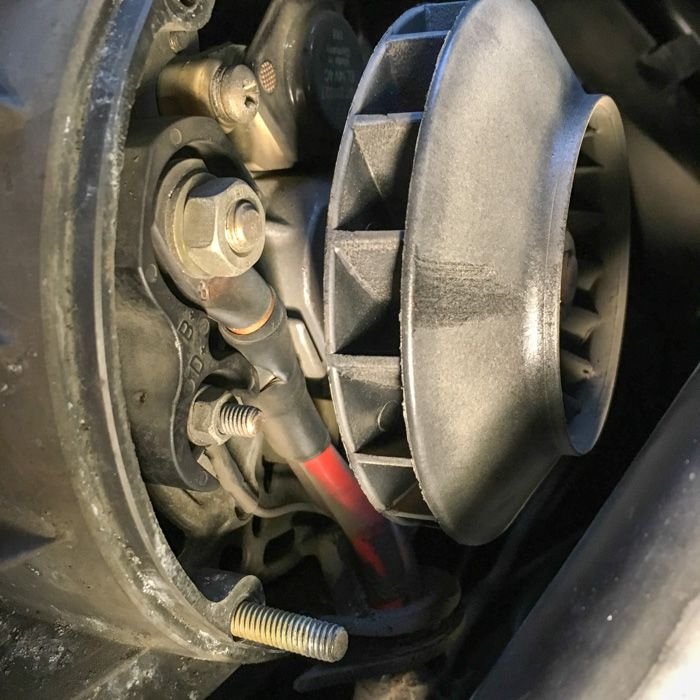
First, the belt tensioner had gummed up over time, and no longer spun or sprung back freely.
A little bit of cleaning plus some bicycle lube had it working as good as new.
However, since the tensioner wheel is just pressed onto a bearing, we added a small bolt and washers to ensure that it can't work itself free.
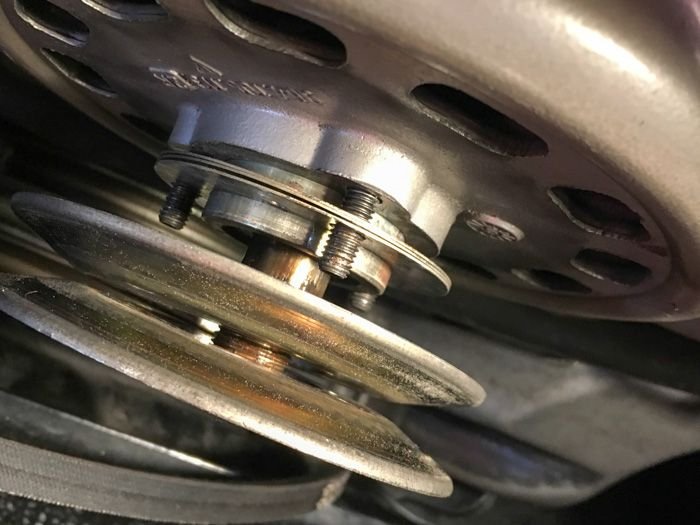
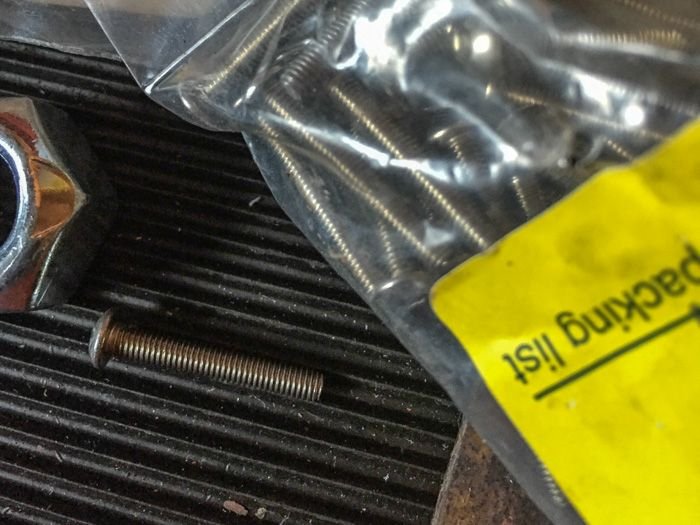
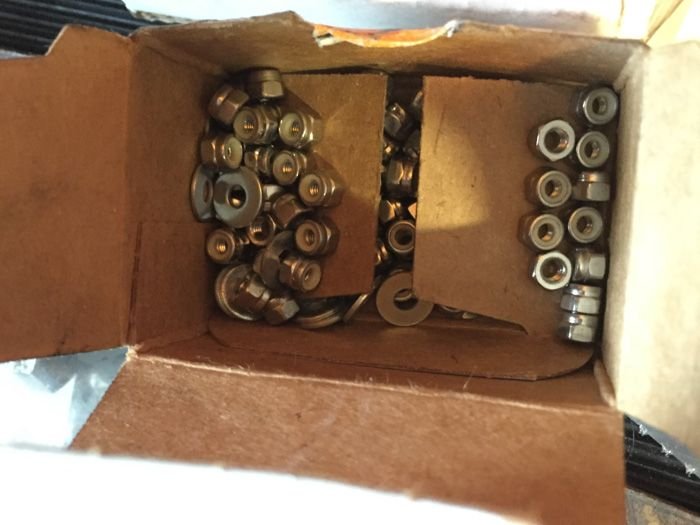
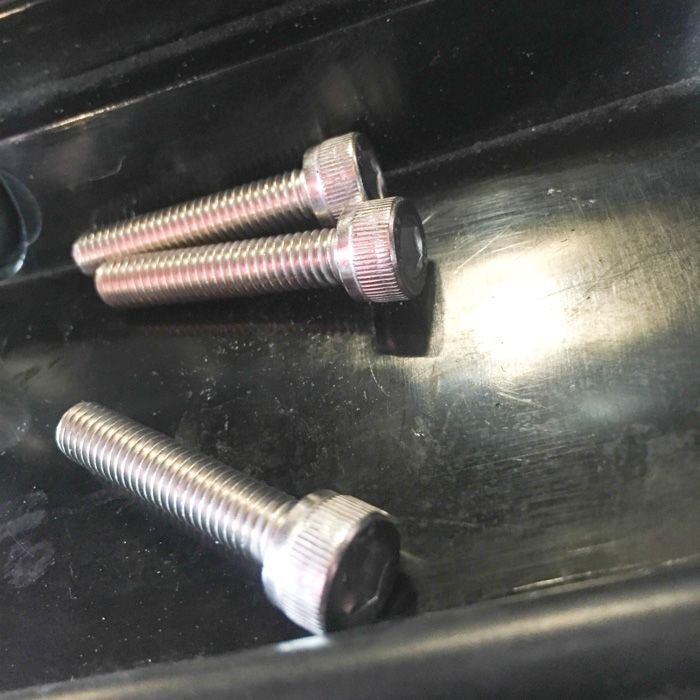
Second, we upgraded from the nuts-on-a-stud used to hold on the second pulley to the hex head bolt design used on the 993.
The studs come out easily with an allen wrench but using bolts with Loc-tite means that the assembly is (1) more secure and (2) more easily repairable in the field.
Breaking or losing a proprietary stud would be a crisis, breaking or losing bolt is an easy fix.
At this point, continue to reassemble as you disassembled, making sure to check and recheck the tension on the belts using your Krikit tension gauge.
You can adjust the tension by changing the number of spacers used.
Reinstall the A/C and adjust the tension until correct using the tension screw.
Do a final inspection to make sure you've reconnected everything you disconnected, and start the car.
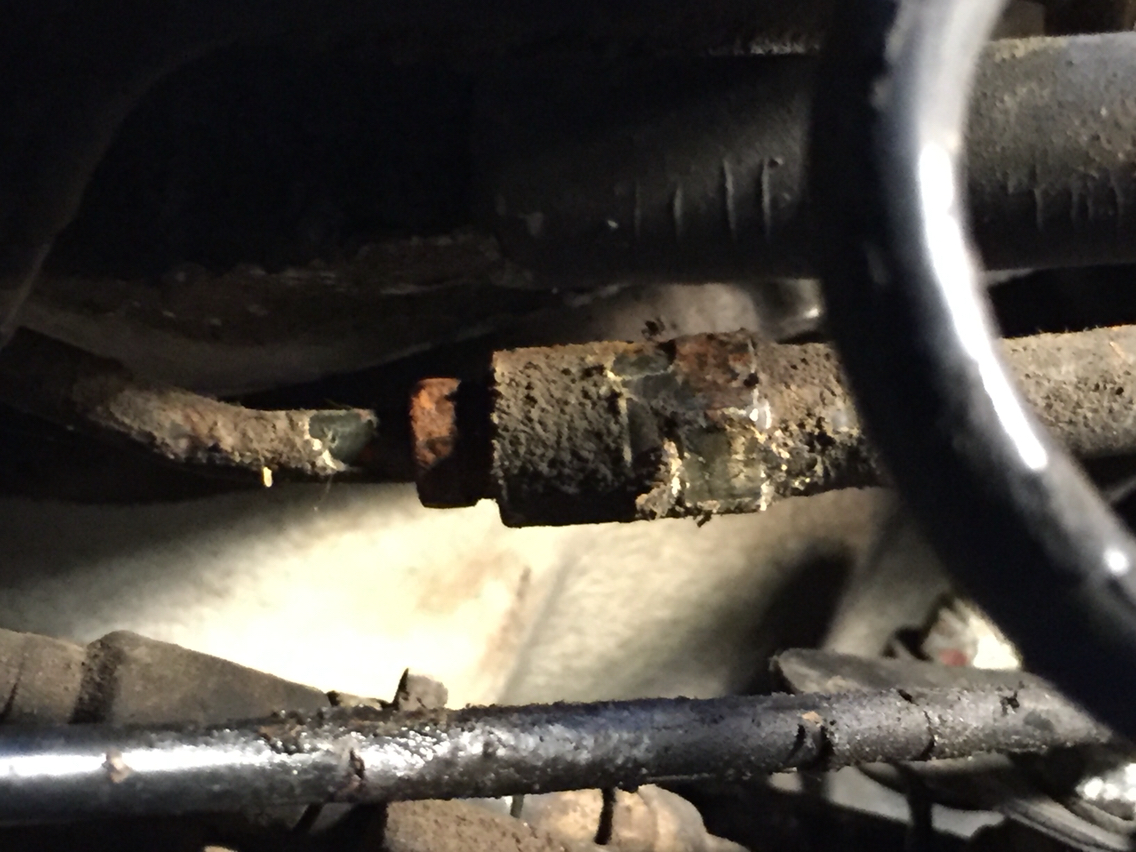
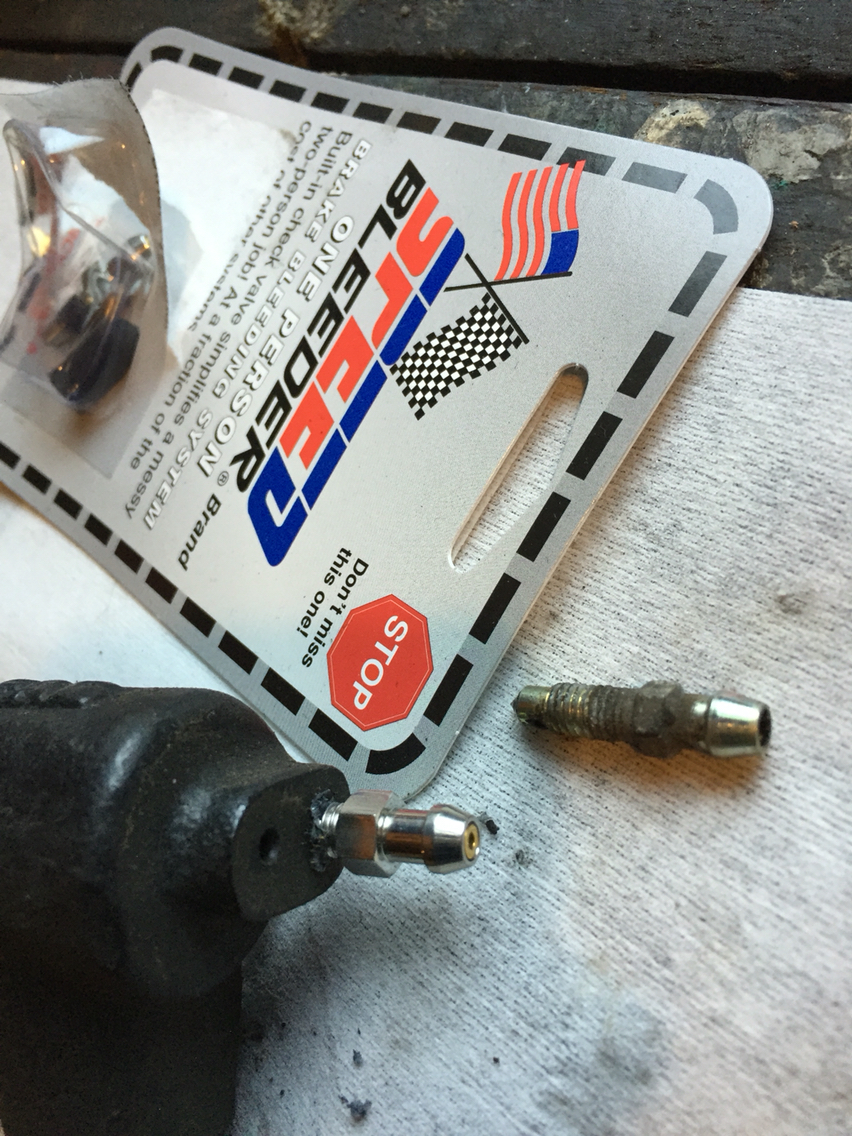
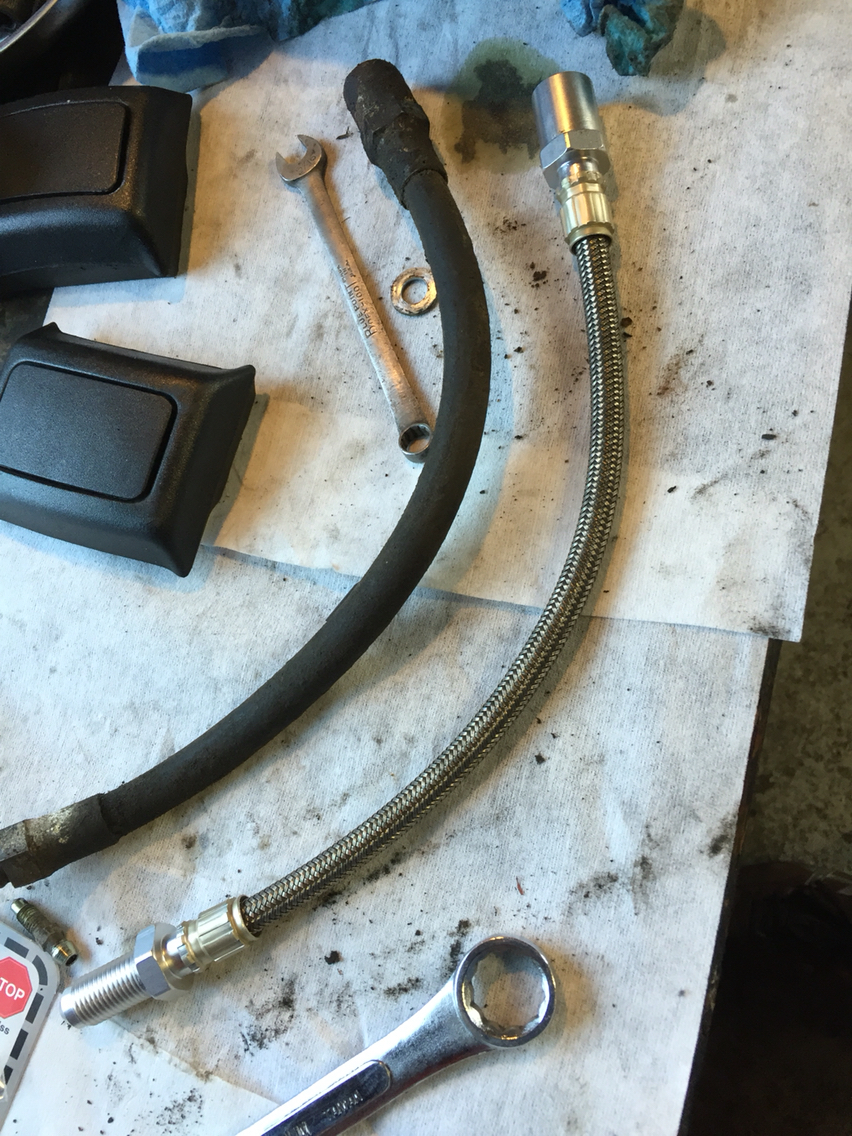
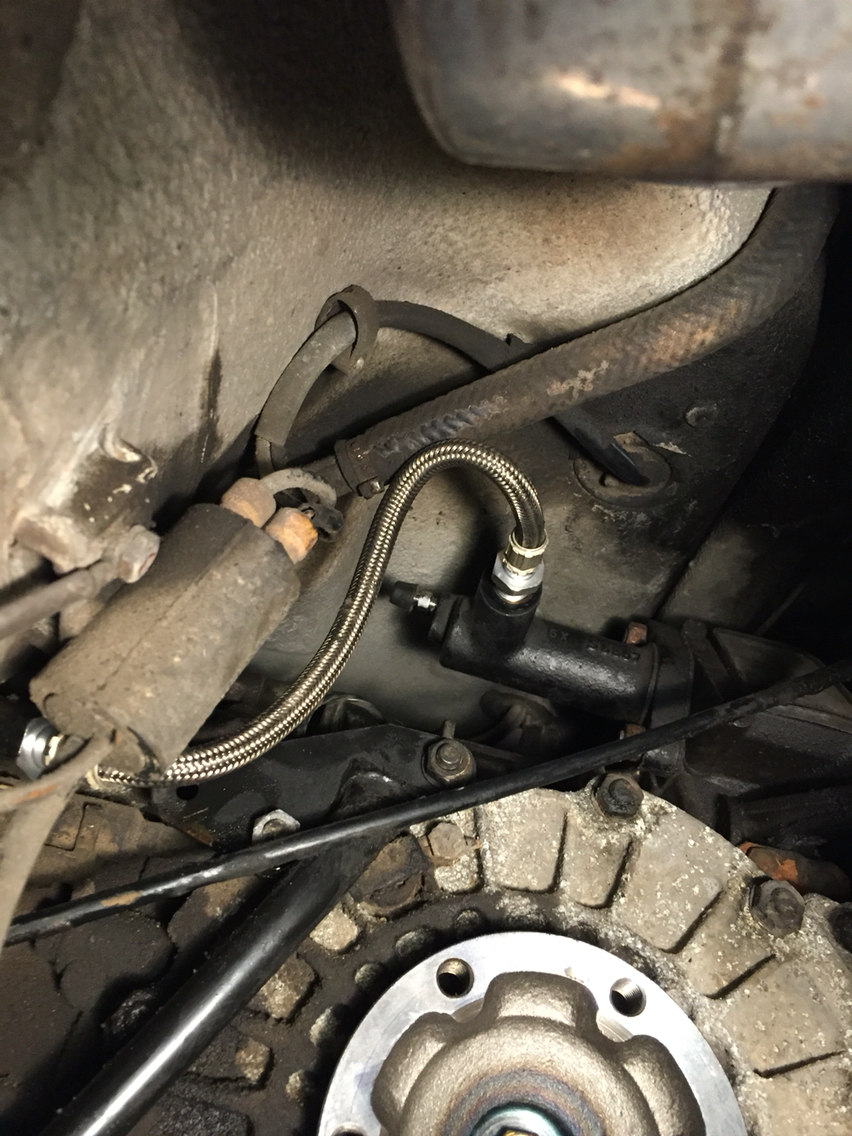
Spotted owl had its clutch slave hose changed out today for a braided line from fvd.
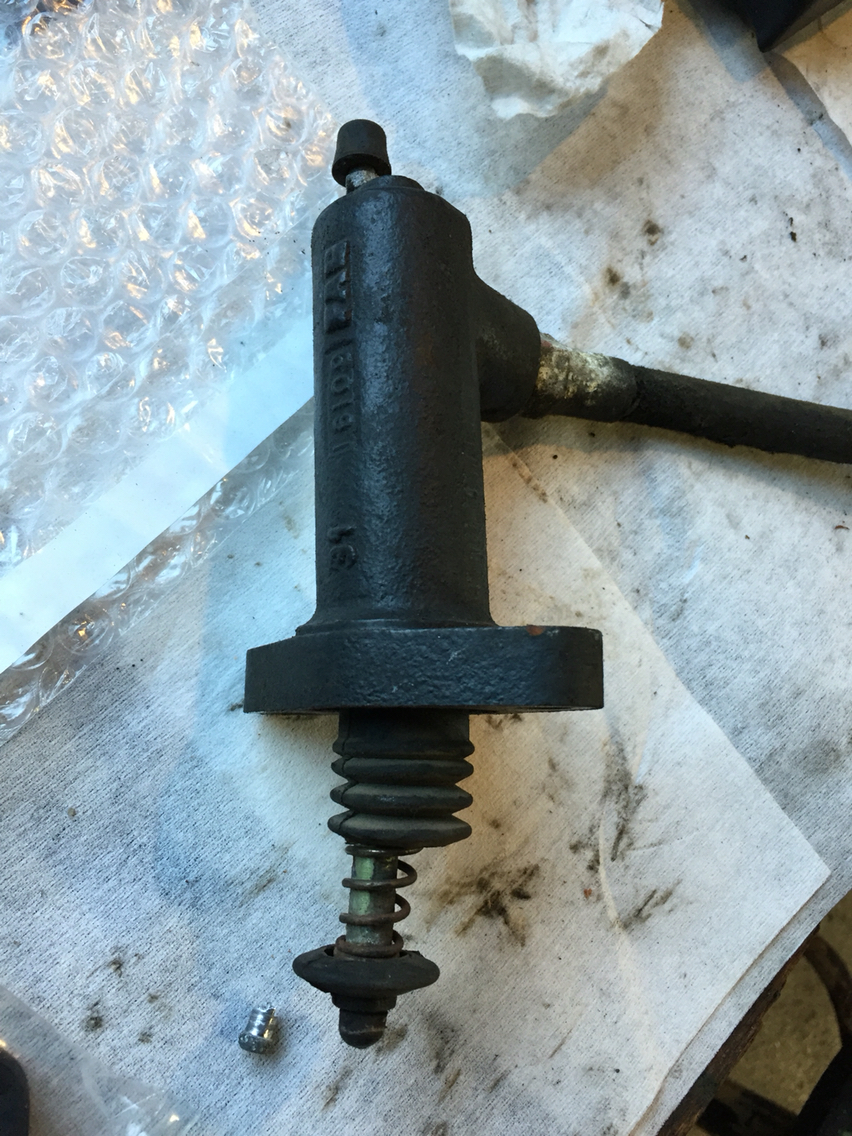
Was a fairly easy job since the axle was out and calipers and rotors are still off. The heater hose is new, so that was easy to take back out. Much more room than normal. The Slave isn't leaking, and though the boot is torn, we decided to leave that alone for the moment and deal with the slave once it actually needs to be replaced. I did replace the bleeder with a stainless speed bleeder, so less likely to introduce air later during bleeding and no future rust issues. The original bleeder was a bit chewed.
Typical in replacing the hose, the fitting on the hard line is seized. So as to not torture the hardline, I popped the slave out and broke the soft line loose from the hard line and spun the slave and line together to separate it from the seized fitting. No need to get crazy this time around. Next time the motor gets dropped, that hard line will be easy to replace. But since it functions as it should, no need to bother today.
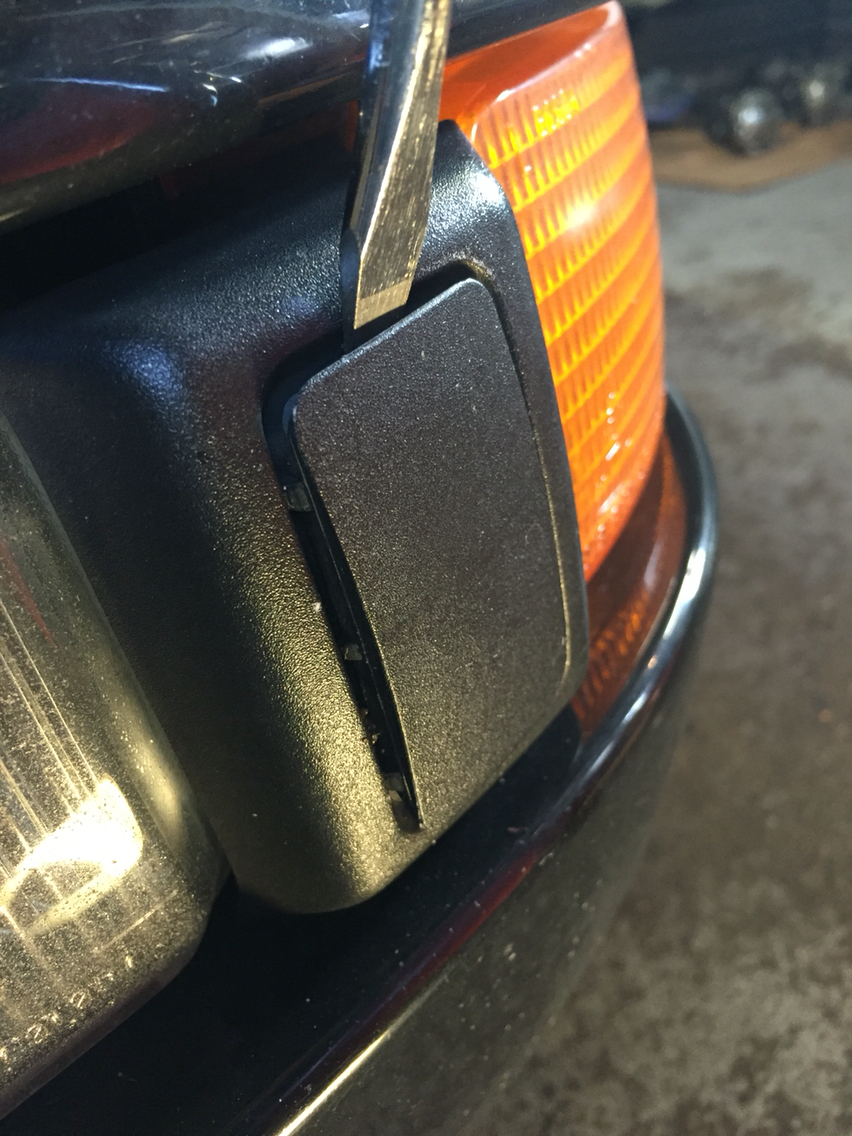
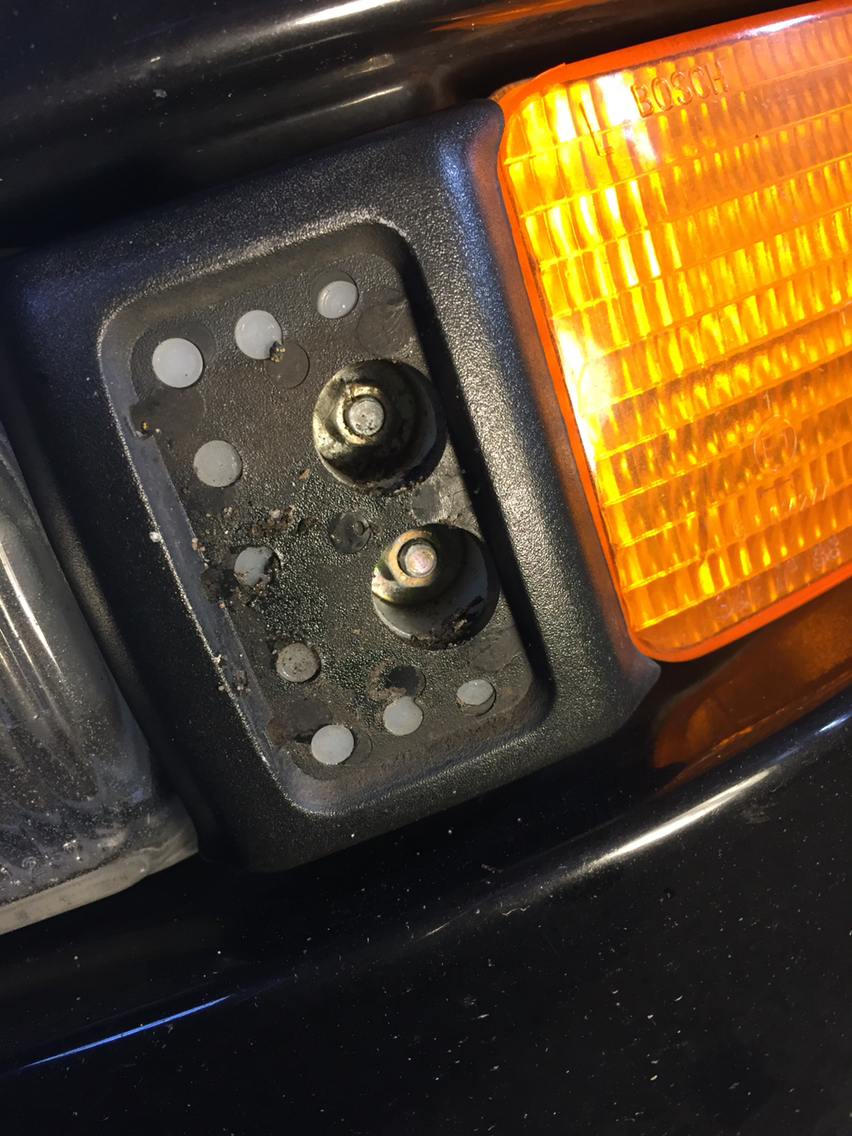
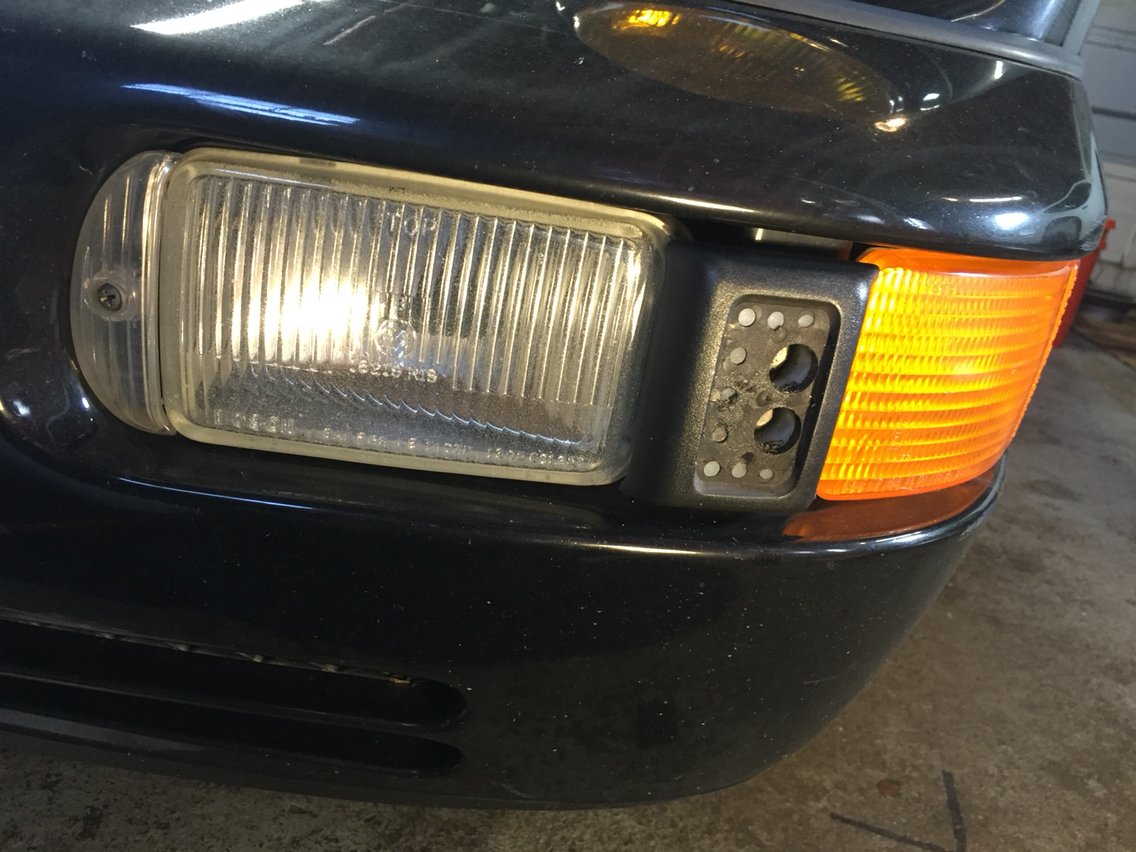
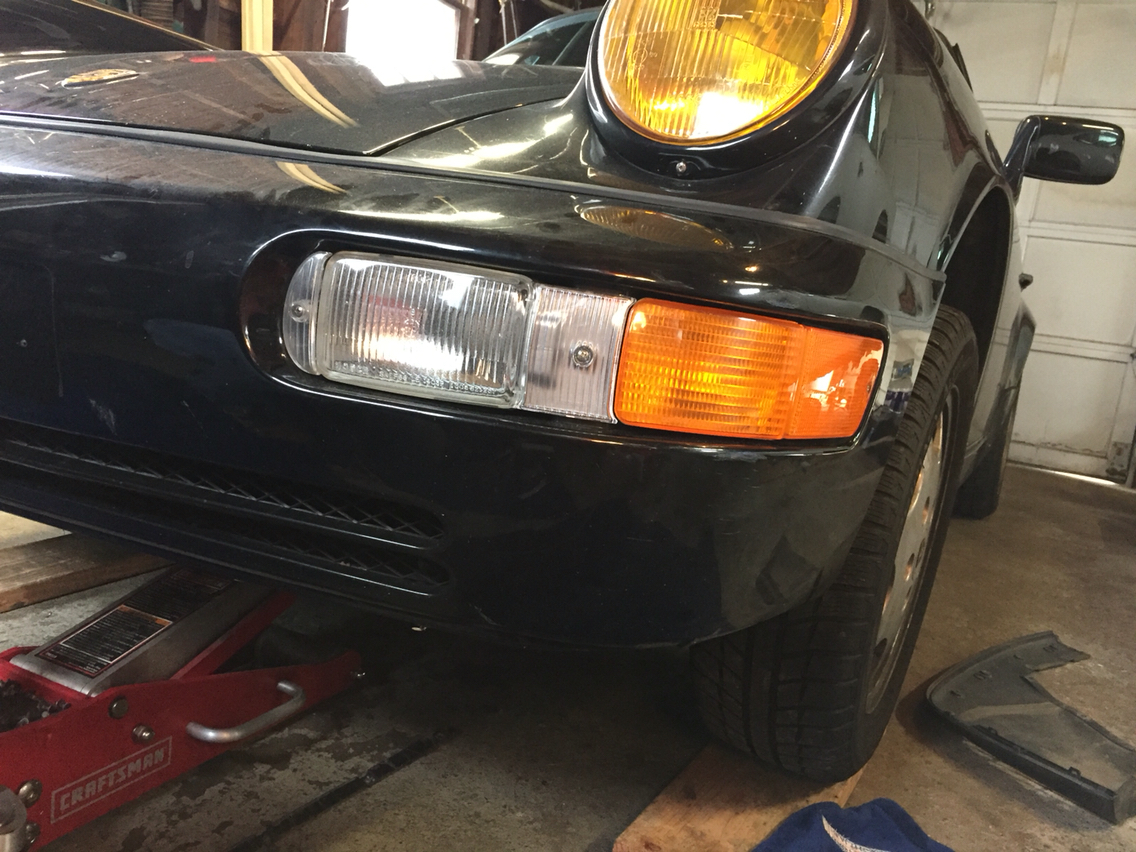
On my car, the neglected one, as it were...it was time to do the bumperette delete I've wanted to do for ages...
For some reason - and I don't know why, I figured Porsche would have made this a simple task. But the thing is, the bumperettes are essentially a functional bumper extension. They are a small rubber bit, attached to a steal bracket that tests against the hard bumper behind the bumper cover. And rather than making one bracket that's attached to the bumper cover that could have either the American bumperette attached to it, or the delete the rest of the world got, they are both fixed in different ways. Duh...
So my five minute job required, once I took the little fart off, turned into two hours, and I even needed to look up the DIY on rennlist. Crap. Wasn't thinking it would be involved.
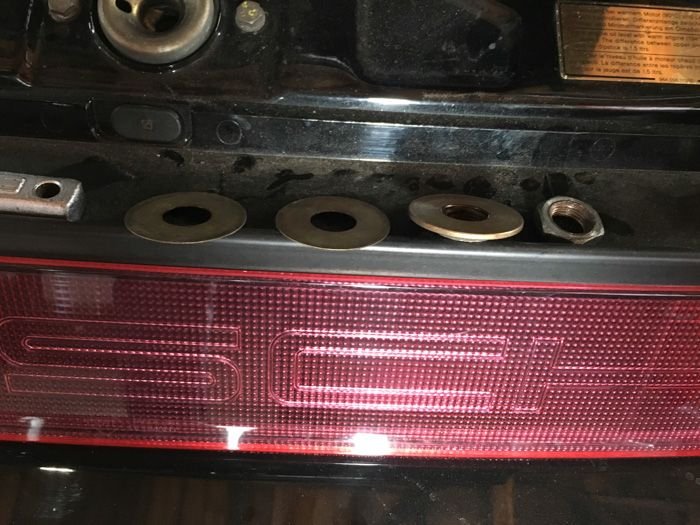
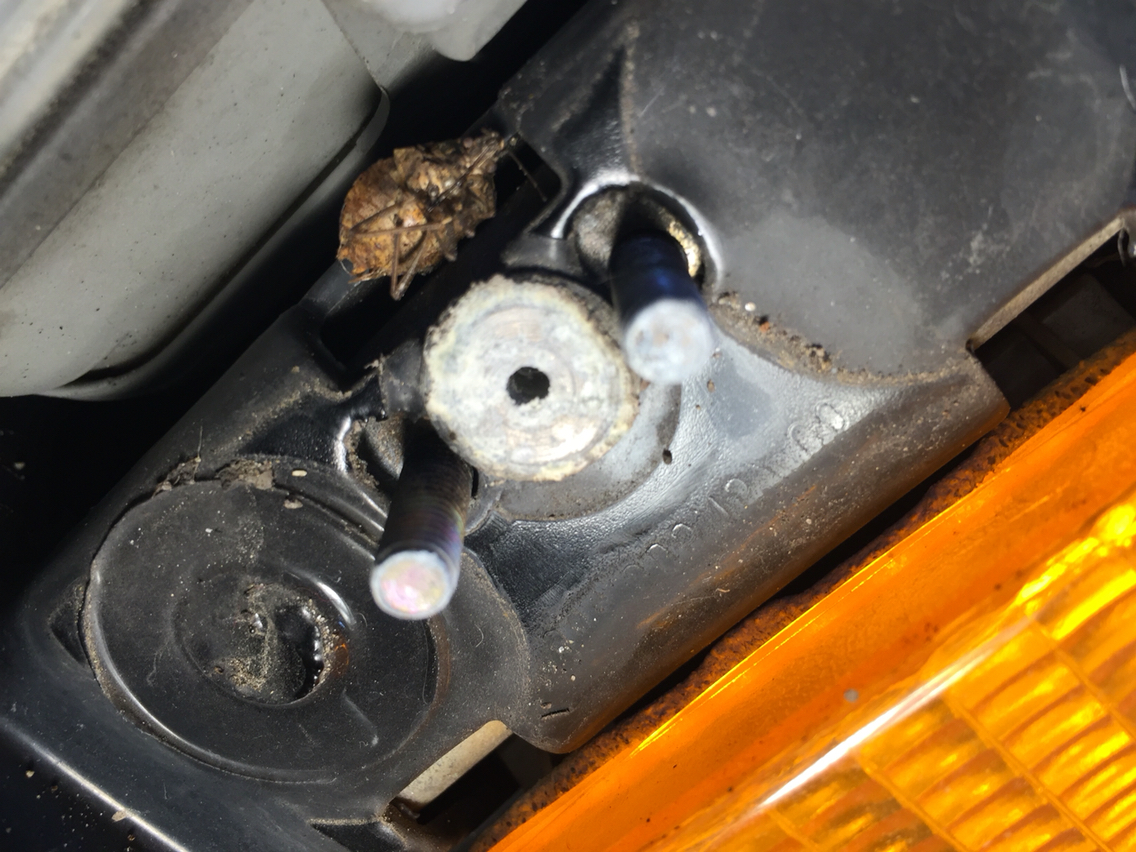
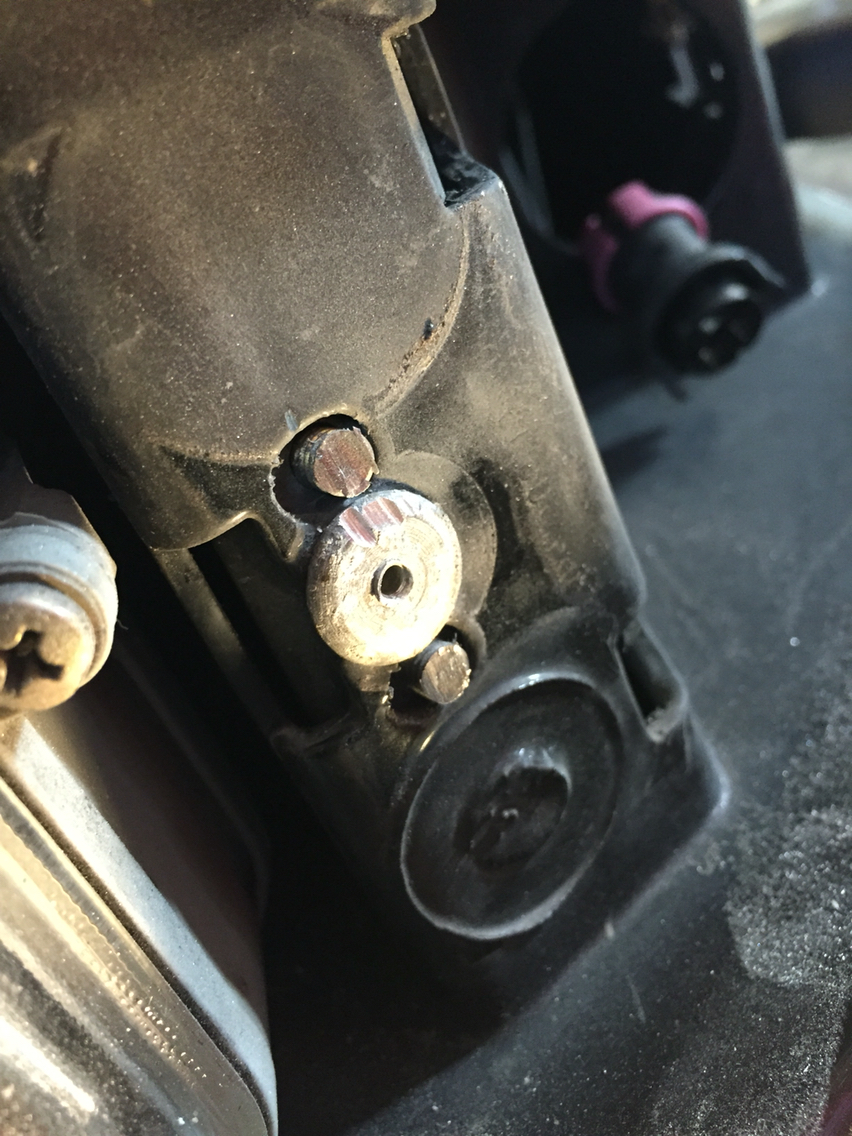
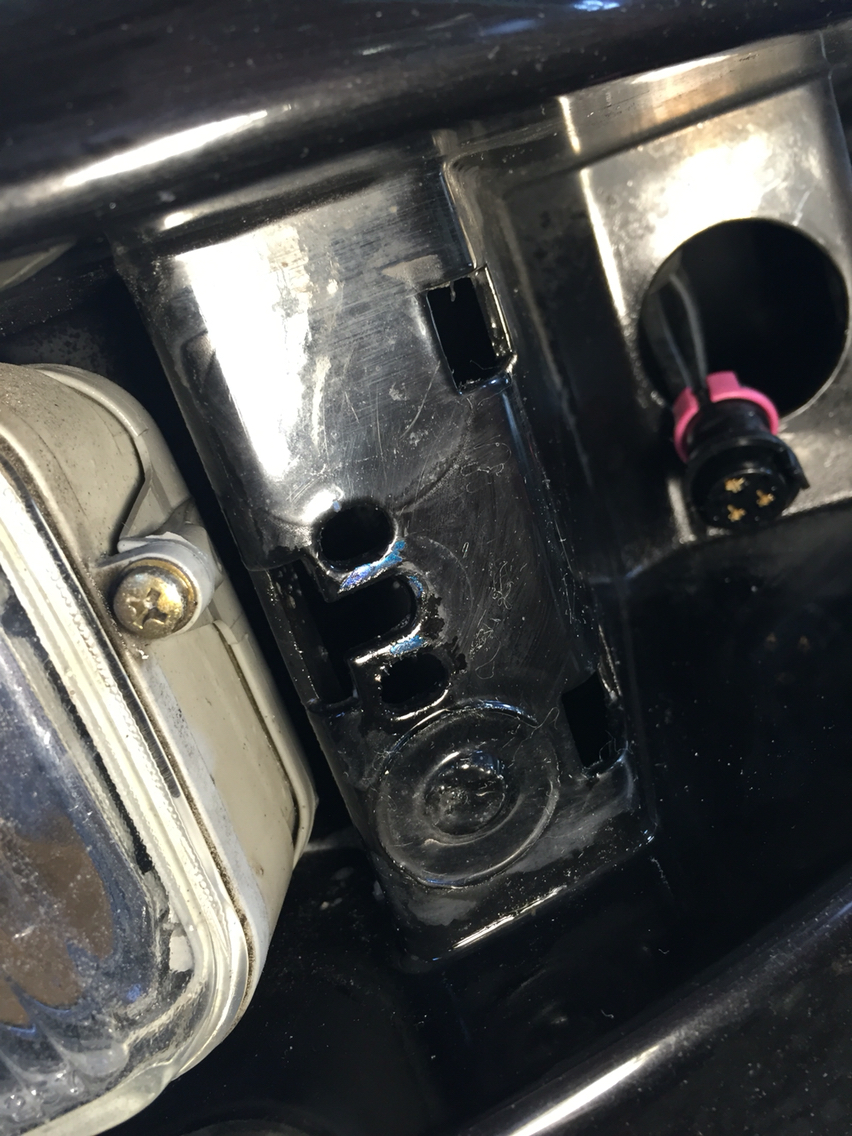
So I jacked the front end, took off the front trays, unbolted the bumperettes, and was left with the studs poking out on that bracket.
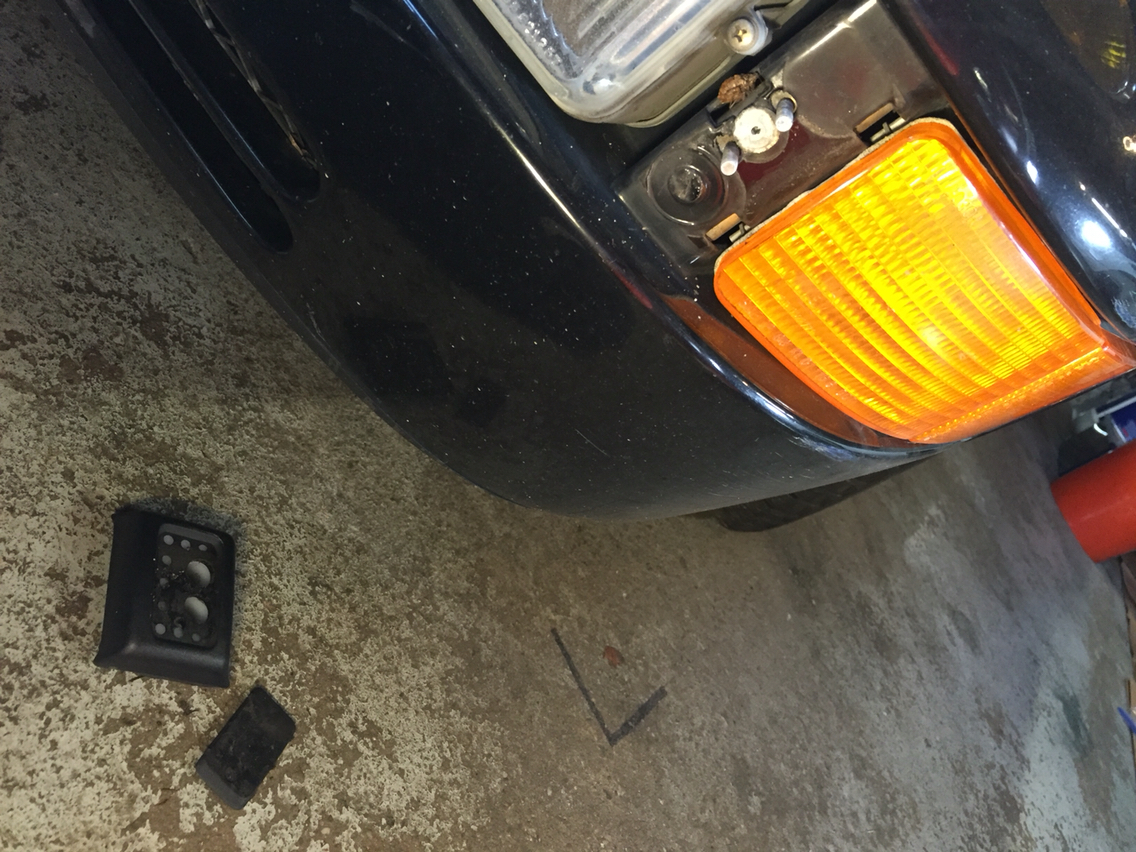
Out came the dremel and zinnnnnnng- off they came. Then push the bracket back and it falls to the floor.
So then...I diverted from the DIY and did my own thing. I needed something to screw the delete to, so I took one of the 10mm plastic body nuts, ground it down enough to slip it behind the bumper cover, and used a quick set plastic epoxy to weld it to the back side of the bumper cover, effectively leaving me something easy to screw the delete to. Worked very well and took zero time.
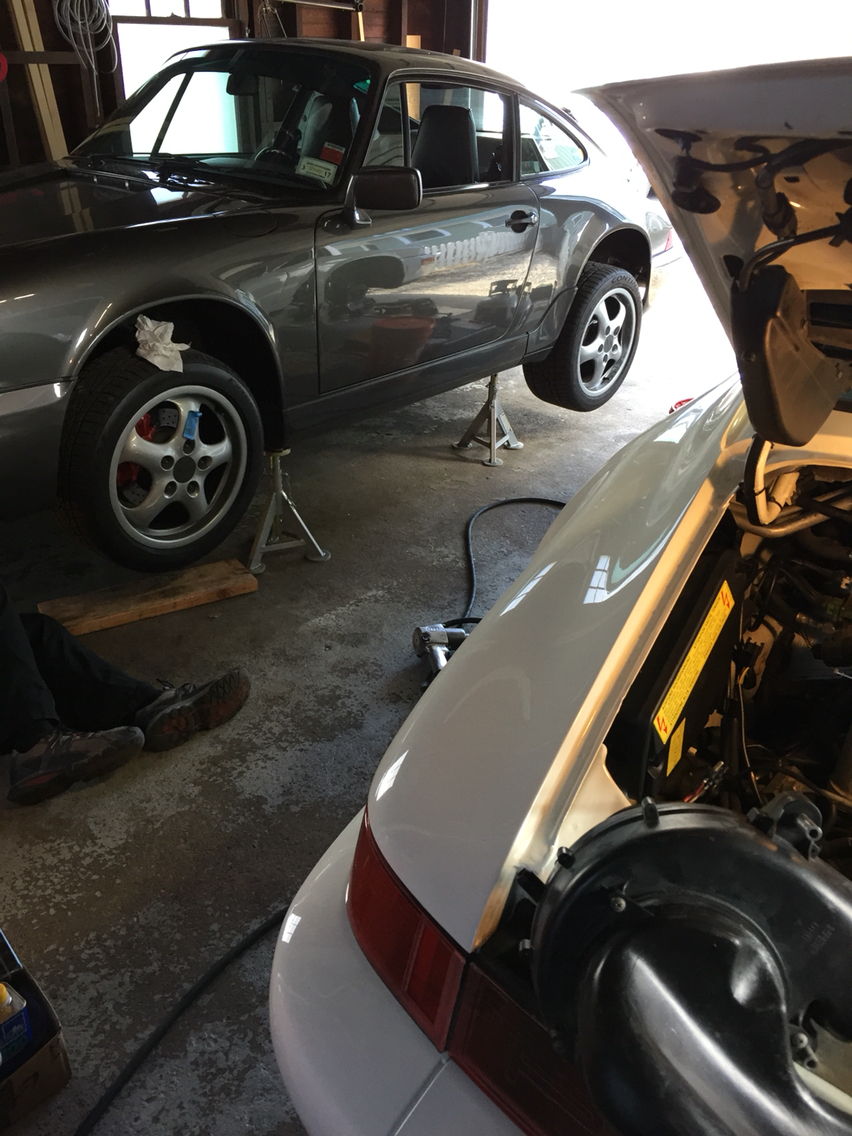
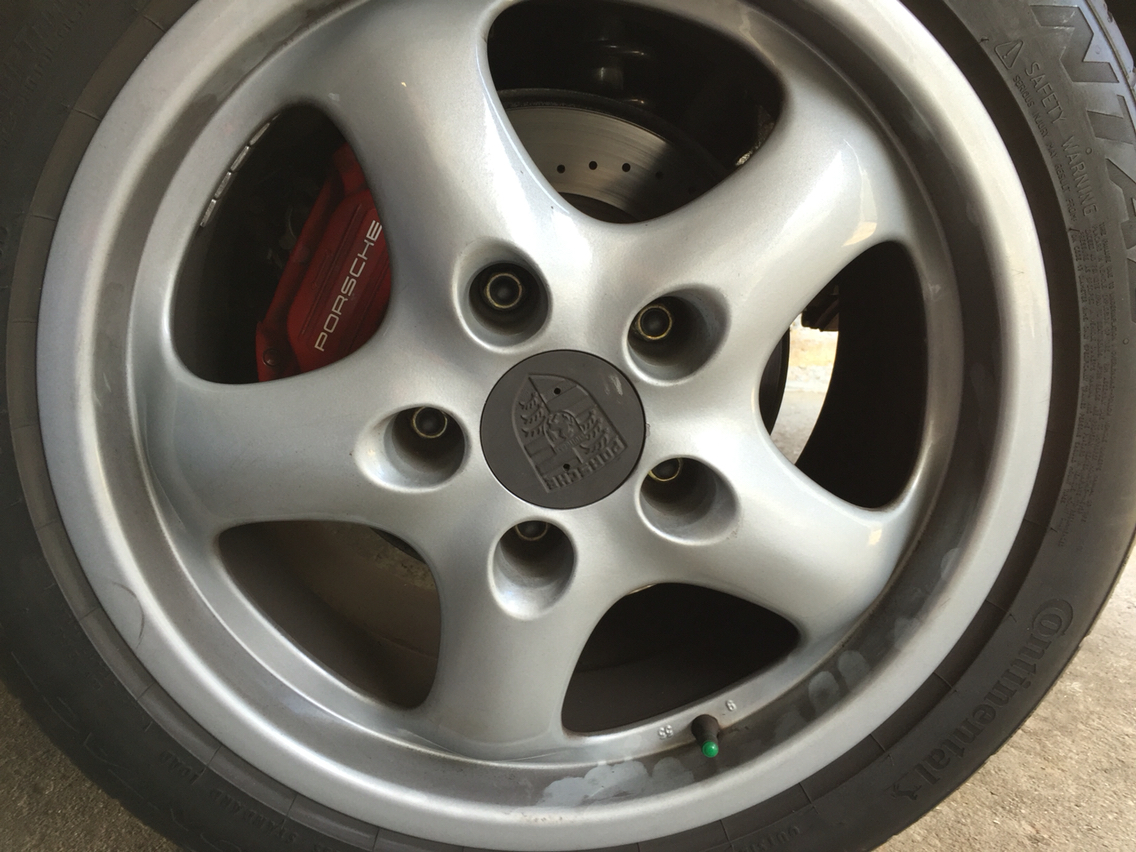
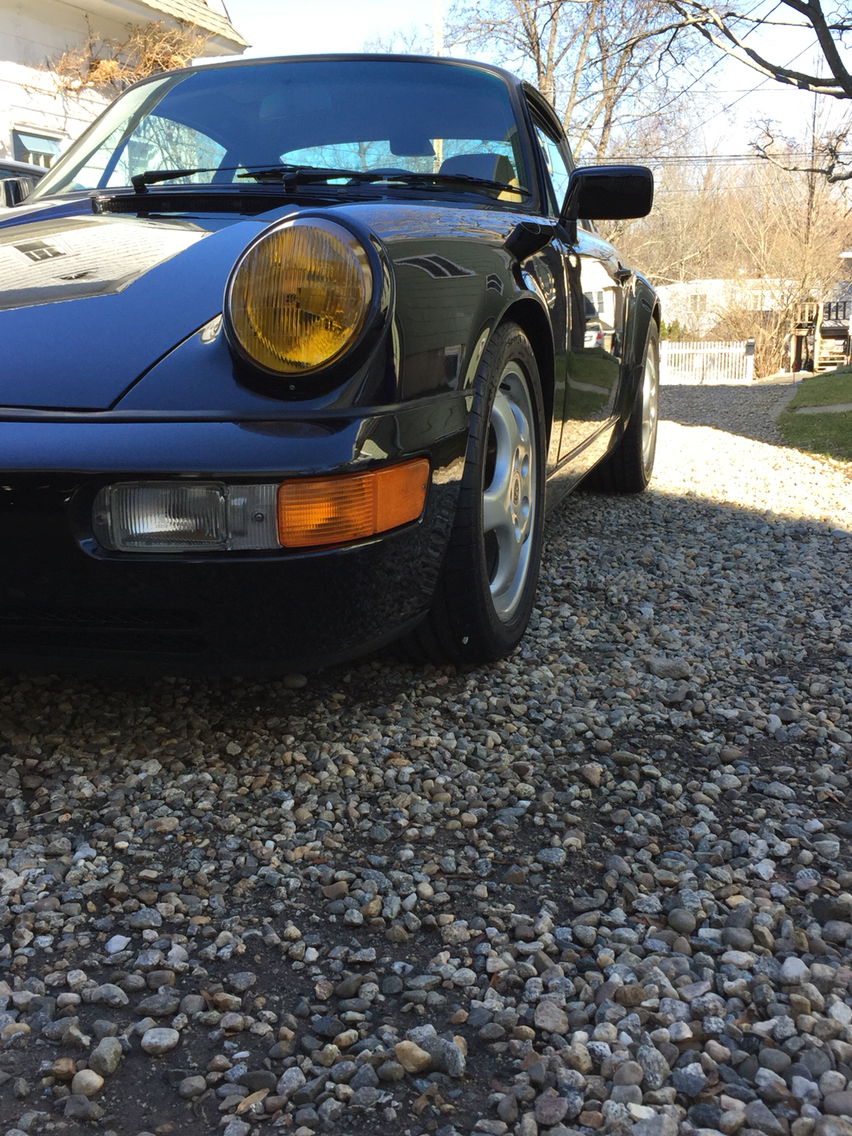
And done. Buttoned it up, and moved on to switch back to summer tires and cup wheels. I was sick of driving on d90 w Snow's. It's still cold here and my PS2 are like driving on plastic at these temps, but they look great...so I'm happy.


 03-01-2016, 09:22 AM