
Teardown begins. Suspension madness...
 05-05-2016, 10:55 PM
#736
Race Car
Thread Starter
Seems to be the case here...but I didn't take step by step photos this time. I'm sort of assuming all that was covered a long time ago, however if anyone has questions, ask and I'll do my best to answer.
But, Dave was teardown on the back and I was teardown on the front, and what we did do was to make a list of every tool used to teardown the entire suspension front and rear, which hasn't been covered here yet. So that is coming in a moment...no one who has ever changed a light bulb should be afraid to unbolt things from a 964. But be sure to use good quality tools, particularly if your car hasn't been apart in 25 years. Things get stuck. And good quality tools will be less likely to round of bolts and Allen cap heads.
But, Dave was teardown on the back and I was teardown on the front, and what we did do was to make a list of every tool used to teardown the entire suspension front and rear, which hasn't been covered here yet. So that is coming in a moment...no one who has ever changed a light bulb should be afraid to unbolt things from a 964. But be sure to use good quality tools, particularly if your car hasn't been apart in 25 years. Things get stuck. And good quality tools will be less likely to round of bolts and Allen cap heads.
 05-05-2016, 11:10 PM
#737
Race Car
Thread Starter
Tools used for full suspension removal. If I miss any, pipe in, but I think we both kept good notes on everything we used:
1/2 drive ratchet
1/2 drive 18mm socket
1/2 drive 19mm deep wall socket
1/2 drive 19mm standard socket
1/2 drive 21mm socket (2 needed or one socket and one wrench)
1/2 drive 22mm socket
1/2 drive 10mm impact Allen socket
1/2 drive facom 10mm long Allen socket
1/2 drive facom long 6mm Allen socket
1/2 drive 12" extension
1/2 drive 6" extension
1/2 drive 19mm impact swivel socket
1/2 drive Impact gun
32mm Impact socket w 3" extension
1:3 torque multiplier
19mm box end wrench
17mm open end wrench
17mm box end wrench
16mm thin bicycle wrench
13mm box end wrench
11mm flare end wrench
11mm open end wrench
3/8 drive ratchet
3/8 drive 10mm 6pt socket
3/8 drive 13mm socket
3/8 drive 3" extension
3/8 drive 5mm Allen socket
3/8 drive 6mm long triple square socket (for early cars with triple square axle bolts)
M8 bolt for releasing the rotor
Wire clipper
Flat head screw driver
#2 Philips screwdriver
Ball joint separator
Ball joint fork
05-06-2016, 06:24 AM
#738

Hi
I just ordered a set.. paid via paypal.. I live in Brisbane, Australia, so hopefully they will be correct and arrive safely. It did make me feel better when they said that had made a "tonne of these lately".. they are NOT expensive either.
Mike
05-06-2016, 04:14 PM
#740
Race Car
Thread Starter
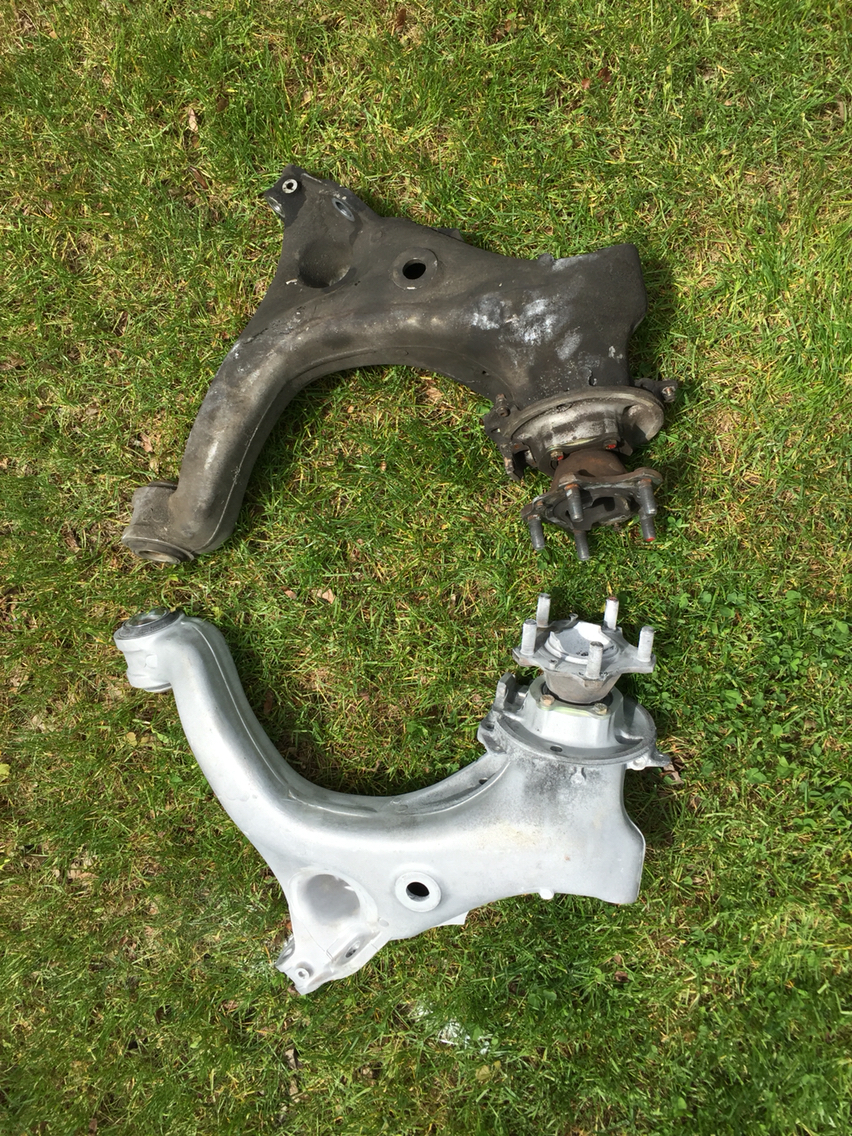
Two rear axles just left for cv of Ocala. Rebuild and rnr...the outers had a bit of play. So they can tell me if they are good or not.
This is the right rear.
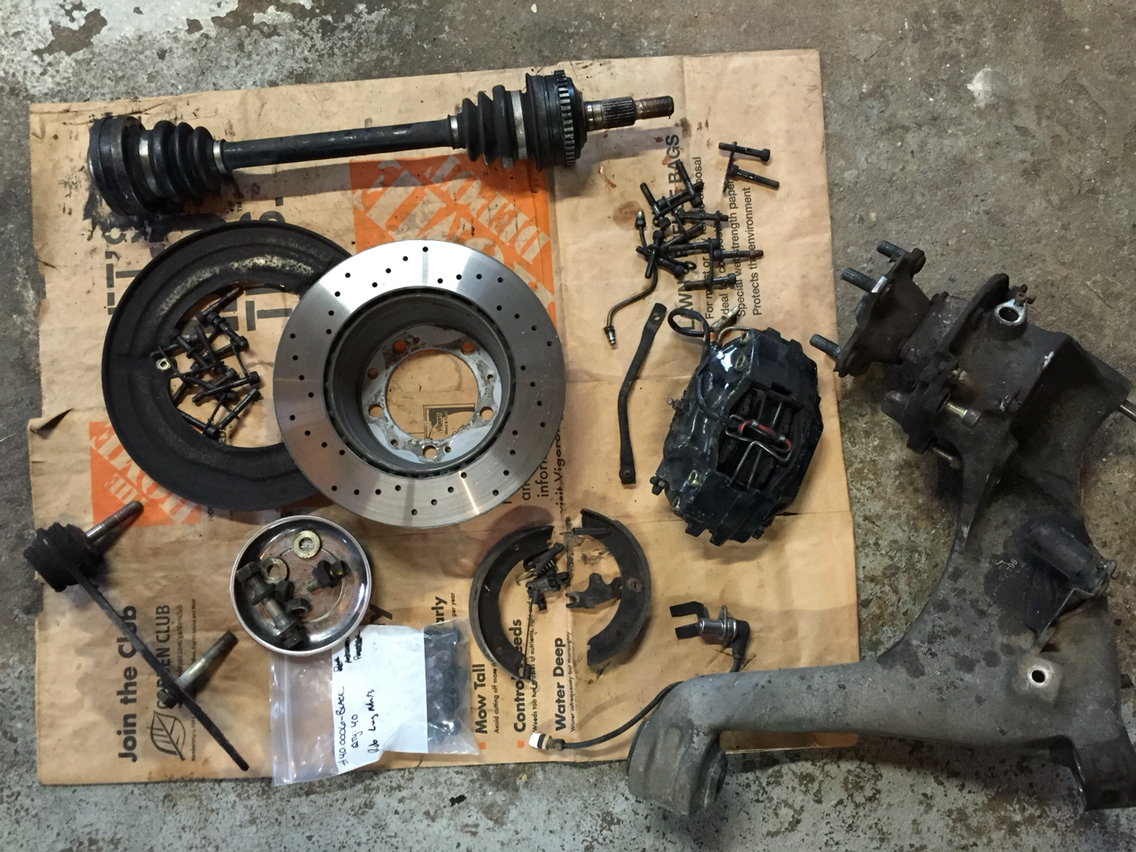
This is the right rear.
05-06-2016, 08:49 PM
#741
Race Car
Thread Starter
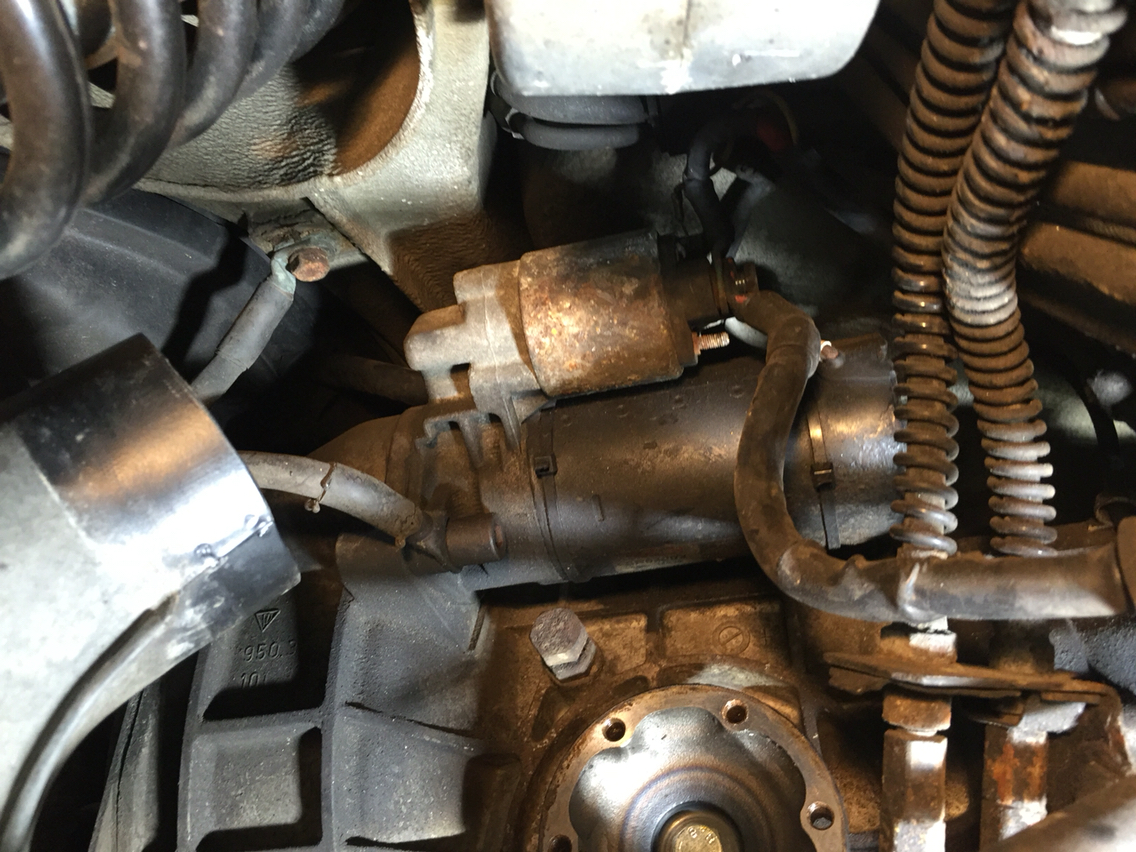
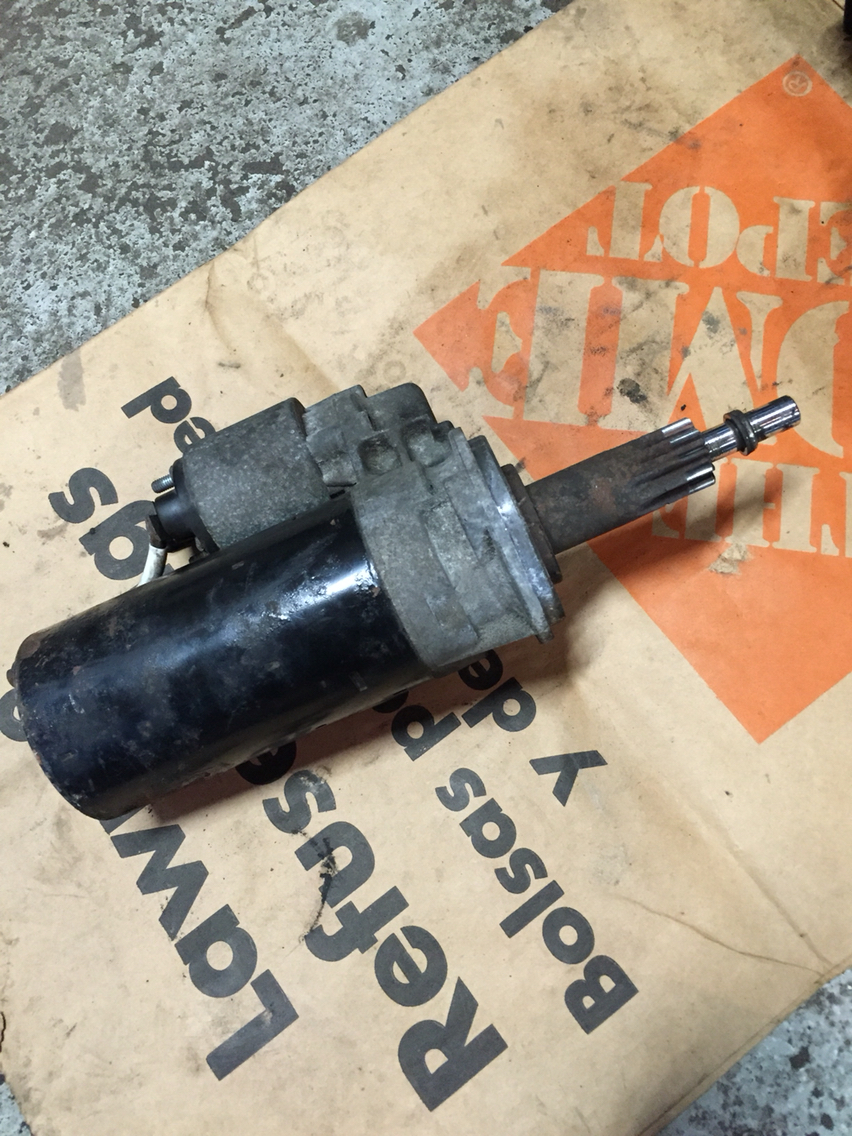
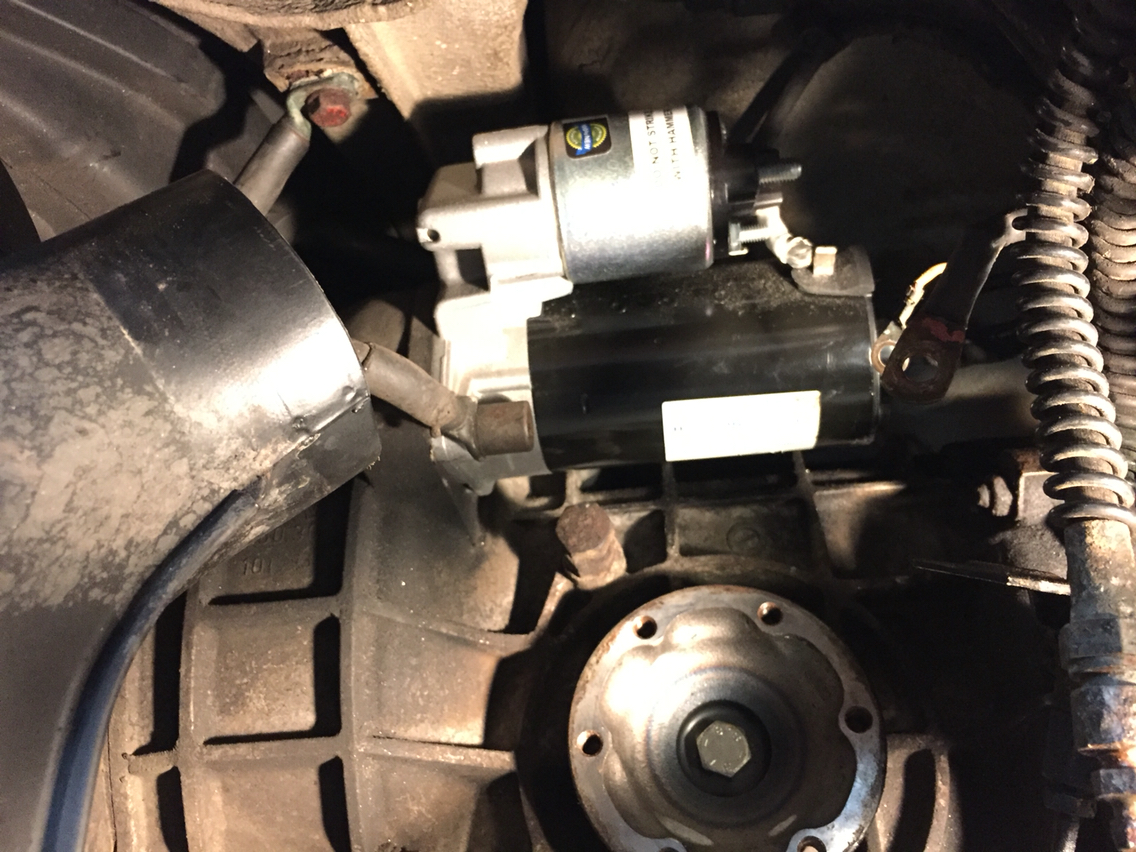
My starter was going. And I was looking into the hole on the right side of my car looking at it, and it made sense that while all this stuff is out, now would be the time to change the starter. Unfortunately I have a C4...so for those of you that know, it ain't so easy in a C4.
Out come as many things in the way as I could get to. The soft lines to the diff locks, the heater hose, etc. and then the reach around...long 10mm allen socket, an extension and a very thin cheep harbor freight flex head ratchet, to get the top Allen nut. Not easy, but it worked.
Then lower the motor four or five inches... And out it comes. Don't forget to disconnect the battery...
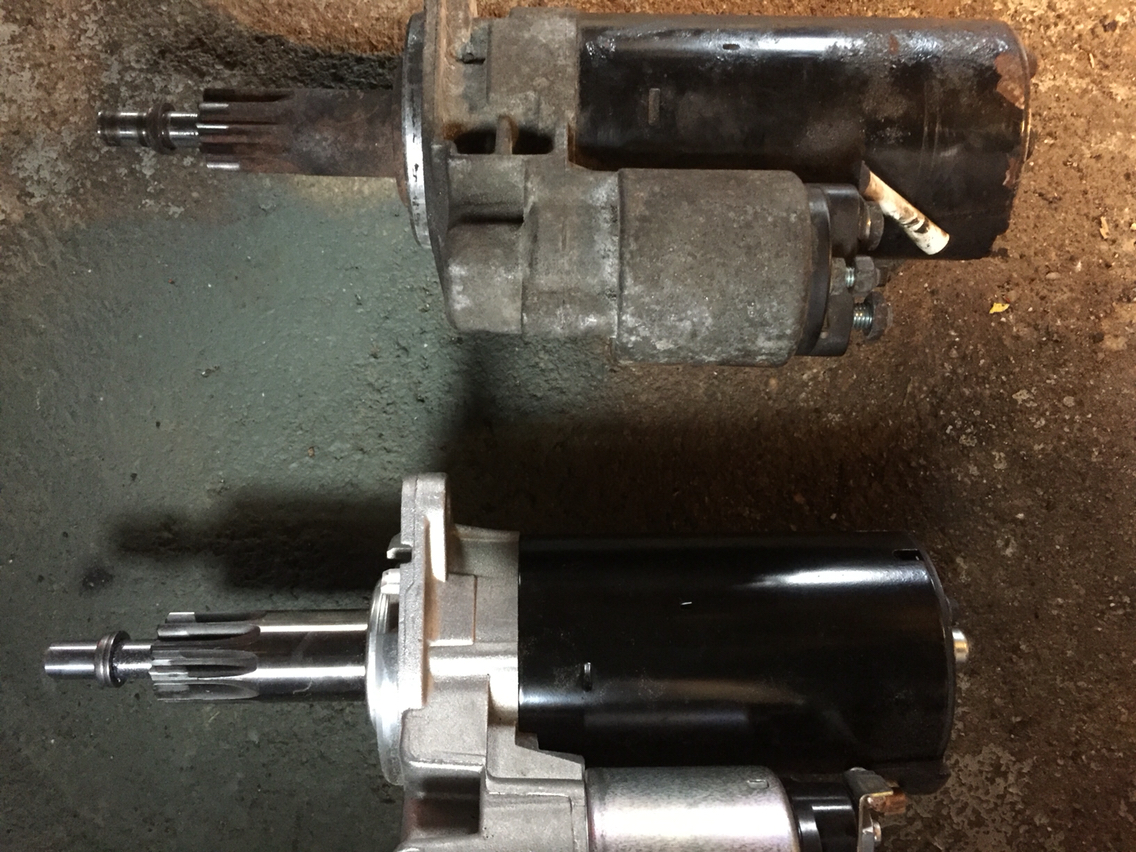
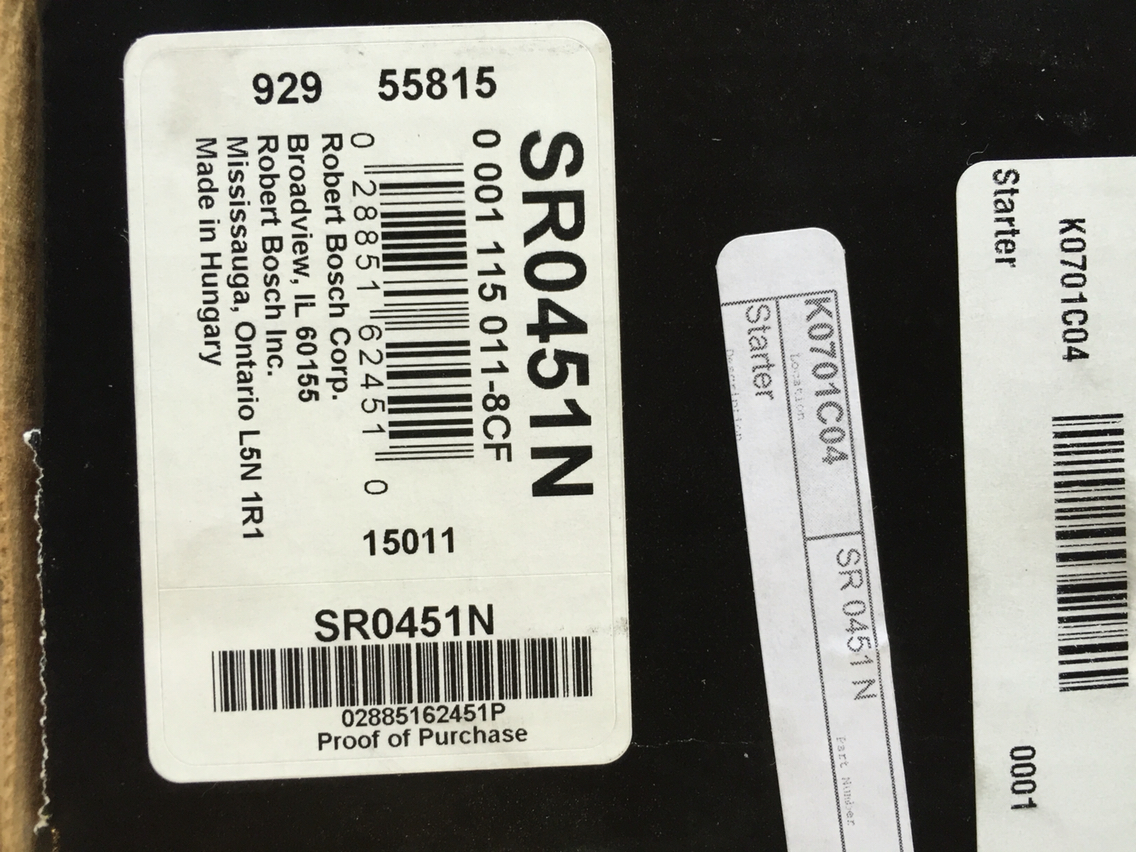
Starter arrives from butzigear tomorrow (no he won't hand deliver to you guys, but he's up the road and curious, so he's passing by with it)...
And then once that's done, it's cleaning time. Tomorrow everything will get cleaned. And then the real work starts.

Out come as many things in the way as I could get to. The soft lines to the diff locks, the heater hose, etc. and then the reach around...long 10mm allen socket, an extension and a very thin cheep harbor freight flex head ratchet, to get the top Allen nut. Not easy, but it worked.
Then lower the motor four or five inches... And out it comes. Don't forget to disconnect the battery...
Starter arrives from butzigear tomorrow (no he won't hand deliver to you guys, but he's up the road and curious, so he's passing by with it)...
And then once that's done, it's cleaning time. Tomorrow everything will get cleaned. And then the real work starts.
05-07-2016, 08:11 PM
#742
Rennlist Member
Such a nice solution. On your custom bracket, how long are the two sides that space the bracket away from the car? Also, where did you put the hole in the new bracket (middle or spaced closer to top/bottom of bracket)? TIA
 05-08-2016, 12:14 AM
#743
Rennlist Member
The bracket was made with CAD (cardboard-aided-design) and fettled a few times to get it just right, so I don't have exact measurements, but the top is about 1" and the bottom is maybe half that - the panel is curved so the bracket is set up so that the mounting surface is vertical and there's a small air gap but not much. The hole in the bracket is centered vertically and tapped for M6. Test fit, test fit, test fit, then drill!
 05-08-2016, 12:28 AM
#744
Rennlist Member
The bracket was made with CAD (cardboard-aided-design) and fettled a few times to get it just right, so I don't have exact measurements, but the top is about 1" and the bottom is maybe half that - the panel is curved so the bracket is set up so that the mounting surface is vertical and there's a small air gap but not much. The hole in the bracket is centered vertically and tapped for M6. Test fit, test fit, test fit, then drill!
 05-10-2016, 02:19 AM
#746
Race Car
Thread Starter
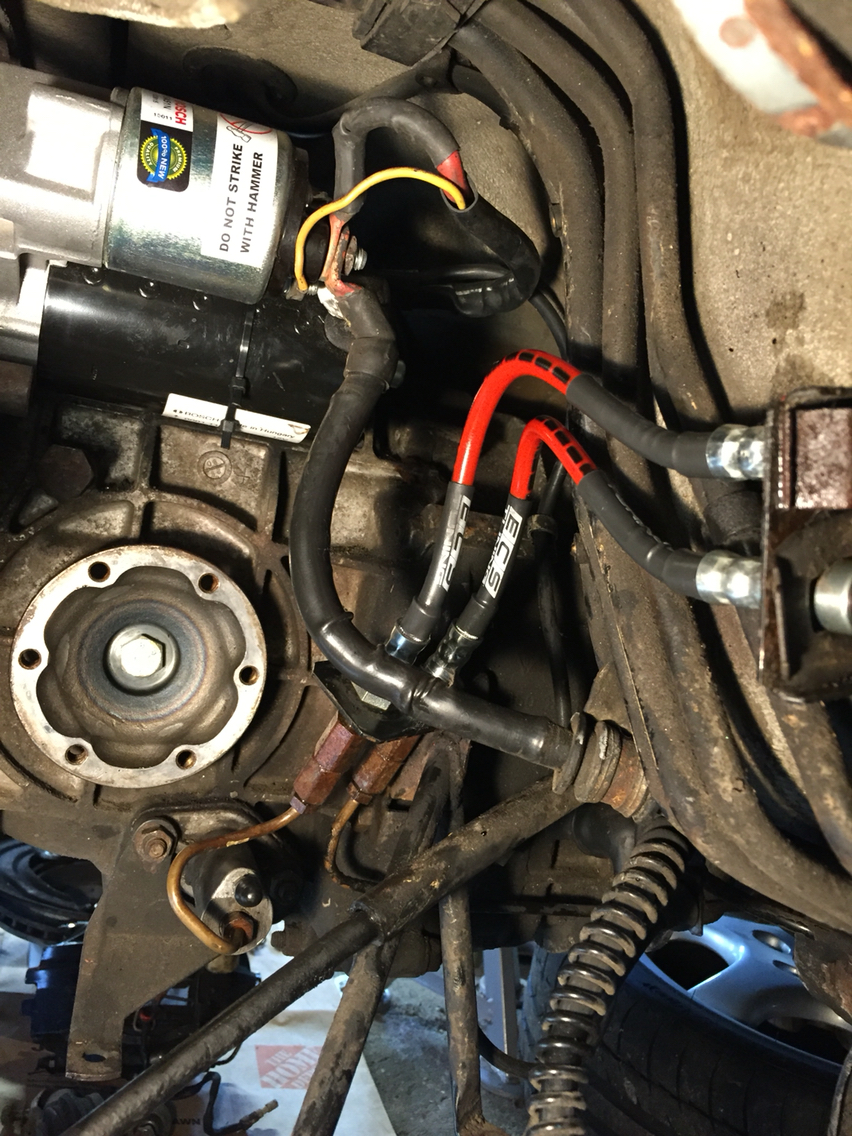
Then next up were the new PDAS soft lines. Rear brake lines are approximately the same length. The only good easy rear braided lines I could find separate from a set of front and rear were the ECS tuning exact fit lines for the rear. They work well and are a good replacement for the oem soft lines and aren't expensive.
05-10-2016, 02:21 AM
#747
Race Car
Thread Starter
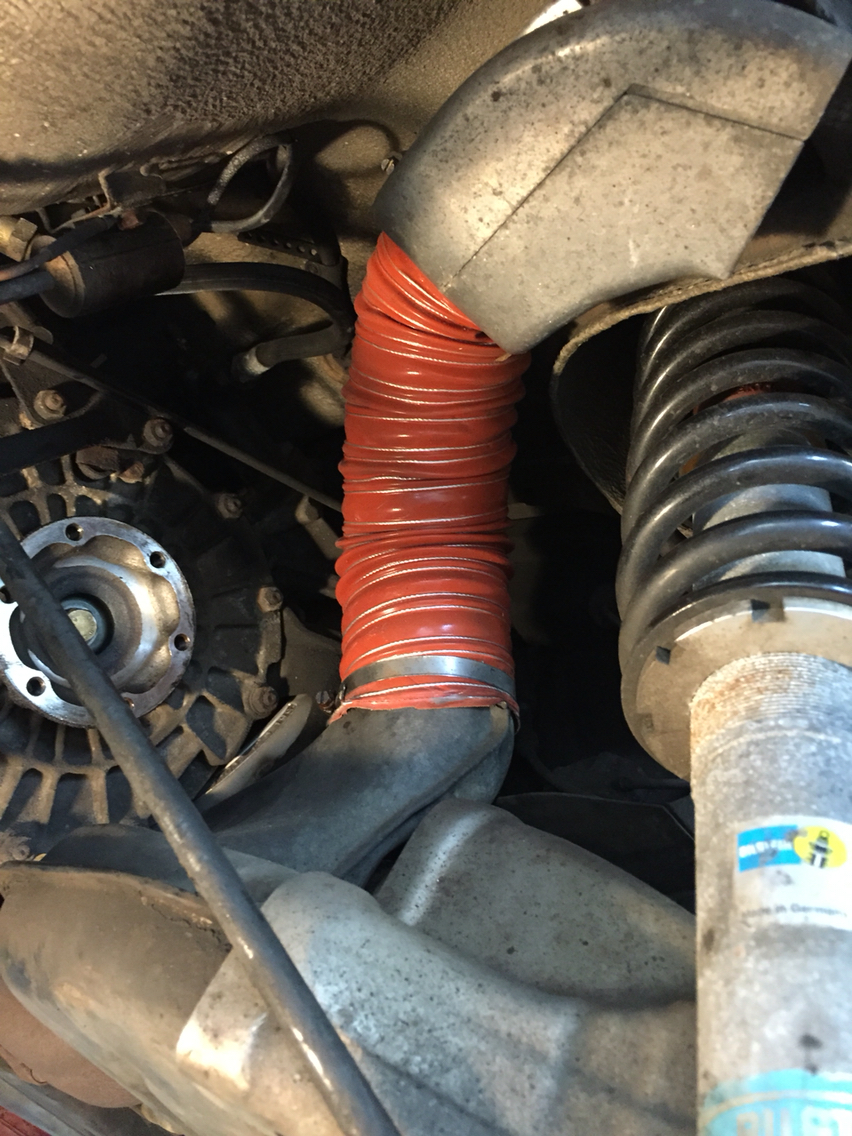
And then heater hoses. Mine were dry and torn, like ma y we see. So new hose keeps more exhaust gasses out of the system. No more headaches with the heater on!
05-10-2016, 02:32 AM
#748
Race Car
Thread Starter
It's so nice to finally be doing this stuff to my car. Darren's car is still out for upholstery...so I have some time...but trying the step up the pace. I haven't even begin to start cleaning the suspension parts and getting them ready for bearings and bushings yet...soon the soda blaster will come out. Maybe tomorrow. Let's see if the neighbor's are around. Gets a bit messy with the soda.
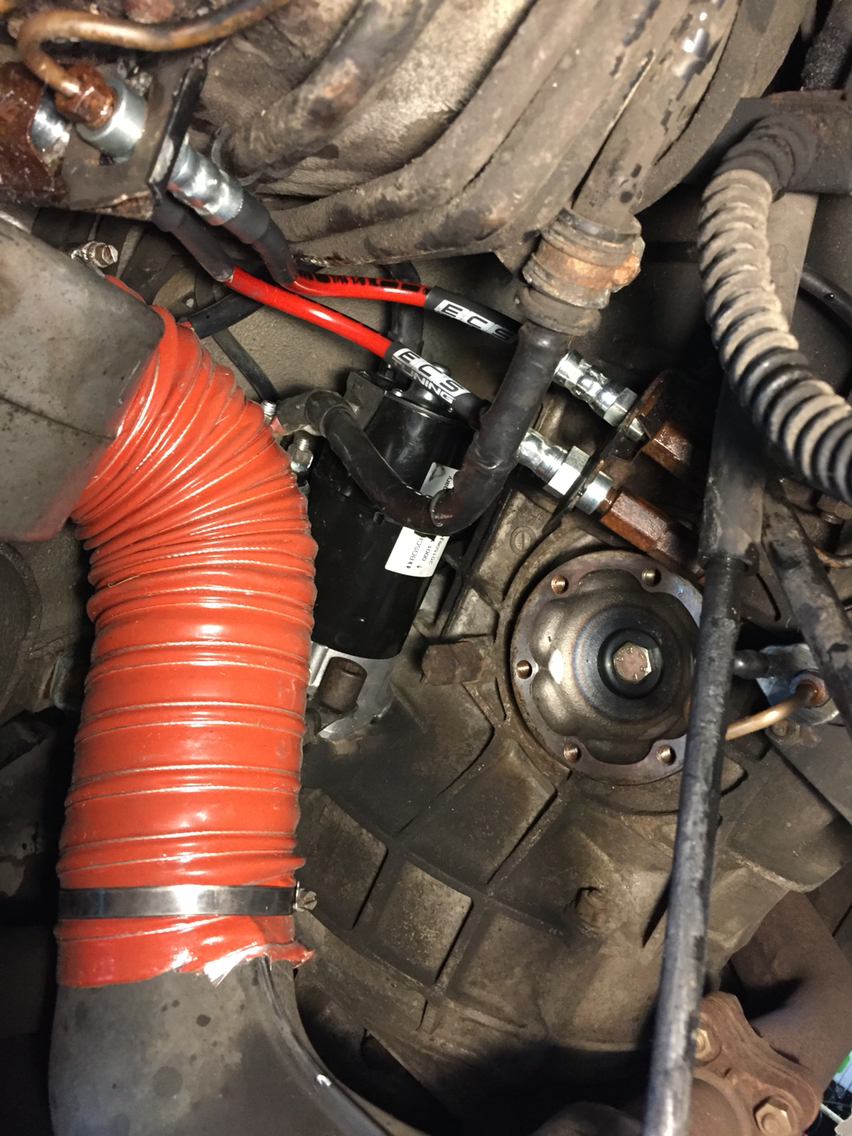
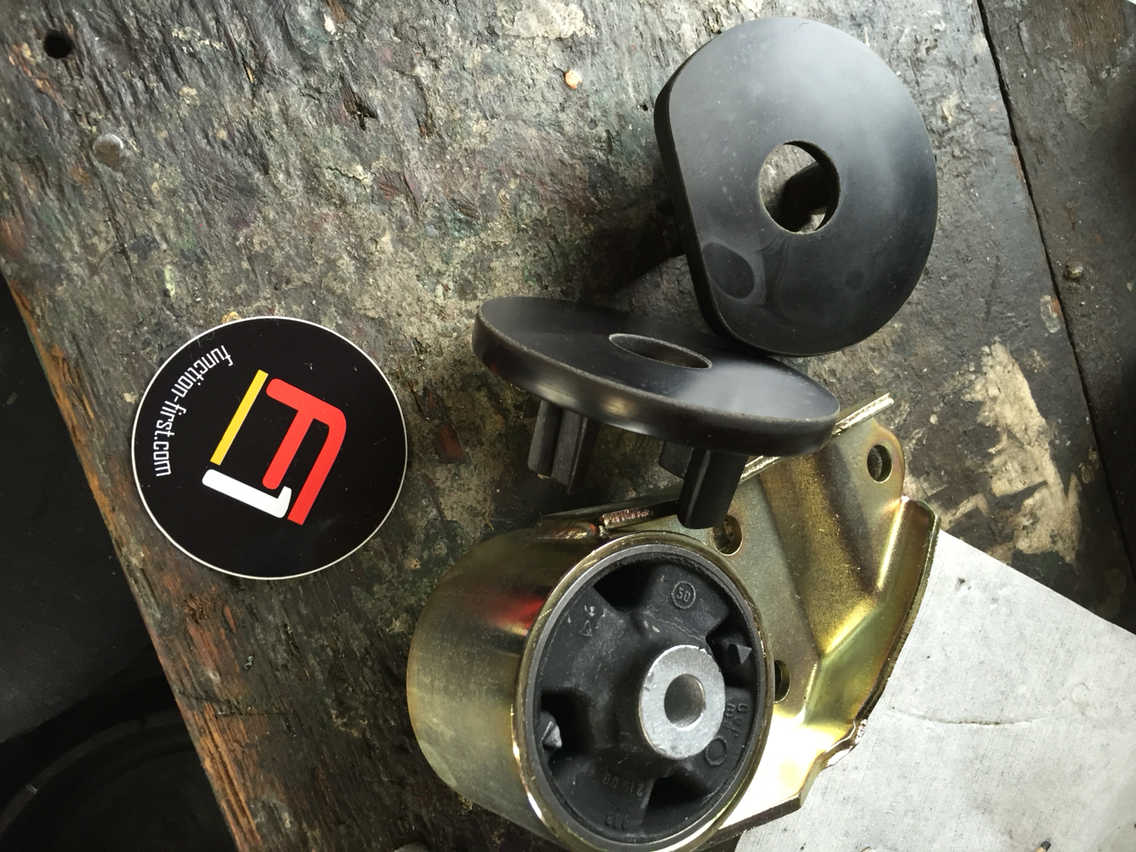
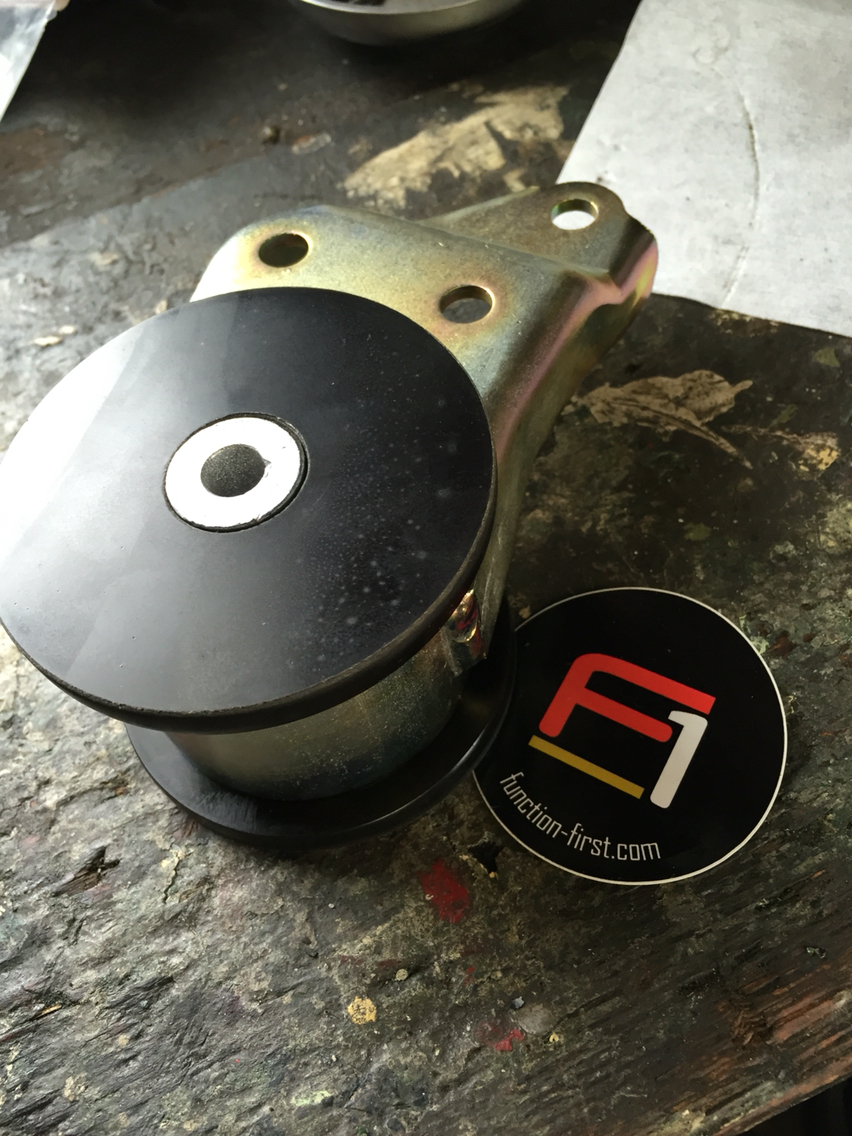
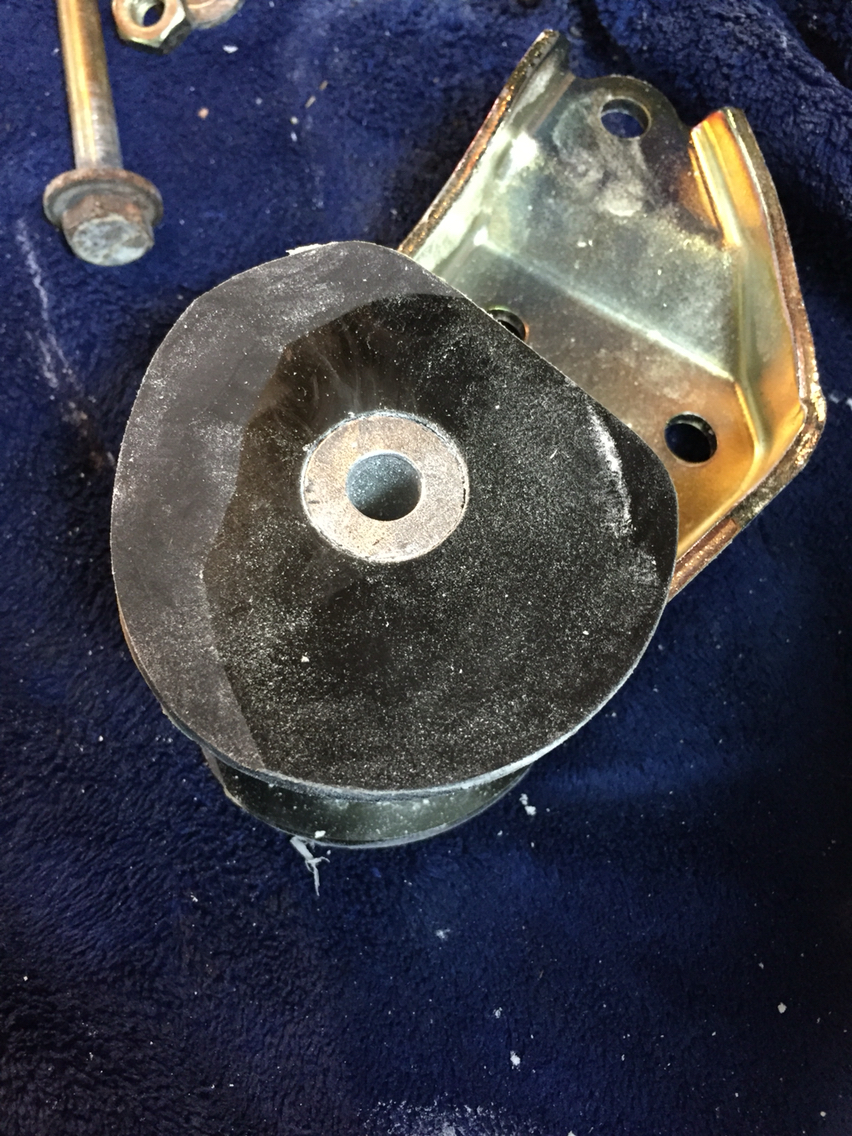
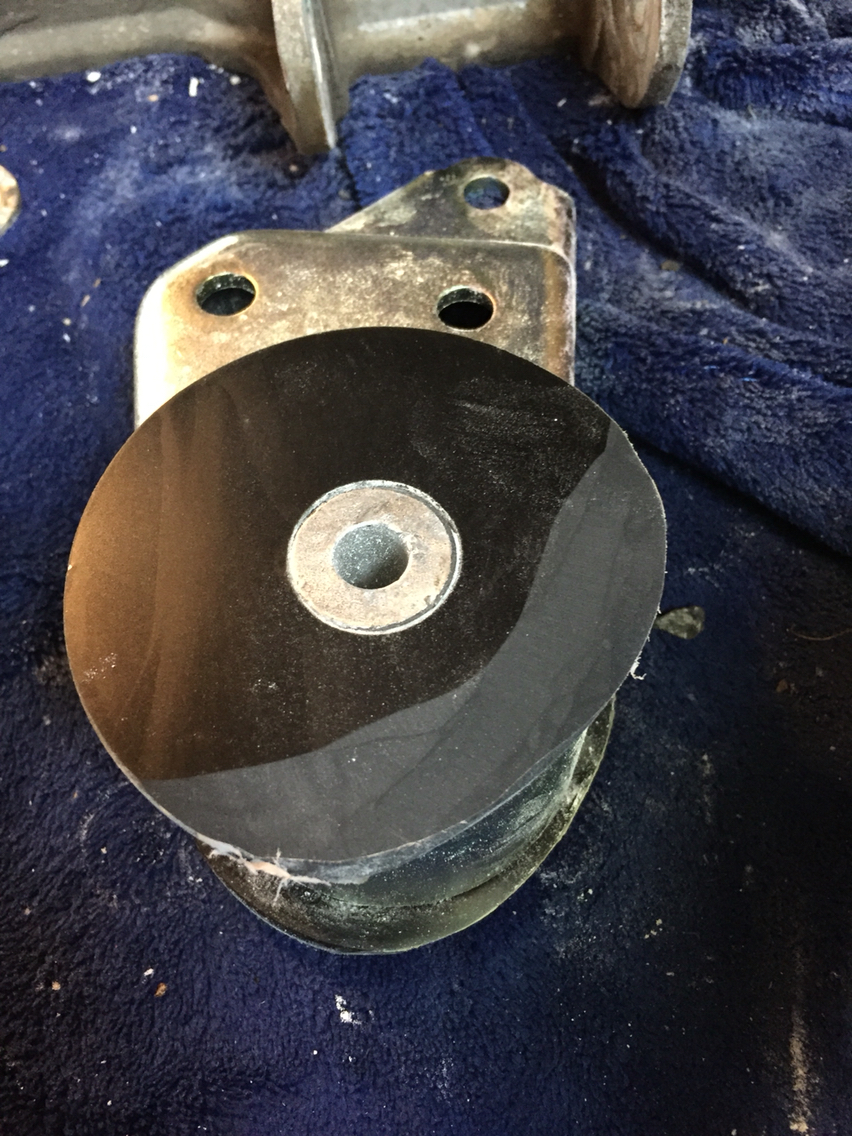
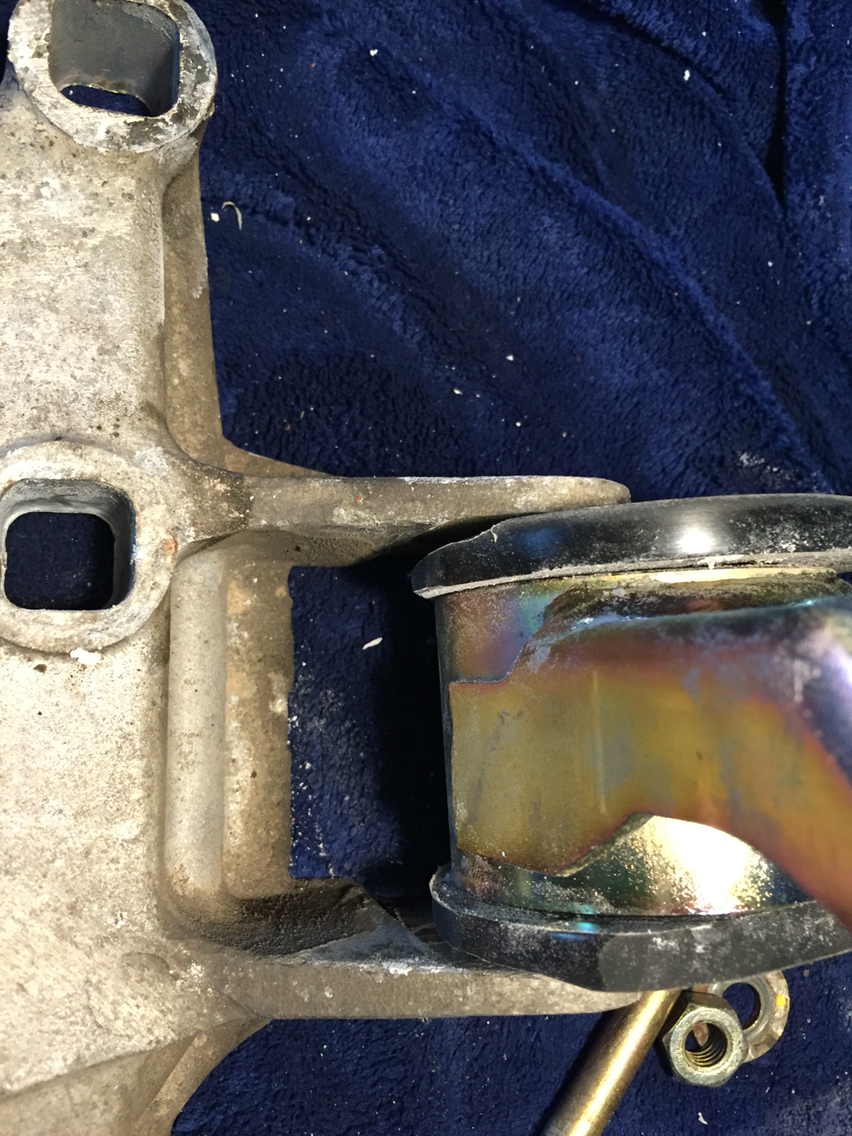
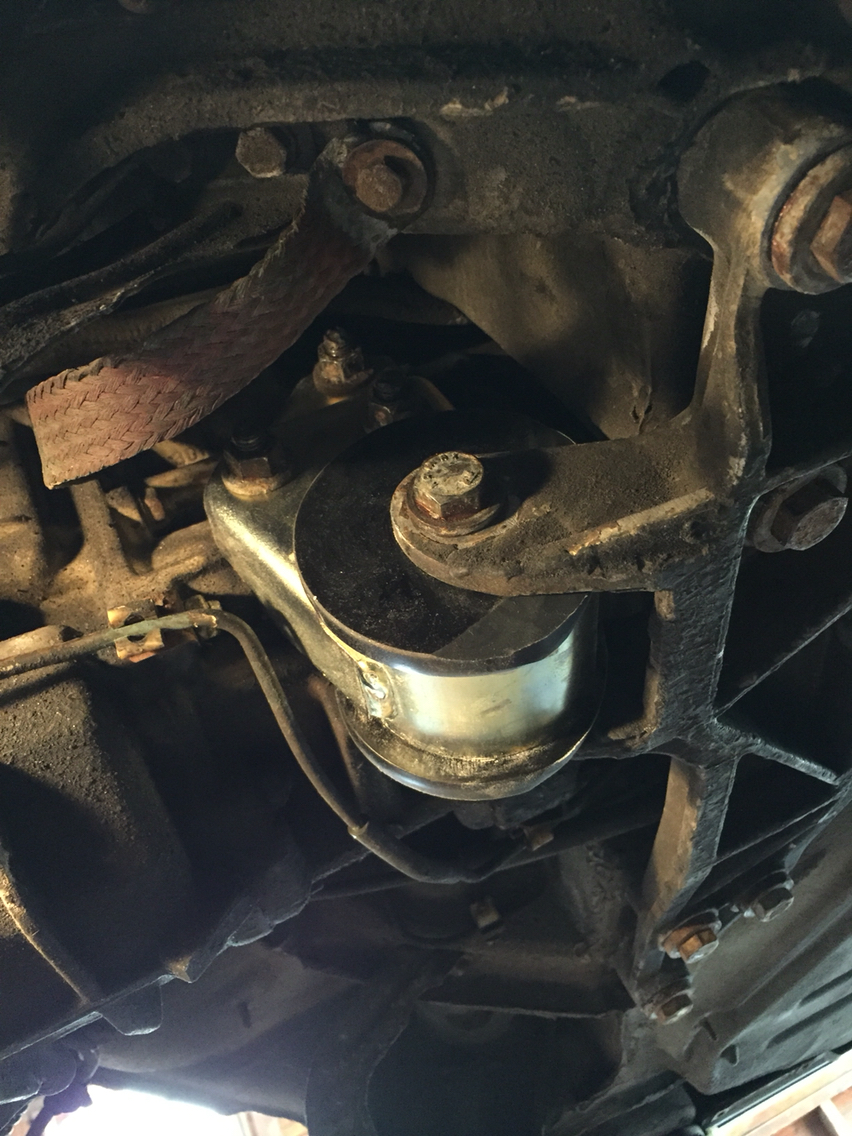
In the meantime, I installed the function first transmission stiffener and a new transmission mount. I didn't do the transmission mount when I had the motor out for rebuild and I always questioned not doing that. But the shop that pulled the motor said something "shop like" at the time..."those things never go bad"...which is bunk. And mine worked. But the bushing was shot after 25 years. One thing about rubber. 25 years of tempurature extremes, it doesn't stay happy. And therapy does it no good. So out with the old and in with the new.
I also wanted to try the ffirst stiffener. They say it goes right in, and there is actually a C4 version for my car. I've had it for a while, and now was the time. And then I found out it needs modification to fit properly. You don't want to bend the alluminum tabs when you put the bushing in, those tabs are cast and will crack. So it went to the bench grinder and I shaved it till both sides fit easily in the bracket, and now it's free to stiffen without causing damage. No idea if it's going to cause too much nvh...more on that in a few weeks when the car is on the road.
05-10-2016, 02:39 AM
#749
Race Car
Thread Starter
Next up will be either rehabbing the control arms or trailing arms or if the Delvac arrives, I'll drain the trans and diff fluid and do the axle flange seals. would be tradgic to have all this out and leave 25 year old flange seals in place, leaking, when it's an easy job. Fringe benefit...new trans and diff fluid....
So let's see what tomorrow brings...
In the meantime...I'm now living with enso/joes/now BMikes new/old C4 full time while I do this work. And I can say this...all you guys that didn't buy that car missed out on a very good car that needs little to make it outstanding...I'm loving it. Can't wait to sort that out for real. It's going under the knife after mine and then Darren's...but i do need to find cashmere beige four way seats for it and some carpet pieces...so if you see any...pass them on. Can't have BMike driving around w ripped seats.
05-10-2016, 05:03 PM
#750
Race Car
Thread Starter
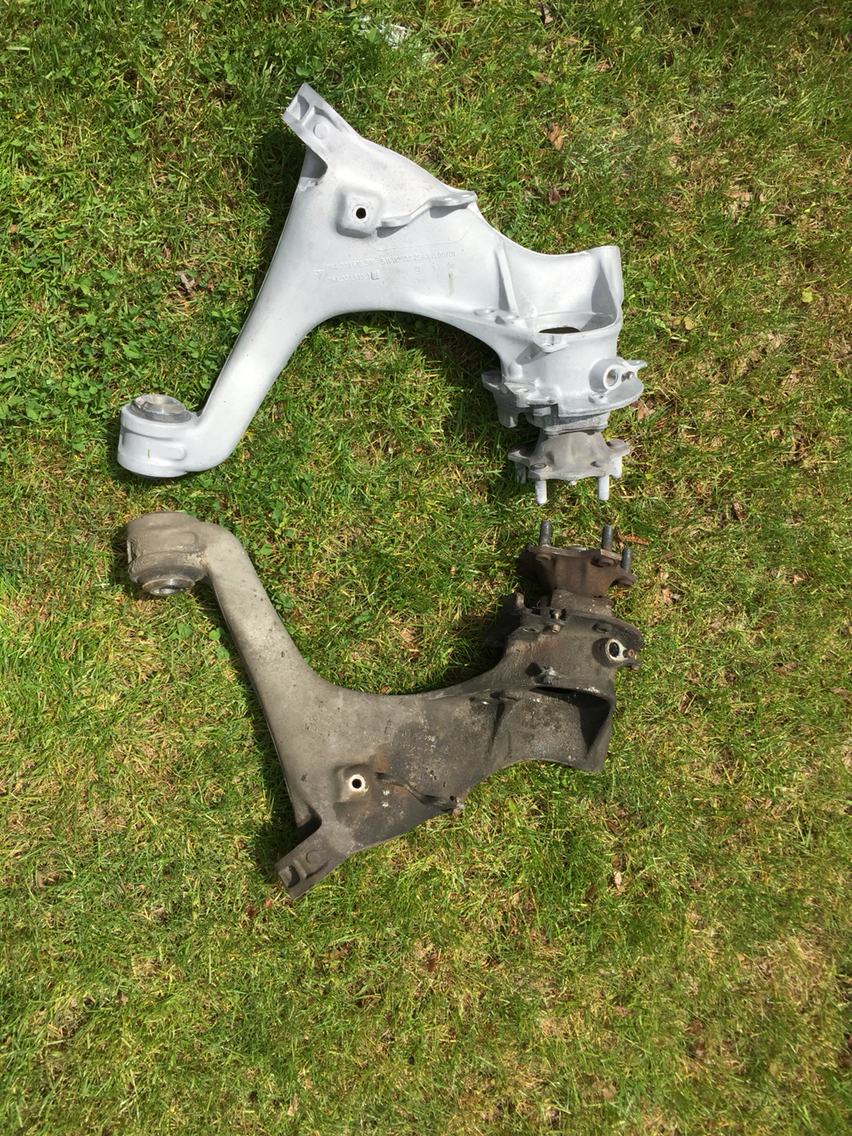
Soda blasting . So much fun.
Trailing arms, wheel carriers, subframes, control arms and spring plates all got done today.
Now on to the bushings...
Trailing arms, wheel carriers, subframes, control arms and spring plates all got done today.
Now on to the bushings...