When you click on links to various merchants on this site and make a purchase, this can result in this site earning a commission. Affiliate programs and affiliations include, but are not limited to, the eBay Partner Network.
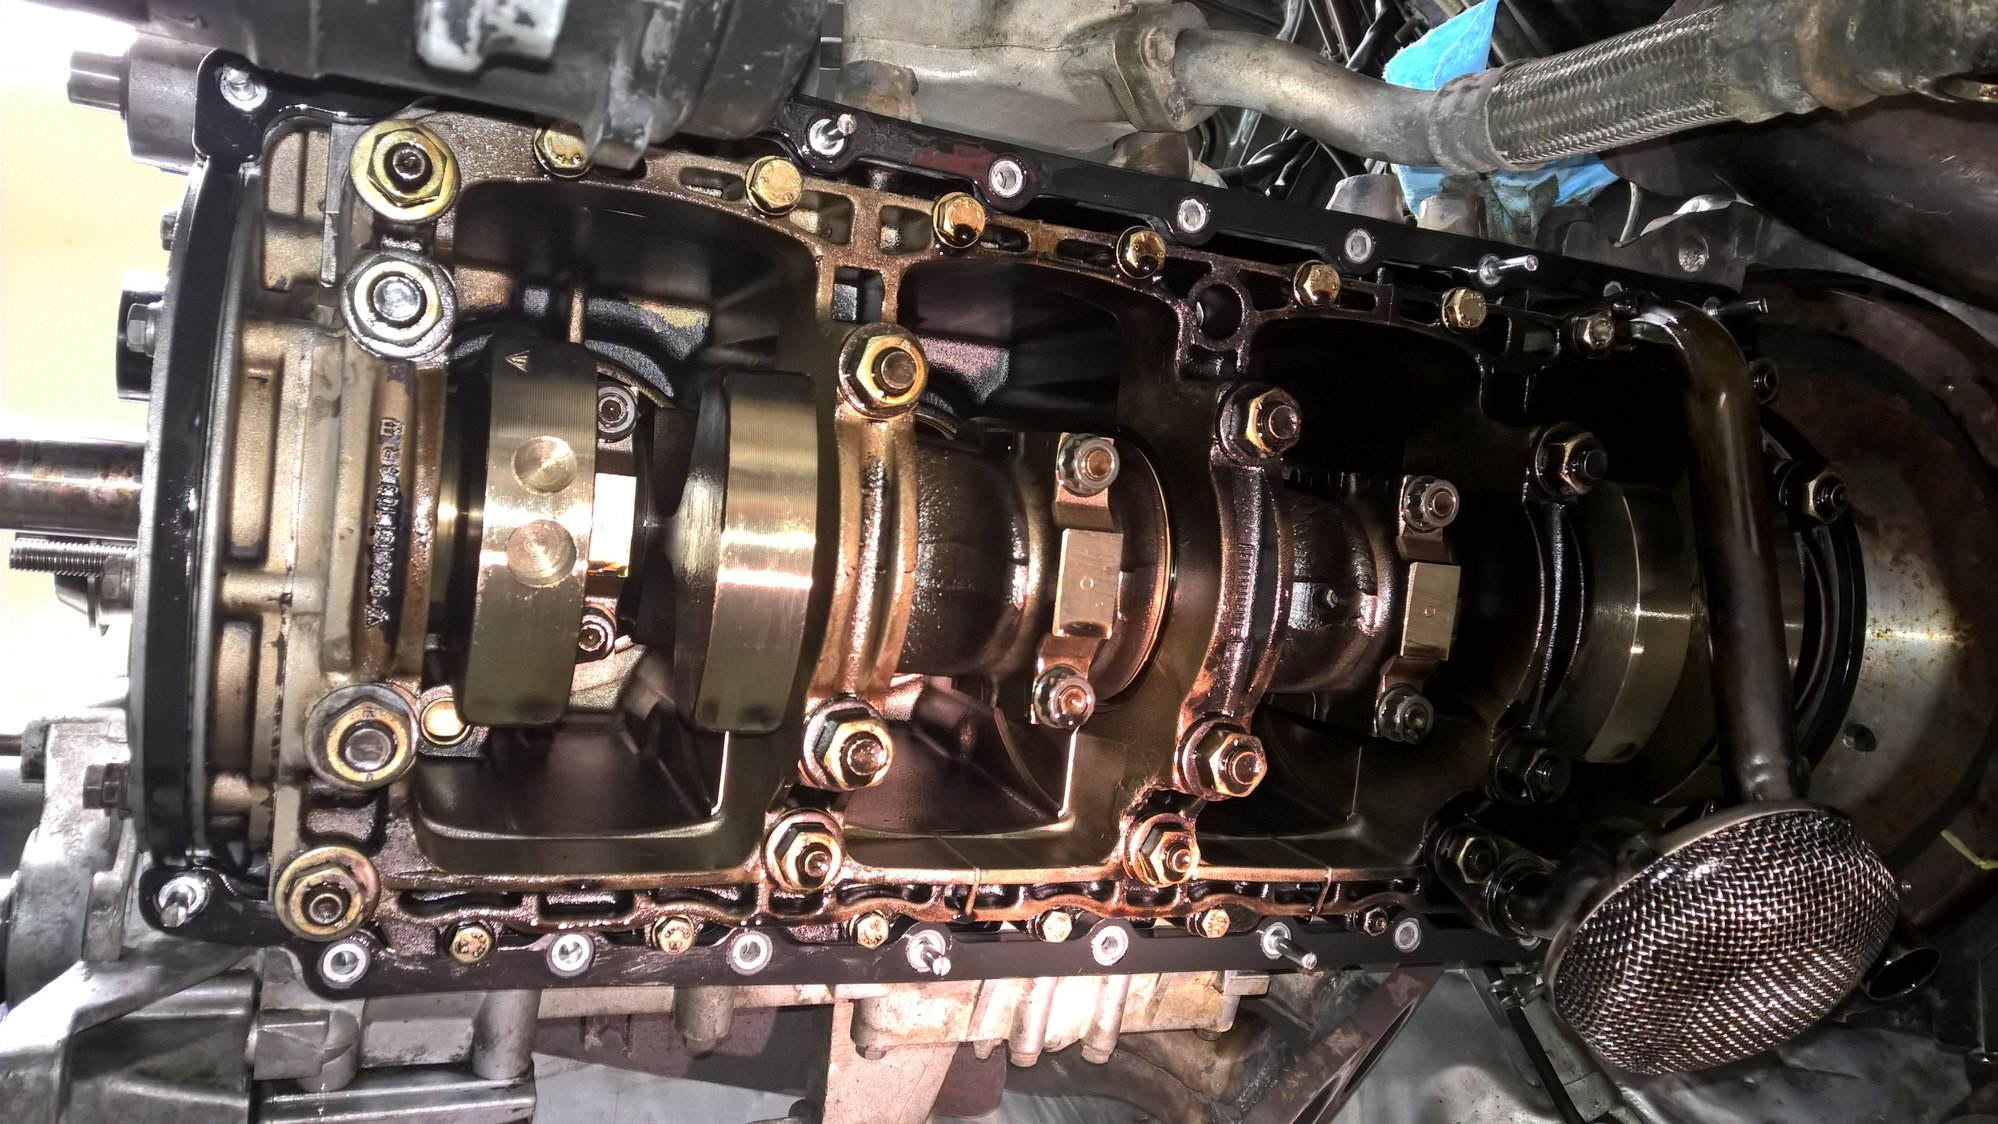
Finally received some Loctite 574 and was able to re-install the oil pump... which allowed me to install the oil-pan!
I tried the 'stud' method for holding the gasket in place. This worked EXTREMELY well, and I totally understand how it would be difficult to properly seat the gasket otherwise.
I cleaned the 'mold release' residue off the gasket and then decided to try not using any gasket goop of any kind. I wanted to try a recent recommendation on here to just use some oil on both sides of the gasket so it can move while torqueing down. Makes sense - I hope it works.
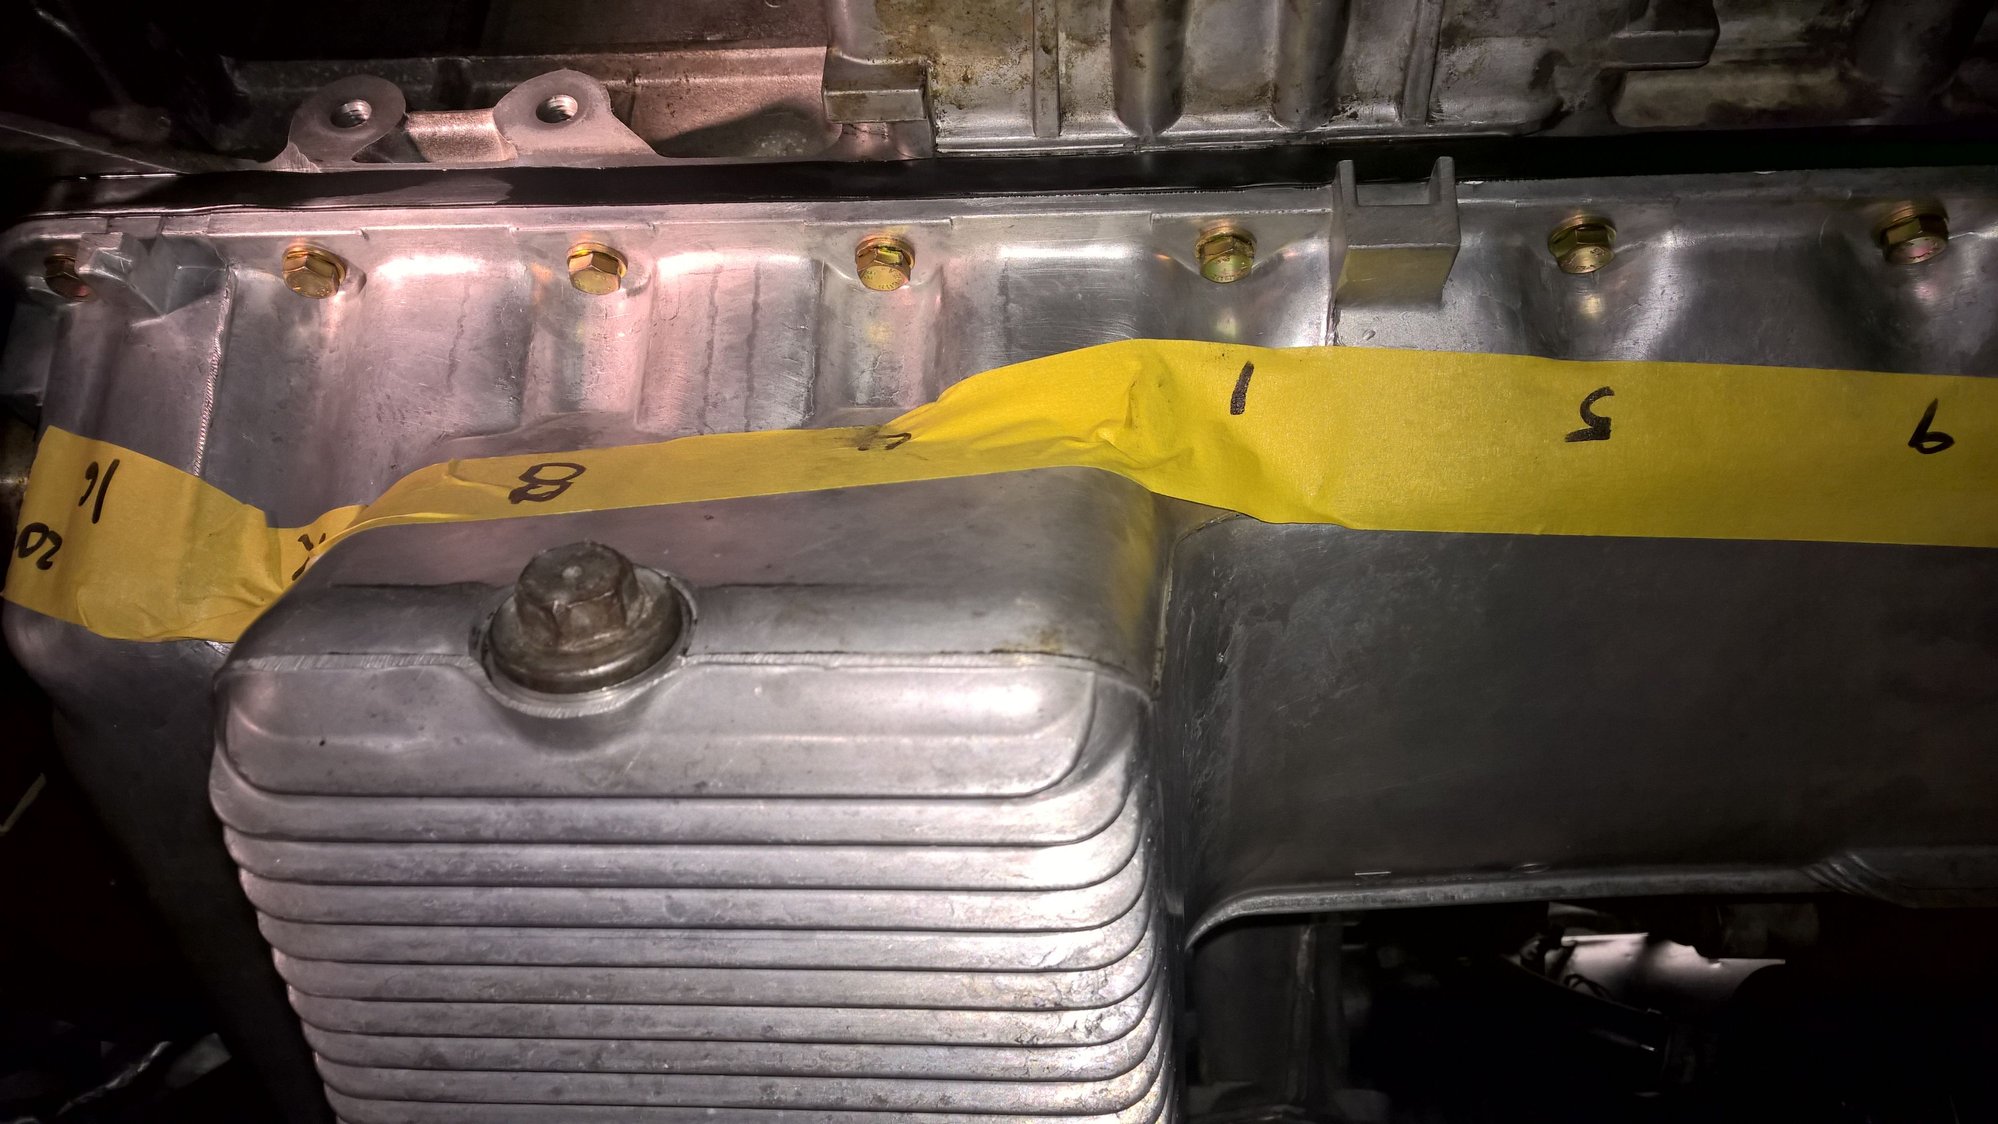
I know these numbers off by heart now. I probably hand-tightened them around six cycles, and then twice for the 3 ft-lbs and a few more times for the 6 ft-lbs.
Glad to be done. Other than getting a stiff neck looking up while torqueing all these bolts down, the worst part was trying to fit the pan into place without cracking the plastic insert (again).
Next up, cross-member and motor-mounts... I think - I've already forgotten the order of removing all this stuff.
What "stud" method are you using? I've seen several....
These are the temporary studs.
I cut the heads off eight M6 bolts (~50mm long) to make studs, and then cut slots in the ends using a dremel to allow easier removal using a screw driver.
The studs did a perfect job of holding the gasket in place and against the block, as the gasket needs to be somewhat 'stretched' to fit the holes. I definitely would have pinched the gasket near the flywheel at the highest point had I not used this method - it allowed me to feel all around and tuck everything in.
I was then able to focus only on installing the pan, and I threaded in a few real bolts to take the load. Then I leisurely installed the remaining bolts, removing the studs as I went.
I like!!! The others I had seen involved using some kind of sticky gasket sealer or something. So I was wondering how you were doing it "dry". Think I might try this one, interested in how it works out. Update us on the seal!?!
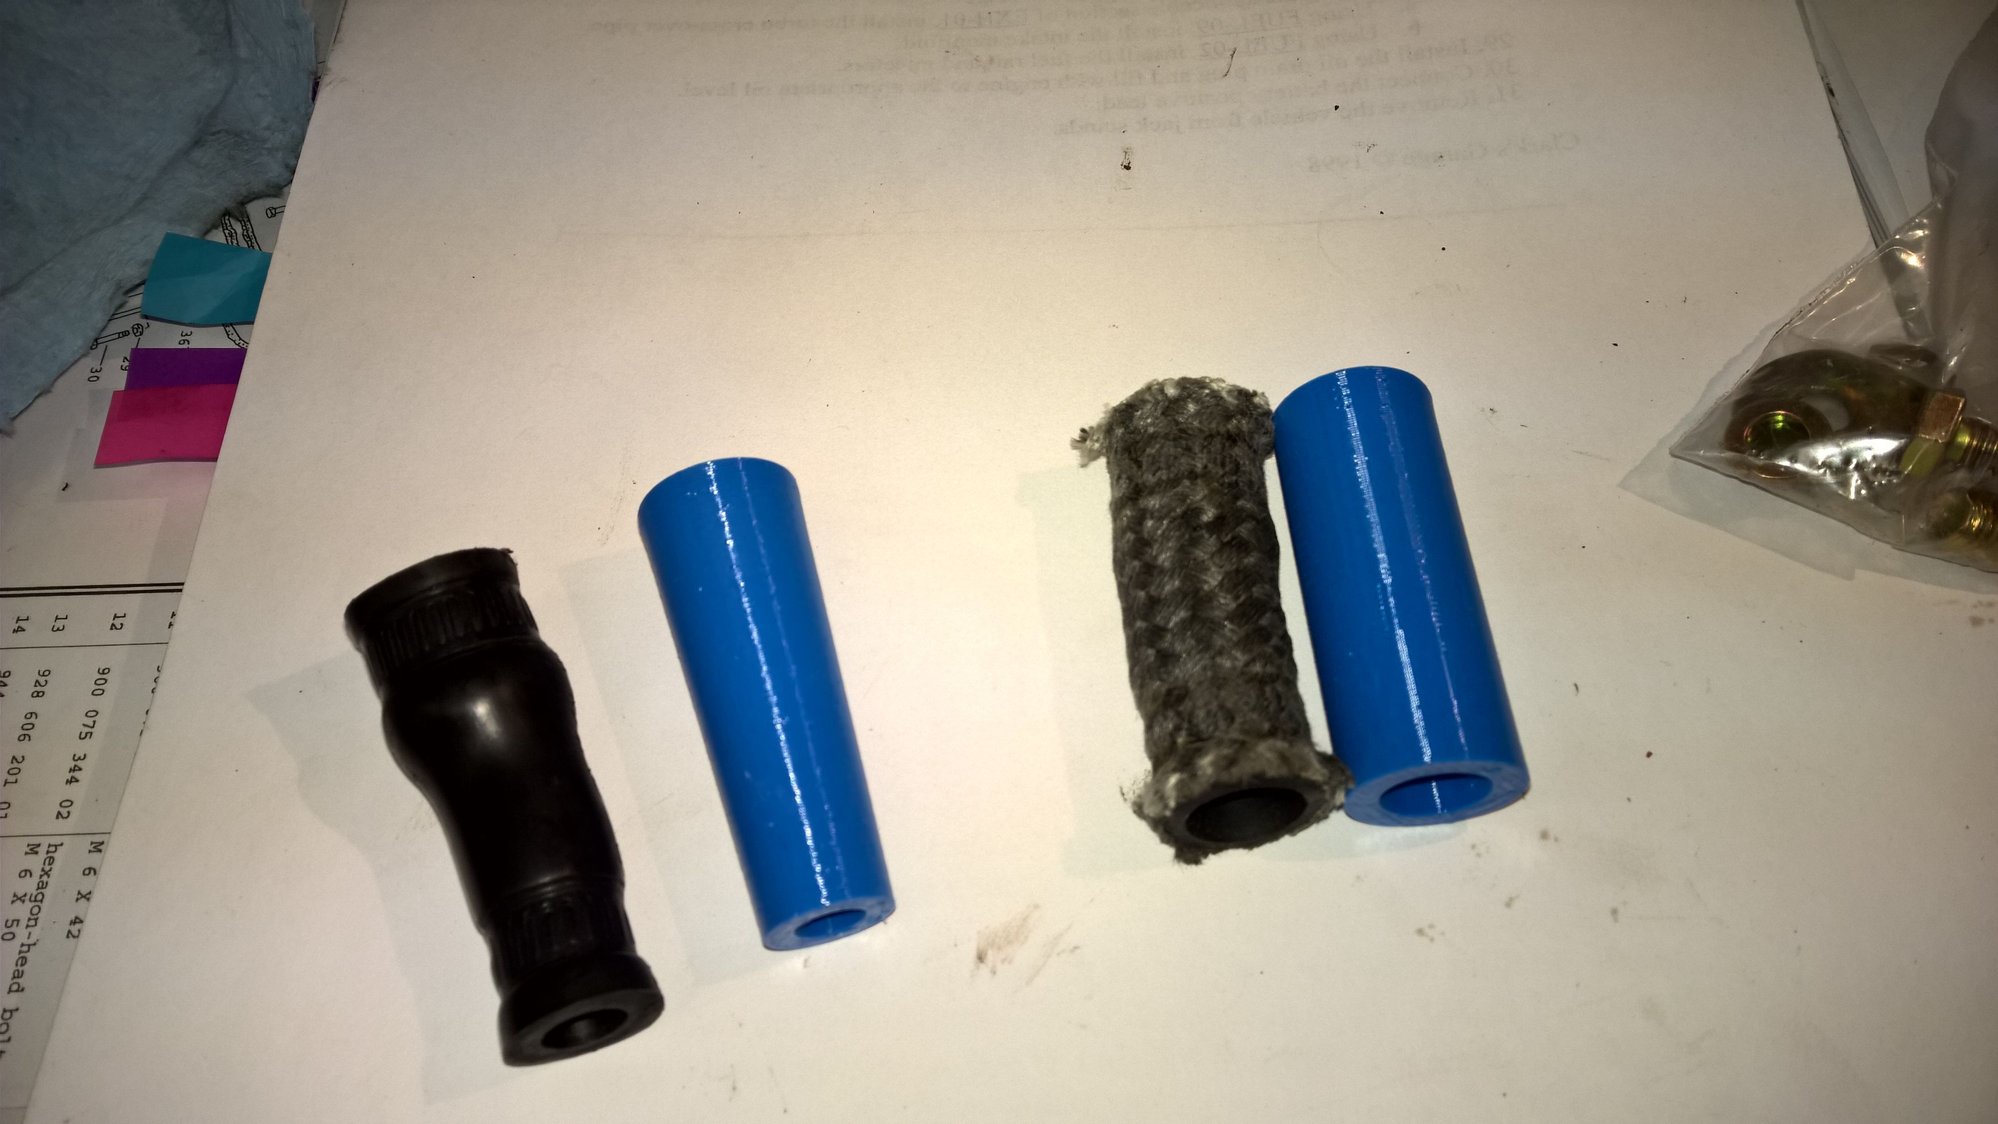
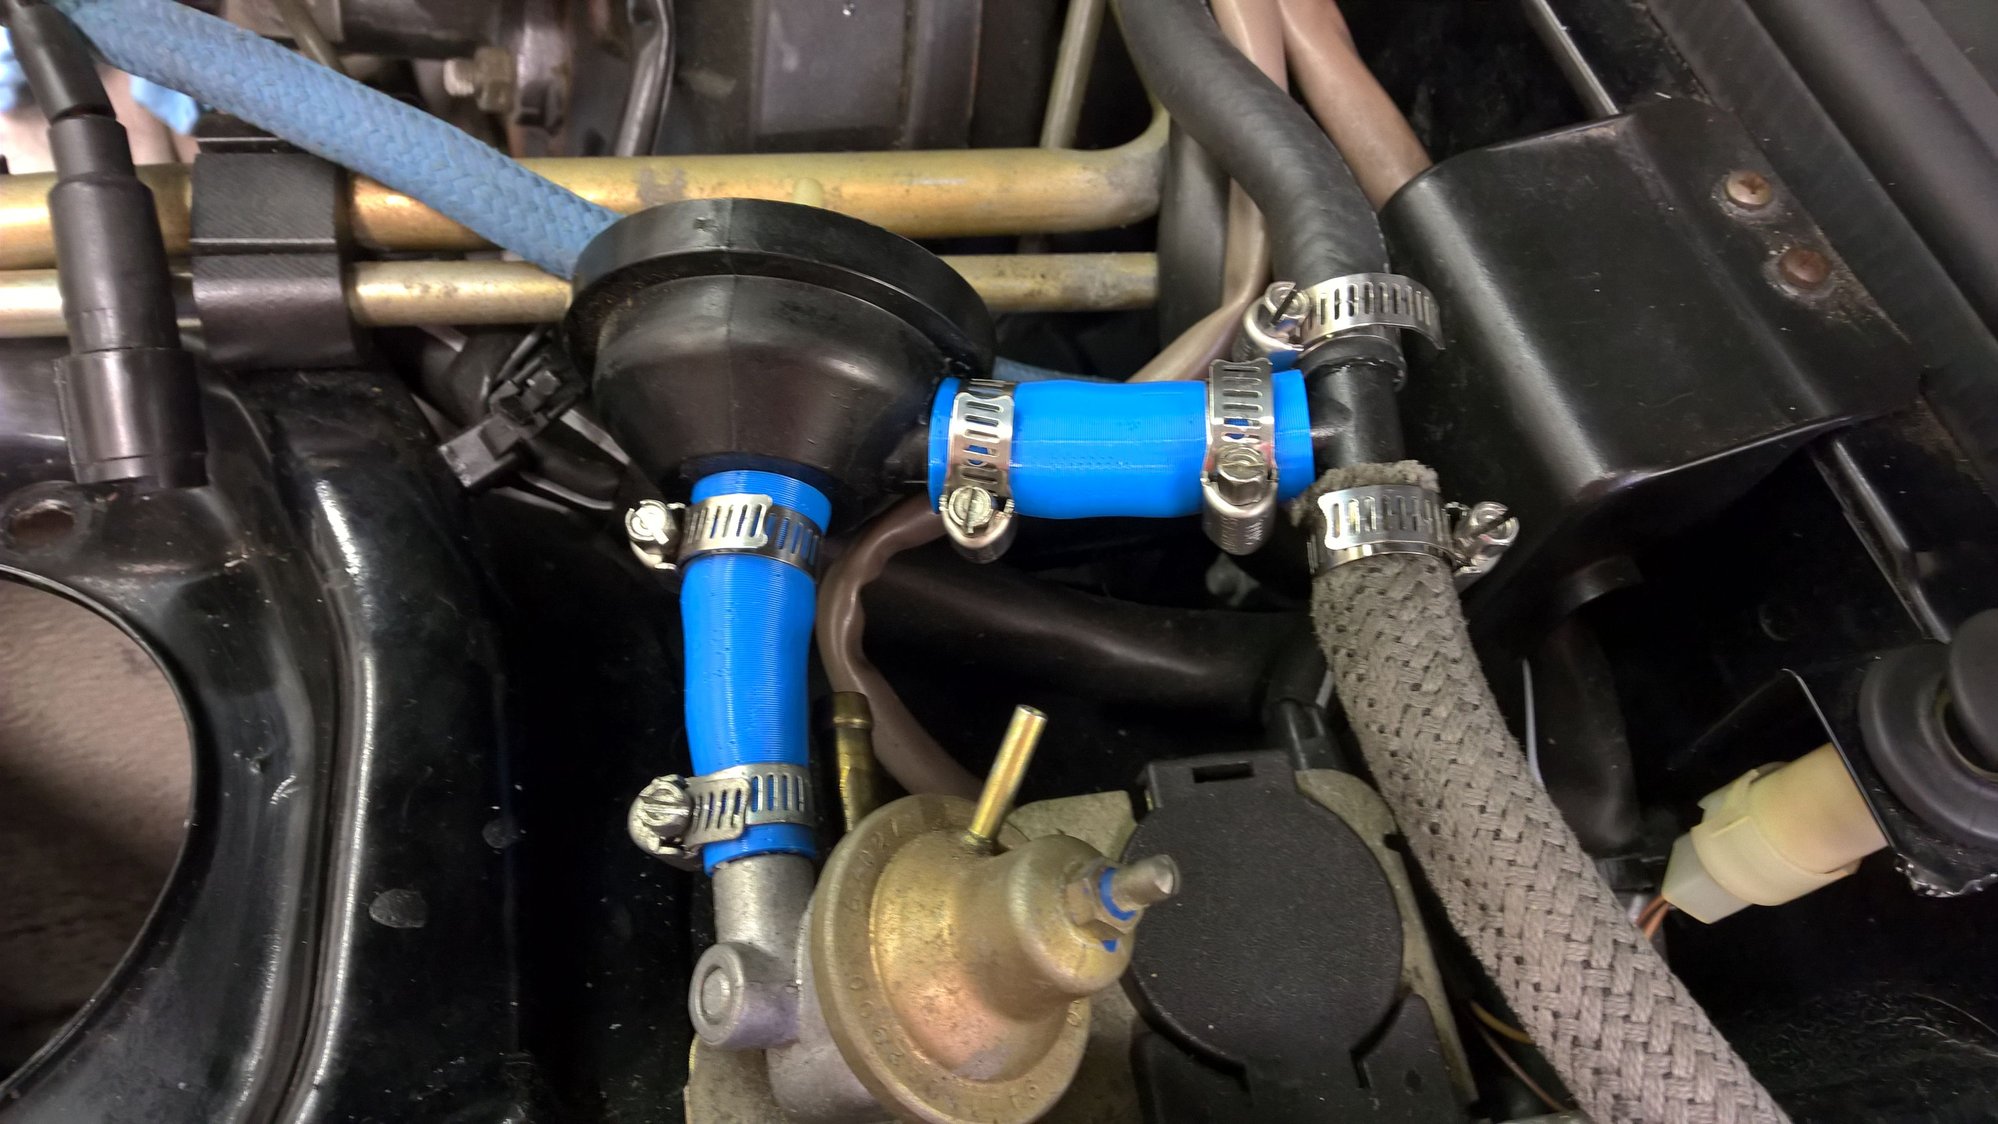
If I send you some hoses, can you 3D print replicas?
There is a hose on the early NA that is kind of a J shape with a T on the end.
Does it have to be blue or is black an option?
After having the 8" wheels on the front and the 7" in the rear just to try it for a bit, I put them back and also checked tension on the front wheel bearings, which were installed recently. Tightened them both a little.
Having 8" on the front made steering looser and less sharp so glad to be back to normal. Will use this information in the future. 1 inch on the wheels makes a noticeable difference.
Getting ready for rennbay ball joint rebuild kit and wheel spacers project.
If I send you some hoses, can you 3D print replicas?
There is a hose on the early NA that is kind of a J shape with a T on the end.
Does it have to be blue or is black an option?
I can print any colour if I have the filament on hand.
I'd love to be able to print a more complicated hose, but 3D printing has strengths and weaknesses, and one of the weaknesses is circular geometry in more than one axis.
I can print any colour if I have the filament on hand.
I'd love to be able to print a more complicated hose, but 3D printing has strengths and weaknesses, and one of the weaknesses is circular geometry in more than one axis.
If you can do this one, I'd like a copy too. Mine is an '83 with all kinds of bad hoses from sitting out in a guy's yard for 10+ years up here in NH..Any substance would be fine..silicone would be the best if you can do it. would be glad to pay for it too..just asking..Thanks.
I cleaned up the transmission case some more with a larger dremel tool metal brush. Getting all the hard corrosion and dirt off the aluminum is tough. Purple power helps but won't crack it. Anybody got any suggestions? Trying to get it ready for paint.
Dremel wire wheel is good for detail work...try a larger wire wheel on a drill for large surfaces. I've stripped huge areas of corrosion very quickly that way. Then, engine degreaser and simple green to make it like new.

 02-27-2016 | 11:56 PM