When you click on links to various merchants on this site and make a purchase, this can result in this site earning a commission. Affiliate programs and affiliations include, but are not limited to, the eBay Partner Network.
The bolstering is deeper so you stay in the seat better - especially during aggressive driving (which to me is "more comfortable"). This being said, they seem to be a bit firmer than the stock seats as well - I'm not sure how this will affect comfort over long drives since they don't seem as "cushy" as the stock seats (which I never had a problem with on long drives) but I think they'll be fine - will update my experience in the future. I think overall, they'll be a nice "upgrade" over the stock seats - especially in the aesthetic department (the blue painted hard backs are just awesome, and the Porsche Crest on the headrest is pretty cool too ). I think once I dye them the proper color and paint my center console to match the seat-backs and the outside color they'll be fully integrated.
That is a cool project and it looks good so far. The writeups regarding adapting the connectors have often been somewhat unsatisfying, mixed results and so on. Let us know what you find. This deserves better than mention in the "what did you do to your 996 today" column. A short thread would be great. GL with it, cheers.
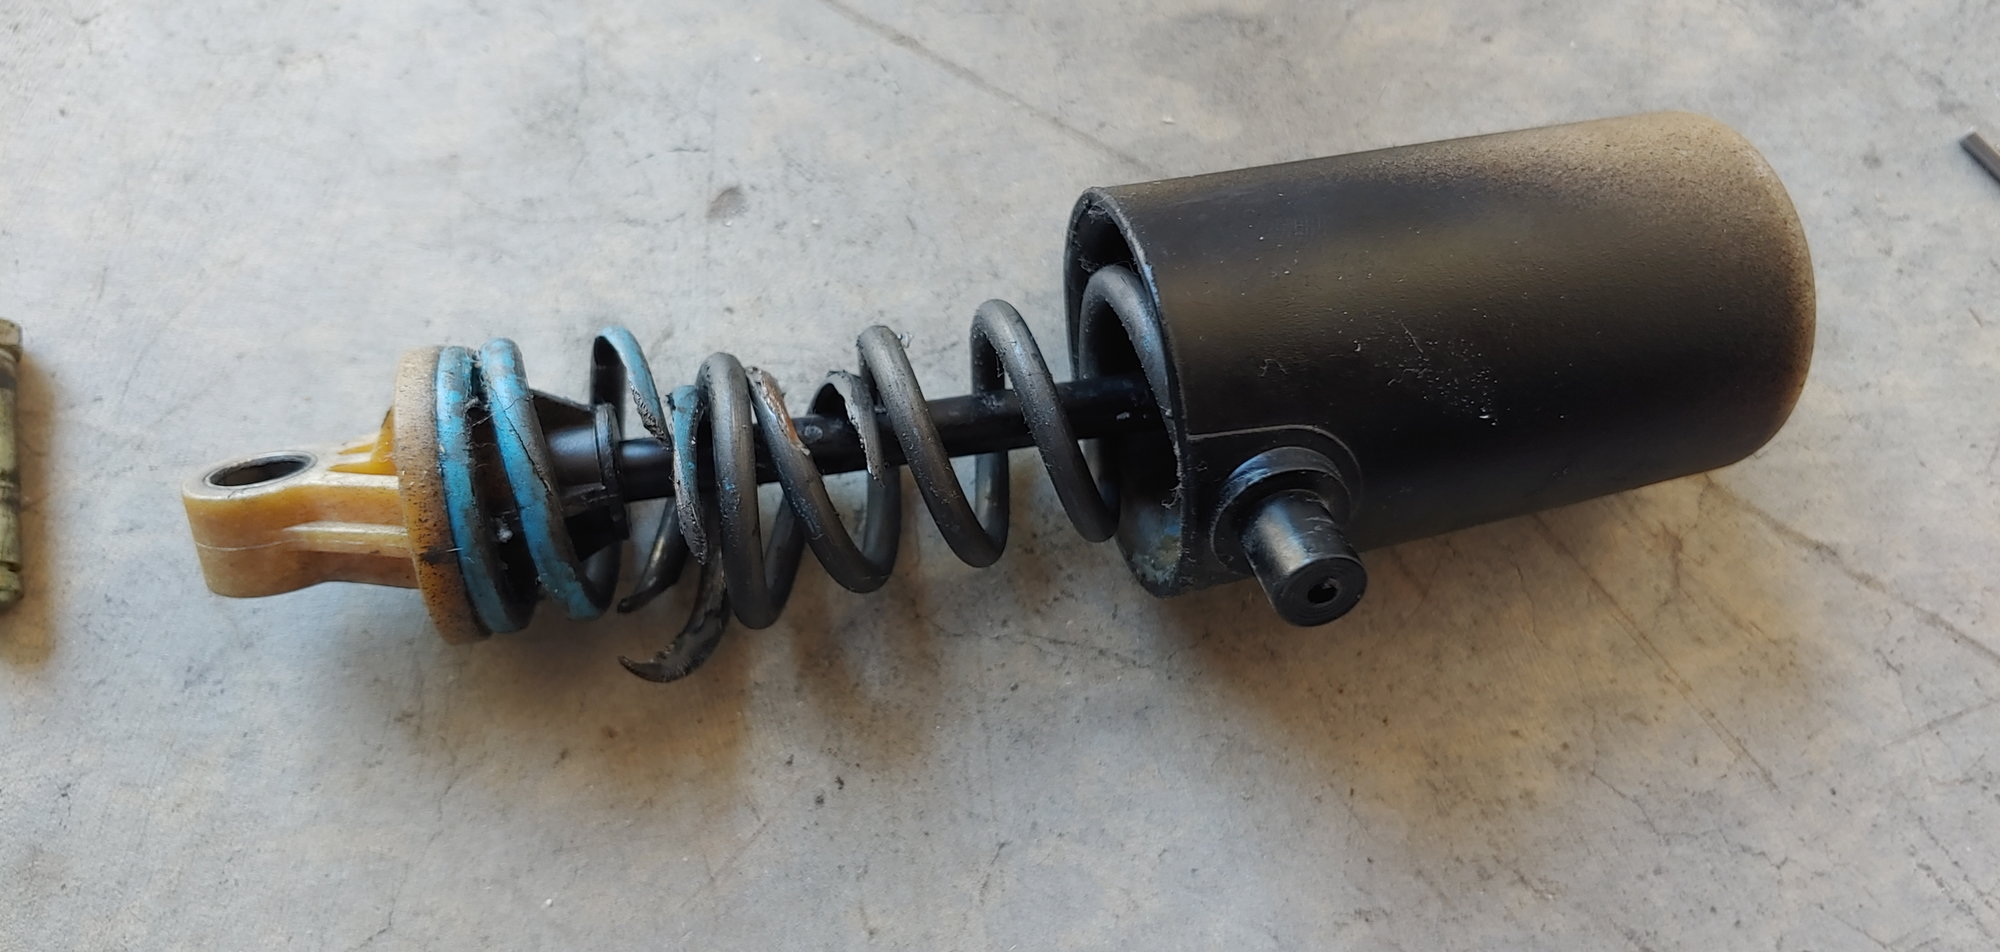
I commute daily in my 996, and have to put up with SoCal traffic. After arriving home with a cramp in my left leg, one too many times, I decided to investigate why my clutch pedal was so dang stiff. I read all the posts about REMOVING the helper spring and figured mine might be the culprit. After a moderate amount of cursing, I extracted the old one and as suspected, it was broken. A little more time spent cussing, and the new one's installed. Quite a difference, my clutch pedal now feels like a Honda's!
Whole project, including a detour to lube my gas pedal, was under 45 minutes.
Hmm, I�ve wondered the same thing.
My 52 mile commute is a bit exhausting at times.
That is a cool project and it looks good so far. The writeups regarding adapting the connectors have often been somewhat unsatisfying, mixed results and so on. Let us know what you find. This deserves better than mention in the "what did you do to your 996 today" column. A short thread would be great. GL with it, cheers.
They�re actually pretty simple because only the recline feature is powered. The slides and tilt are manual. I�ll try to document what I do.
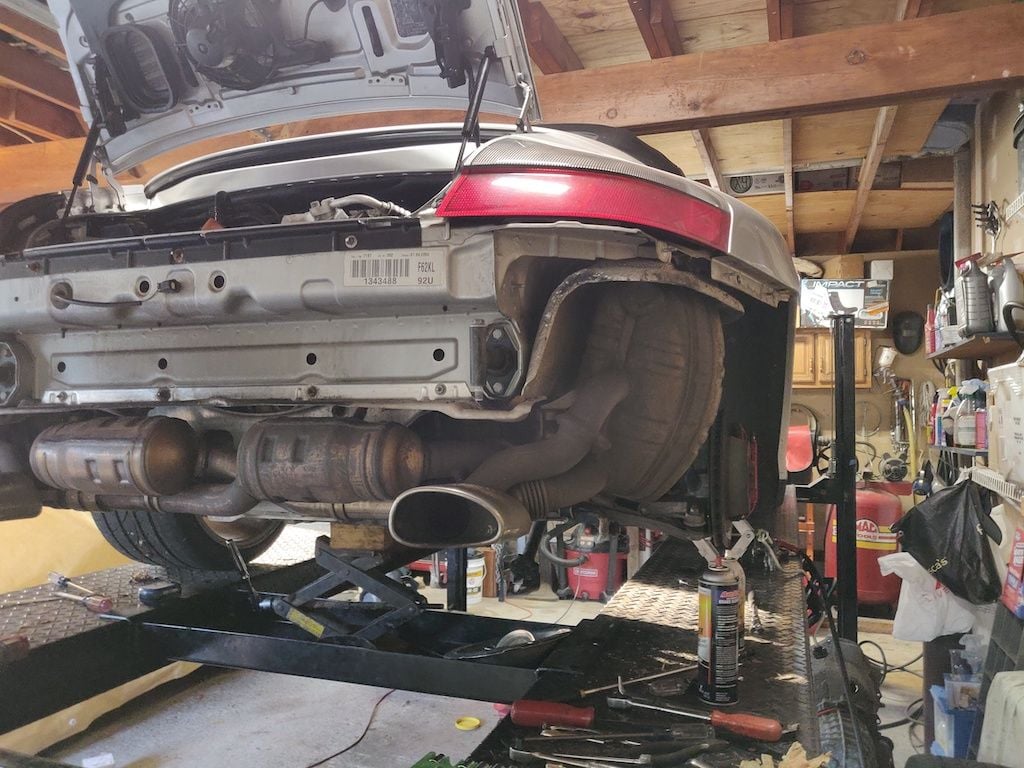
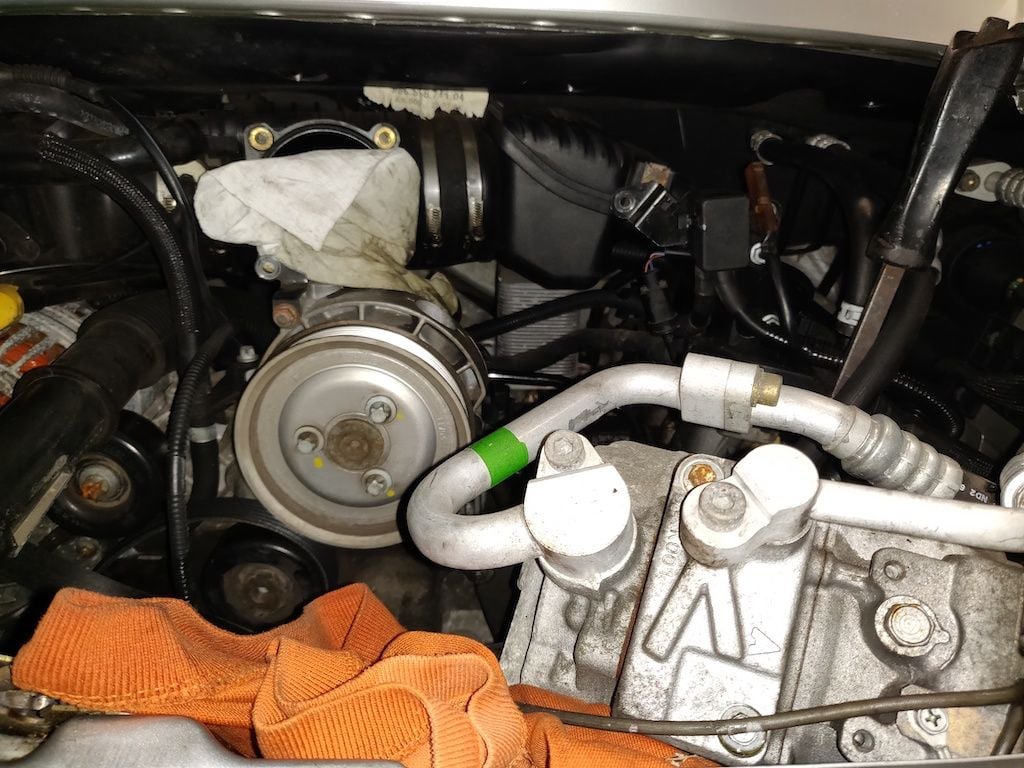
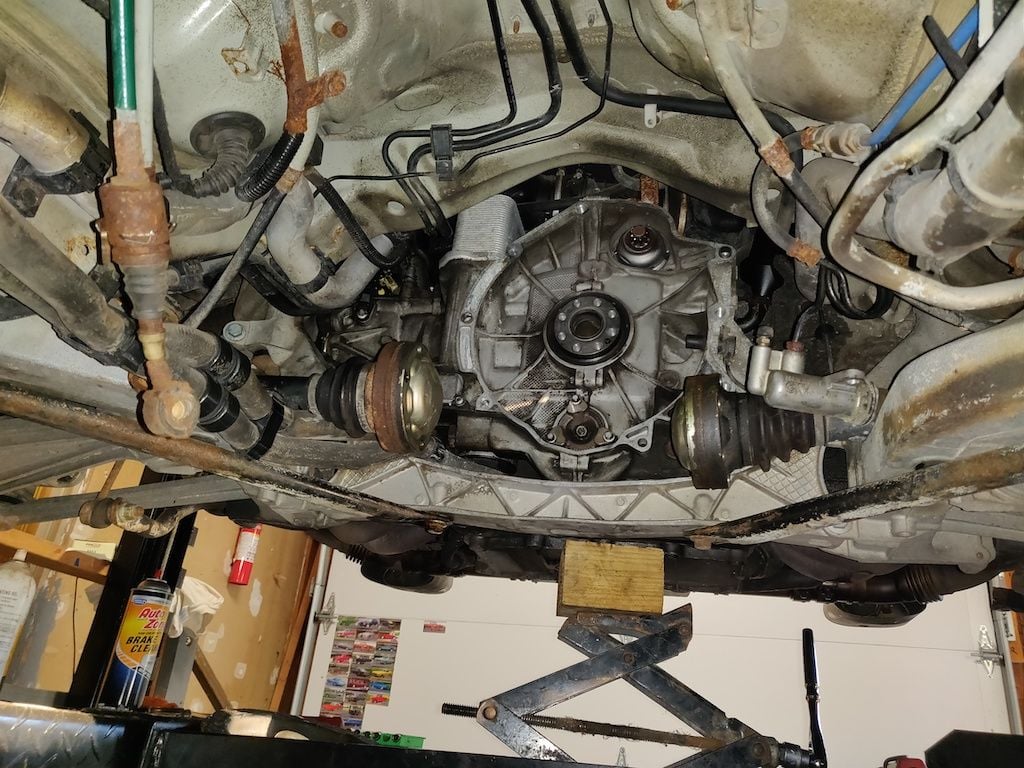
Started work on installing my IMS Solution. Removing the A/C Compressor to get to the tensioner was brutal, because I dropped the socket and it fell down between the injectors. That forced me to remove the bumper and heat shield to get to it!! In all the A/C compressor took me 5 hours to do.
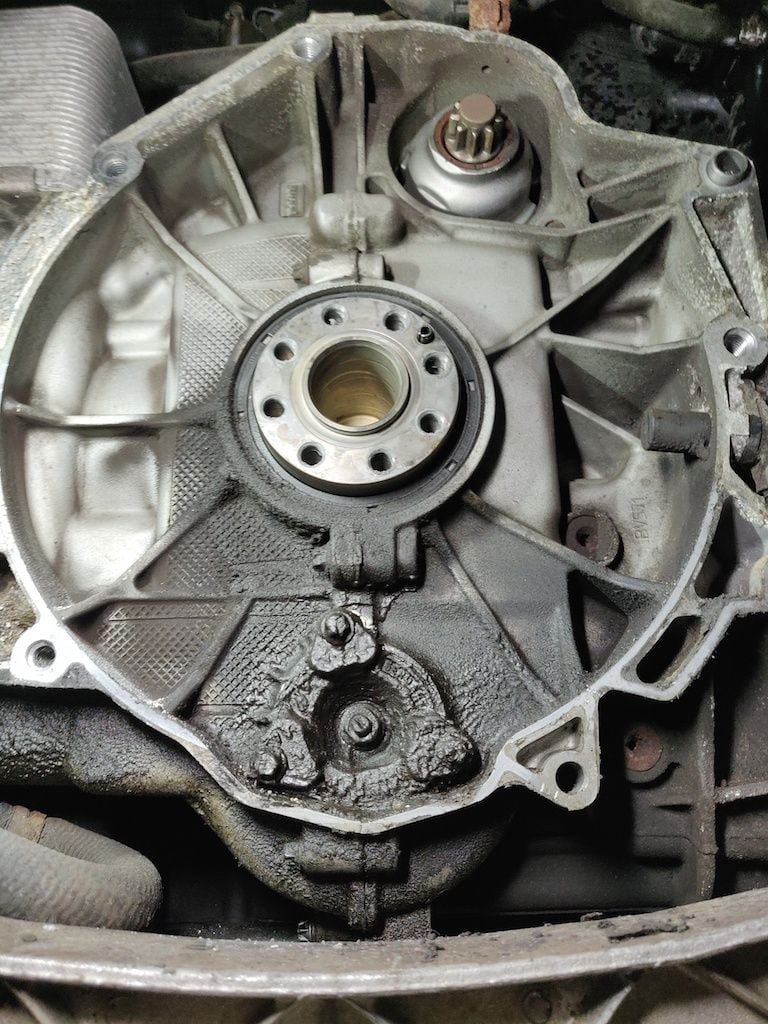
Trans out and there is the original IMS. Getting this thing out is way harder than it should be. Started cleaning up the back of the engine.
I'm at same stage you are. Any tips on getting to the tensioner behind the ac compressor now that you've done it?
I'm at same stage you are. Any tips on getting to the tensioner behind the ac compressor now that you've done it?
Use a crows foot with u-joint and extension (where the air temp sensor sits) for the 3rd bolt. It's pretty easy once you understand the angle down there. A mechanics mirror and mini flashlight will show you the way.
I'm at same stage you are. Any tips on getting to the tensioner behind the ac compressor now that you've done it?
The problem with my year is that it isn't a standard bolt. For some reason all the bolts are reverse Torx and require E-Torx Socket which I am not sure a crowfoot exists for. I did it by using a medium length wobble extension. I put the extension and socket through the runners in the intake where the temperature sensor was. I then went under the car and was able to reach up and put the socket on the bolt from the back side. I then went back up top and attached the ratchet and started working on removing the bolt.
The problem with my year is that it isn't a standard bolt. For some reason all the bolts are reverse Torx and require E-Torx Socket which I am not sure a crowfoot exists for. I did it by using a medium length wobble extension. I put the extension and socket through the runners in the intake where the temperature sensor was. I then went under the car and was able to reach up and put the socket on the bolt from the back side. I then went back up top and attached the ratchet and started working on removing the bolt.
Thanks for the tips. Mine is a 02 c2 so I bet it has the reverse torx bolts.
Long time reader, first time poster in this forum...
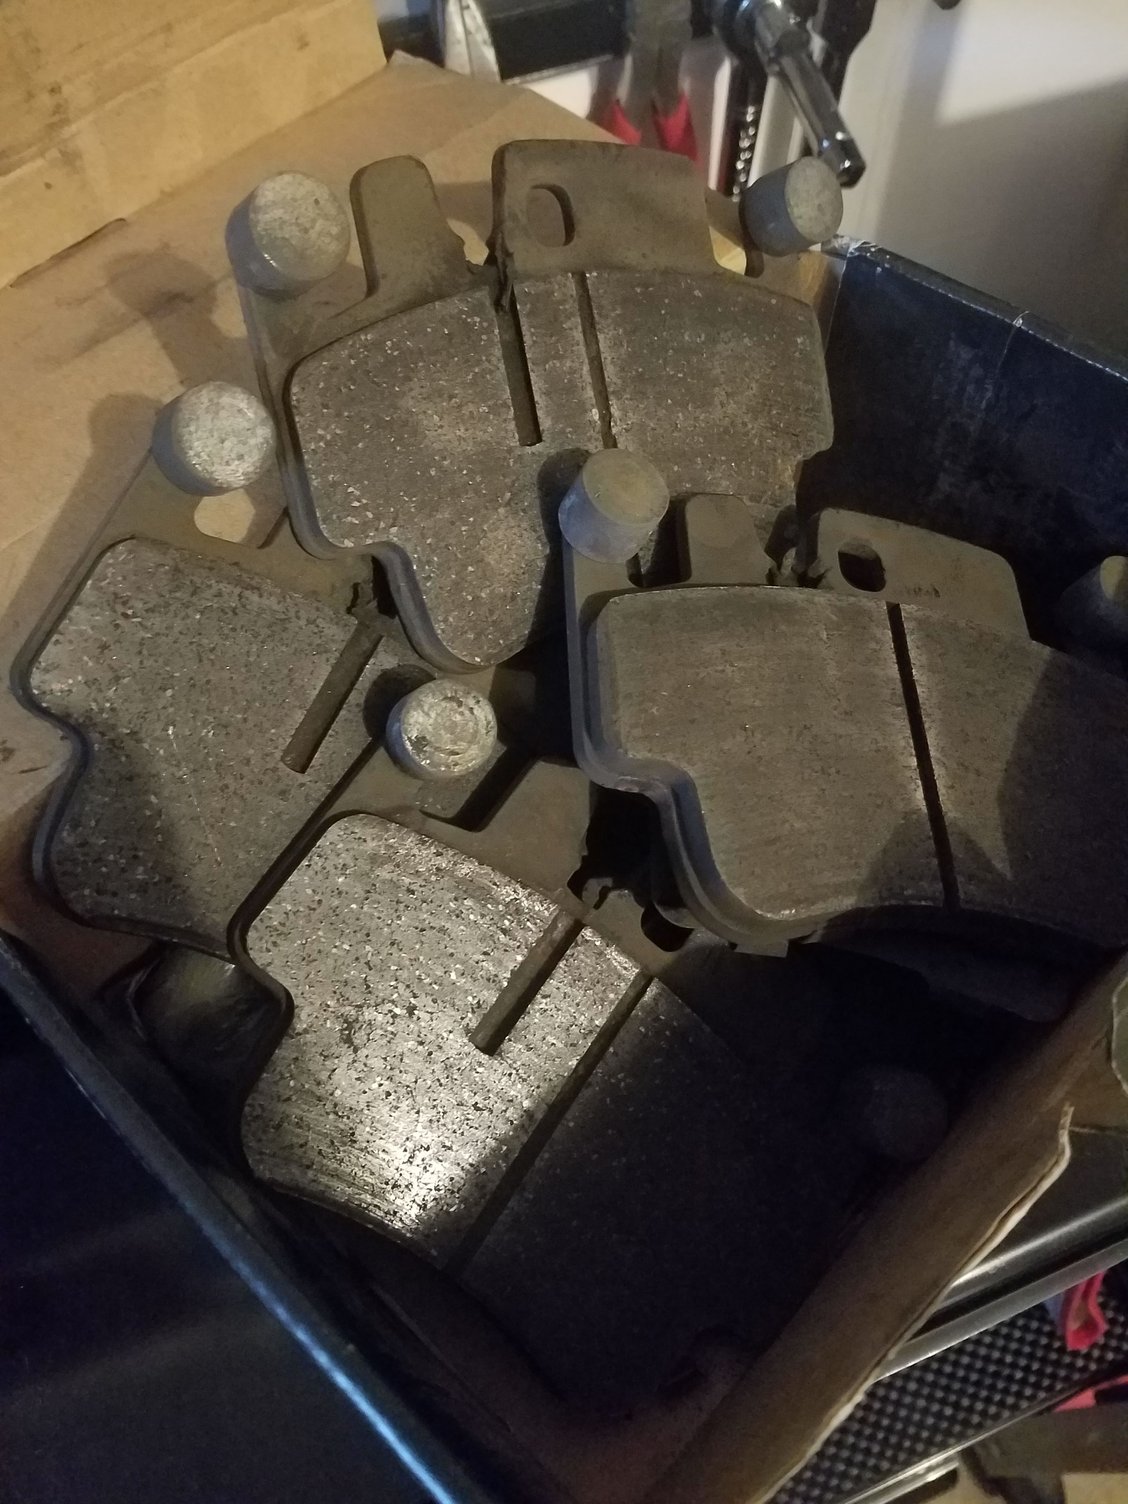
Spent this past weekend at VIR, and needed to do a quick brake pad (front) swap. Thankfully I carry extras, so it was <30 min change in the paddock area Sunday morning. These Akenbono pads lasted 4 track days, plus about 1500 highway miles. I think I will switch to Pagid pads next season.
Judging by this image, I was batting .750 or so if we were talking about baseball. Yikes.
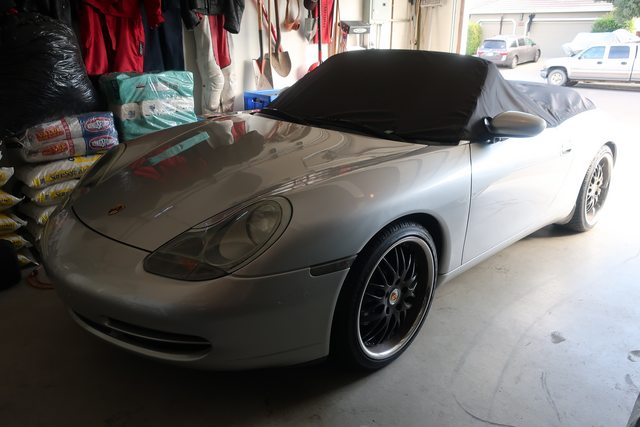
Just received and installed this Covercraft Weathershield HP "Interior" Cover on my 2000 C4 Cab. You can find them for sale here.
I always drive (and garage) the car w/the top down and rather than repeatedly raising and lowering the top (and risk mechanical failure) when I stop for lunch or whatever while out driving, I decided to buy one of these covers instead. It attaches w/2 velcro straps around the wipers, 2 elastic cords around the door pulls and 3 web strap stops placed under the engine lid.
Like a motorcycle cover, it provides protection from the elements and, even though it doesn't provide any actual "security" against tampering w/the vehicle, a cover surprisingly discourages people from doing just that. Never had anyone mess w/any of my motorcycles w/a cover on it and I'm hoping that this cover will be sufficient to do the same for my C4 Cab when I leave it for a short time while eating, shopping or whatever.
Got my first "Oil Failure Indicator" alert on the dash followed by a 0 reading of oil pressure which is a little concerning at first. But then it went back to normal. So, after a quick search it looks to be just a bad pressure sensor or maybe just needs a quick clean. Any recommendations on the best place to buy that part?
 11-04-2019, 06:34 PM
 ). I think once I dye them the proper color and paint my center console to match the seat-backs and the outside color they'll be fully integrated.