When you click on links to various merchants on this site and make a purchase, this can result in this site earning a commission. Affiliate programs and affiliations include, but are not limited to, the eBay Partner Network.
The hvac fan in my 2004 C4S has been whining for quite a while. I looked at the 101 projects book, easy Wayne says:-). If course that was on a no glovebox 99 car. I finally figured out how to remove the glove box and eventually got it back together.
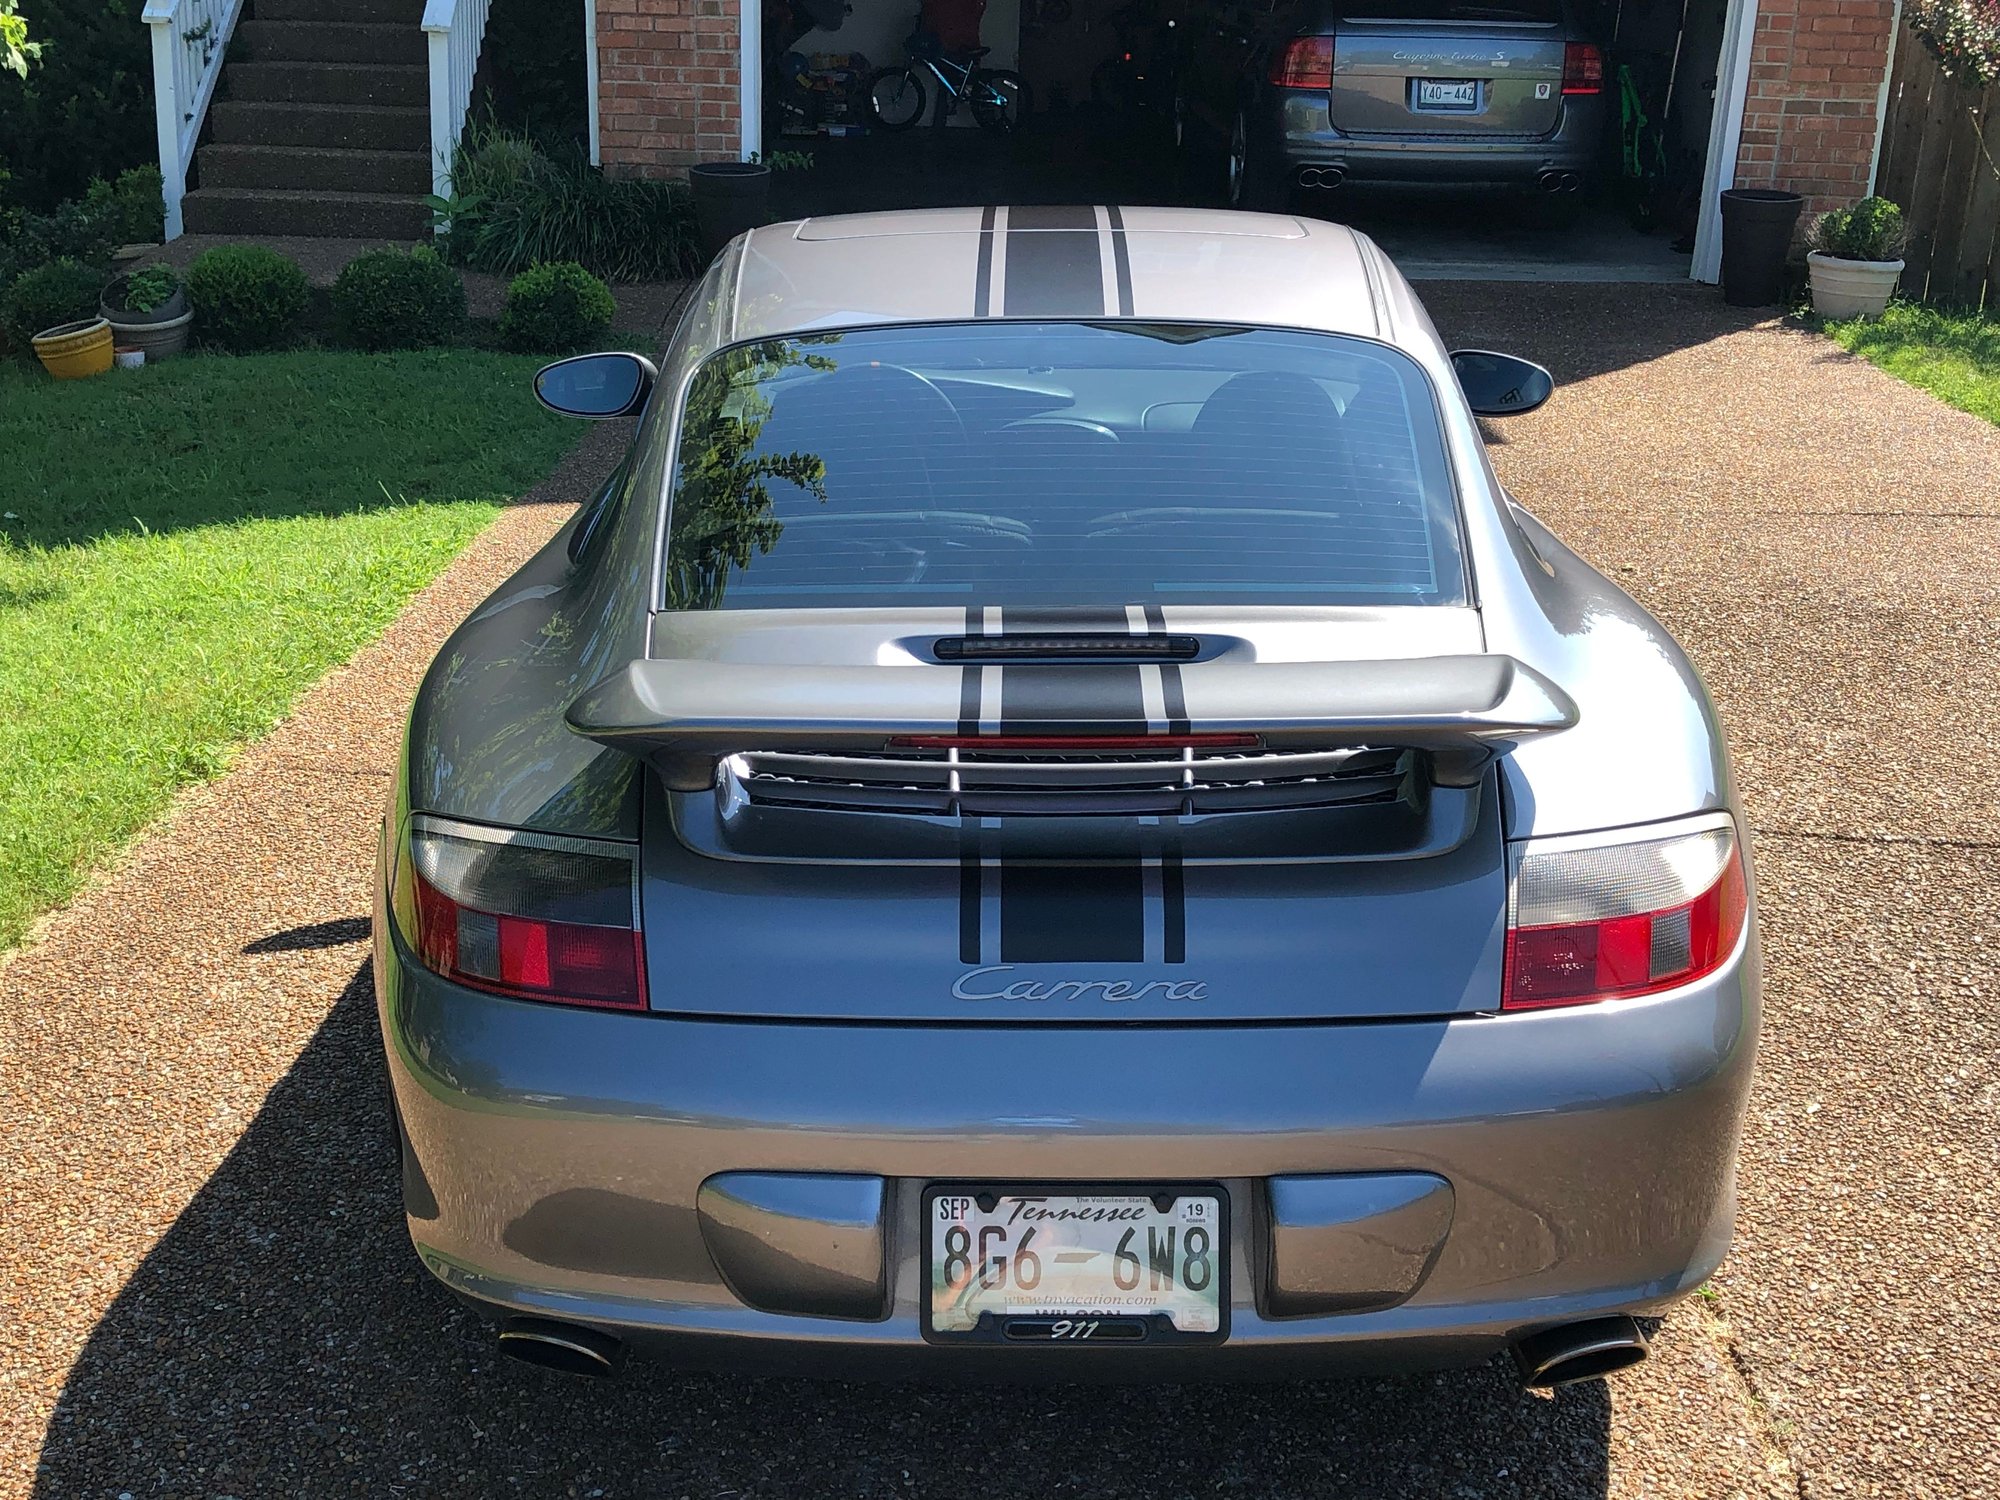
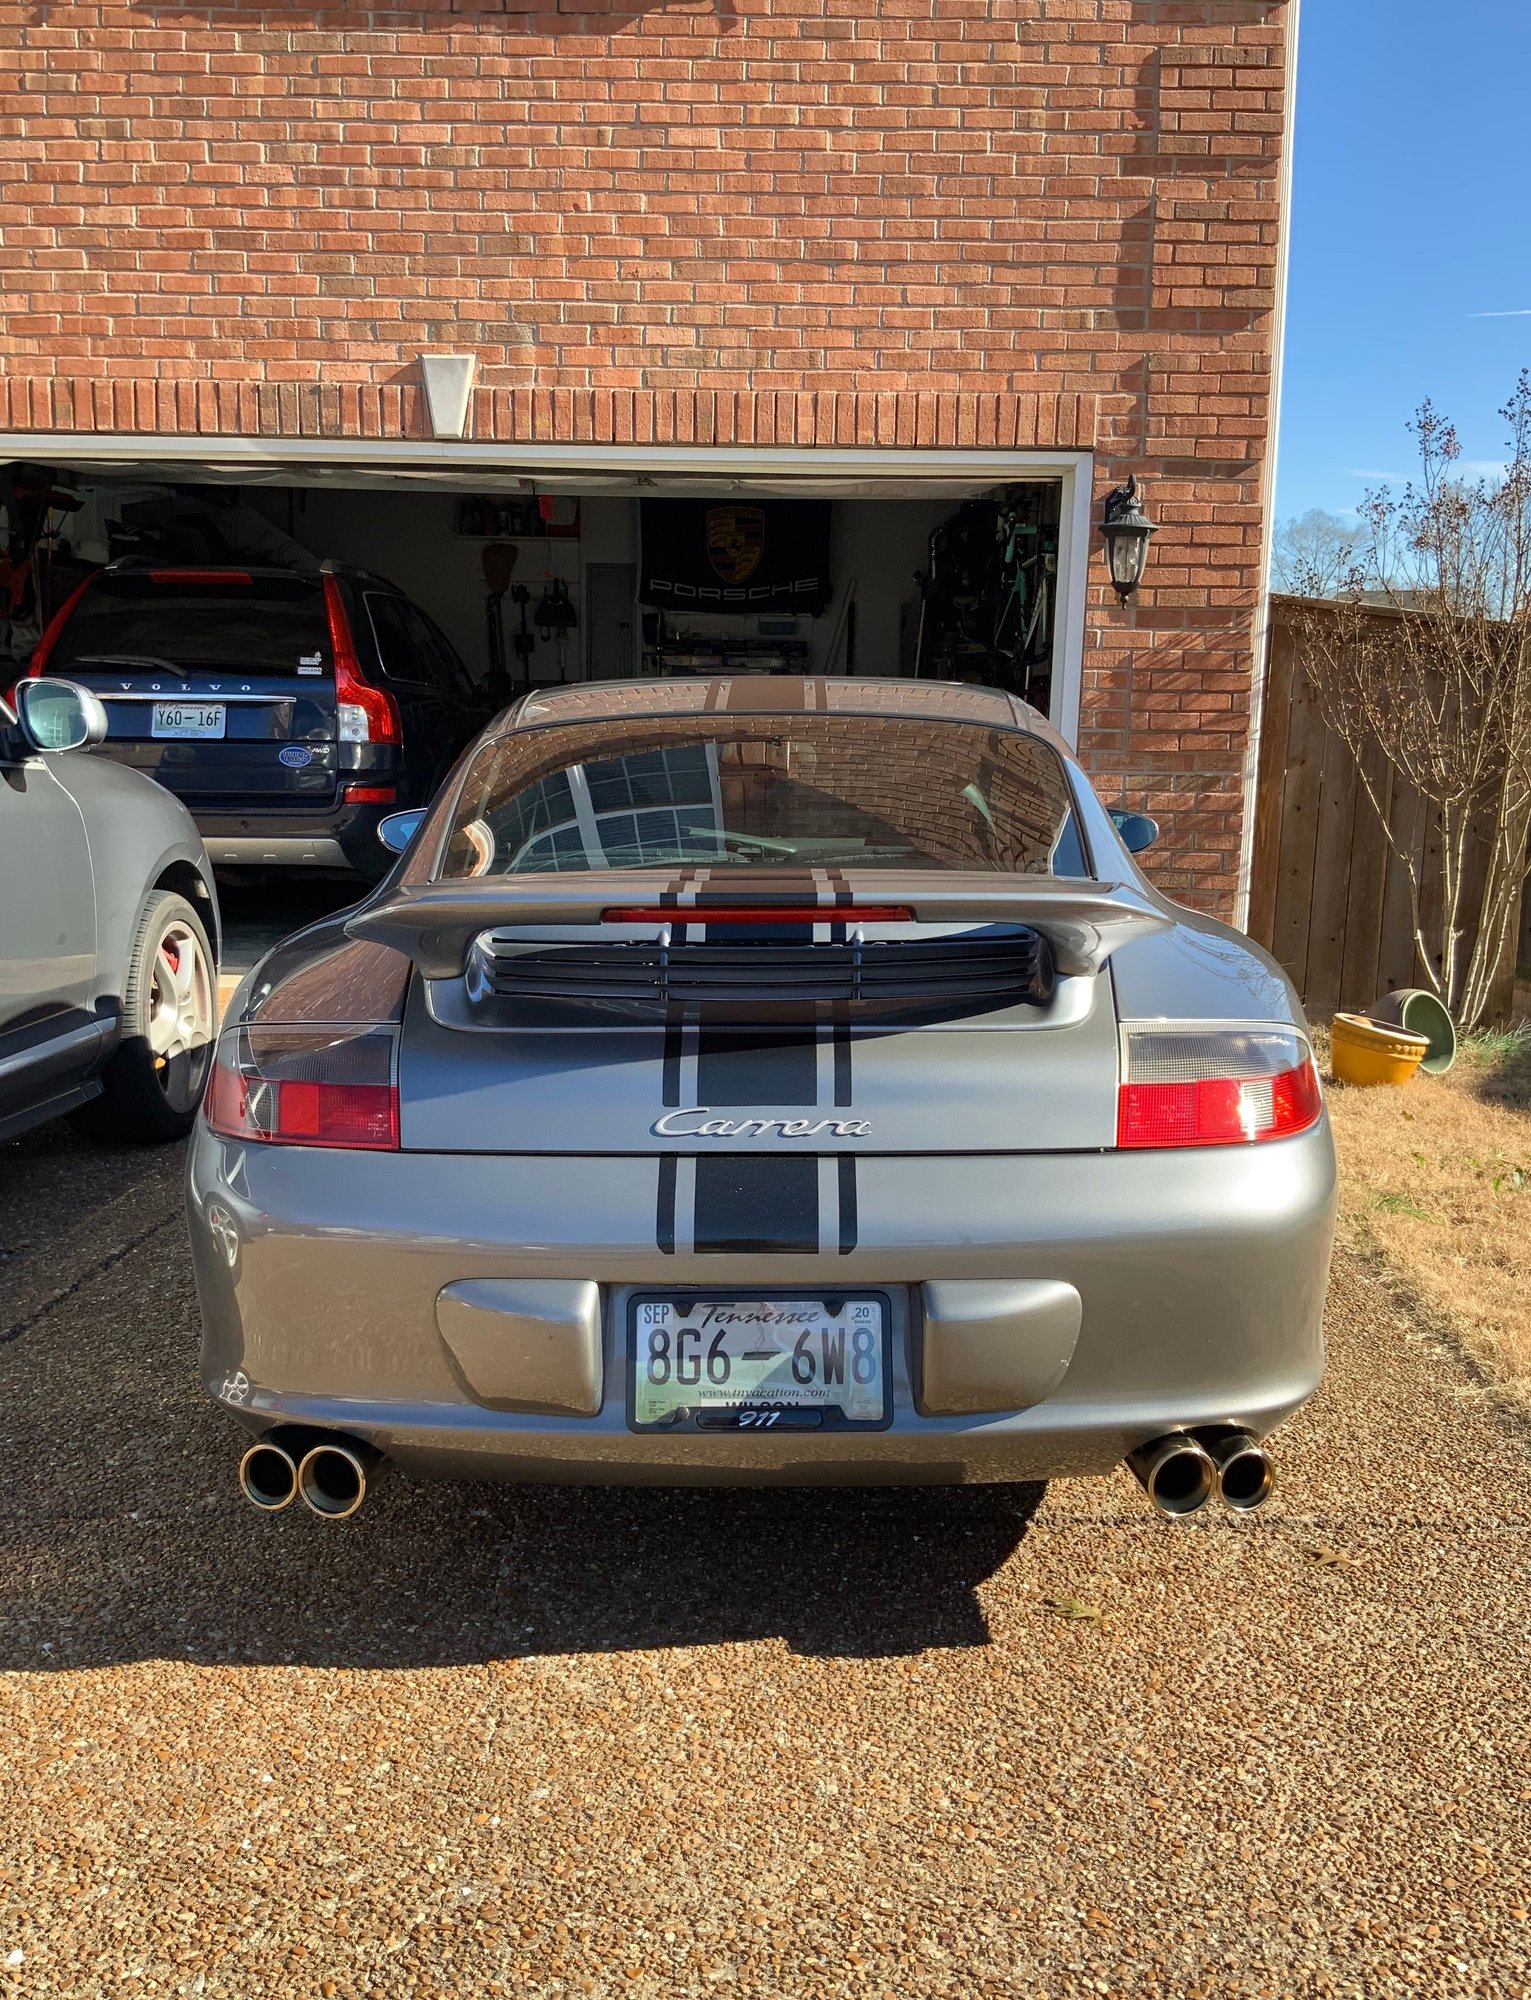
Replaced my exhaust tips. FVD’s were on sale. Many methods for doing this task: remove exhaust system, bumper, etc, but I thought I’d try with just removing bumper cover. After finding the screws inside wheel well, I changed plan. Up on lift bars and rear wheels removed makes for much better access and only took extra 15 minutes.
You need T30, T25, Phillips head, 16mm ratchet end wrench and 16mm deep socket tools. Total time, with my 11 year old assistant, was 90 minutes. 30 minutes of that was actually aligning the clamps and tips. 10 minutes spent fixing a error of omission. Driver side was toughest for me. I have stock pipe sizes and routings.
Happy Thanksgiving!
From this... ...to this
Lift car. Level is best with all corners off the ground. At least both rear corners off the ground.
Remove rear wheels.
Remove rear bumper cover. Use two people to lift off cover, otherwise you could scratch a quarter panel.
Remove the outside heat shields. You can leave them partially attached (the innermost screw is a pain to reach) so you can still work around them.
Hit the old tip clamps with some PB Blaster.
Measure bottoms of tips to the ground. This will give you a baseline height to adjust to.
Remove clamps and old tips. If the clamps are resisting, fit some brake pad spreaders between the insides of the collars after you remove the bolts to get some leverage.
The oem clamps are pretty stout. So I recommend new ones. My old ones were smaller and had less mass. I used a little copper grease on insides of the clamps.
With the new clamp resting on neck of tip, Place the new clamp from bottom and have helper hold the tip in place with you fiddle with the fitment, alignment and getting the clamp started.
Tighten to leave just enough play to swivel the tip around for adjustment. Have helper keep the tip in place and can measure while you’re under car. Check horizontal level, if needed. Be cautious looking around the circumference of clamp, top and bottom, checking for gaps and clamp misalignment.
Test fit the bumper cover. Put on the top 4 and bottom middle 4 screws to check gap on cover’s exhaust cutouts.
Once you are totally satisfied with your adjustment, tighten to 30Nm/22lb-ft. I was able to get torque wrench on passenger side. I estimated the driver side from that. I could not get a wrench behind driver side bolt.
Remove bumper cover again to install heat shields. Do not forget to attach the screws, one per side, holding the outside shield to the rear shield of back bumper (son of a...!).
Replace bumper cover with helper. Remember the screws up inside the wheel wells at the pointy tip of cover.
Put the wheels back on and bring down the car.
High five!
Last edited by hatchetf15; 11-28-2019 at 12:13 AM.
Reason: Spelling boo boos
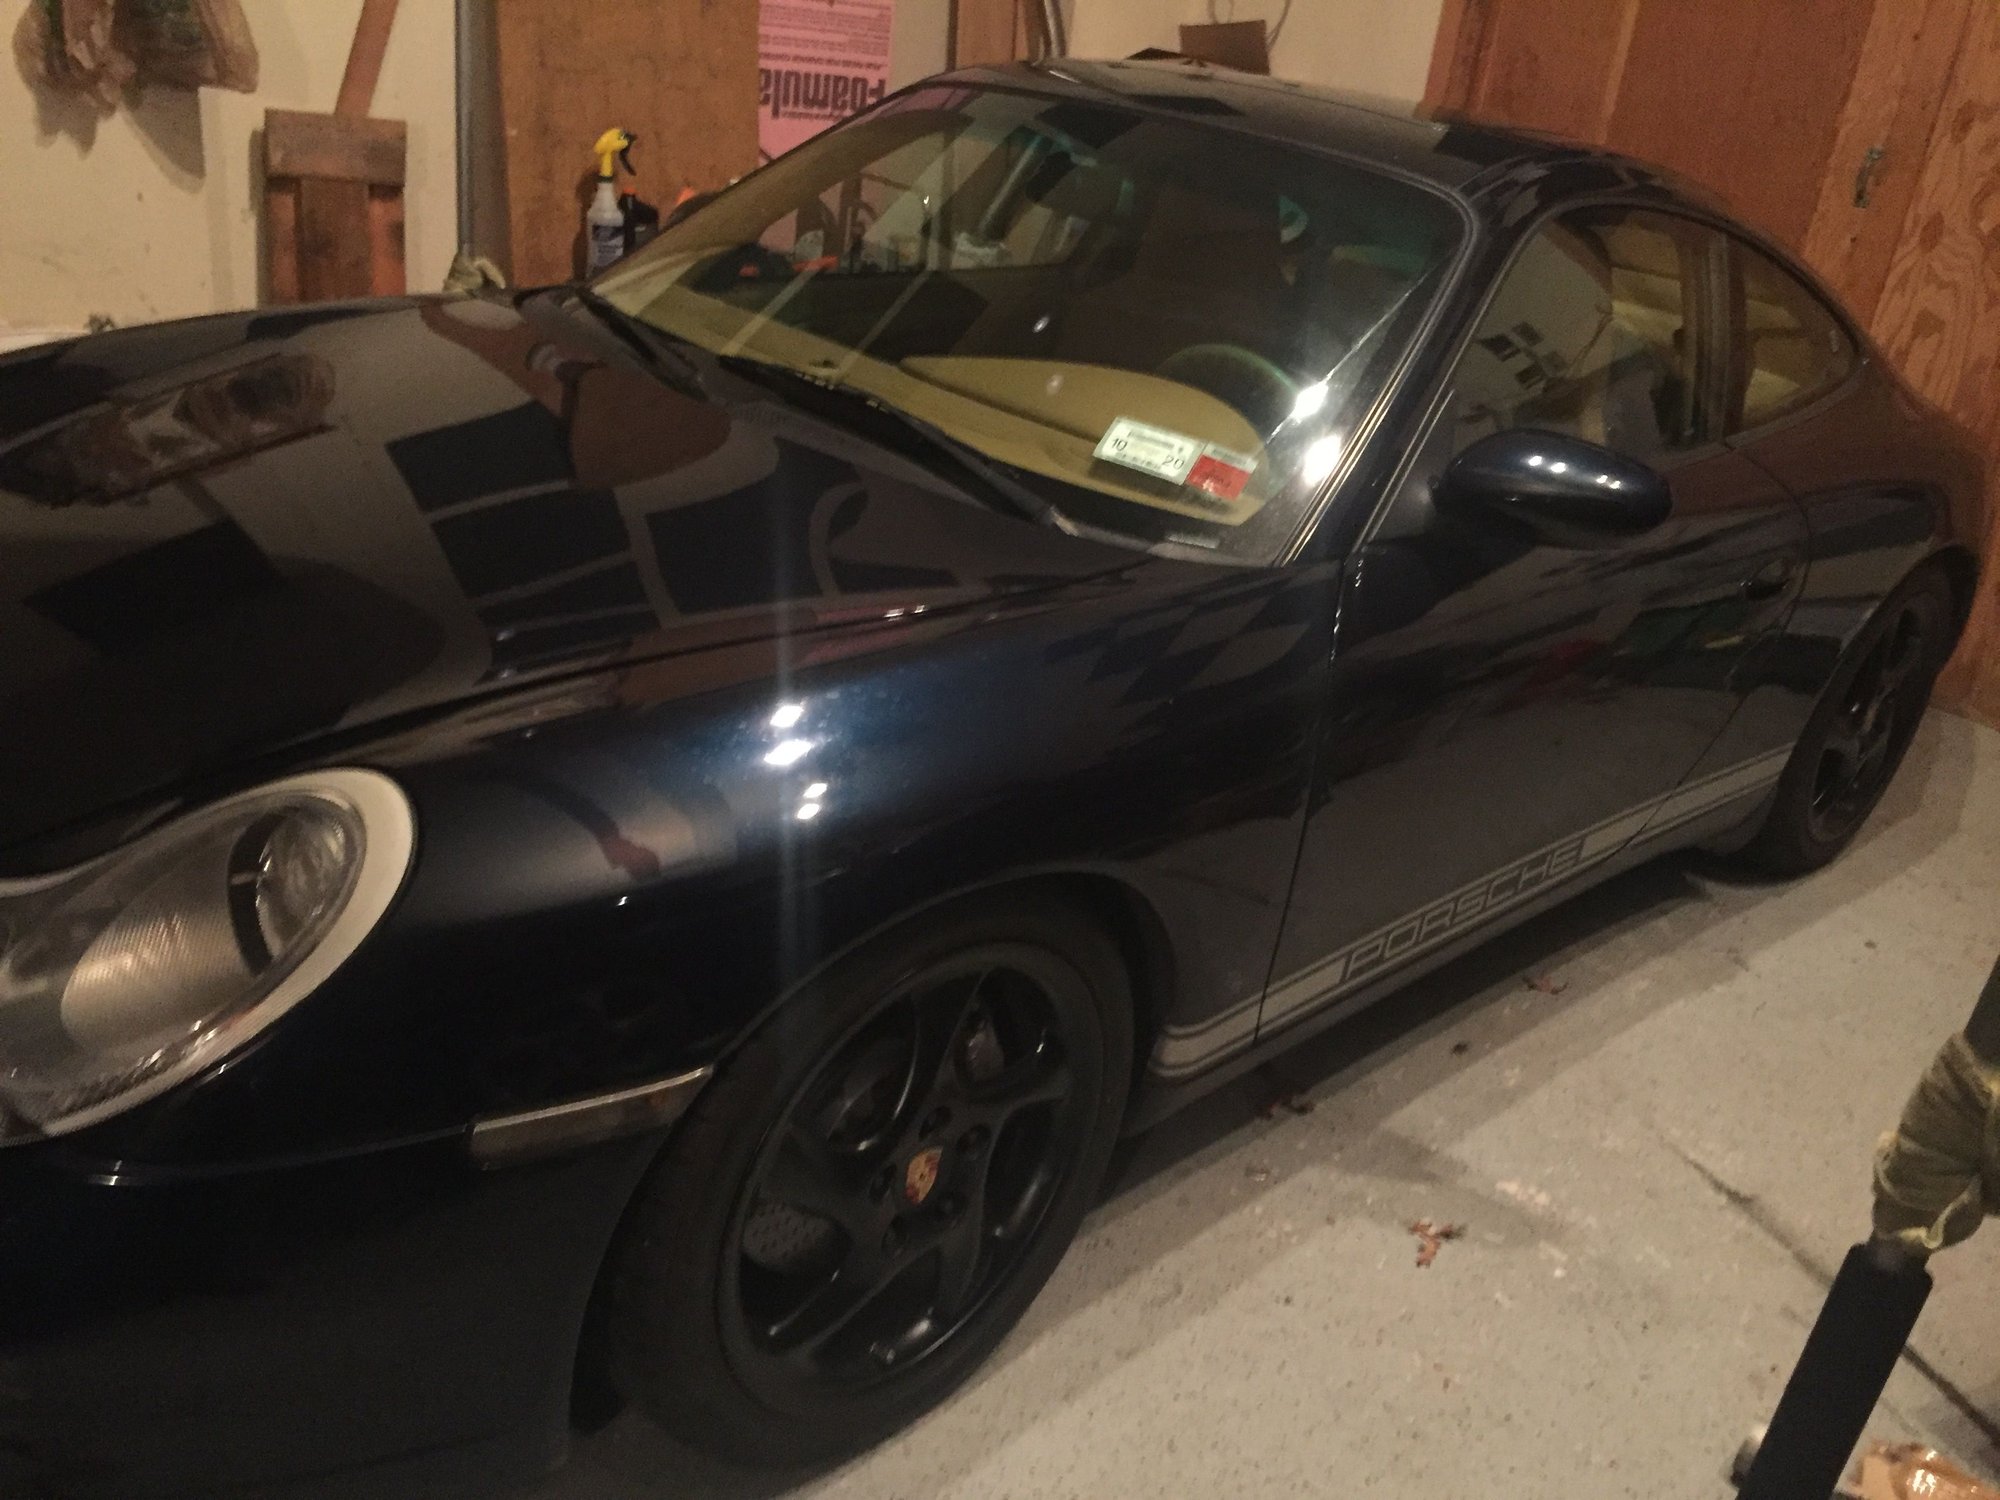
First snowfall of the season and it's always a blast to see the looks I get as I cruise along in my 996. And of course when I get the chance, turn off the traction control and have some fun.
Getting trade in values on it for something more practical. Wonder how much I should deduct for the dented trim piece left of trapazodial quad pipes? I'm sure it's $$$.
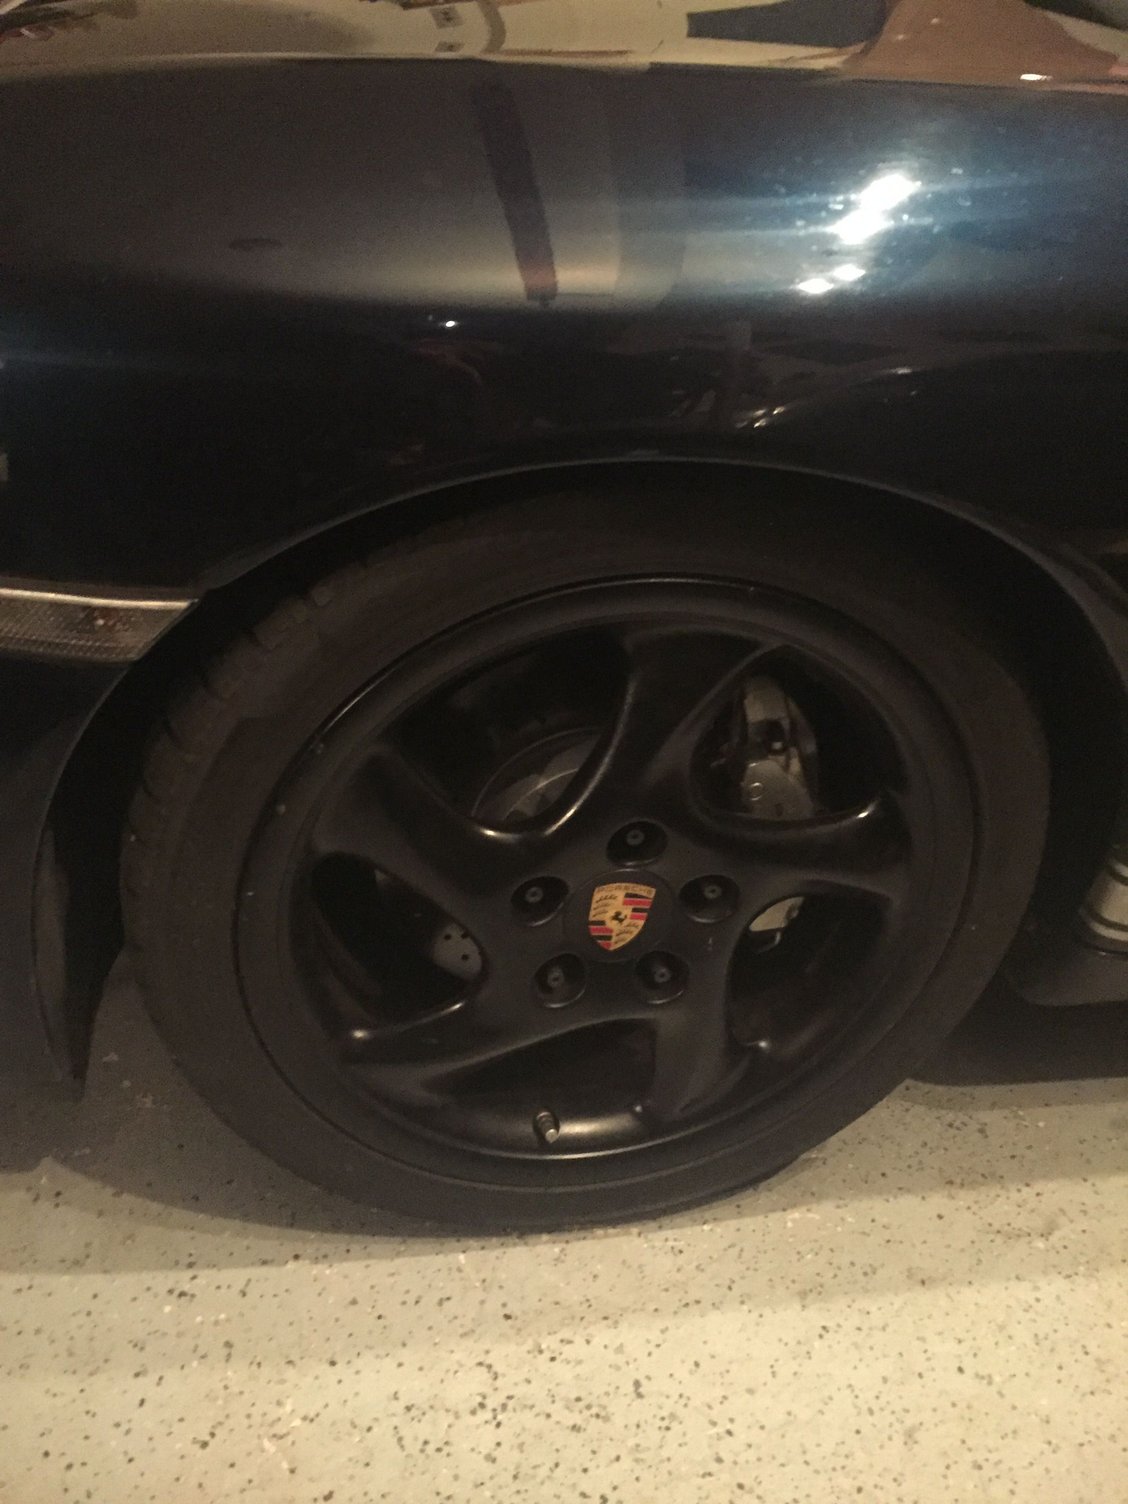
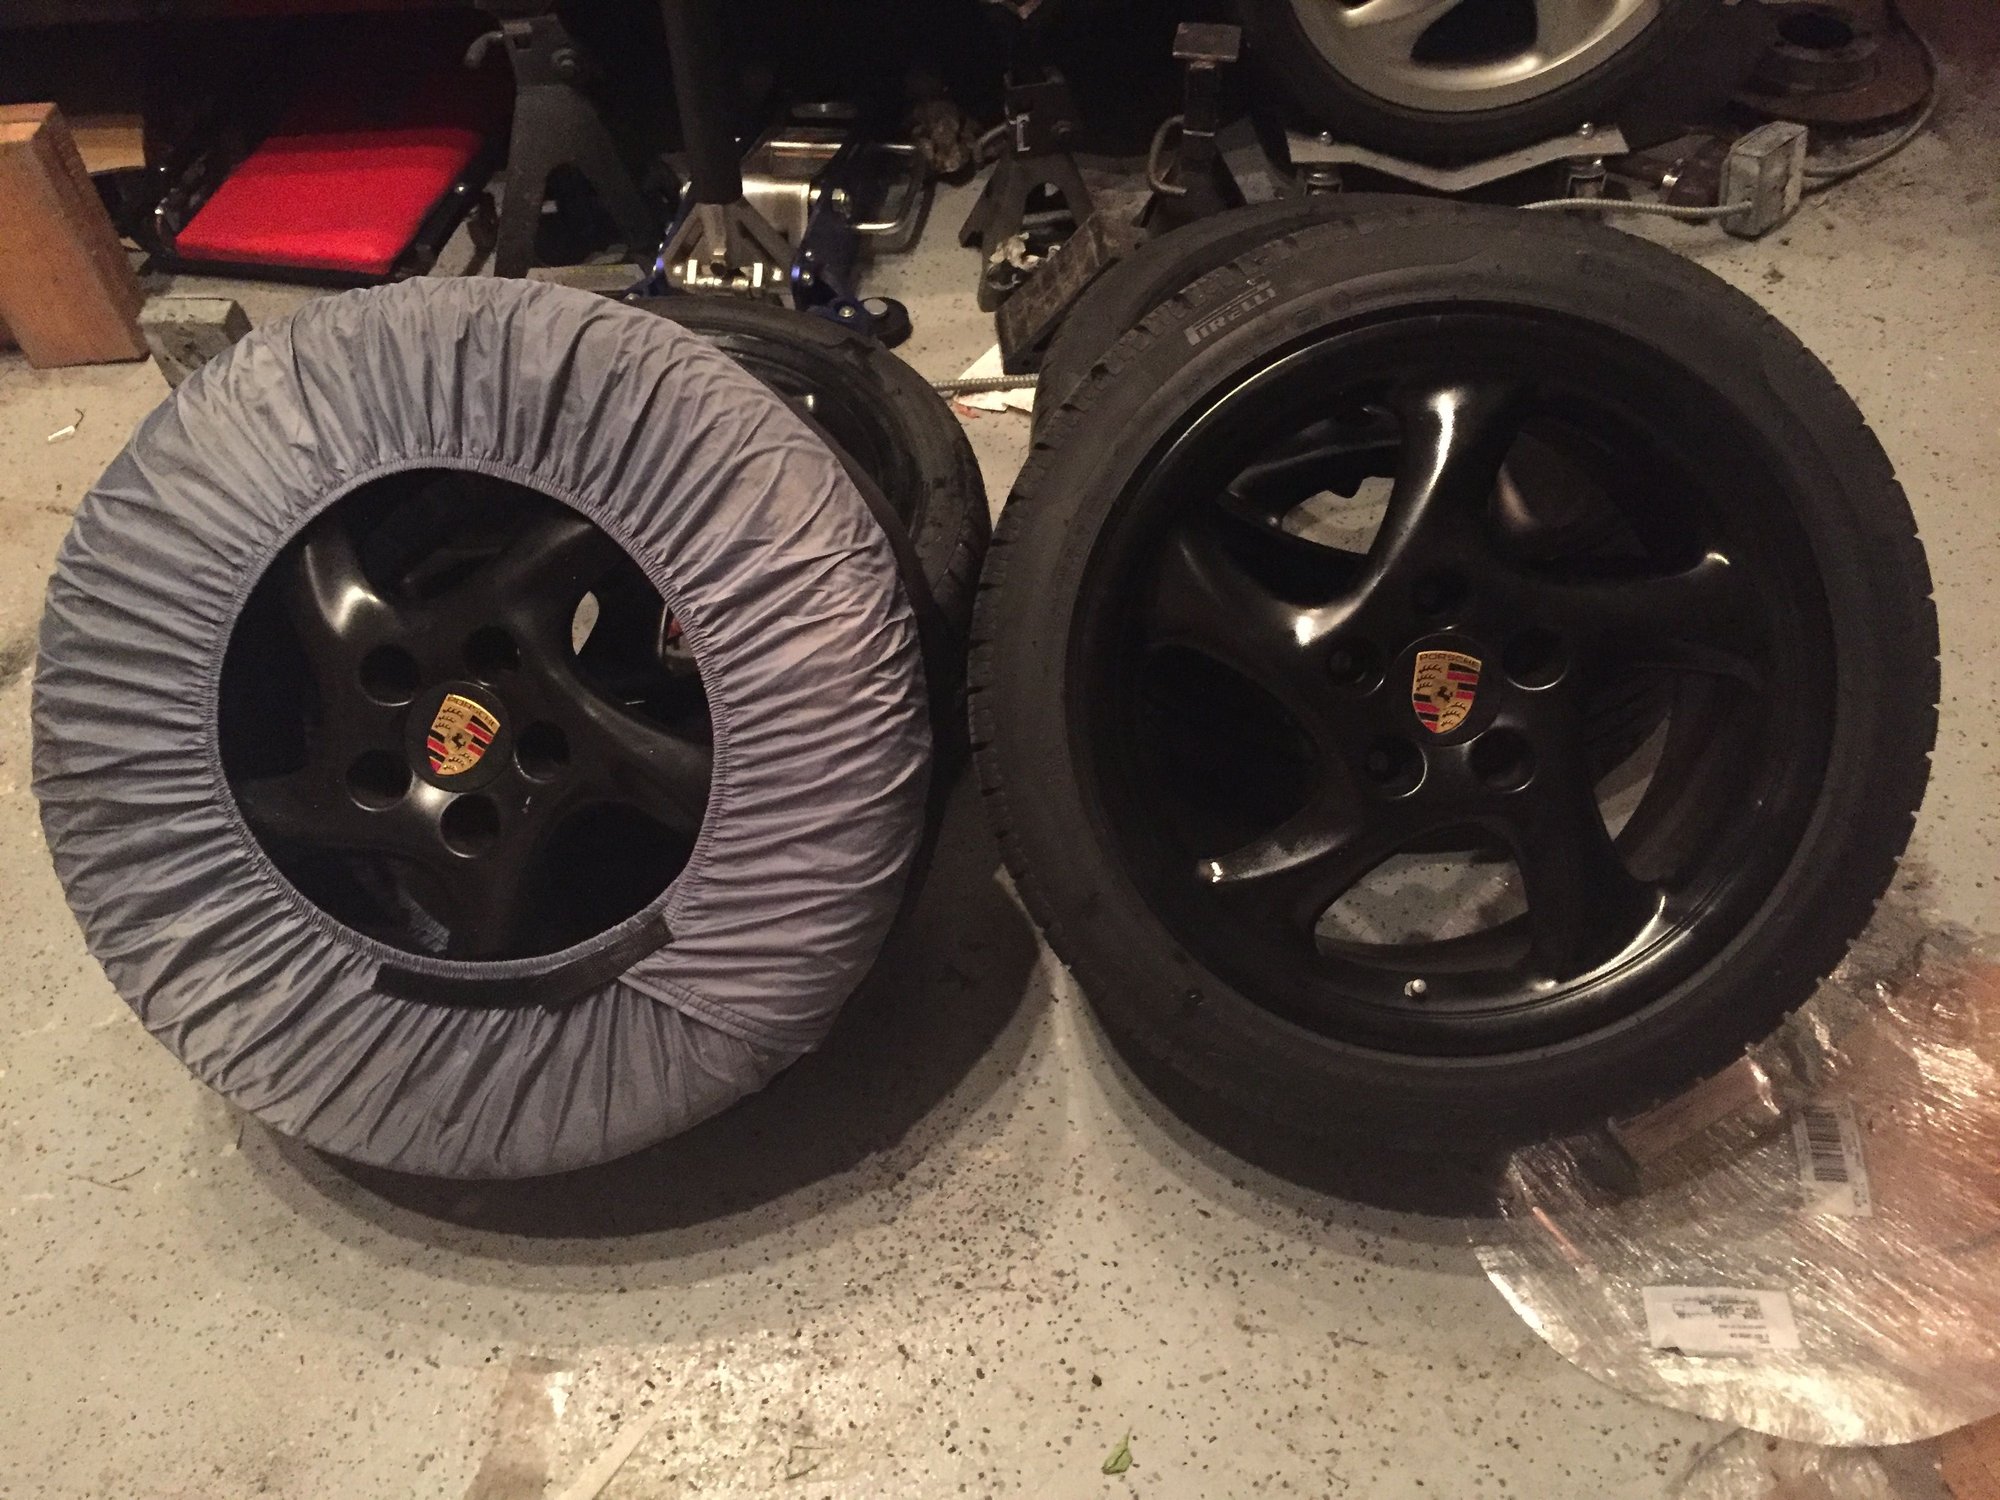
Well it was actually two days ago... Put winter wheels & tires on...
ready for winter! I won�t drive it much but at least I can if I want to. The Pirelli Sottozero II�s are quite a bit softer/smoother than the Michelin PSS... drives very nicely.
I removed the remote entry antenna wire from the wiring bundle behind the driver side A pillar trim. I taped it to the outside of the foam wrapped bundle, as the Renntech DIY instructed. I did not trim the wire to 100 mm as the Porsche TSB apparently indicated was the ideal antenna wave length for USA cars.
As described, the remote entry range of the key fob was greatly increased. From outside the garage, with all the doors closed the range was easily 30’. I expect more range out in the open.
A really quick and easy project. Instant gratification is always good.


 11-27-2019, 06:27 PM