When you click on links to various merchants on this site and make a purchase, this can result in this site earning a commission. Affiliate programs and affiliations include, but are not limited to, the eBay Partner Network.
Just finished installing a new water pump and thermostat......that bolt on the bottom right of the water pump (and one of the thermostat housing) must have been designed by Lucifer himself....even though my gut was telling me to use gasket sealant...I did not use it....I torqued those bolts to 7 ft-lb like the manual says...I will be an angry individual if a leak develops....
That's very intriguing. Do you have more information, or a link, to find these pads?
The 3.0mm pad is part # 99634351100 and is meant for standard suspension.
The 6.5mm pad is part # 99634351101 and is meant for Sport Suspension cars.
I bought mine from AutohausAZ but they seem readily available elsewhere. BTW, this is only for the front.
Originally Posted by Scott at Team Harco
I'm trying to decide whether to go with that (gun metal?) of black for my winter wheels. Either way - if I draw the ire of the "purists", I don't give a damn.
I'm no purist, I just think black wheels are played out and look like crap.
That looks real nice. I'd even be so bold as to go with black. Not just to **** off the haters - but because I would like the look.
I'm trying to decide whether to go with that (gun metal?) of black for my winter wheels. Either way - if I draw the ire of the "purists", I don't give a damn.
I looked at a ton of black wheels but I feel that the details of the wheel get lost in the "darkness".
The 3.0mm pad is part # 99634351100 and is meant for standard suspension.
The 6.5mm pad is part # 99634351101 and is meant for Sport Suspension cars.
I bought mine from AutohausAZ but they seem readily available elsewhere. BTW, this is only for the front.
Good stuff. I'll dig into this. Haven't looked yet, but I wouldn't be surprised if the same idea could be applied to the rear. Just have to try to duplicate material and fabricate to match the rear interface.
I'm no purist, I just think black wheels are played out and look like crap.
With very rare exceptions, I dislike black wheels also. Nothing "purist" about it. To me, black wheels just visually detach the wheels from the car. You see a car, and you see wheels, but they don't seem visually integrated at all. Silver wheels blend with virtually any car color, that's why virtually all car companies almost universally use silver wheels. Everyone should definitely do whatever pleases them, my only point is that I don't think most people object to black wheels because they are "purists". I might be wrong, but I think it's because black wheels typically create a less integrated overall look for the car.
Good stuff. I'll dig into this. Haven't looked yet, but I wouldn't be surprised if the same idea could be applied to the rear.
I was looking at some pics of my suspension install and remembered there is a variable for the rear. There is a part that Porsche calls a 'spring insulator' that comes in a 4mm and 0.5 mm thickness. I don't remember which is which though.
0.5mm 996-333-511-02
4mm 996-333-511-03
Originally Posted by Scott at Team Harco
Don't make me come over there...
I'm hunkered down in my wheel fort with the drawbridge up. Bring it!
I was looking at some pics of my suspension install and remembered there is a variable for the rear. There is a part that Porsche calls a 'spring insulator' that comes in a 4mm and 0.5 mm thickness. I don't remember which is which though.
0.5mm 996-333-511-02
4mm 996-333-511-03
OK - a little food for thought. It looks as though the parts you have identified exist, standard, in one form or the other as part of each assembly. For my needs, if the shorter parts are installed, the taller ones will provide a little lift (3.5 mm delta). From the diagrams, they are installed between the spring and the upper mount (which I believe has been pointed out). Not exactly earth moving, but a nice start. This of course assumes I have the small ones to begin with.
Regardless, it will take disassembly (or at least very close inspection) to determine what I have now. I still think that putting spacers between the body and the upper mounts may be my best bet for significant change.
Just finished installing a new water pump and thermostat......that bolt on the bottom right of the water pump (and one of the thermostat housing) must have been designed by Lucifer himself....even though my gut was telling me to use gasket sealant...I did not use it....I torqued those bolts to 7 ft-lb like the manual says...I will be an angry individual if a leak develops....
I did this last week and wound up having to take it apart again. The previous owner must have helped to start stripping that bolt hole...Heli coil to the rescue!
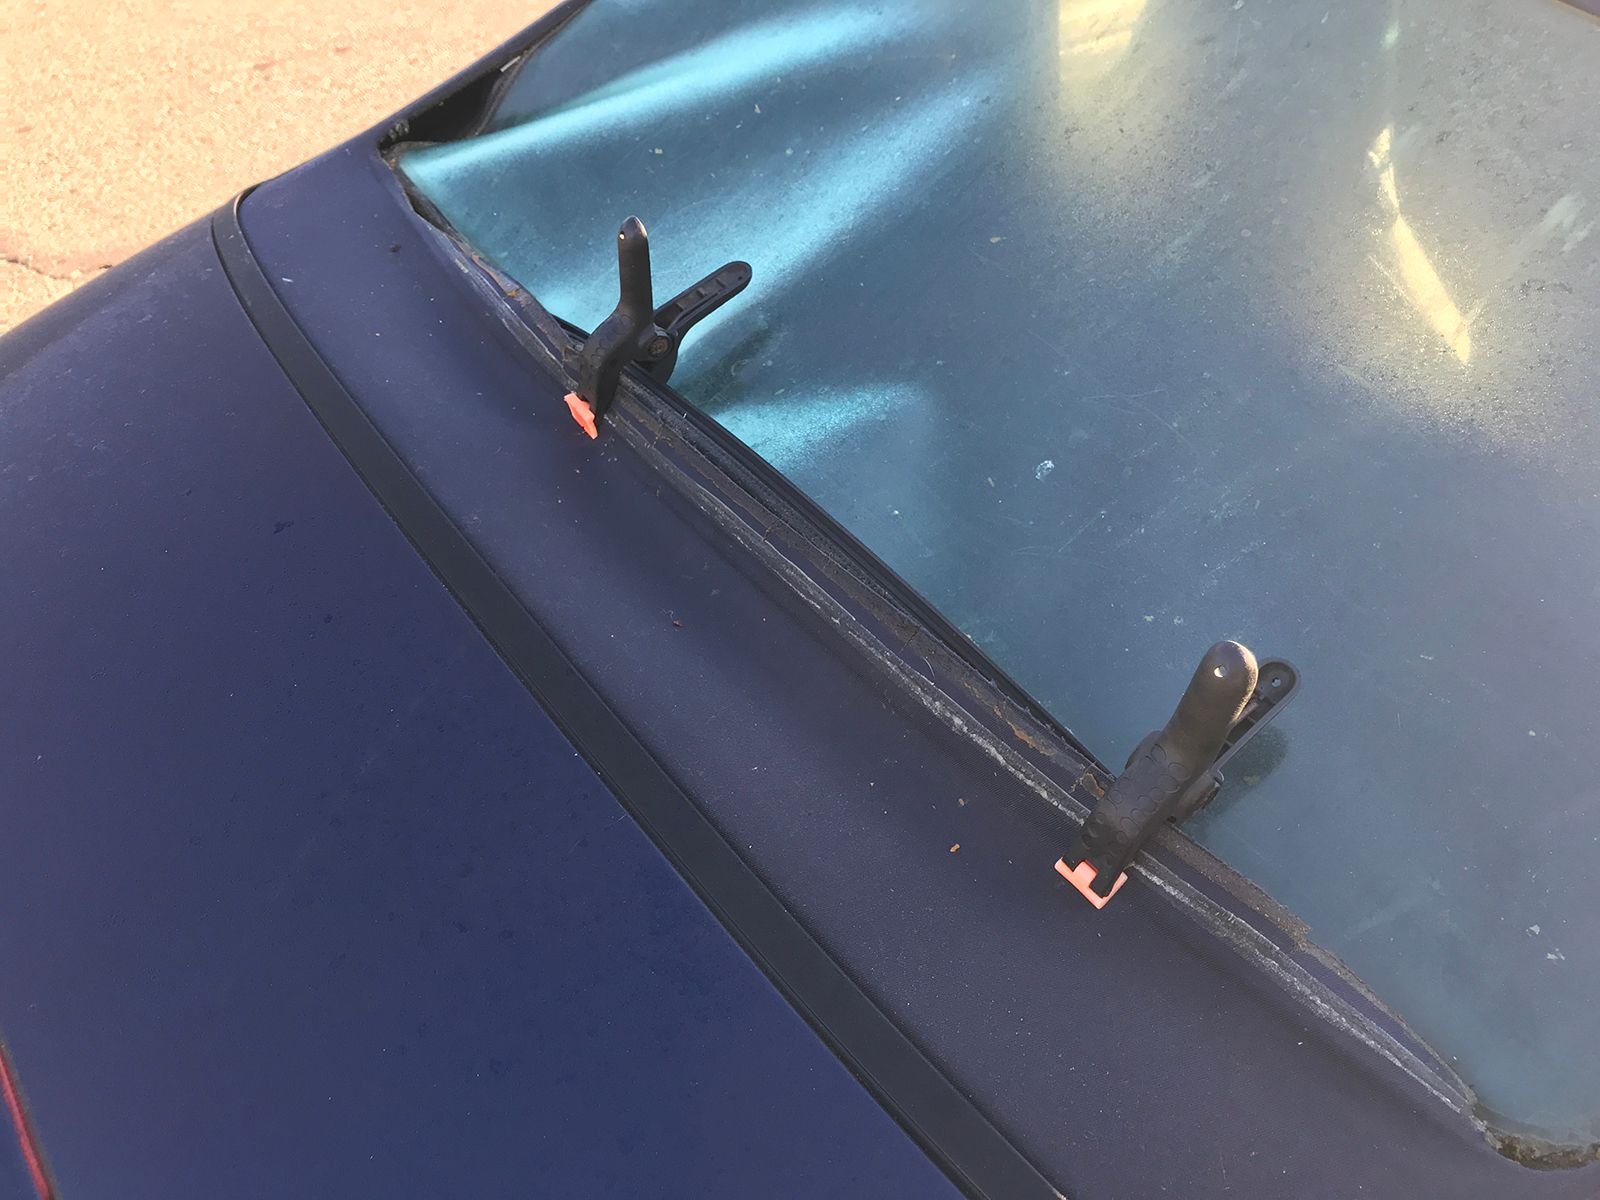
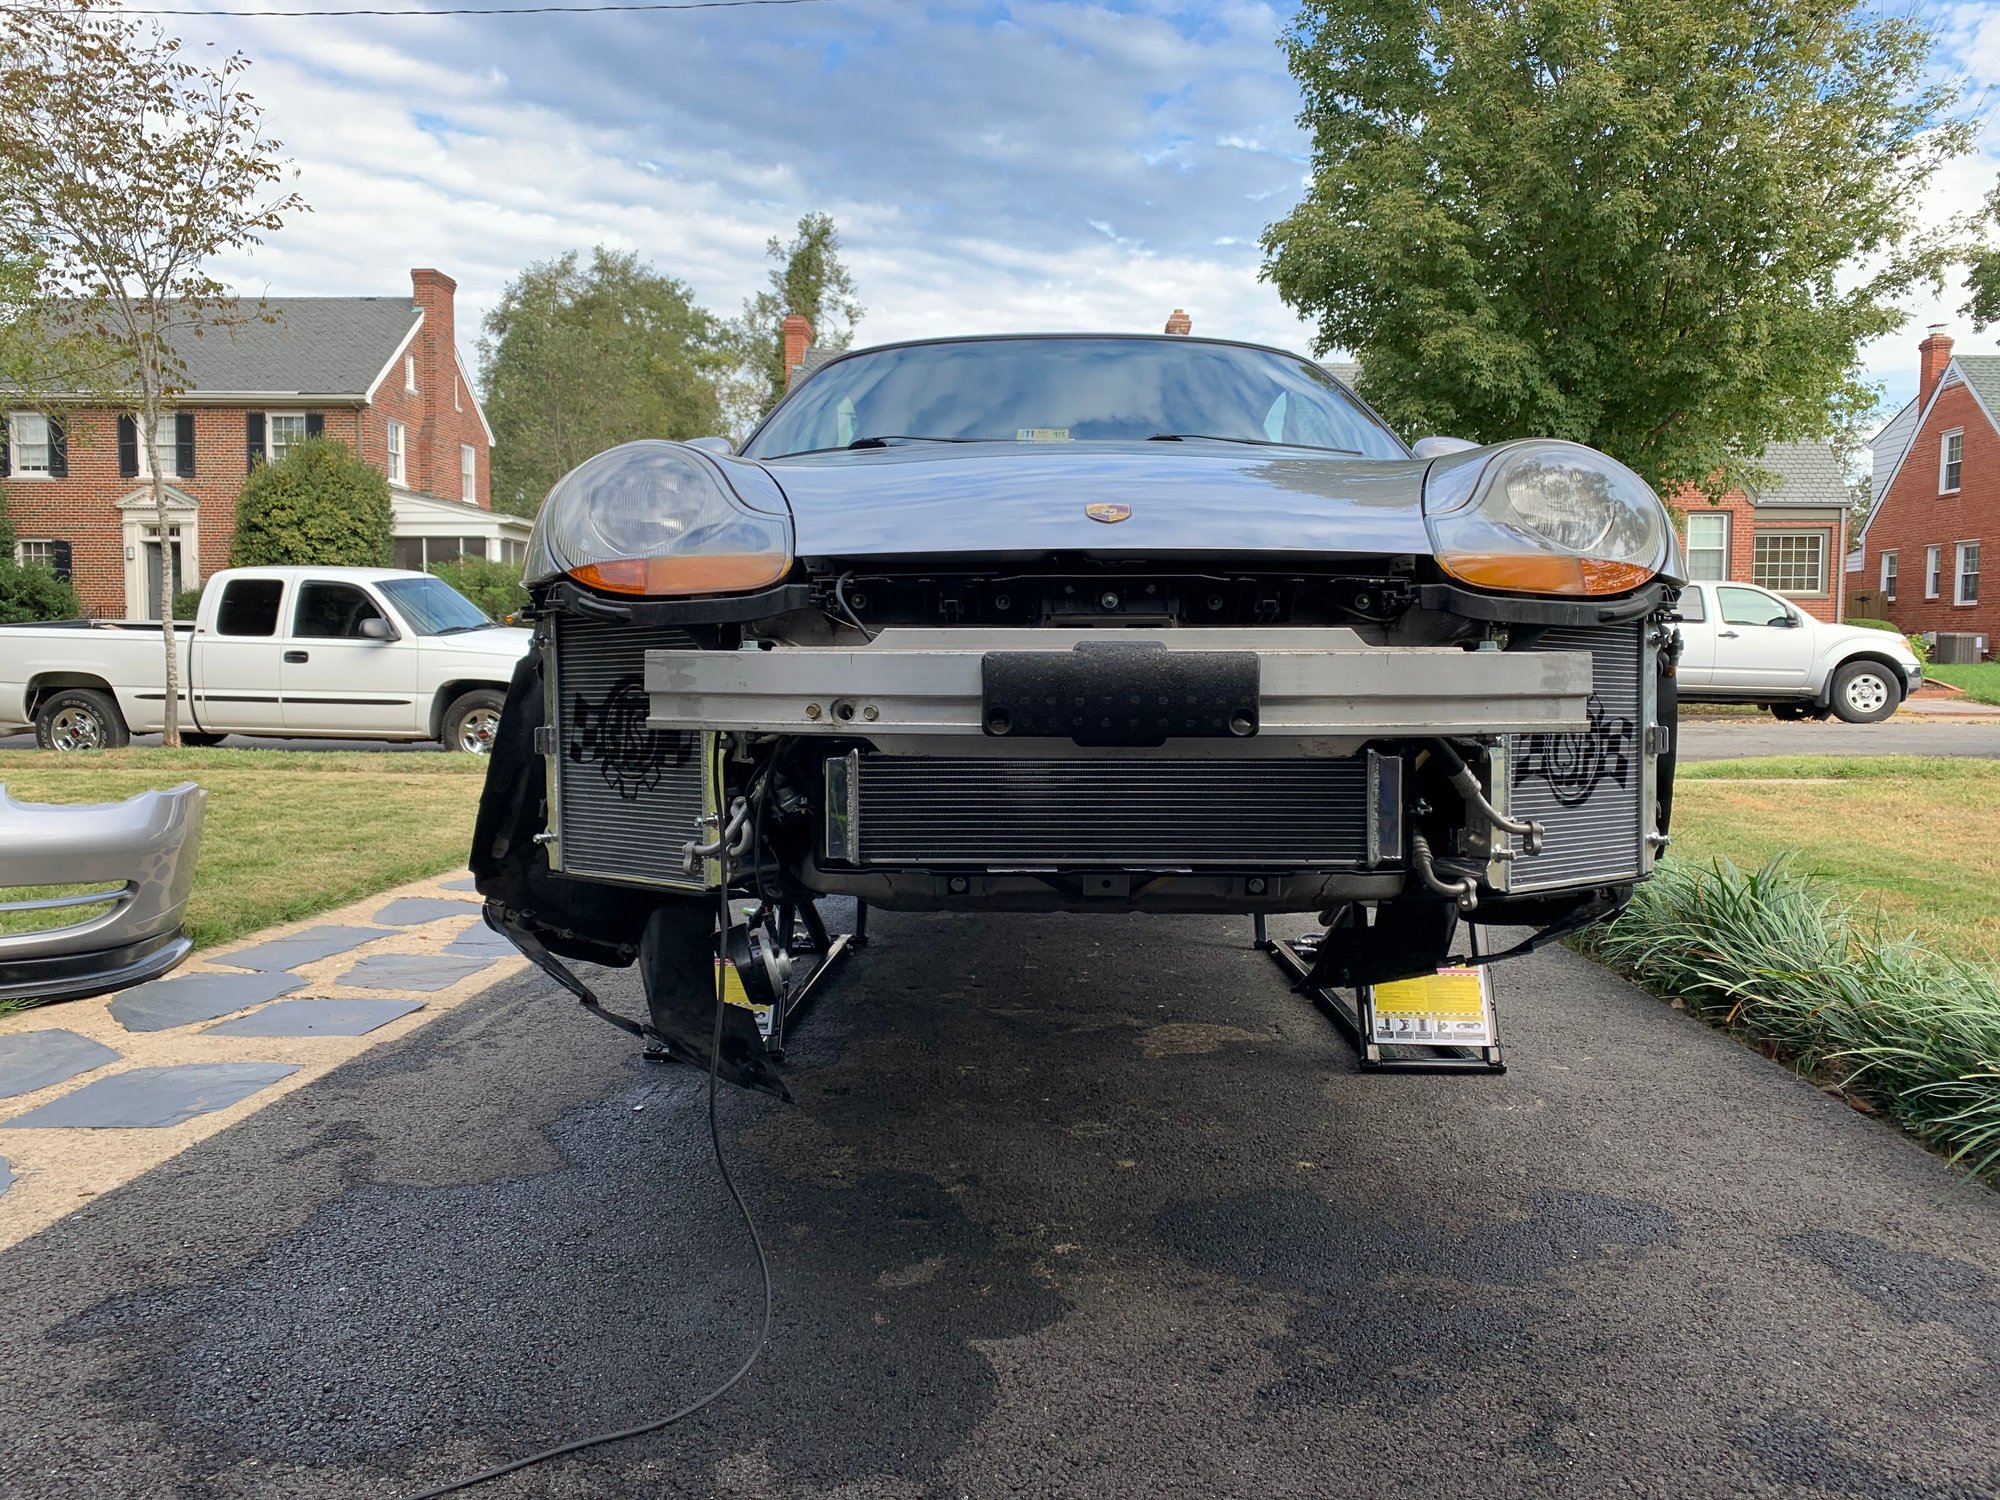
Finally had a nice weekend to upgrade the cooling system. All new CSF side radiators and center radiator. Updated and replaced hoses and clamps as needed too.
I did this last week and wound up having to take it apart again. The previous owner must have helped to start stripping that bolt hole...Heli coil to the rescue!
I got them finger tight, then half turn with the wrench....then I pulled the little torque wrench and torqued them to about 84-86 inch pounds each (7 ft/lb, in a "star" pattern), then installed the belt and all the other stuff.....I have not refilled the system with coolant....probably that task will be done this weekend....
I decided to go really easy on the turns, because I read your post on the stripped bolt installing the thermostat....I made sure I stopped right after the click of the torque wrench.....may be another 1/16-1/8 of a turn (hence the 86 inch pounds)...
 10-21-2019, 08:30 PM