When you click on links to various merchants on this site and make a purchase, this can result in this site earning a commission. Affiliate programs and affiliations include, but are not limited to, the eBay Partner Network.
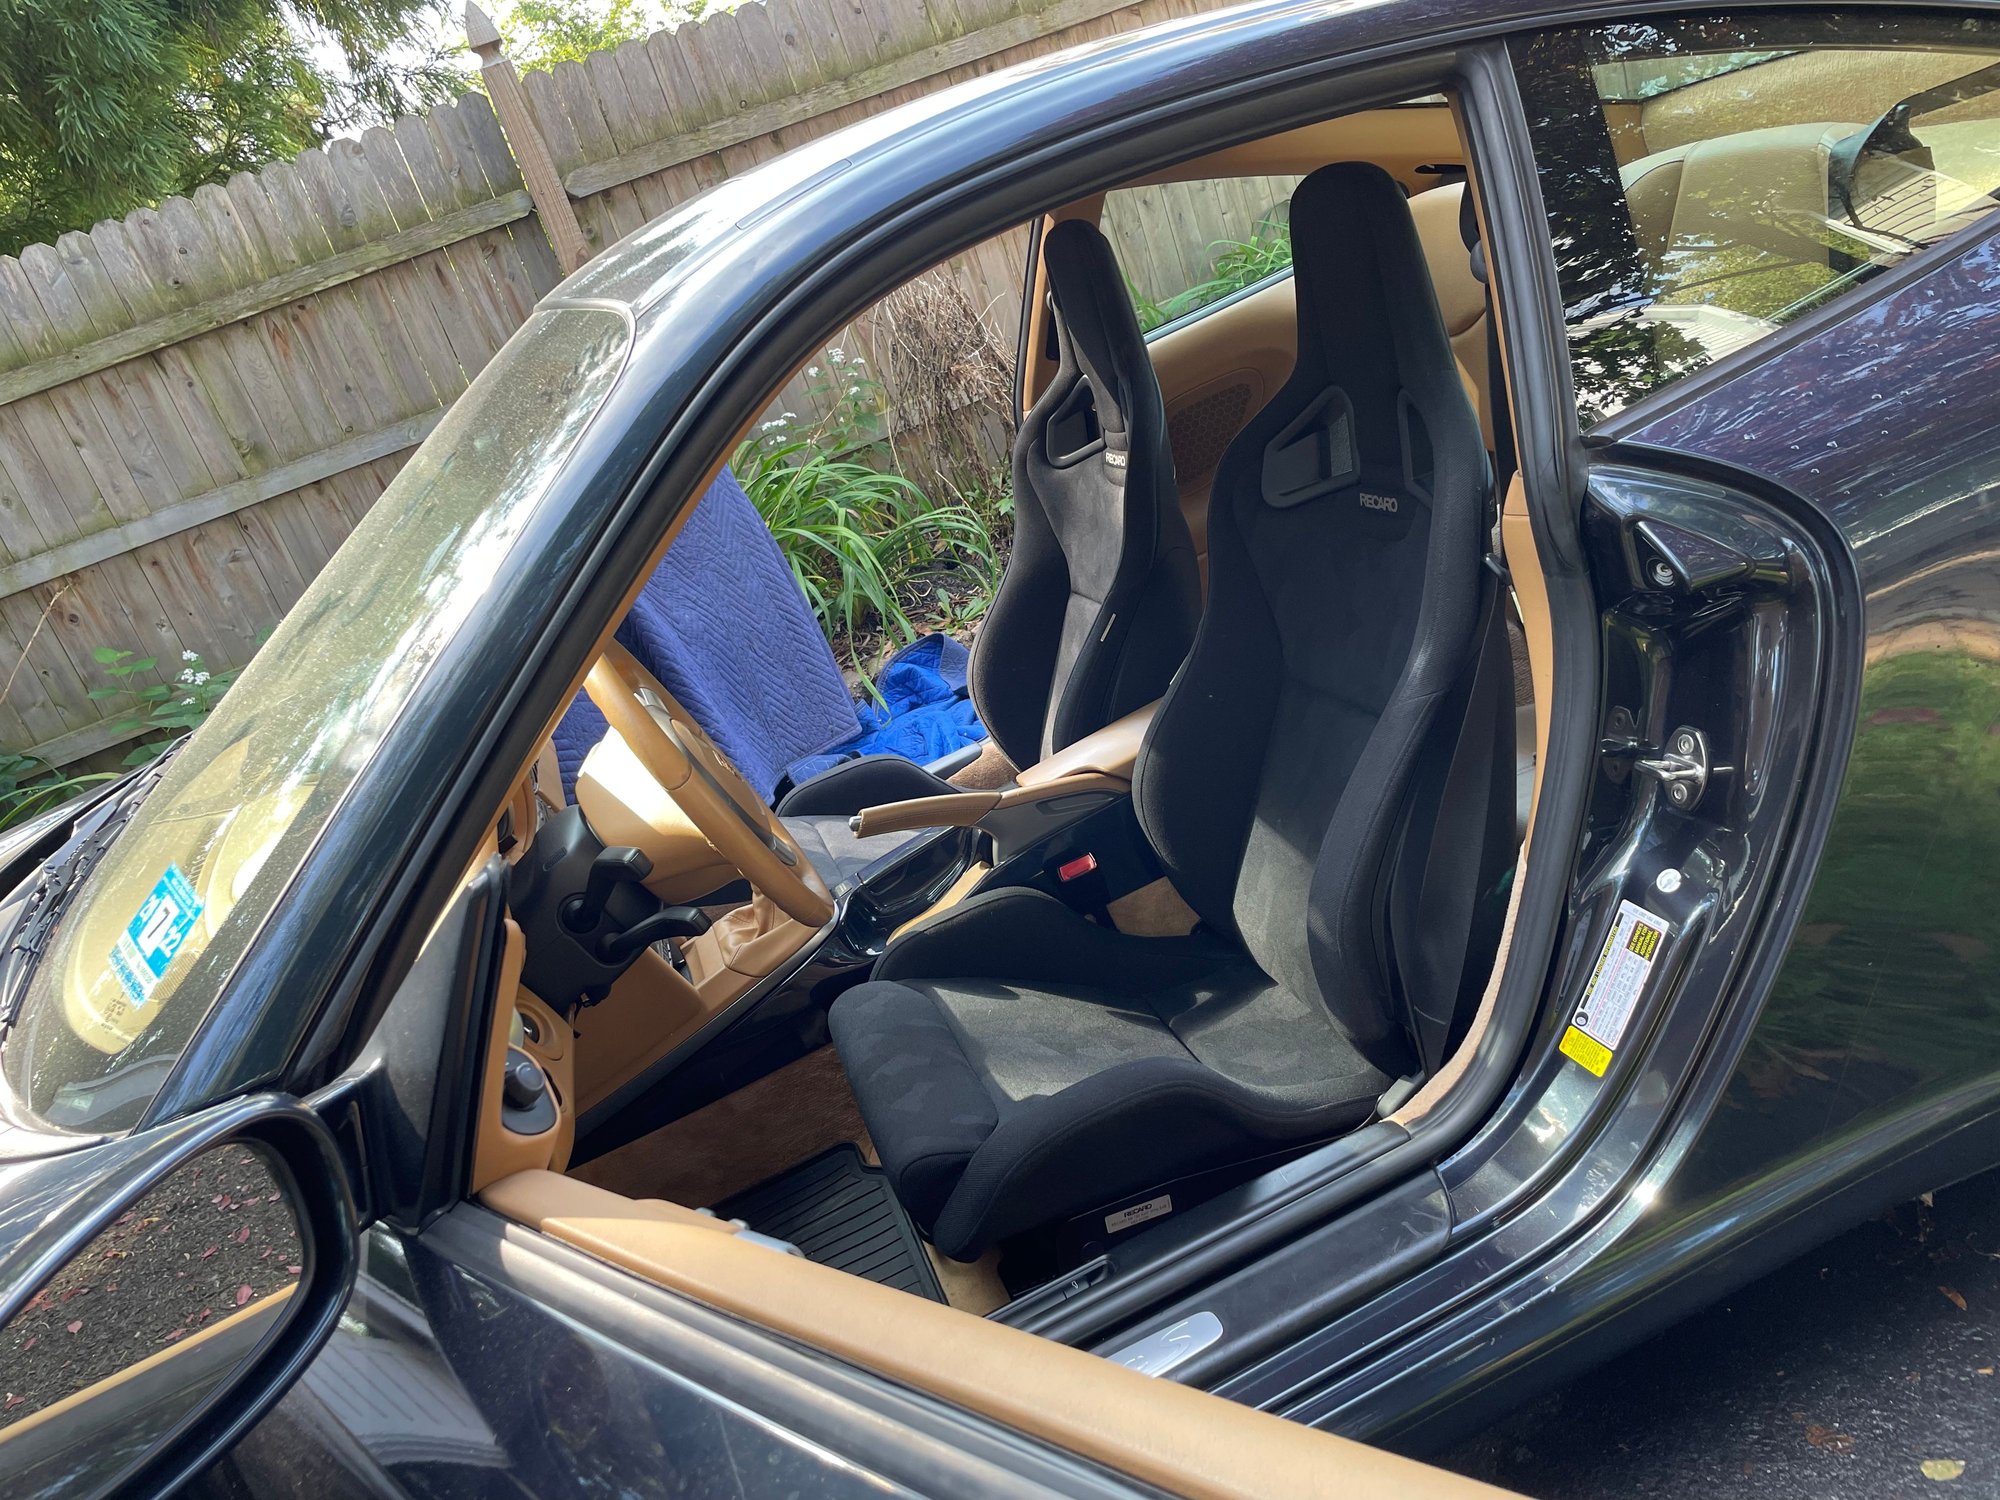
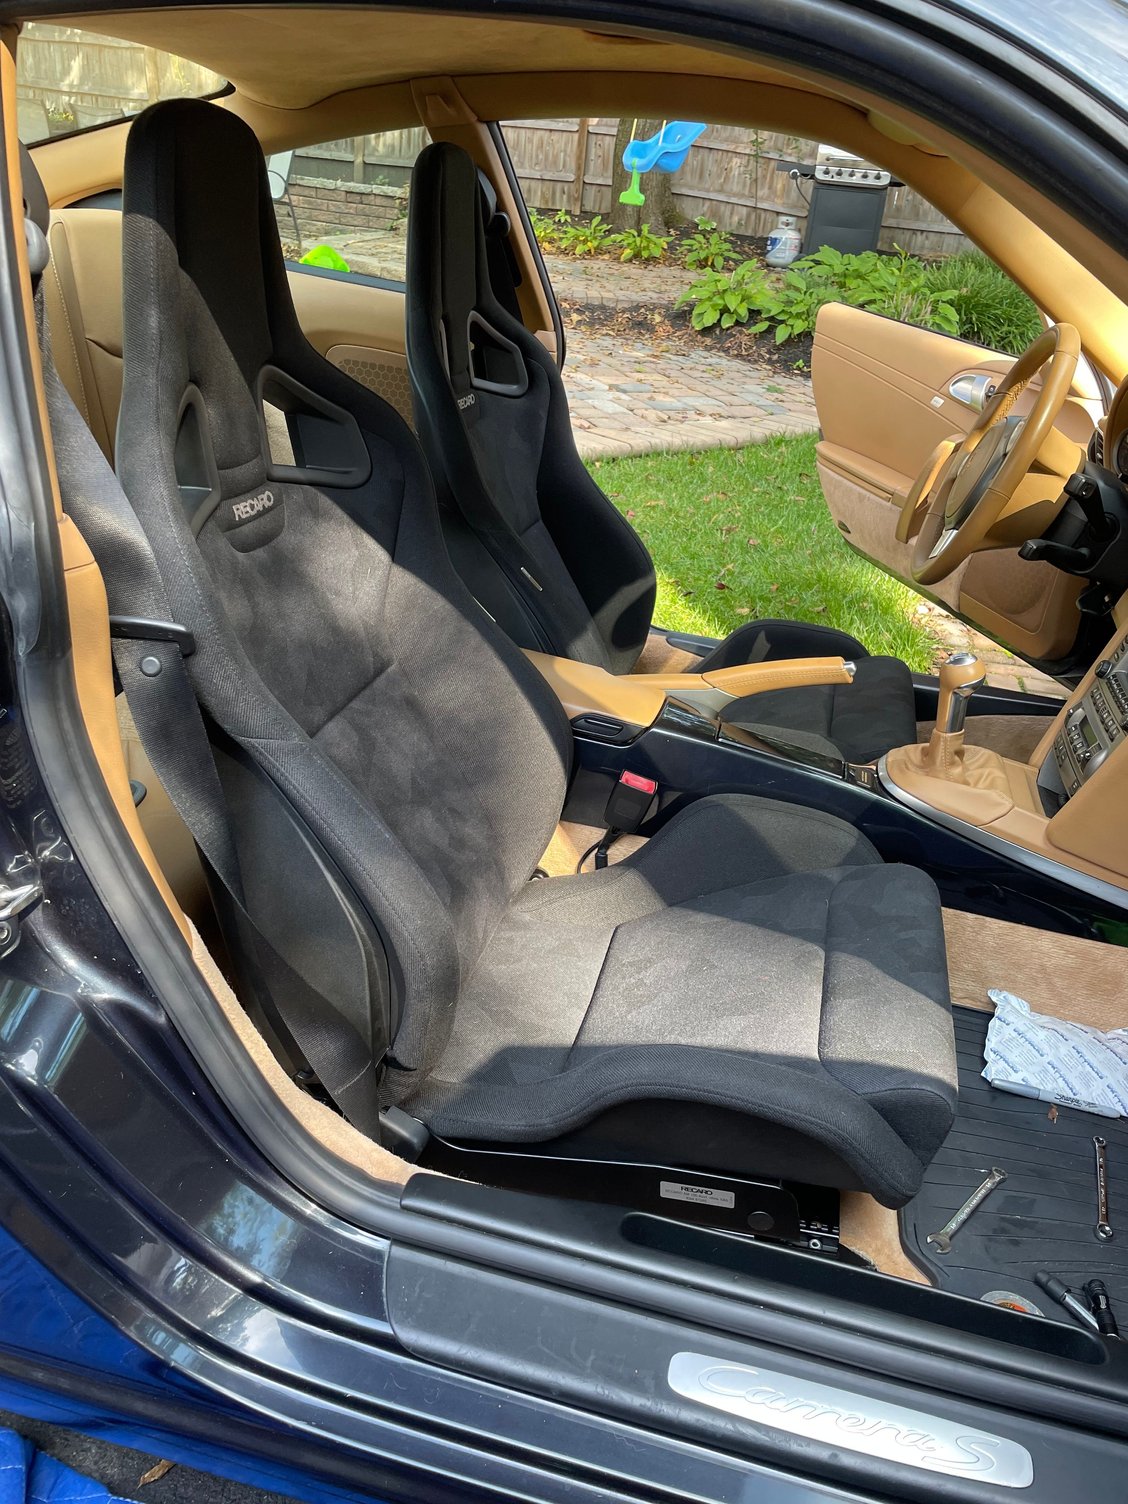
I epoxied some carbon fiber parts back to their fiberglass backing surfaces where they had delaminated ... two of the cup holder pieces and the center console behind the front seats. I epoxied the ash tray cover back on a month or so ago. It seems that the OEM carbon fiber warps over time and separates. But, to be fair, it has lasted 12 years before doing this.
Tried to ID and reset a "Service Now" msg that occasionally pops up starting using the POR II that came with the car, but the various resets seem to do nothing. Put on my official license plate I've been waiting for for over 3 weeks!
Topped off coolant, cleaned and sealed top with Raggtopp. Heading to pick up dinner (top down 70�) and saw the clear sky with a thin crescent moon near Venus, so added a 30 mile loop to my drive home...
Swapped out all the interior bulbs with LED's - MSP motorsports kit. Major upgrade, but I hit 2 snags. The LED doesn't work for the engine bay - flickers on initially but won't stay on. And I discovered my trunk light doesn't work at all (even original bulb). Read some threads that say this happens after a dead battery and you need a dealer tool to reset.
Today, I FINALLY finished up with a long term project (for me, anyway). Over the years since I ordered the car, I have experienced so many issues with road conditions. That, and steep driveways, had continued to take a toll on my car.
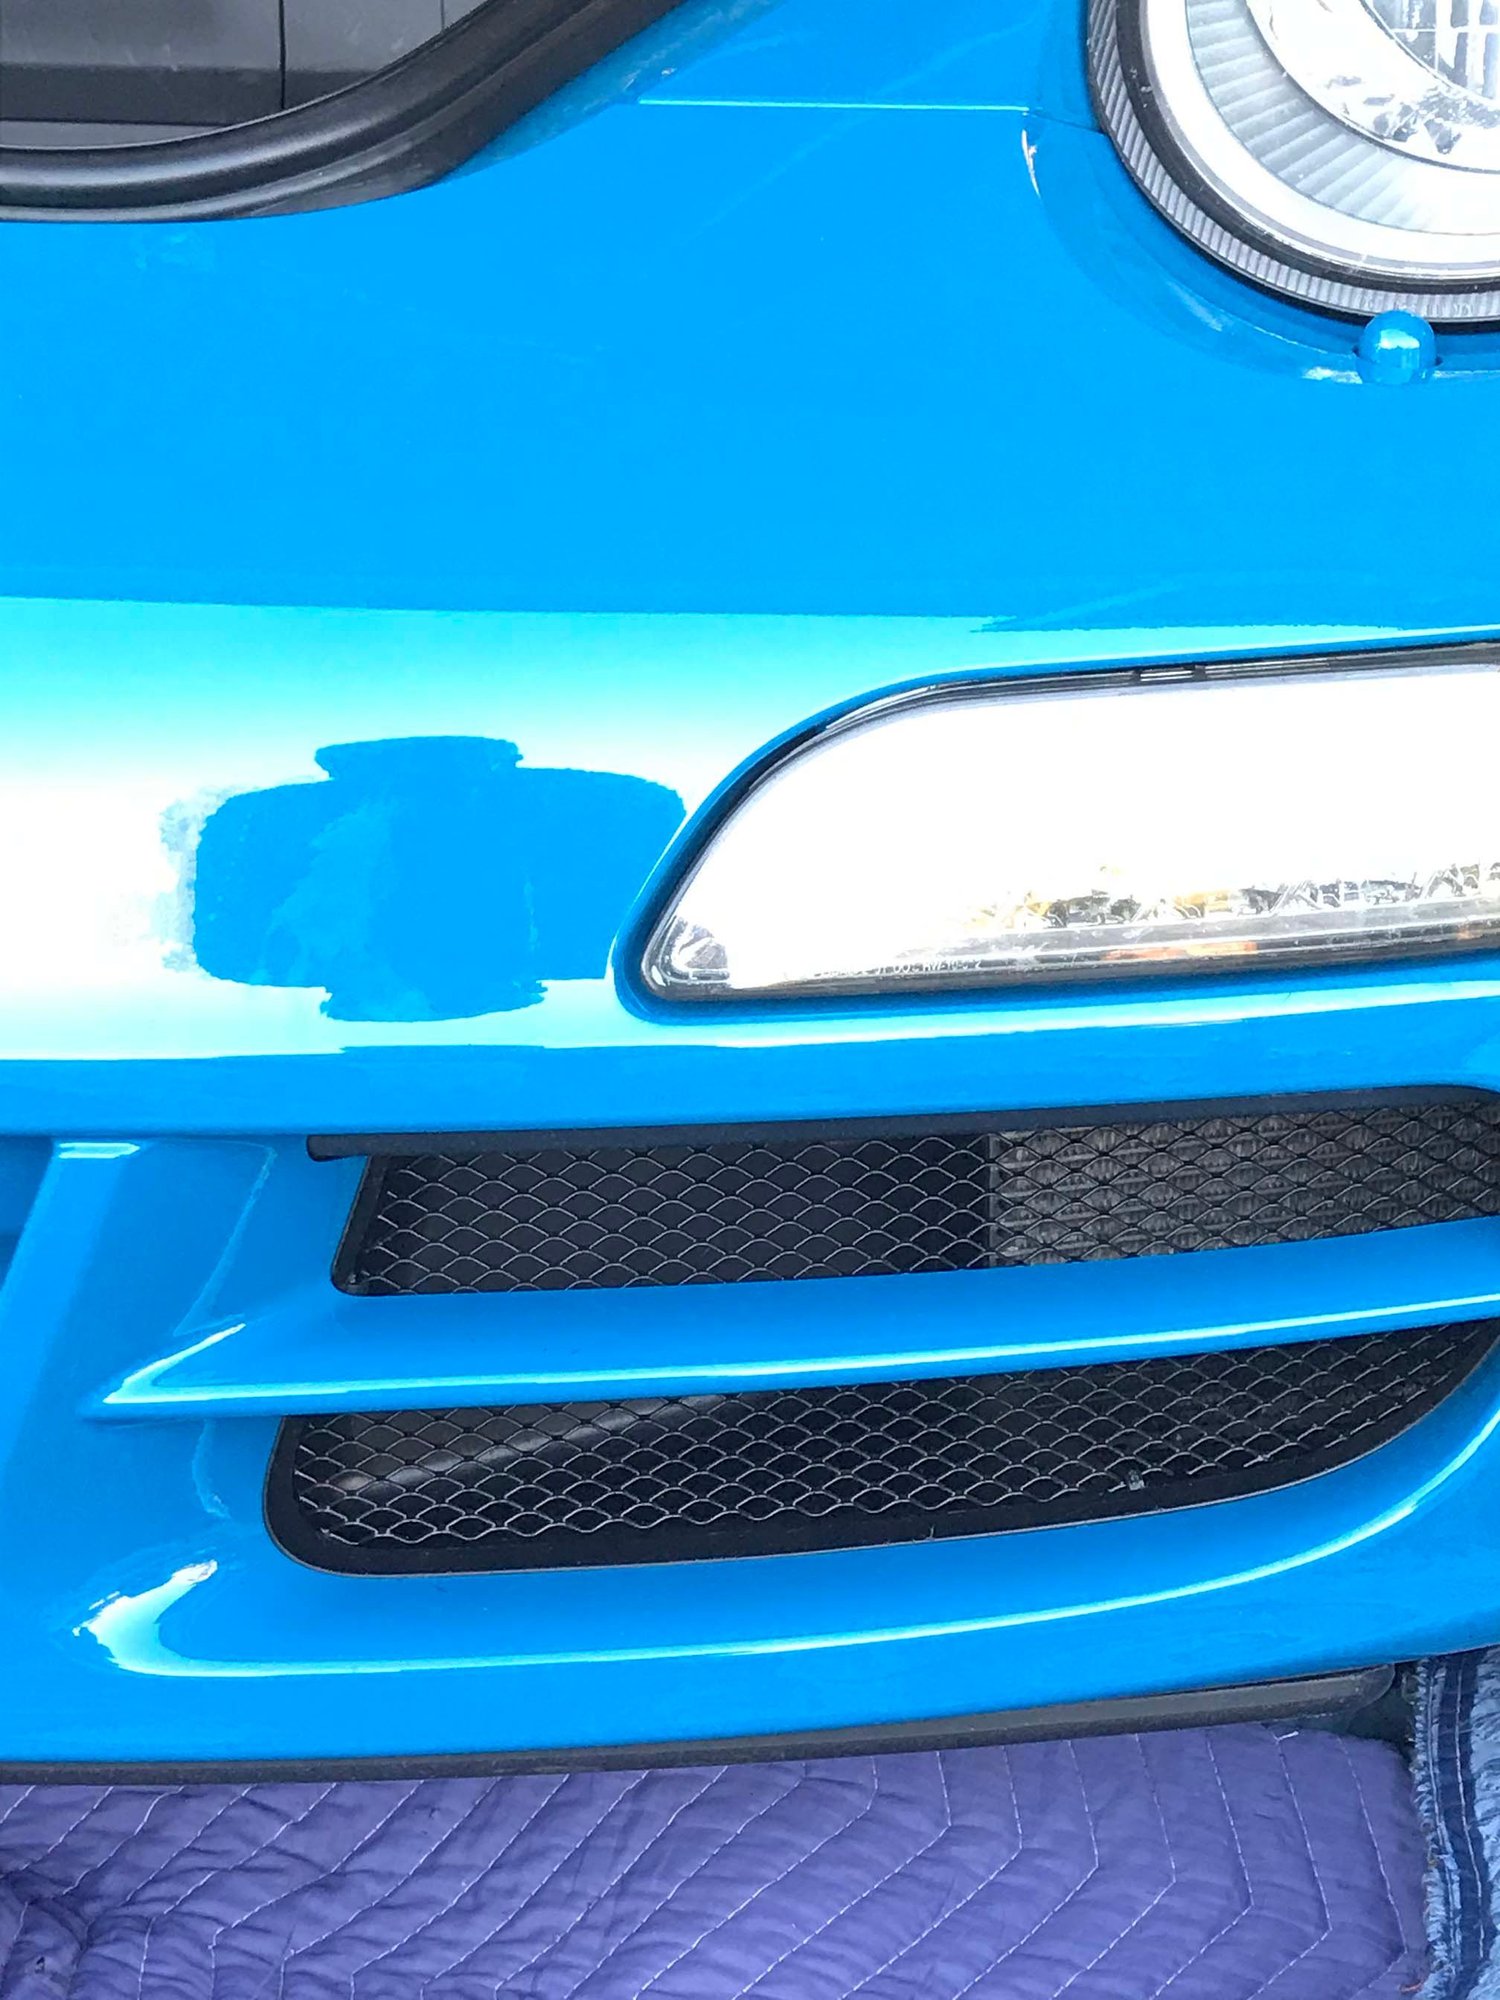
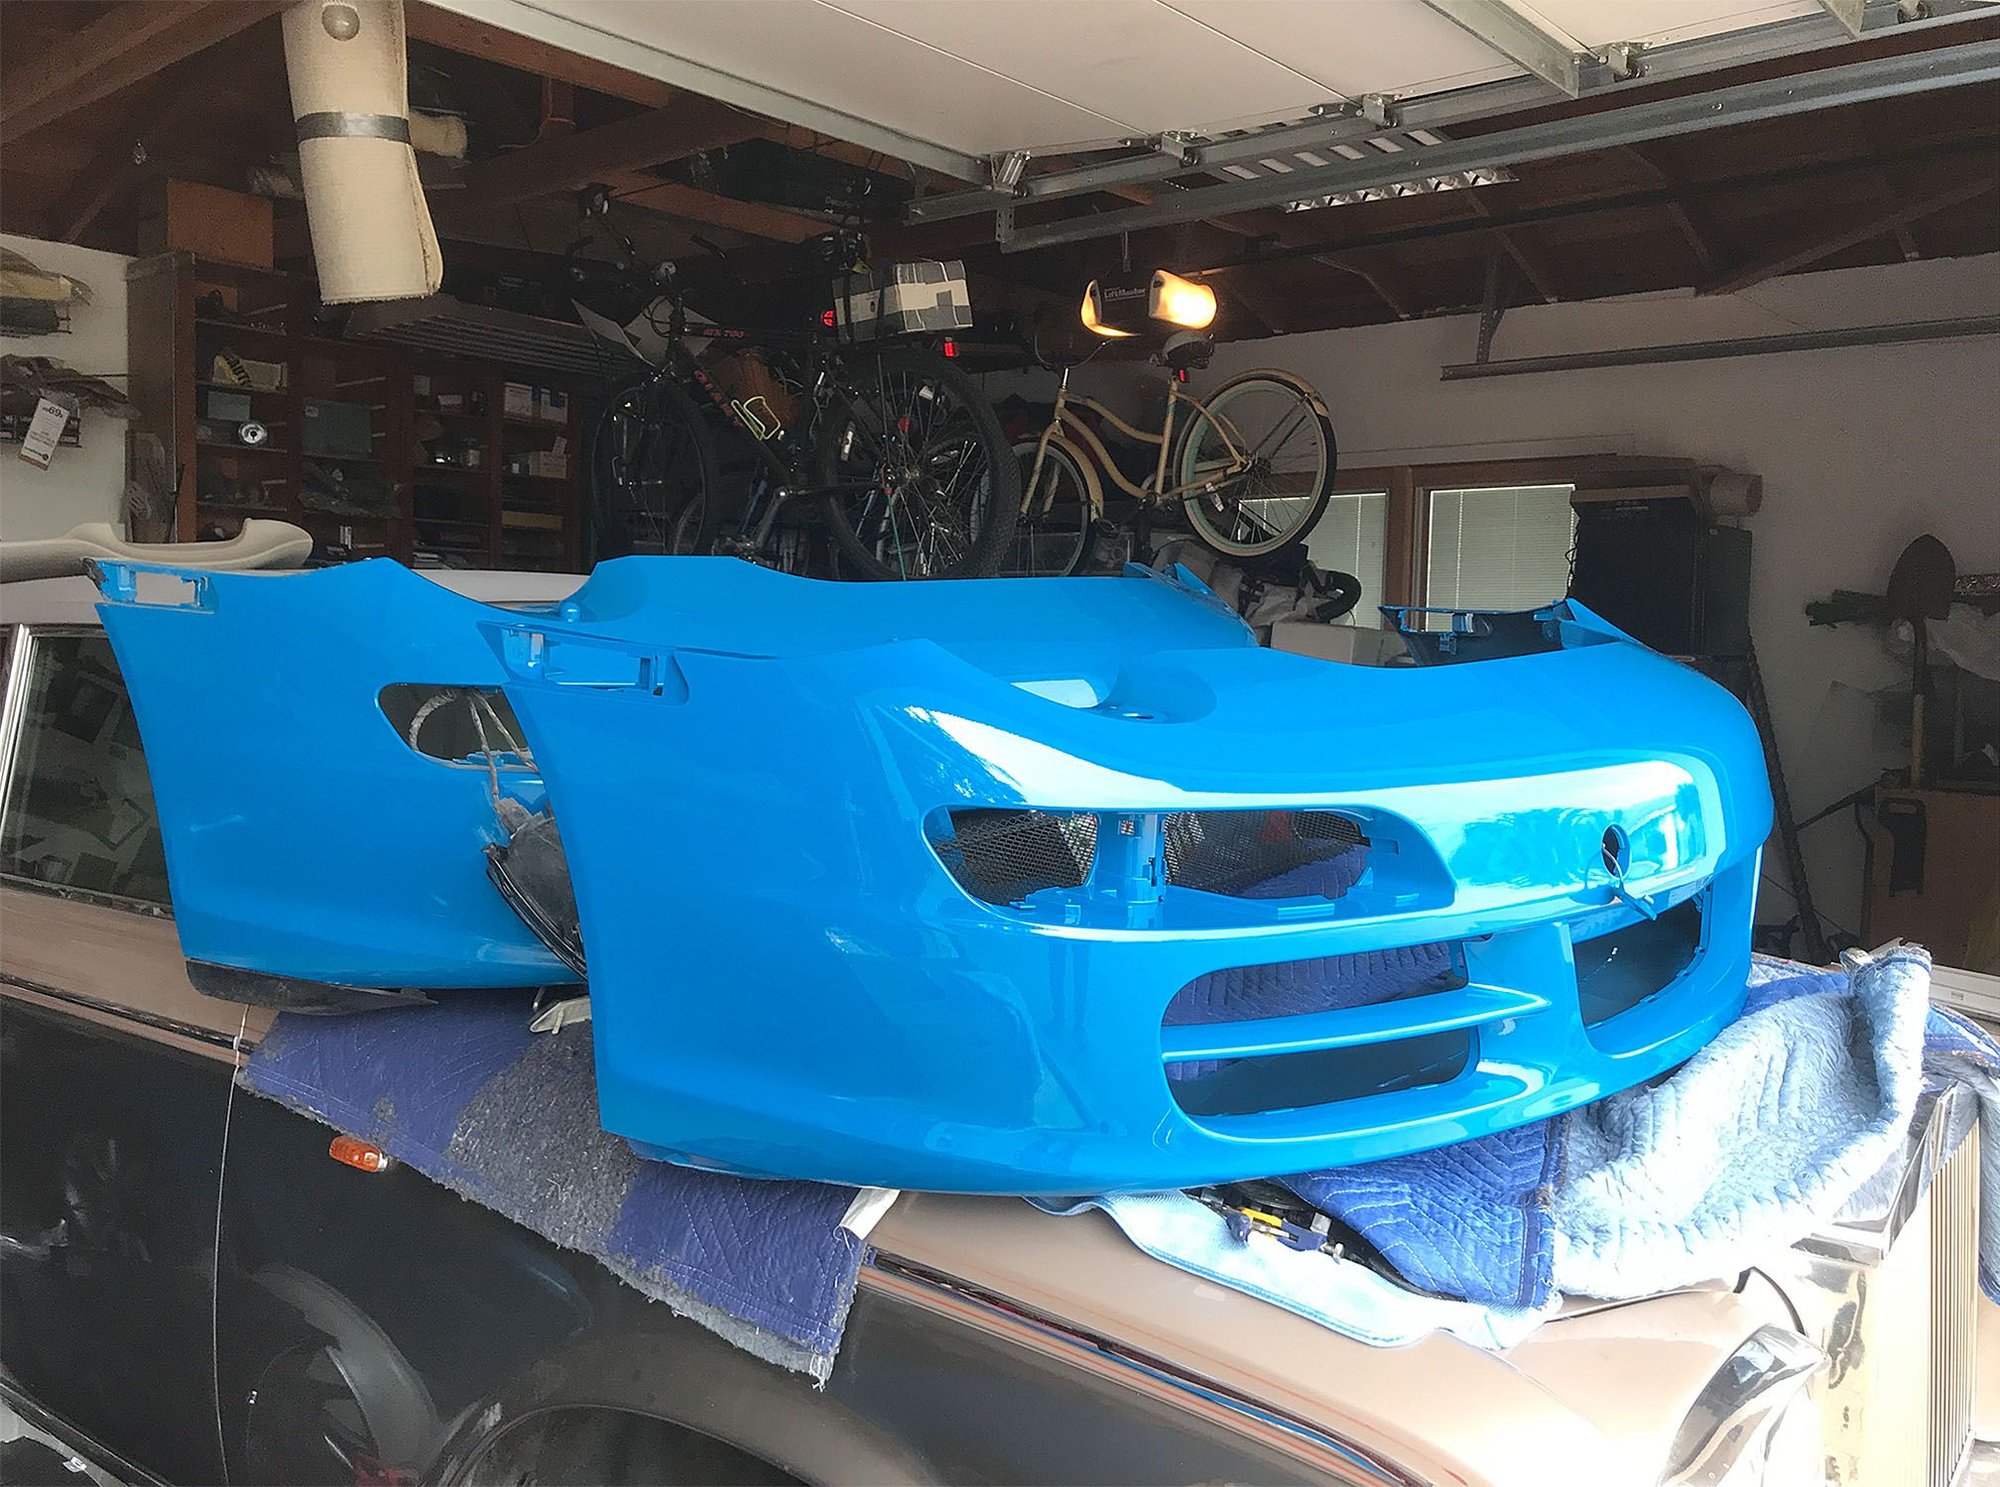
I finally decided to get under the front of the car and replace a bunch of things. With about 123,000 miles on it currently, I discovered that I chose the right time to do this. Had I waited any longer some of the Torx headed screws that secure the bottom of the bumper cover would have been impossible to remove. I contacted Sunset Porsche in Portland and ordered a new front bumper cover (yes, the whole front end) along with two new lower front inner wheel wells and a few other odds and ends. I sent the bumper cover out to my local paint shop and because the car is a solid blue, matching was a breeze. I also bought several new Torx fasteners because many of the originally fitted ones had been ground down considerably.
While I had the entire thing apart I transferred all the pieces from the old onto the new piece--which is limited to the electrical wiring harness and the water lines for the front headlight washers. I also took the front ducts out and cleaned up the front radiators. They weren't as bad as many I have seen--but we don't have a lot of leaves which are killers to these cars! I also took the time to make a template and install black metal grills for the intact ducts. Being metal, they are quite stiff and I was able to secure them with out of view zip ties--only needed three on each side.
When I get a little time I will add photos later. (I know, it wasn't done if there are no photos).
Think about doing this for your cars if you get under the front and see things ground up a bunch! Now I have to remind myself that dips in the road and steep driveway entries HAVE to be avoided! Many of you are probably missing that narrow front air dam that is under the center front of the car--they are usually the first to go!
While doing this I learned a lot about how they can assemble these things so quickly. I sourced a You Tube video for insight. Oh--and what got me started was the need to replace one of my horns which had died. (Apparently one is usually bad of the two frequencies we have).

 10-08-2021, 01:07 PM