When you click on links to various merchants on this site and make a purchase, this can result in this site earning a commission. Affiliate programs and affiliations include, but are not limited to, the eBay Partner Network.
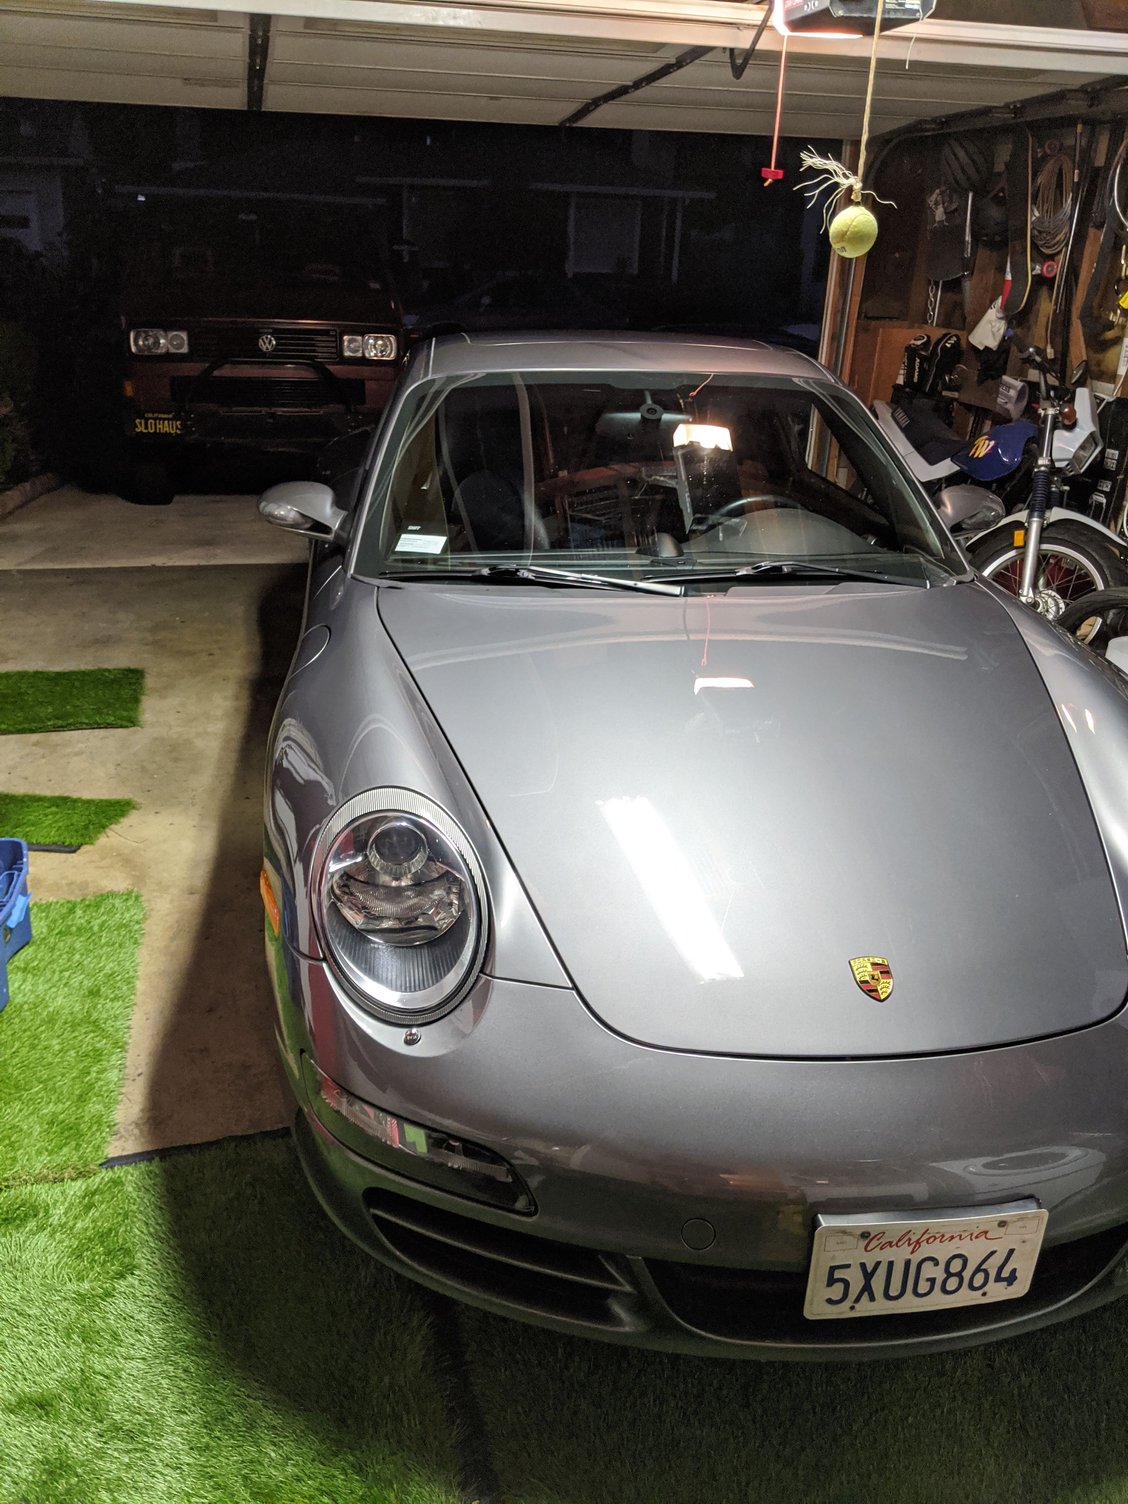
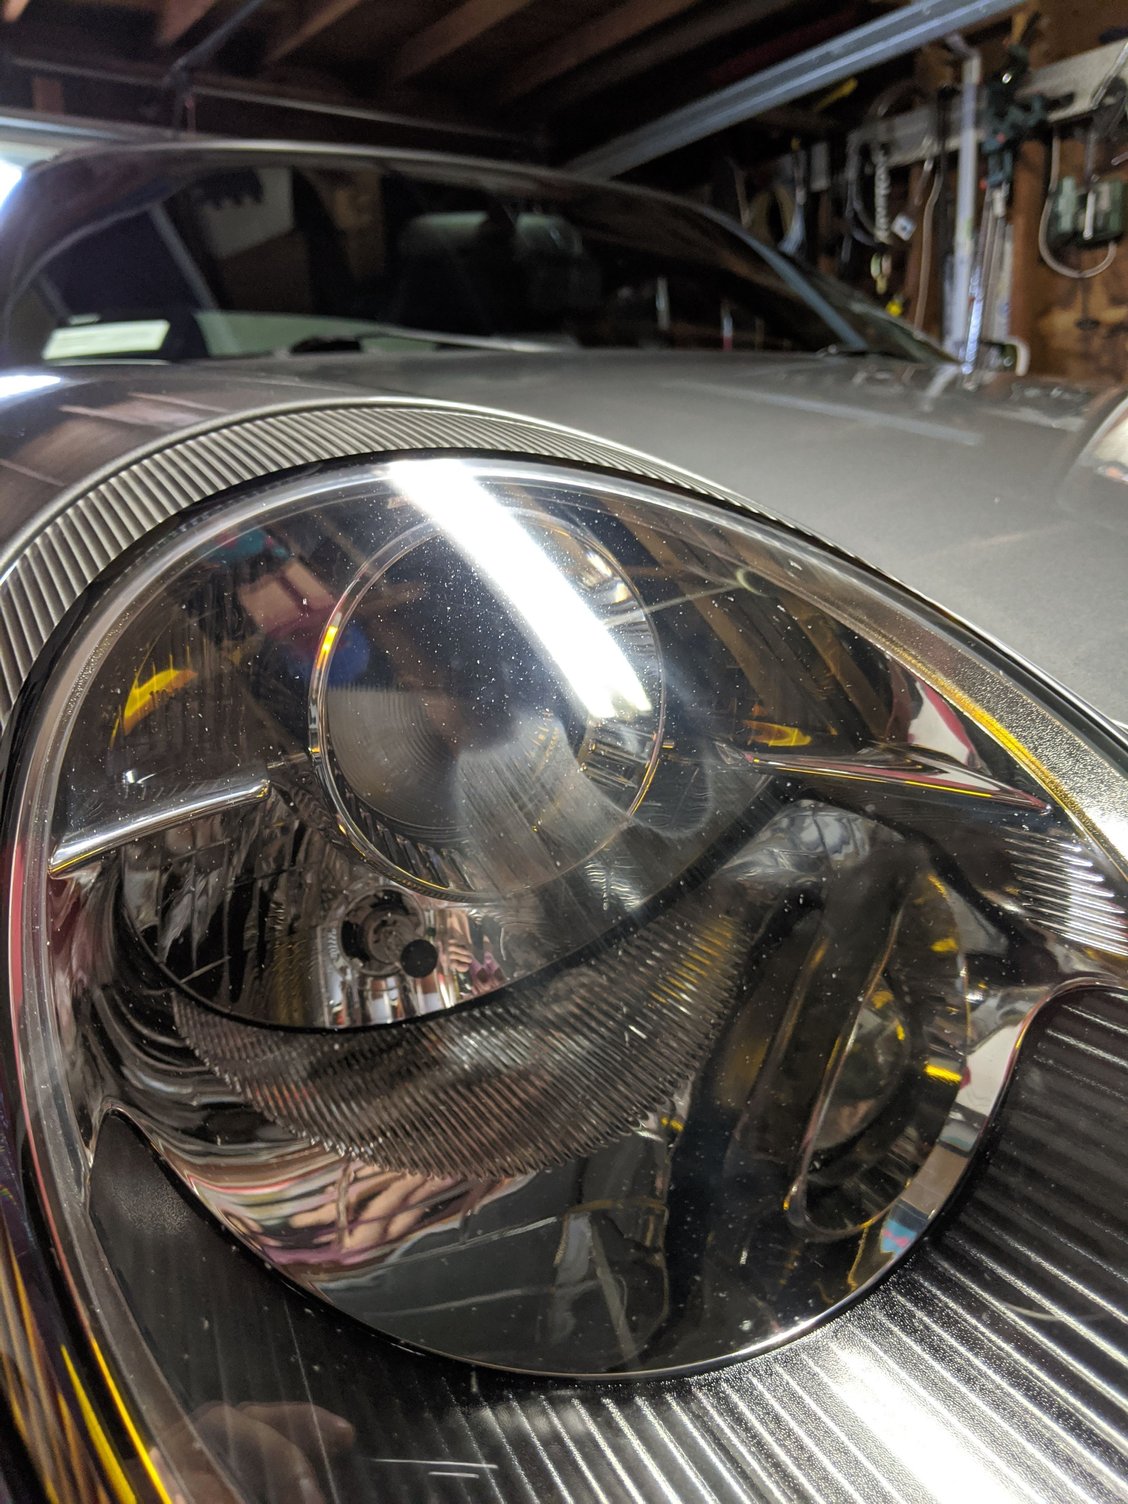
Polished the headlights a bit. I have a weird haze on the inside of the lenses (seen in pic 2)... seems to be a result of the heat put out by the bulbs over the years. Has anyone resolved this issue? I read methanol swirled around in there takes care of it but that feels pretty sketchy to me.
Was the plastic also treated with ceramic coating (if so, which product) or painted black?
Cheers,
Originally Posted by Achtung7
Was coated with ceramic pro gold which I believe is four coats plus one finishing coat. Made huge difference especially on plastic at base of windshield and side sills along the bottom of car. Now I'm not sure if they used a Mothers back to black type product first, but definitely no paint.
Originally Posted by Khloesdad
I replaced the plastic cowling at the base of the windshield. It was surprisingly cheap and easy to replace.
Looking at the photo of the cowling above motivated me into addressing the problem with mine.
Thought I would give Mothers "Back to Black" a shot to see if the $10 spent would prevent having to replace the cowling. It seems to have done a decent job. Time will tell however...
Old wax and polishing compound residue has been driving me nuts. I could not remove it with anything. Back to Black is supposed to clean and treat the plastic trim. Initial results look like it did the job. We'll see how it looks over time and repeated washings. Hopefully it's not just a cosmetic cover up...
For now - it looks much better I think.
I have found Back to Black works great and lasts quite well. Re-apply every few months. Takes about 5 minutes to do the cowl cover and lower body schutz plastic trim.
For whatever reason, I'm not much of a fan of shiny plastic or rubber trim. I'd rather it be more of a natural satin finish. My goal with the Back to Black for the cowl was to remove the wax / polish / compound residue. (I have tried numerous products to remove it - nothing worked.) Back to Black leaves a higher gloss finish.
My hope is that the Back to Black actually removed the residue. So far it looks like it did. I'll know for sure in time.
Over the years I've tried almost every automotive detailing product. 99% of the time, they don't live up to the hype. Back to Black is one of the few that really works as advertised. Many plastic "blackeners" (for lack of a better term) might work right away, but most tend to lose their effectiveness very quickly. B2B last a long time. If it seems too glossy, just buff it out with a towel and it will stay black but lose some sheen.
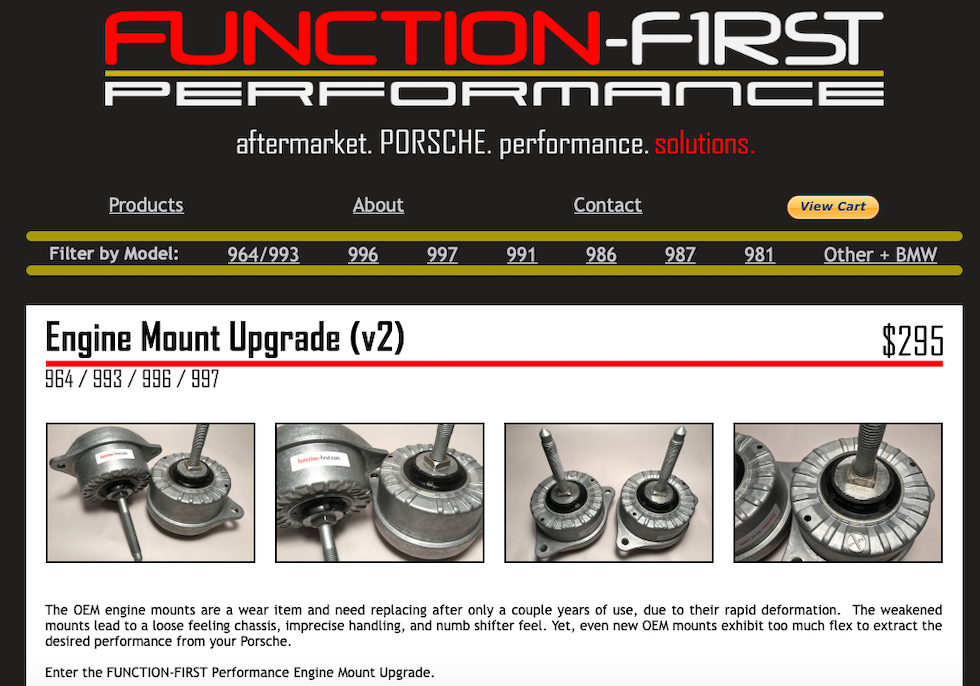
Ordered the FF Engine mount upgrades to compliment my FF Transmission mount and cannot wait to install
Been wanting to do this for a long time now but just haven't had the time. Will post my findings once installed.
Ordered the FF Engine mount upgrades to compliment my FF Transmission mount and cannot wait to install
Been wanting to do this for a long time now but just haven't had the time. Will post my findings once installed.
Nice! A simple and effective upgrade. If you're doing a DIY, someone mentioned to loosen the top screws a few turns. When the mount comes up a few mm, you'll know the weight of the engine is off the chassis, which was nice to know instead of trying to lift up the whole weight of the car.
Last edited by tegraphile; 07-15-2020 at 11:04 PM.
Nice! A simple and effective upgrade. If you're doing a DIY, someone mentioned to loosen the top screws a few turns, . When the mount comes up a few mm, you'll know the weight of the engine is off the chassis, which was nice to know instead of trying to lift up the whole weight of the car.
@tegraphile Thanks .
Yes I think I saw that somewhere also, Sounds like a good process,

 07-13-2020, 01:04 PM