When you click on links to various merchants on this site and make a purchase, this can result in this site earning a commission. Affiliate programs and affiliations include, but are not limited to, the eBay Partner Network.
It will be worse than that, in my case. Once it warms up, I'll get my winter wheels painted and mount my winter/ dirt tires. I envision a lot of break-in miles on my dirt oval.
OK, That does it! If you have a dirt oval, get me some space ready in your Hobbit greenhouse. Damn the health care system, you and I are gonna be swappin' paint on our cars
OK, That does it! If you have a dirt oval, get me some space ready in your Hobbit greenhouse. Damn the health care system, you and I are gonna be swappin' paint on our cars
From a few years ago - reignited my fire to buy a 911. I got to drive this car for part of the 2012, all of 2013 and part of the 2014 Detroit Region SCCA RallyCross seasons. The owner went and locked me out of driving it by installing a fixed seat. He's at least half a foot shorter than me. This is on our track...
Gary (almost typed Greg, again... ) - you're welcome anytime. Sundae has claimed spare bedroom #1 as her own, but #2 is almost always open.
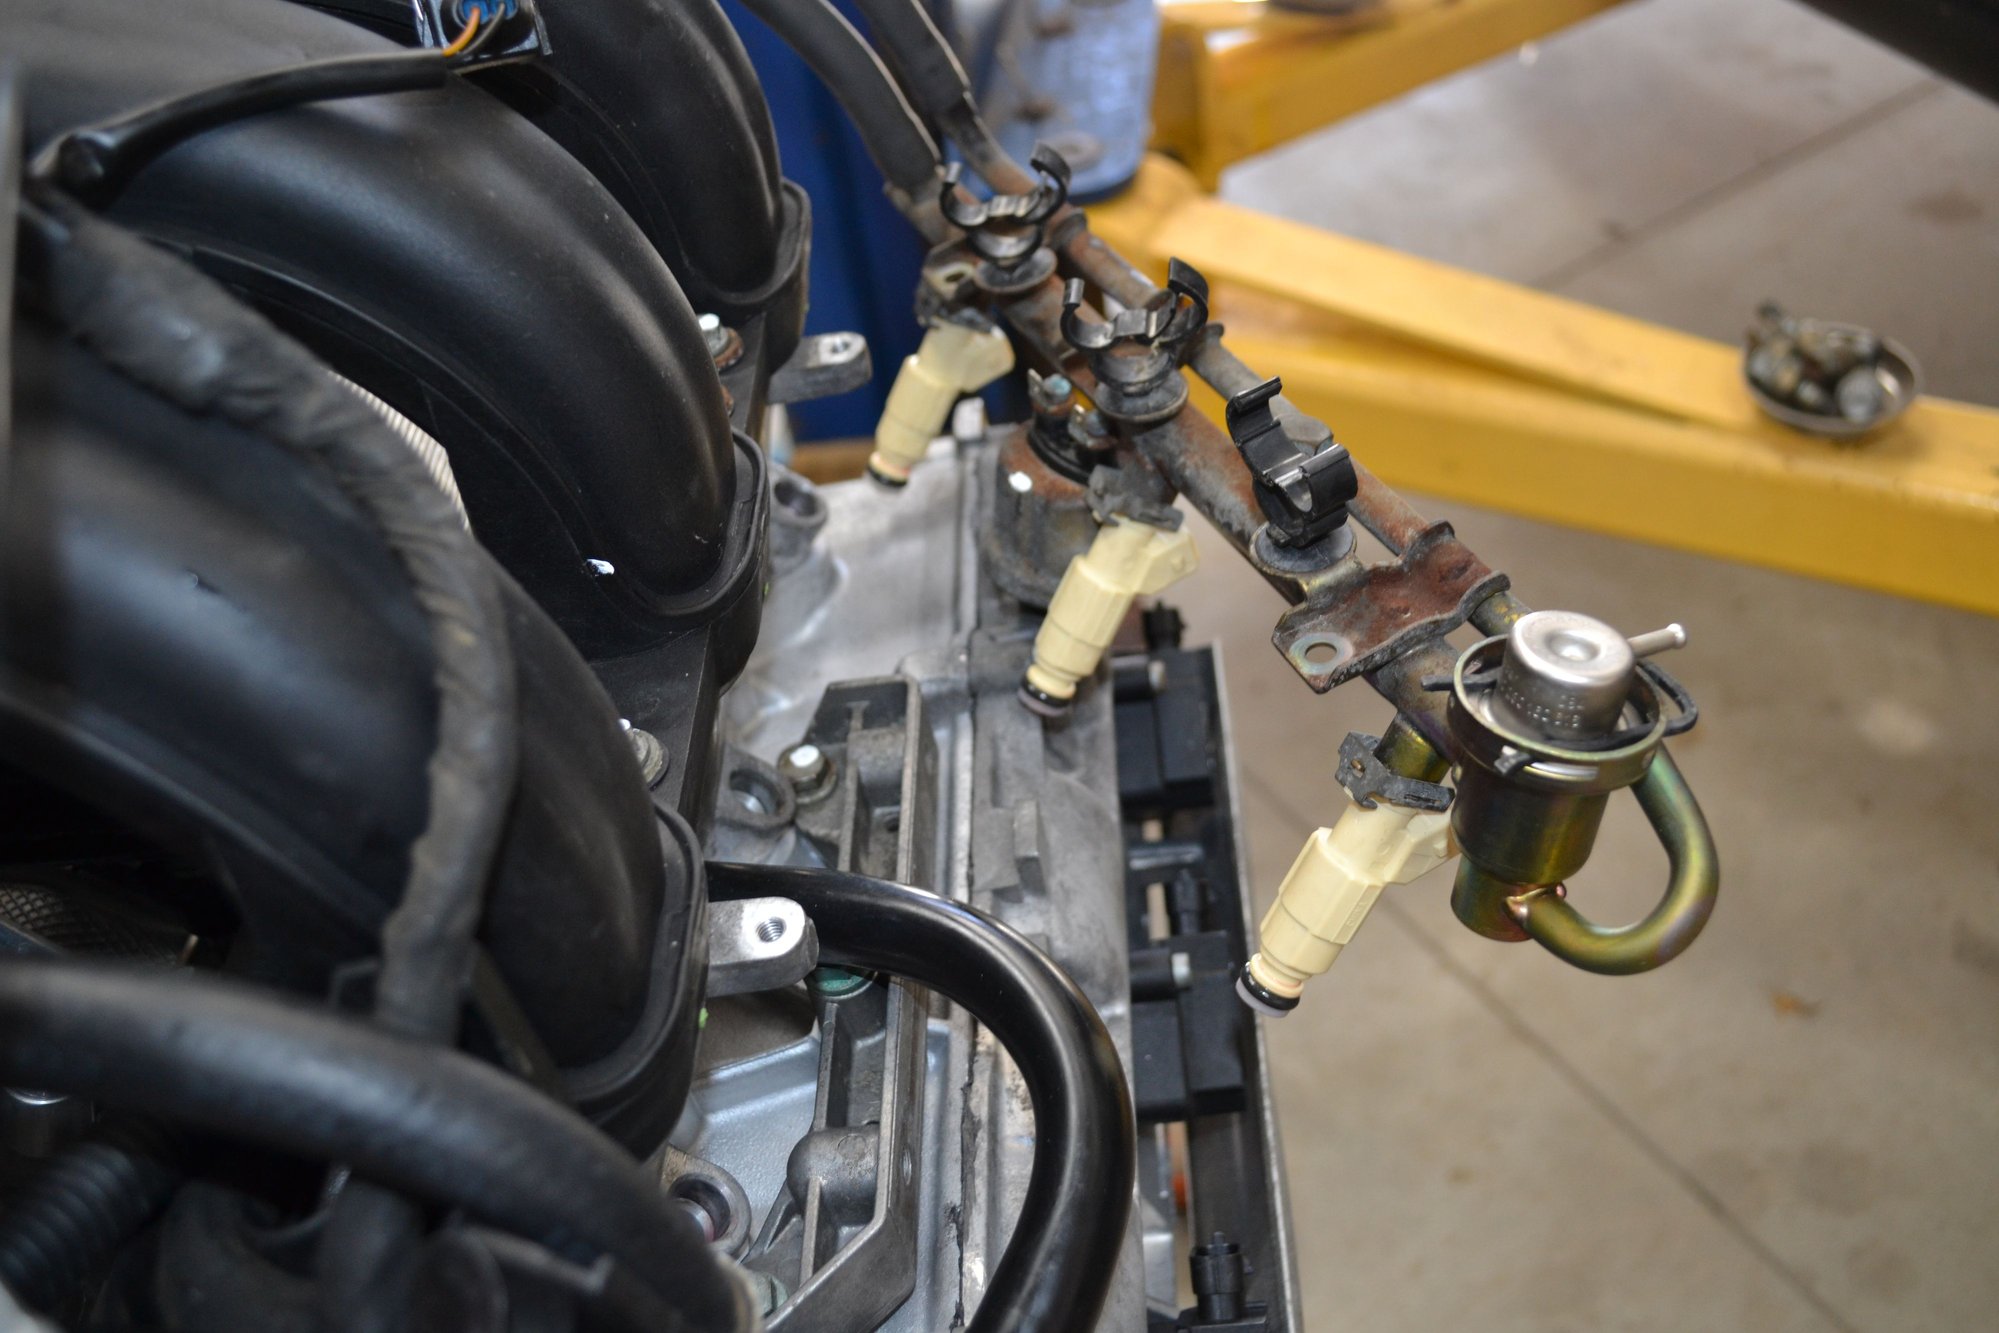
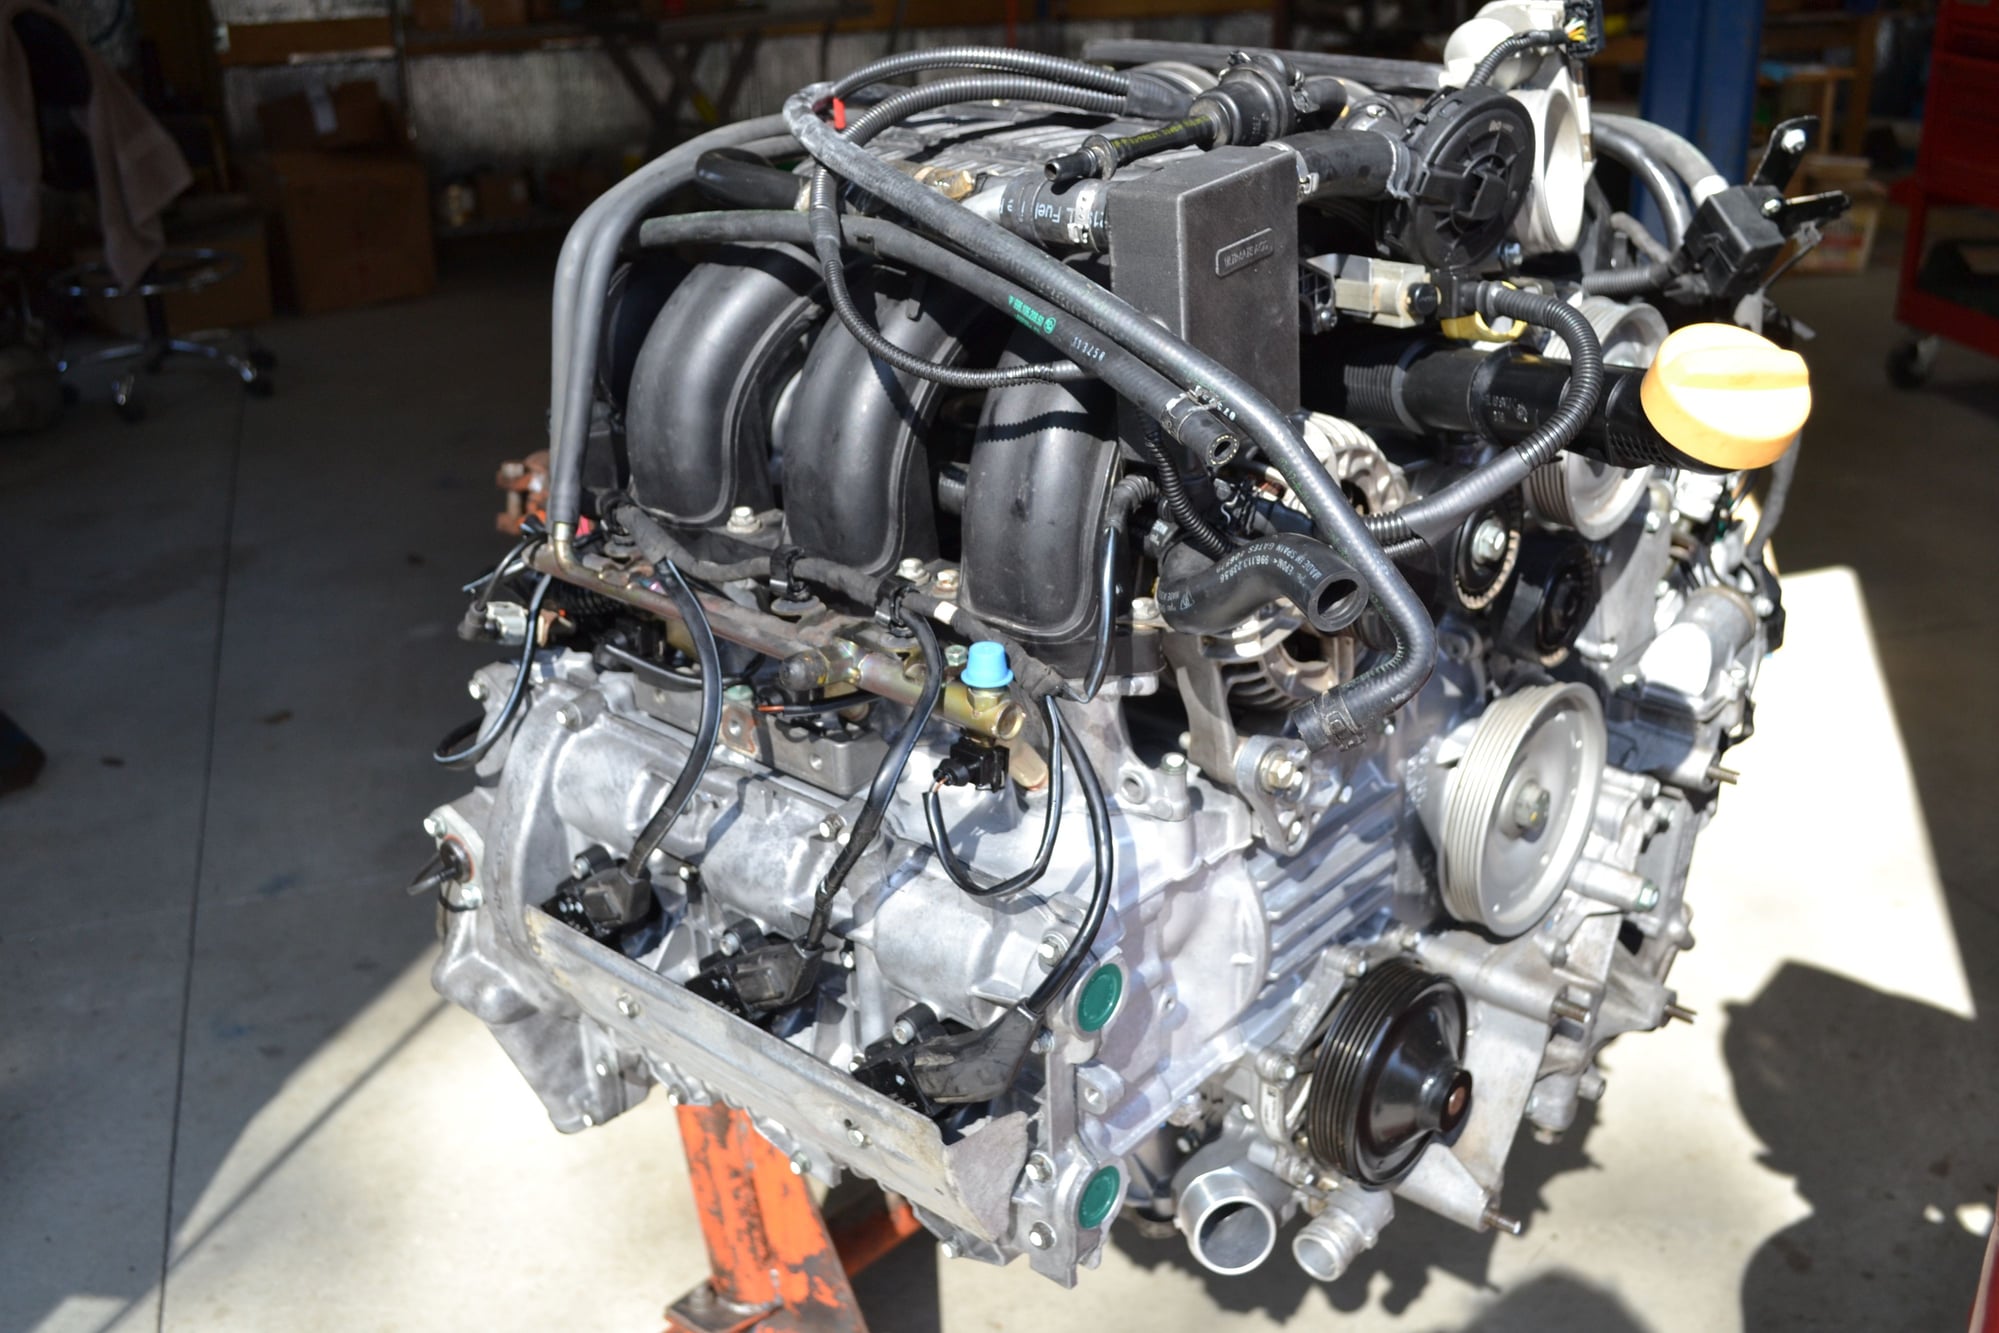
It was a beautiful day here. Sunny and reasonably warm (mid-60s). After closing my work computer I went out. First step was to compare the old injectors against the new ones. They're the same. No modification needed! Made the job a lot easier.
Having everything right in clear view makes installing the clips less of a battle. They have several indices.
Another good tip: pull the boot up from the coil connector to verify the clip fully engages. If any of these aren't installed properly, it's a good recipe for a misfire code setting.
It was so nice I worked in shorts and even took my shirt off, for a while. Sorry, no photos of that...
Fuel rails and injectors completed.
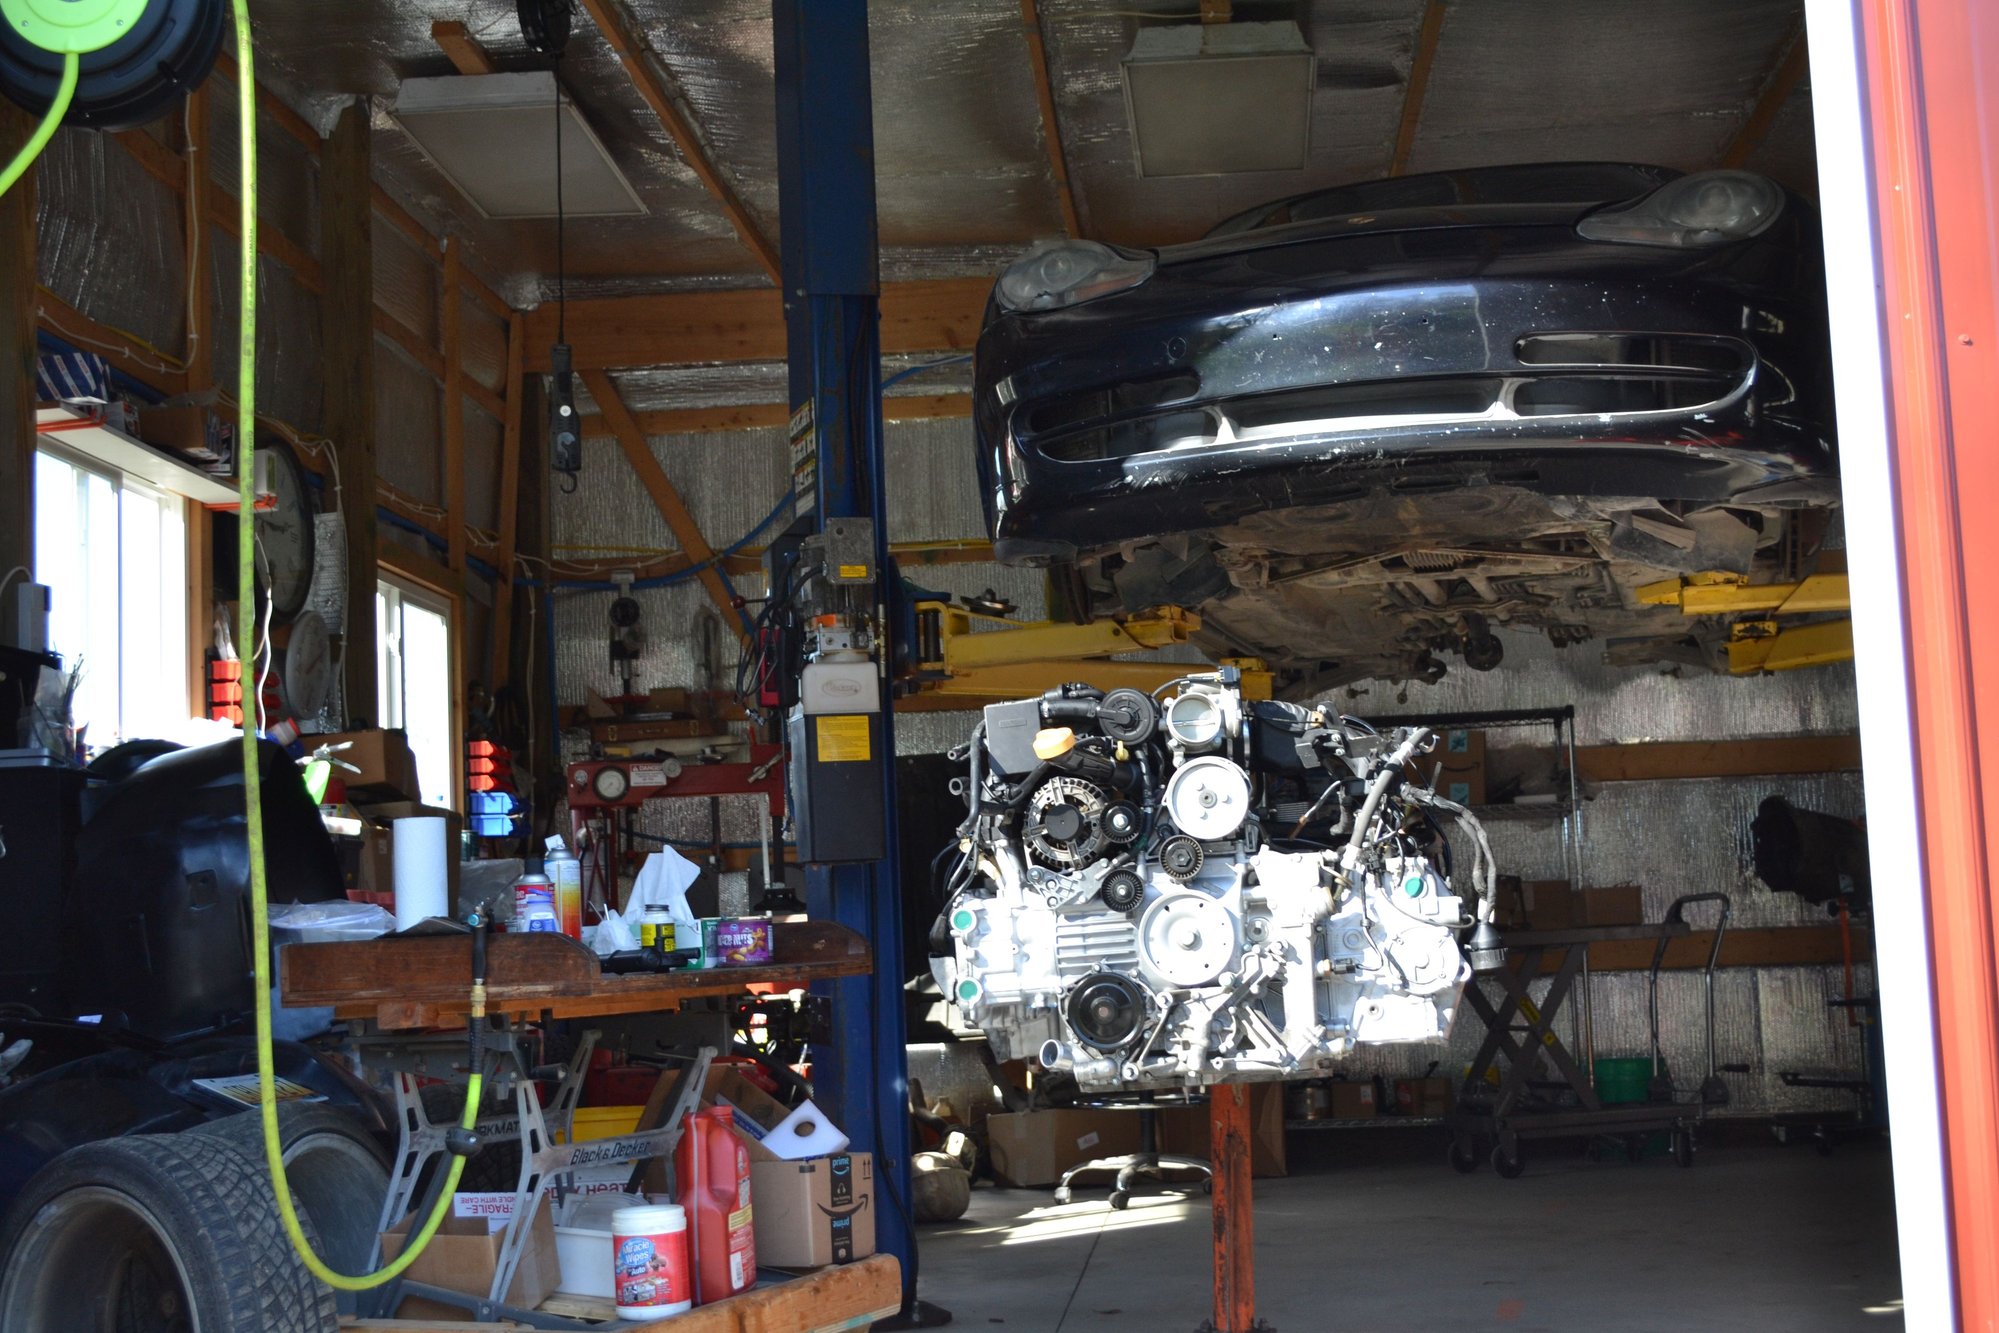
It was so nice, I shoved everything closer to the sunshine. Should start looking at the exhaust and cooling tomorrow.
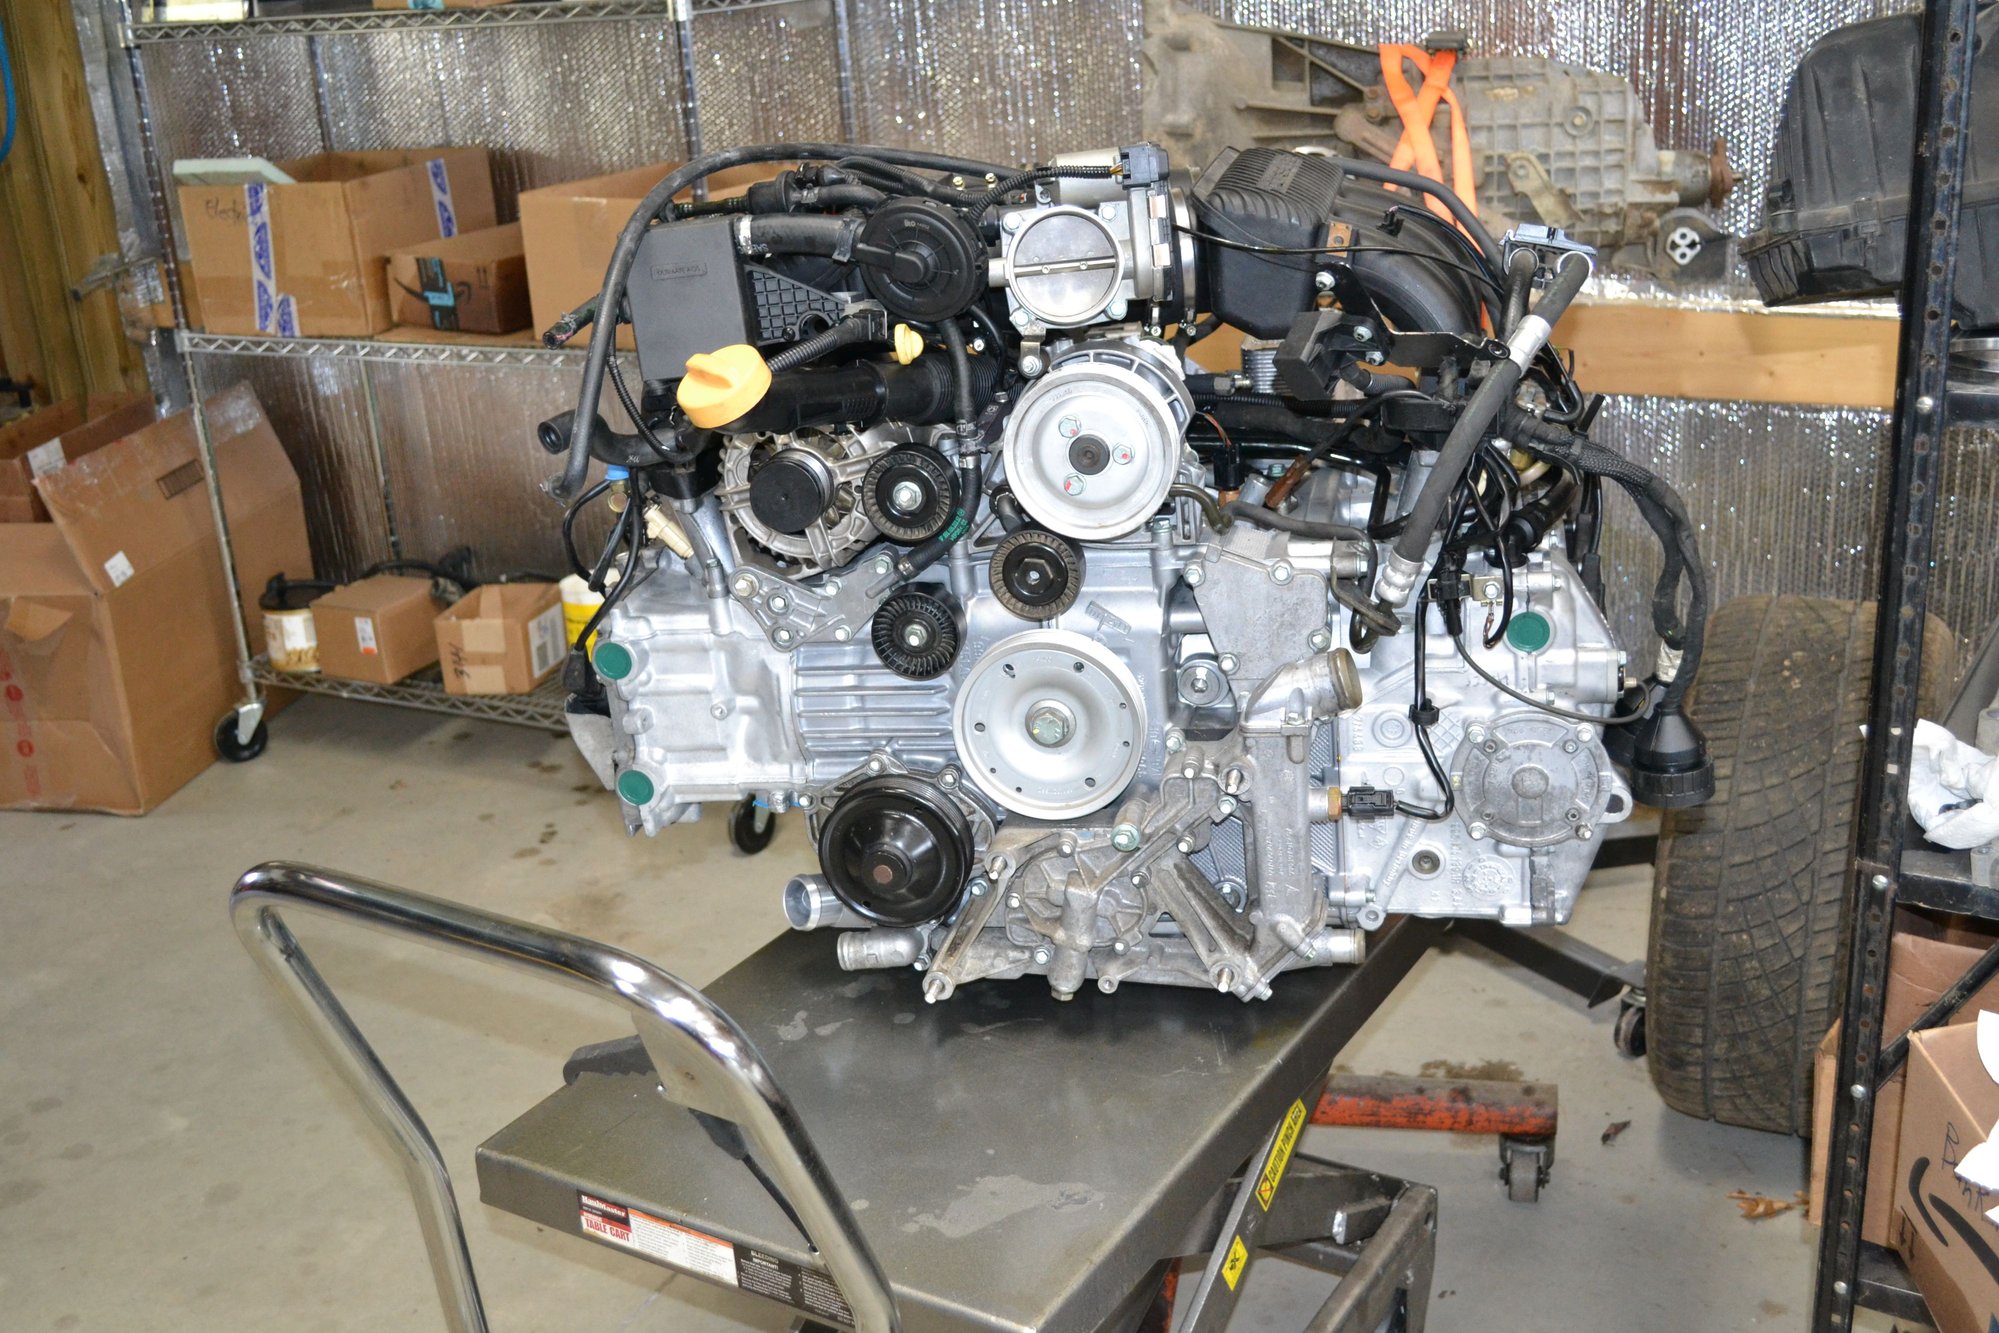
So I kept myself awake last night trying to figure out how to transfer the engine from the stand, to the hydraulic table. I expected it would require a hand-off from the cherry picker. For the life of me, I couldn't wrap my head around how to rig something up to lift the engine. I fully expected the table would make contact with the forward leg of the engine stand.
Turns out, there is a little clearance before making contact with the hydraulic lift portion. Looks as though it might work out with just a little balancing and rotating. Might take a little muscle to move it toward the center, but this is very encouraging.
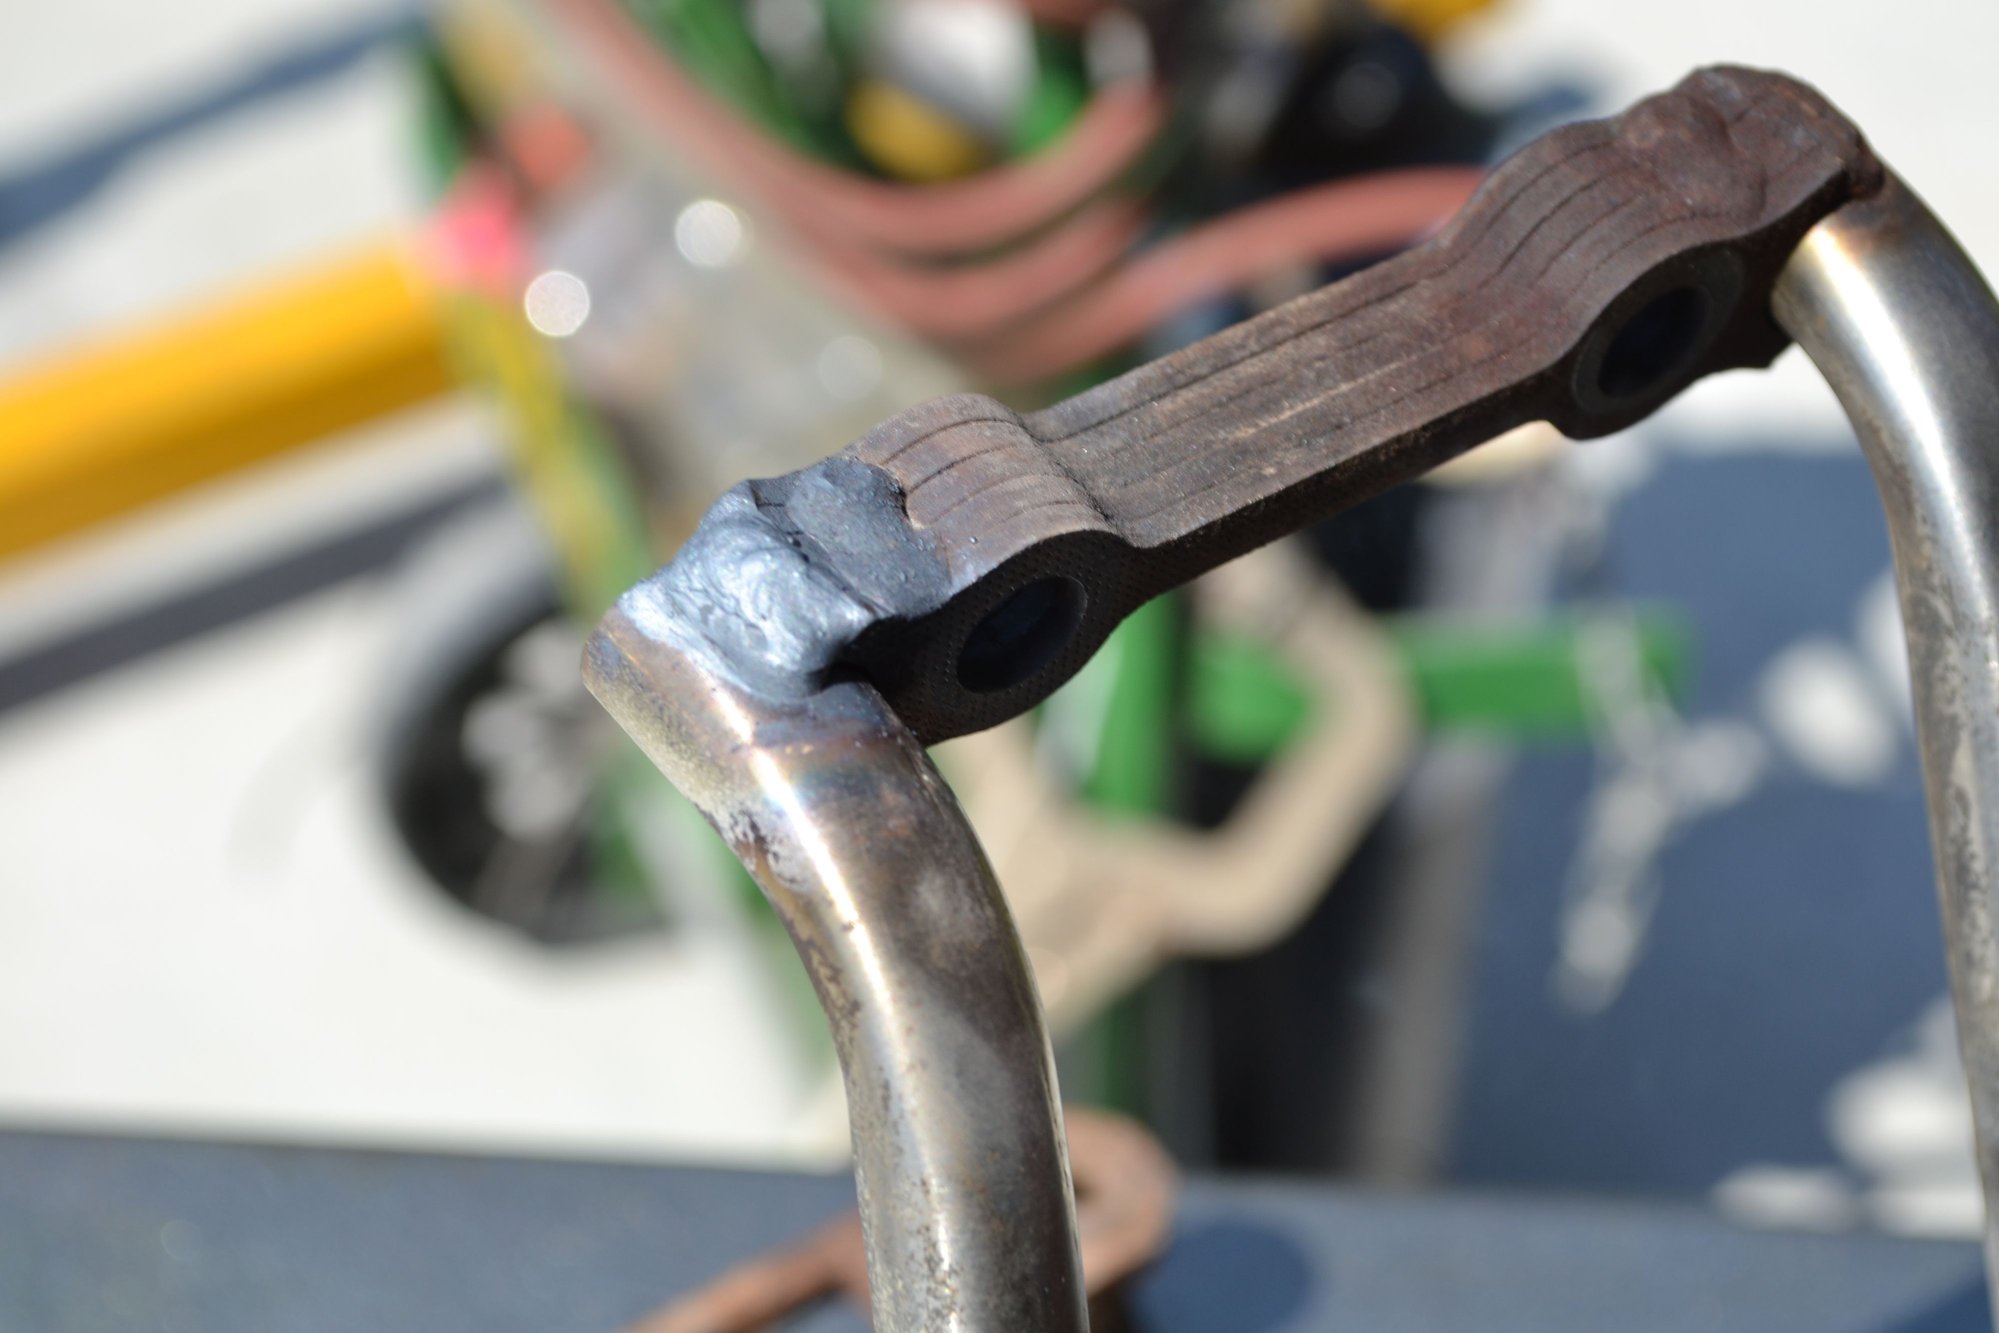
The easiest job of the day was one I expected to take a bit longer. Probably two minutes worth of gas-on. Cleaned up a cracked weld, and made it like new.
Spent a good bit of time playing with the exhaust. Still a lot to do. At least I have most things checked and should make some more progress with it tomorrow. New hardware and a lot of copper anti-seize.
I used tie down straps under each head. You may need a spreader (like a 3' 2x4) up top.
I think I'll be OK with the hydraulic table sliding in underneath. No need to lift the whole engine to get it there.
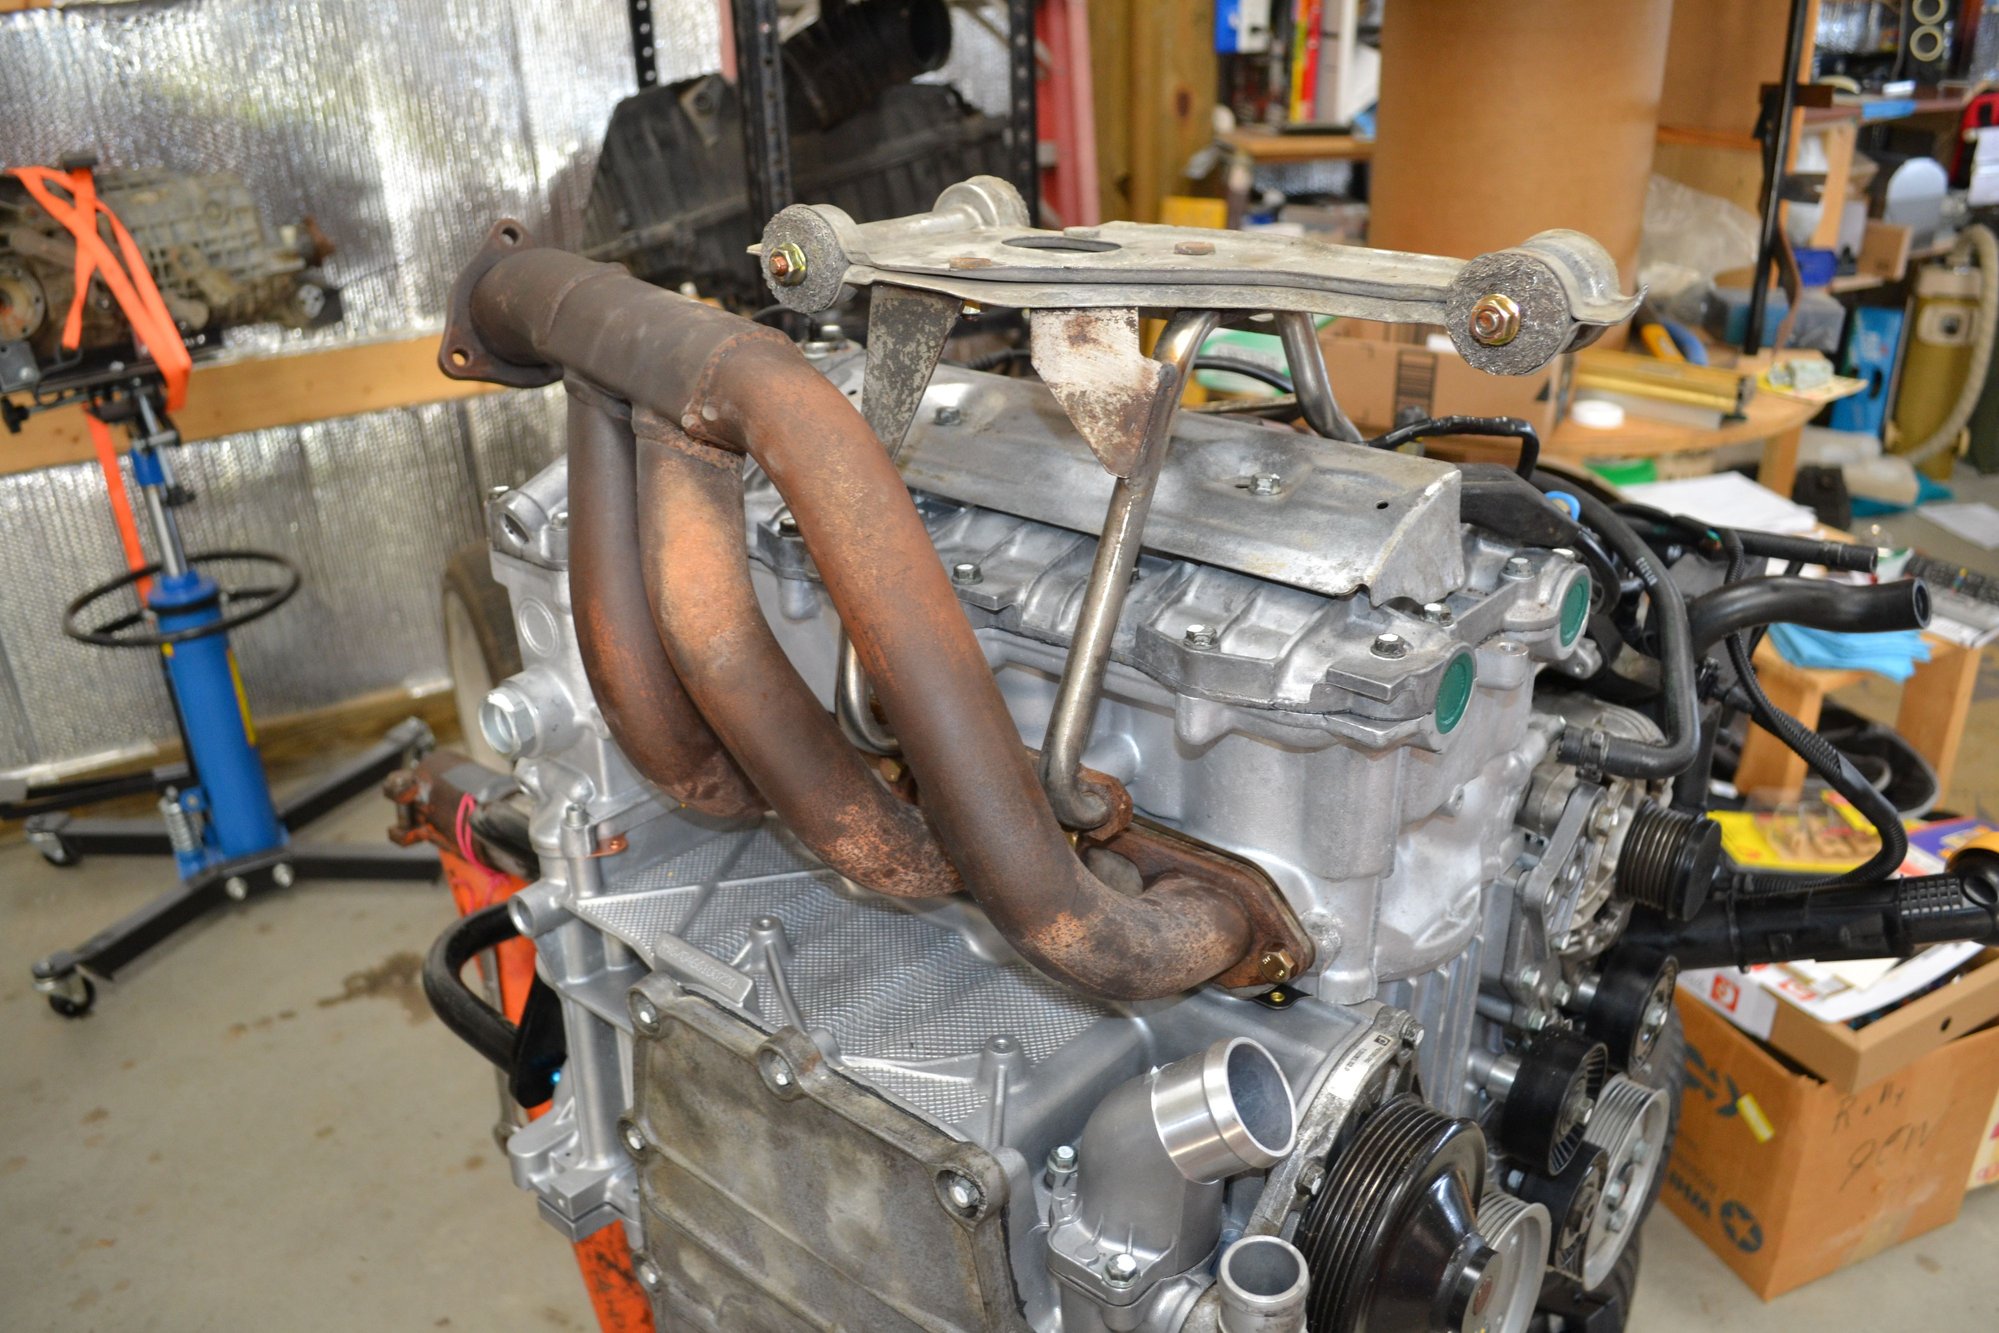
I'm surprised none of you wise guys noticed I put the bank #2 header on bank #1. Ooops. I realized my mistake, this morning, while laying in bed. Must be where I do my best thinking.
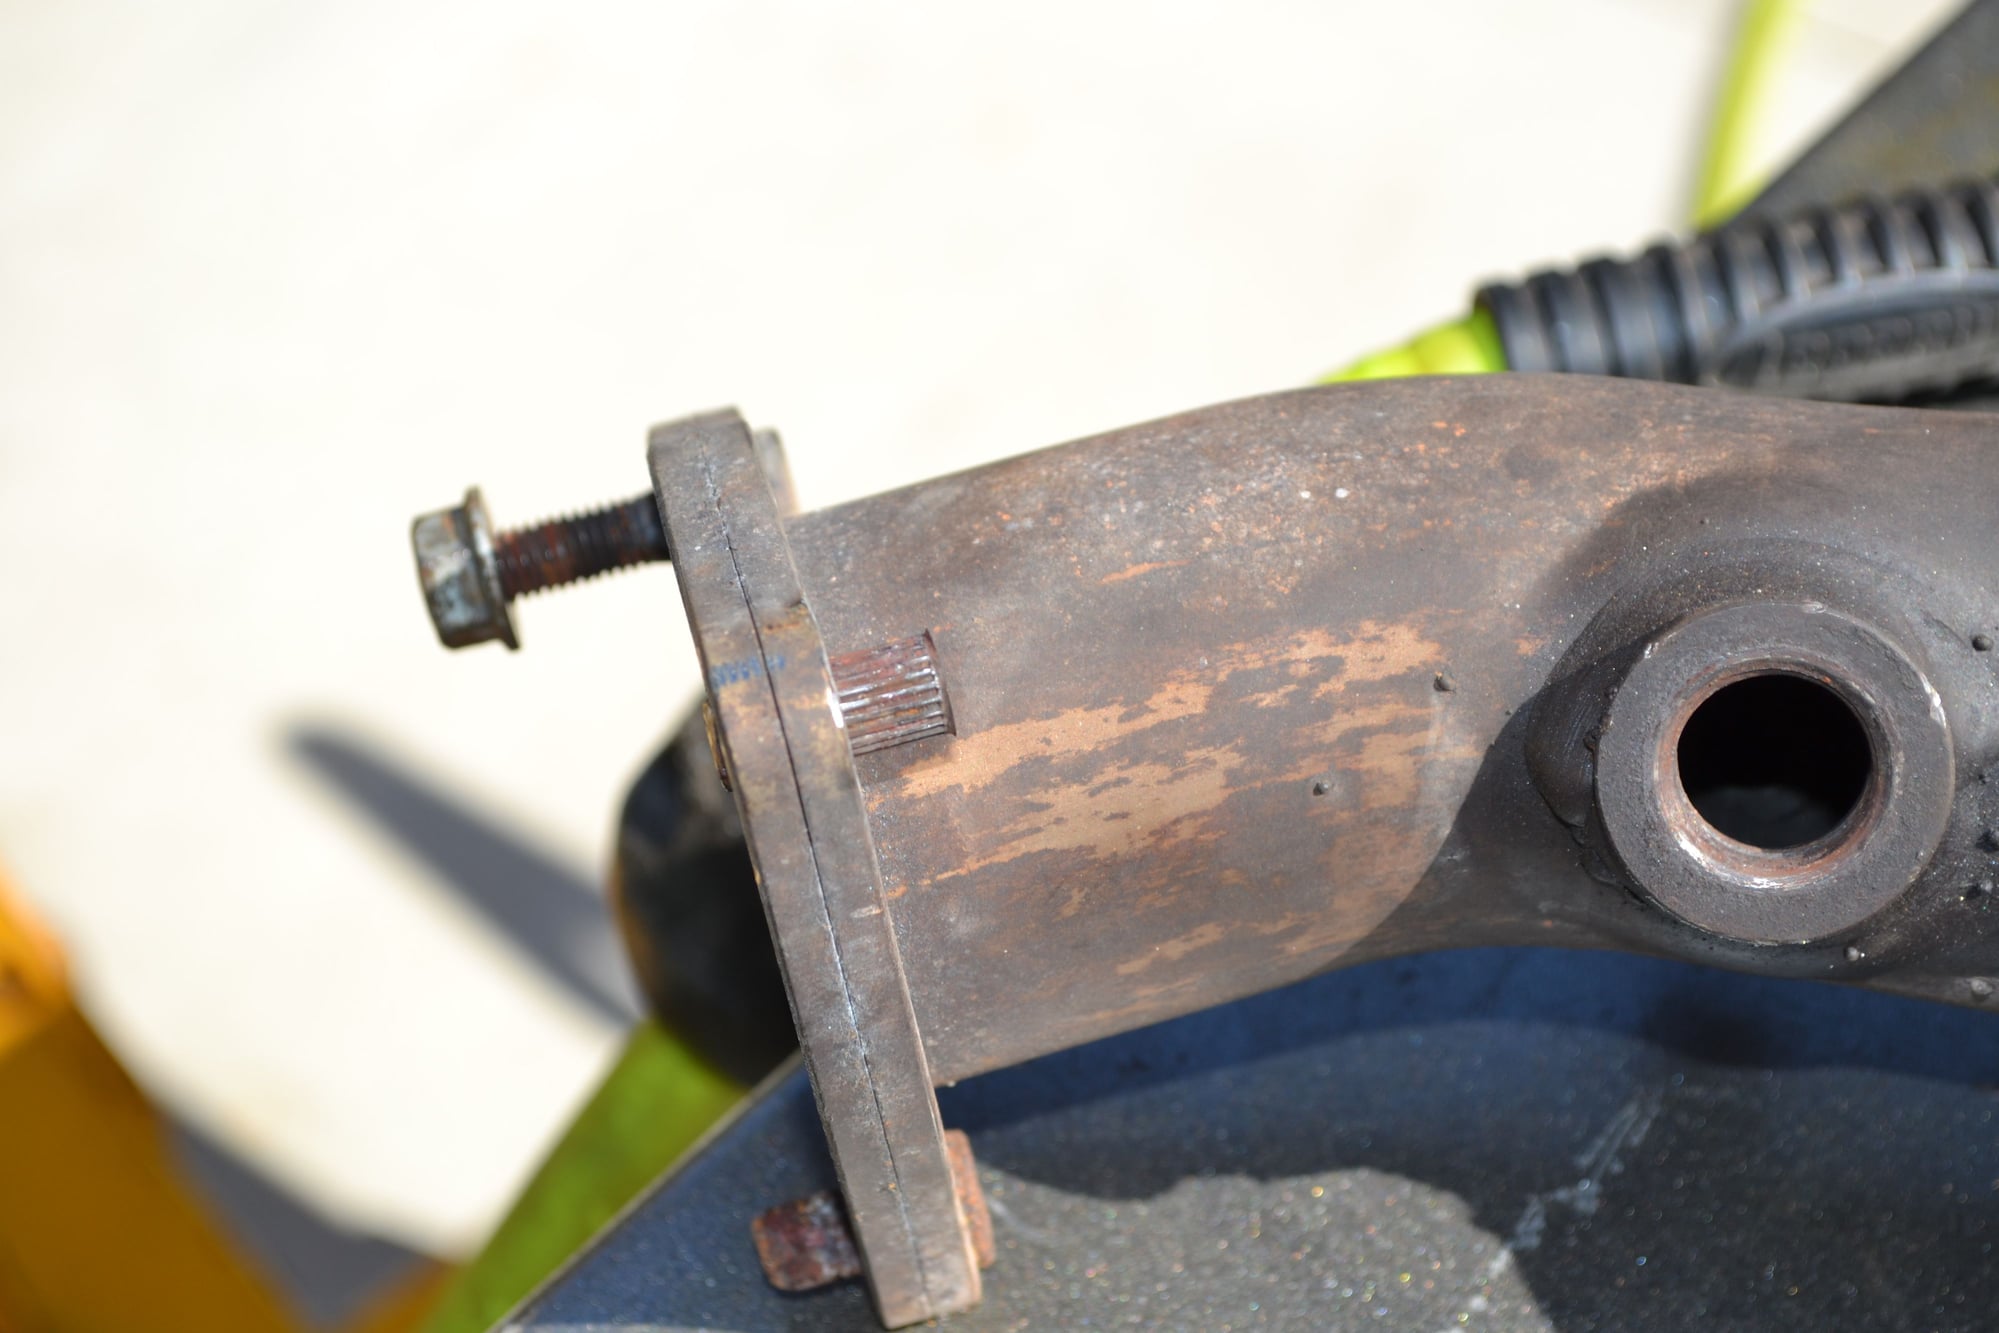
I kniw u figured it out but..... My motor has a hole on the bracket at the top of the bellhousing. It holds the clamp for the hoses behind the rear crossover tube. This looks like its suppose to be a lifting point?
I kniw u figured it out but..... My motor has a hole on the bracket at the top of the bellhousing. It holds the clamp for the hoses behind the rear crossover tube. This looks like its suppose to be a lifting point?
I know about the bracket. It's held in place by two M6 bolts. That does not seem robust enough, to me. Then there would need to be something at the front of the engine. That's where creativity might need to be employed. I'm currently running low on creativity. The hydraulic table will fit at an angle. That's my plan. No creativity required.
Im only beating this non issue to death because im boared and dont want to get off the couch and trim the brisket that im going to smoke today
good point on that bracket. My motor is in the car do i couldnt tell how its attached. In the front i would have just pulled the idler of the bolt and replaced it with a simple piece of flat stock with a couple of holes. U would have to balance the motor but it would be a secure lifting point. In the back u can do the same with a bellhousing bolt. If the trans was mounted i would just yoke it with a strap.
anyways get back to work u need to catch up to yaz. Hopefully mine will be running this afternoon too.
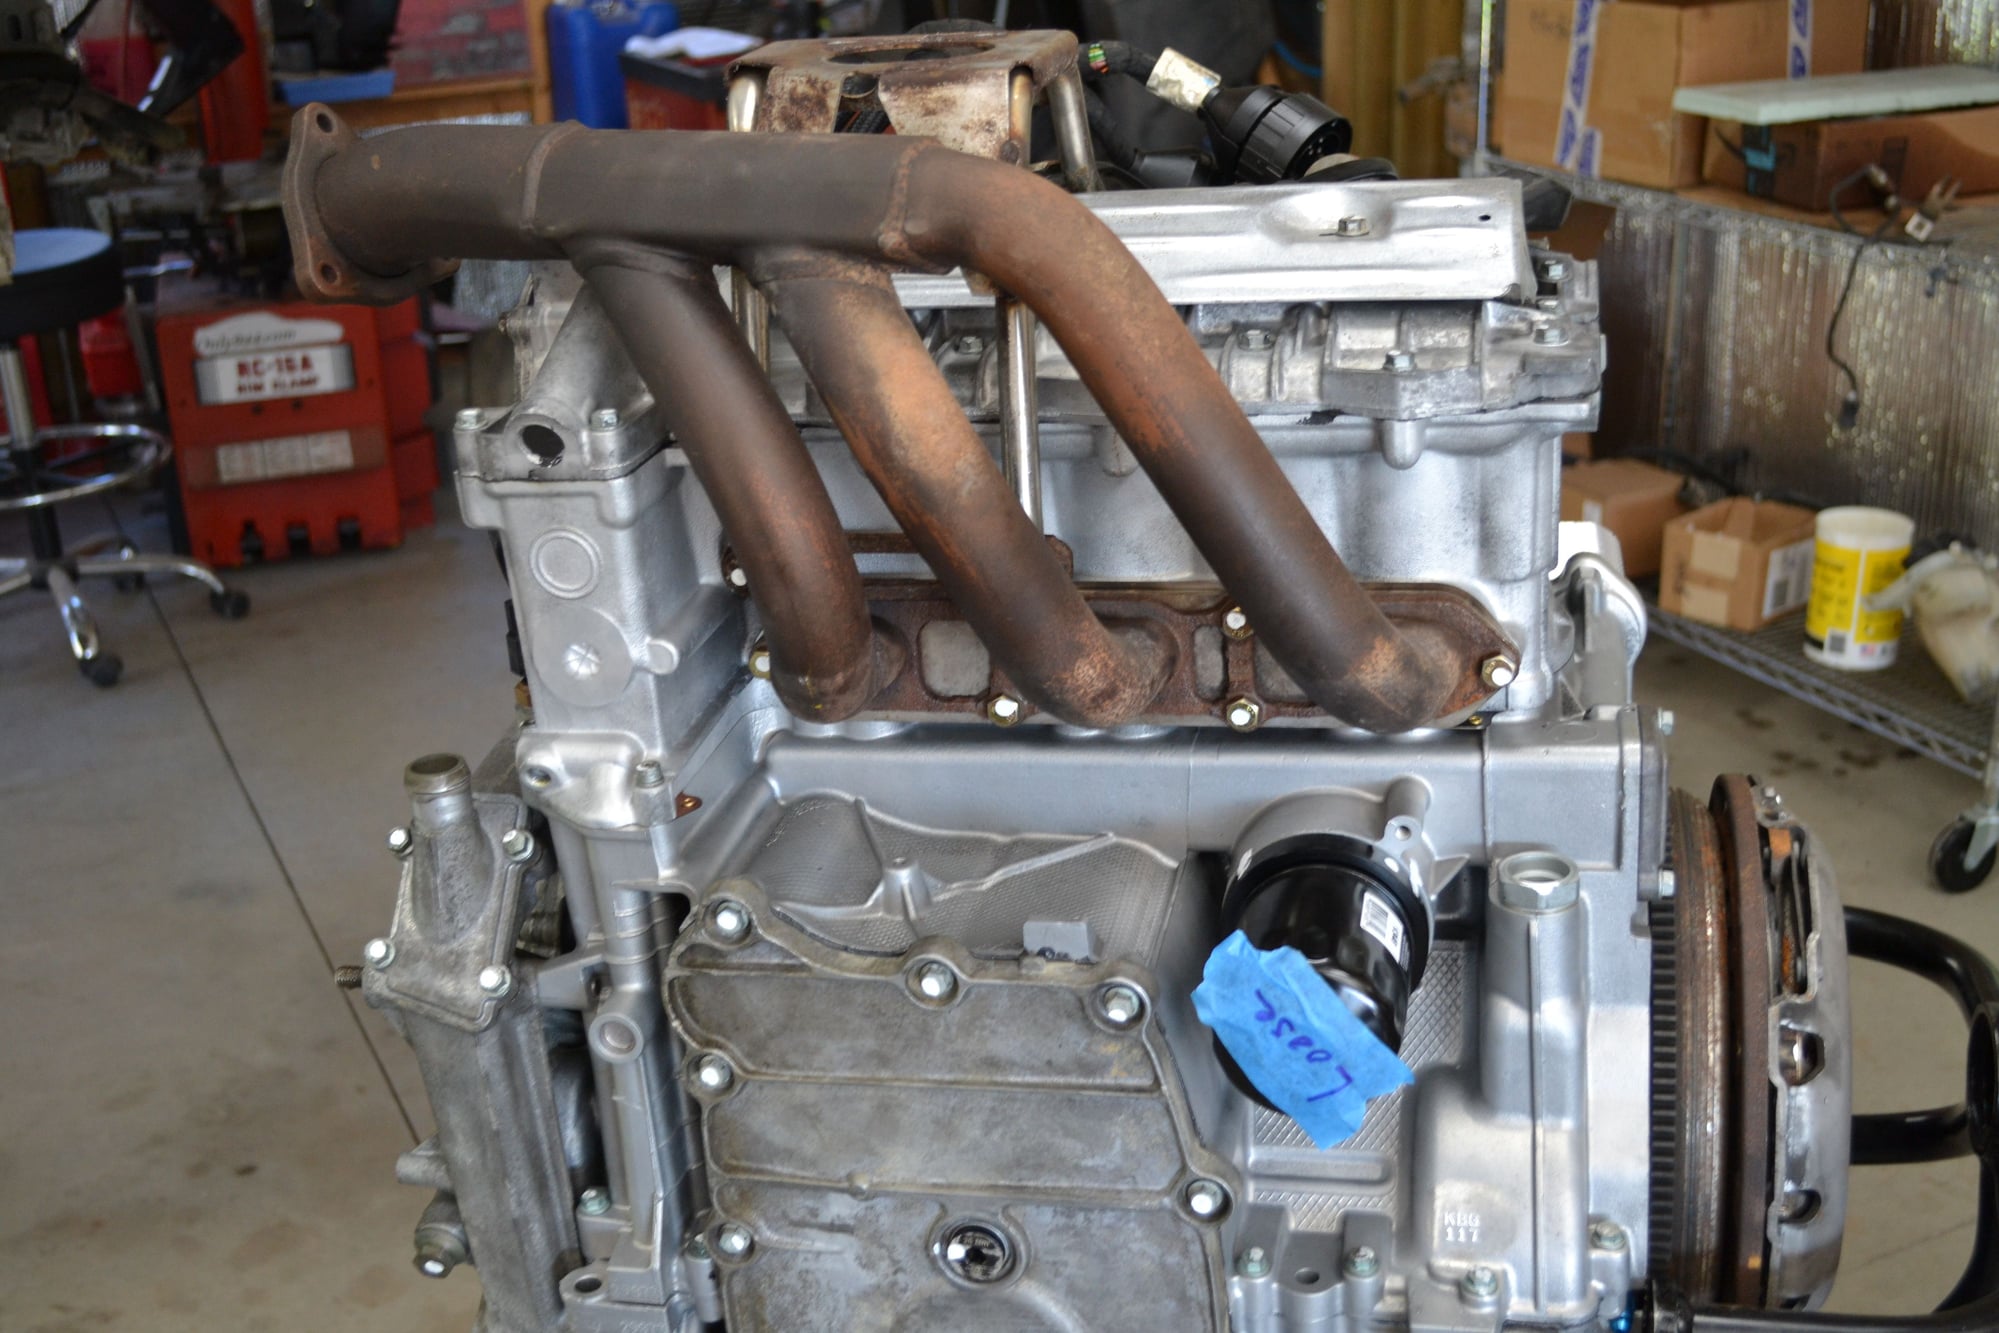
This should work better. Bank #2 header on bank #2.
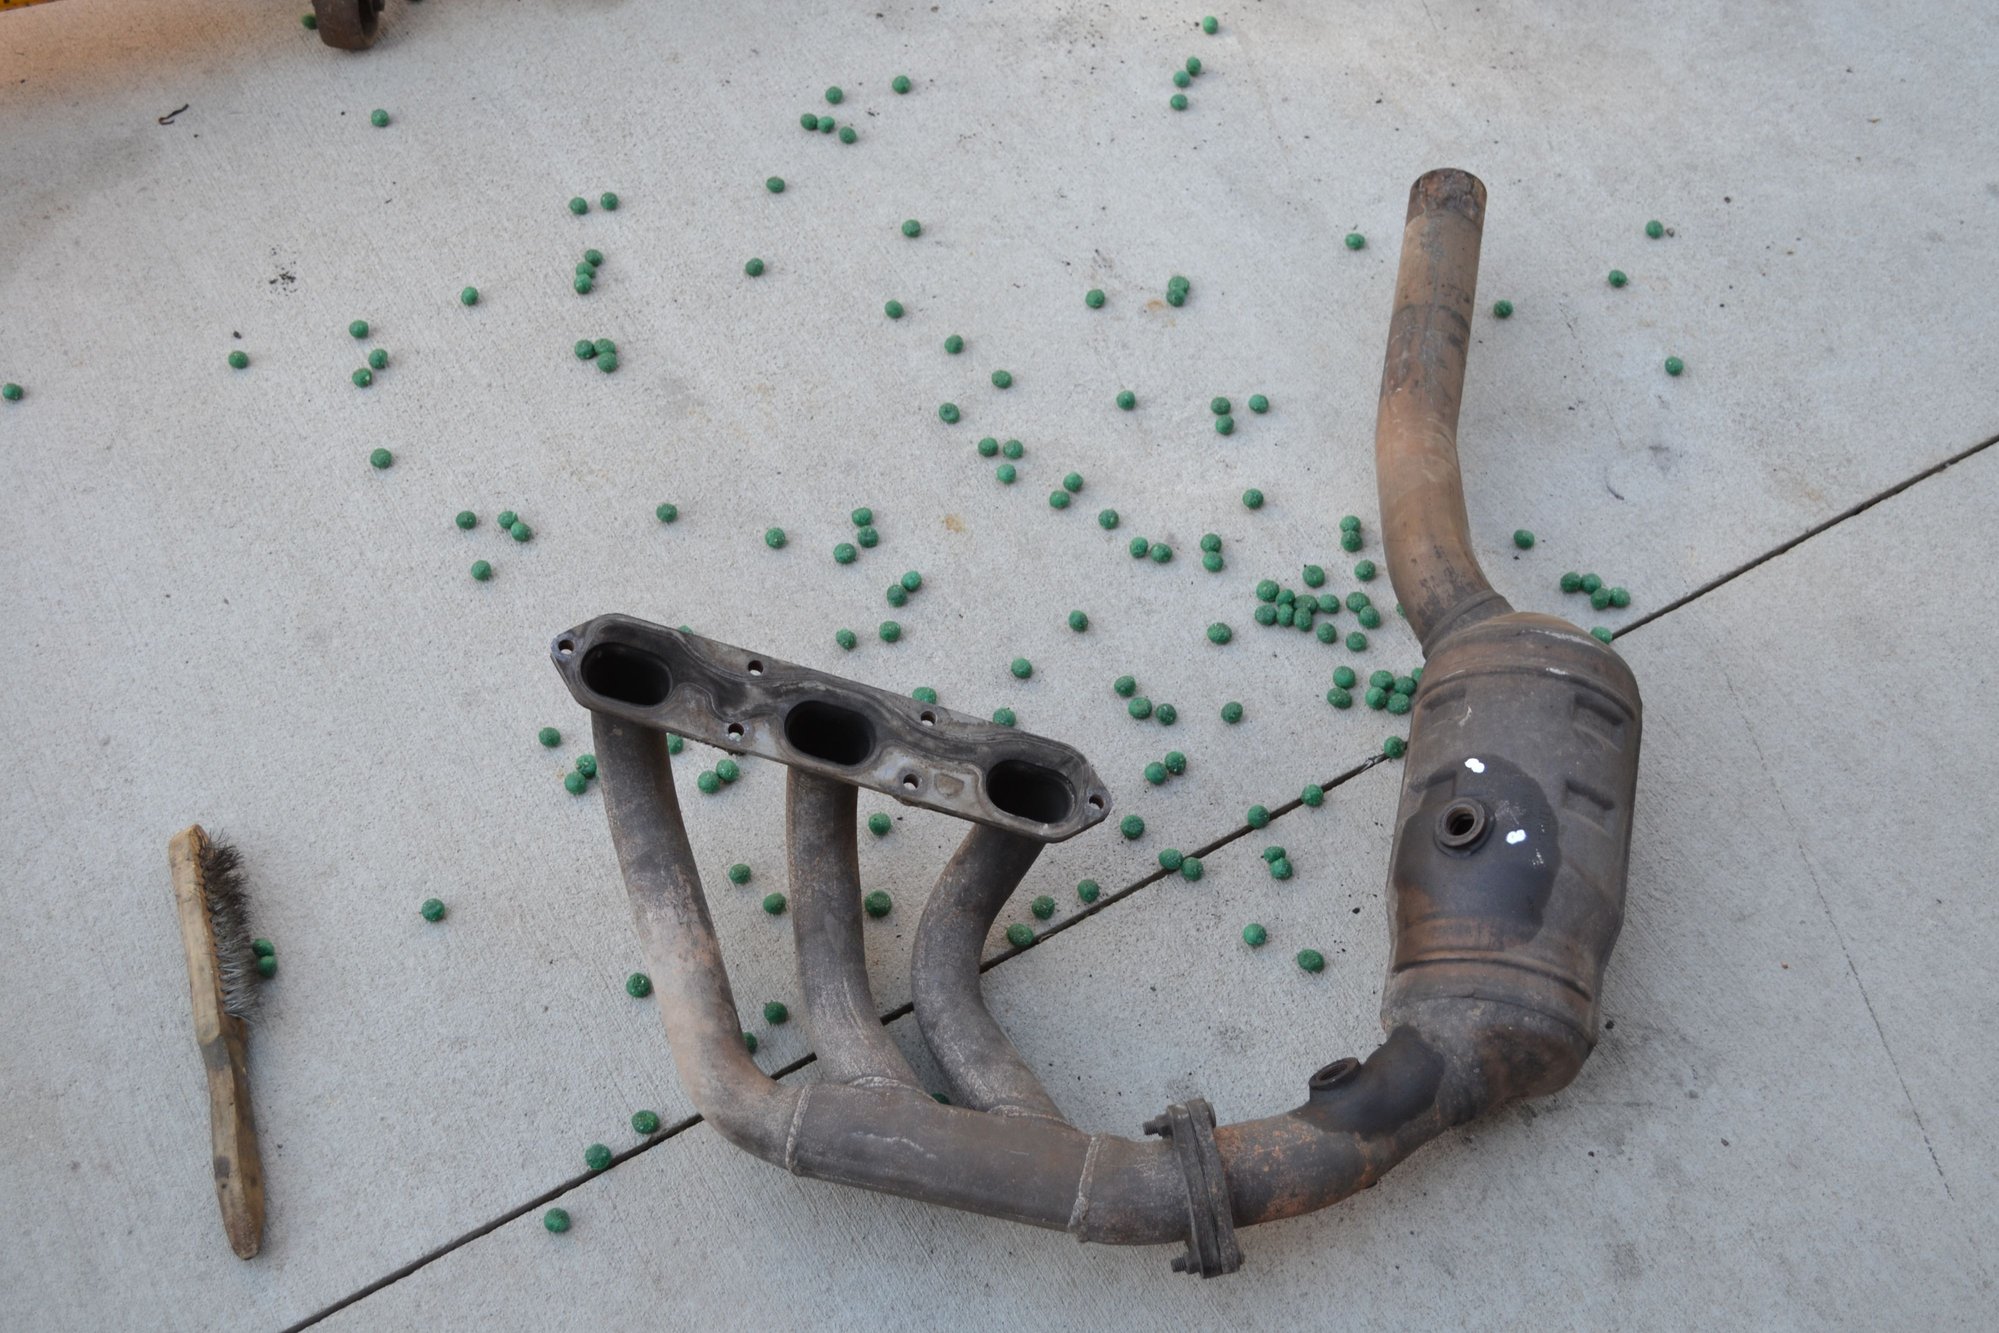
I pulled all the oxygen sensors out. I looked in one of the holes for one of the cats and saw a bunch of little green *****. This answers a couple of questions. 1) where that mouse disappeared to a couple of weeks ago, and 2) where all the poison has been going. I did get a mouse in a trap a few days ago. Might be the one that's been causing all this havoc.
Spent a bit of time with a die grinder and a cutting wheel. When I replaced my waterpump last year, I thought it would be a good idea to either notch the mounting plate or use bolts at the lower attachment points. This was before I realized those studs are rather long. Bolts would not be practical (if not impossible). Now I can remove the plate completely, without removing the exhaust. And likewise, I can have the exhaust in place before installing the plate.
Snapped a couple of studs off when removing the exhaust system (months ago). Finally addressed that by grinding off the heads and pounding the stubs through.
 05-01-2020, 01:28 PM
 I don't remember those corrugated ends on mine but it was a few years ago...


 ) - you're welcome anytime. Sundae has claimed spare bedroom #1 as her own, but #2 is almost always open.