When you click on links to various merchants on this site and make a purchase, this can result in this site earning a commission. Affiliate programs and affiliations include, but are not limited to, the eBay Partner Network.
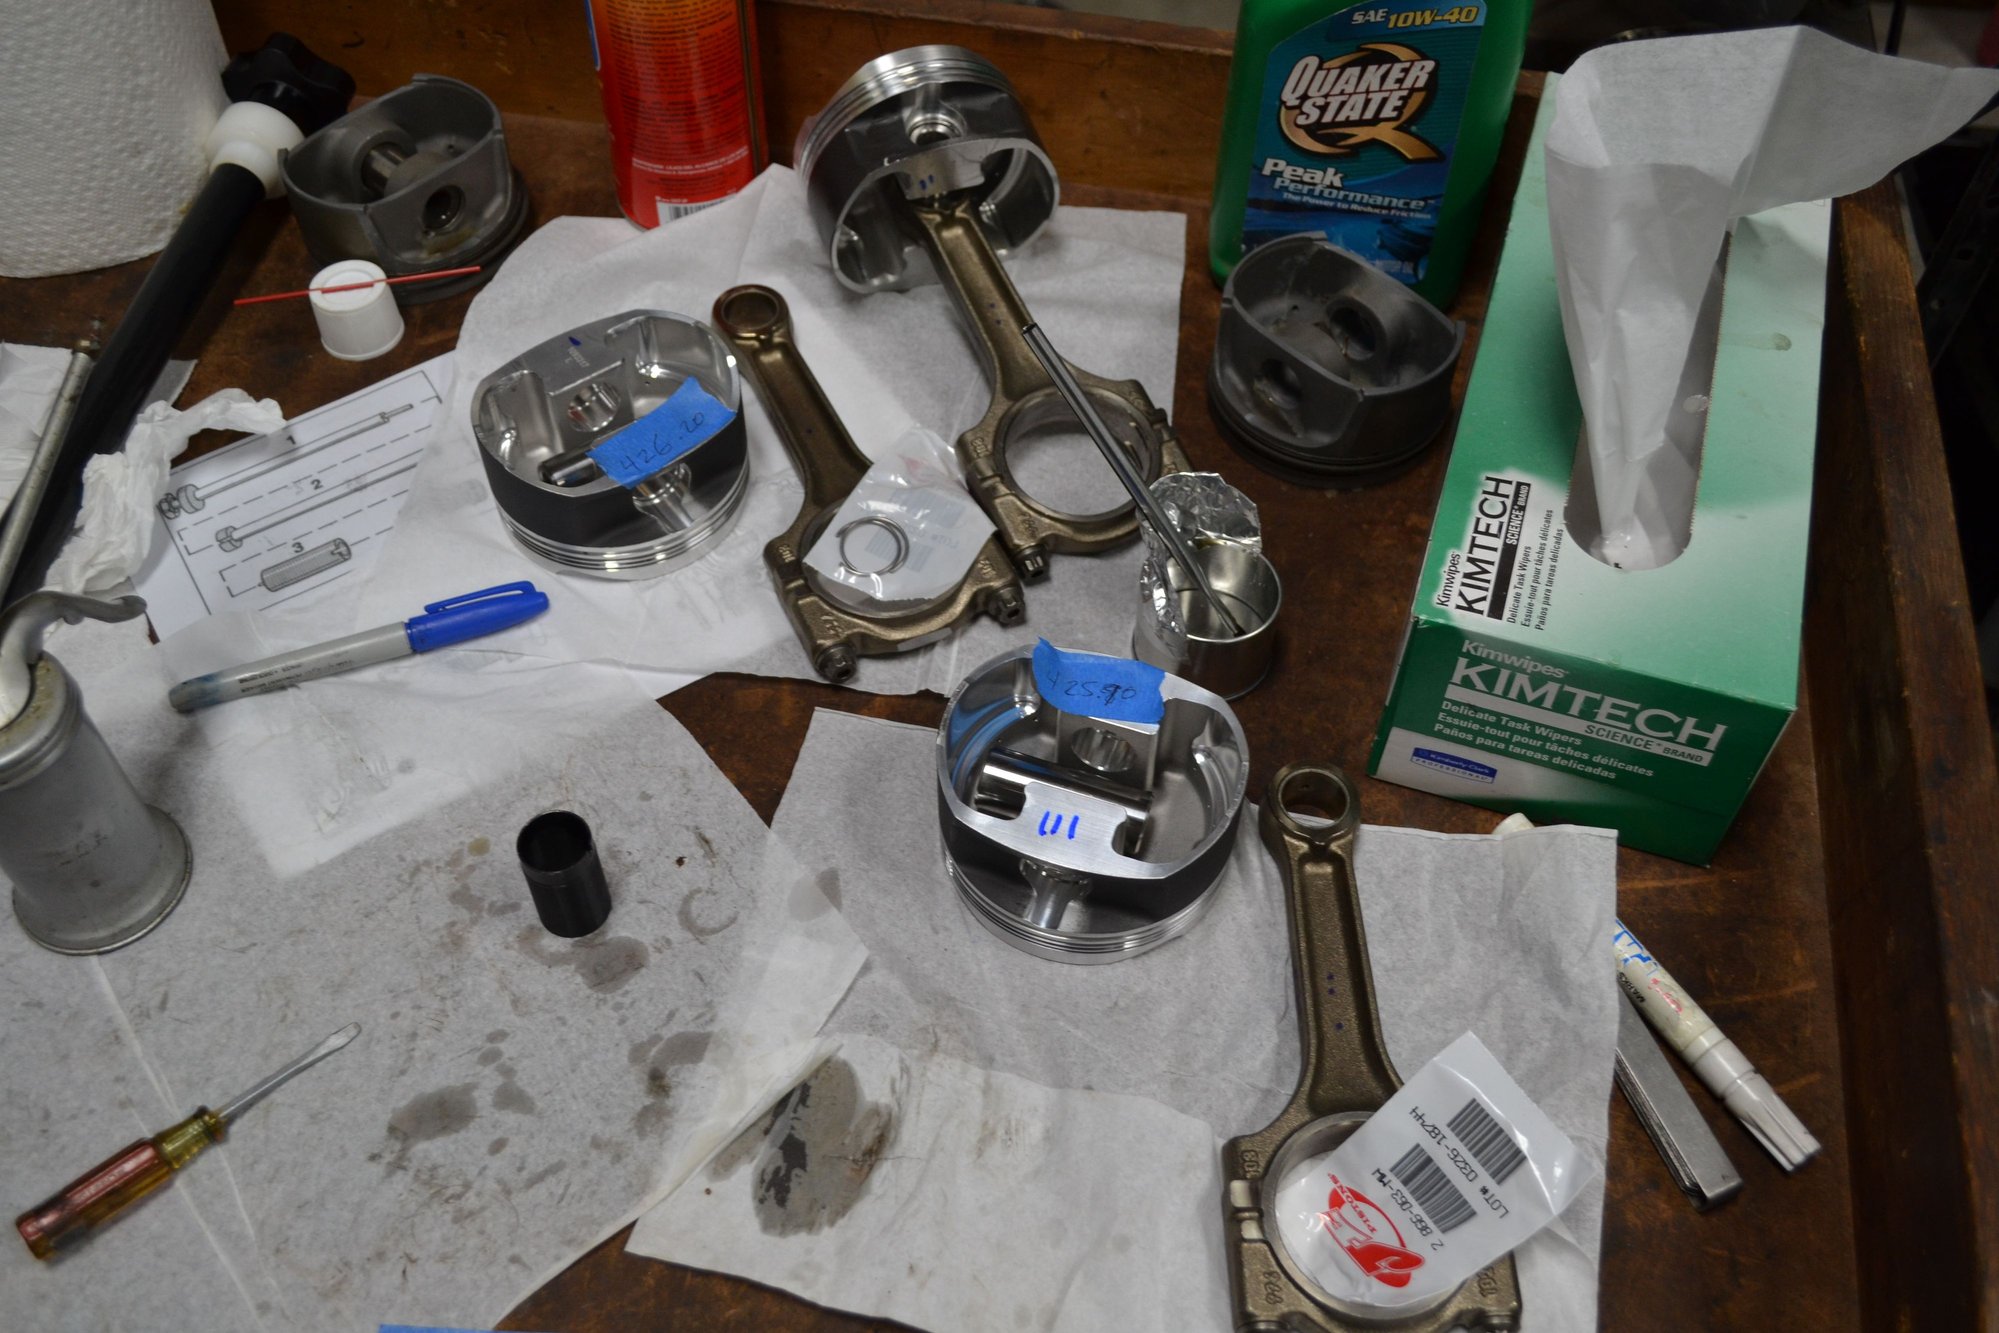
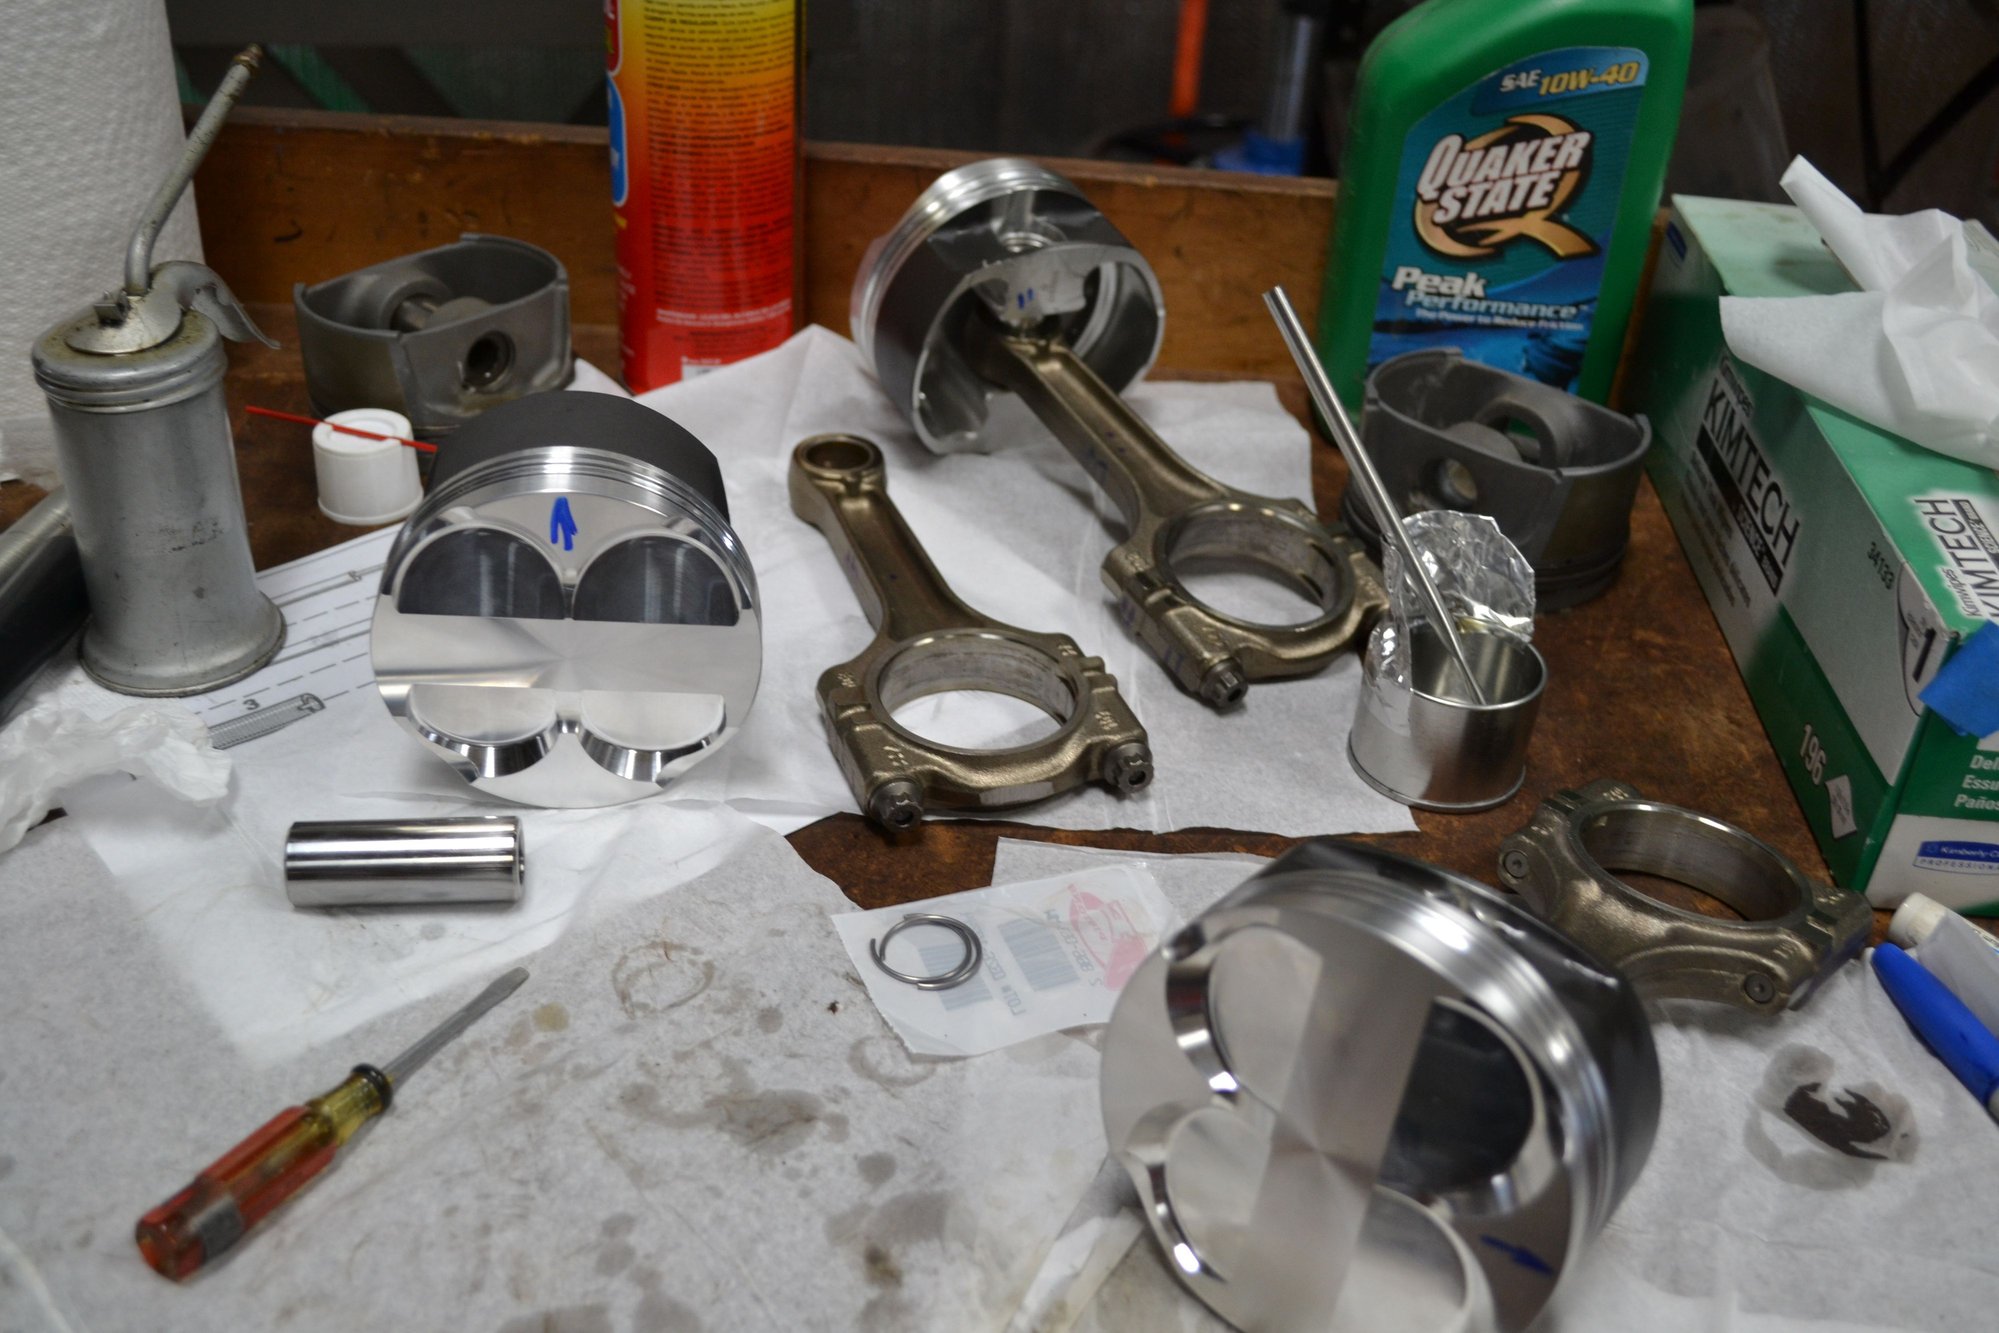
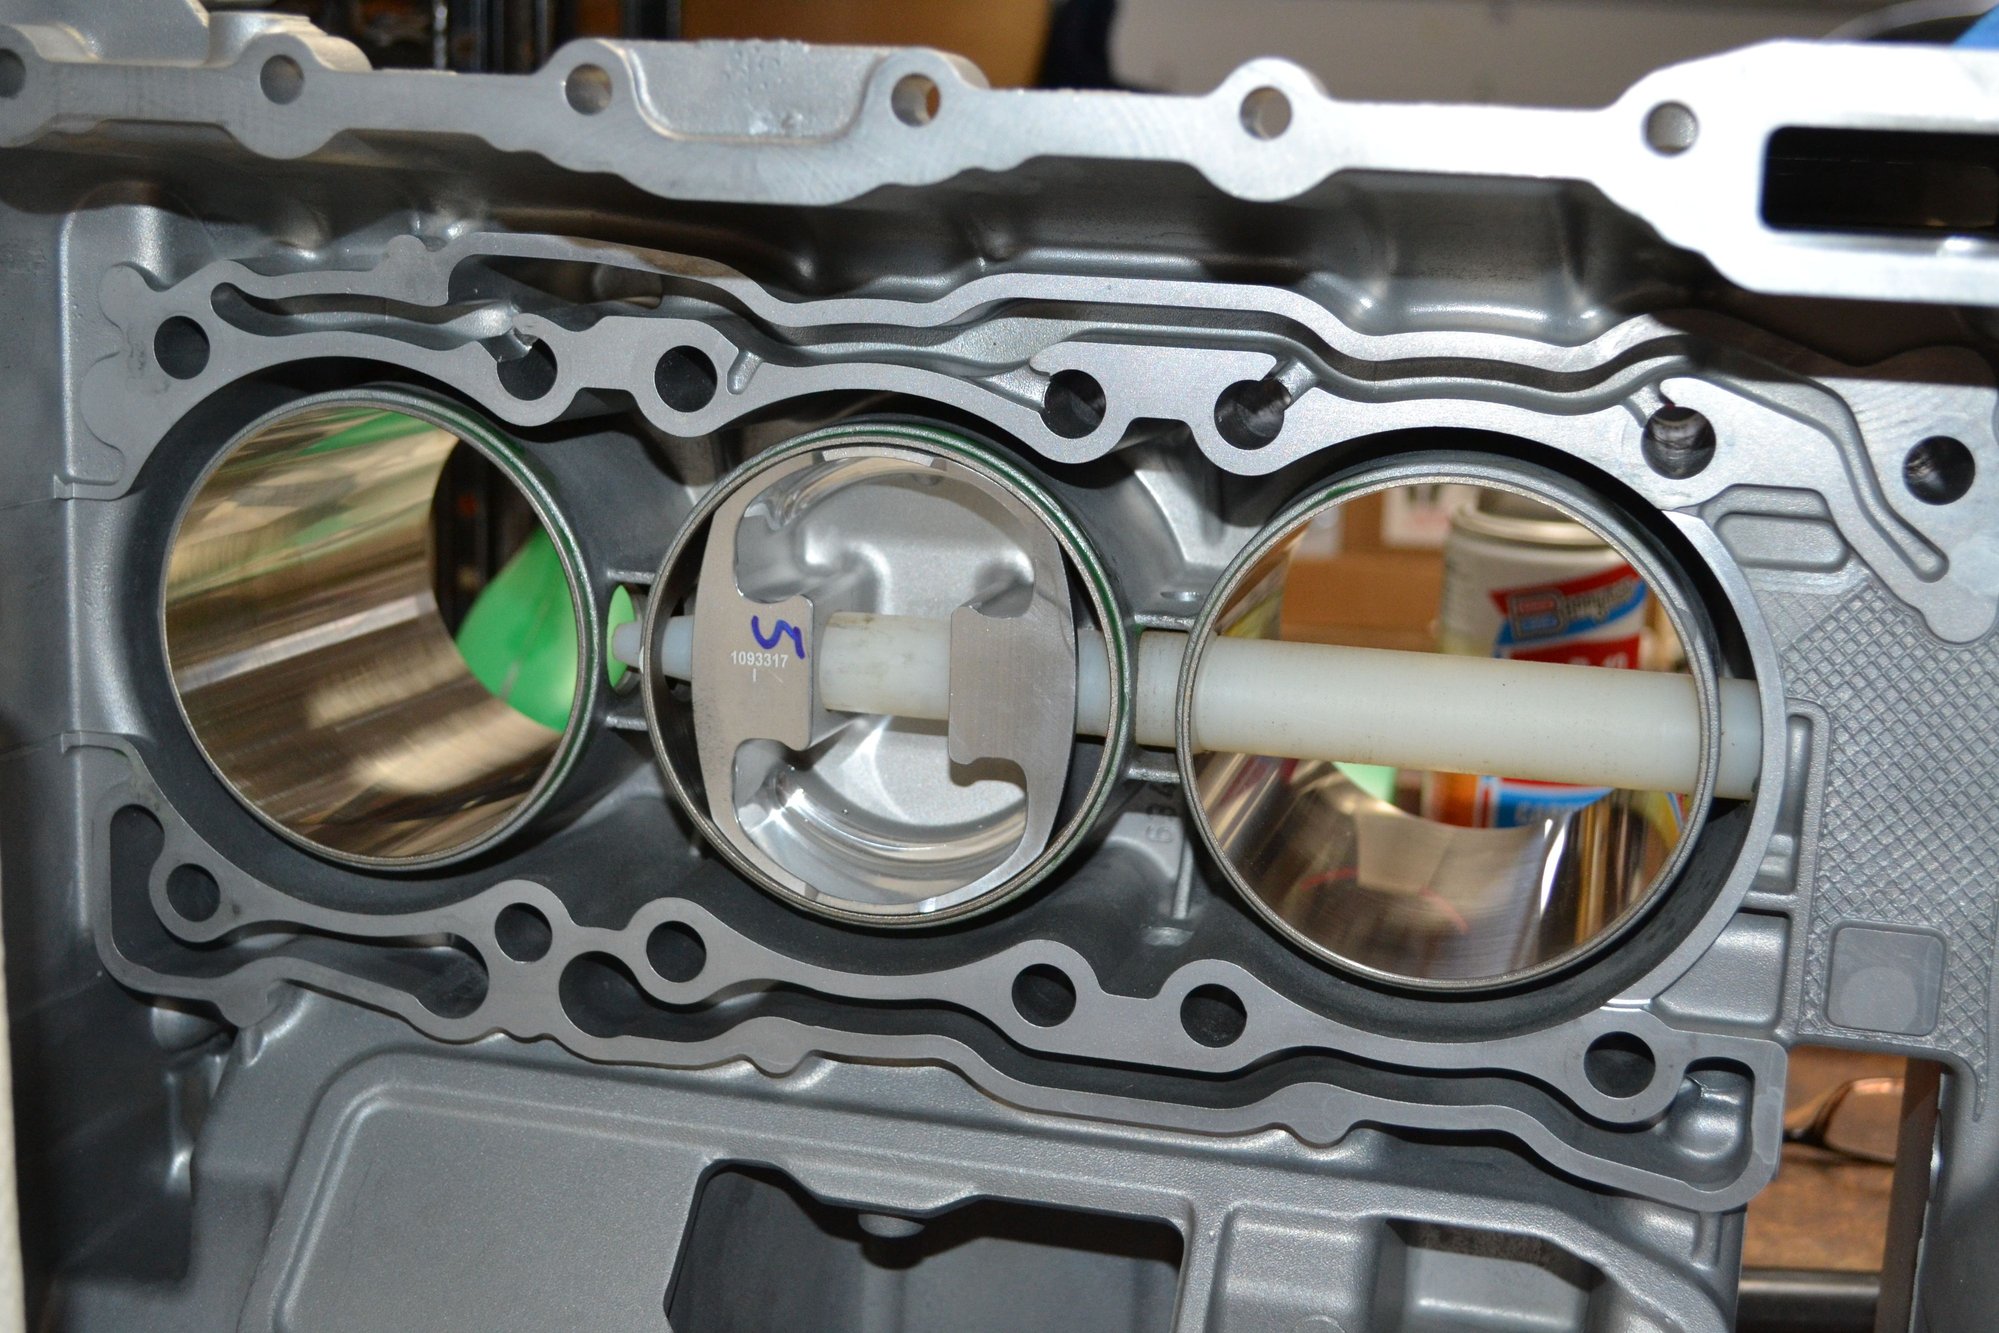
Spent some time checking the mass of each part of the piston/ rod assemblies. Shy of the rings, I got these three assemblies to within 0.1 grams of each other. Putting the lightest piston with the heaviest rod and pin set the baseline.
Two down, one to go.
I spent a lot of time messing with the clips and practicing with the insertion tool. I'm going to need a lot more practice. The first one I tried, I failed at getting the clips in the groove. They were actually on the ledge just outside the pin hole. Not a good start. All ended well though.
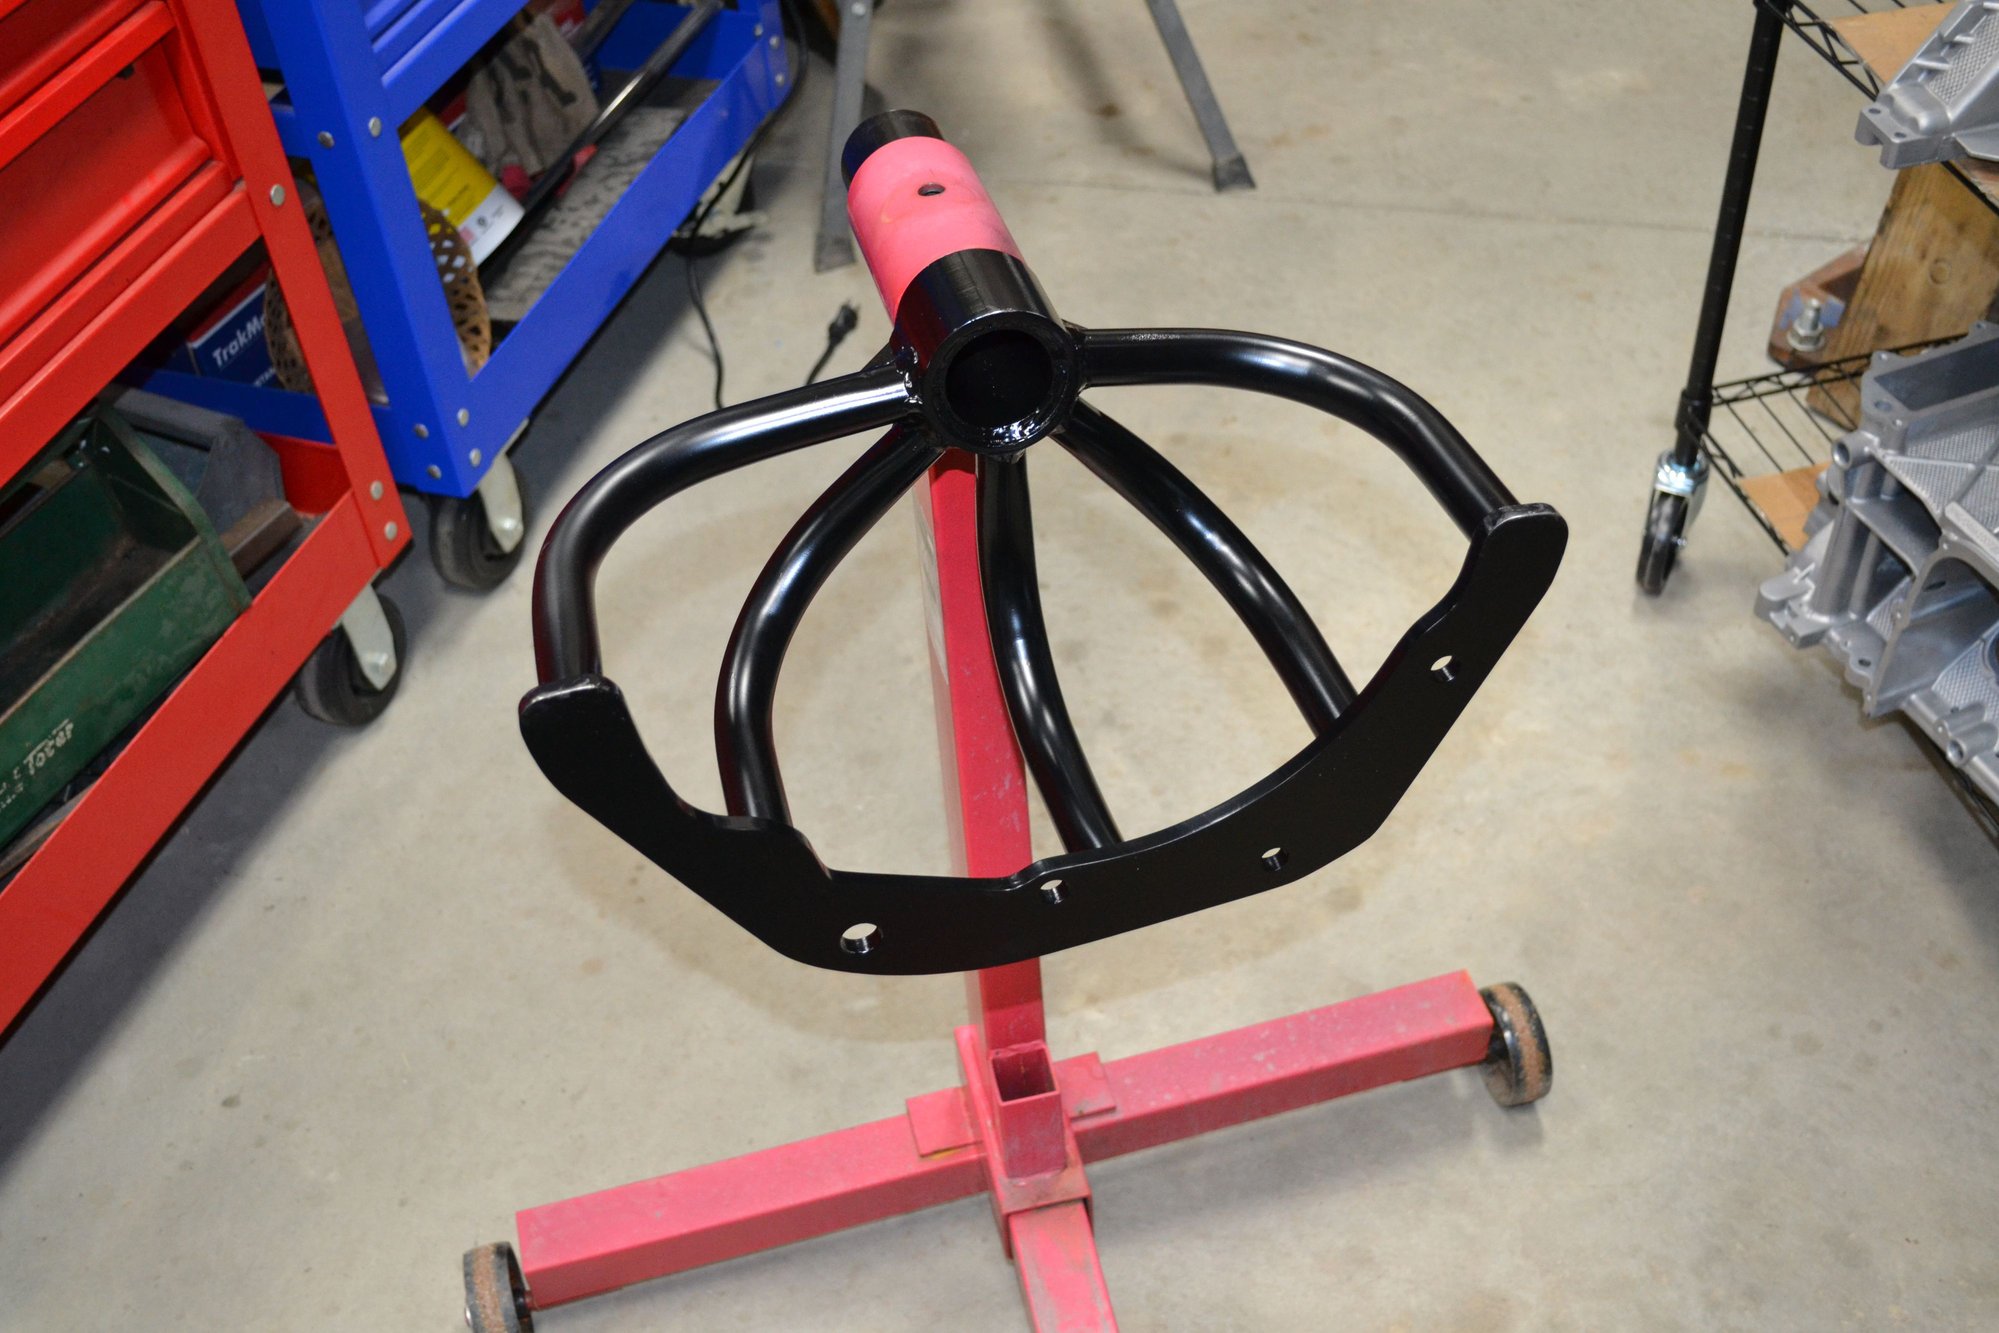
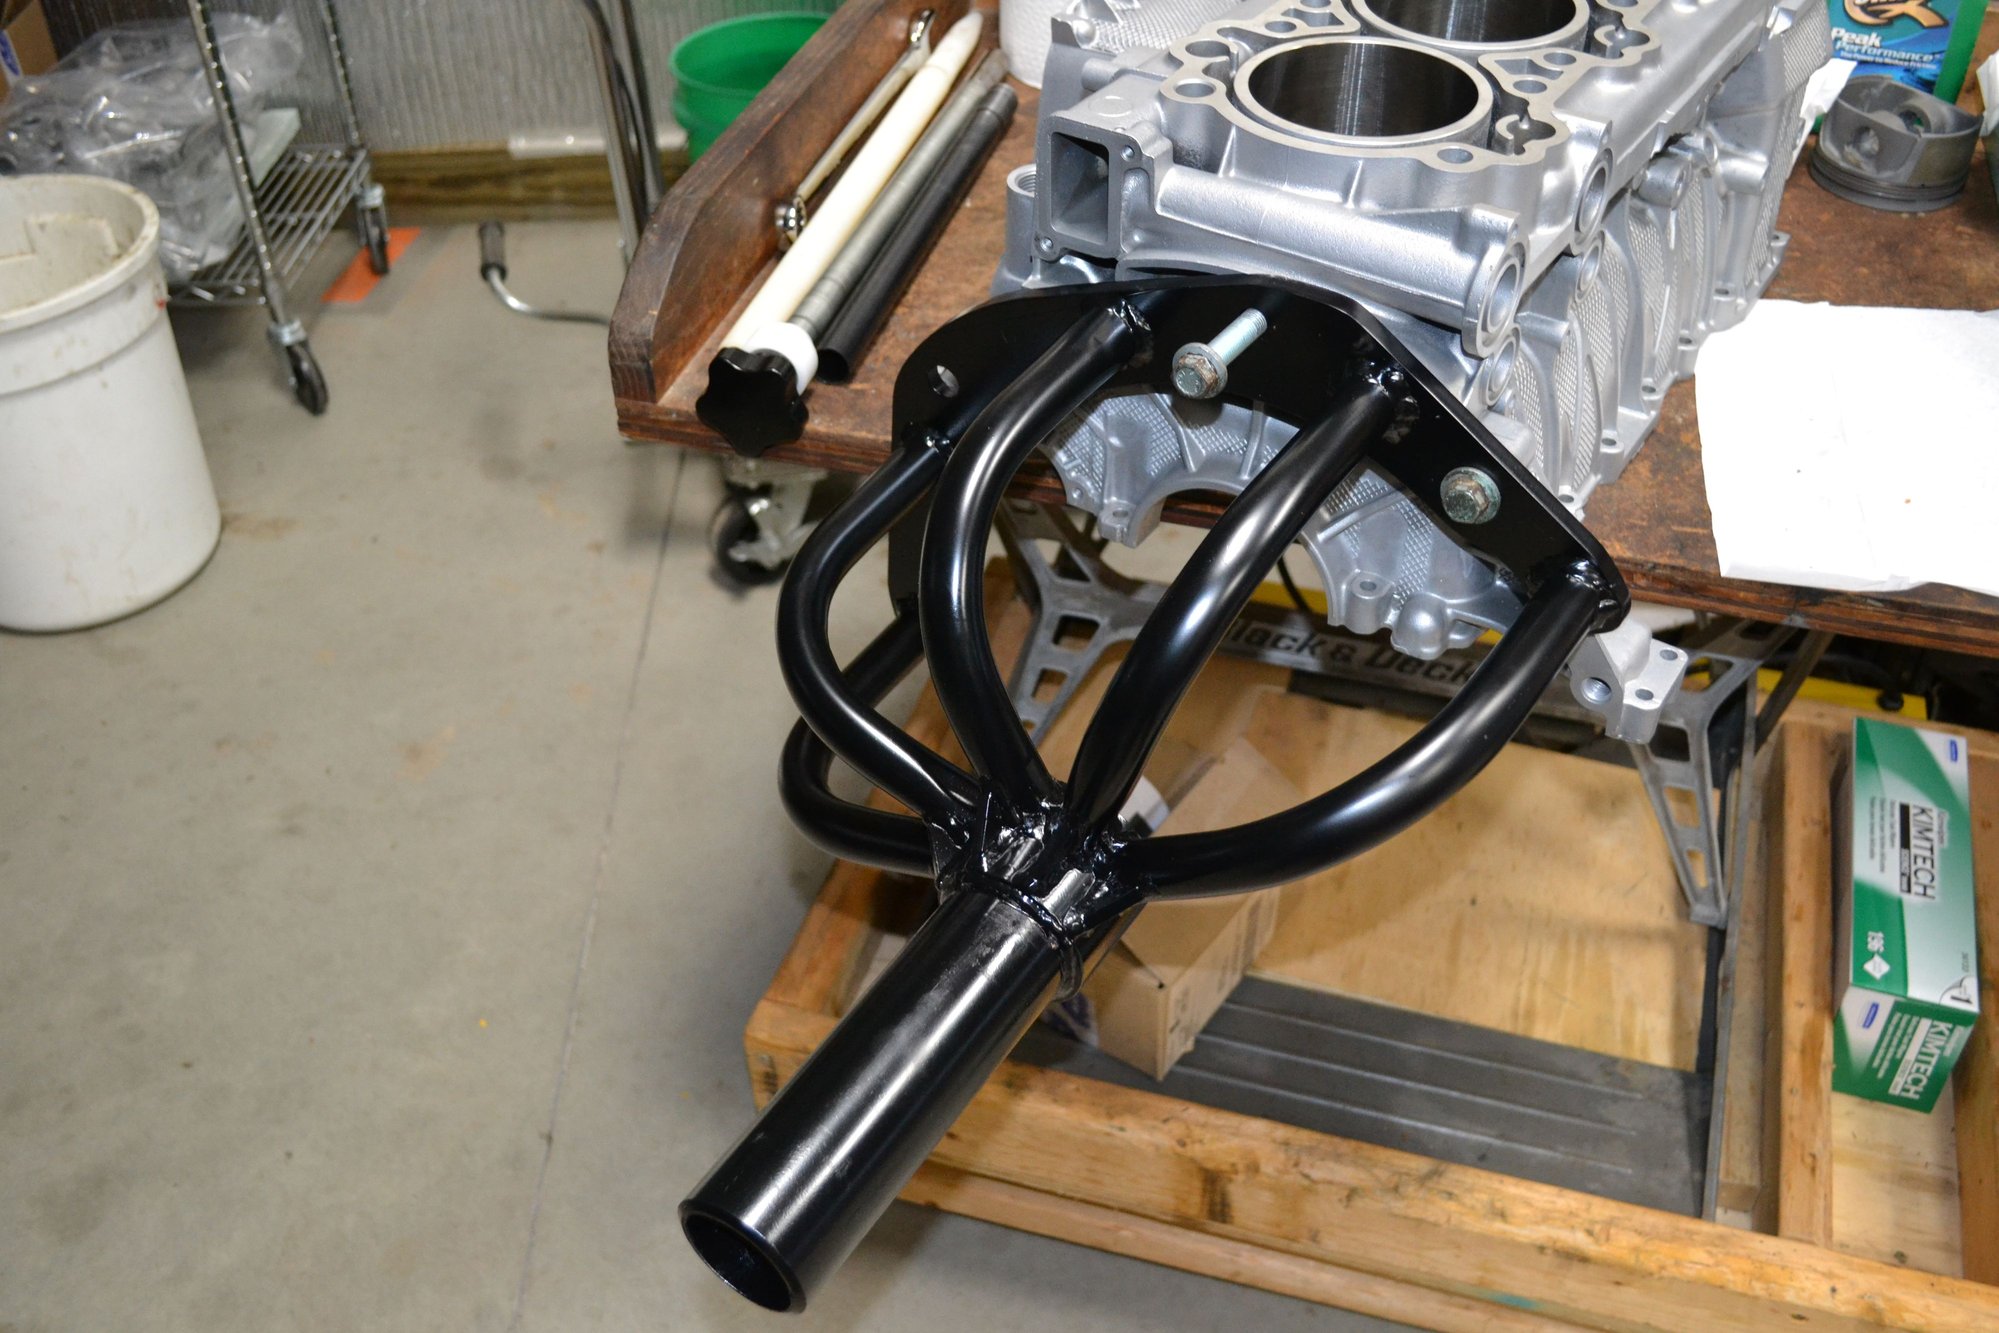
Well, I'm at a bit of a standstill. I can still measure and clean things, which I have been doing. But the mounting of a case-half will require a new fixture. One is on the way. Hopefully it will do the job. A regular engine stand attachment won't work. This was expected.
Most of today was spent watching disc 2 of the M9X engine assembly series. Stage 9 and, especially, Stage 10 are huge.
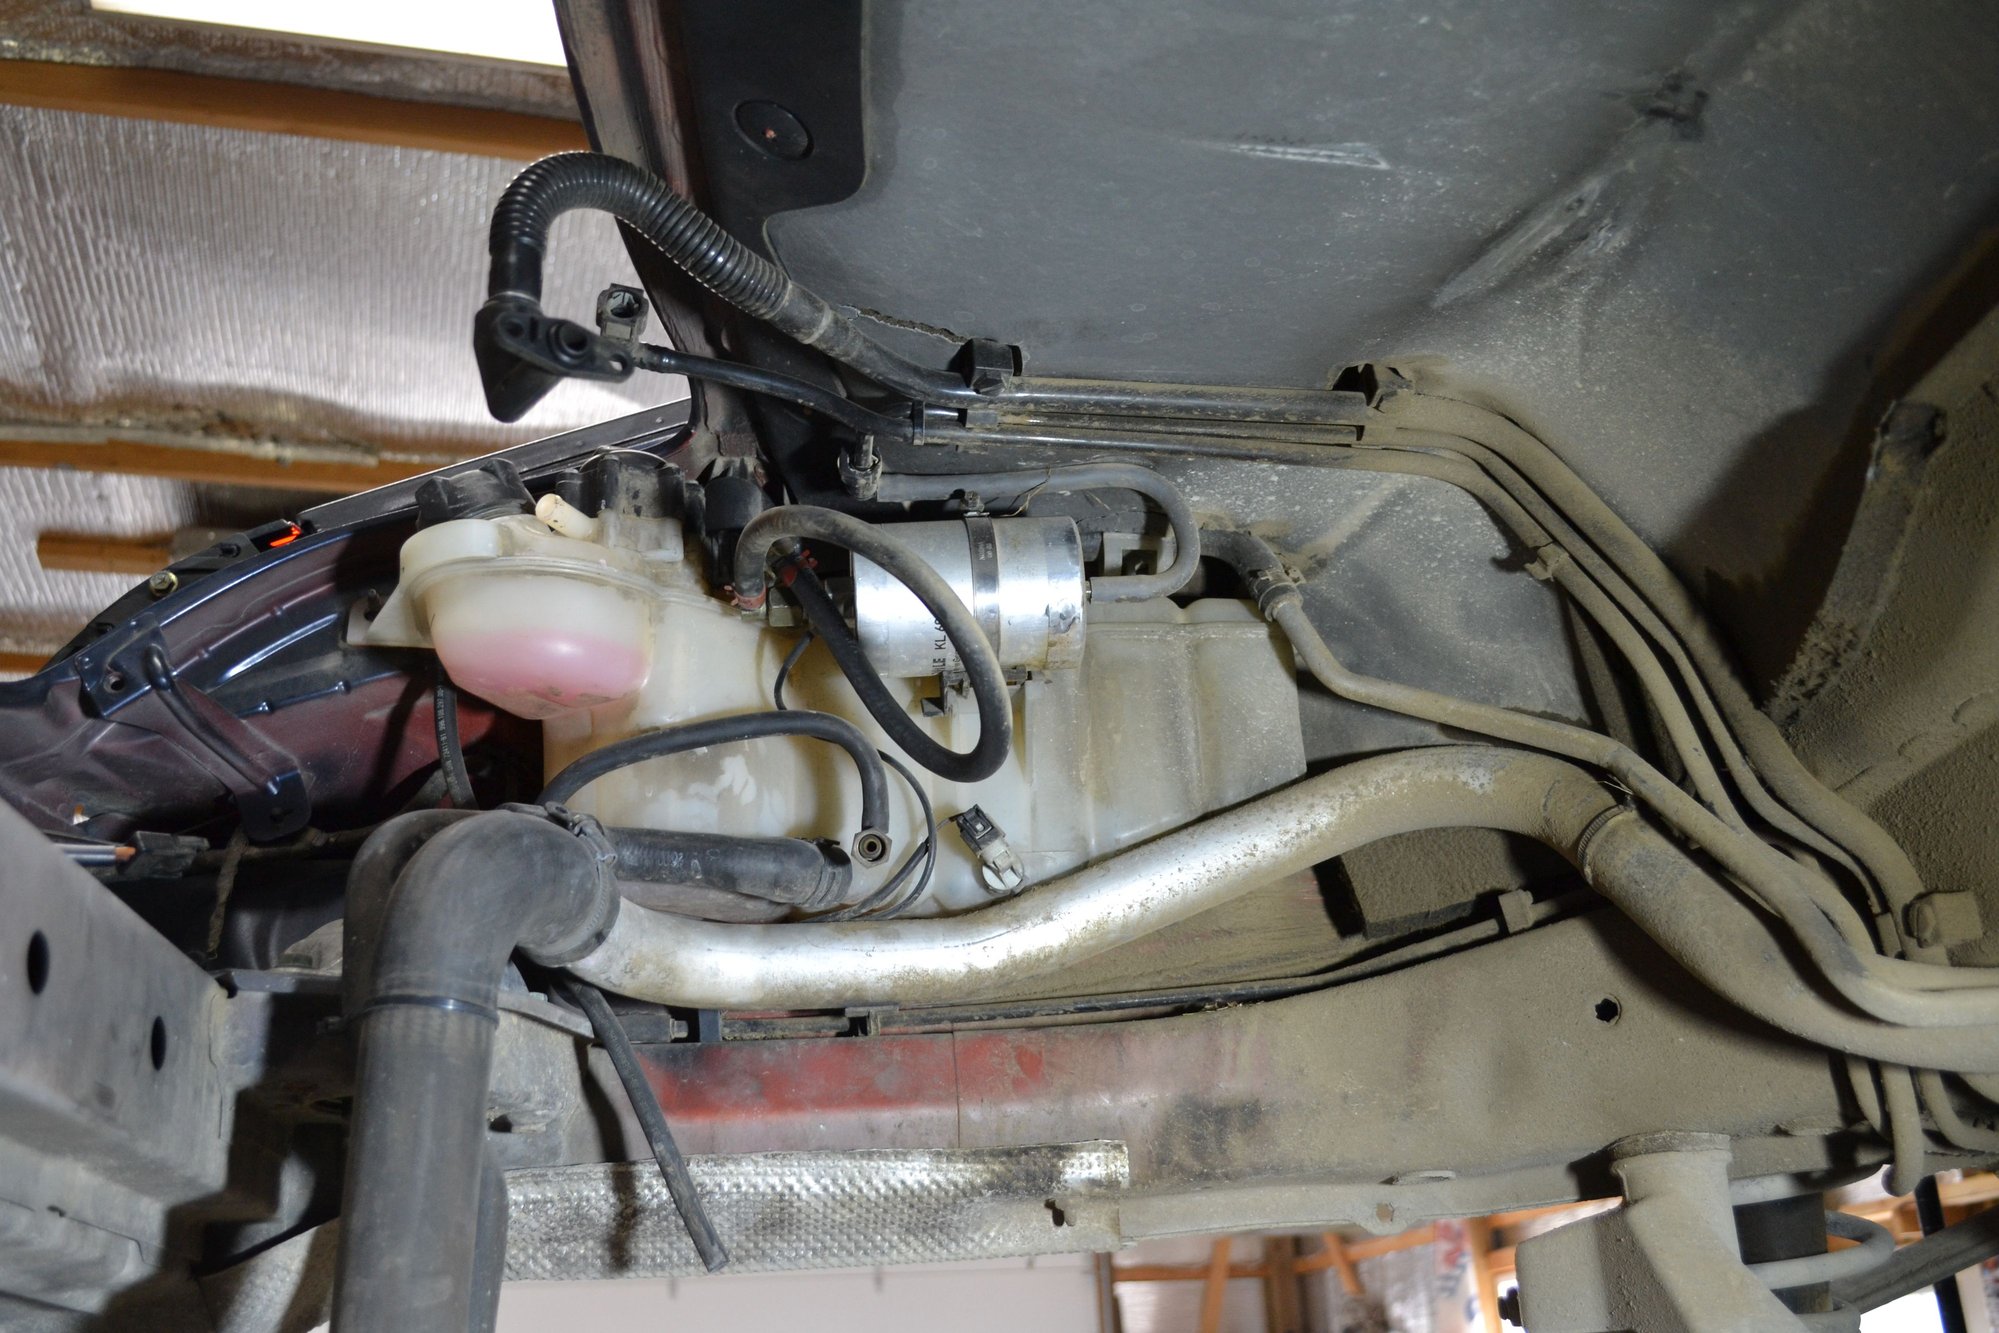
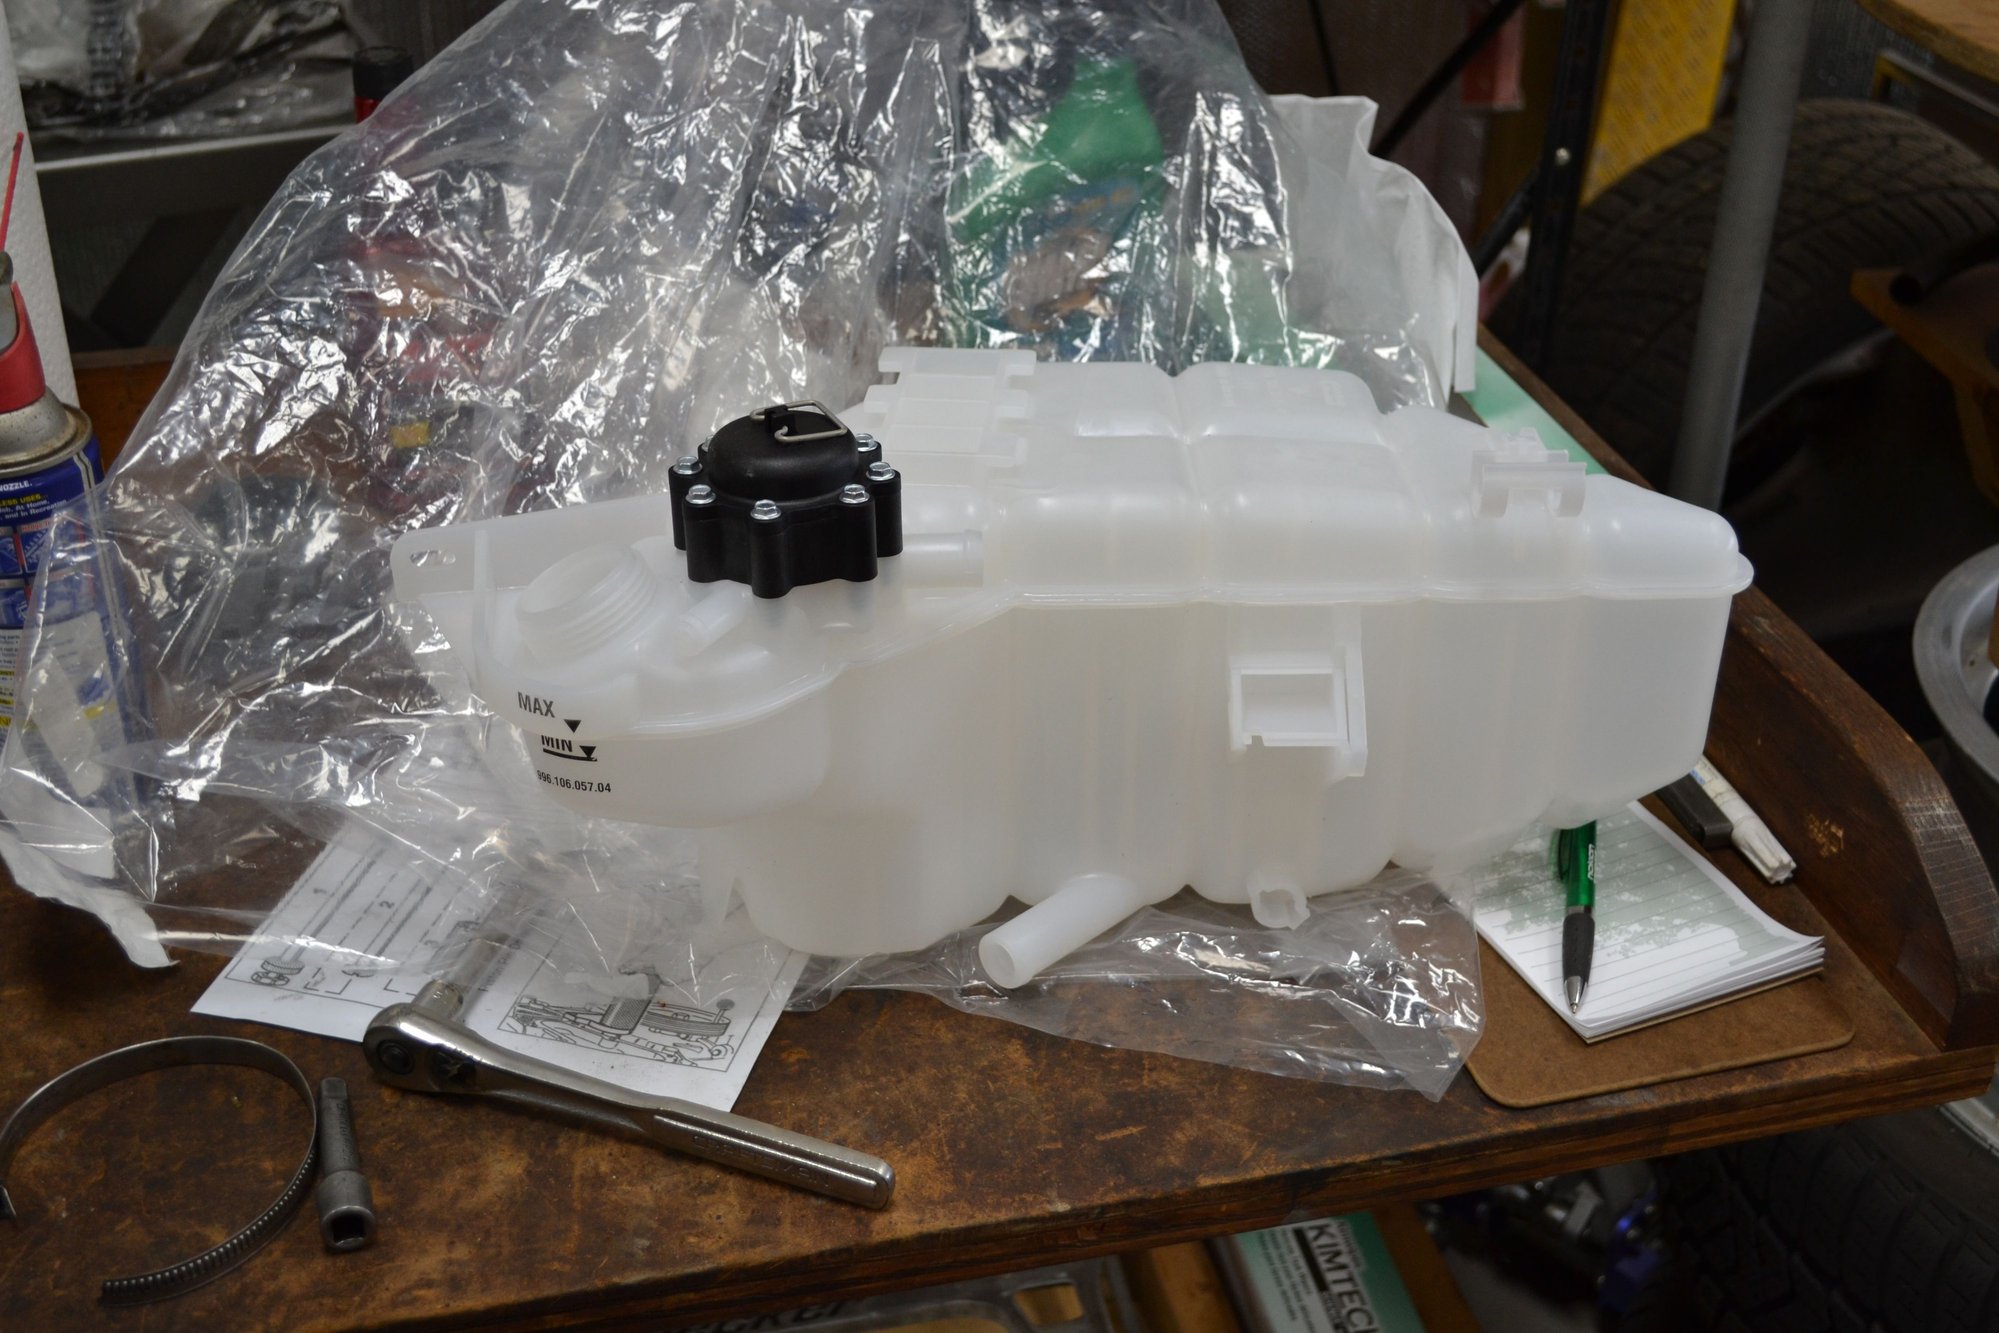
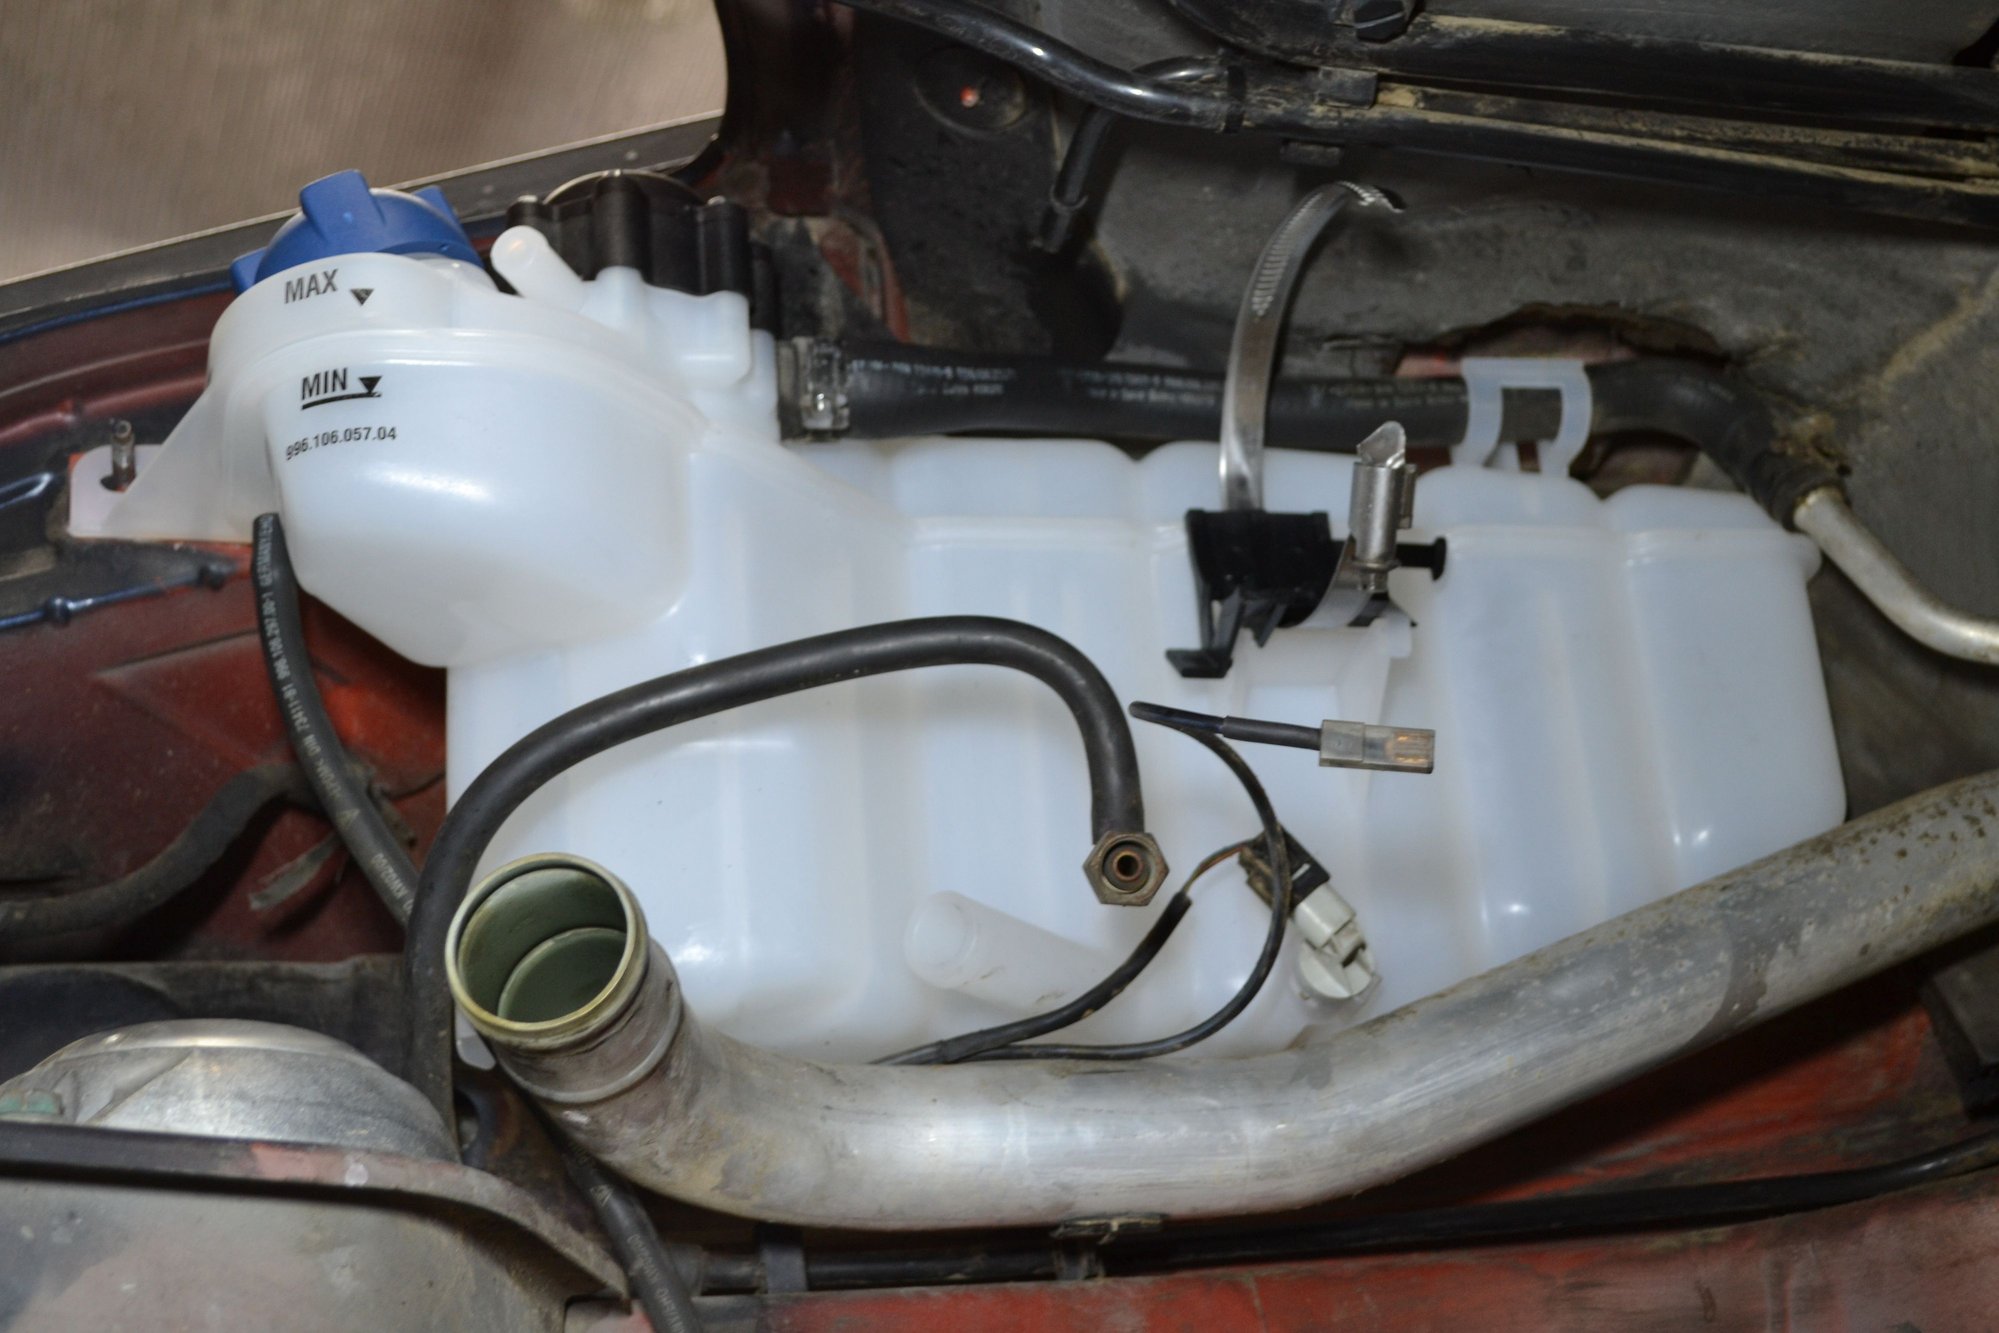
Still found time to work on the coolant system, a little. Should be a good time to hit this. With no engine in the way, the coolant reservoir ought to be easy to replace.
Got a nice new piece a few days ago.
After a bit of wrestling, it went in.
I've got a new coolant level sensor on the way and will order a fuel filter. Had planned to keep the old filter, since it's only about a year old. After looking at where I am and recalling how much fun the last one was to replace - with the engine in - it's a no-brainer.
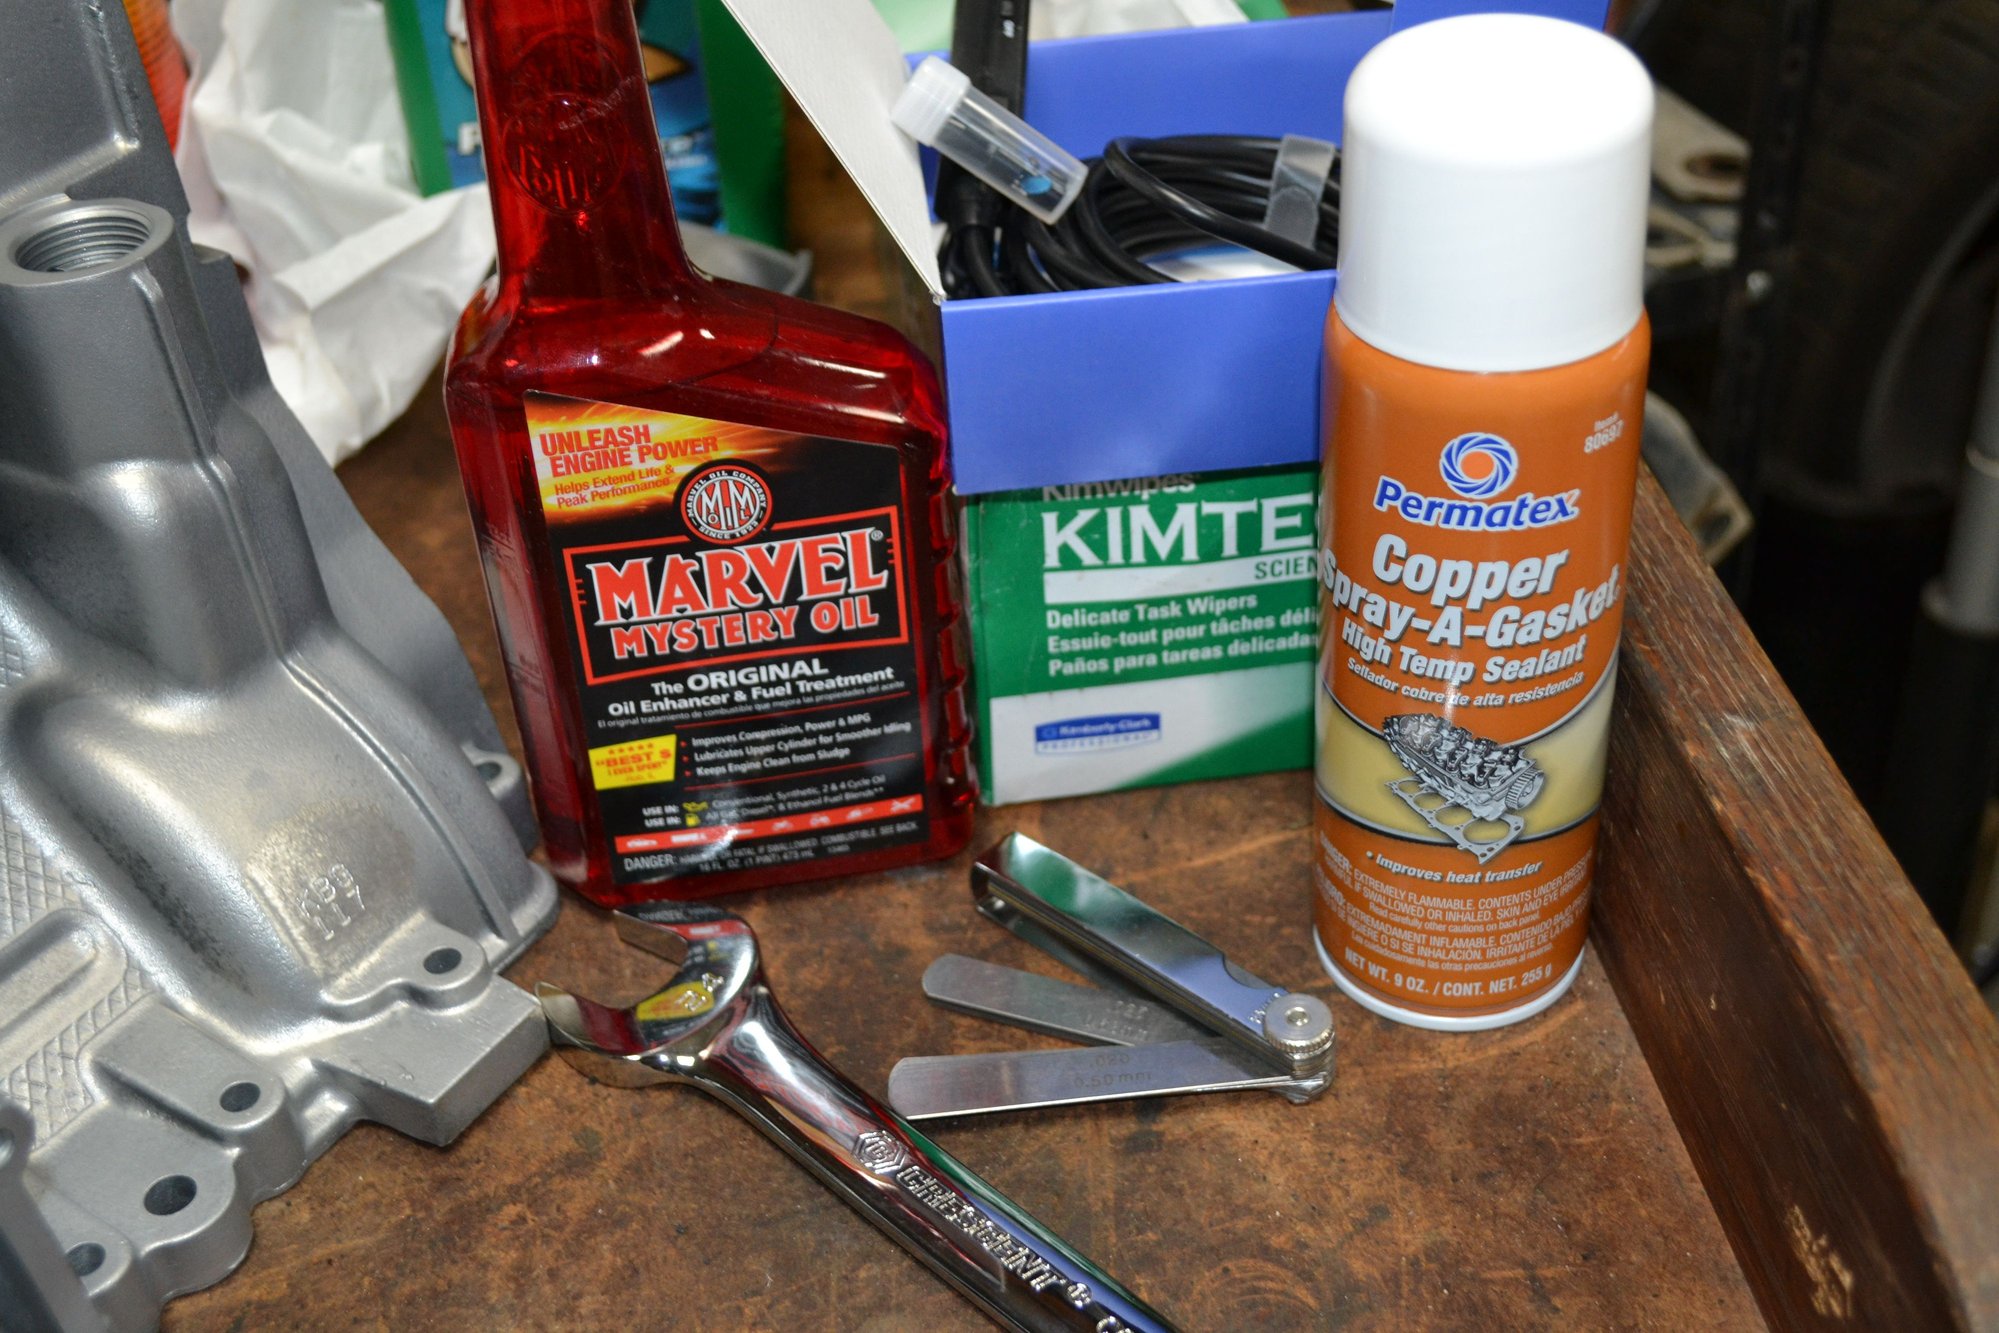
A lot of yesterday was spent going through the PET and identifying part numbers for new things. Ordered a few parts and a few tools. One tool was another borescope. After watching Stage 10, yesterday, I find that I must have the mirror attachment. Since I couldn't find the little set that came with the first one, I will now have two scopes and one attachment kit. A 24mm combination wrench and a new feeler gauge set arrived today. I've been using feeler gauges that I got in high school. My old eyes need fresh print...
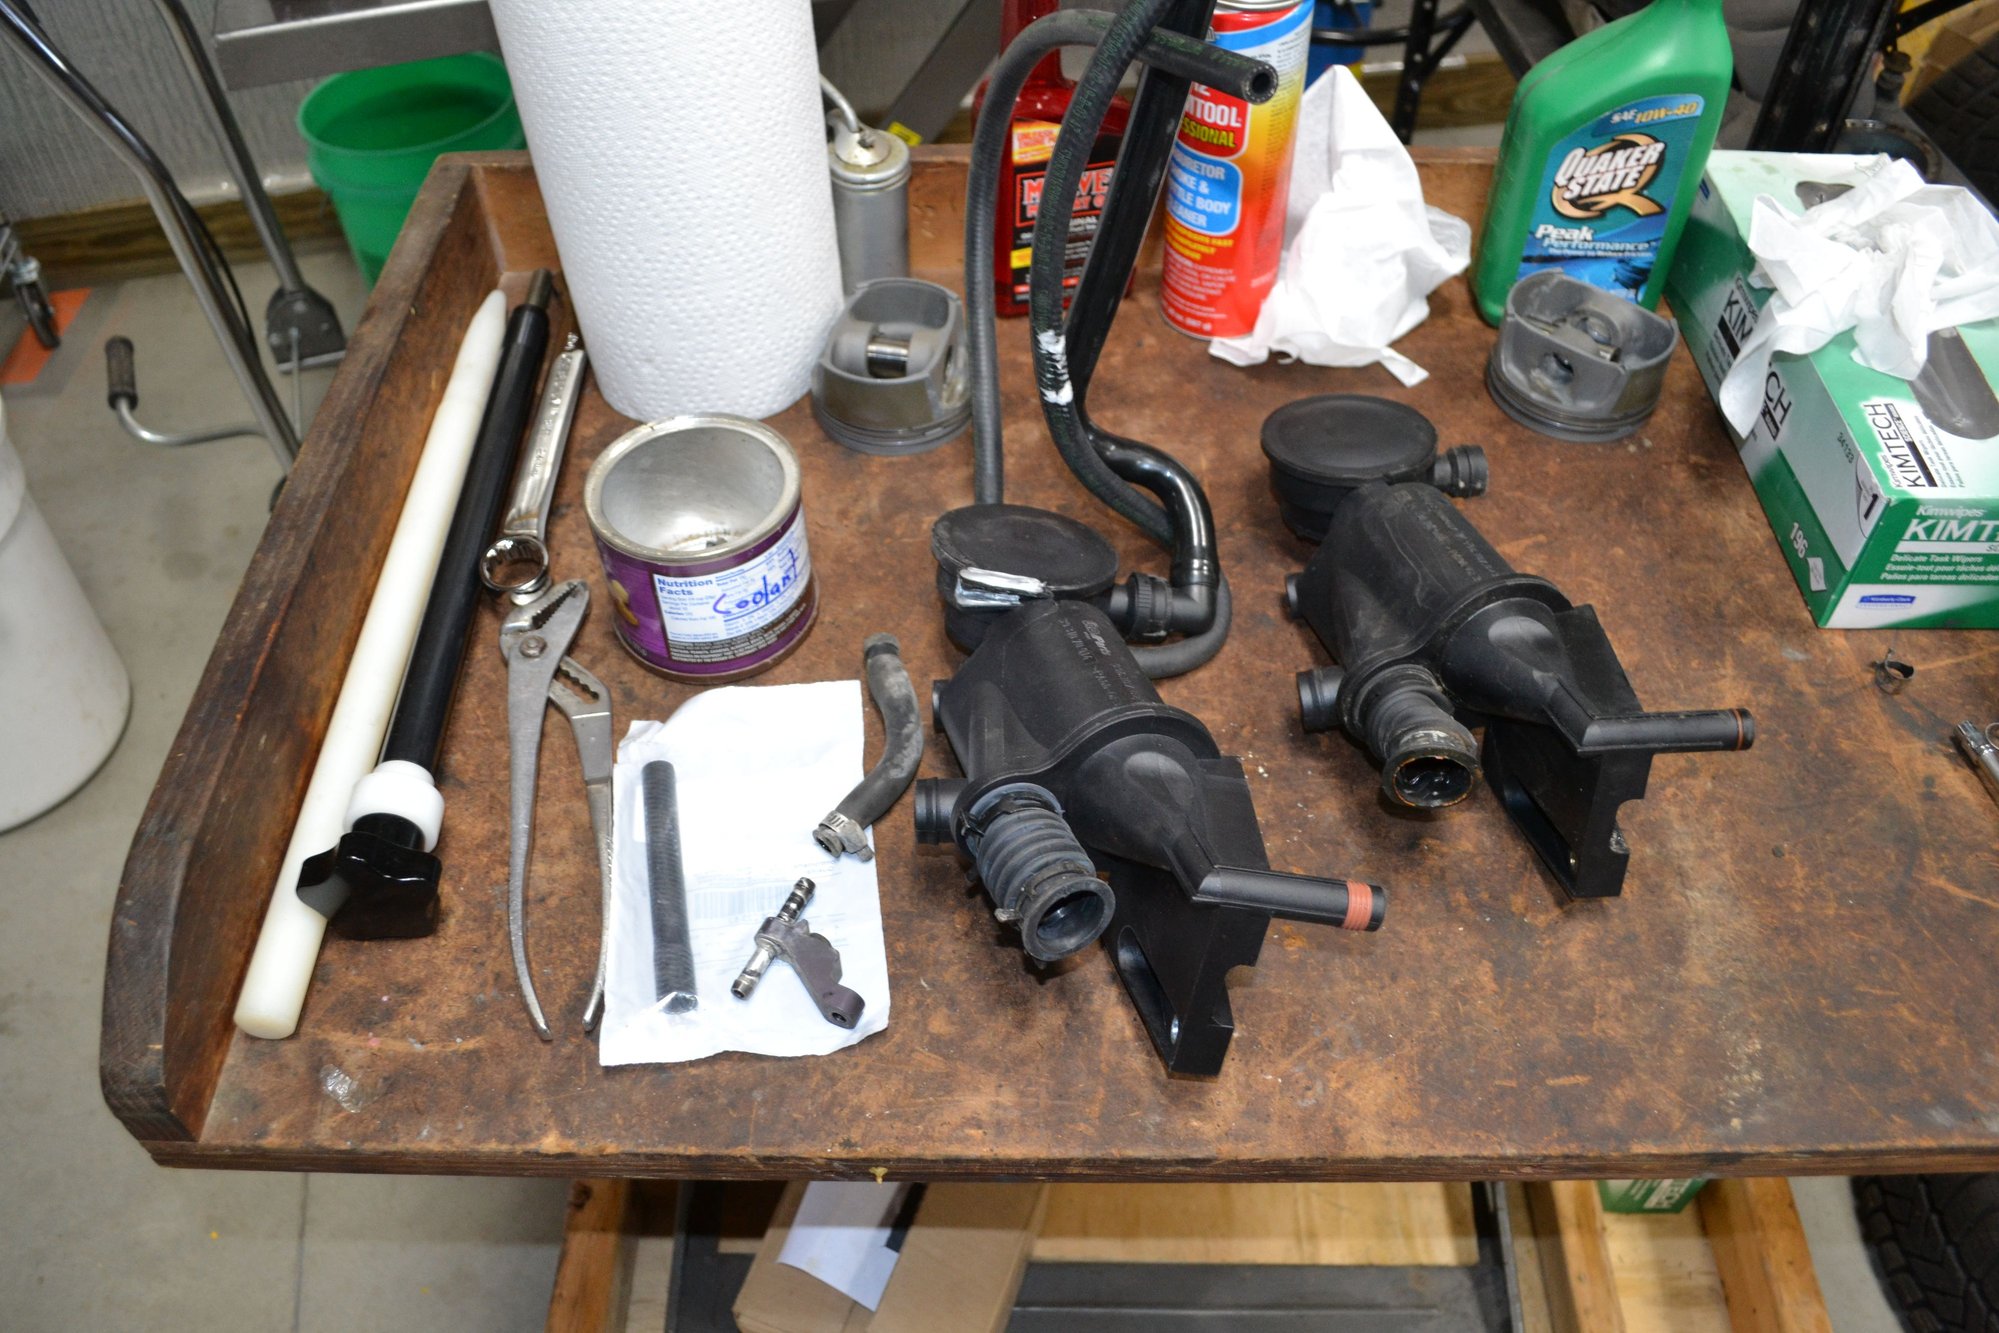
Played with the new AOS and installed the two coolant hoses to it. Attached the old hard pipe to help locate things. Cut open the original AOS unit in a couple of places. Will share that in one if the UAOS threads.
Decided to practice with the piston tools. The guide needed to be modified to fit in the con-rod and piston. My trial was to see how difficult it would be to insert the rearward clips while the pistons were in the bore (upside-down). There will be no luxury of observing from the bottom of the bore.
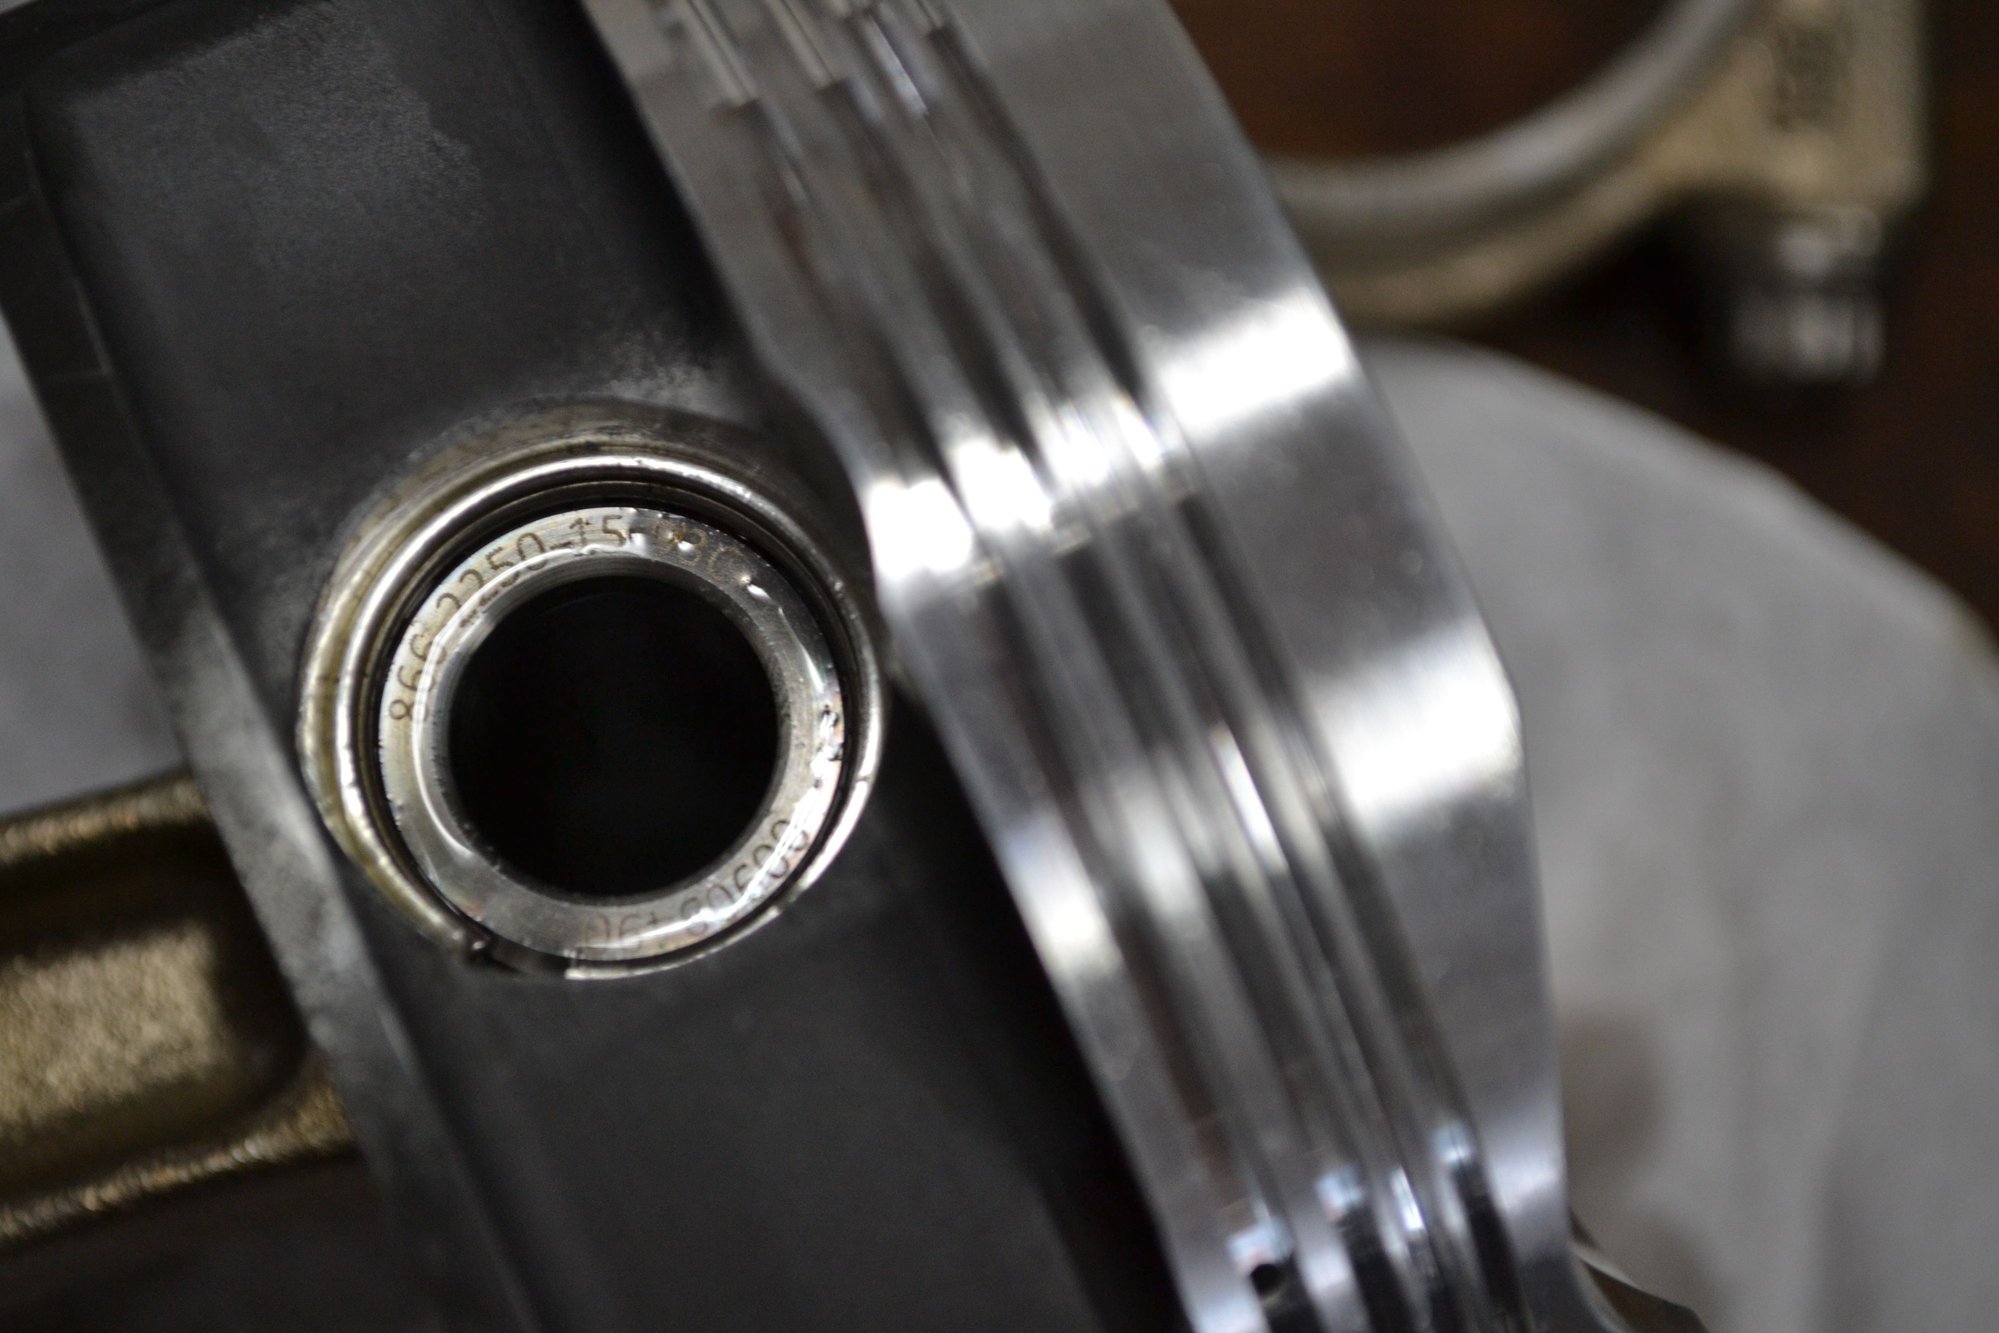
My first trial was cylinder #6. I failed to get the clip in on the first try. After a little sanding of the insertion tool, I was able to succeed in the remaining trials. The tool was just a little too large to fully insert into the piston and bottom out on the land. I will, at least, have access through the bores when it's time to go for real. The borescope will be needed to verify no mistakes.
The last one: #4. This will be a true test when it's for keeps. I need to be fully prepared to do battle.
Didn't do much yesterday. Still gathering parts, chemicals and tools as I wait for the engine stand fixture to arrive. It's due on Monday. I did discover that I left the heat on in the garage overnight. Not good. Wasted a bunch of propane for no reason....
I've been able to gather some information, through my Columbo skills, for my assembly. They might get mentioned as they come into play.
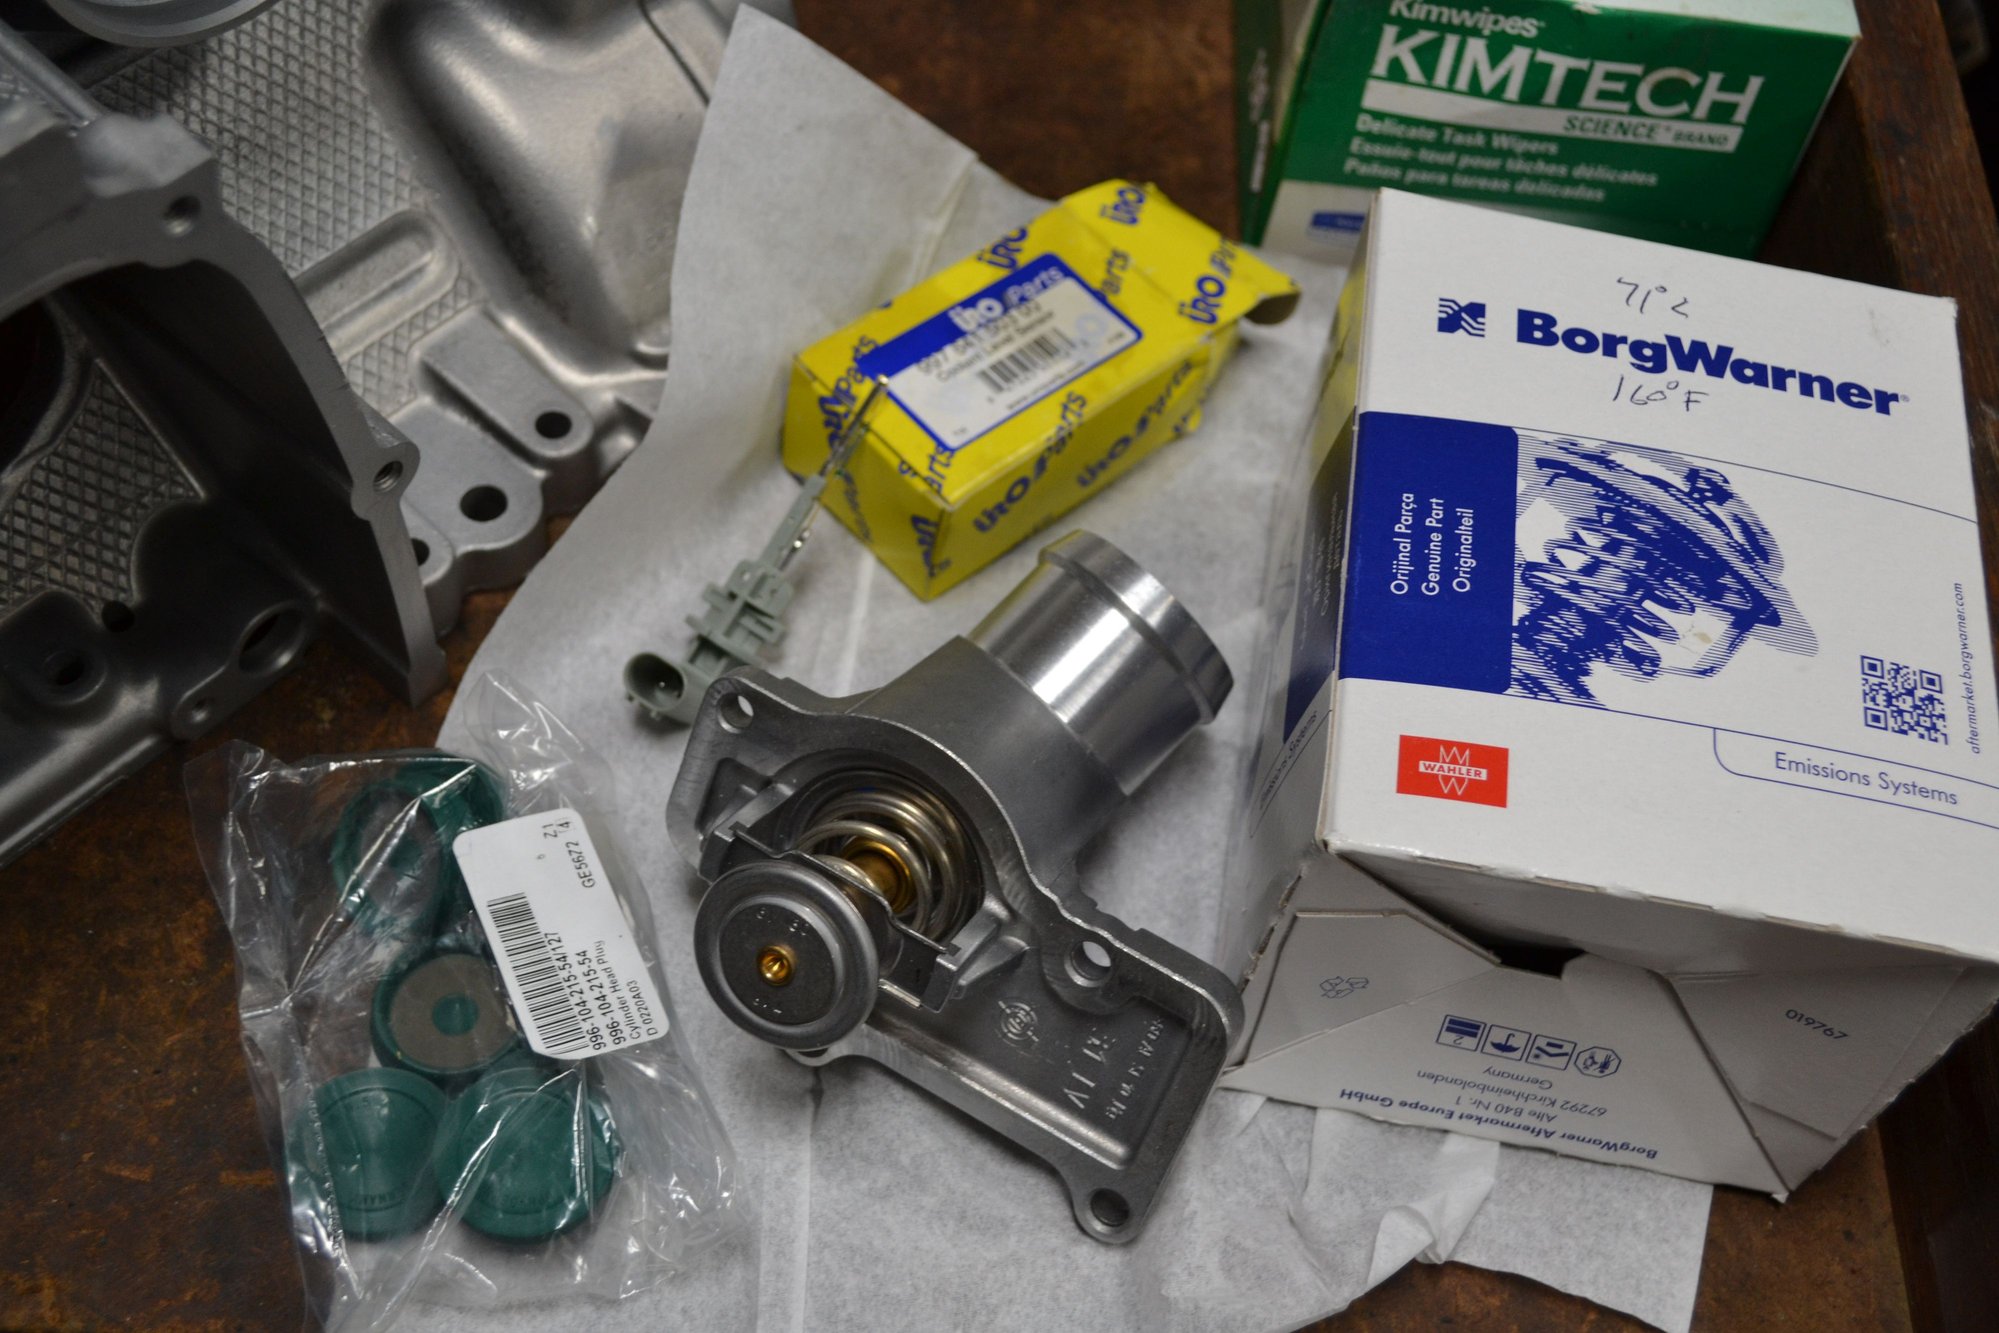
While waiting for the engine fixture to arrive, I've gotten a few parts and gapped the rings. Put the new coolant level sensor in today. Got a low-temp thermostat yesterday, along with the little cam caps.
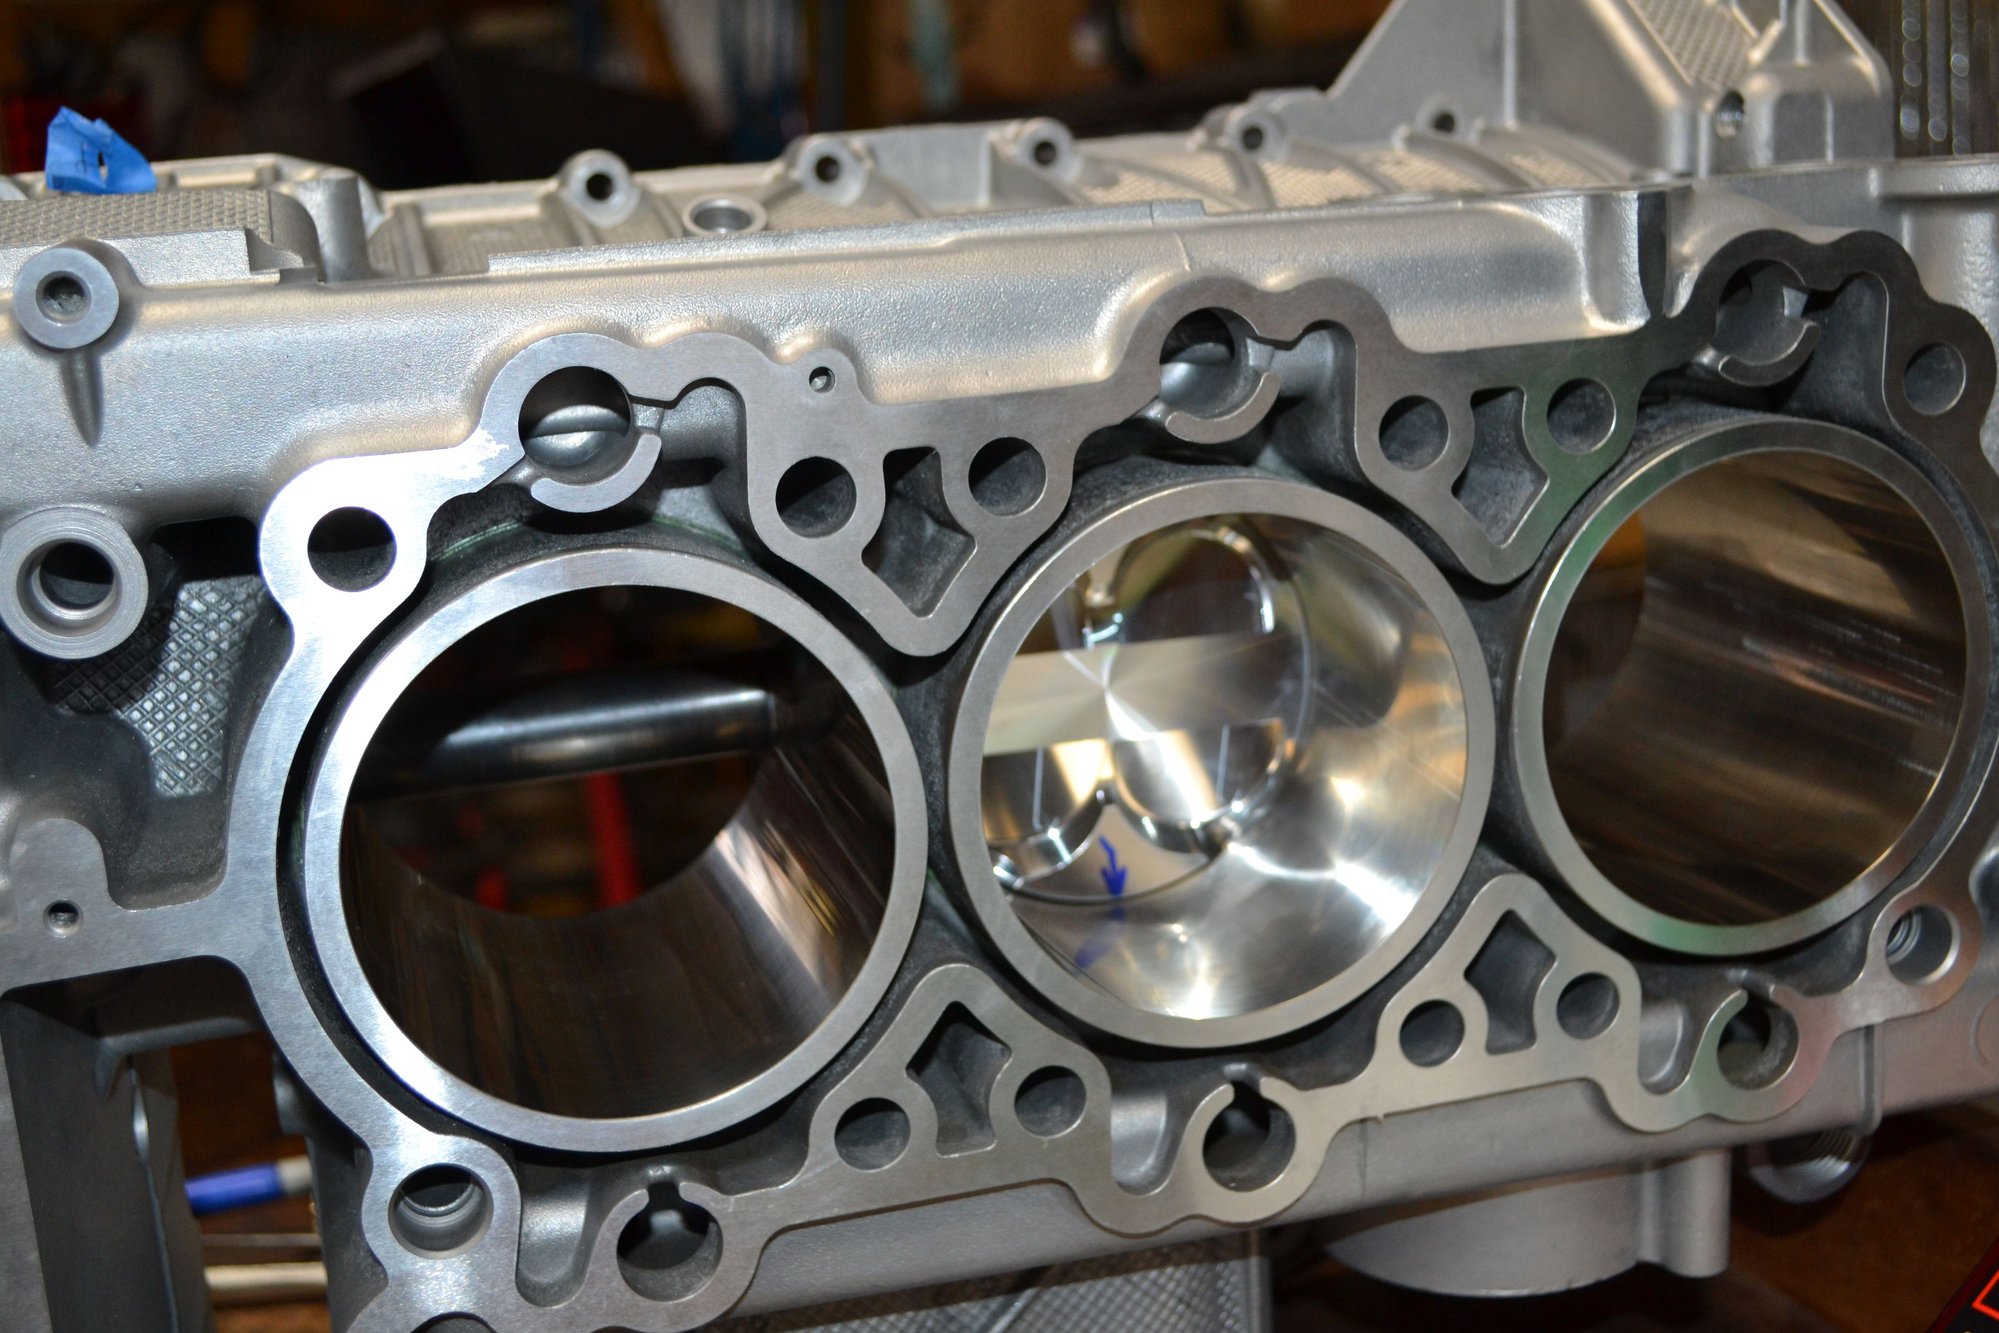
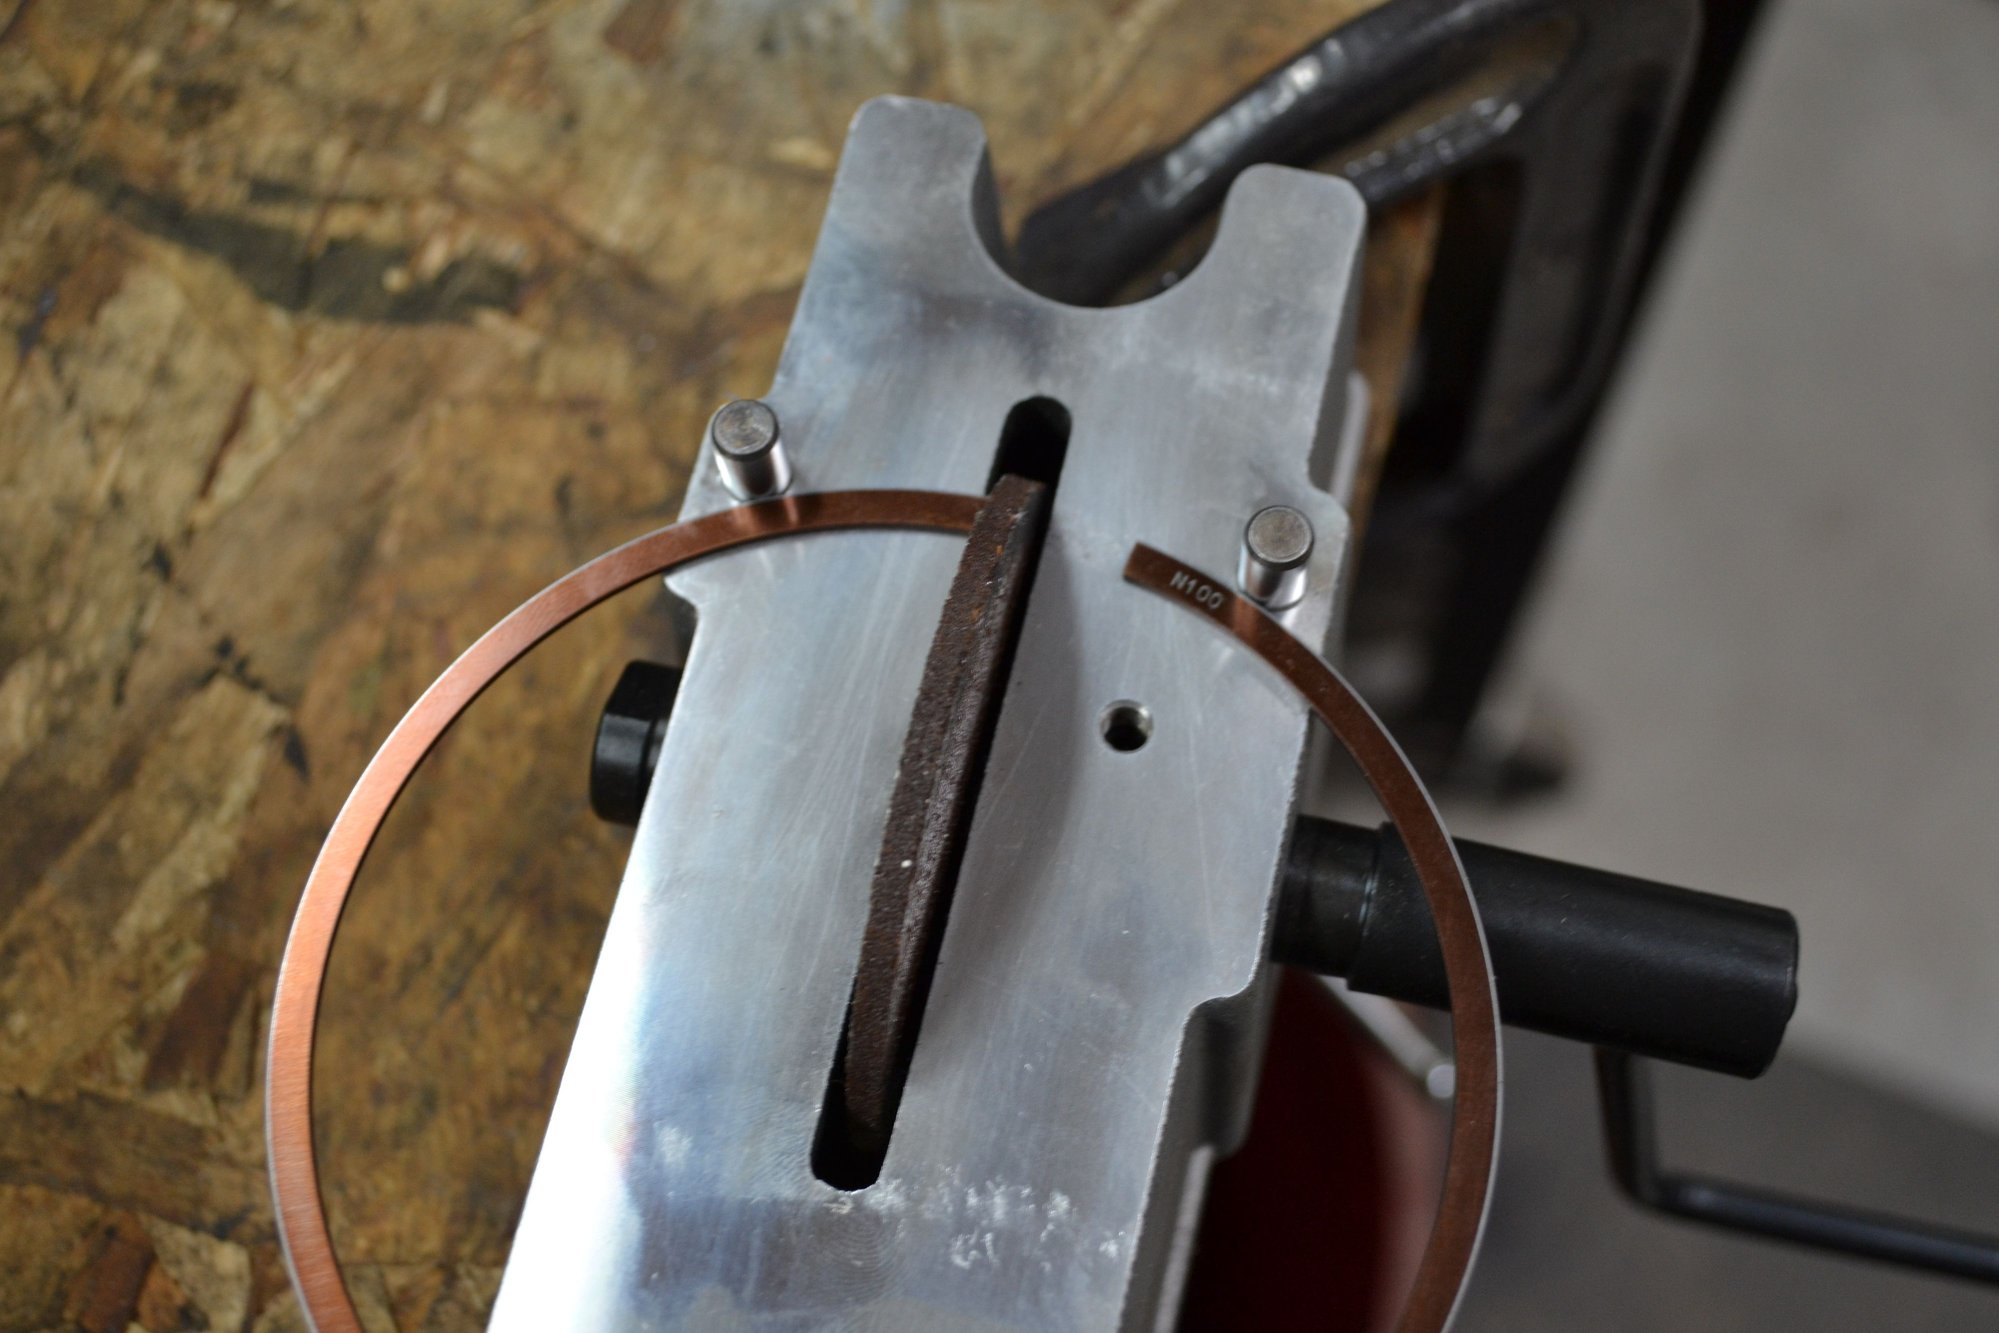
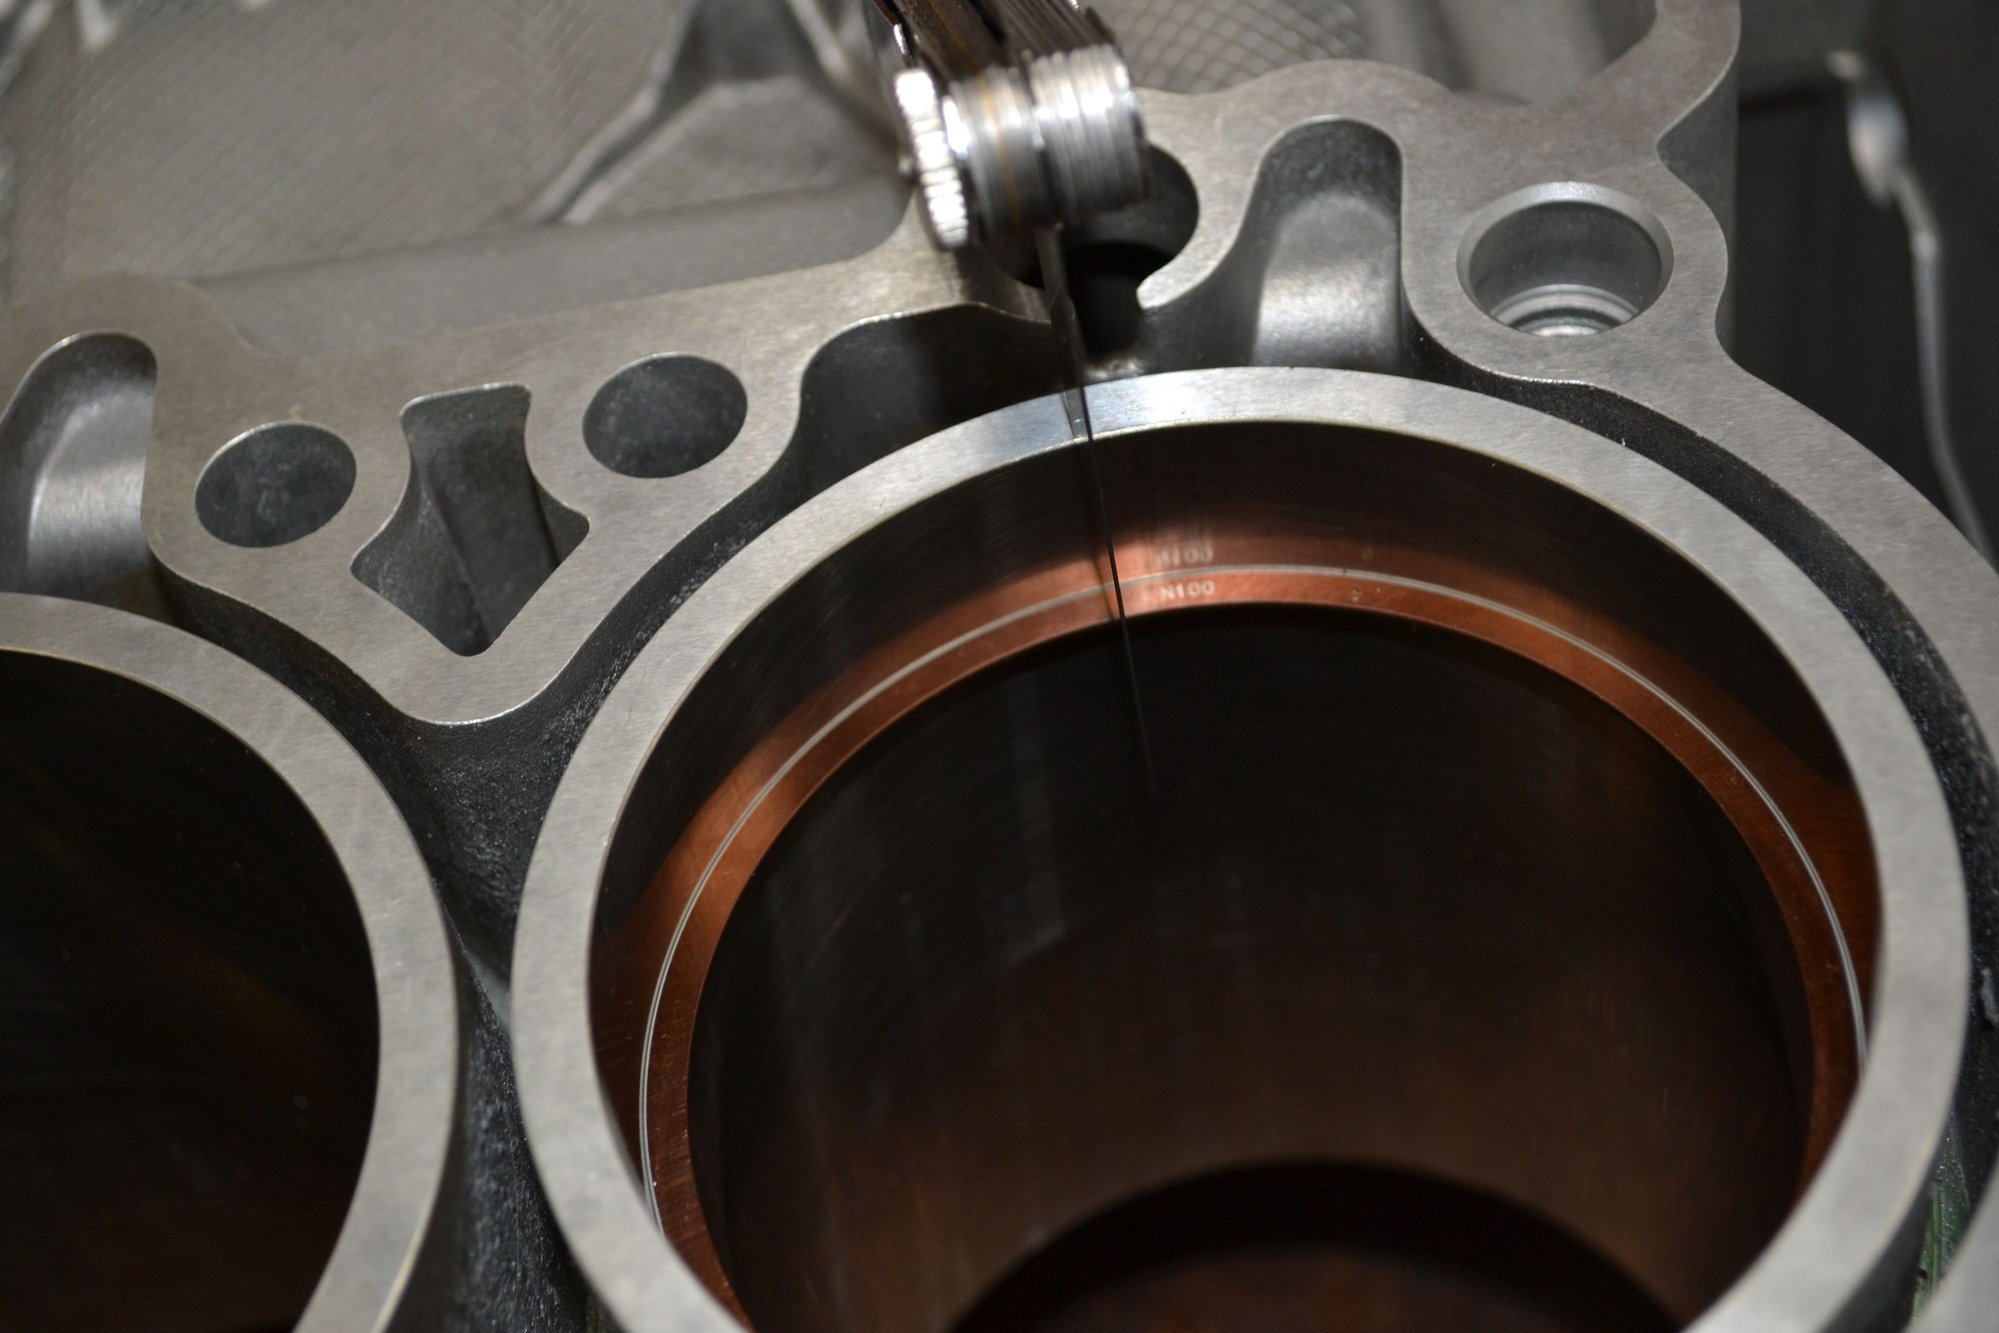
Checked all the rings. Had to grind the top two rings. They're all near the minimum as defined by the manufacturer for a 4" bore.
Just when I thought I was done for the night...
I checked my Amazon orders, and it claimed that my knock sensors had arrived. What? Where are they? My wife visited the mailbox. Sure enough, they were there.
I'll be sure to observe the safety warning on the Bosch box. I won't let a guy in a suit near it. But it looks as though I can let a guy in overalls and a hardhat, hauling around a very large wrench, help me to open the box. But since I don't have a guy like that around, I had to do it myself.
She then informed me that there was a package from Home Depot that was left on the tractor side of the barn. What? I didn't order anything from Home Depot!
All true, but now I can get started on cleaning the block halves and go forward with the next stages of assembly. Just need to work out some spacers so I can use the transmission bolts (or find suitable alternatives).
Yea!
i edited, your box is borg-warner, my mistake origionally.
thx again
Yes - and if you look again at the box, you will see in the lower left; "Wahler". The housing also has the original manufacturer's brand or part number ground off. Probably how they get around selling it for a more reasonable price.


 03-19-2020, 03:11 PM