Notices
996 Forum 1999-2005
Sponsored by:

The 133,333 mile engine rebuild thread

Thread Tools
 
Search this Thread
 
Old 04-05-2020, 06:44 PM
  #406  
Scott at Team Harco
Just a car guy
Rennlist Member

Thread Starter
 
Scott at Team Harco's Avatar
 
Join Date: Jan 2002
Location: South Lyon, Michigan, Ewe Ess Eh
Posts: 9,927
Received 835 Likes on 524 Posts
Default

Originally Posted by yaz996
Looks short and sweet. Much needed relief. Think I've got you on the sump plate cleanliness. No one sees the block anyway, right?
Once I start playing in the dirt again, I'm going to ruin any semblance of cleanliness. You definitely have me on the front console.

Went forward with Stage 12, so I can rest-up for the next big stage.


Completion of the front console installation...


New low-temp thermostat and one year old Pierburg waterpump.


Last edited by Scott at Team Harco; 04-05-2020 at 07:46 PM.
The following users liked this post:
yaz996 (04-05-2020)
Old 04-05-2020, 06:58 PM
  #407  
Scott at Team Harco
Just a car guy
Rennlist Member

Thread Starter
 
Scott at Team Harco's Avatar
 
Join Date: Jan 2002
Location: South Lyon, Michigan, Ewe Ess Eh
Posts: 9,927
Received 835 Likes on 524 Posts
Default

Finished up for the day with the oil filter adapter. Did a sanity check on the oil feed line. Had to shorten the bolt through the block halves in the area of the notch. It interfered with the nut on the braided line. I left no margin at the blue fitting, it's snug against the notch.


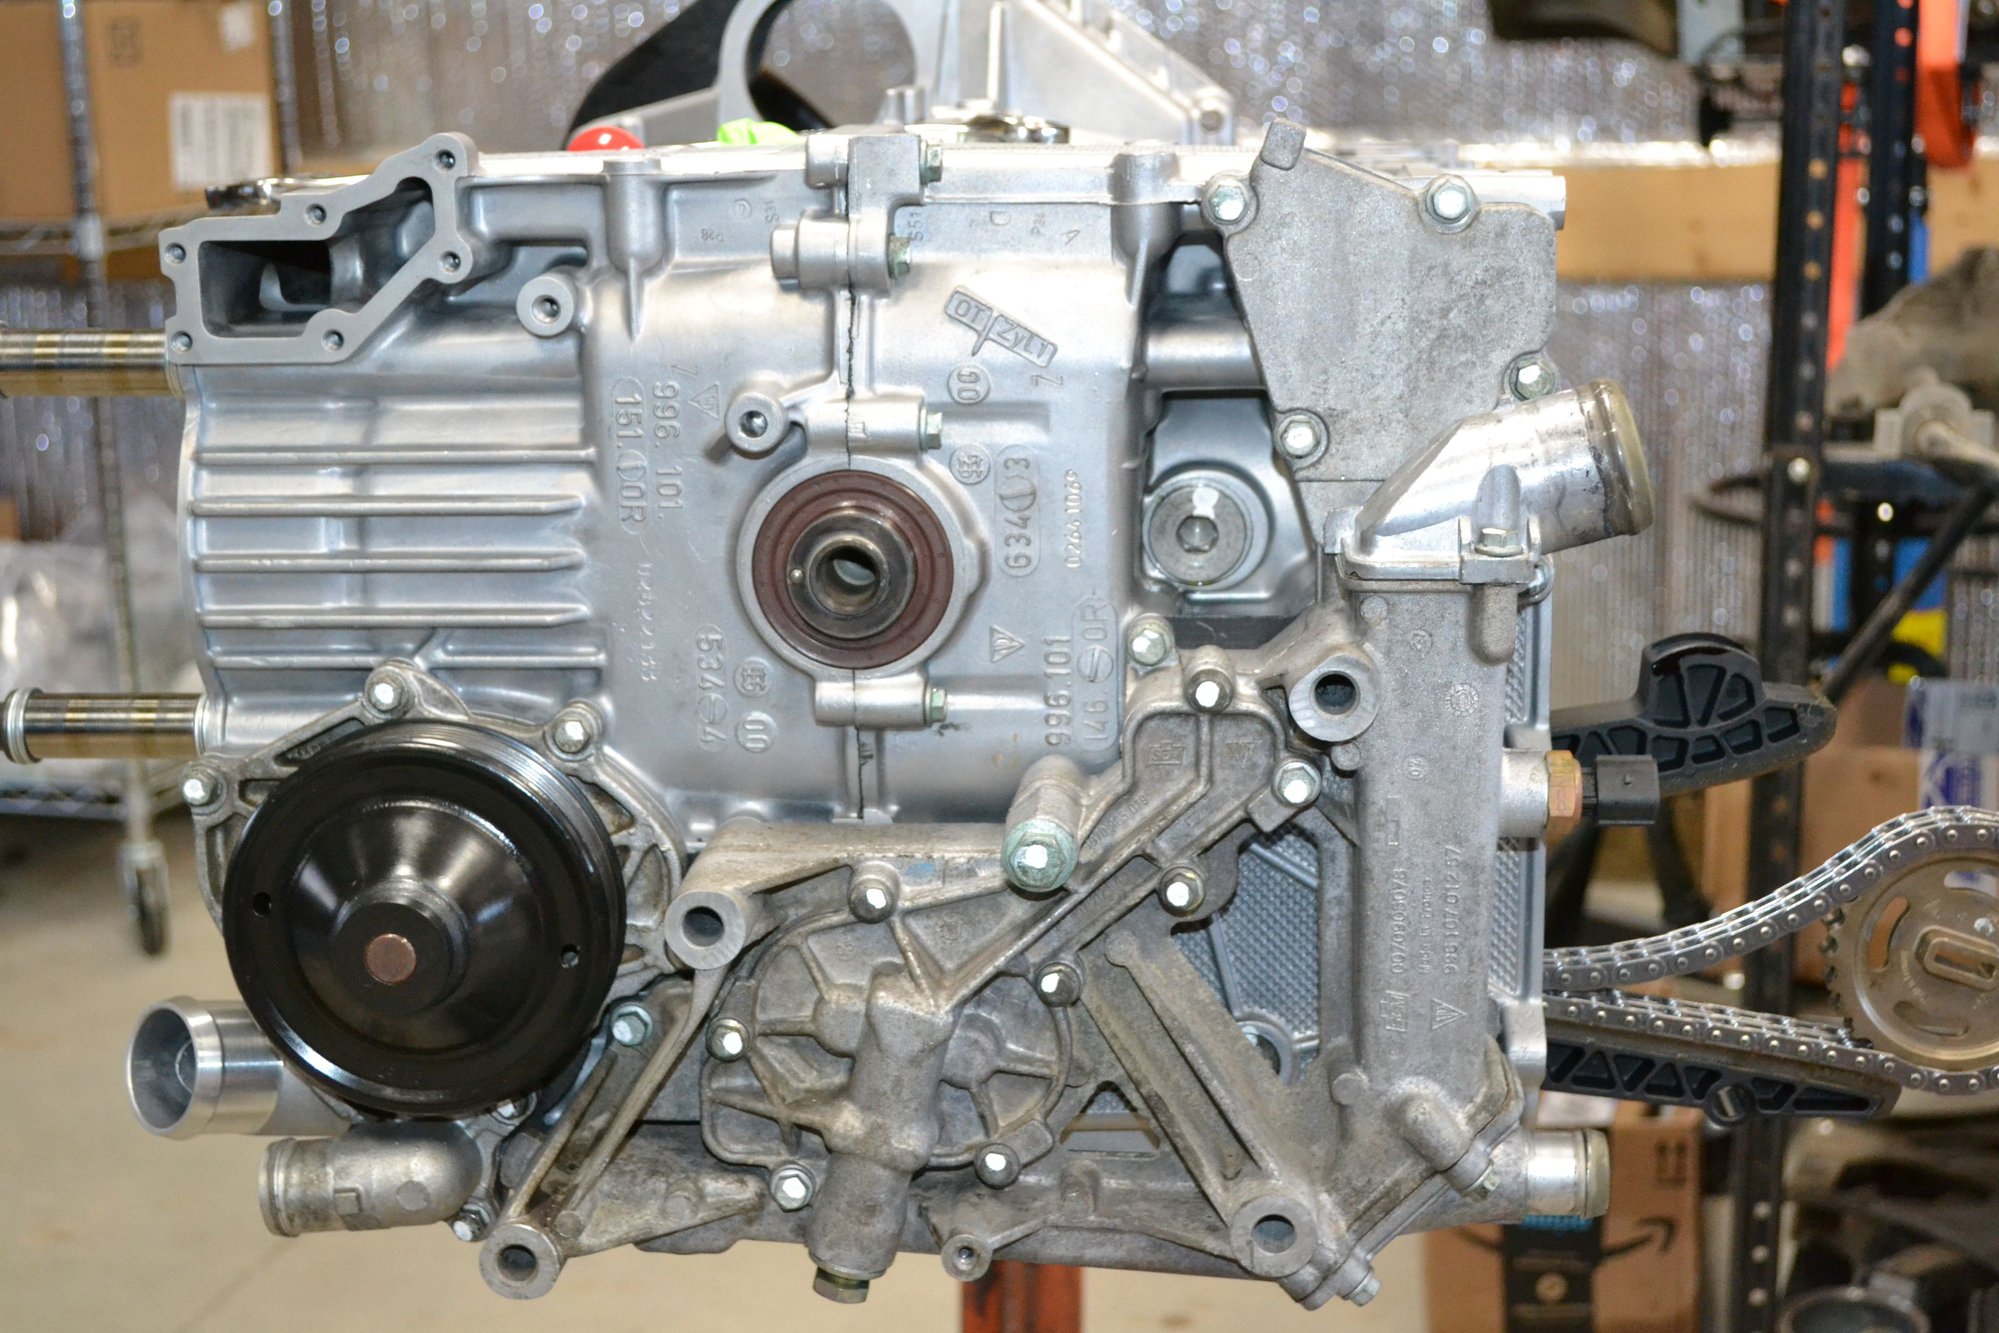
One step shy of full completion of Stage 12 is the torquing of the crank pulley bolt. I wasn't sure if I inserted the seal deep enough. From the video, it looks as though there is a slight recess of the seal. The Raby tool would make it precise and effortless, I mean faultless. I'm essentially flush to the boss. Hope that will do.


Time to order more parts. I'm getting much closer to needing them. Need to search on the RMS installation tool options, as well.
Old 04-05-2020, 07:21 PM
  #408  
latonnelier
Racer
 
latonnelier's Avatar
 
Join Date: Jun 2018
Location: Tucson, AZ
Posts: 481
Received 159 Likes on 79 Posts
Default

Was that groove on the front of the crank pronounced enough to cause a problem if the new seal edge landed on it? Is this something we need to worry about?
Old 04-05-2020, 07:33 PM
  #409  
yaz996
Rennlist Member
 
yaz996's Avatar
 
Join Date: Sep 2019
Location: Southeastern CT
Posts: 898
Received 846 Likes on 344 Posts
Default

Have you found a specified depth for the front seal anywhere? I know FVD sells an install tool, but haven't found anything to say its necessary.:

https://www.fvd.net/us-en/FVD721T251...l-986-996.html
Old 04-05-2020, 07:35 PM
  #410  
Scott at Team Harco
Just a car guy
Rennlist Member

Thread Starter
 
Scott at Team Harco's Avatar
 
Join Date: Jan 2002
Location: South Lyon, Michigan, Ewe Ess Eh
Posts: 9,927
Received 835 Likes on 524 Posts
Default

Originally Posted by latonnelier
Was that groove on the front of the crank pronounced enough to cause a problem if the new seal edge landed on it? Is this something we need to worry about?
The groove at the front is more evident than at the RMS. I was surprised at this.

And with this knowledge, I think I will want to keep the seal where it is. Especially, if its preferred location is a little deeper. It should keep the sealing lip outward from the groove and reduce the risk of a leaker.
Old 04-05-2020, 07:39 PM
  #411  
latonnelier
Racer
 
latonnelier's Avatar
 
Join Date: Jun 2018
Location: Tucson, AZ
Posts: 481
Received 159 Likes on 79 Posts
Default

RE: RMS installer -- might be worth the deposit.
https://lnengineering.com/tools-rental
Old 04-05-2020, 07:39 PM
  #412  
Scott at Team Harco
Just a car guy
Rennlist Member

Thread Starter
 
Scott at Team Harco's Avatar
 
Join Date: Jan 2002
Location: South Lyon, Michigan, Ewe Ess Eh
Posts: 9,927
Received 835 Likes on 524 Posts
Default

Originally Posted by yaz996
Have you found a specified depth for the front seal anywhere? I know FVD sells an install tool, but haven't found anything to say its necessary.:

https://www.fvd.net/us-en/FVD721T251...l-986-996.html
Wow. That's real nice, but it had better have more uses than just that, at that price. Cleanly that tool isn't necessary to install the seal. The question still remains: at what depth? I don't know the answer, but I think I might just leave it flush, as it is. Willing to entertain better ideas...
Old 04-05-2020, 07:44 PM
  #413  
Scott at Team Harco
Just a car guy
Rennlist Member

Thread Starter
 
Scott at Team Harco's Avatar
 
Join Date: Jan 2002
Location: South Lyon, Michigan, Ewe Ess Eh
Posts: 9,927
Received 835 Likes on 524 Posts
Default

Originally Posted by latonnelier
RE: RMS installer -- might be worth the deposit.
https://lnengineering.com/tools-rental
It probably would be, except I don't qualify for their requirements.
Old 04-05-2020, 07:50 PM
  #414  
yaz996
Rennlist Member
 
yaz996's Avatar
 
Join Date: Sep 2019
Location: Southeastern CT
Posts: 898
Received 846 Likes on 344 Posts
Default

Originally Posted by Scott at Team Harco
It probably would be, except I don't qualify for their requirements.
George told me the RMS rental isn't the faultless tool, but actually a 3D printed tool similar to what I made. Had the option for the free rental but would have had to pay for the seal (already included in my gasket set) and return shipping.
Old 04-05-2020, 07:51 PM
  #415  
SoCal911t
Rennlist Member
 
SoCal911t's Avatar
 
Join Date: Apr 2005
Location: Sandy Eggo
Posts: 1,999
Likes: 0
Received 1,471 Likes on 710 Posts
Default

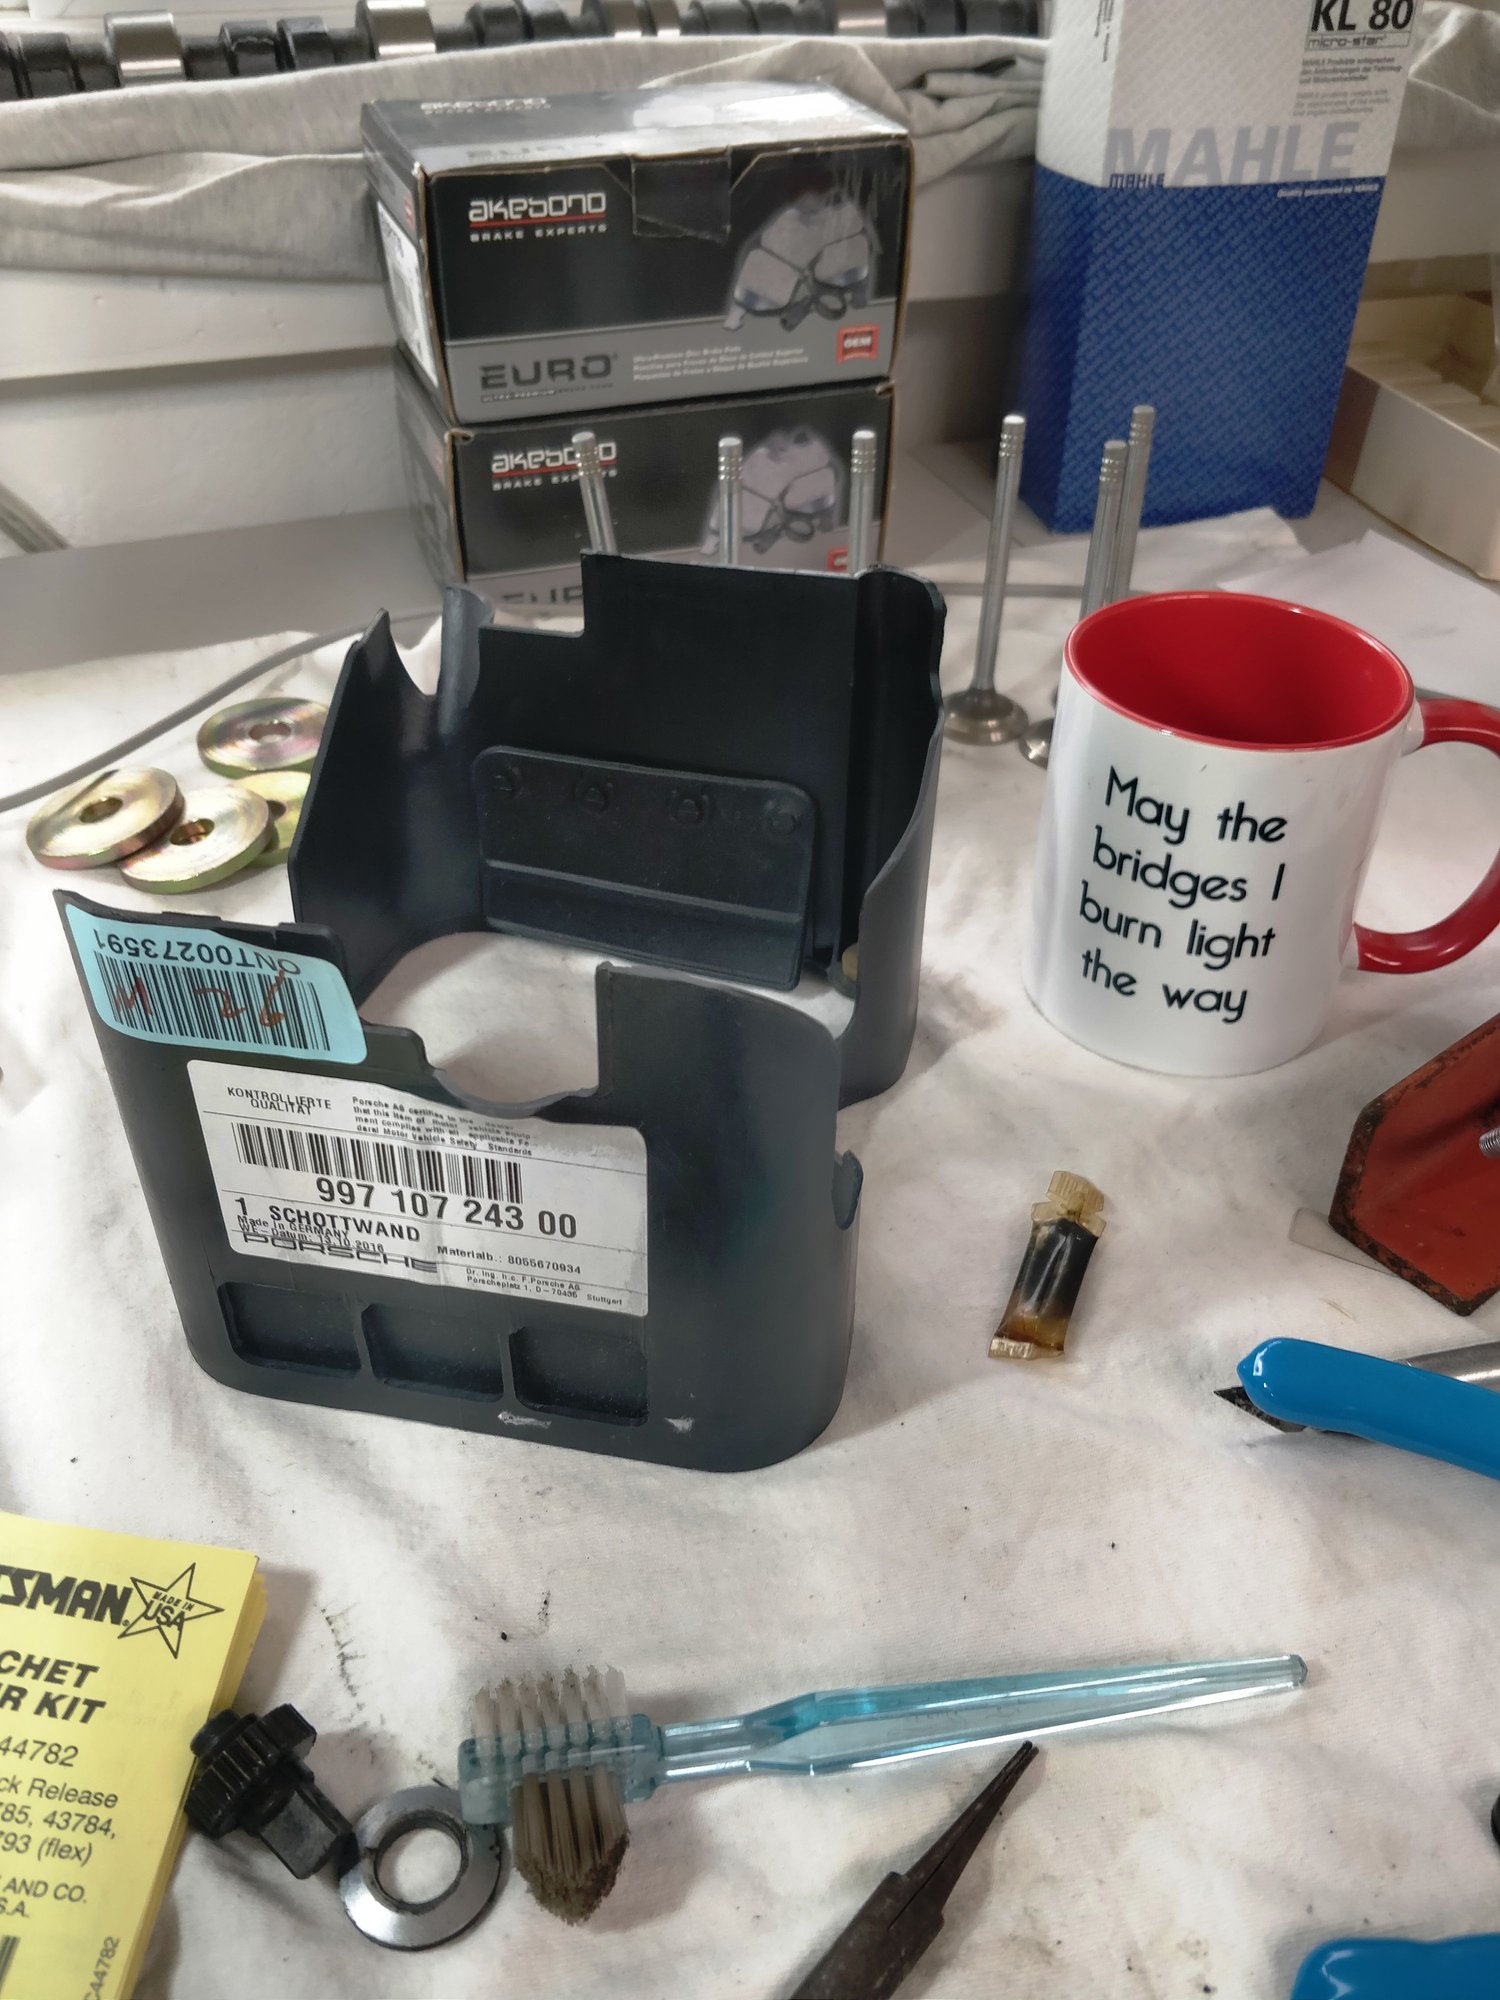
Maybe someone more knowledgeable than I will chime in on how big a deal it is, but it looks like your oil baffle is the old style. Maybe this would be a good time to 'upgrade'?


The new style with a 997 part number


Old 04-05-2020, 08:15 PM
  #416  
De Jeeper
Nordschleife Master
 
De Jeeper's Avatar
 
Join Date: Jan 2018
Location: Delaware
Posts: 5,799
Received 3,432 Likes on 1,800 Posts
Default

All that work and no deep dump kit.... i know u have to stop somewhere
Old 04-05-2020, 10:15 PM
  #417  
Scott at Team Harco
Just a car guy
Rennlist Member

Thread Starter
 
Scott at Team Harco's Avatar
 
Join Date: Jan 2002
Location: South Lyon, Michigan, Ewe Ess Eh
Posts: 9,927
Received 835 Likes on 524 Posts
Default

Originally Posted by De Jeeper
All that work and no deep dump kit.... i know u have to stop somewhere
Not a chance - until I get increased ride height.
Old 04-06-2020, 07:51 AM
  #418  
Charles Navarro
Rennlist Member
 
Charles Navarro's Avatar
 
Join Date: Mar 2002
Location: Momence, IL
Posts: 2,519
Received 1,156 Likes on 605 Posts
Default

Originally Posted by yaz996
George told me the RMS rental isn't the faultless tool, but actually a 3D printed tool similar to what I made. Had the option for the free rental but would have had to pay for the seal (already included in my gasket set) and return shipping.
Our loaner RMS tool is based off the factory Porsche tool and functions exactly the same way. Bolt it on the crank with the seal and tighten to draw the seal to the correct depth. We had to come up with another solution as people were not returning them and R&S was on backorder for months on them. :-)
The following users liked this post:
yaz996 (04-06-2020)
Old 04-06-2020, 09:43 AM
  #419  
dcdrechsel
Rennlist Member
 
dcdrechsel's Avatar
 
Join Date: Sep 2008
Posts: 564
Received 38 Likes on 33 Posts
Default

13 mm rms install depth was the guidance when I did mine several years ago .
Old 04-06-2020, 01:58 PM
  #420  
808Bill
Rennlist Member
 
808Bill's Avatar
 
Join Date: Dec 2016
Location: Kauai
Posts: 8,053
Received 807 Likes on 545 Posts
Default

Scott, I'll gladly let you use (used once) my 3-D printed RMS tool if needed. PM me if needed.


Quick Reply: The 133,333 mile engine rebuild thread


All times are GMT -3. The time now is 05:58 AM.