When you click on links to various merchants on this site and make a purchase, this can result in this site earning a commission. Affiliate programs and affiliations include, but are not limited to, the eBay Partner Network.
You need a red stapler to go with that coffee cup...
Originally Posted by Scott at Team Harco
Ha! I missed that.
Last Tuesday we only got a few hours notice that we would all be telecommuting starting the NEXT DAY. It was total chaos in the office and sadly the red stapler was left behind in all the confusion. I am however working on my TPS report as we speak.
This a shot of my office last Tuesday after we got the word about telecommuting starting the next day.
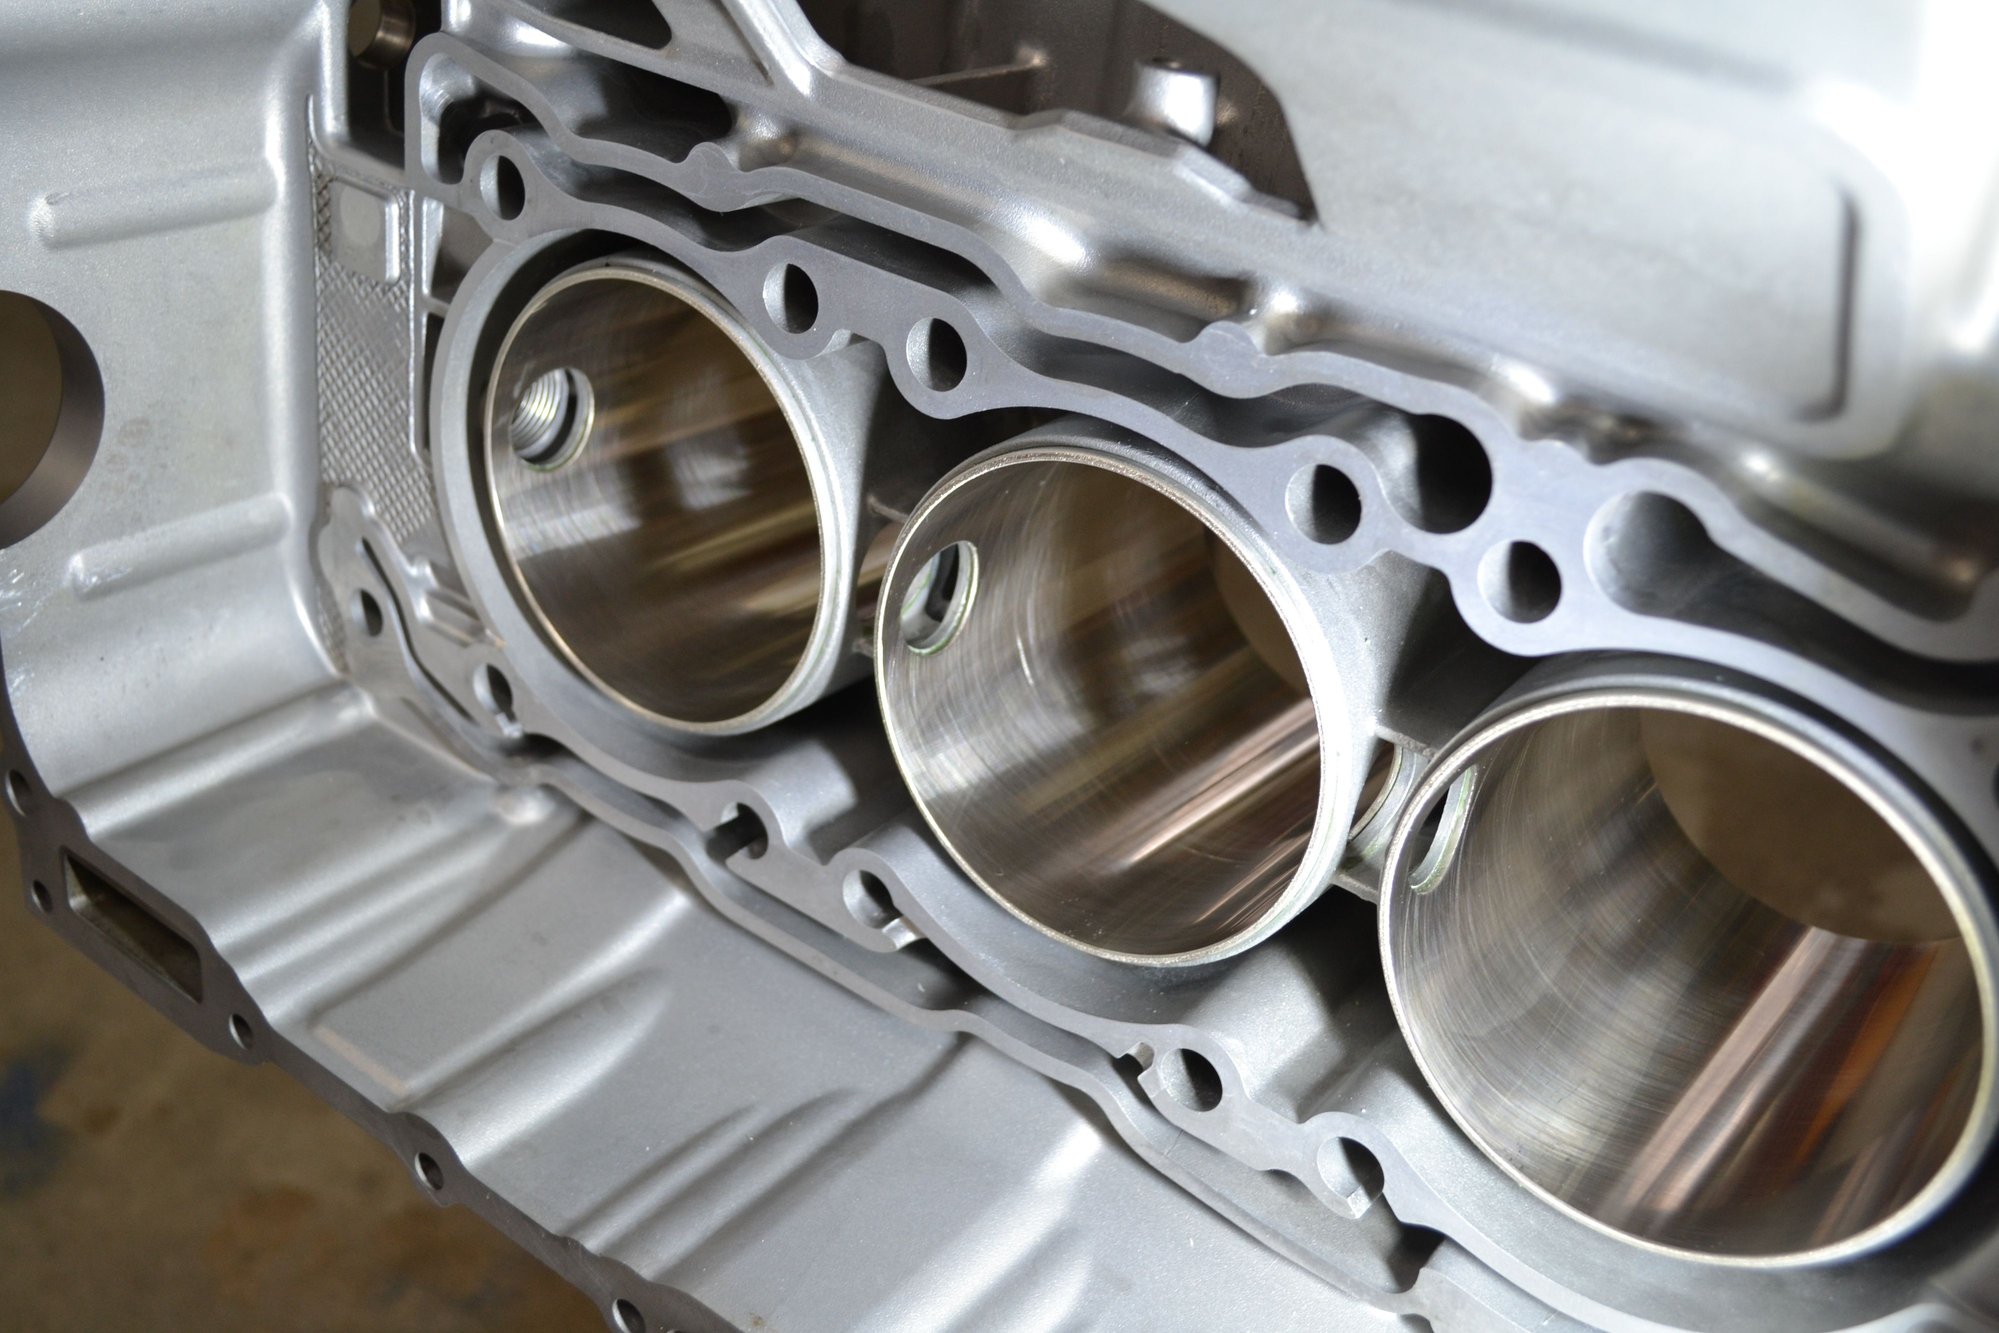
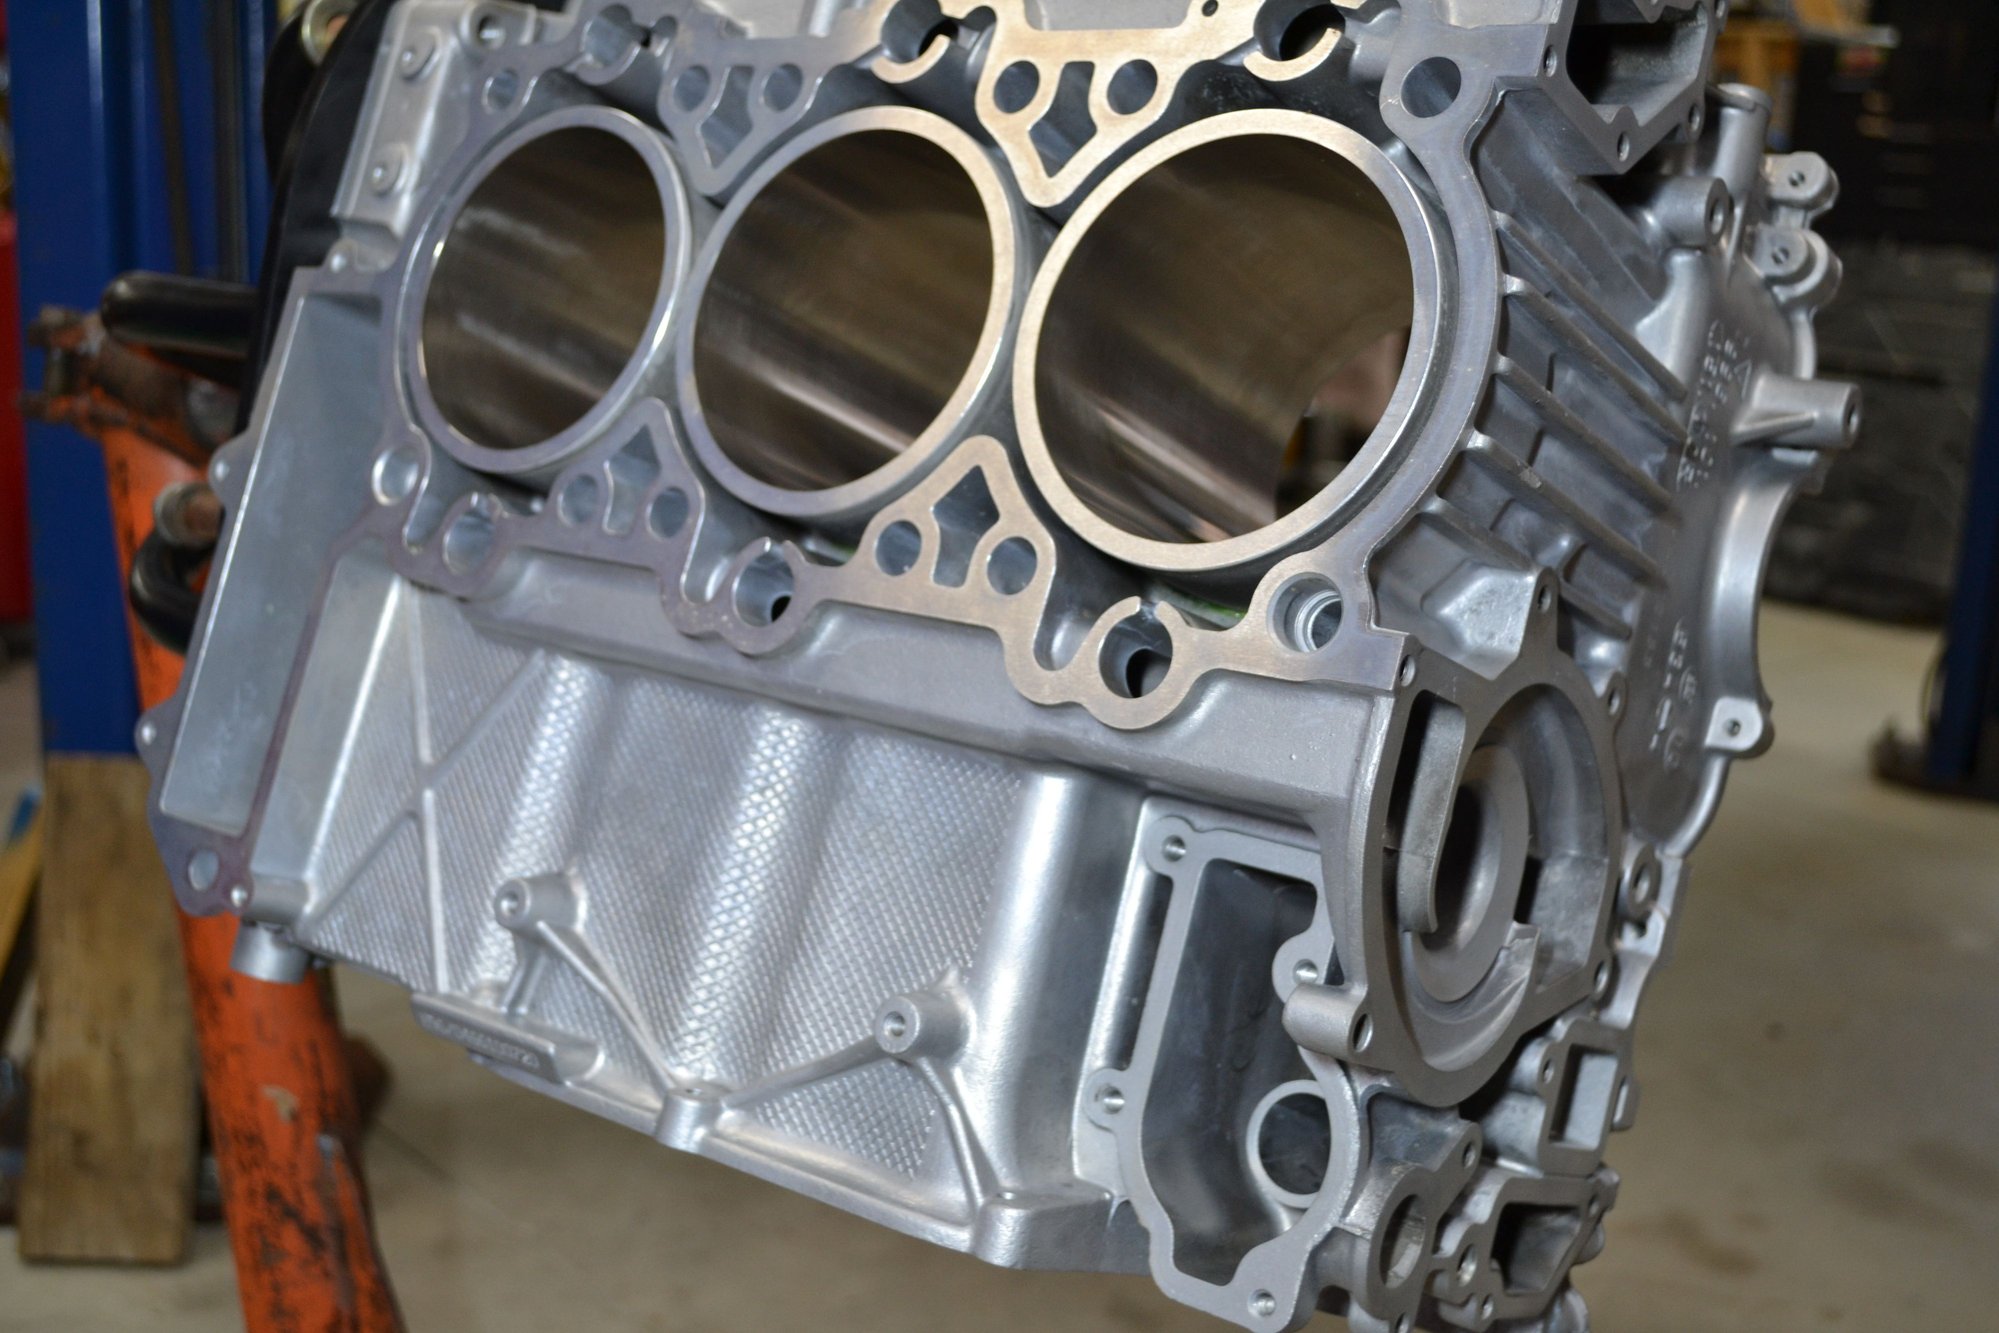
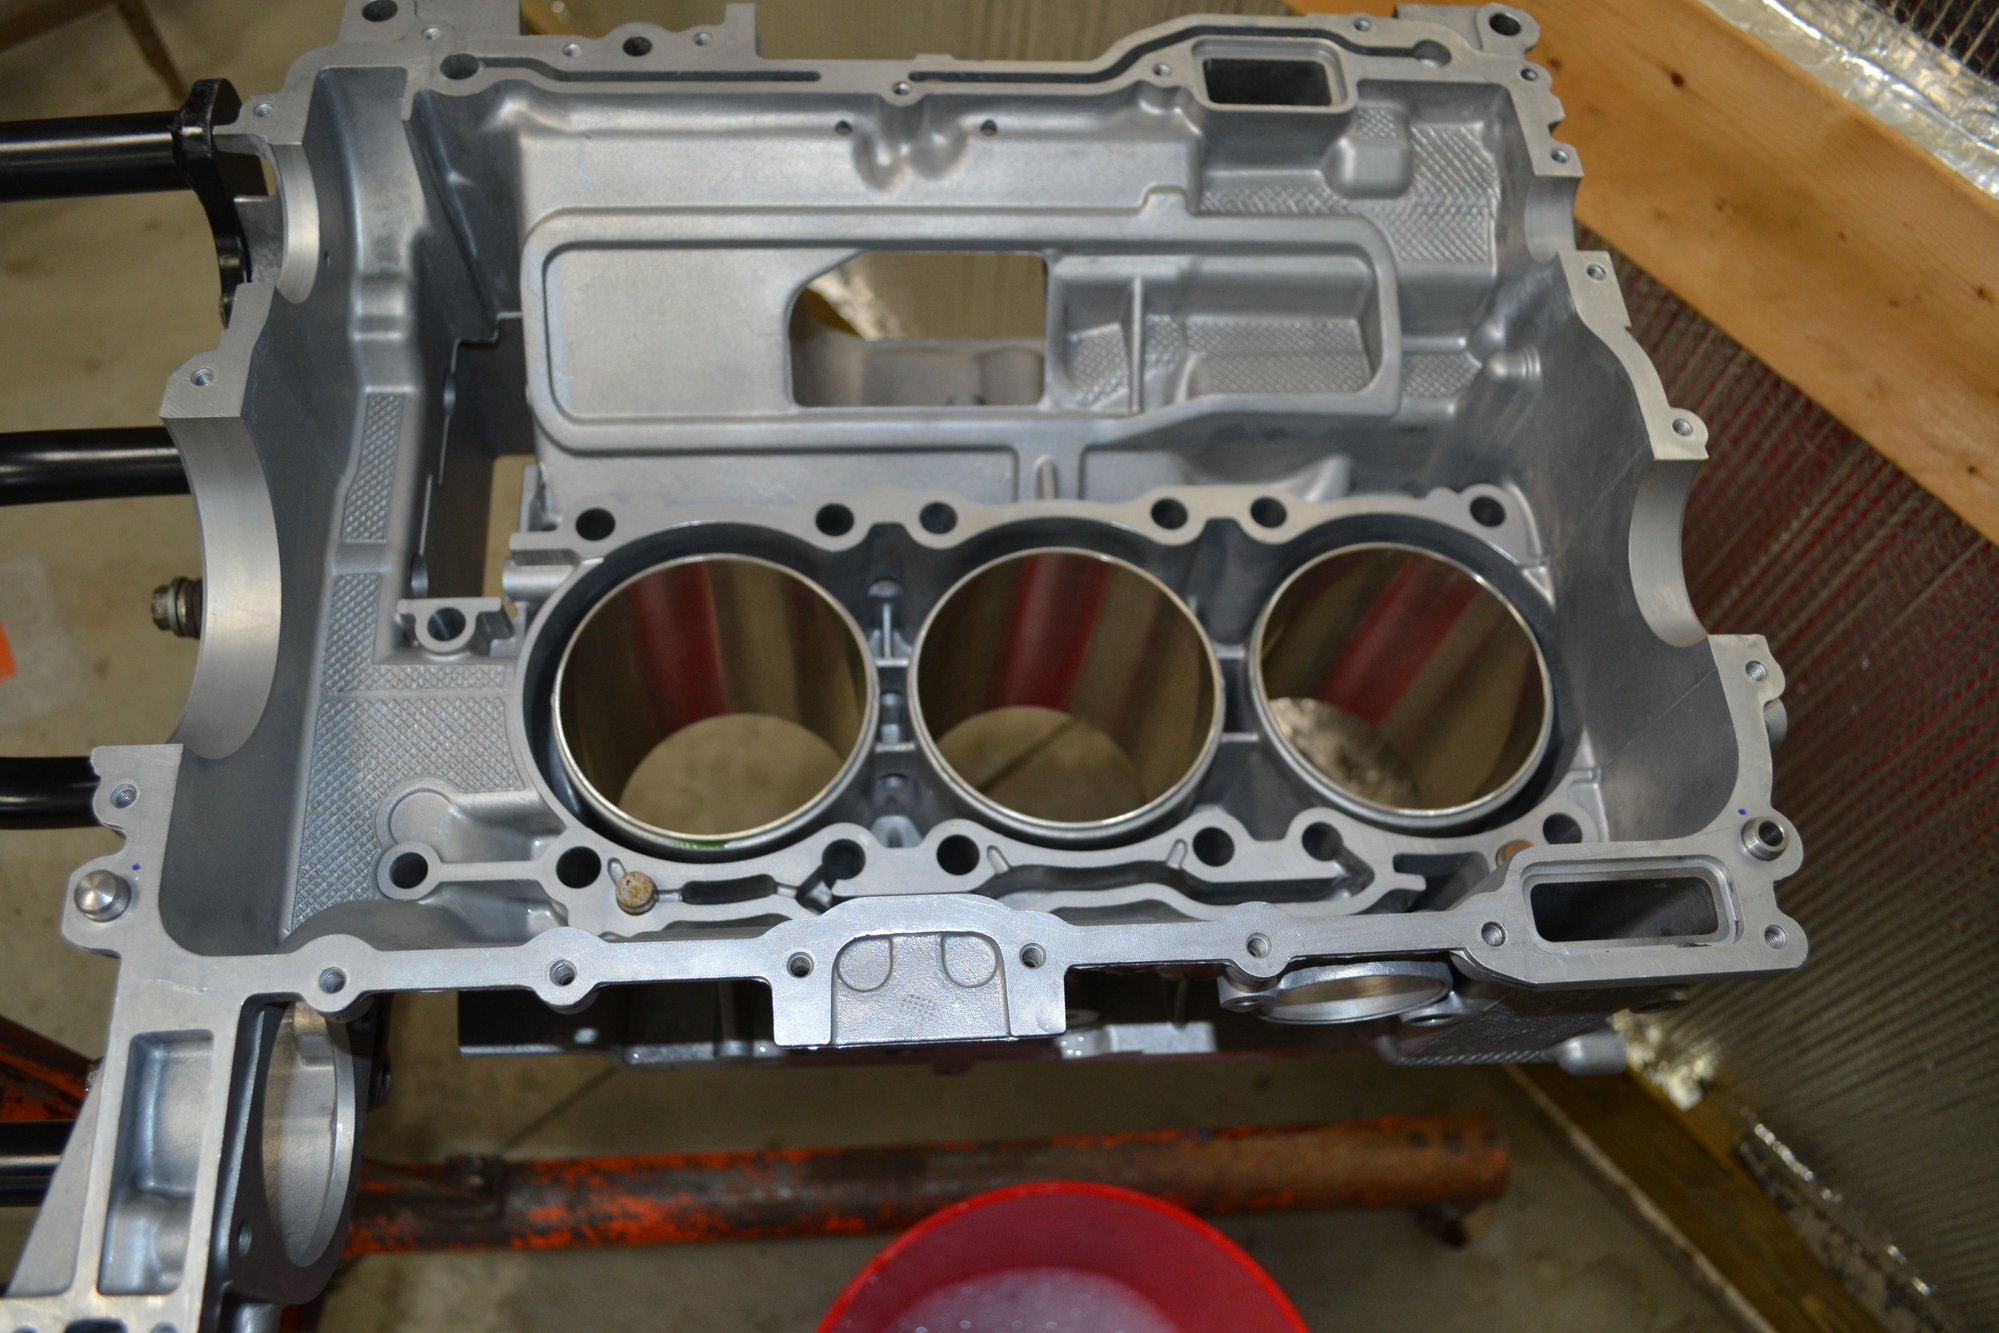
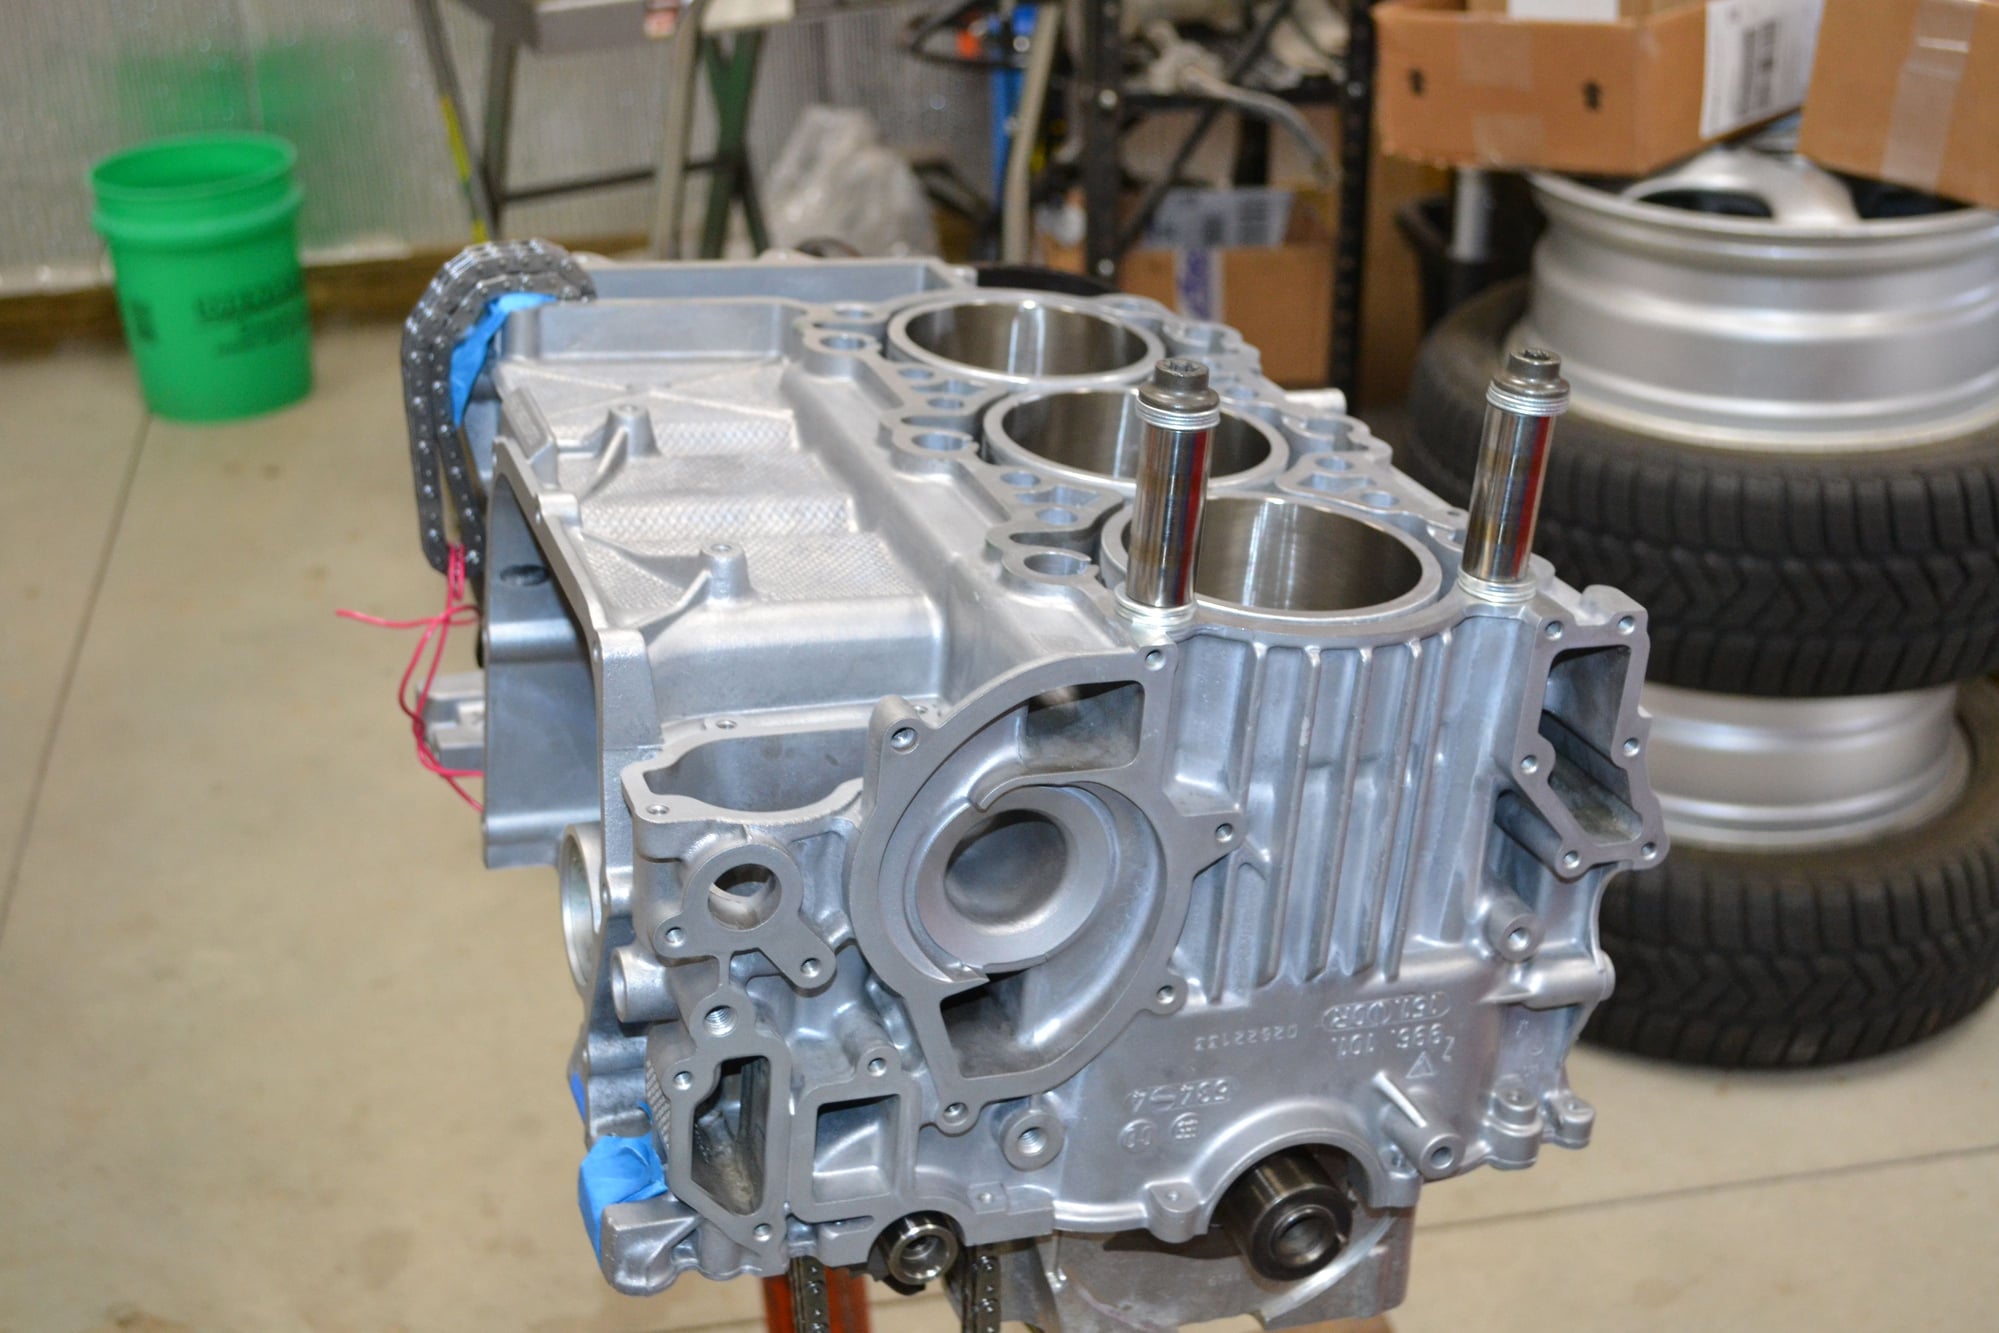
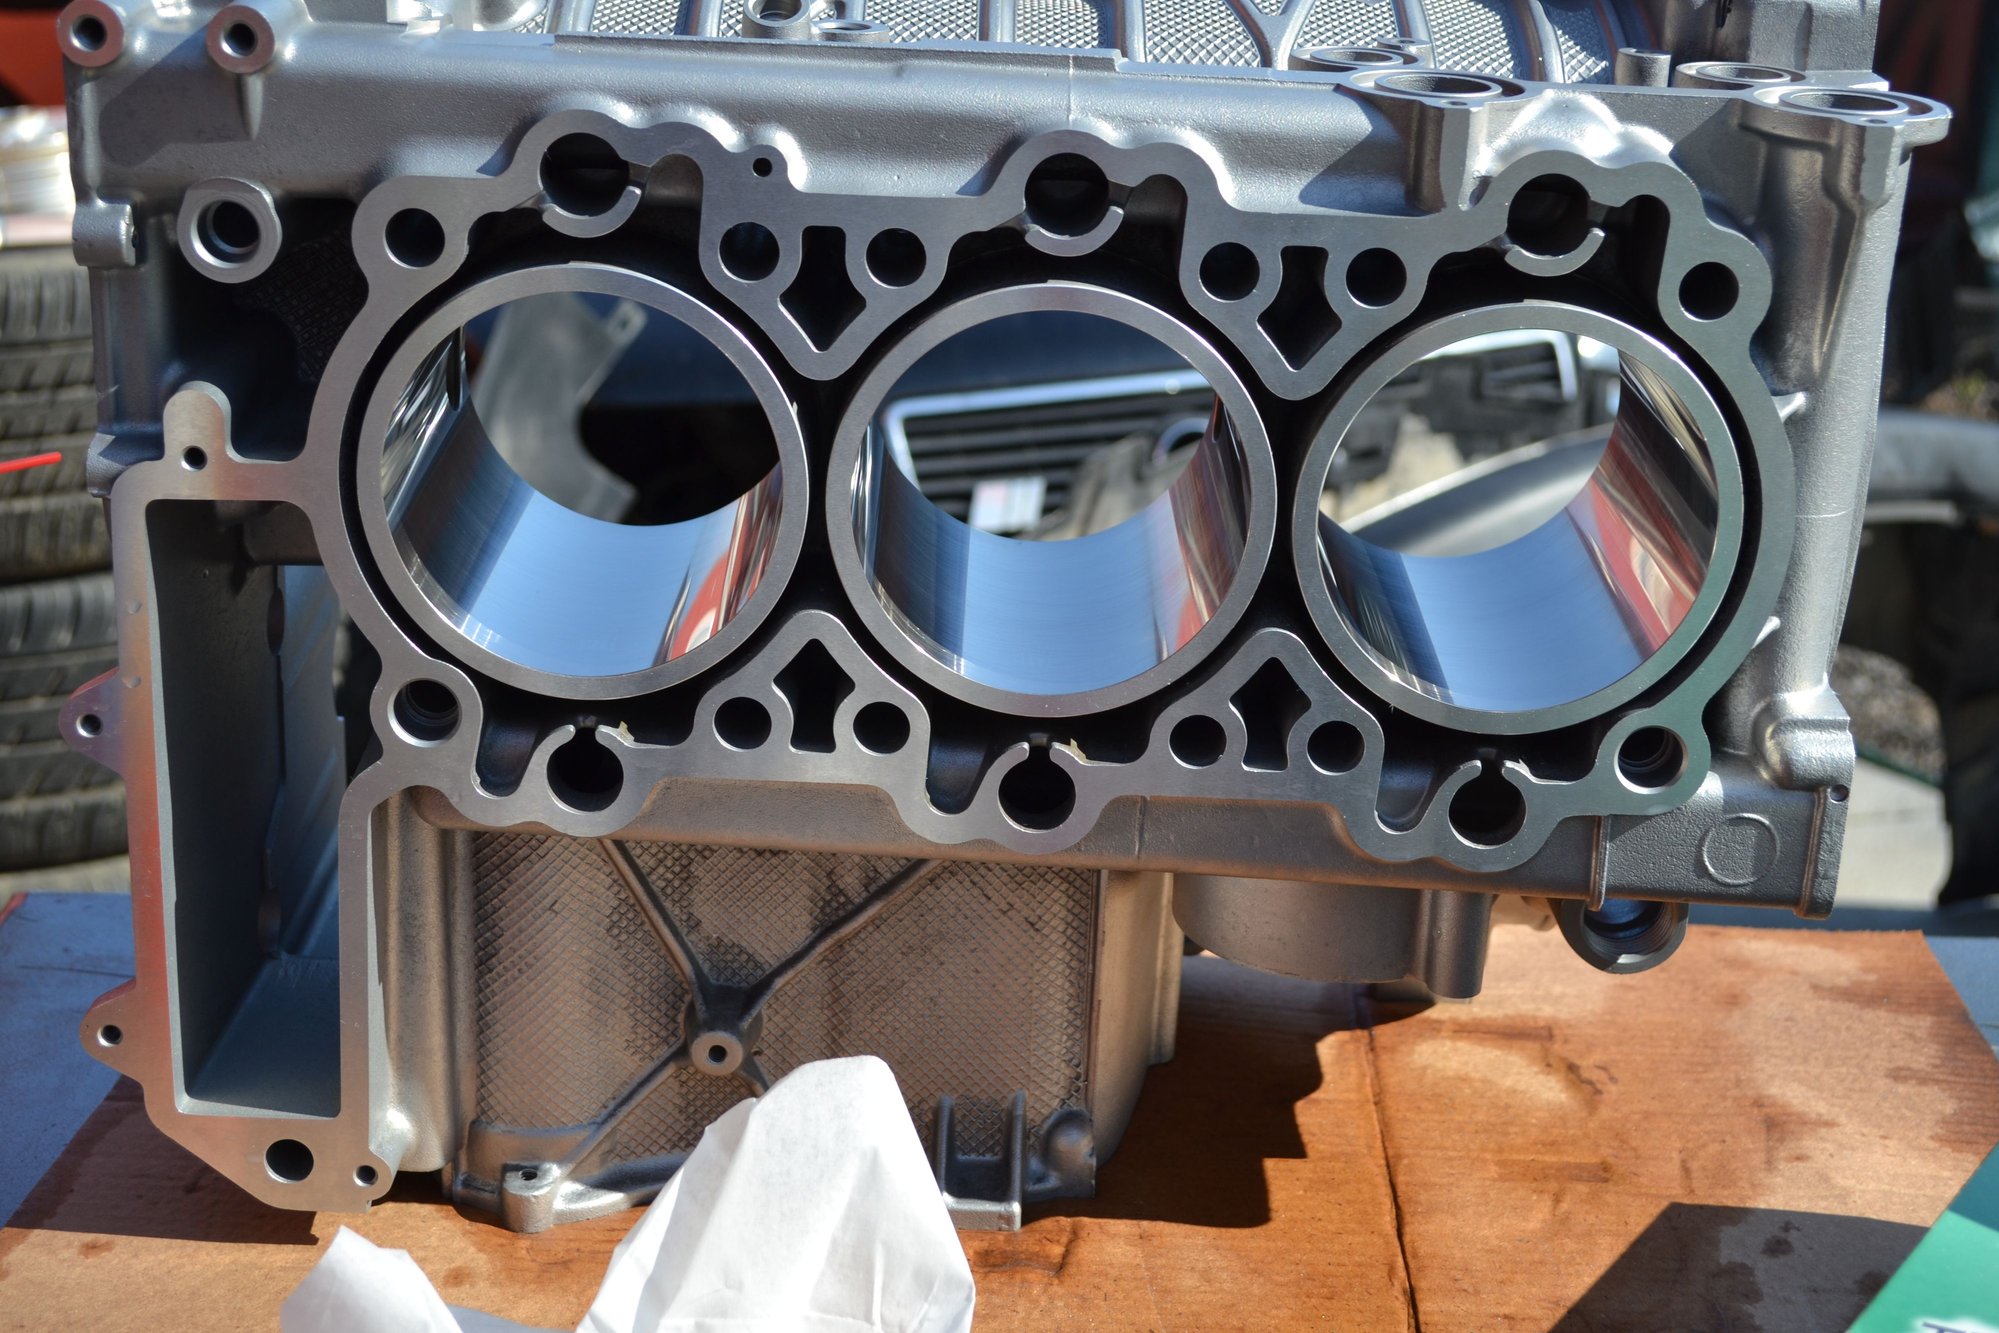
Slowly moving forward with getting the block halves cleaned so I can move forward with the next step. First round of cleaning bank #2. The wipes are coming out quite clean. Will do a round of hot soapy water and more bore cleaning when it comes time to move on this bank.
Time to start cleaning bank #1.
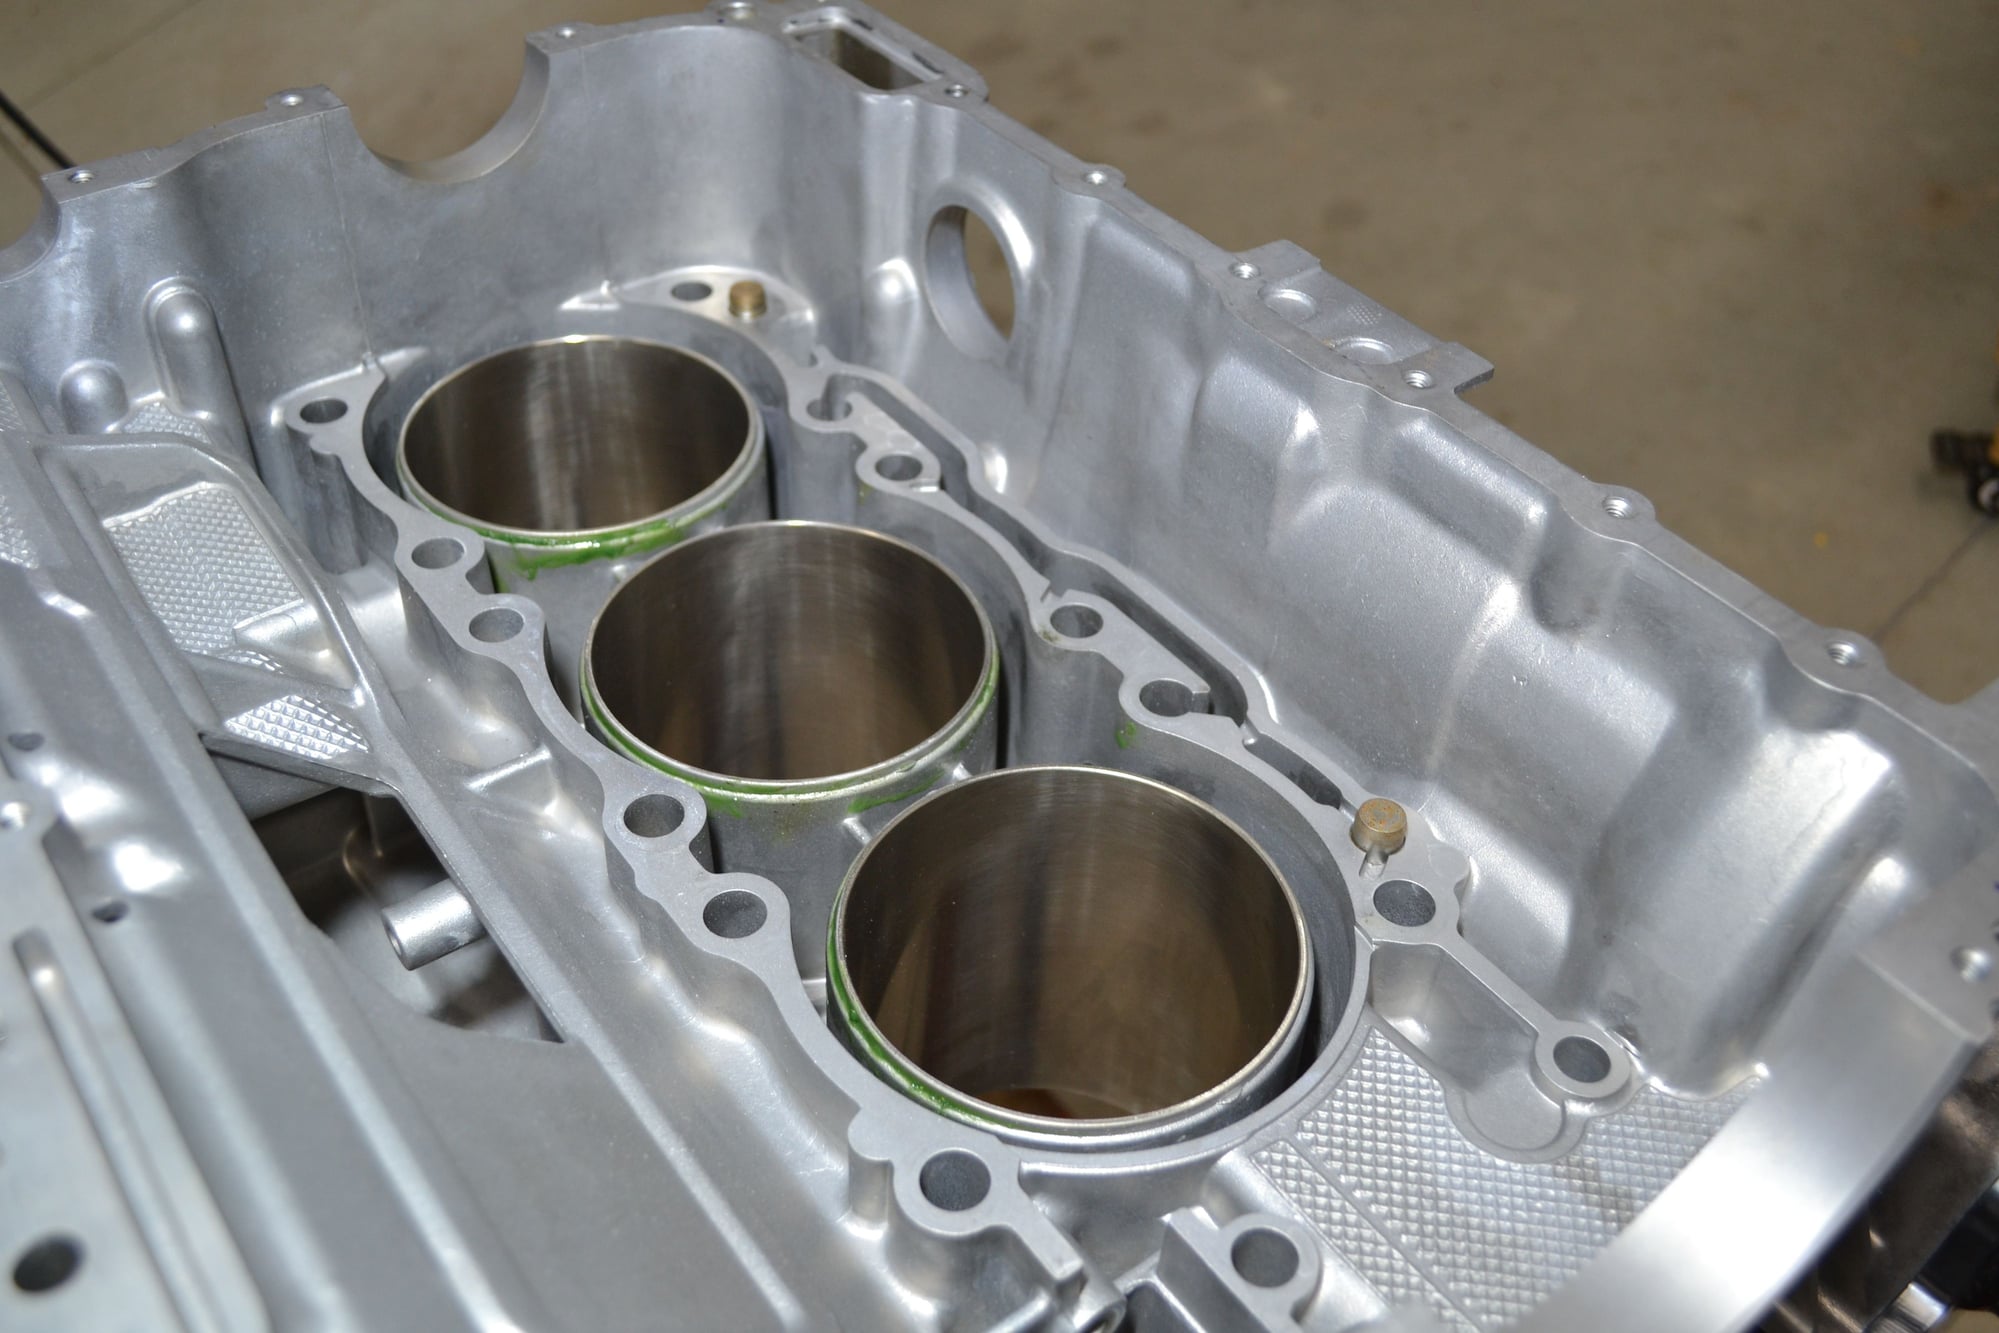
A lot of green stuff around the bottom of the bores. Probably left over coolant/ lubricant from the bore polishing process.
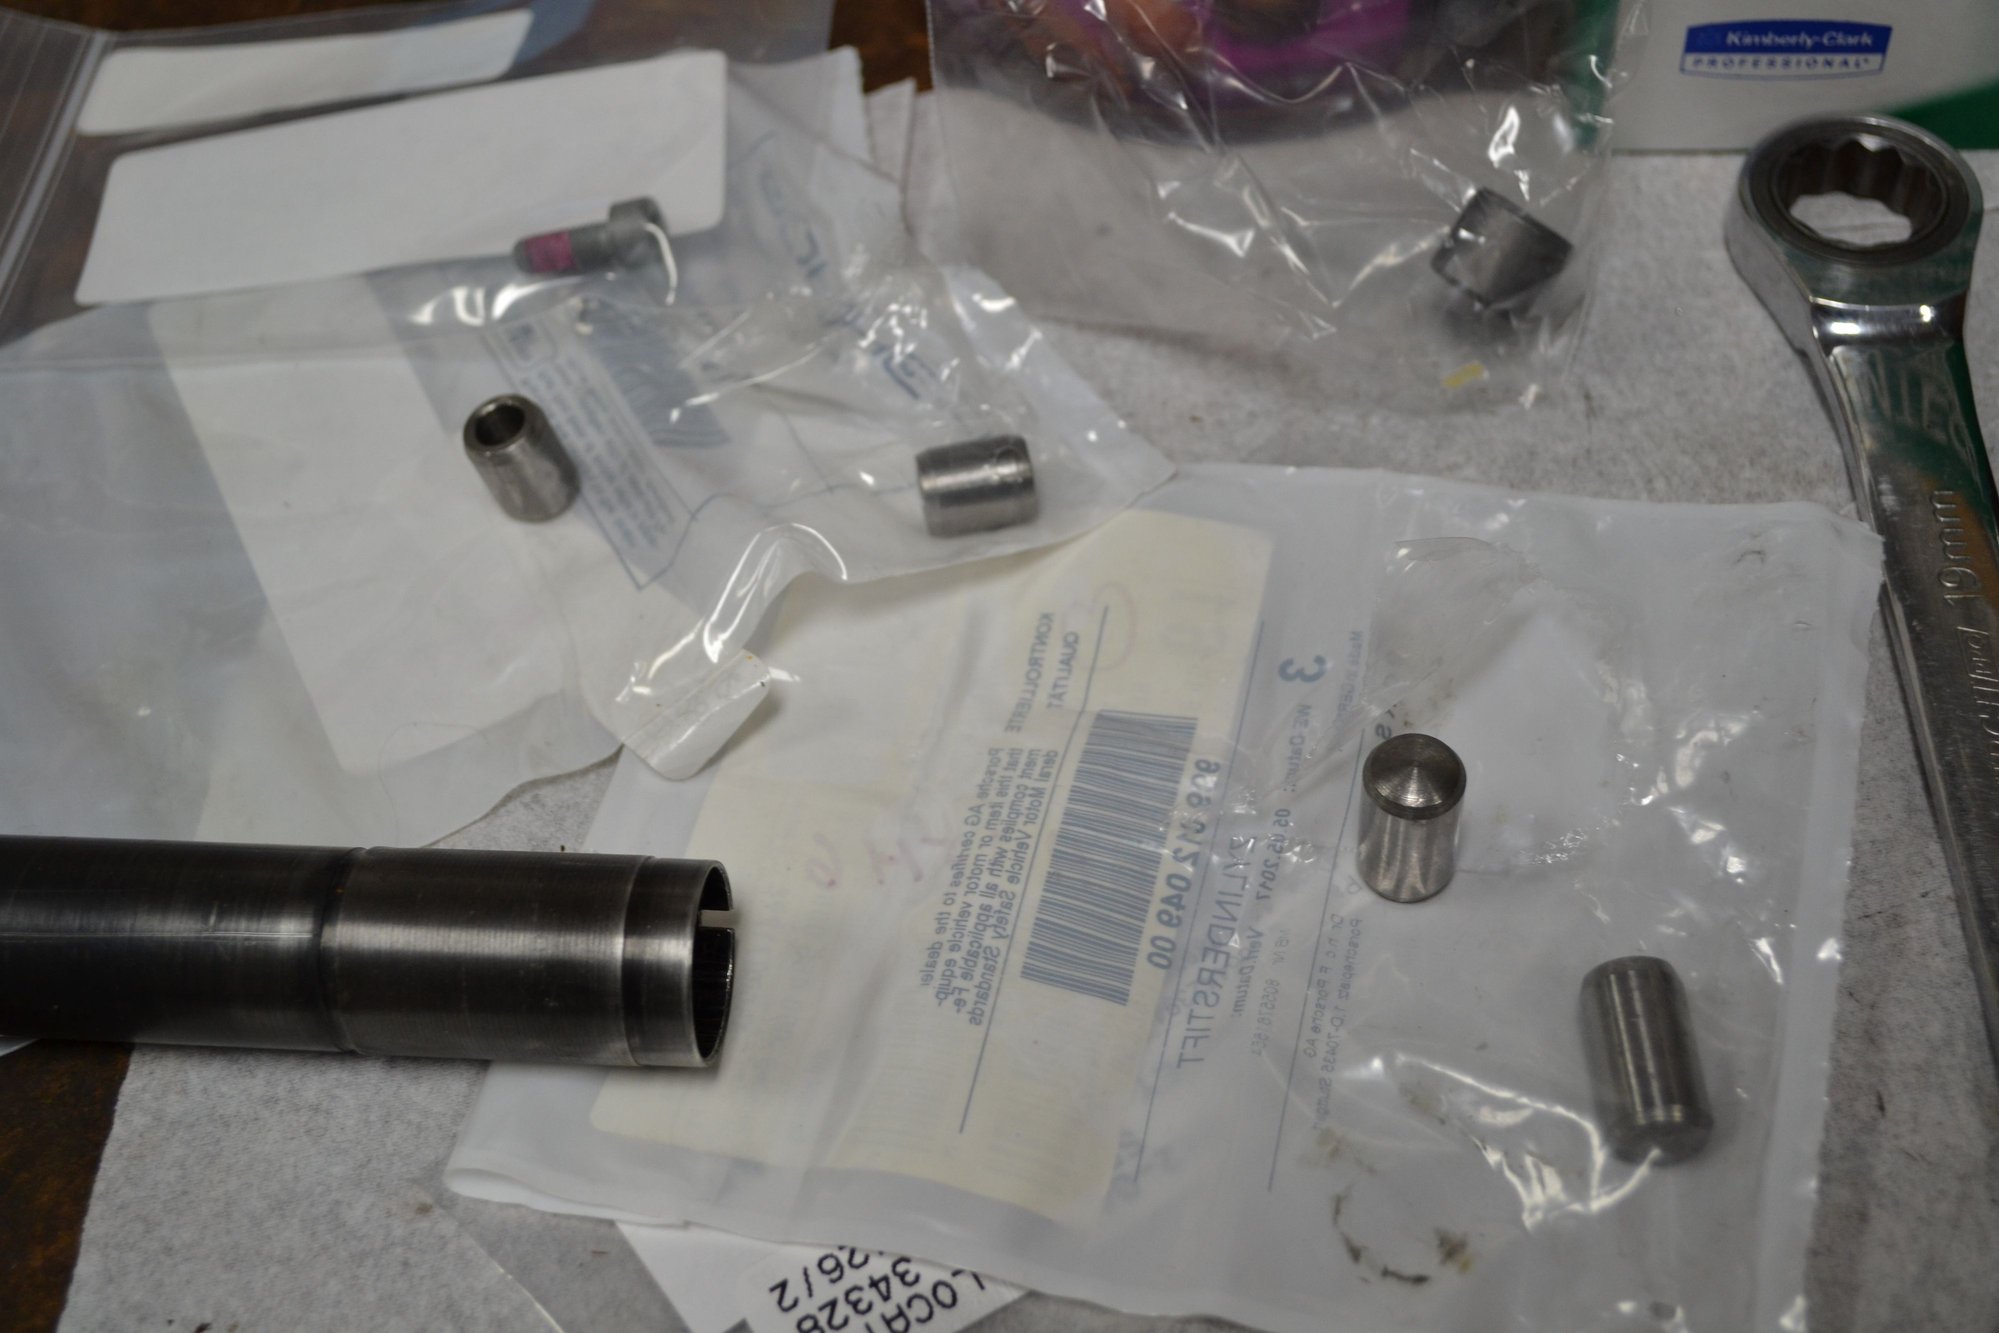
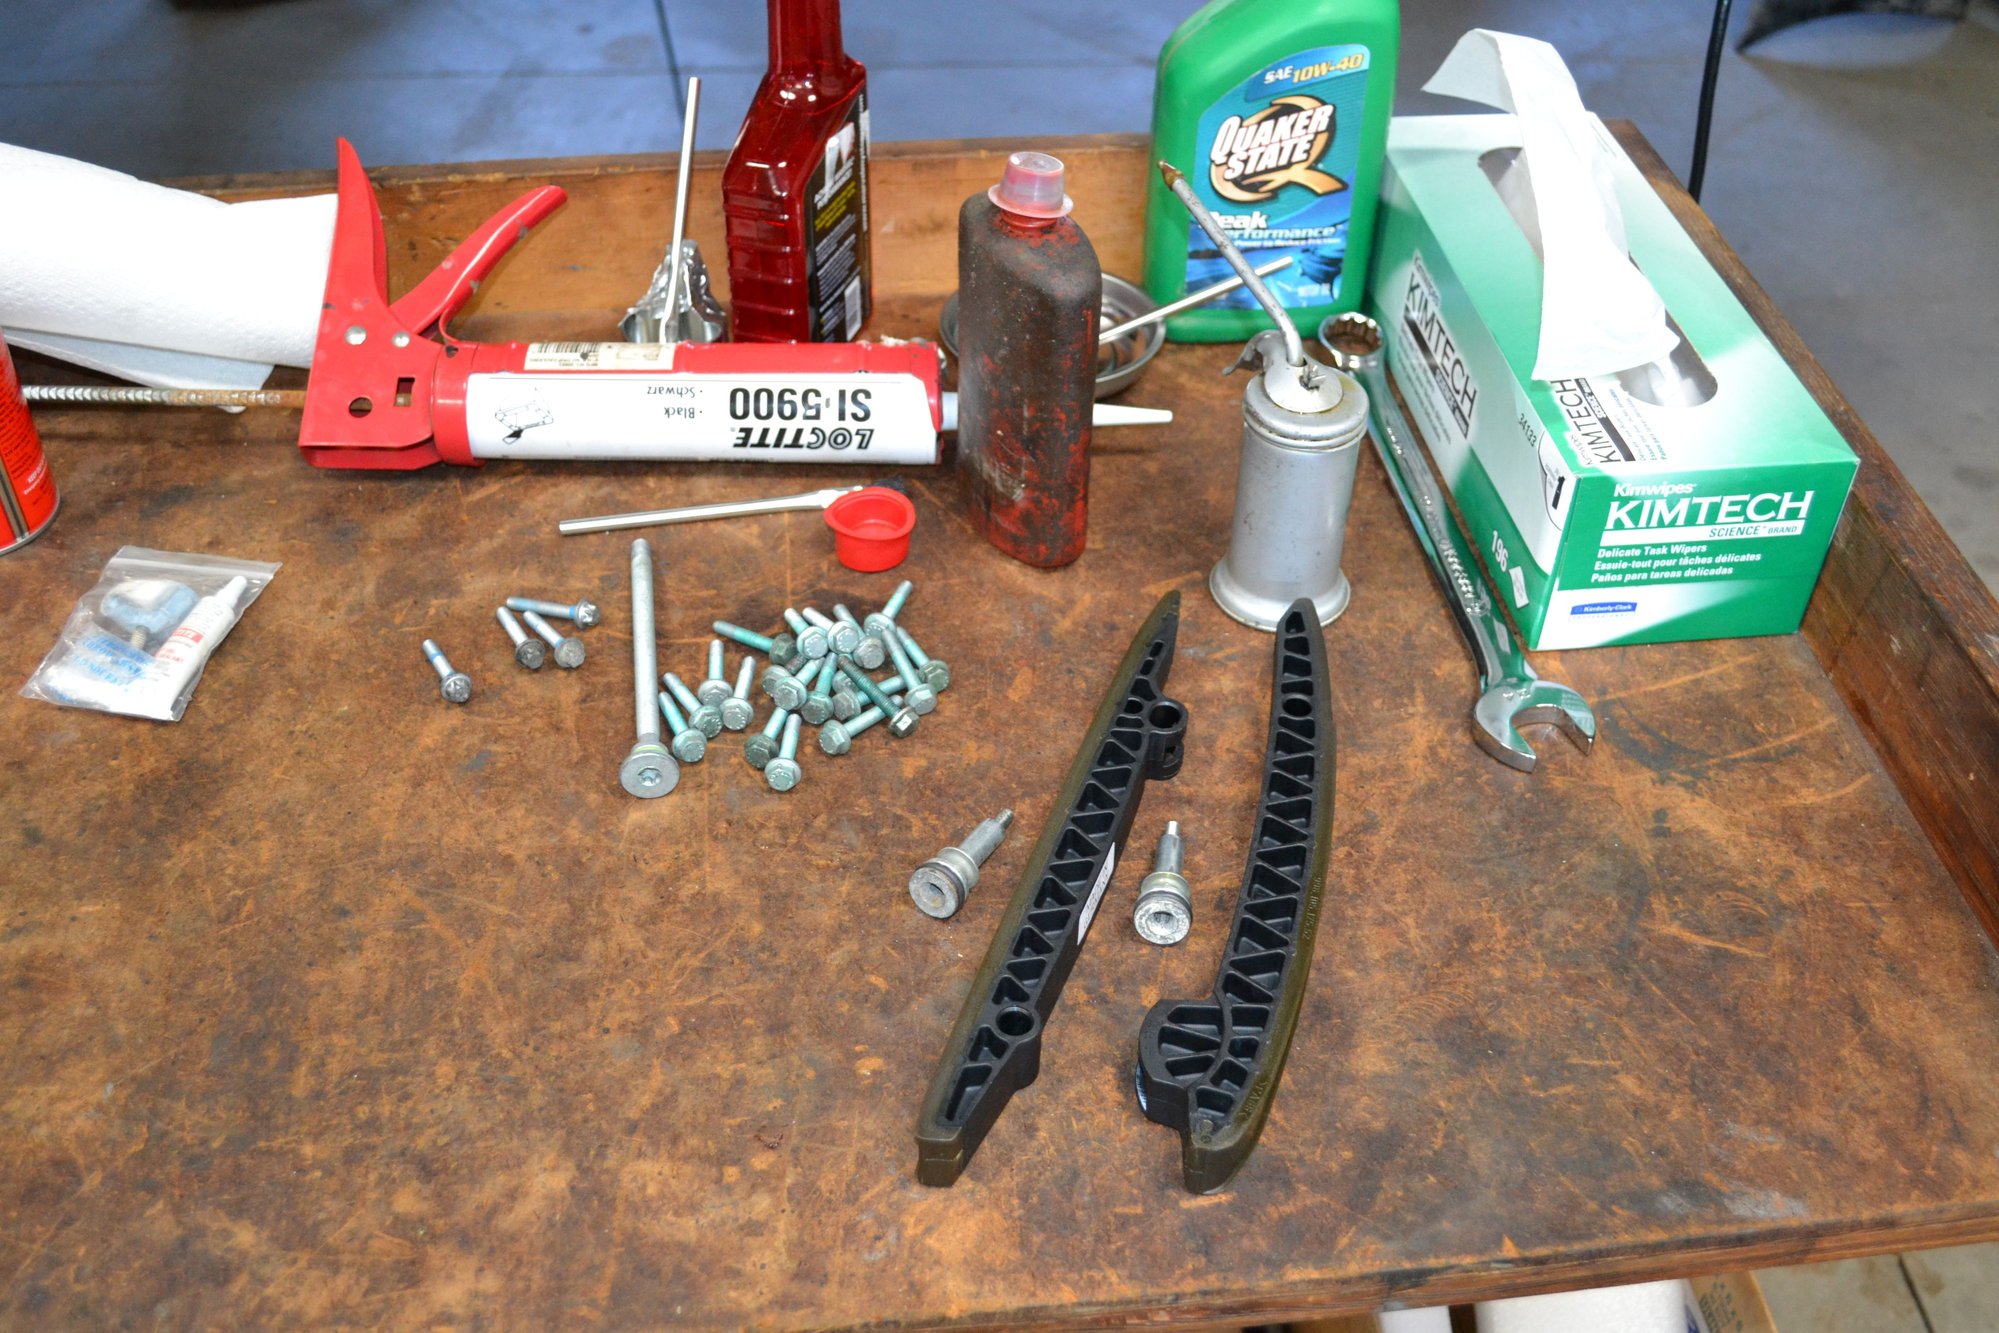
The locators showed up today. Also visible is the piston clip tool showing the evidence of a little clean-up. Just a little work with 320 grit wet/dry sandpaper took it down enough to sit nicely against the piston pin boss. Still need to keep practicing, to gain more experience with one of the most critical steps in the whole build.
The nice new locators installed in place. It really ties the room together, does it not?
Noticed some of the green on mine as well, but nowhere near as much as yours. Also used hot soapy water to clean the bores initially, then not a whole lot else using the Kimwipes and carburetor cleaner.
Kimwipes and denatured alcohol after a thorough cleaning with hot soapy water is what we advise in our instructions.
I used a lot of carb clean and Kimwipes on bank #2 yesterday, and the day before. Will use hot soapy water and clean the bores again. Hit bank #1 with hot soapy water yesterday. Finished the bores today. Started with alcohol. Then when I thought I was close, I switched to carb clean. I thought for sure I was going to go through a whole box of Kimwipes. Finally happy with the cleanliness, I completed Stage 4.
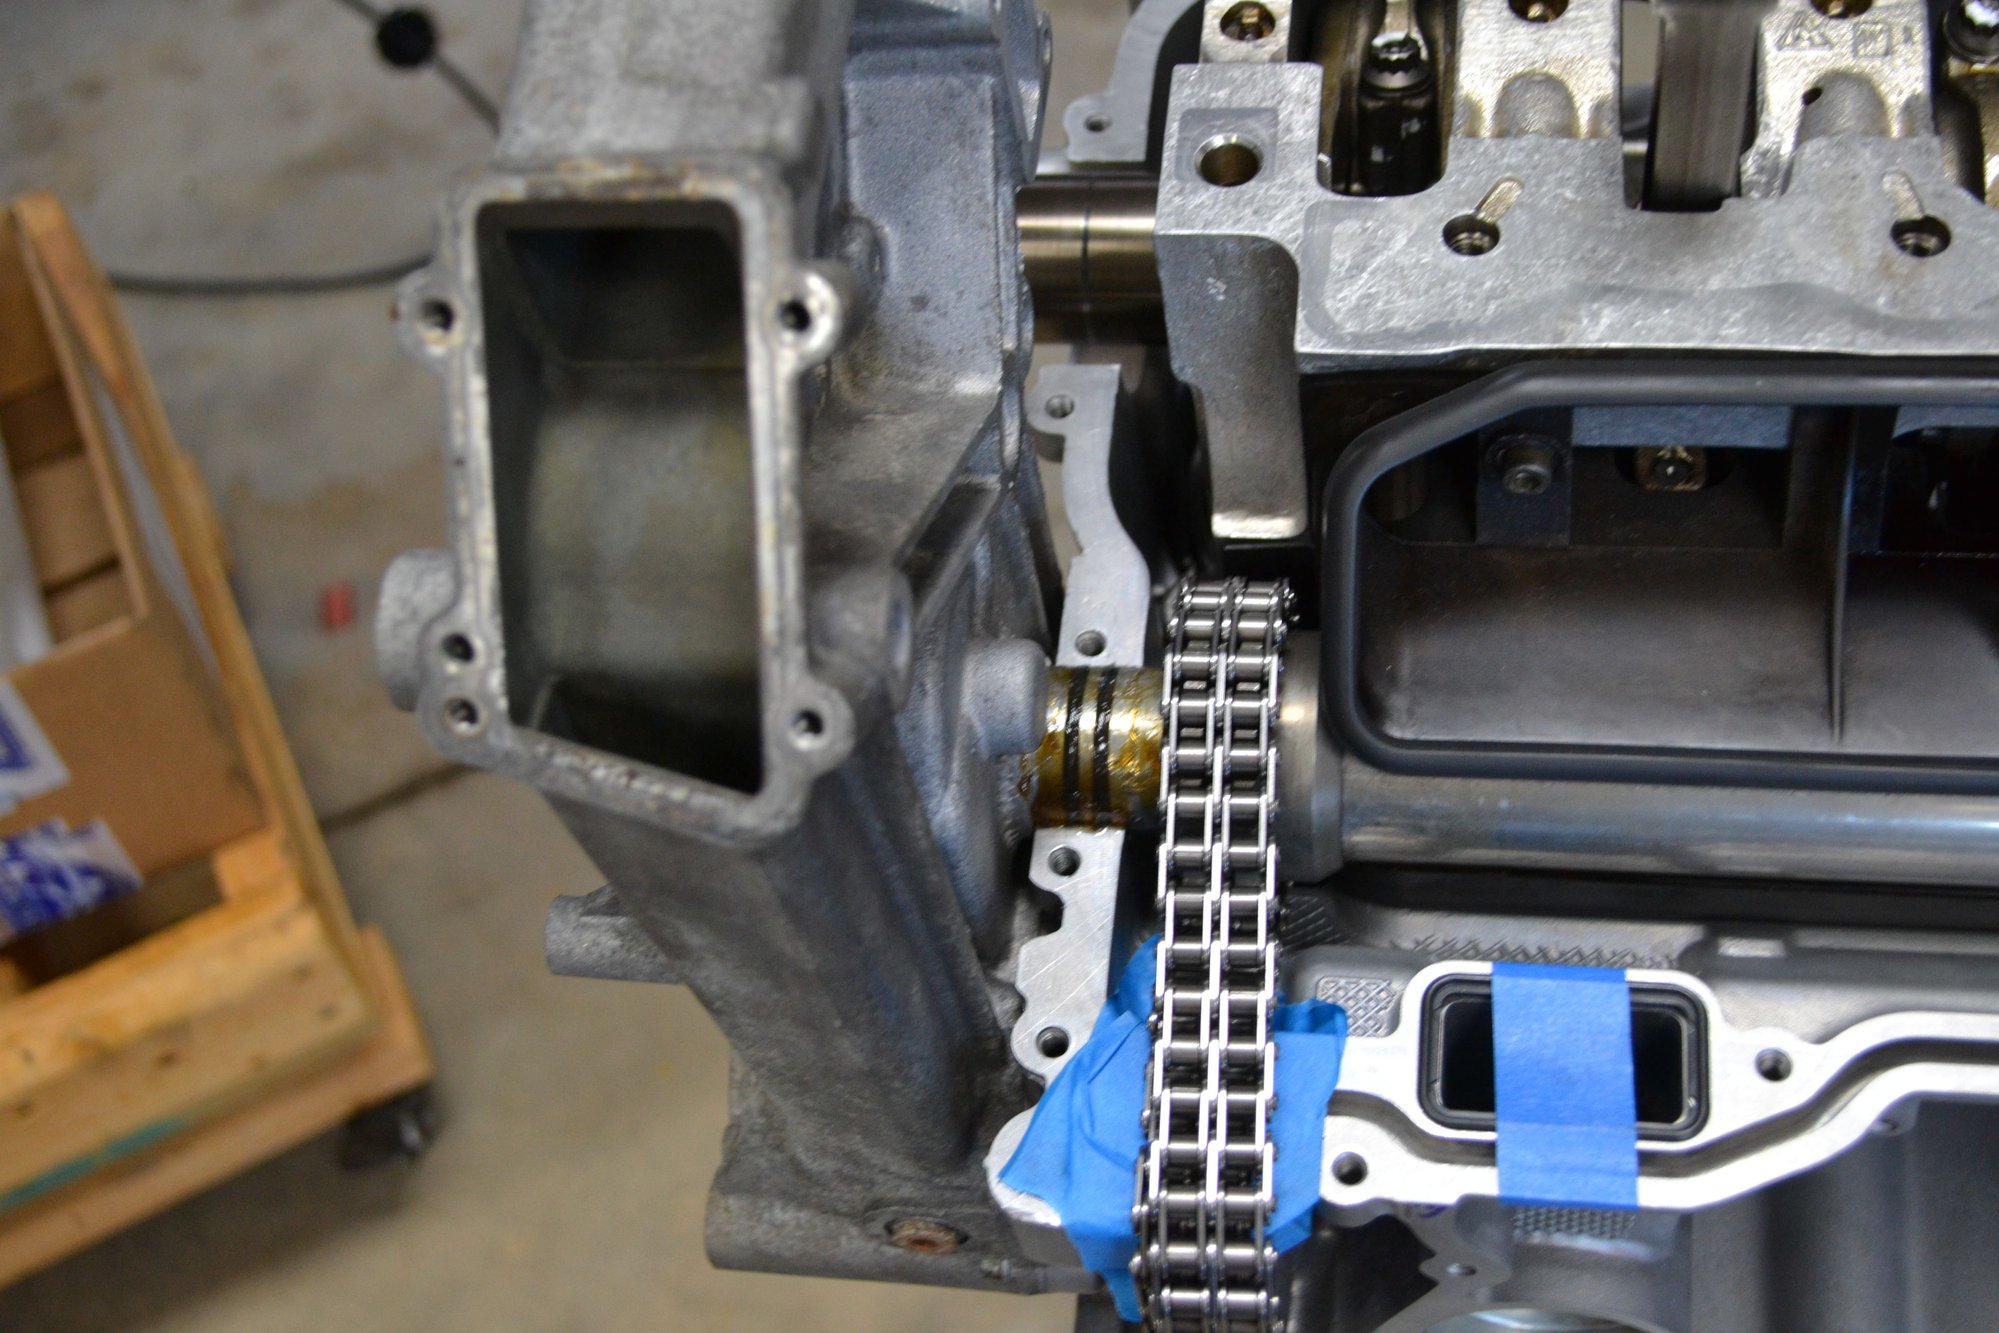
Set the crankcase carrier alongside the block to permit ease of transfer.
While waiting for my wife to get free from her meeting, to help lift in the crankcase carrier, I installed the spiral ring for the IMS bearing.
Last edited by Scott at Team Harco; 04-01-2020 at 07:38 PM.
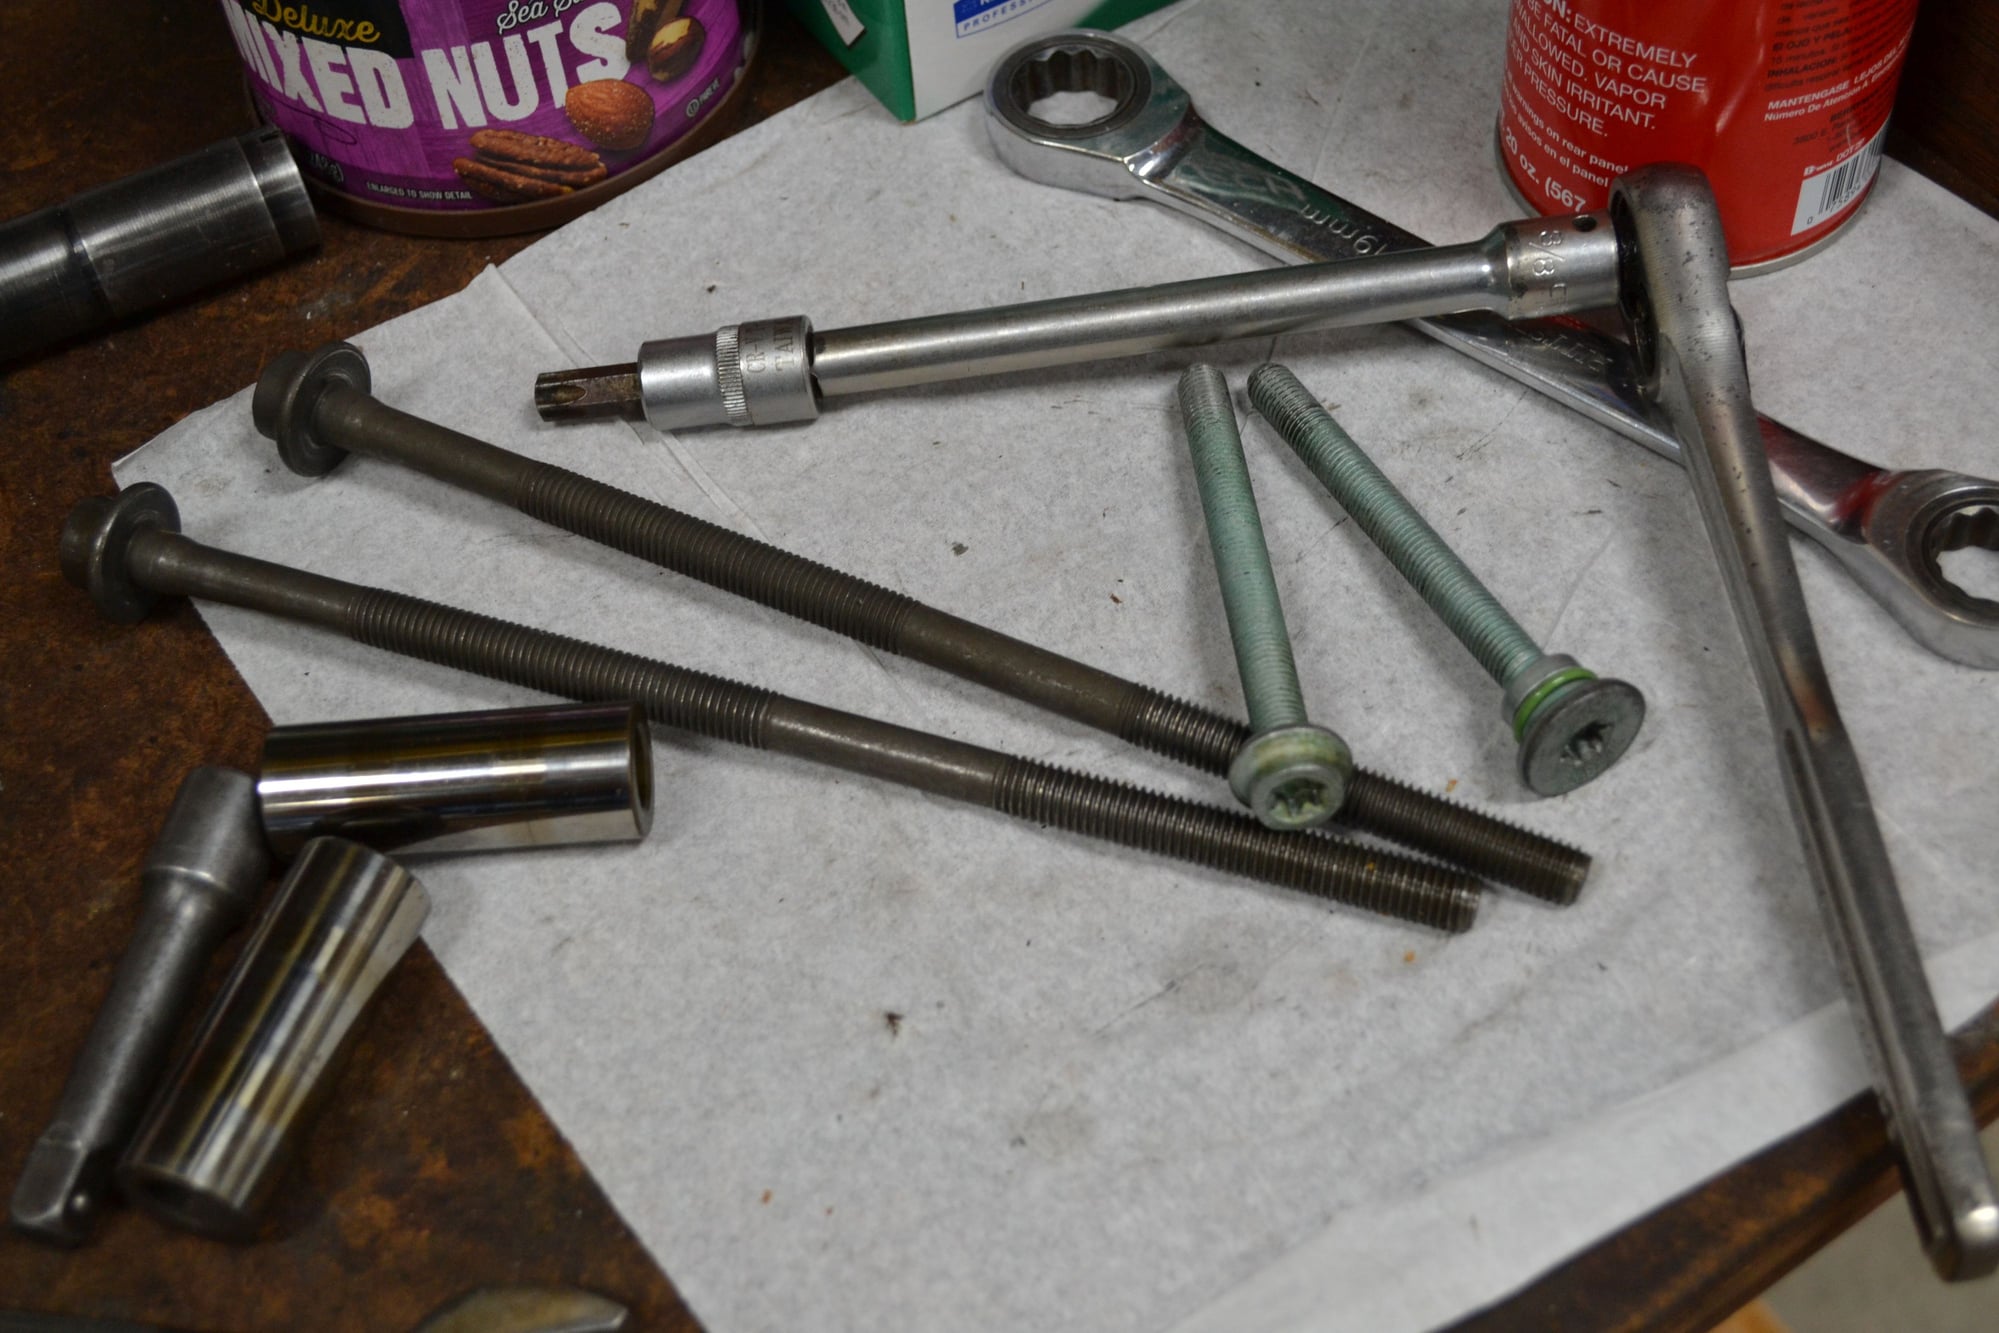
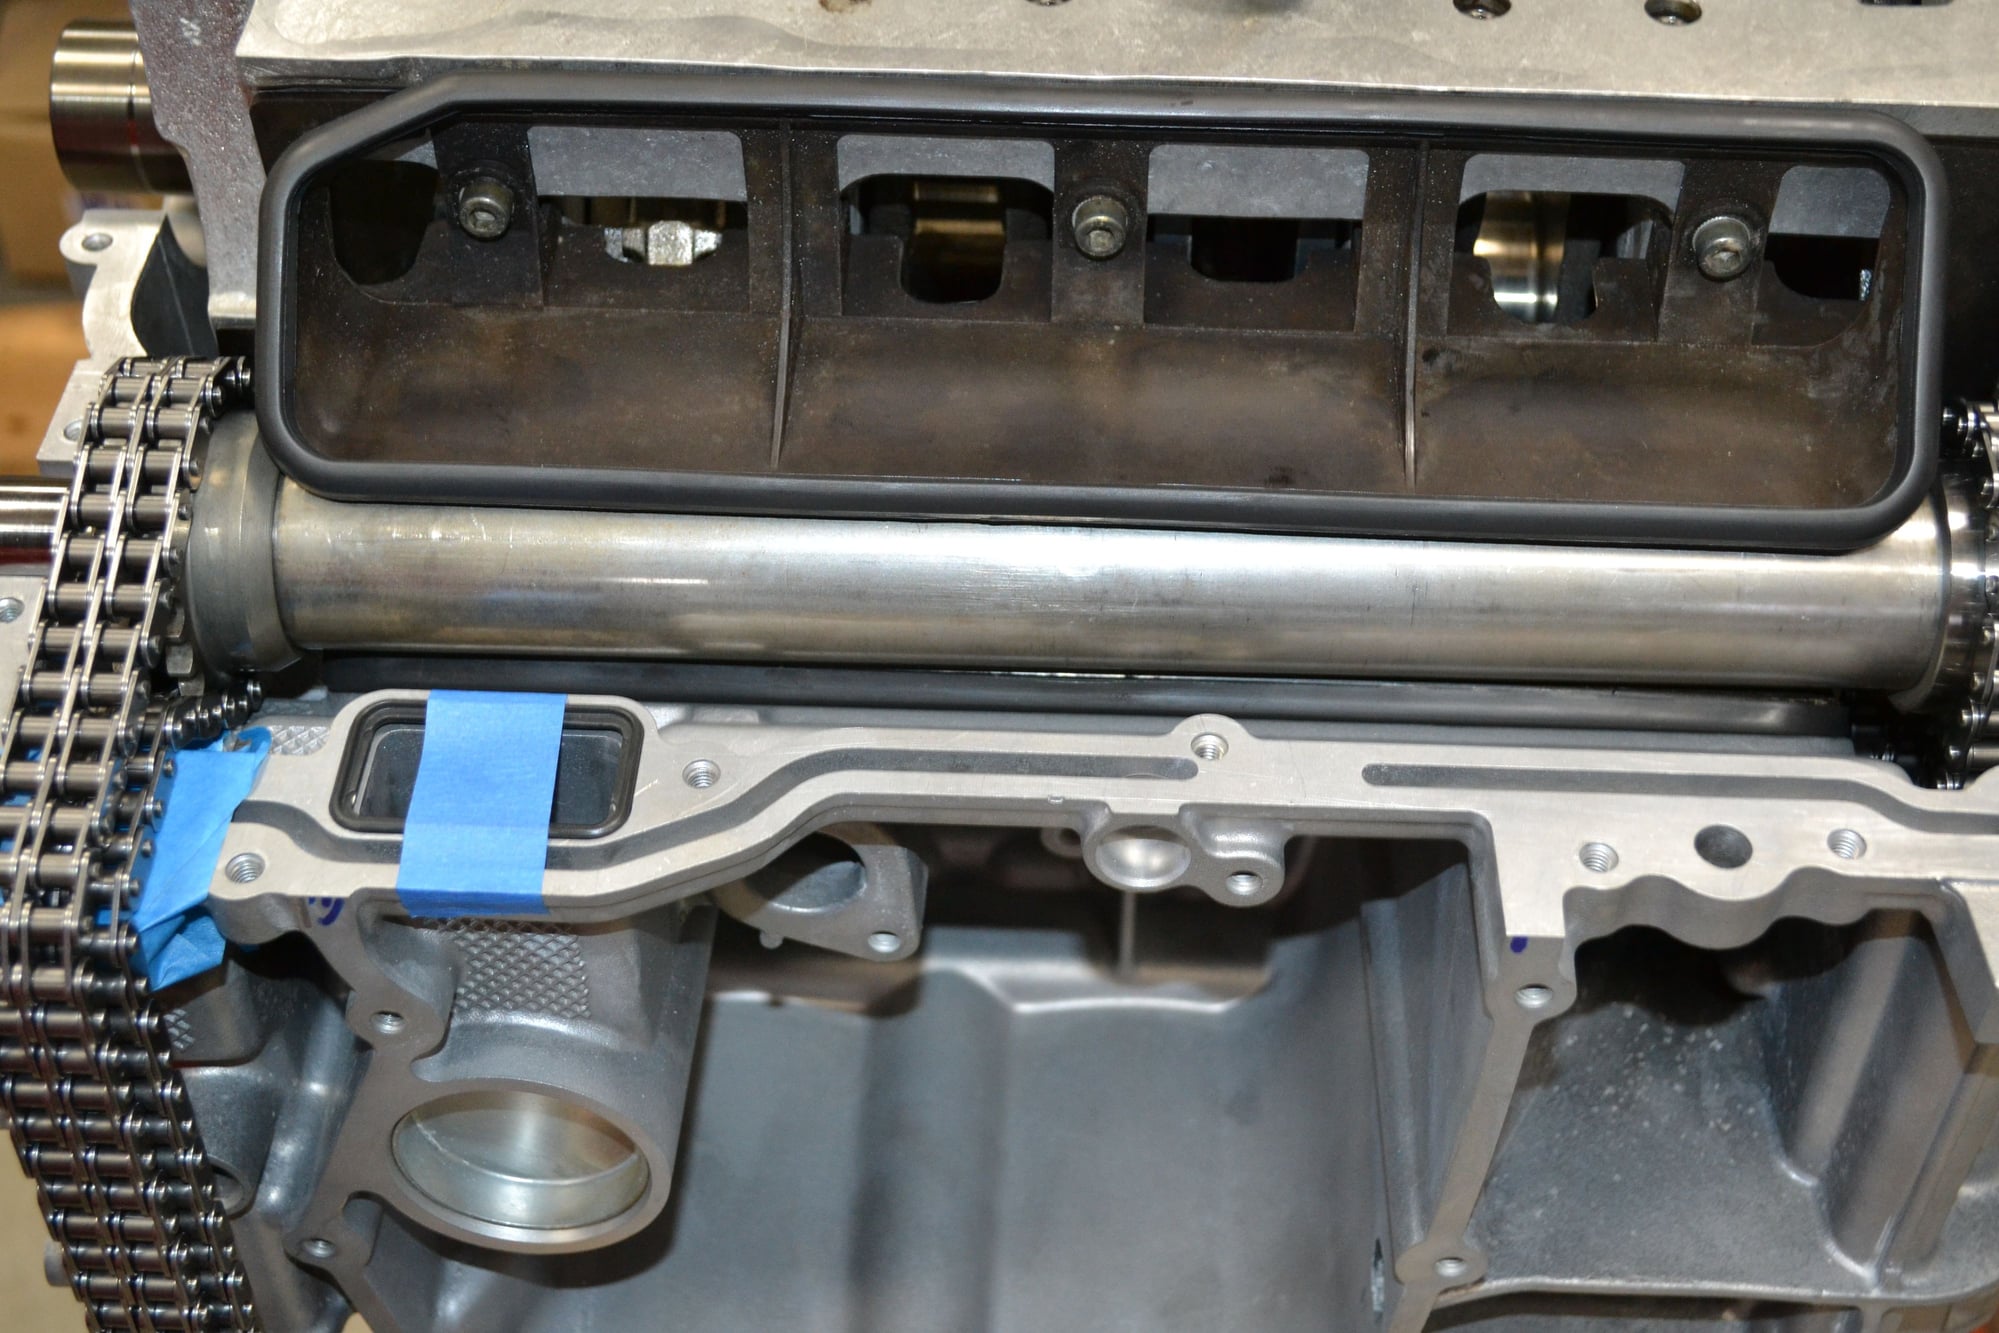
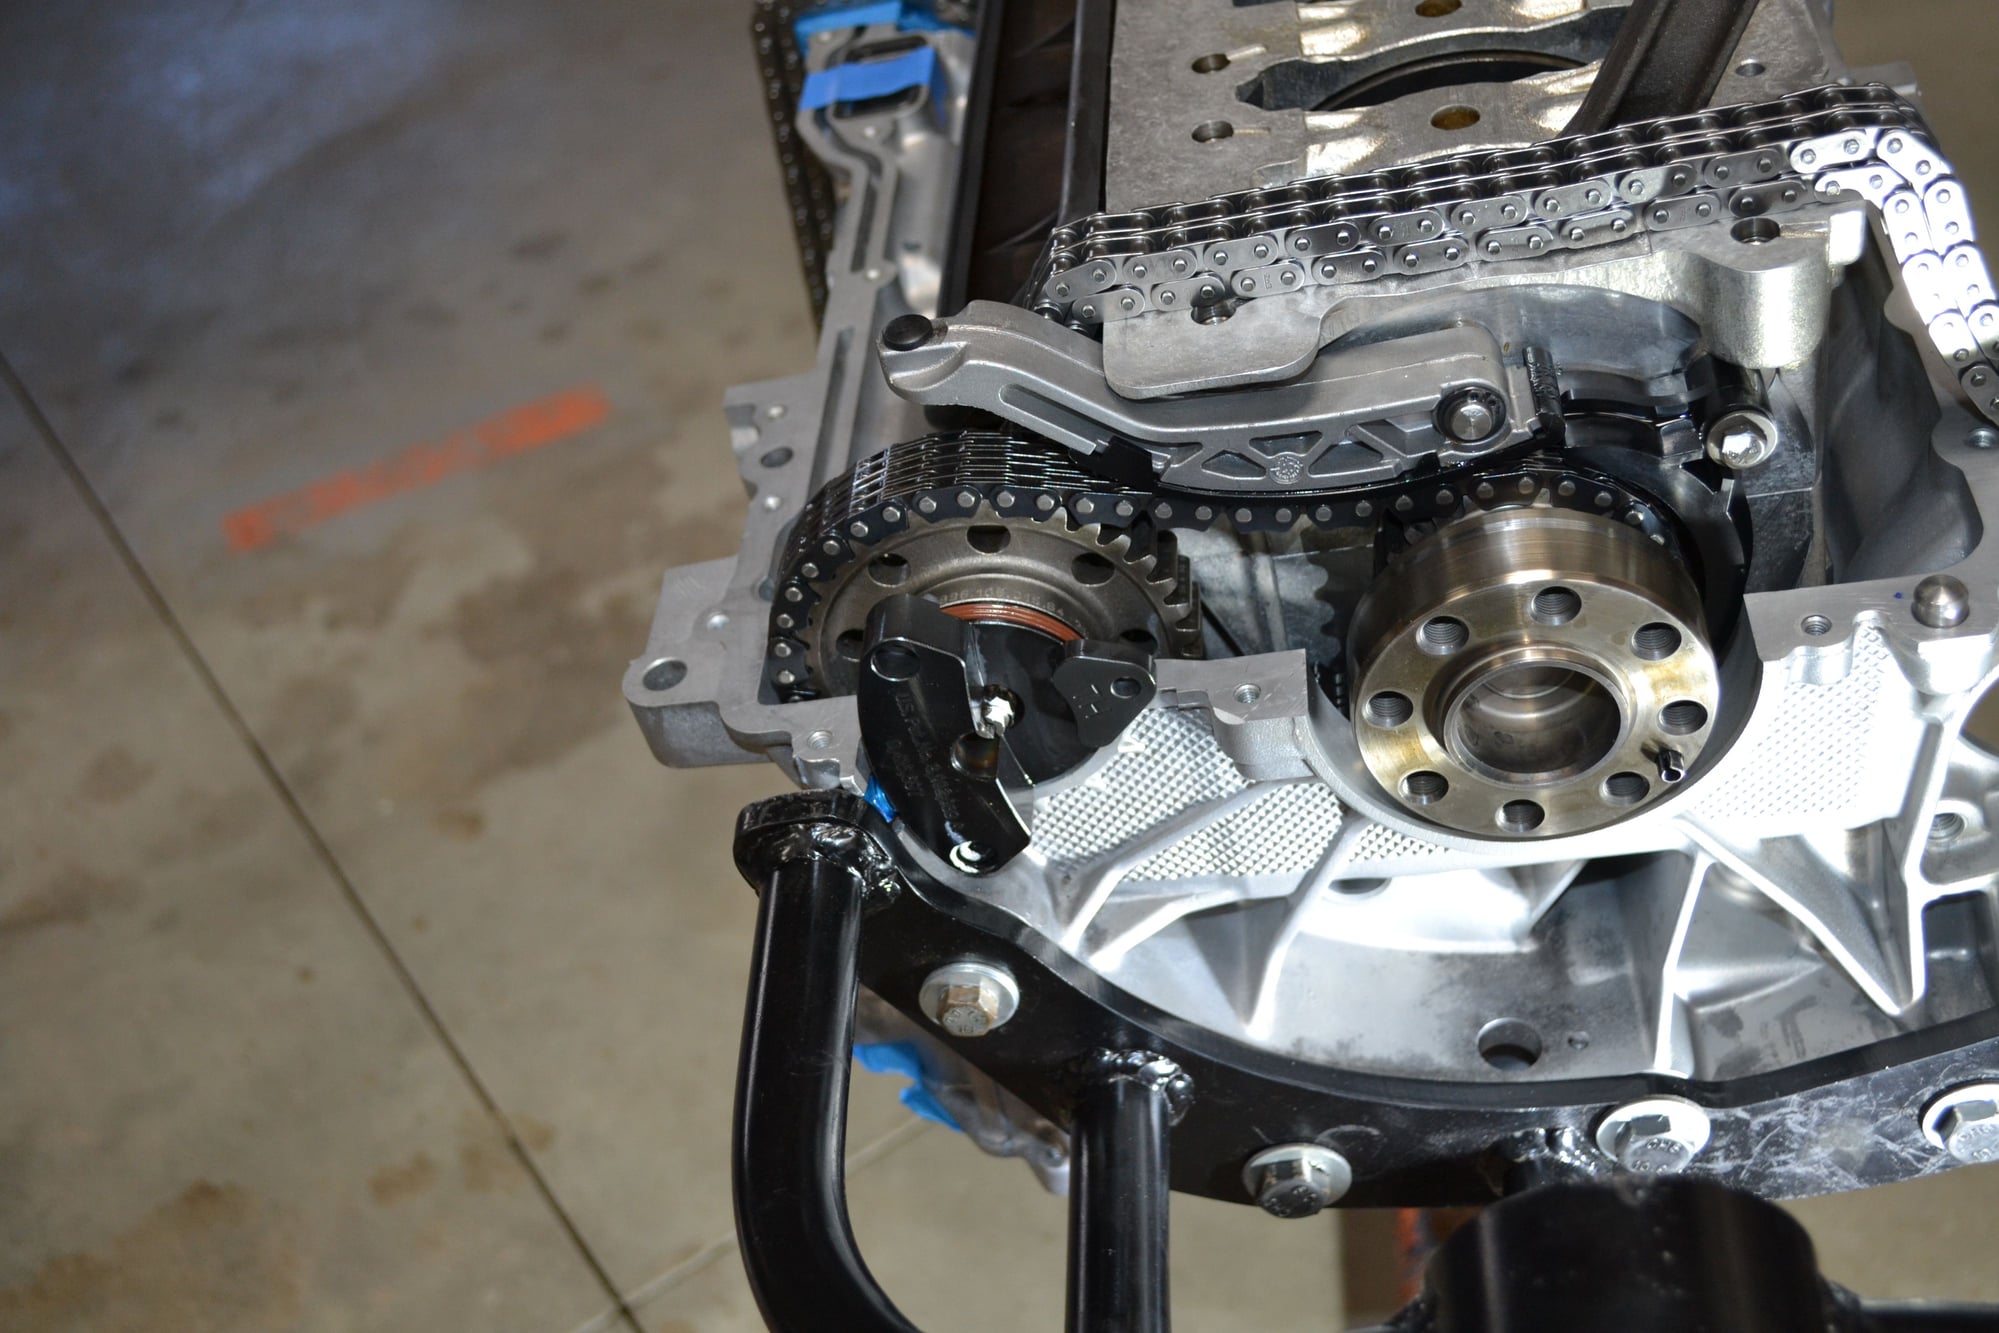
My wife helped me lift in the crankcase carrier. I started installing the two long bolts that hold the rear of the carrier snugly to the block half...
...then I realized the gasket at the windage tray was out of place. I had to lift everything up a little and position the gasket properly. Shown here, just below the IMS.
Stage 5 complete.
Done for the night. Should be able to have at Stage 6 and 7 tomorrow. Will verify ring gaps are good in bank #1. They were checked in Bank #2 already. Measure and confirmation...
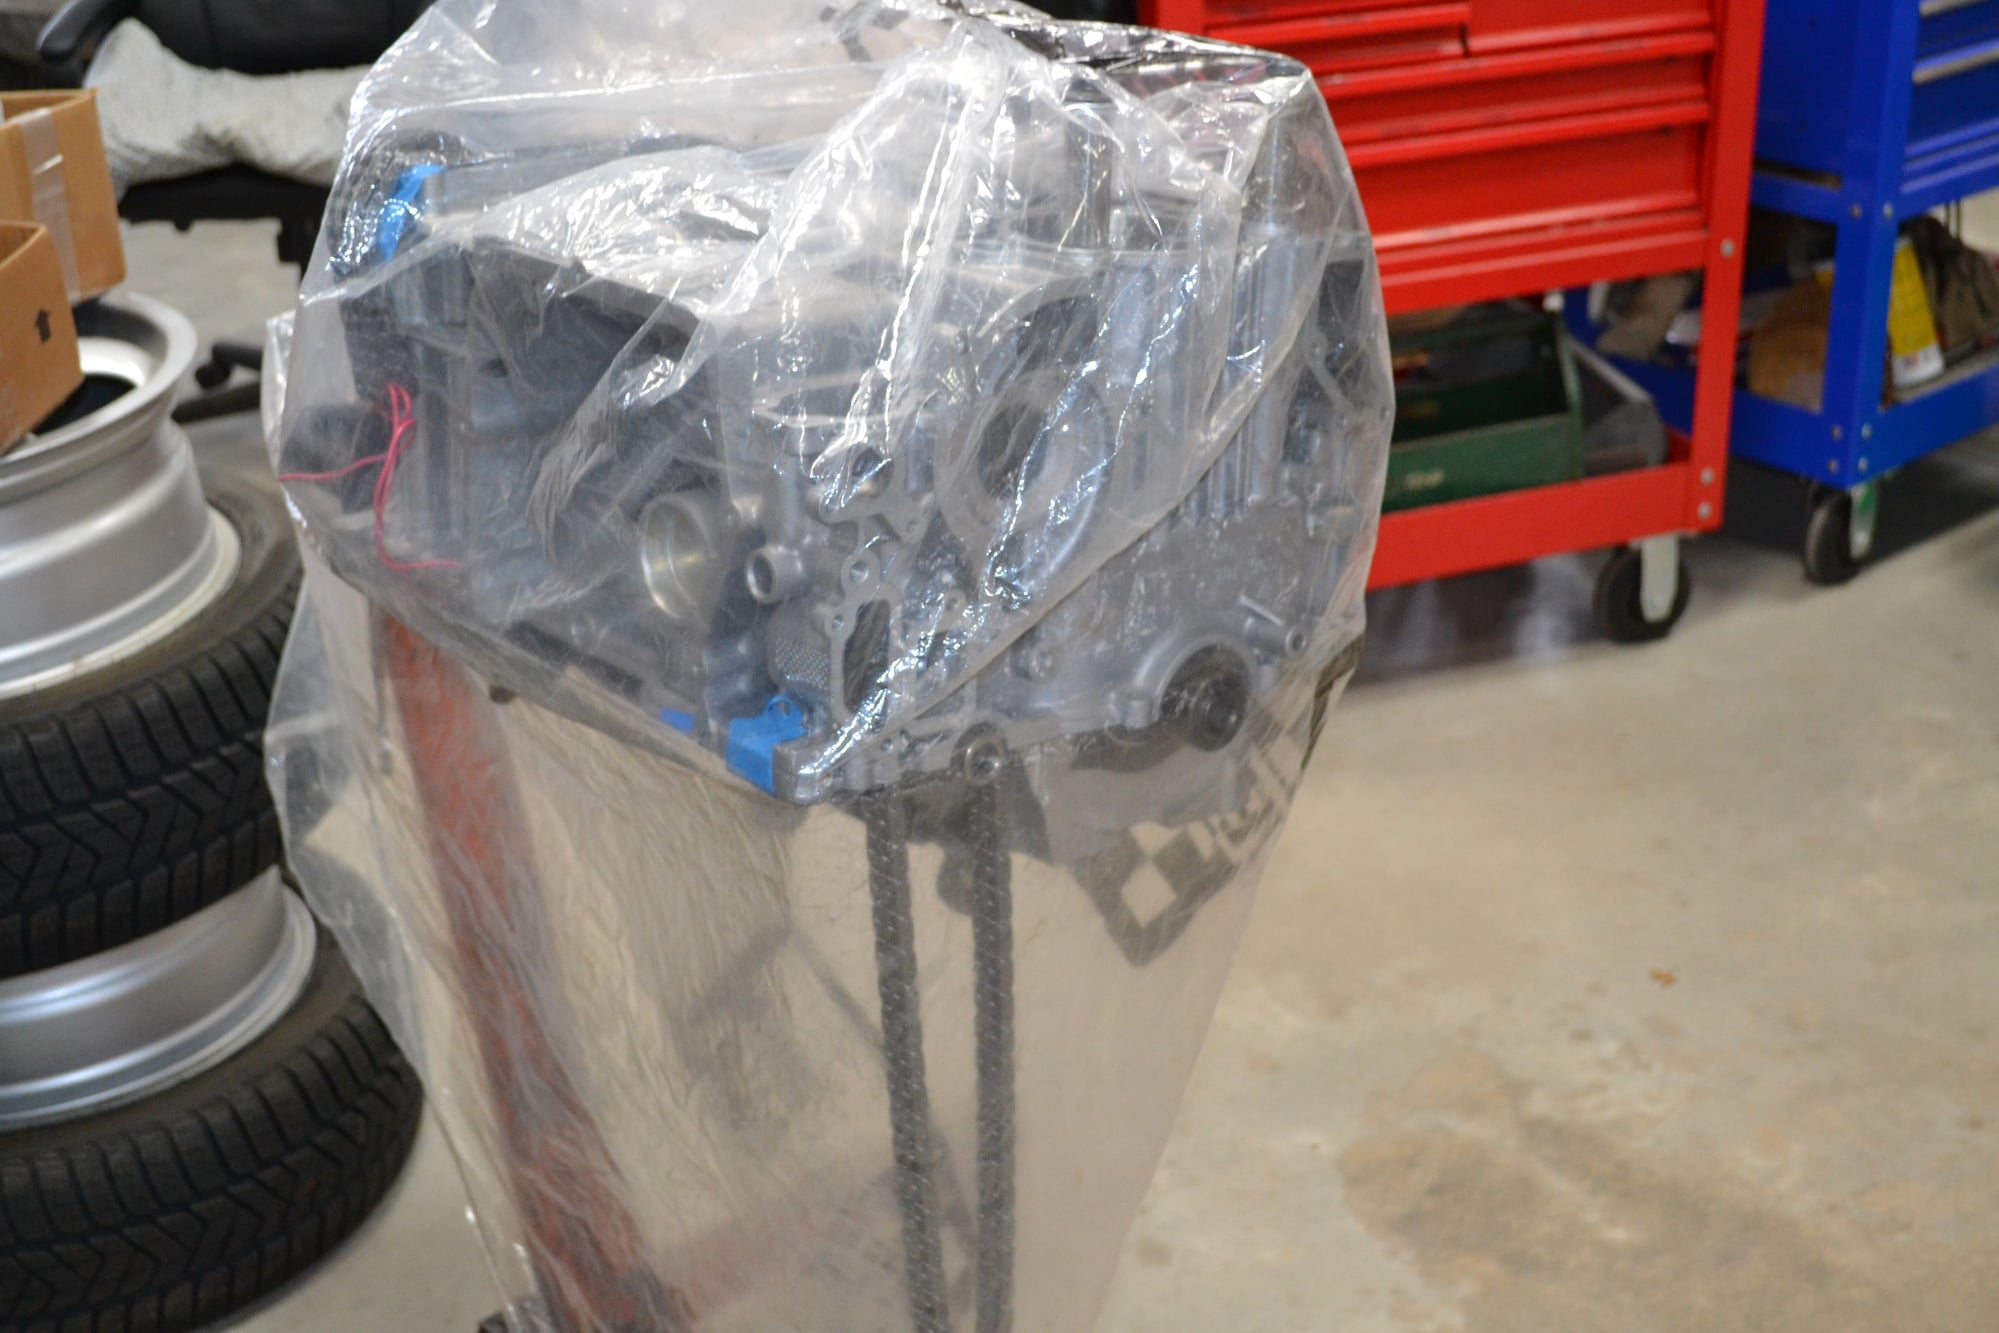
Take this for what its worth, I never covered my engine in plastic, reason is static electricity attracts dirt and dust.
I'll take that chance. Thanks for the heads-up.
Originally Posted by latonnelier
Almost half a short block
Yep - even closer now. I completed Stage 6 and 7 just a little while ago. Verified the top two compression rings were gapped correctly for bank #1. Installed the rings in piston #1, lubricating with the "special sauce".
The ring compression tool is a joy to work with.
Everything went well. No snags, other than forgetting to put oil on rod cap #1. I realized my mistake before I started torquing the bolts. Then my DVD player stopped showing video. I'll probably haul my laptop out to the garage for the next steps - at least until I find a resolution to that problem.
Last edited by Scott at Team Harco; 04-02-2020 at 06:34 PM.
I'm on vacation from work for a little over a week. Have been working from home for the last three weeks. Now I might be able to get something done.
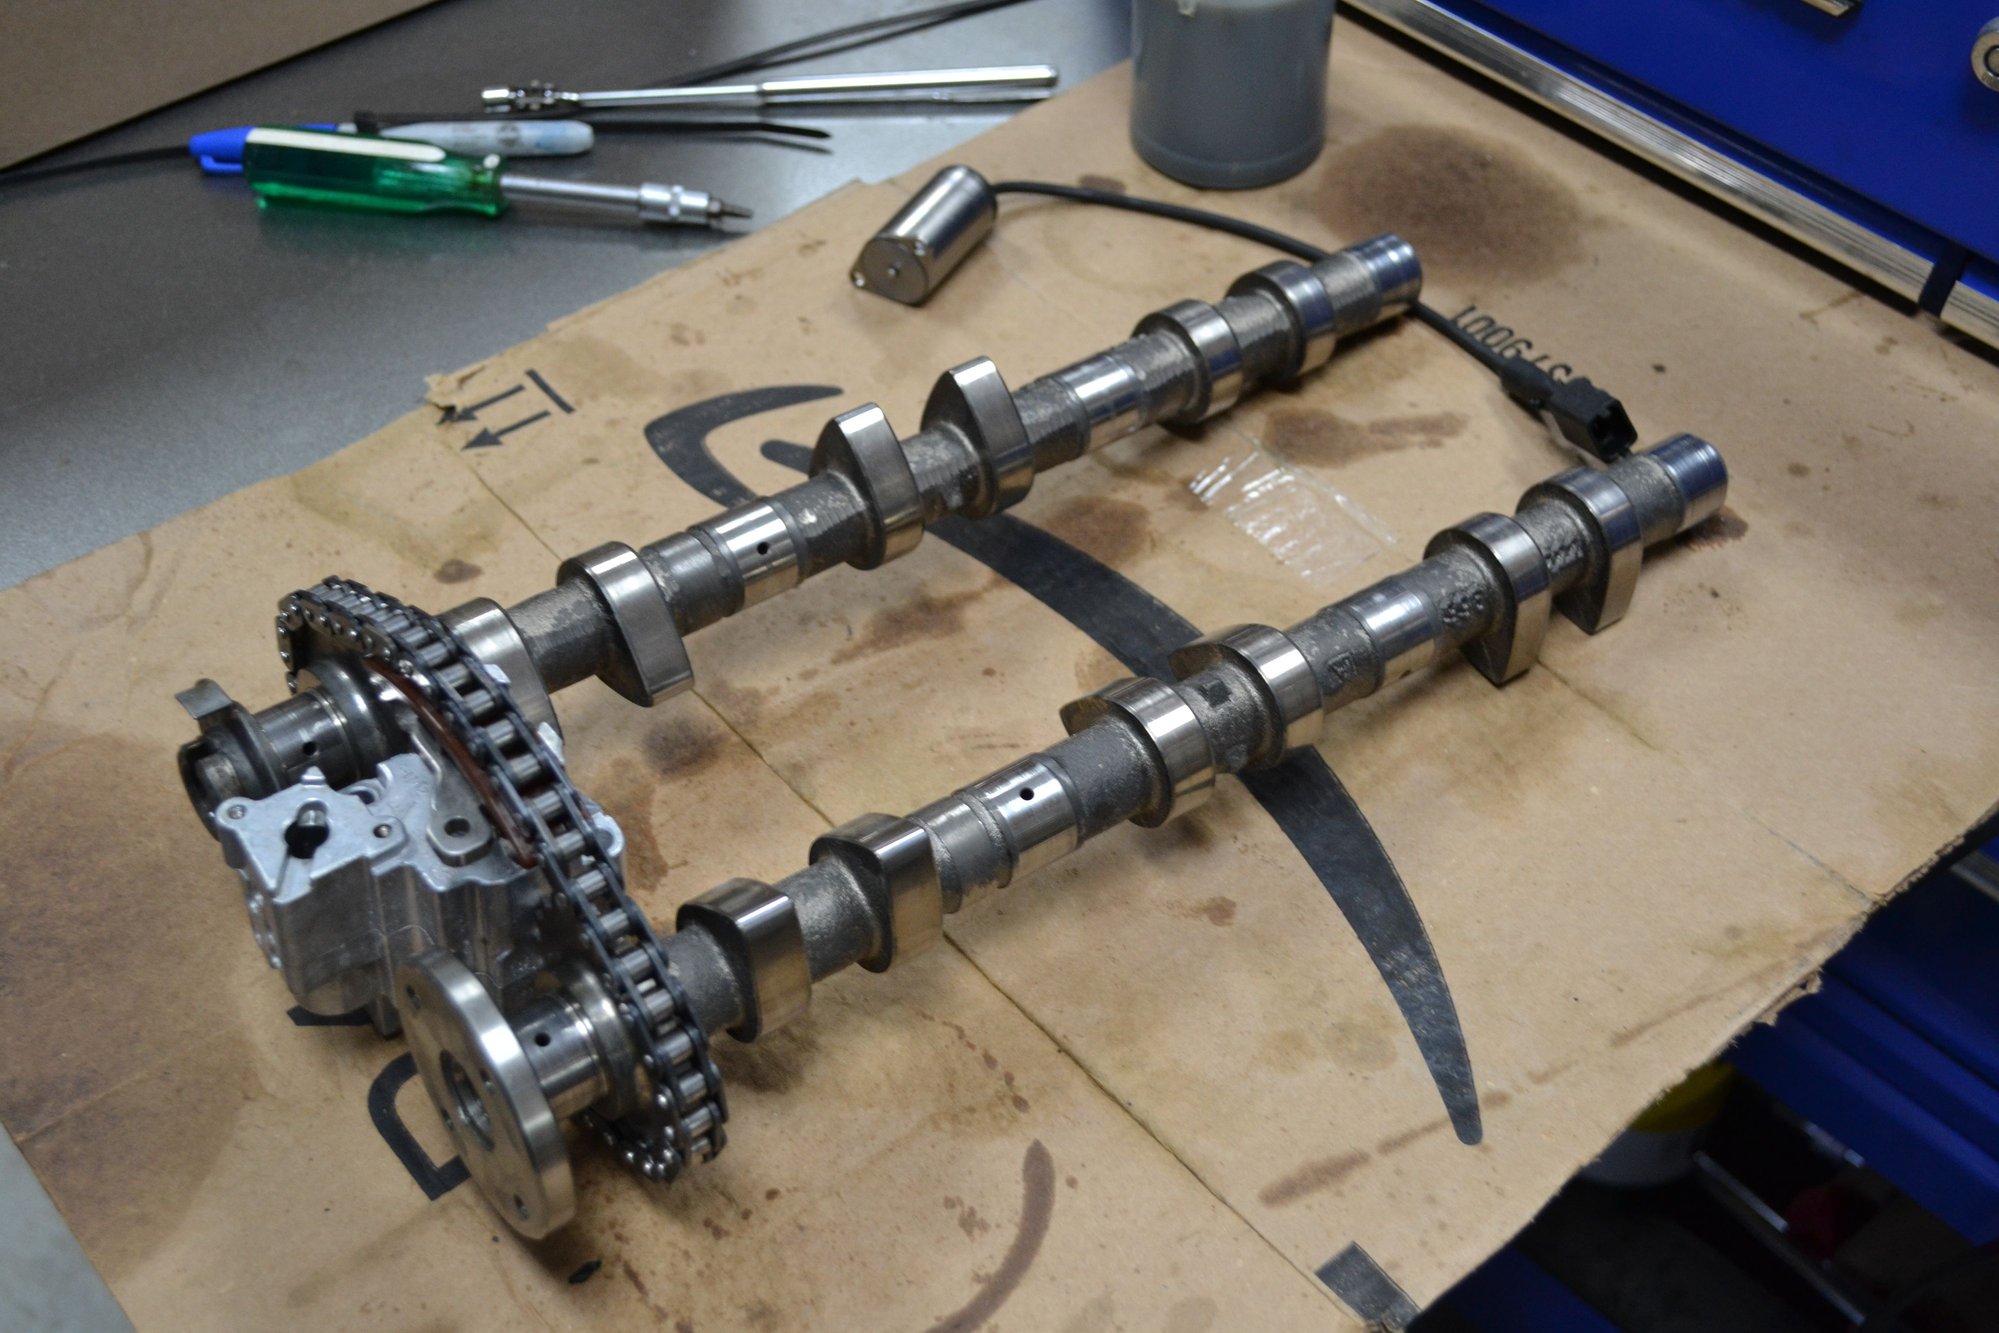
Started the day be cleaning some parts in the ultrasonic device. Did the front console (again) so it would be ready for the next stage of assembly. Did the cams and coolant parts.
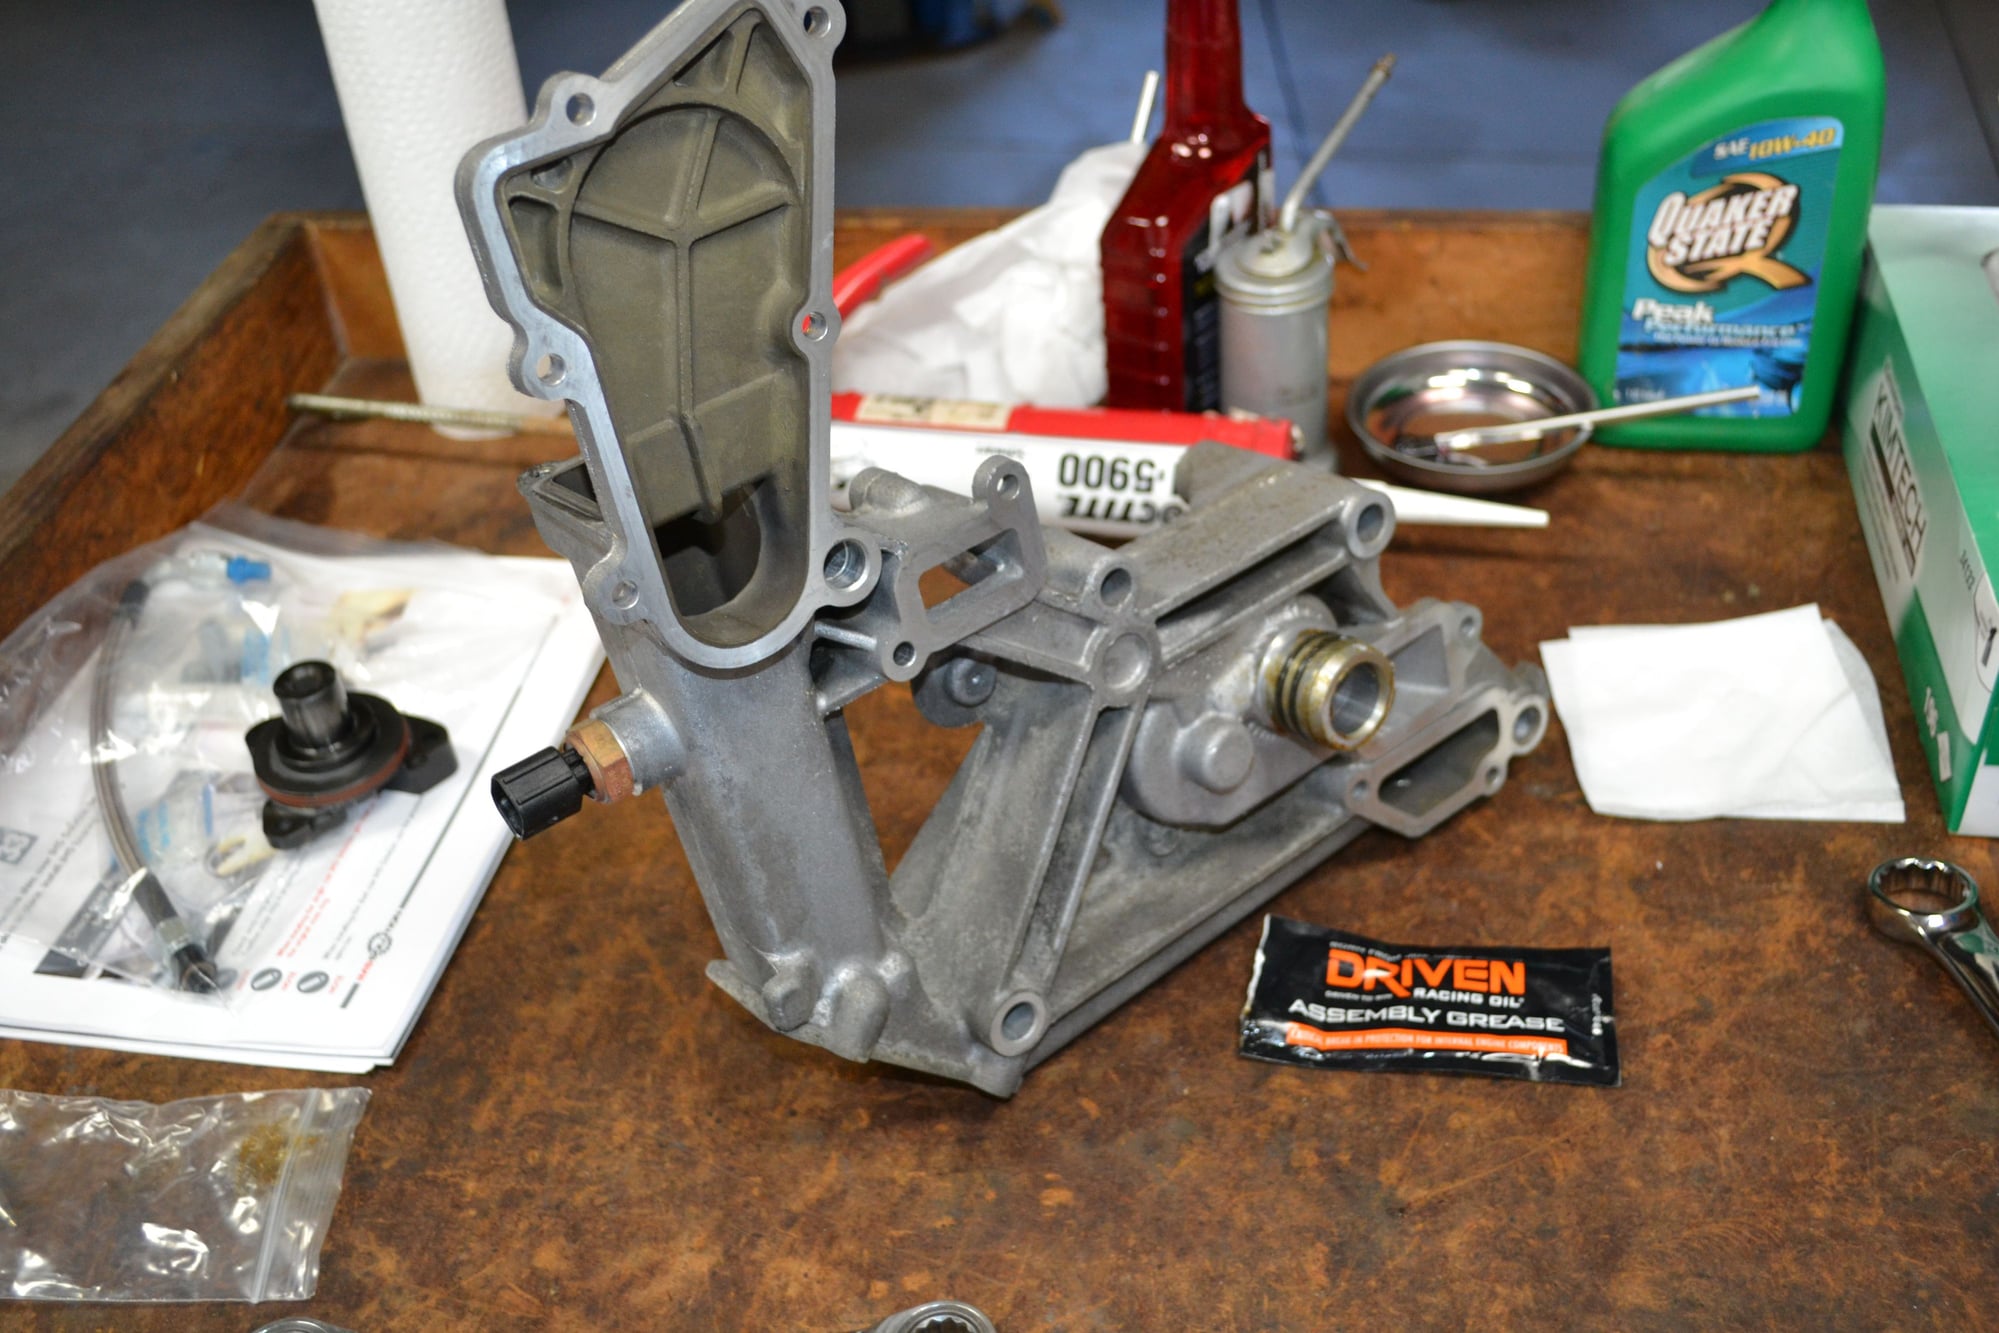
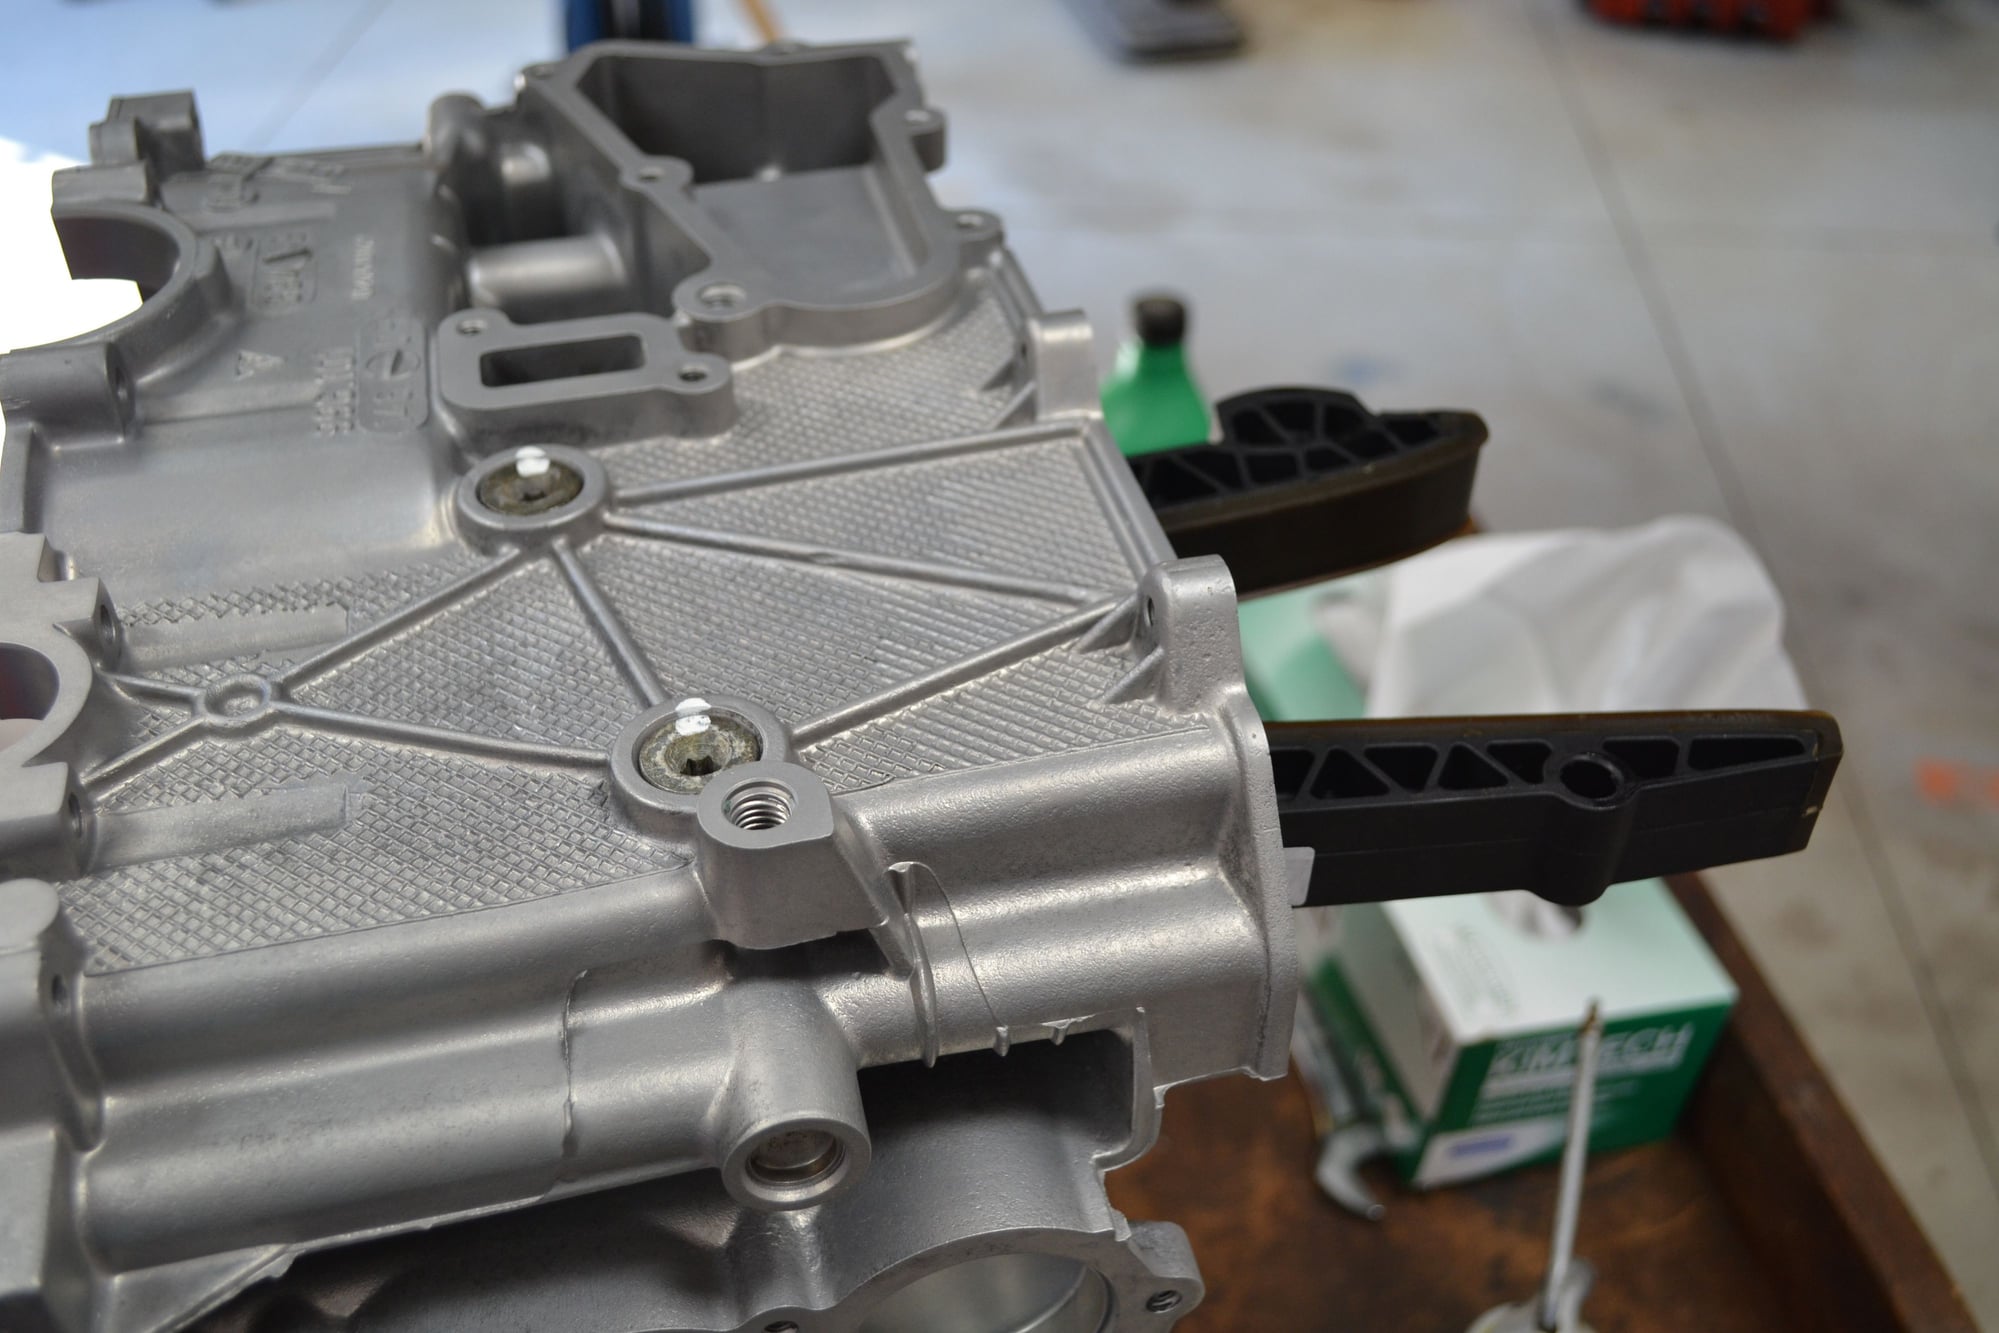
I've watched Stage 8 quite a few times to prepare for completing the engine block assembly. I've decided to break it up into three halves. The first half is getting the front console attached and the IMSB installed. A little lube, then...
...finger tight with two fasteners.
IMS flange and IMSS in place. Had to slide it out a little bit to get a socket on the oil feed fitting. Should have taken a bit more off the notch than I did. If I need to get at that area again, I'll have bigger things to be worried about.
The second of three halves is thoroughly cleaning bank #2 again. To the point of being ready to insert the pistons. Even though that's off for at least a couple of days. It was nice enough today; warm and sunny, to work outside a little. Made washing the block half a bit more enjoyable.
Getting all the parts and chemicals ready to complete the third half of Stage 8.
Here's the second half completed.
The third half will be applying sealant between the case halves and fastening them together. Other than leaving oil and grease exposed (at both ends of the IMS), this is a logical break-point.
Last edited by Scott at Team Harco; 04-03-2020 at 07:38 PM.
 03-30-2020, 07:05 PM