When you click on links to various merchants on this site and make a purchase, this can result in this site earning a commission. Affiliate programs and affiliations include, but are not limited to, the eBay Partner Network.
I have a nylon RMS install tool also that you can use if needed. I bought on here from Chris a few years ago and have not ever used it .
I think it is machined from nylon rather then 3D print, but doesn't matter, it sets the correct 13mm depth.
The Porsche Factory RMS tool (like the faultless L&N tool) is a joy to use, but is totally overkill for this operation..
The Porsche Factory tool was redesigned several times to change the depth of installation several times to try and correct RMS seal leaking. But the final cure was the redesign(several) of the RMS in PTFE with a "self centering" inner portion to combat any out of tolerance crank carrier bore to case bore difference.
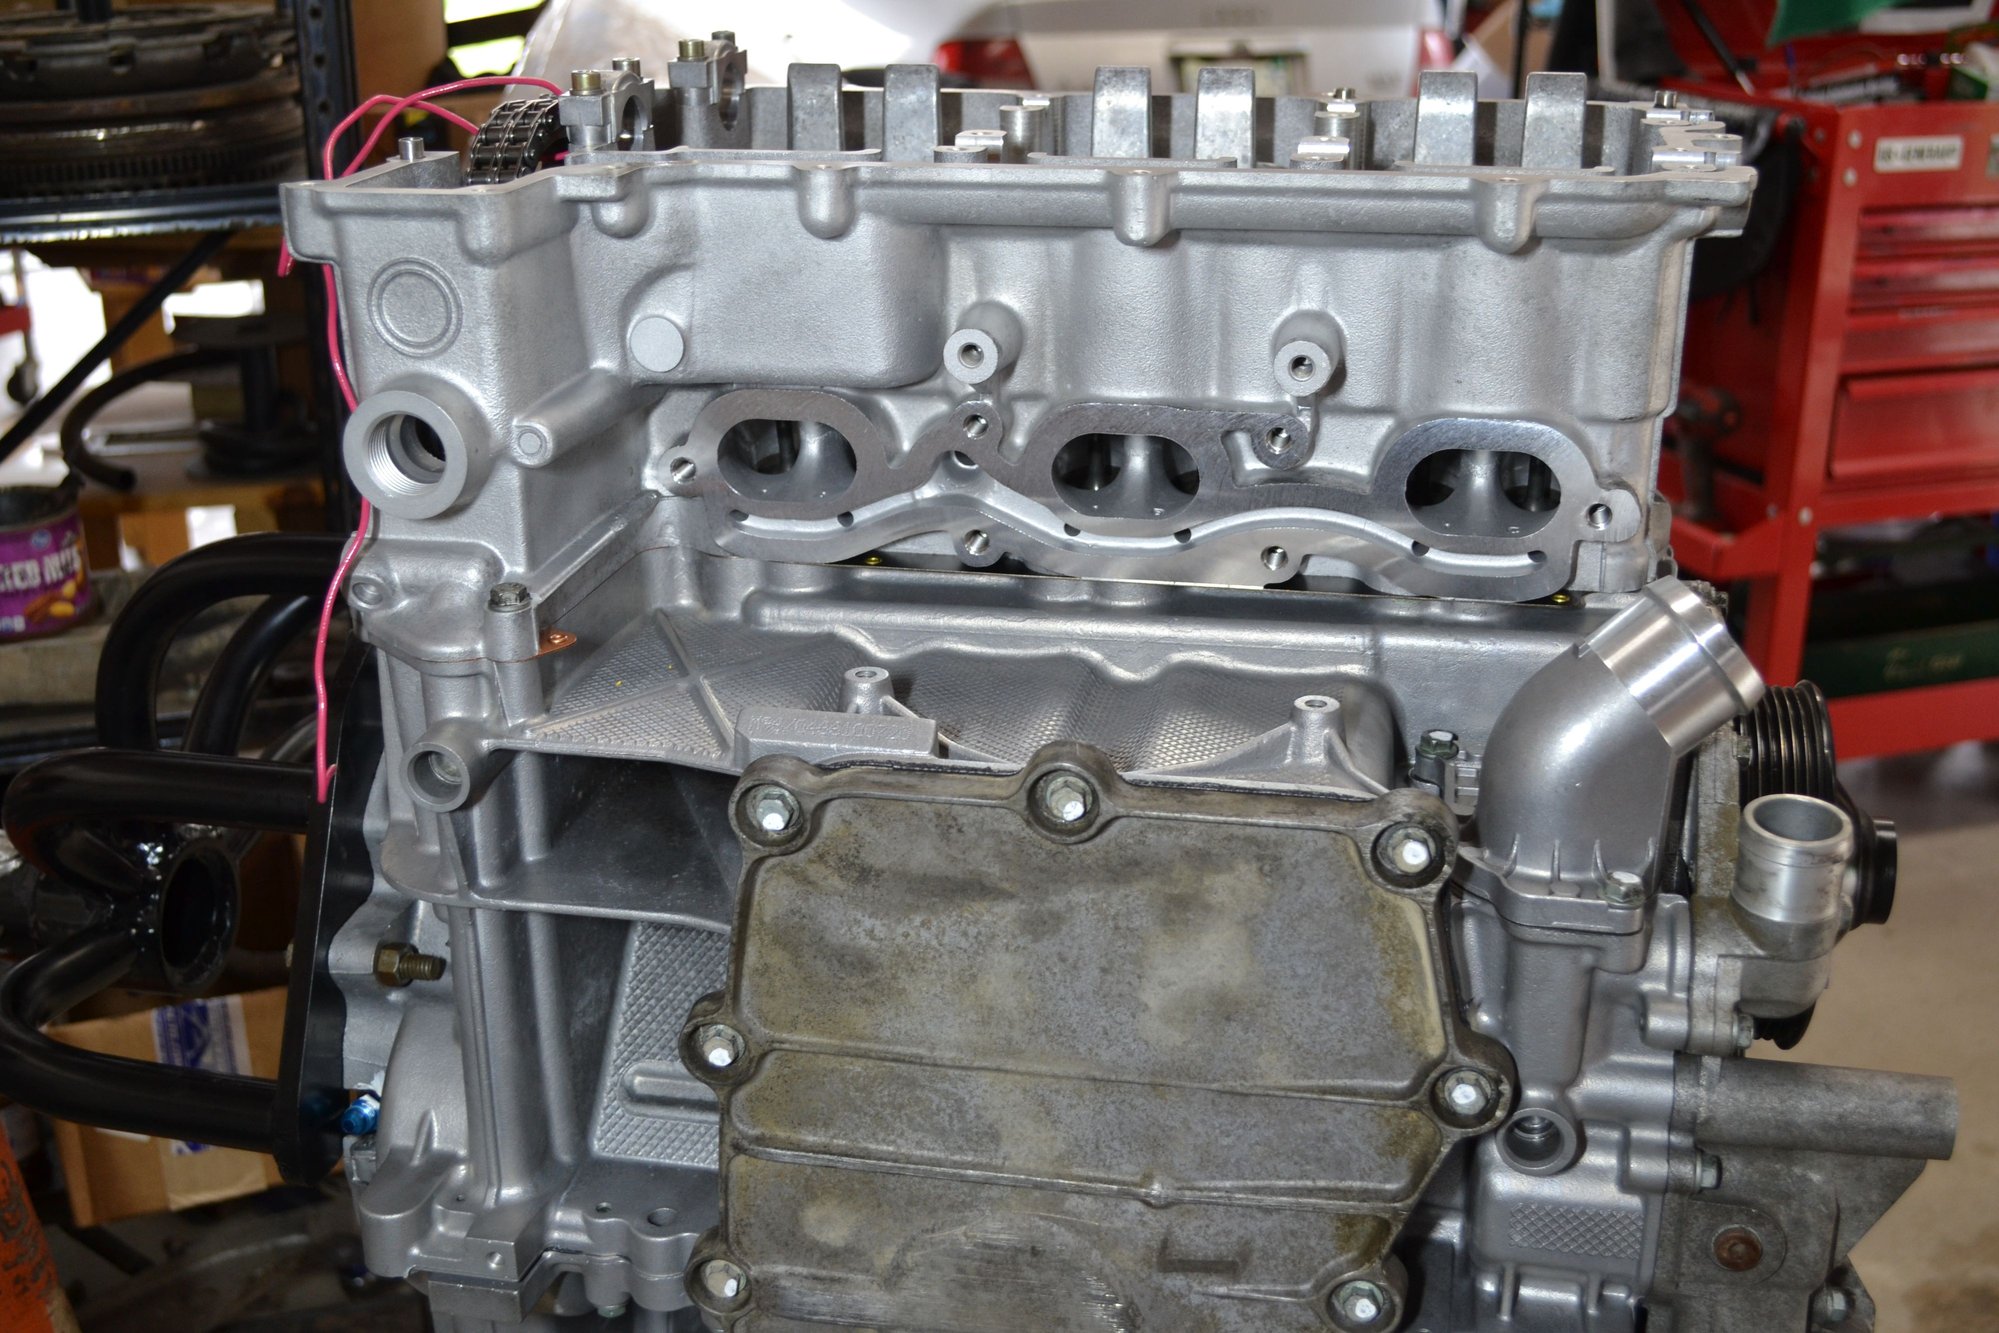
Maybe someone more knowledgeable than I will chime in on how big a deal it is, but it looks like your oil baffle is the old style. Maybe this would be a good time to 'upgrade'?
The new style with a 997 part number
The flaps might be heavier? I can't say. Presumably there would be some advantage/ improvement. It may not work with the swirl-pots that I have. Again, don't know. Regardless, things are closed up at the sump. I'm going to need a really good reason to get back in there.
Scott, I'll gladly let you use (used once) my 3-D printed RMS tool if needed. PM me if needed.
Thanks brother. Hang on to it. Just keep it on the shelf so you can show me, next time I'm in your neighborhood.
Originally Posted by Porschetech3
I have a nylon RMS install tool also that you can use if needed. I bought on here from Chris a few years ago and have not ever used it .
I think it is machined from nylon rather then 3D print, but doesn't matter, it sets the correct 13mm depth.
The Porsche Factory RMS tool (like the faultless L&N tool) is a joy to use, but is totally overkill for this operation..
The Porsche Factory tool was redesigned several times to change the depth of installation several times to try and correct RMS seal leaking. But the final cure was the redesign(several) of the RMS in PTFE with a "self centering" inner portion to combat any out of tolerance crank carrier bore to case bore difference.
That's a great offer, Doc. If I don't find one more local, you'll get a PM.
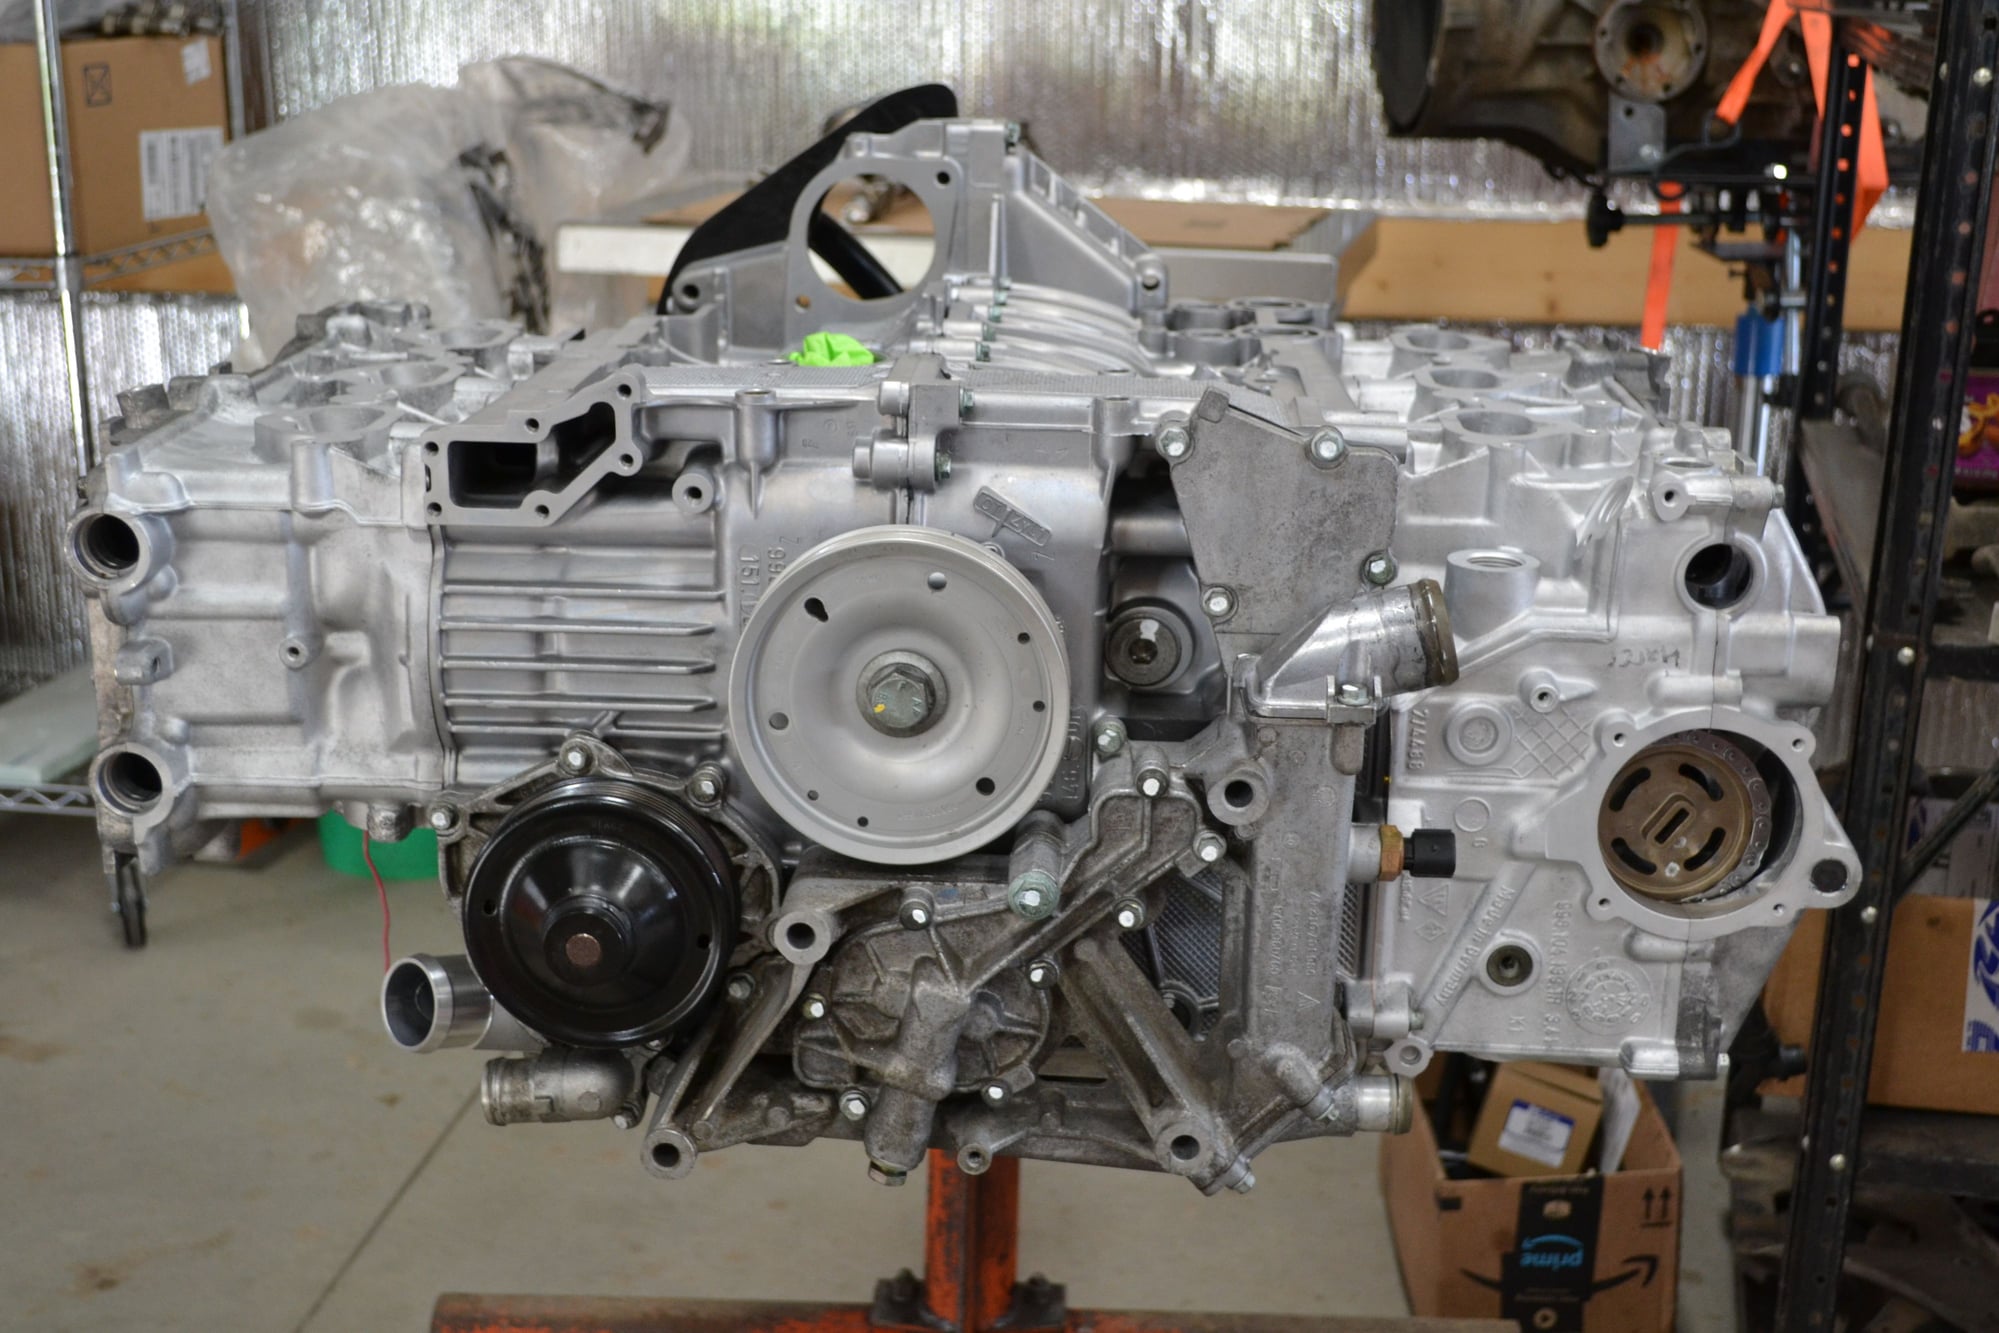
So I have to say, I've been on a pretty good roll for the past few days. Things have aligned, parts are on hand, tools and chemicals have been trickling in.
Now it's on to the next stage. Number 13, if you're scoring at home. Installation of the heads on to the block. Setting up most of the little things...
A bit of a shame to conceal such beauty. Bank #1 head ready for installation.
Bank #2 shown, but the headgaskets are identical for either bank.
Final torque on bank #2. My index (witness) marks differ from the sensei master's teachings. They work for me.
I'll say it again. The DVD set for assembling this engine is the best money spent.
Last edited by Scott at Team Harco; 04-06-2020 at 07:52 PM.
The flaps might be heavier? I can't say. Presumably there would be some advantage/ improvement.
I can't say about the flaps either. The only thing I see from a purely visual standpoint is that the corner that has the bulge has some material removed on the 'new' version. My rational was that if I can blow $50 on a door sill umbrella, I can blow $30 on something that might be an upgrade for the engine.
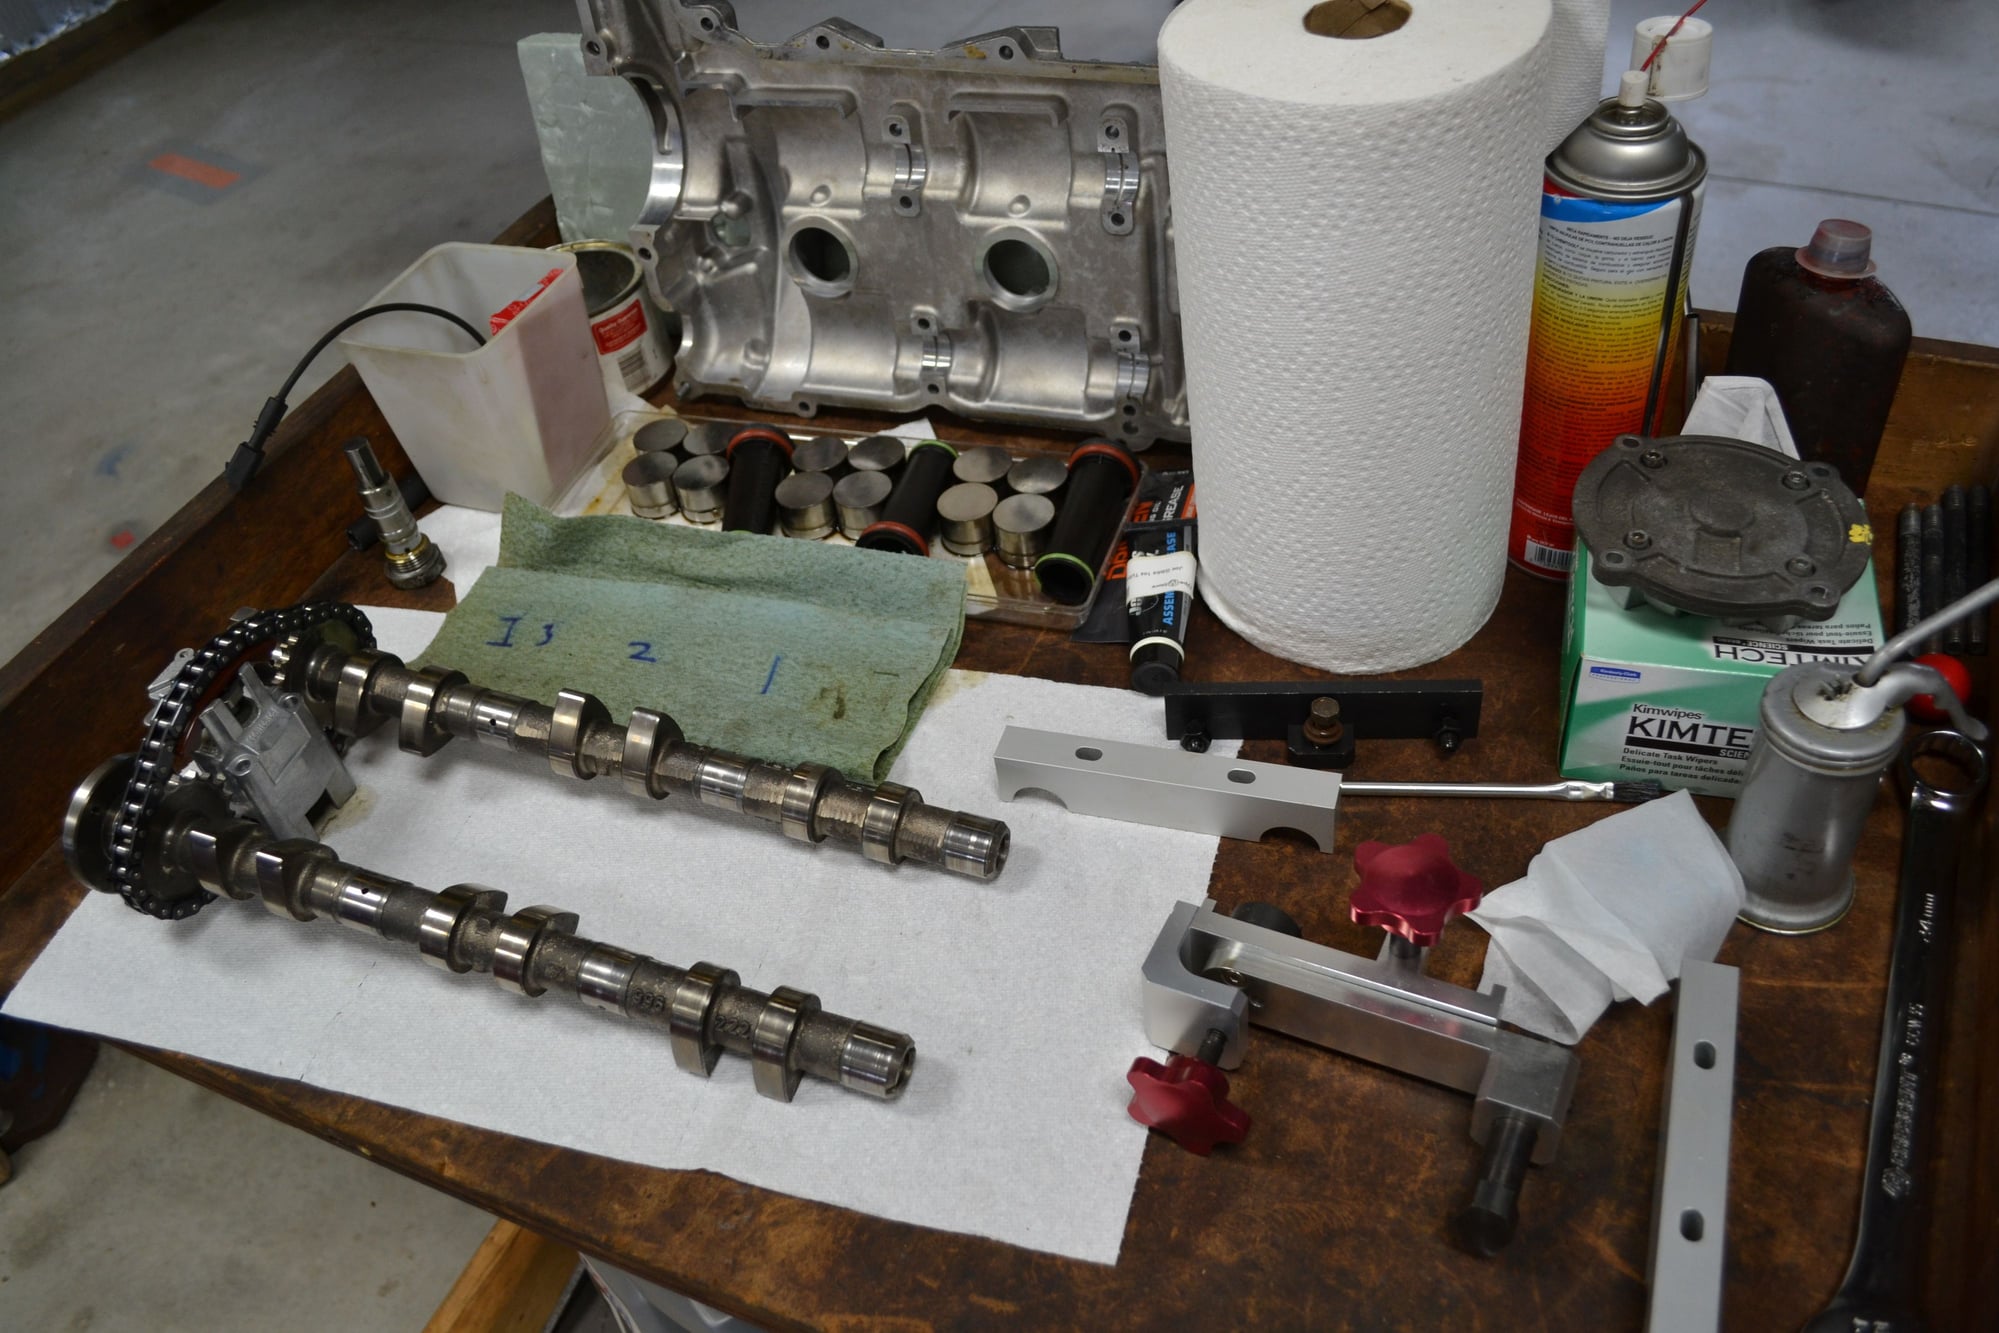
I was able to push ahead the past few days. Now it's time for a little rest and study. Hadn't viewed any of the steps after installing the (bare) heads. Spent some time last night and today looking at that. For my engine, a 5-chain, there's a separate disc just for that work. It's broken into 3 chapters. I watched all of chapter one. Only applied a small amount of it to the installation.
All I did was install the lifter carriers to each head. Did a little parts sorting and organizing, but little more.
I could have done a little more cleaning and organizing, but it was good to just relax.
Evidently my lefthand M5 threaded rod is on the way. Then I can finish off the cam installation and set timing.
Right now - it's just nice to putz around and look at things.
Love this build! I plan to do the same thing BEFORE my M96/04 gives up the ghost.
Good for you. I hope your build is a success as well.
I took the whole day off from the engine build. It might have hit 70 F. Yeah! And sunny. Did some gardening. Decided to throw down some plastic mulch so I will have a lot fewer weeds by my Hobbit greenhouse.
Planted a bunch of flower seeds near the bench and put spinach, turnips and peas in the tires. There's a nice clump of chives in the one on the left.
Nothing to report, other than parts and tools are on the way. Really just being held up by the cam tension tool. It's "in the mail".
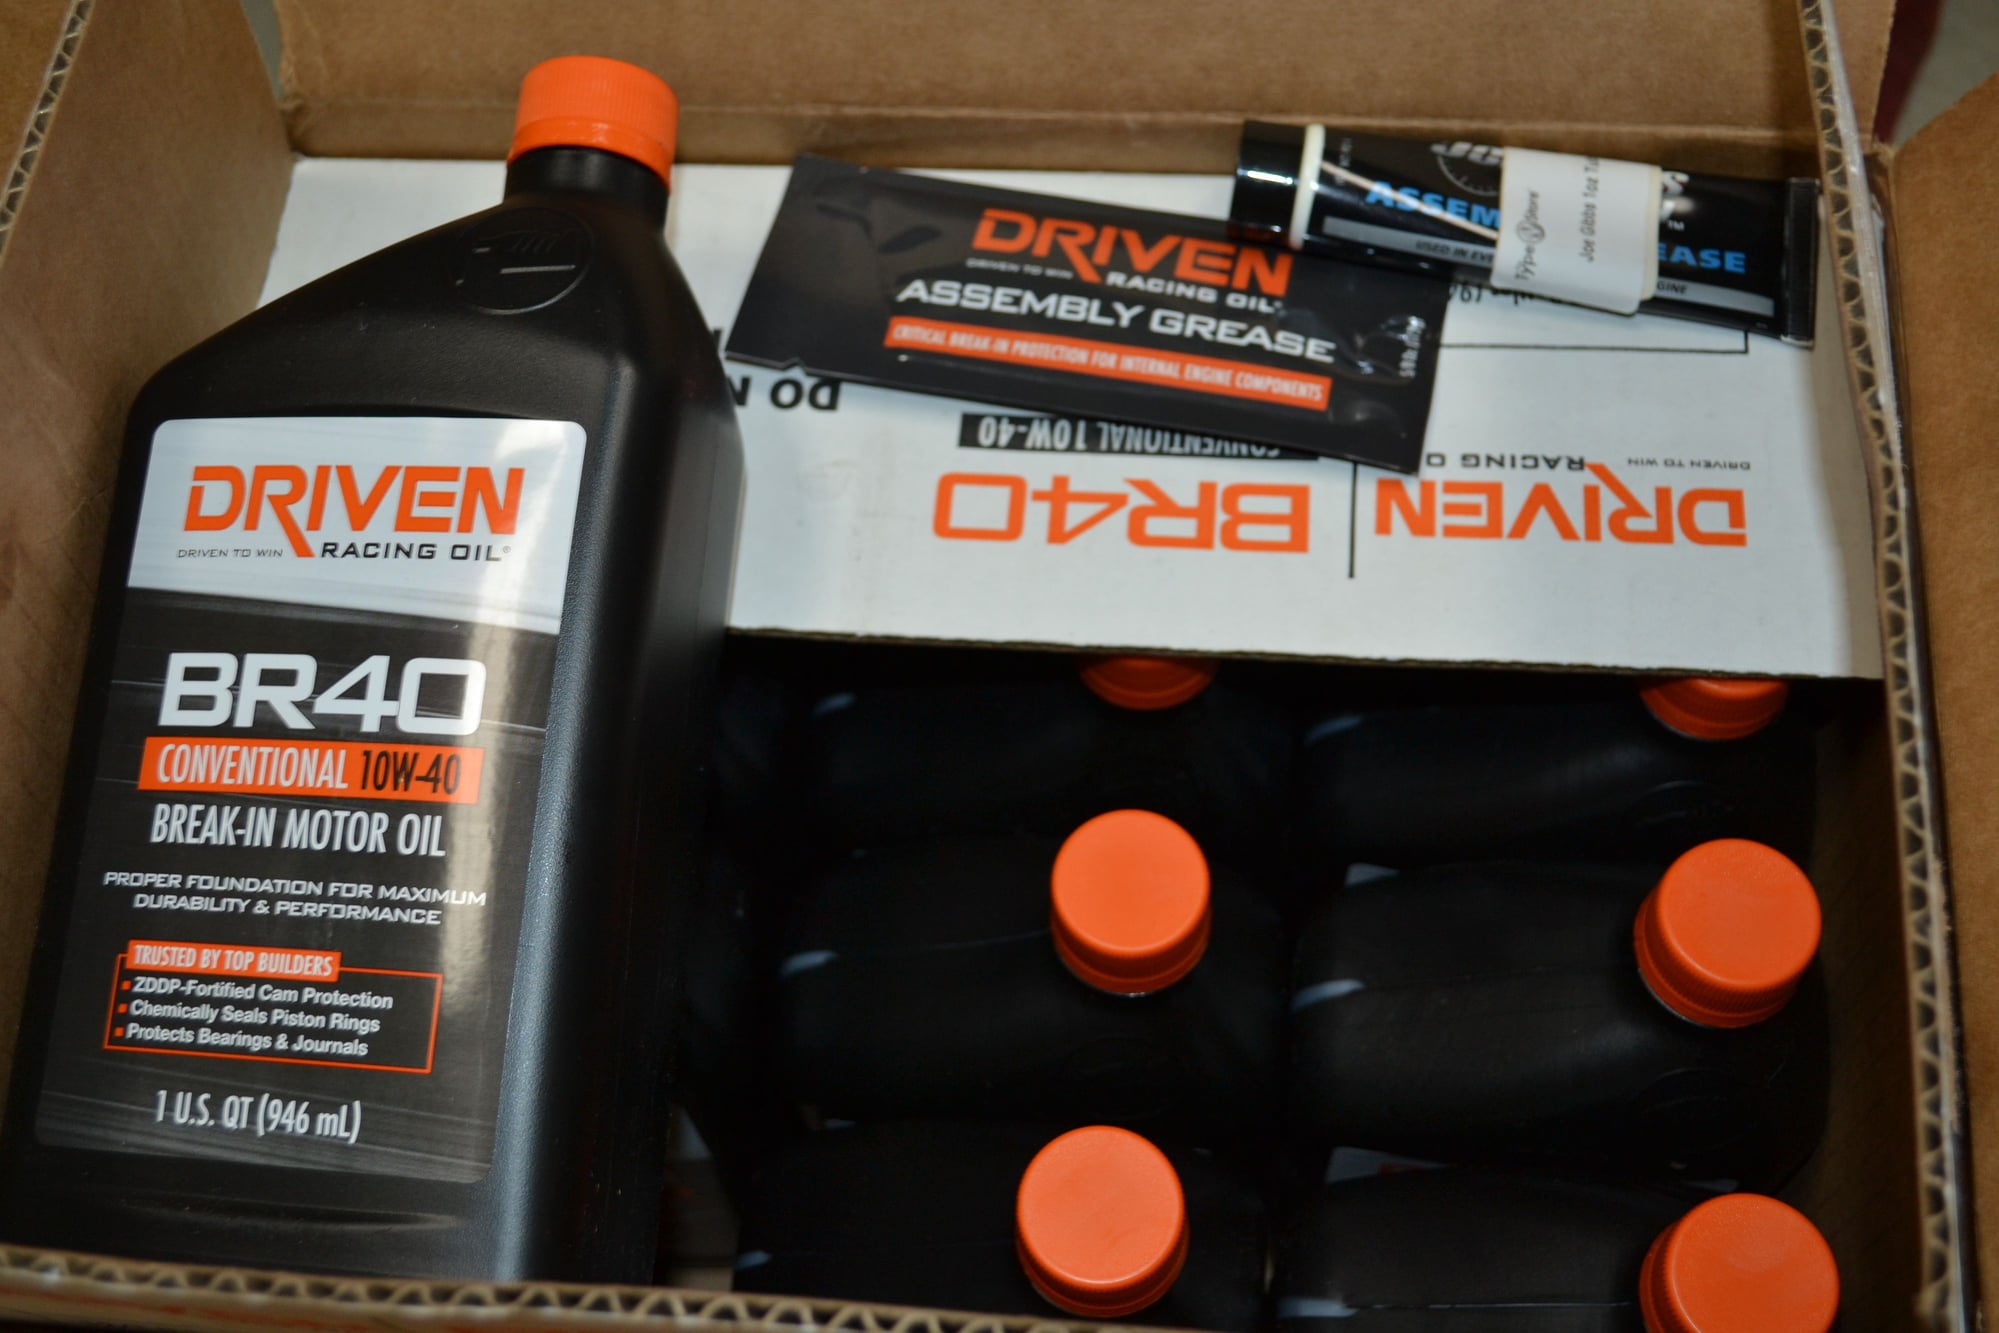
A fuel filter is due on Monday. I'll be able to complete a few tasks when that shows up. The first order of oil was placed last night. I added some assembly grease to get the free shipping.
Feelin' good Louis! I saw your trick with the bicycle spoke. I don't have a bike - at least not without an engine. But I do have a $1.99 pick set.
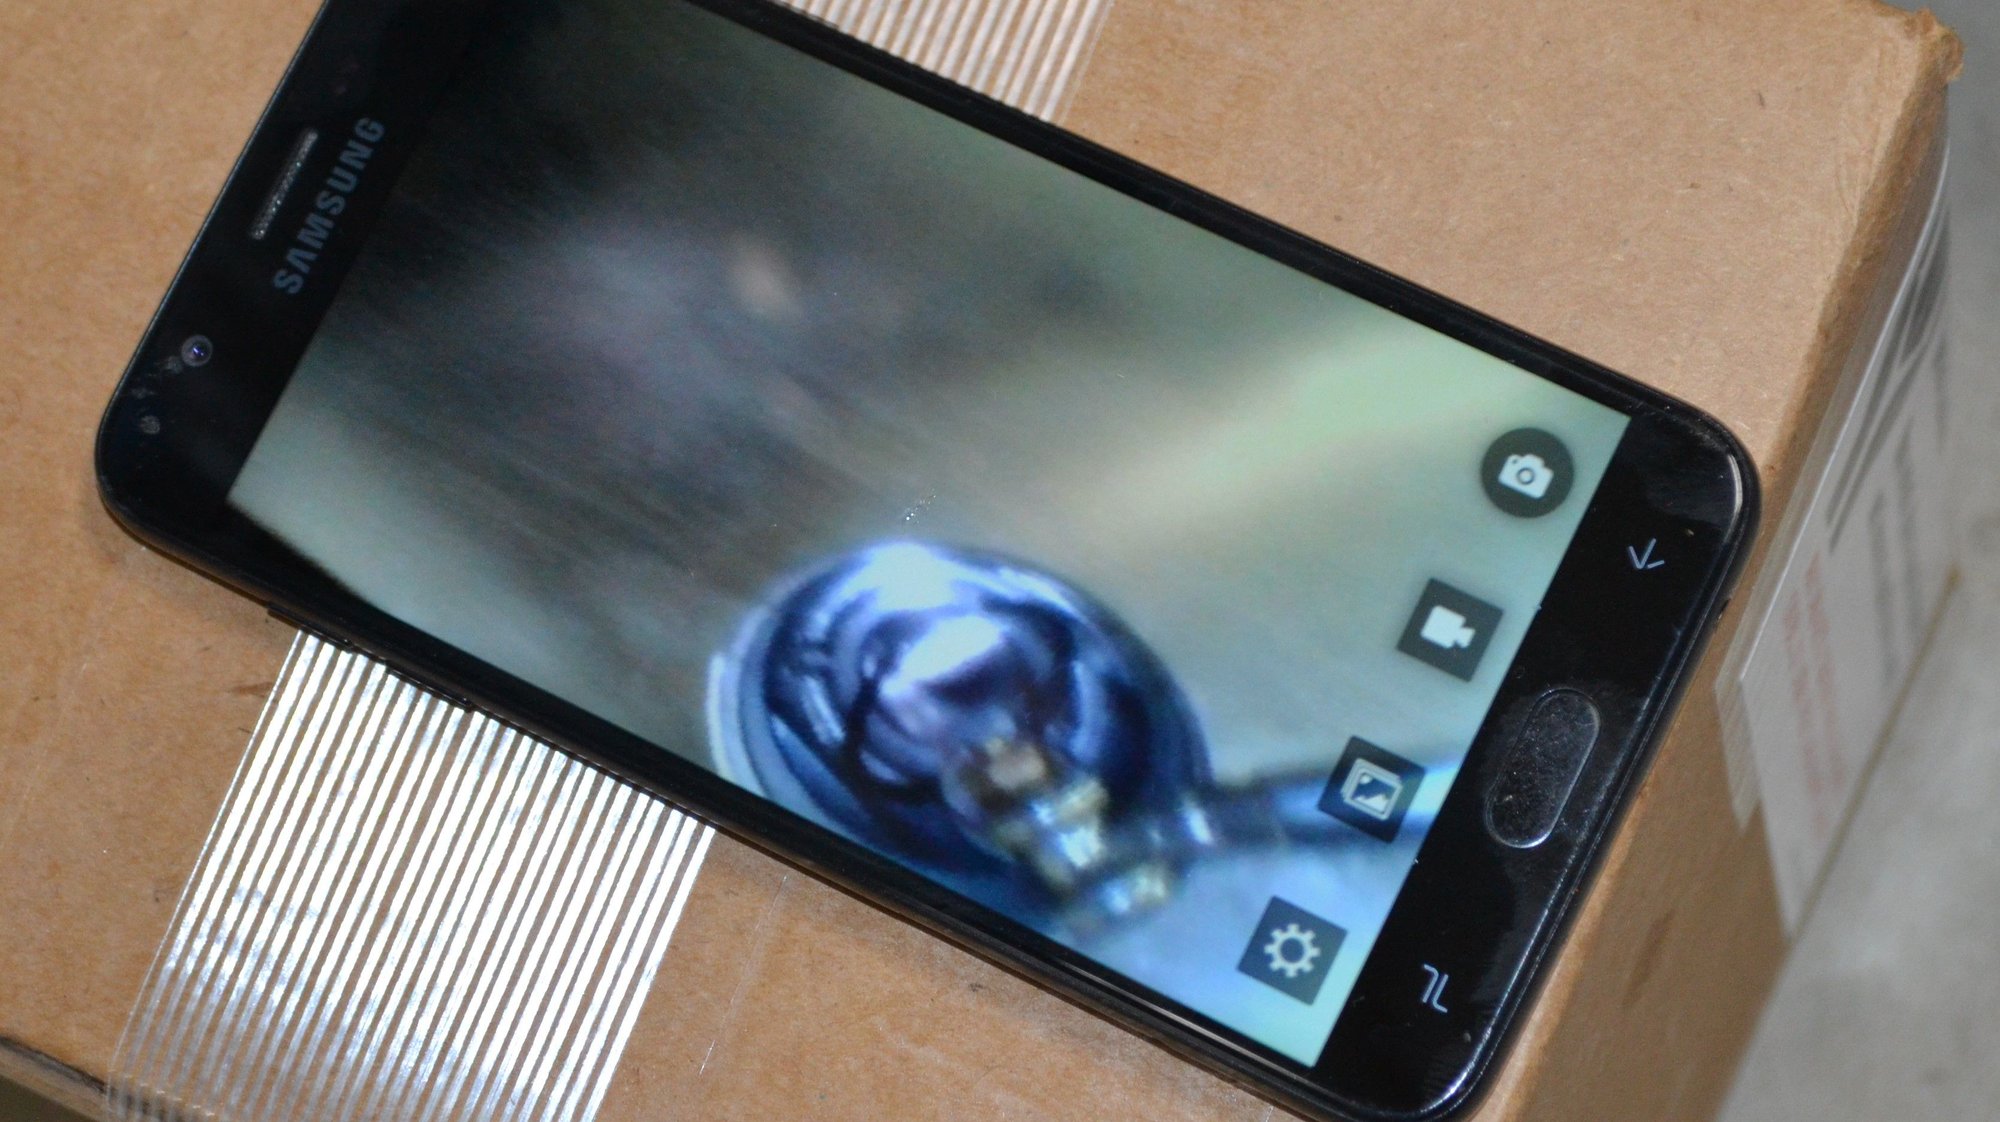
I verified the clips were magnetic before I inserted the first one today. Here is the clip on the magnet. Hard to tell, from the image. I got the clip out and got to live another day.
Here it is, in the groove!
Got #5 in with no problem. Well other than getting the end of the damn insertion tool lodged in between cylinder #4 and #5. Actually had to work it loose with a pair of channel locks. Then it needed to be hammered round again...
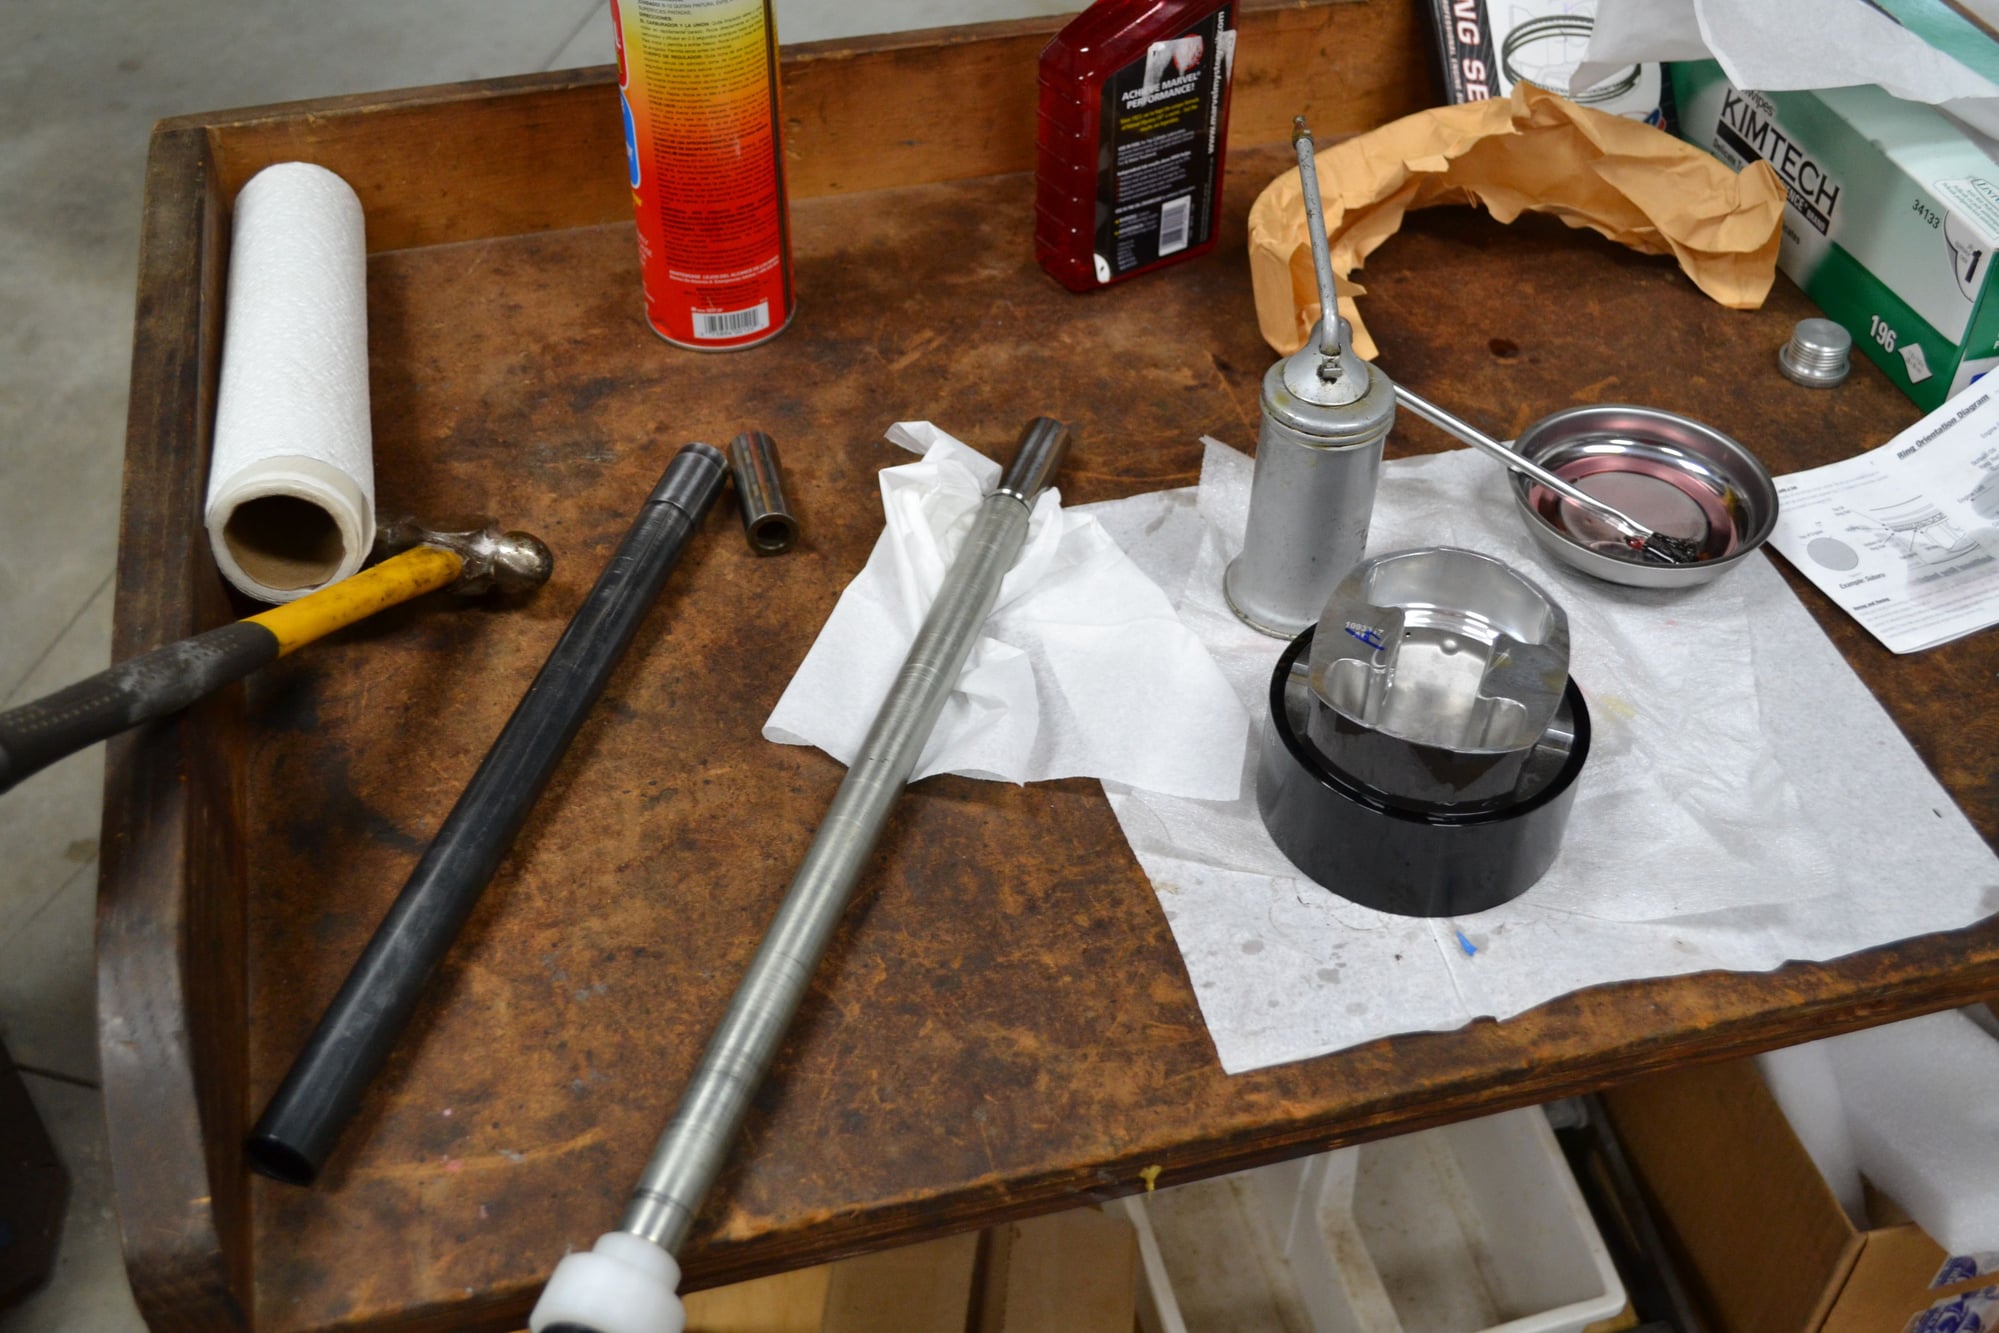
Just about to install the last piston (#4).
One hole left to fill.
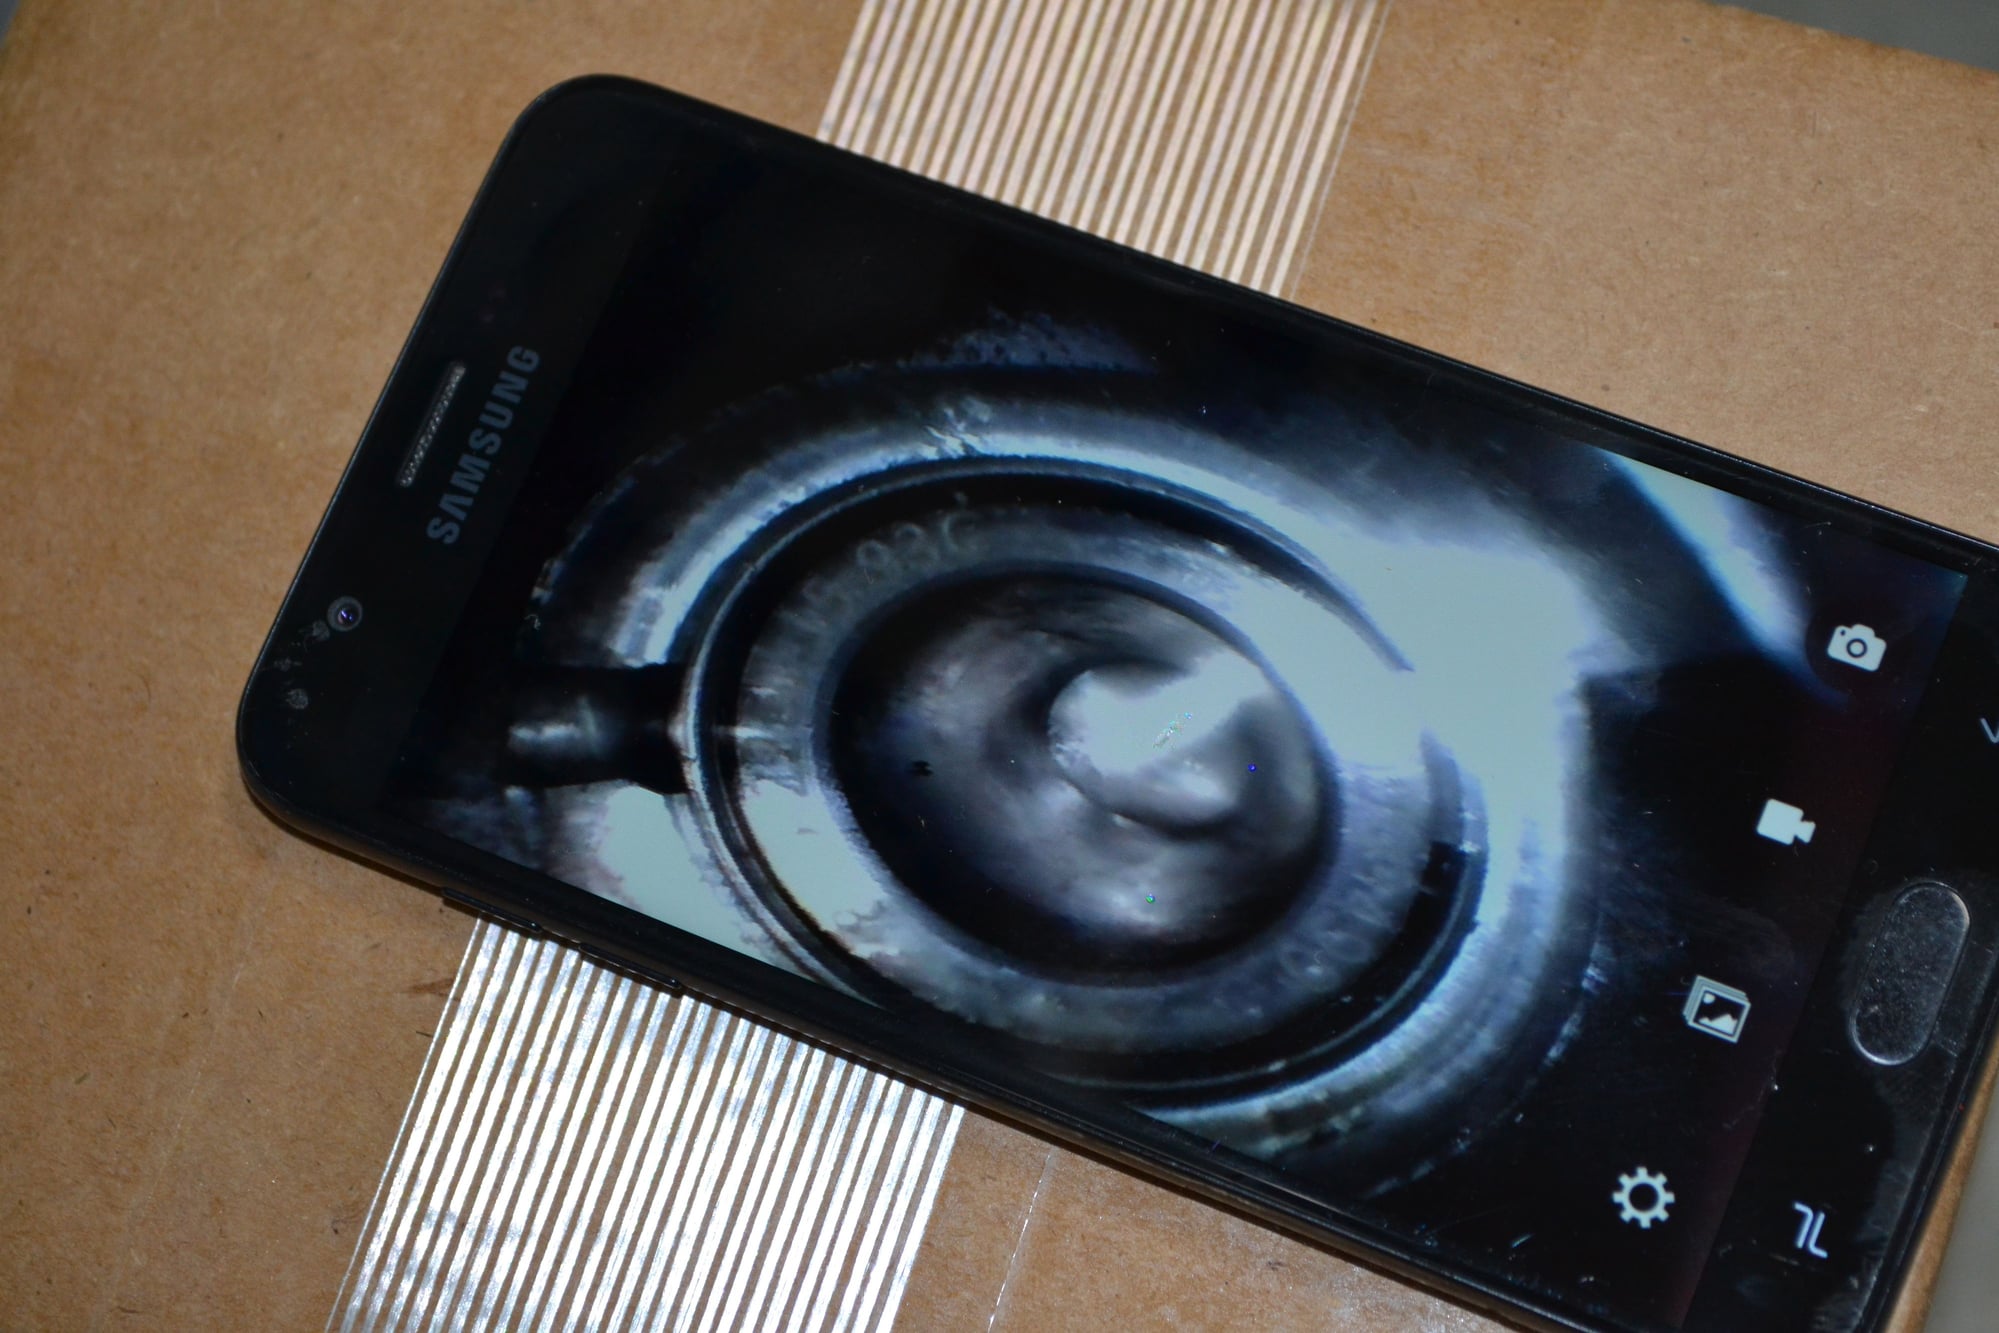
#4 piston pin clip in place. Today I have become a man.
The picture at the bottom showing your phone with the picture of the wrist pin and clip , looks like the wrist pin isn't all the way in and the clip is not seated, looks too close to the edge , might just be the photo but thought I'd mention just incase !
The picture at the bottom showing your phone with the picture of the wrist pin and clip , looks like the wrist pin isn't all the way in and the clip is not seated, looks too close to the edge , might just be the photo but thought I'd mention just incase !
I'm quite sure it's in. But being that it's #4, I can have another look. I do think it's the image that is making it look questionable.
Last edited by Scott at Team Harco; 04-10-2020 at 11:41 AM.
Got a box of fluids today. Quick shipment from LN. Still waiting for the M5 threaded rod to get serious with the installation of the cams.
I could go forward with putting the lifters in, now that I have enough assembly grease. I'll just wait until I can do a few steps while the grease is open.
I'm not waiting on a ladayyyyyy...I'm just waiting on...a tool...(waiting on a tool...)...
Still waiting.
I'd better order my exhaust hardware soon, if this is how long it takes to get a threaded rod.
The postal service is the most likely hold-up. I did get some parts today. I was able to install the fuel filter and a new oil pressure relief valve spring and plunger.
 04-06-2020, 02:25 PM

 .
.