When you click on links to various merchants on this site and make a purchase, this can result in this site earning a commission. Affiliate programs and affiliations include, but are not limited to, the eBay Partner Network.
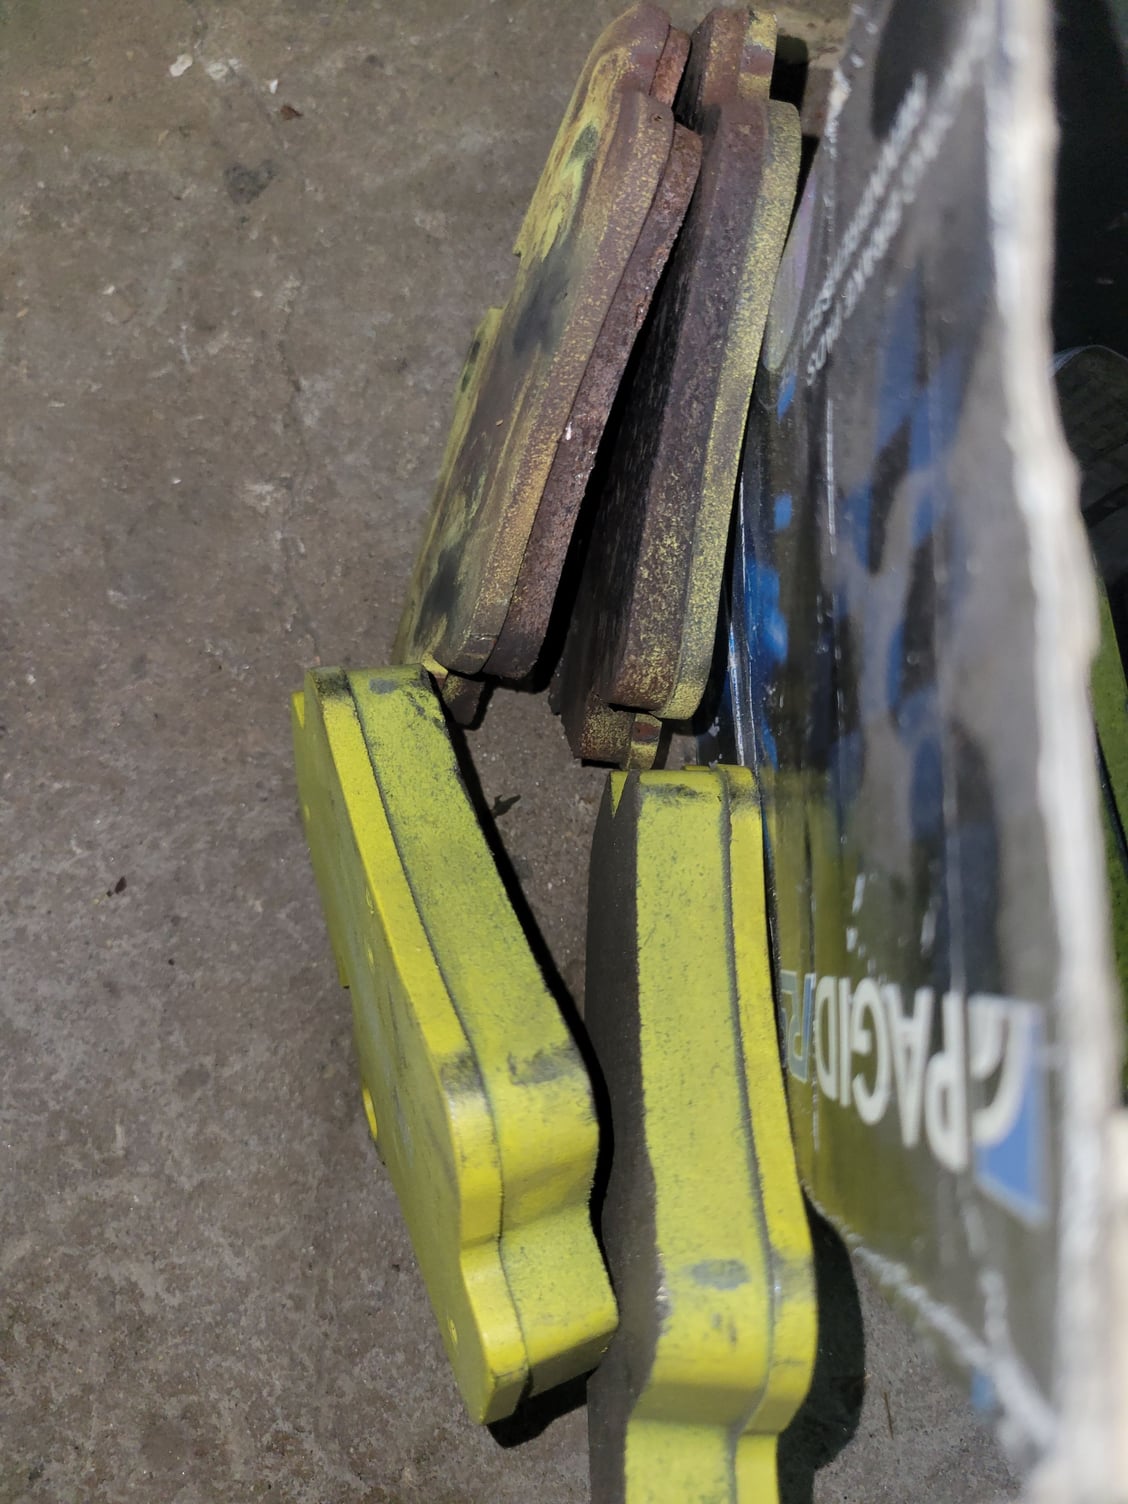
New set of rear brakes. The Pagid yellow 29s hold up pretty good as i got 19 track days out of these. I have a set of the yellow 19s enduro pad im putting on, only because they were on my shelf. I doubt ill feel much difference. The fronts should have another 5 days.
Also pulled the front bumper cause it takes some abuse getting on the toterhome. I have to fix 2 cracks with some panelbond and an alumimum tab for reinforcement.
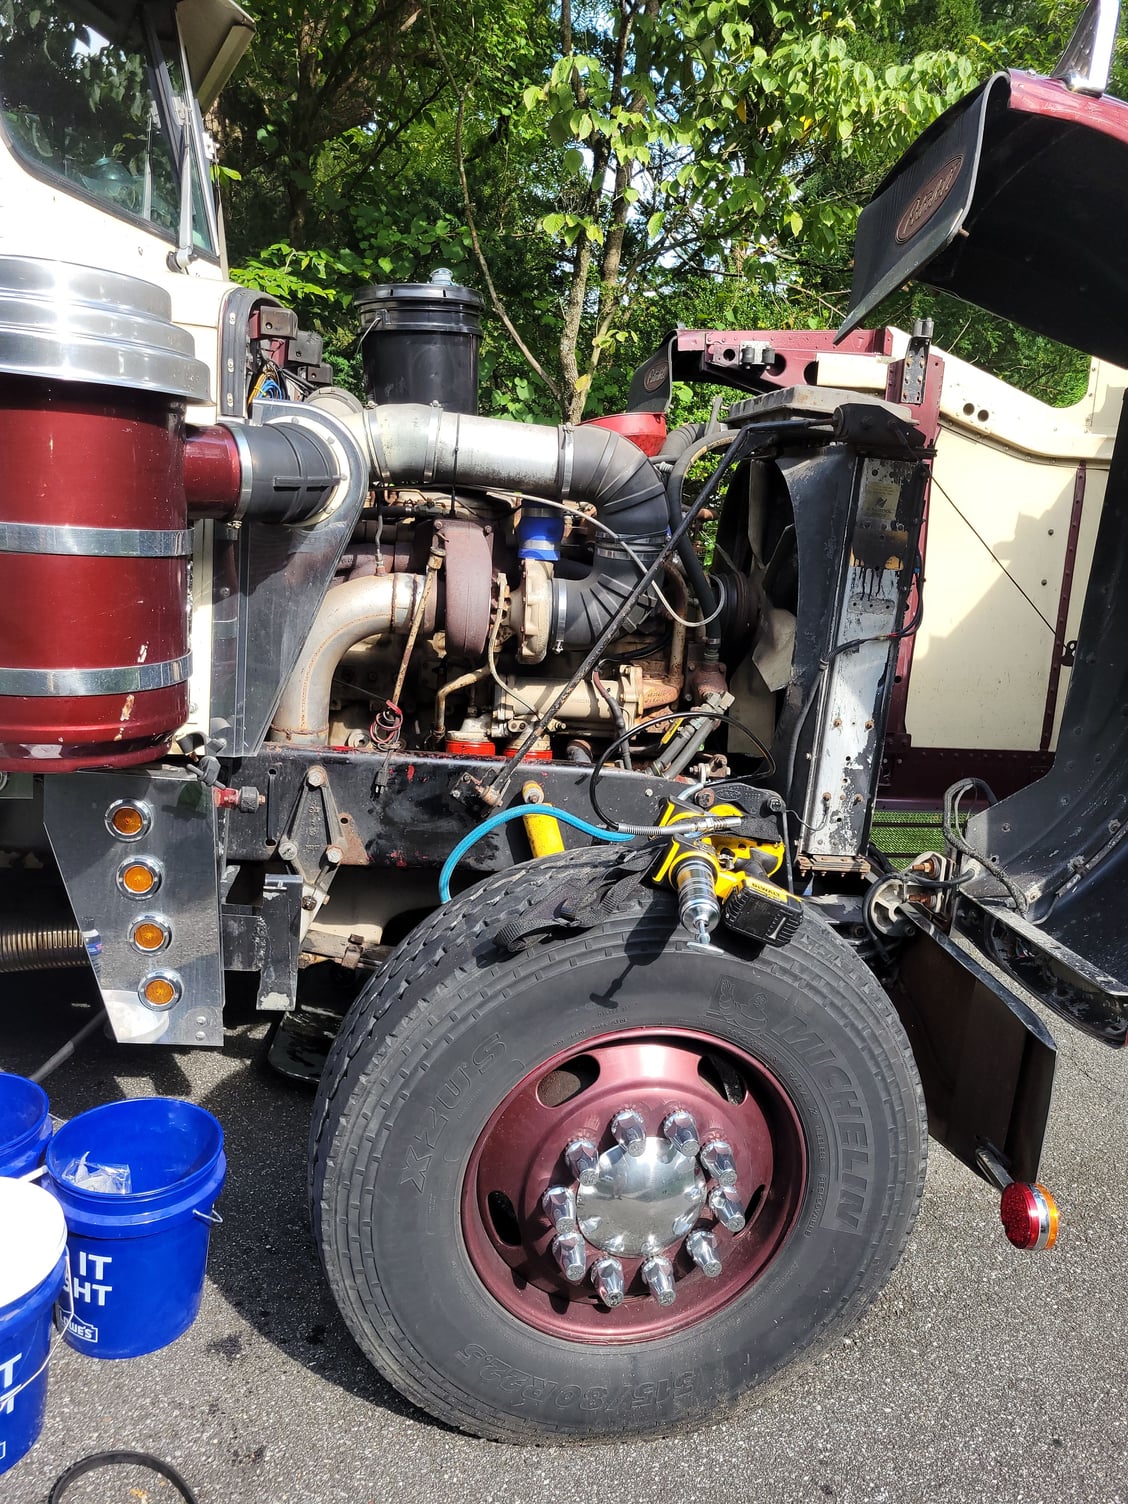
Speaking of the toterhome. Did a bunch of deffered maintenence on it. Fuel filter, 2 oil filters, 8 gal oil change, 2 tubes of grease, 3 cans of brake clean and a full roll of towels for clean up. It should be ready for another 30k miles.
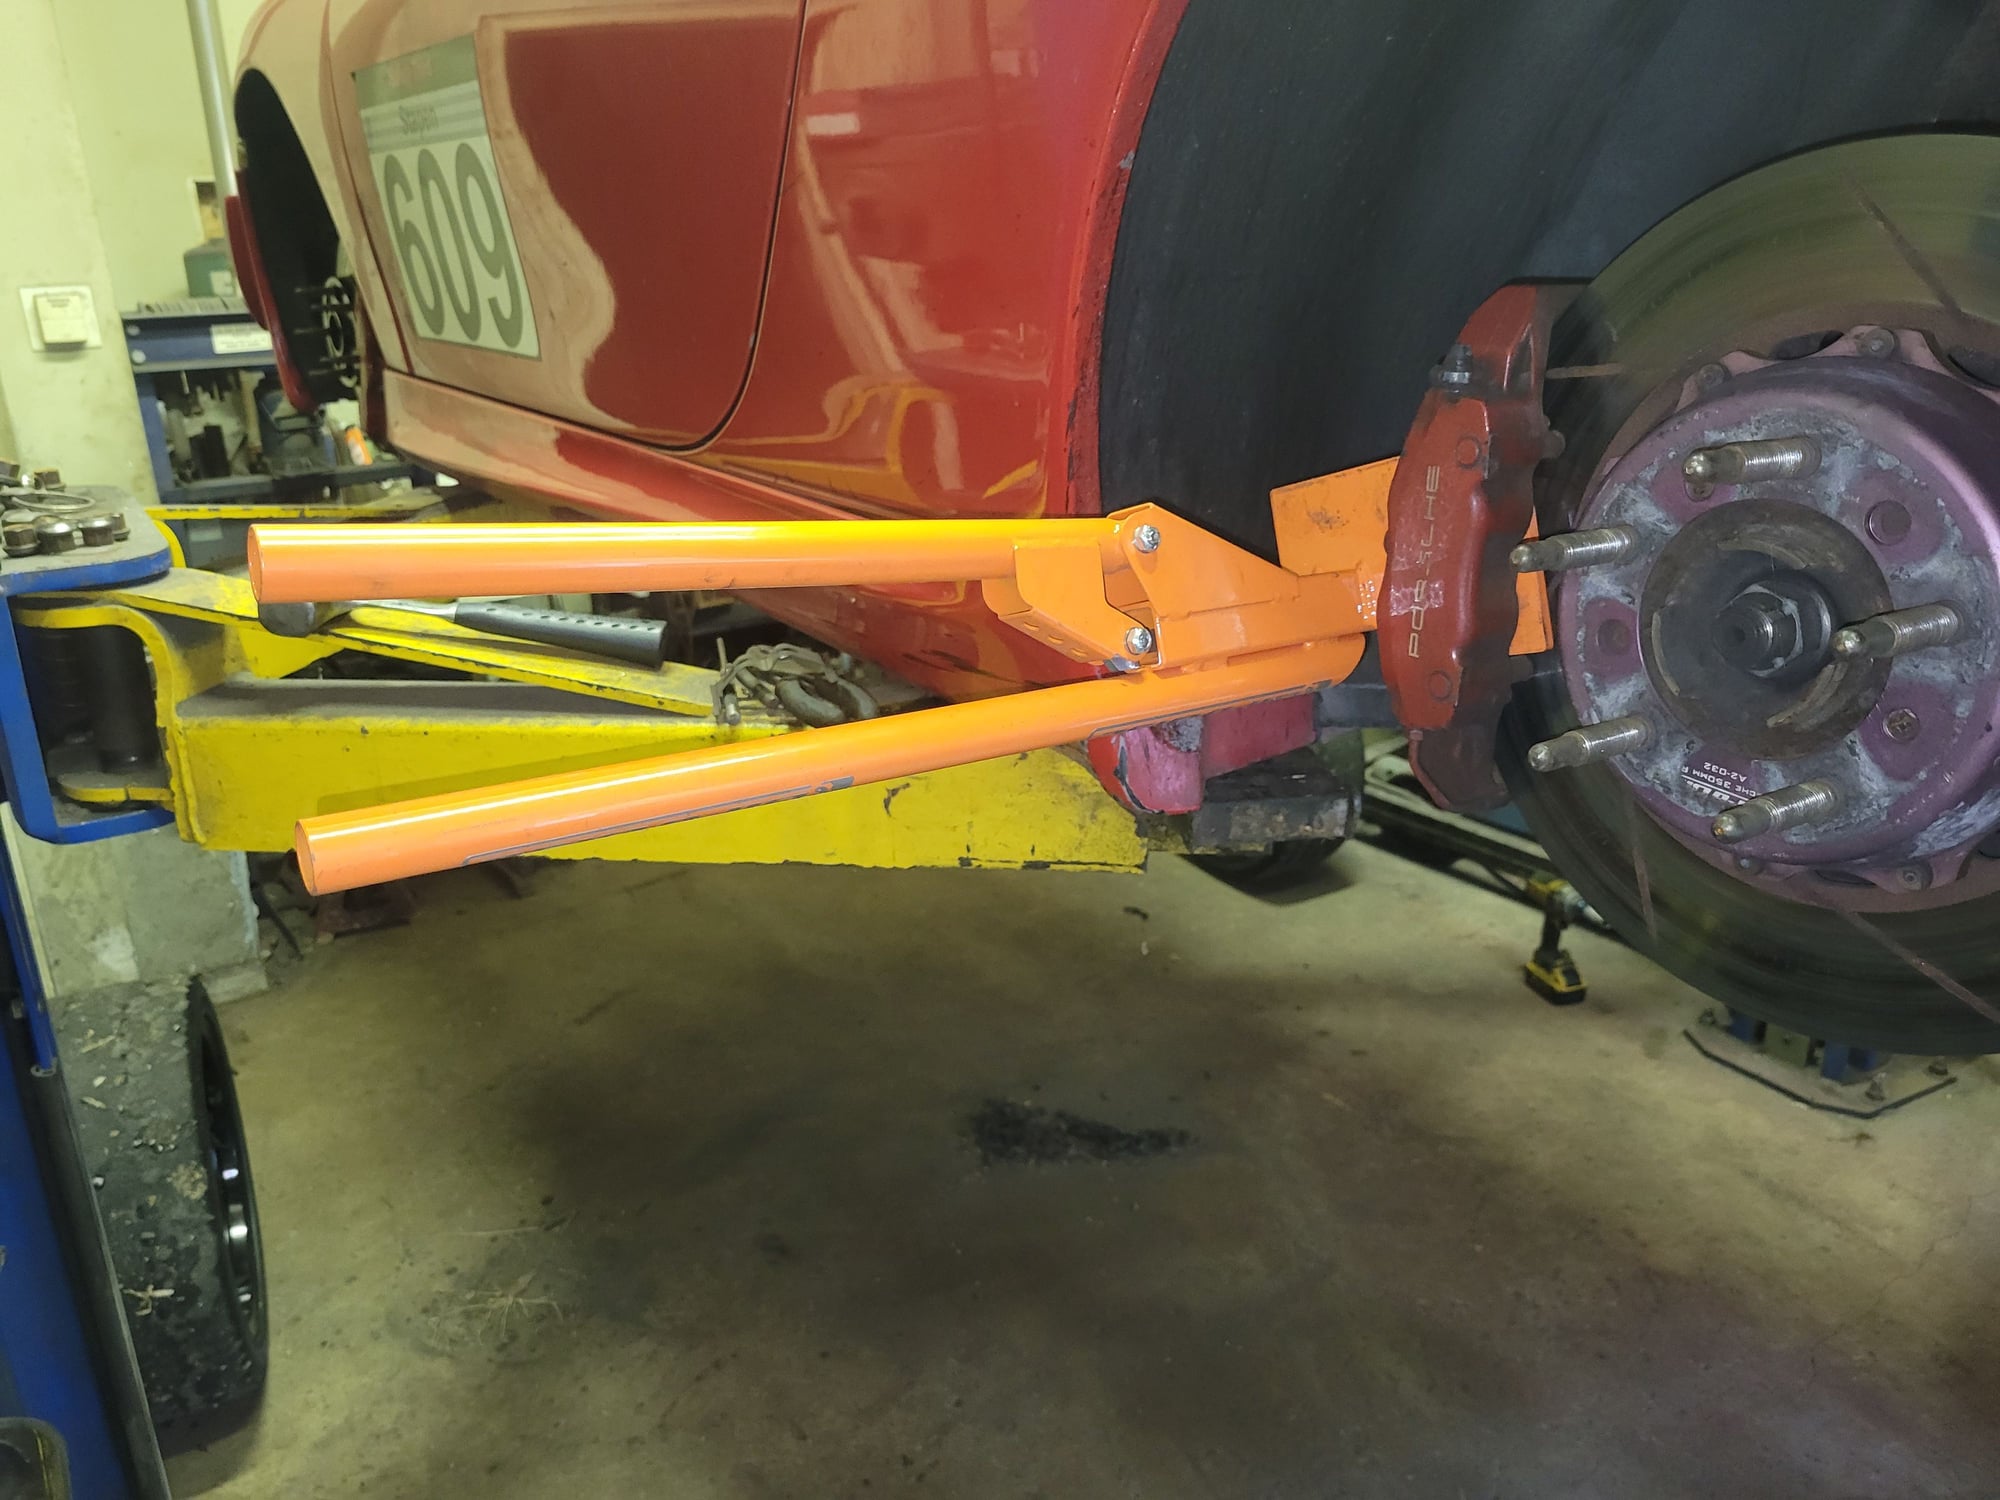
Fyi, The Girodisc caliper piston spreader is a little pricey but makes it a 5 min pad change.
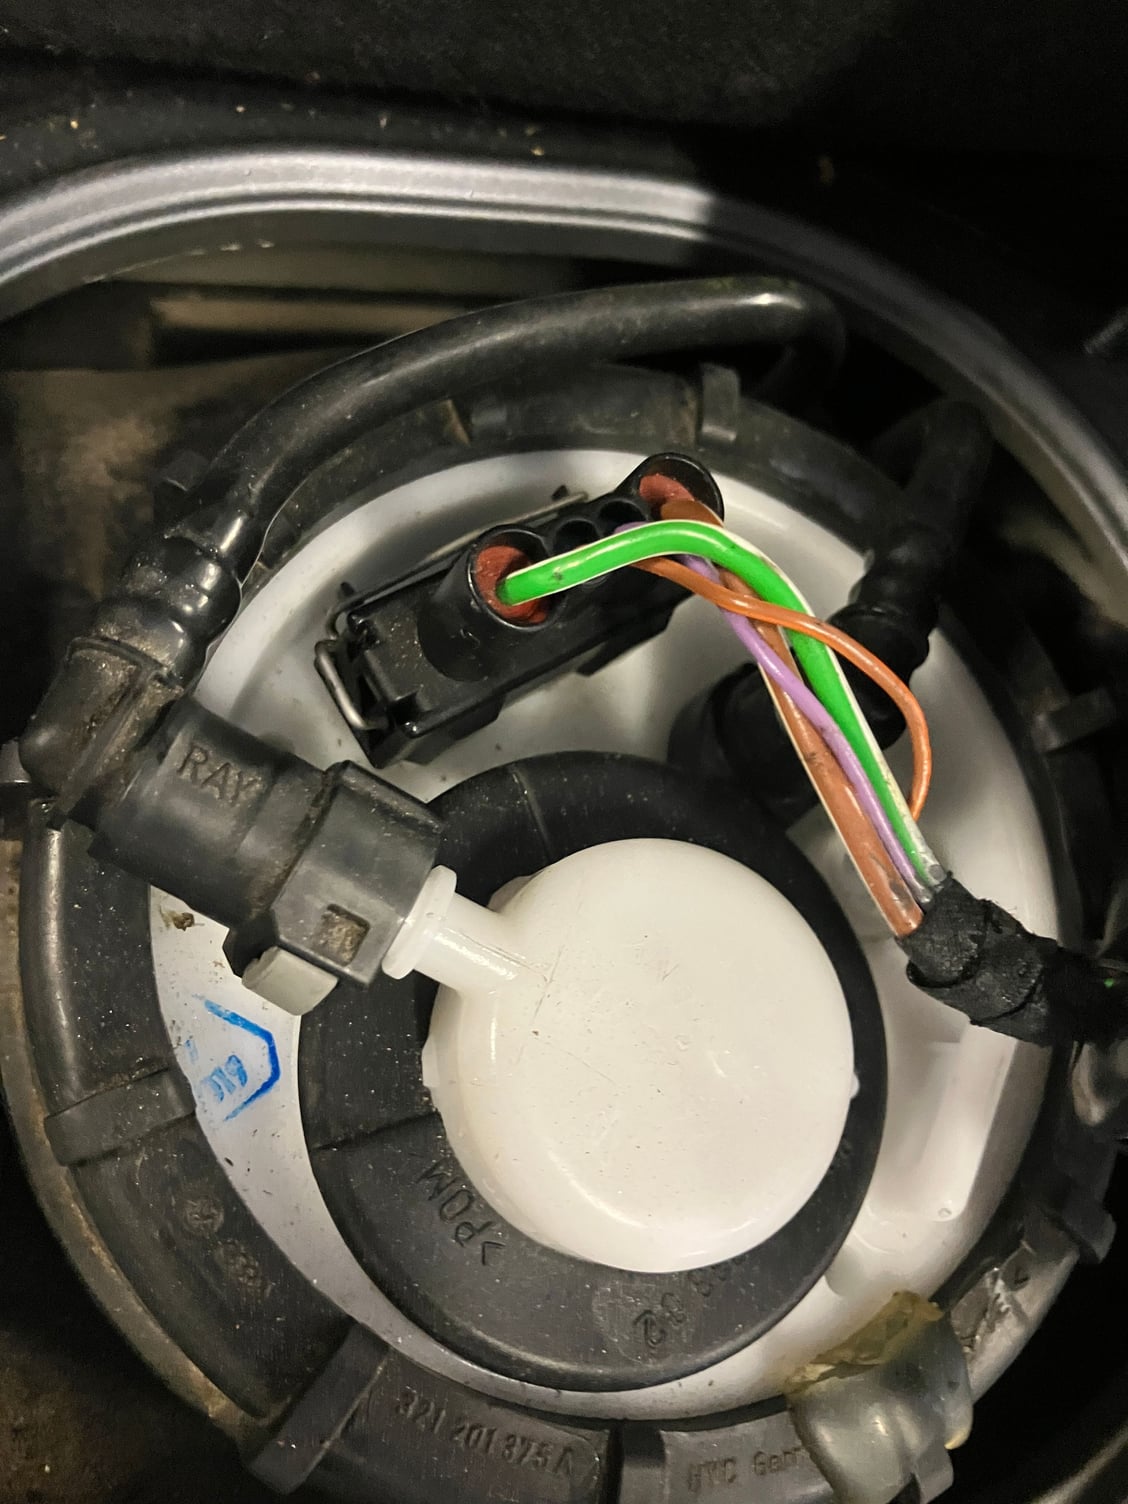
My frunk actuator was finnicky when the car arrived and finally died right after I received my replacement part. I was slow to do the job because the replacement part is a supersede part and the grommet/nipple thing was on the opposite way of my factory part. I spent a week or so going back and forth with Pelican to confirm I had the right item. By then the old actuator gave up the ghost. Here's the two parts:
If you look closely, you'll see that the grommet is backwards on the new part (old part left, new part right) - so I had to try and stuff the fat end through the much smaller hole. I did the best I could.
I watched a few youtubes and set about going after the manual release cable. I started by opening up the driver's side wheel well:
To my dismay, I didn't see ANYTHING that looked like a cable to pull. So I decided to open up the passenger side and try my luck over there.
That got her done. That said, the loop wasn't visible. I basically wedged the fender liner out of the way, stuck my arm in, and felt around:
I felt a cable way up on the frunk side of my headlight. I grabbed the loop and pulled it firmly and my frunk opened! Hard to see this thing from outside:
It will be much easier to find next time!
I had a little trouble getting the latch to take after swapping the actuators. I ended up needing to reach into the cavity with the latch and take back some slack from the manual release. All in all, a pleasing 8/10 experience jacking with my 20 year old car.
I aired up the spare, added a 4 spoke tire iron, and put some jumper cables in the bottom. I'll be ready to road trip next week.
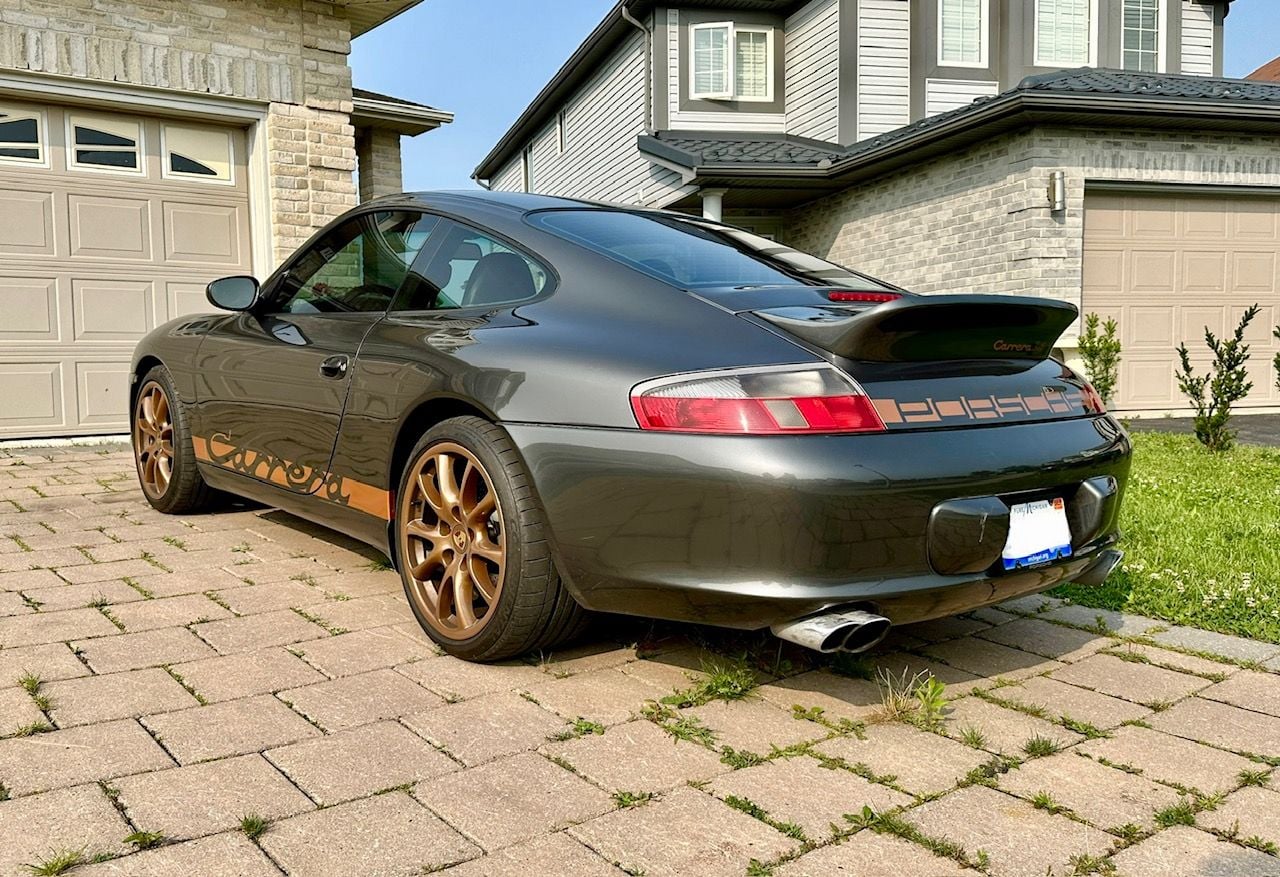
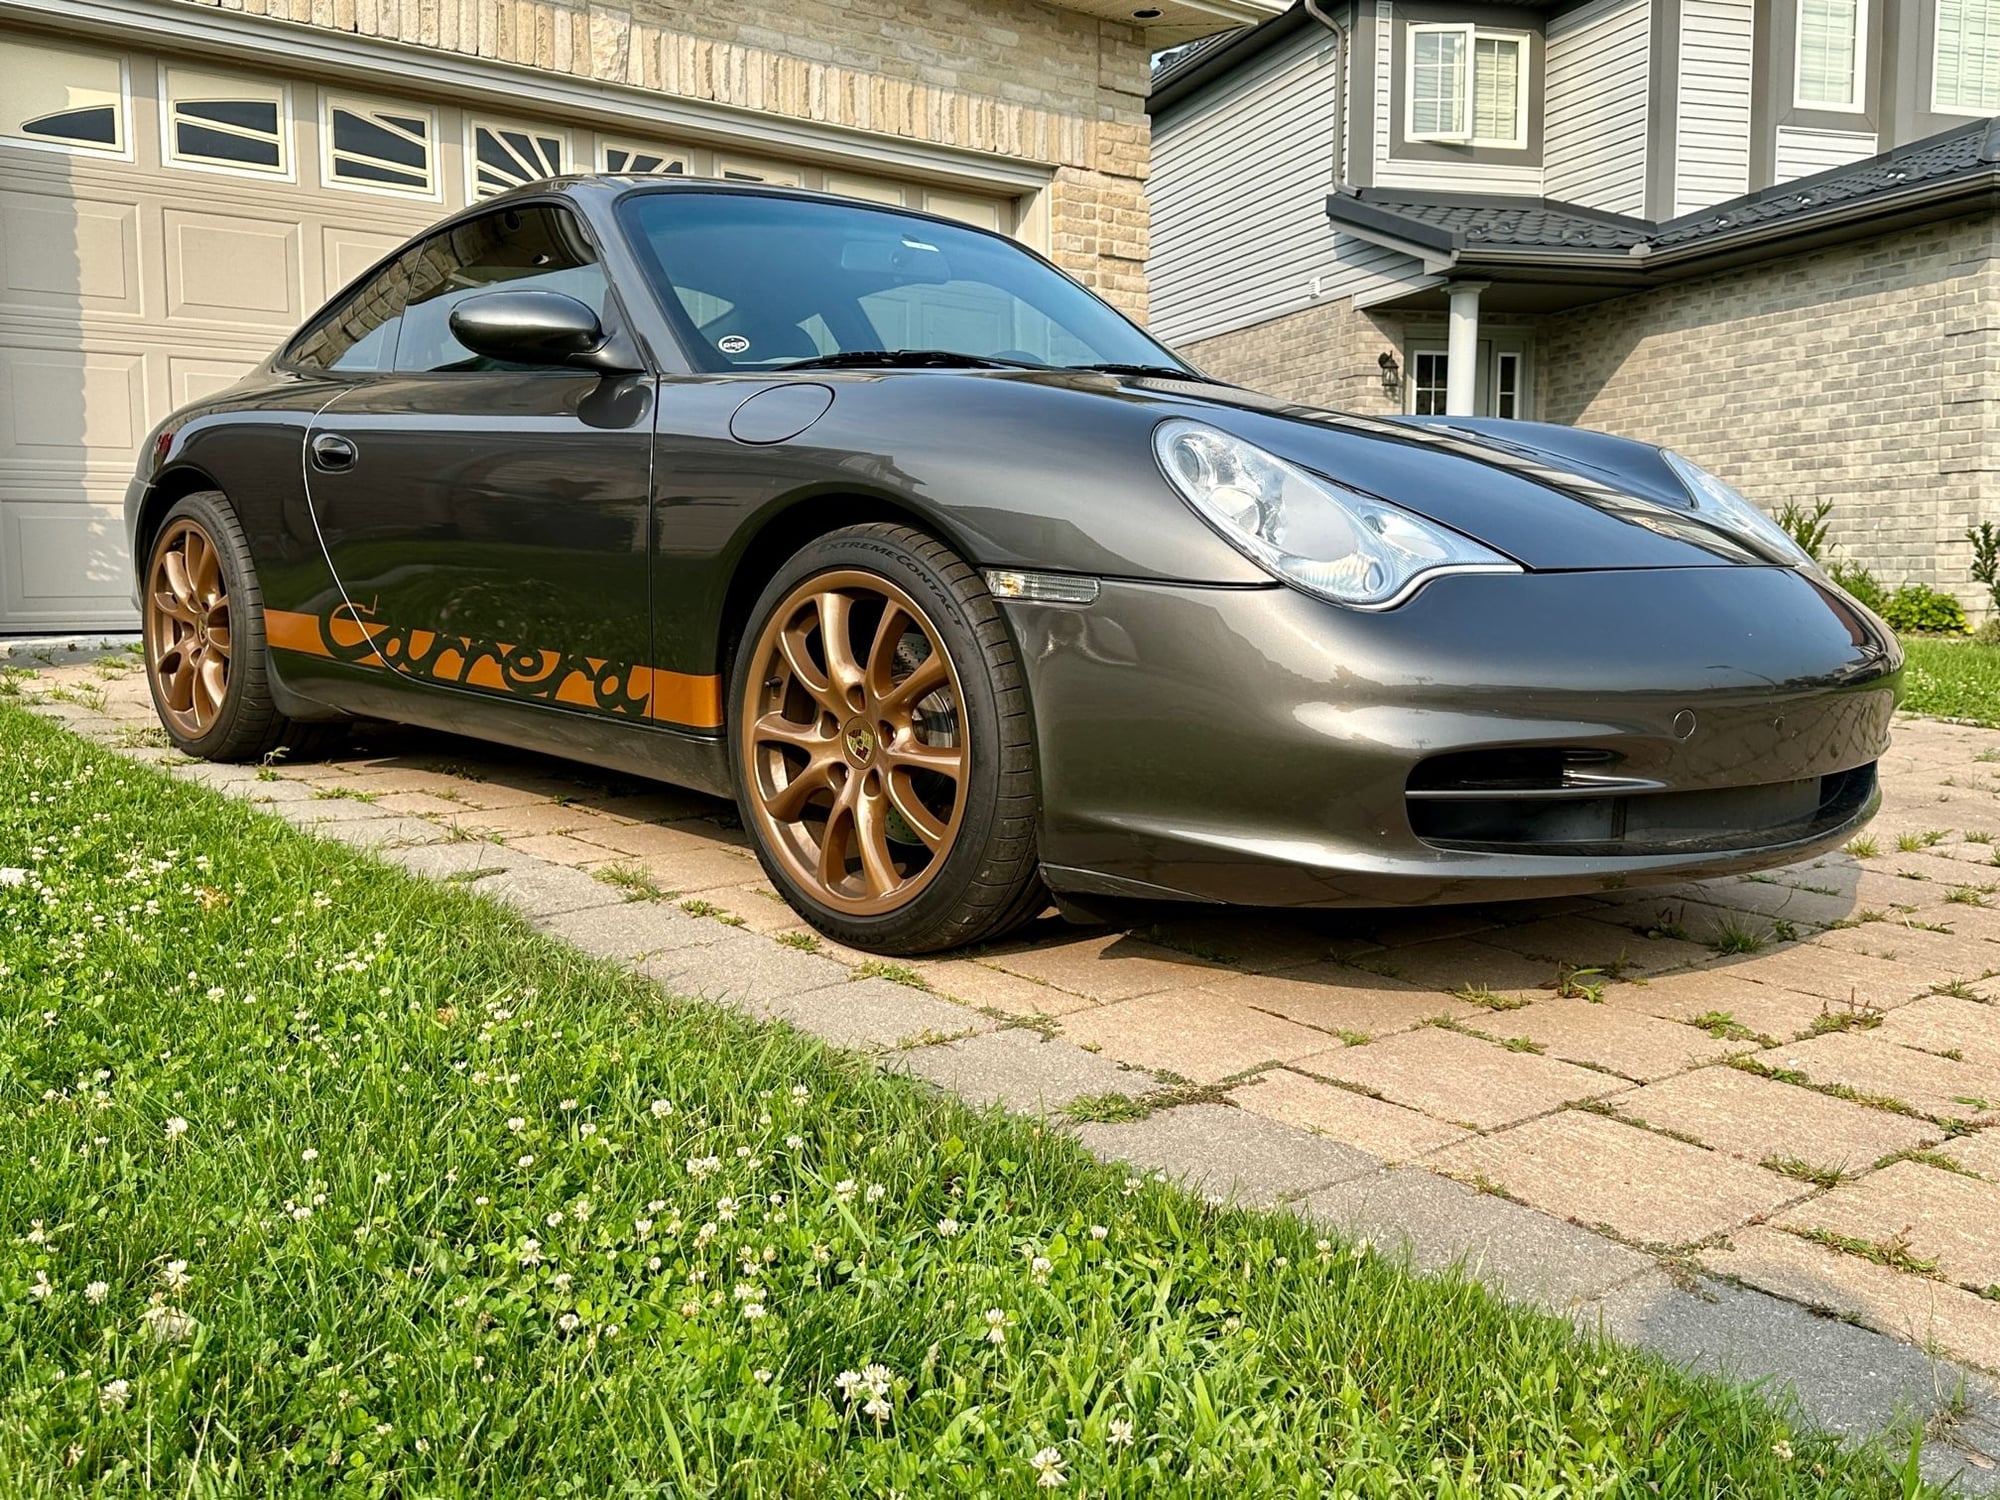
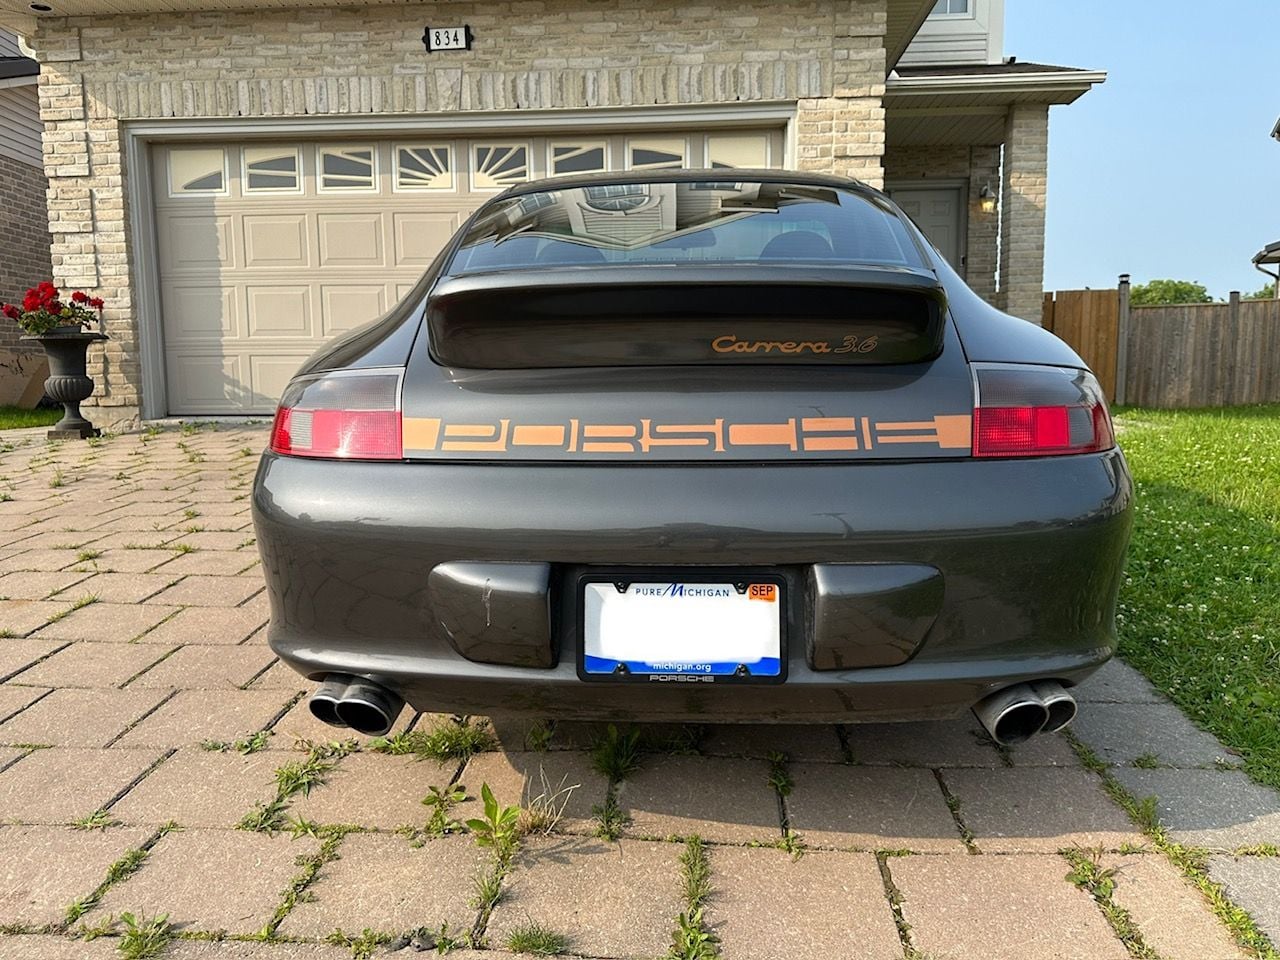
She was looking a little plain, so I went ahead and added some graphics...my homage to the 2.7RS...Carrera 3.6 is a little off on the ducktail, - should prolly be about 1/2-3/4" to the right., and maybe 1/2' higher..I may replace. Pretty happy with how it turned out tho!
She was looking a little plain, so I went ahead and added some graphics...my homage to the 2.7RS...Carrera 3.6 is a little off on the ducktail, - should prolly be about 1/2-3/4" to the right., and maybe 1/2' higher..I may replace. Pretty happy with how it turned out tho!
She was looking a little plain, so I went ahead and added some graphics...my homage to the 2.7RS...Carrera 3.6 is a little off on the ducktail, - should prolly be about 1/2-3/4" to the right., and maybe 1/2' higher..I may replace. Pretty happy with how it turned out tho!
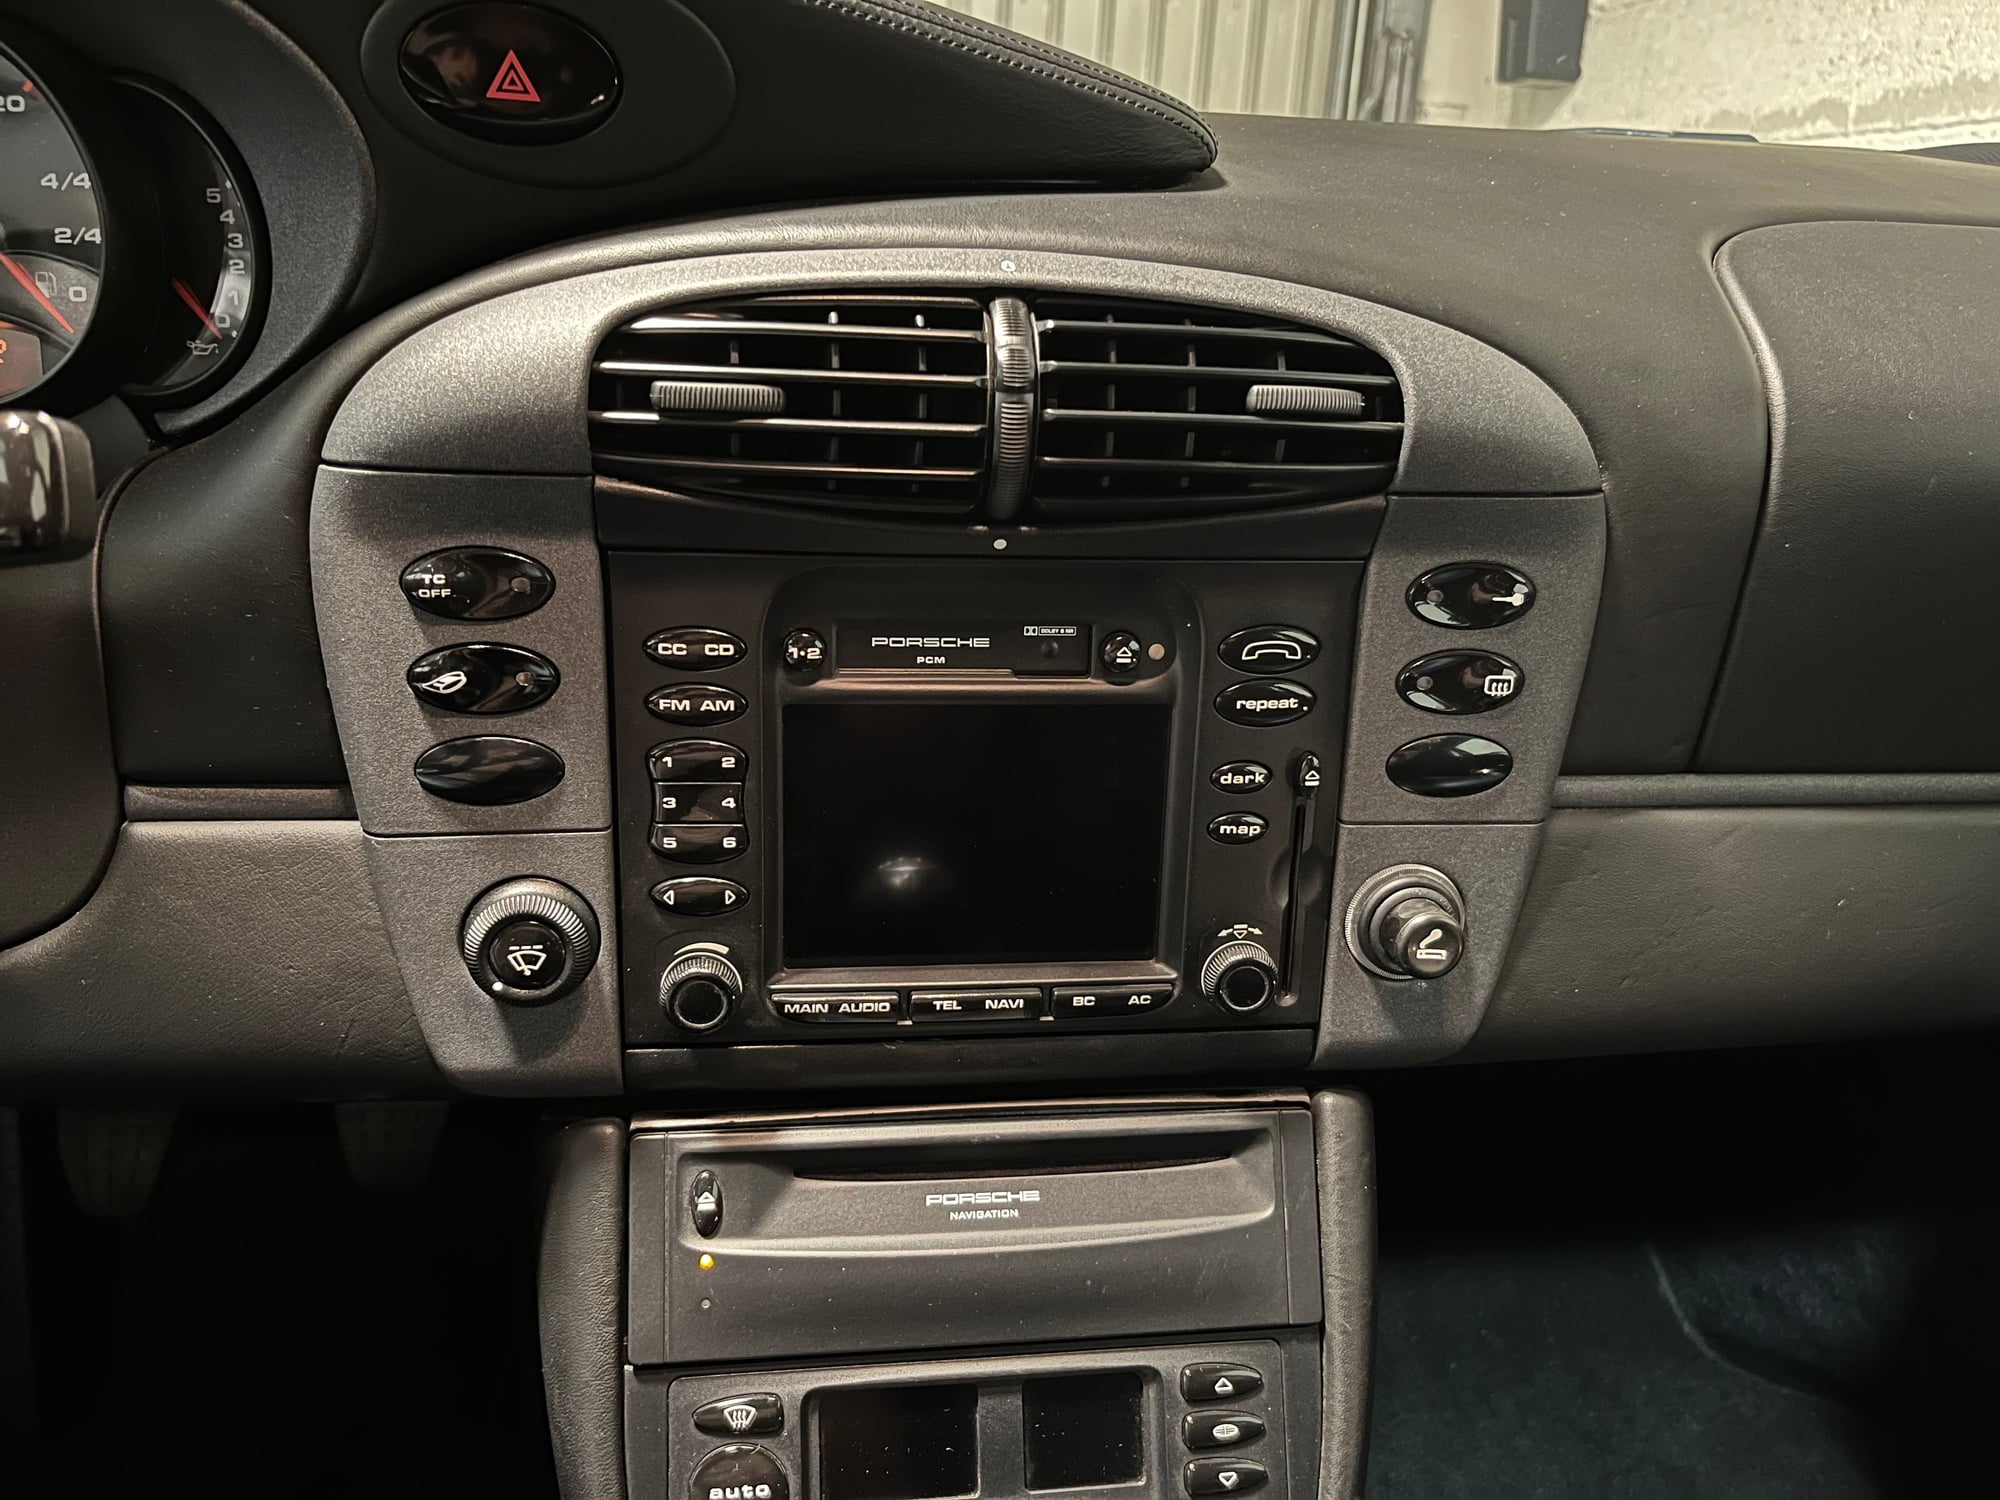
Replaced the terrible Blaupunkt headunit that the previous owner installed with a new Continental unit. Installation was a breeze with the Bergvill harness. Next items will be painting the center console in Seal Grey Metallic to match the exterior and having the steering wheel rewrapped by Dallas Custom.
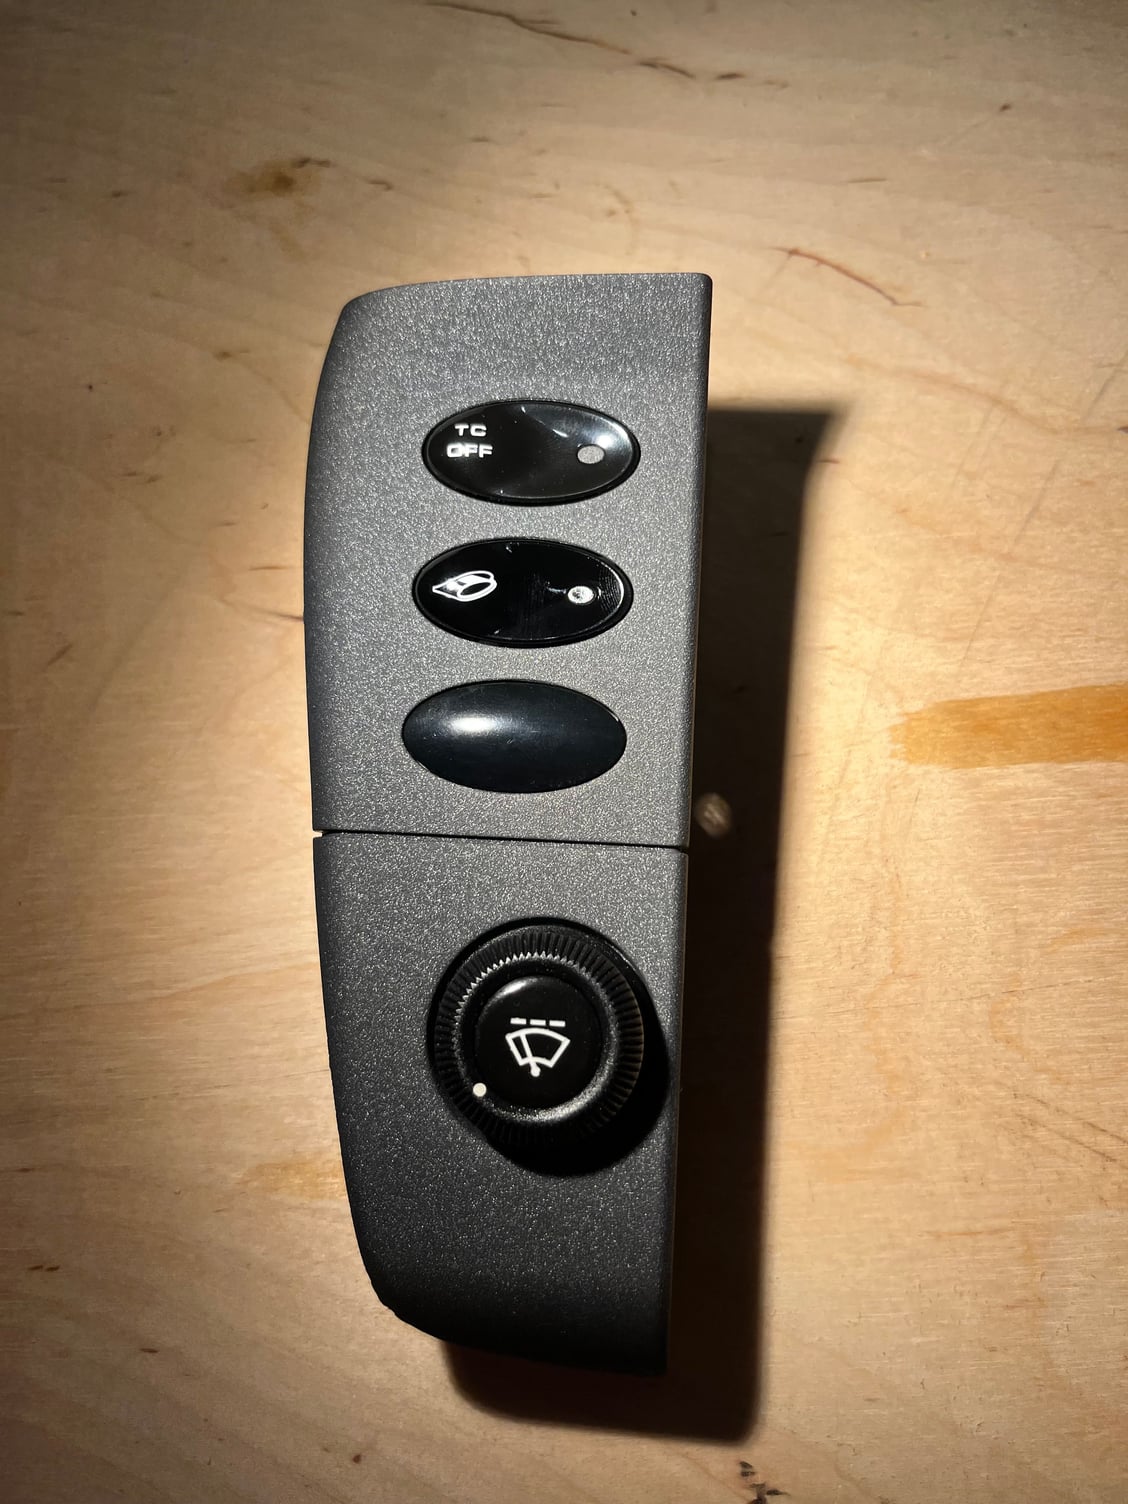
Used some Clearcoat on the PSE switch to make it glossy & consistent with the other 996.1 switches .
Also got around the Nav unit code issue (PCM1 was asking for it after a battery disconnection period, but not accepting the ones on my card) by removing the head unit and unplugging / re-plugging the black & blue connectors.
I�m still on the fence between getting a good phone mount and Bluetooth unit for the PCM1, or putting in a CarPlay unit (which doesn�t really cost any more, saves weight and is more functional, but less original).
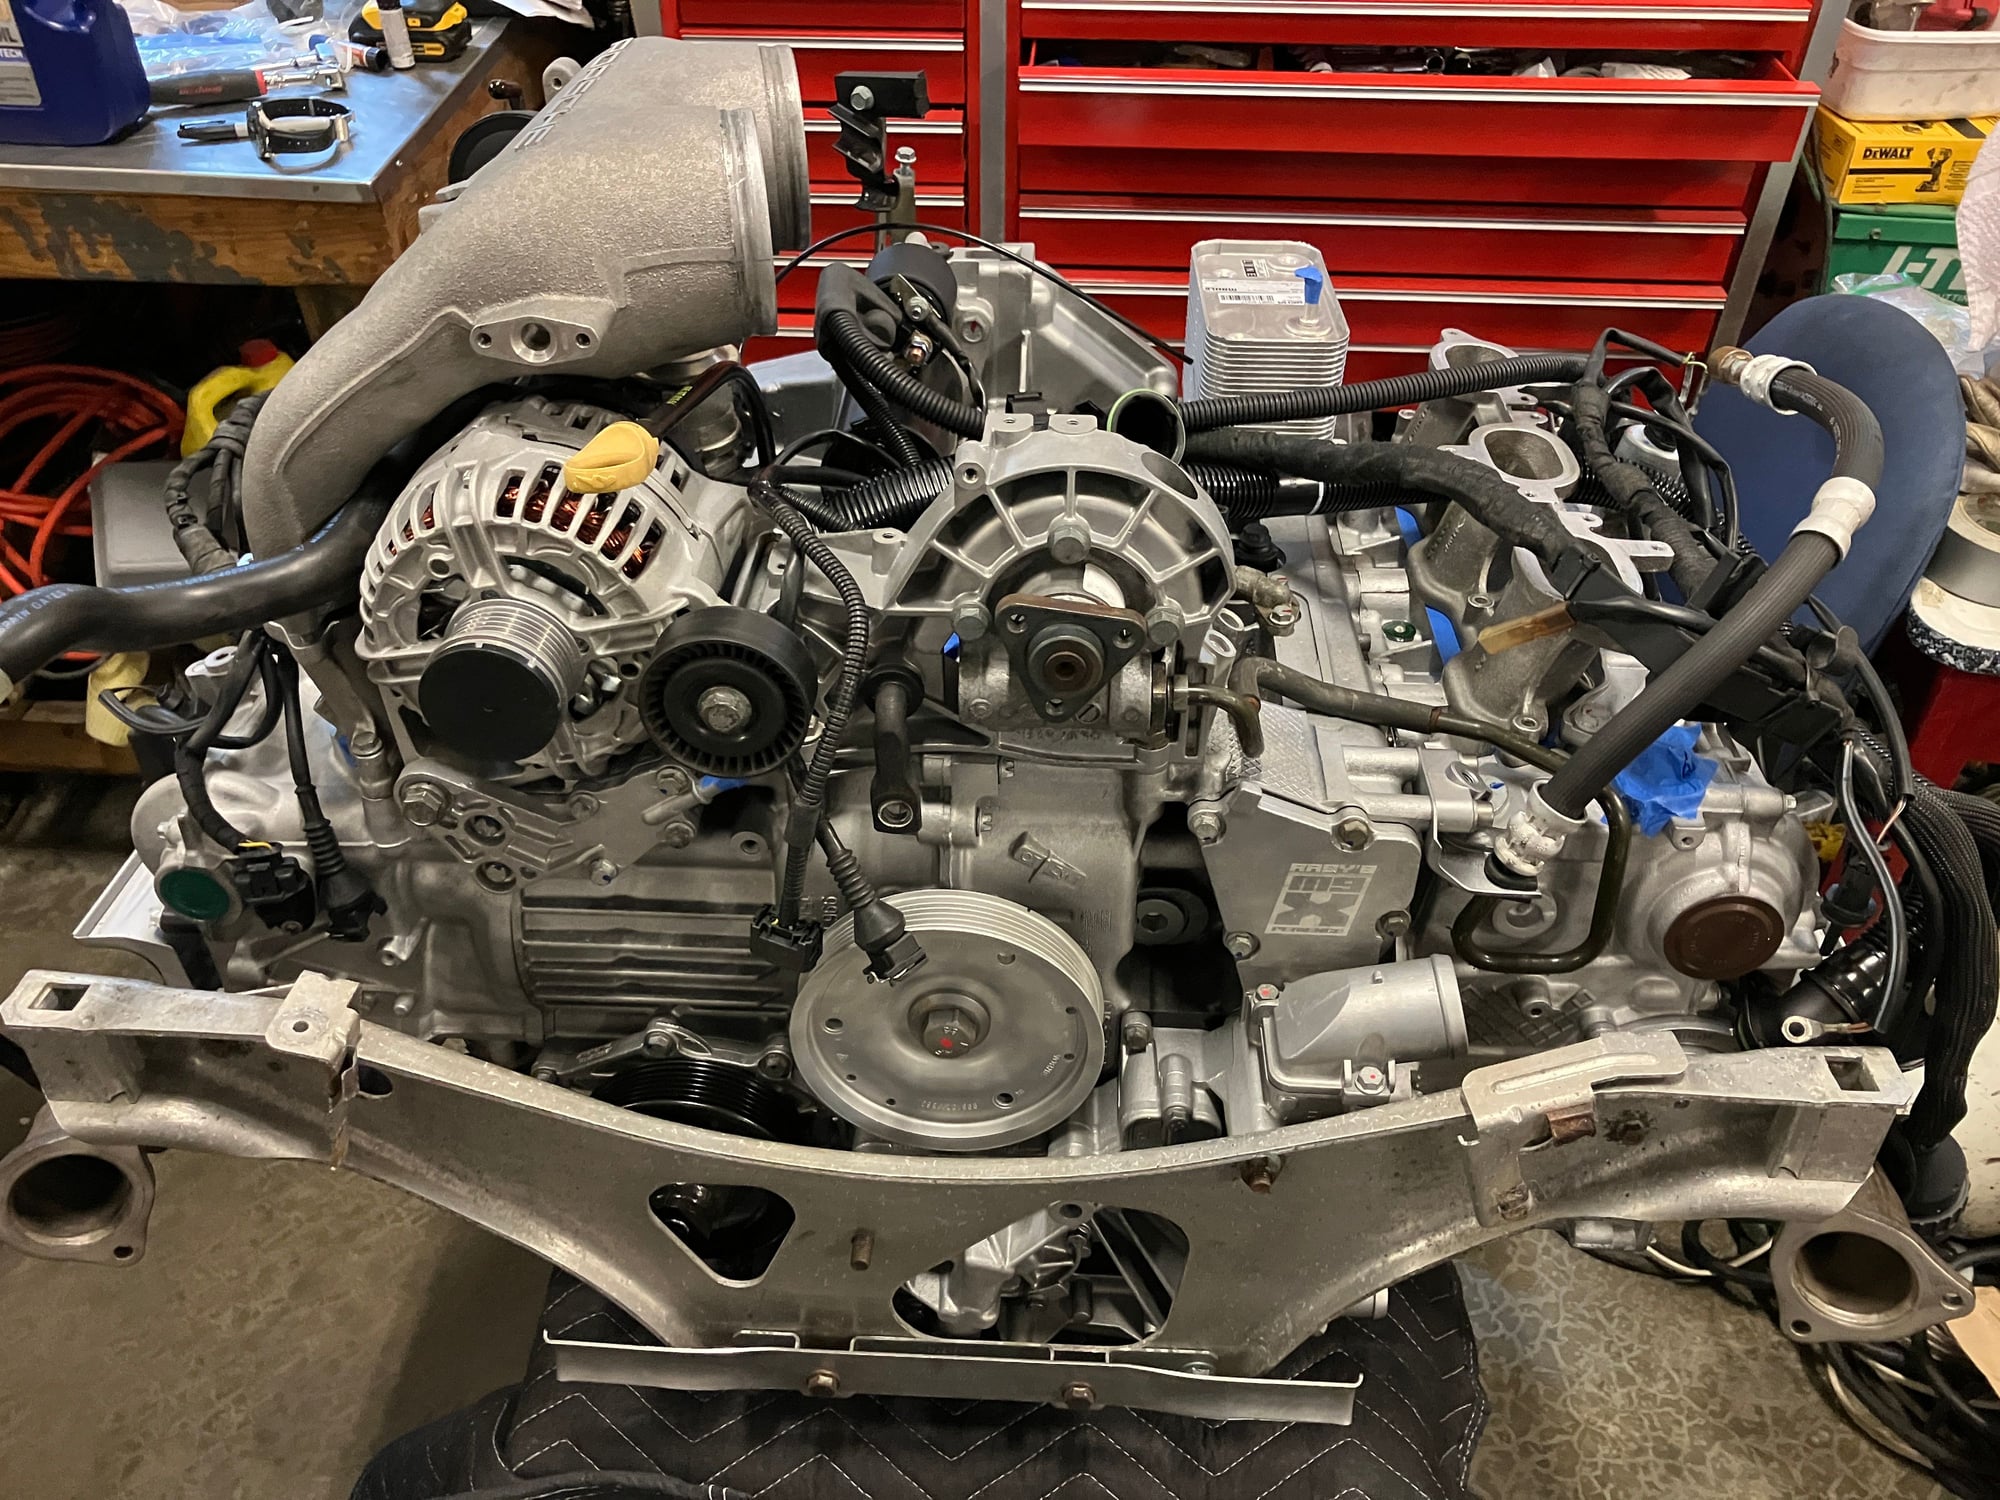
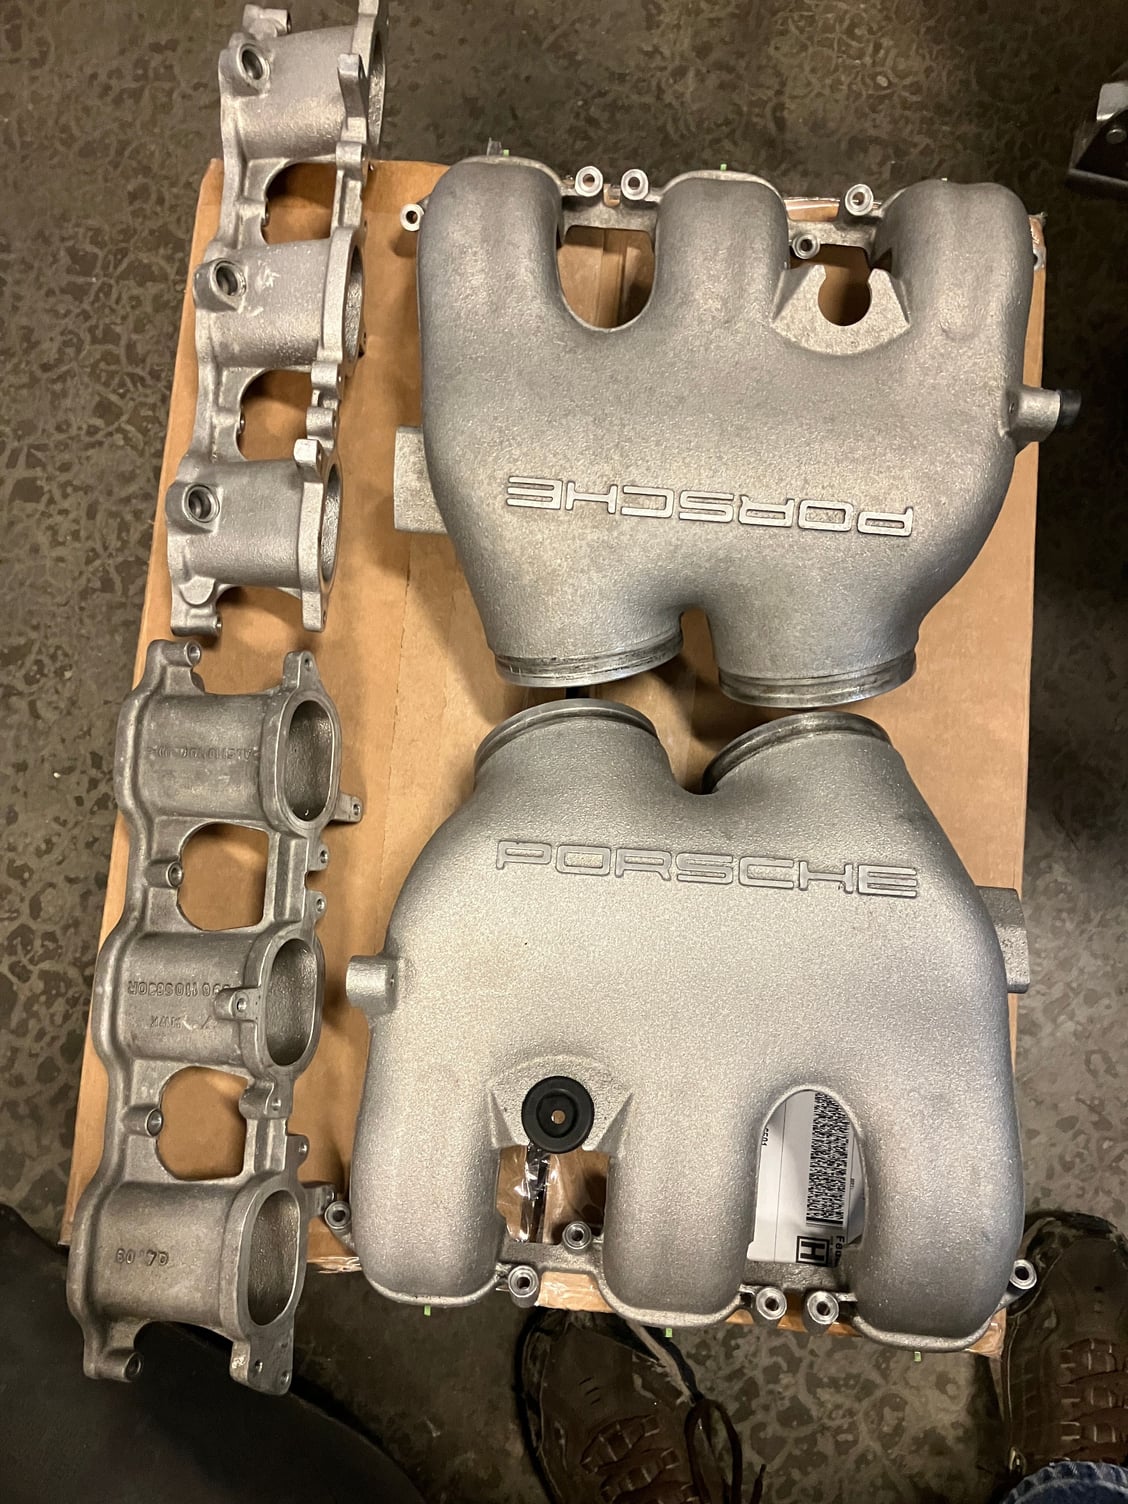
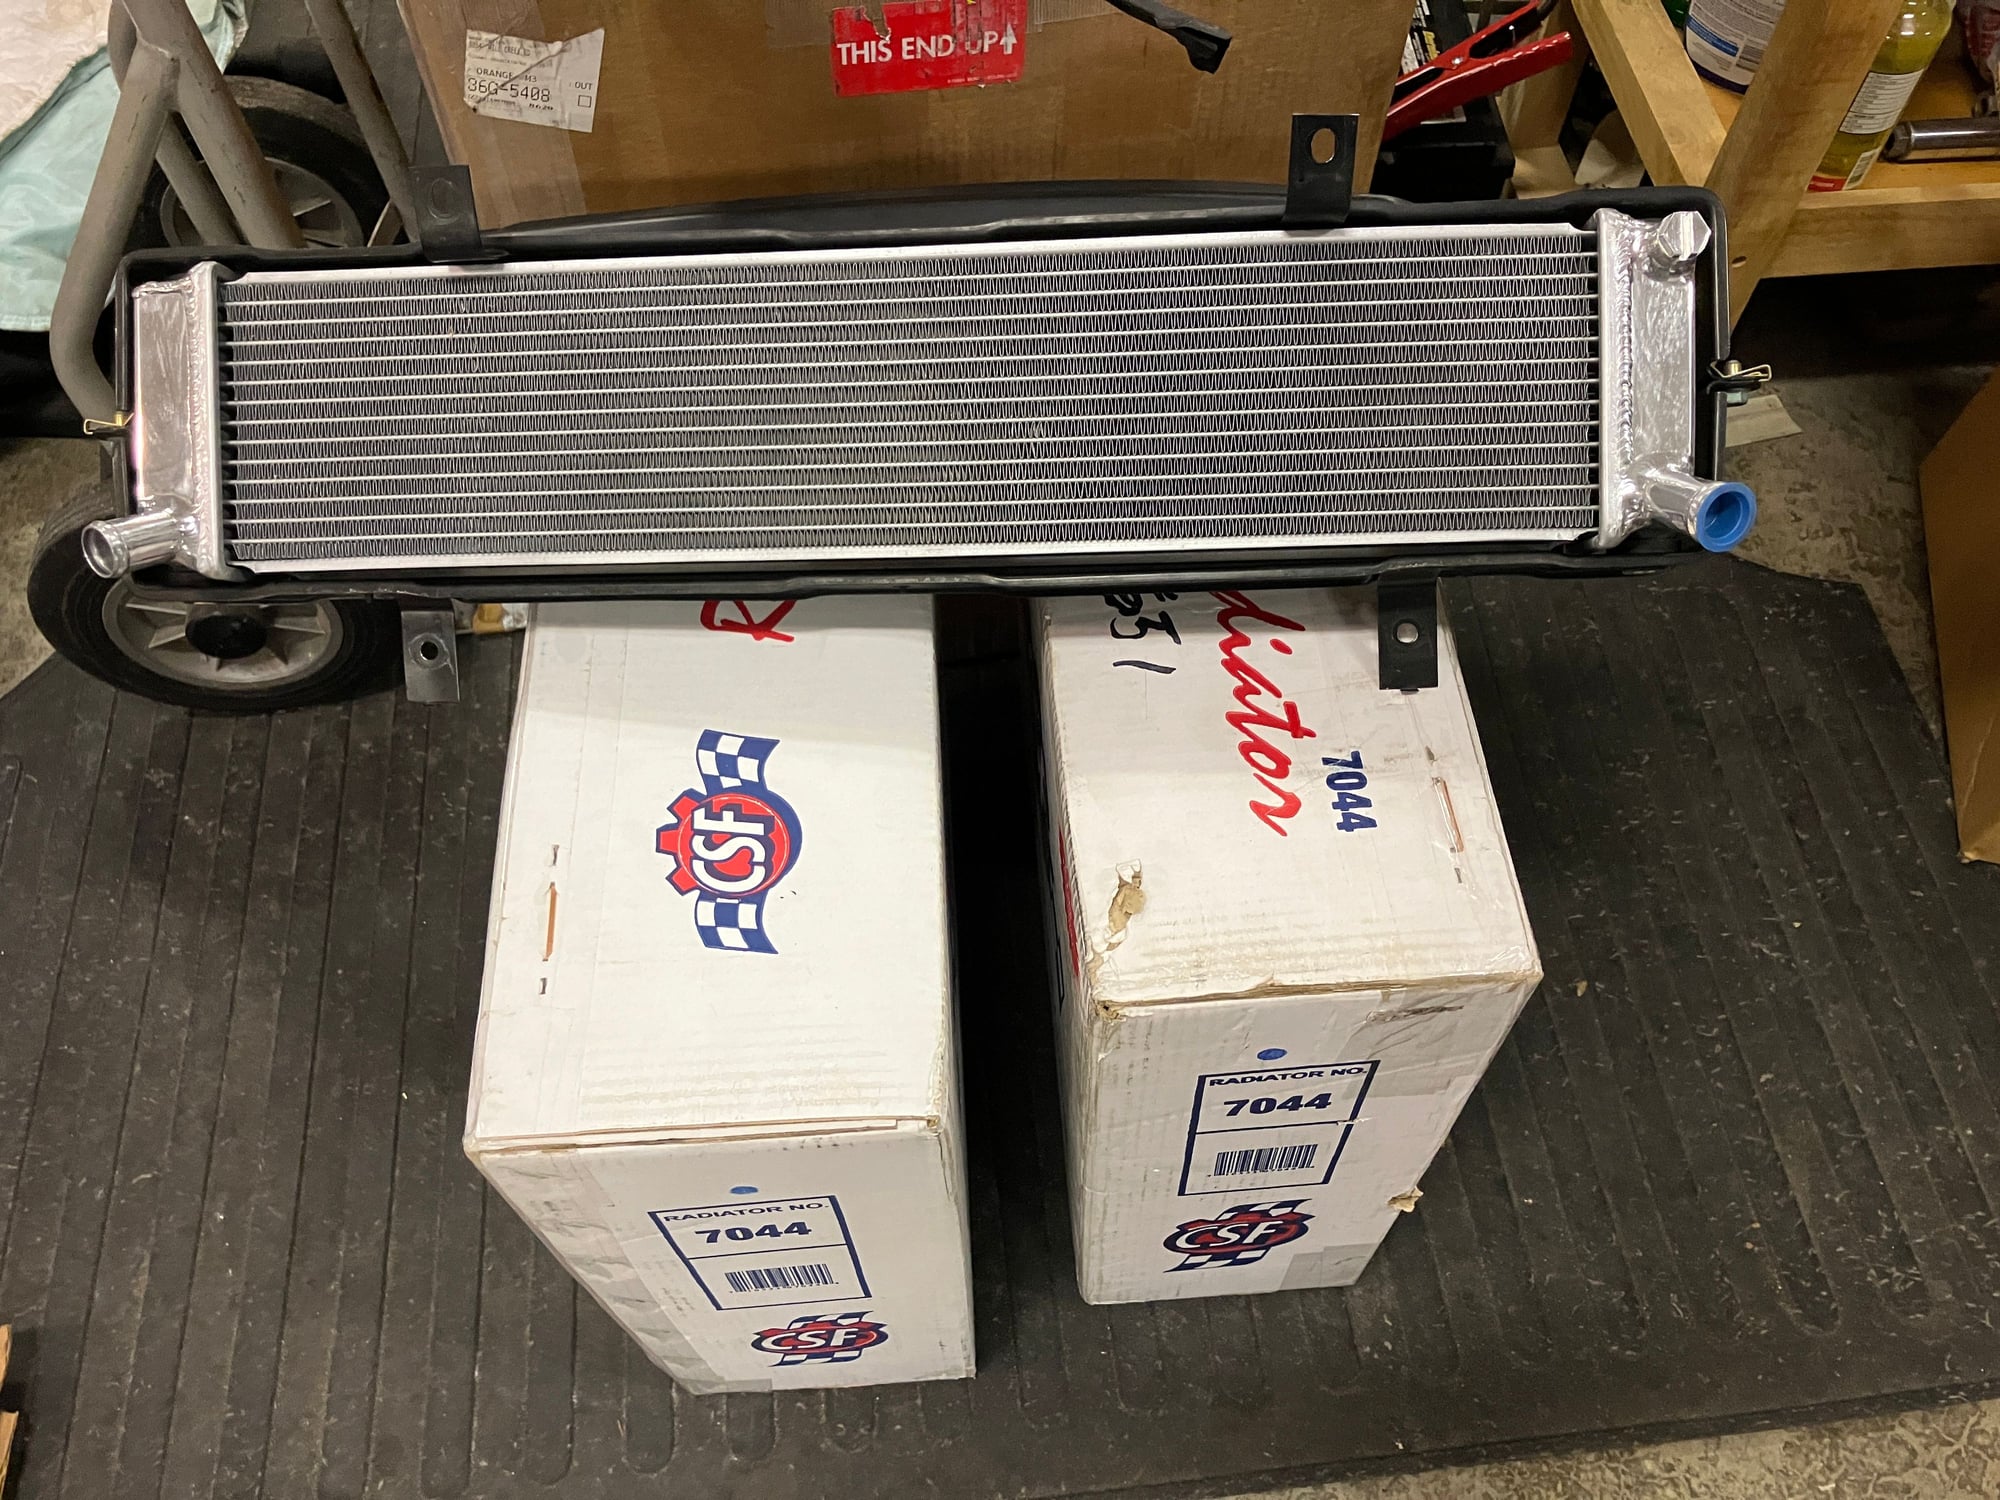
Found an X-51 intake which will be installed. Installed a new fuel pump and today I will replace the three radiators with a set of new CSF radiators. I had to order a new Power steering return line and lower reservoir. I just didn�t like the looks of the ones that came on this engine. Next to install is catted X-pipe and Fister modified mufflers
Making progress!
Looks great @168Sierra ! I'm surprised you didn't go with one of Jake's newly developed Intakes? or are they not ready yet?
 07-22-2023, 10:35 PM


 .
.