When you click on links to various merchants on this site and make a purchase, this can result in this site earning a commission. Affiliate programs and affiliations include, but are not limited to, the eBay Partner Network.
I need to do the instrument lamps as well, very dim on my 87 944 N/A. Otherwise interior nearly perfect
Can the be replace from underneath ?
If its a late oval dash you need to remove it from front. It's not hard, just remove the trim that includes the vents. Use a magnetic tipped screw driver is my advice. Some say you need to remove the wheel but I have taken mine out several times with wheel on
This week I was able to get 6 of the seat mount nuts epoxied up to the bottom of the seat rail mounts (driver's side)..and also got the rear defroster grid silver epoxied to the connector..Woof..what a fight that was... with the tape and all..C clamps are no good unless you have one that is made of aerogel or something. too heavy...also got my steering rack put back together..The new boots look good, but they are a fight to get back on the rack ends...pliers and a screwdriver and lots of tugging...but now they're on.now it's.ready for re-install with all new inner and outer ends, grease in rack replaced, and all freshend up..ready now for re-install. YAY!
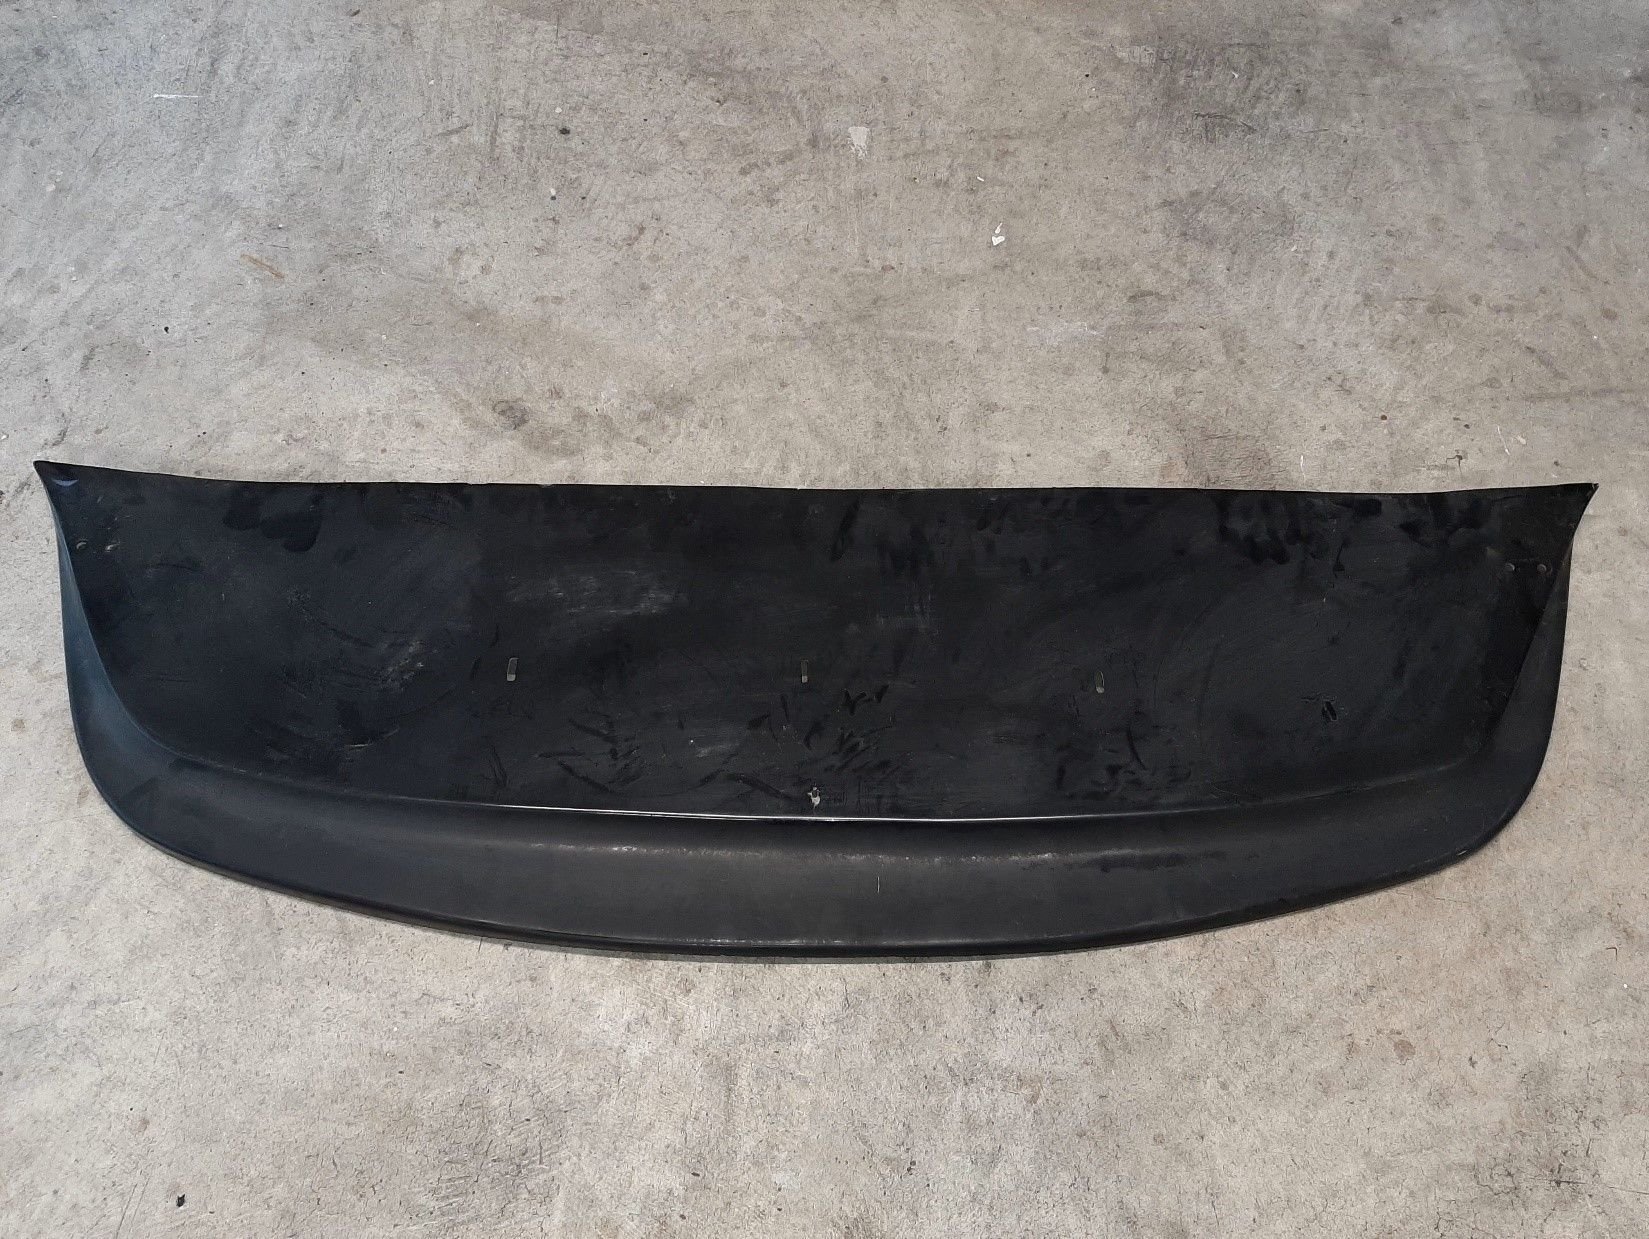
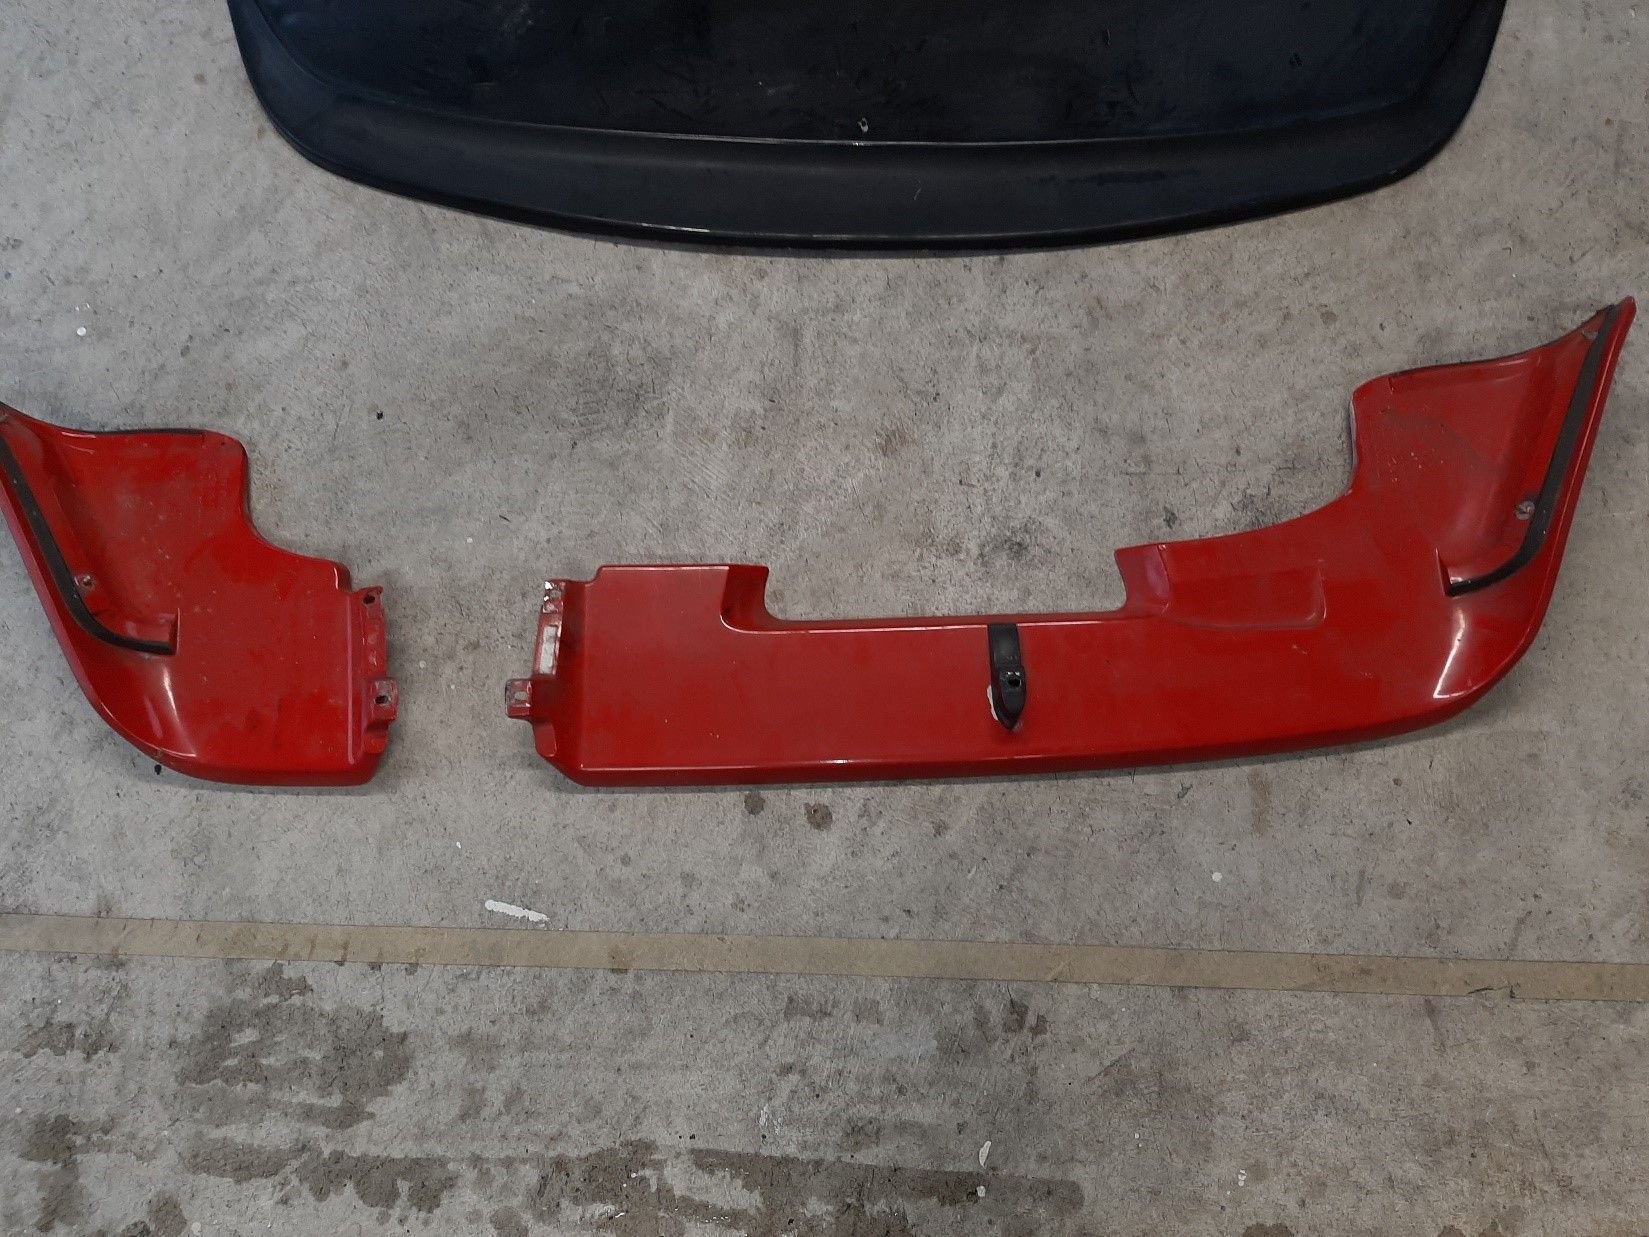
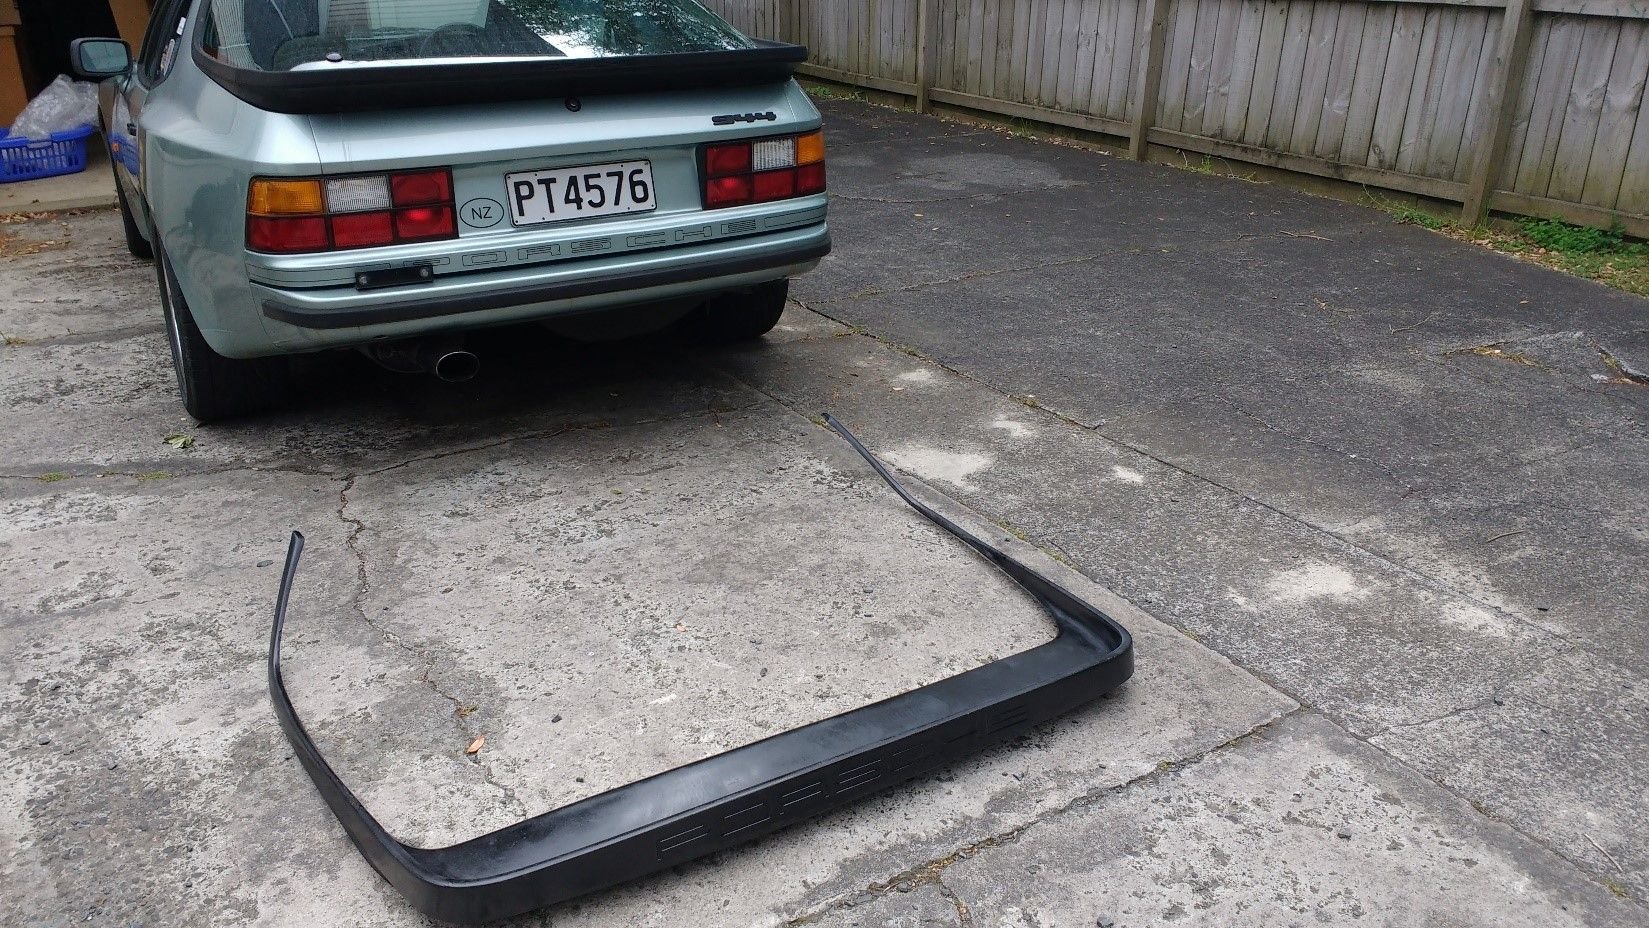
Has anyone added S2/turbo sill extensions to a 944 before? Just got a set with a little bit of road rash to tidy up. All the mounting hardware was delivered this week. Getting quotes to get a repaint and add them, a Le mans rear spoiler, an S2/Turbo rear valence and Joe Toth front splitter. Excited but nervous about how it will turn out.
I've begun the restoration of my triple black Canadian '83 944, of which I've owned for 17 years.
Water pump, Belts, rollers removed today. Starter sent off to be rebuilt.
An awful lot of bearing fuss began a month ago, so I need to find out if it's just hopefully, the Water pump.
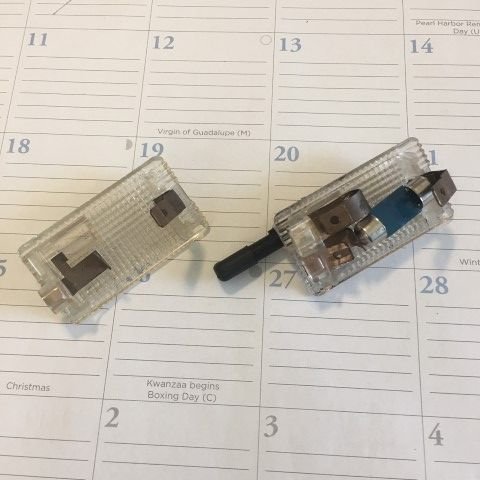
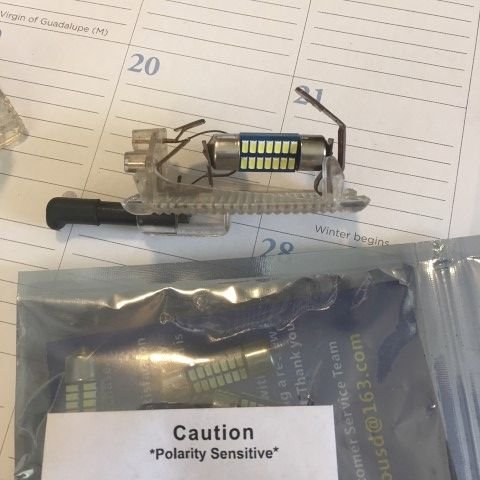
Got my new Glove Box Light in the mail and LED bulb for it: (Above Photo) At Left - The light fixture in my car was missing the whole Button/spring assembly and also the bulb.
(Above Photo) New (used) fixture with LED. Got used light fixture on ebay.
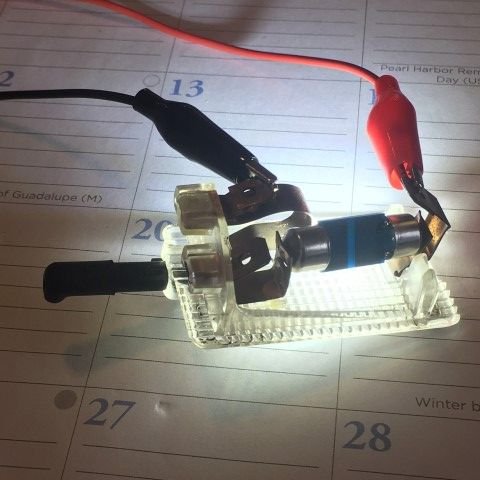
(Above Photo) New (used) fixture with LED - lit up with 12v wall wart.
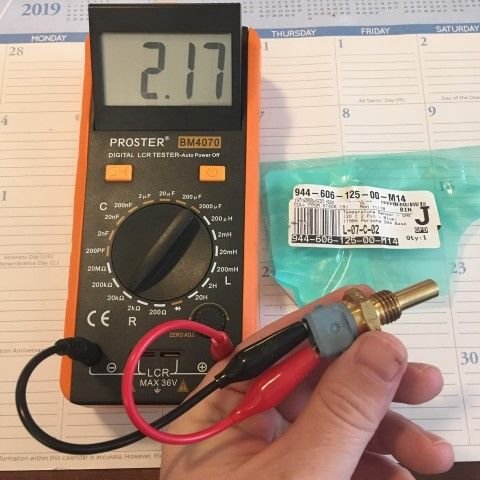
(Above Photo) Got my new DME Temp Sensor from Pelican - Tests good at 2.17 k-ohms.
Good looking install on the LED, there Chalt..where did you get it from? I need to upgrade mine, even though they have new bulbs...BTW, all the epoxy stuff did not work out, the epoxy turned loose as soon as I started to turn the bolts..AND...the connector on the rear defroster turned loose..I guess the tape didn't hold as well as I had hoped..on to plan B....I have a plan for the seat rail bolts/nuts, but nothing for the rear defroter connector. I surely do NOT want to have to remove the rear hatch just to get this dumb thing connected properly...
Good looking install on the LED, there Chalt..where did you get it from? I need to upgrade mine, even though they have new bulbs...BTW, all the epoxy stuff did not work out, the epoxy turned loose as soon as I started to turn the bolts..AND...the connector on the rear defroster turned loose..I guess the tape didn't hold as well as I had hoped..on to plan B....I have a plan for the seat rail bolts/nuts, but nothing for the rear defroter connector. I surely do NOT want to have to remove the rear hatch just to get this dumb thing connected properly...
Porsche Part # is 999-631-018-90-OEM and it is $12.75 at Pelican for an incandescent bulb.
Someday this link won't work, so I will post the description of the bulbs so you can search for them: Led Bulb 31mm Festoon Bulb (1.25 inch)
Cross Reference Search Terms: (Sylvania DE3175) (Sylvania DE3021) (Sylvania DE3022) (Sylvania DE3023) 6428 6430 7065 Led Bulb,14SMD 3014 chips 6000k White Super Bright Interior Led Bulb Used for Car Map Light Dome Light etc,Pack of 4pcs
I read the description and then chose those bulbs based on measuring how long the bulb needed to be (31mm works). These bulbs are shorter than the bulb that fits in the dome light and the hatch area, those are 44mm long. I was surprised they were so cheap but they work.
In the road to recovery- my new-to-me 951. Got all lights working- so interesting to pull out bulbs that are marked �made in Germany�. I am not sure you can find a bulb that is NOT made in China.
Also added he extra brake light mod. Next small mod will be to make the side markers blink with the turn indicator. I think this is an excellent idea when signaling on the highway and a simple mod as well.
The repaired fuel tank sprang a leak- the aluminum �sleeve� that the in-tank sieve screws into ripped out when the old seized one was removed. I tried fuel-safe marine export but it did not hold. So iver holidays you all know what is coming! Exhaust out, transaxle our, fuel filler seals out and finally tank out. Fortunately I have a good replacement tank from a wrecked S.
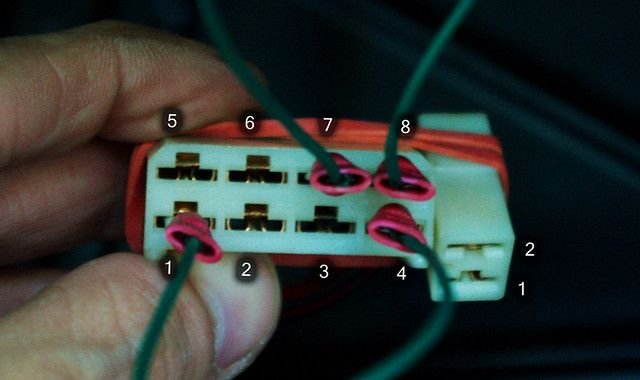
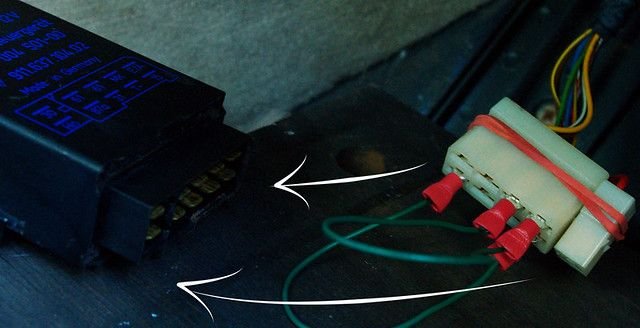
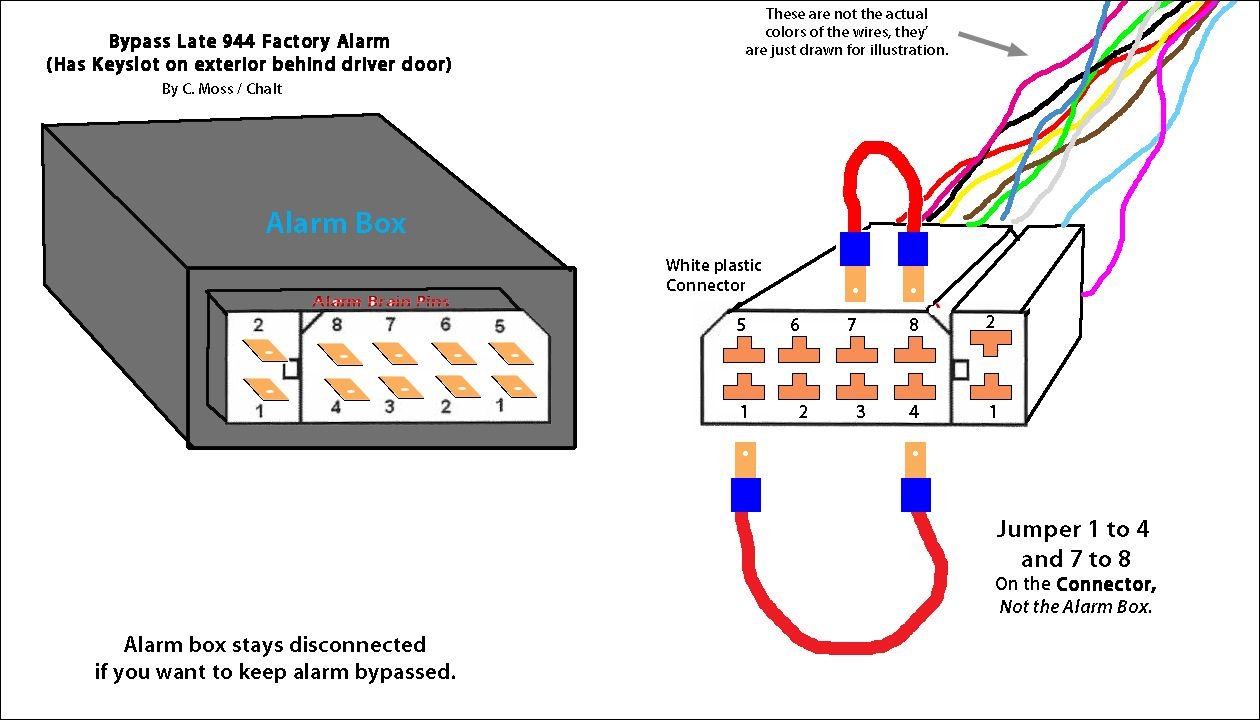
Made myself a drawing on how to bypass the alarm. It went off when I unplugged the DME to test Reference and Speed Sensor. Now no tach bounce. P.O. lost key so I can't really use the alarm anyway. Still at no start! Will try the bypass tomorrow.
Above: Found this on 944 Online. The Clark's writeup was a bit confusing.
Above: Found this on 944 Online.
Above: Made my own drawing.
Somewhere I read that you shouldn't use the jumpers as a permanent bypass. I'm not sure what else there is to do as replacing the alarm brain or having it fixed is probably impossible. I don't really want the factory alarm anyway. Is there a more permanent bypass solution?
Last edited by Chalt; 12-10-2019 at 03:18 AM.
Reason: added question
 11-29-2019, 05:42 AM