When you click on links to various merchants on this site and make a purchase, this can result in this site earning a commission. Affiliate programs and affiliations include, but are not limited to, the eBay Partner Network.
Excellent idea Mate, I totally noticed an improvement after the dealer stripped mine apart and cleaned the system.
There was a noticeable difference between the initial fix and the time they had things apart, de gunking the induction side.
Good luck.
Car drove noticeably better this morning on the commute (commute from hell... ugh) into the city. Much more responsive off-boost, and the boost seems to come on quicker and more smoothly.
At some point I'll get ambitious over a weekend and pull the intake manifold off, clean it out, along with the intake ports in the heads, and the EGR valve.
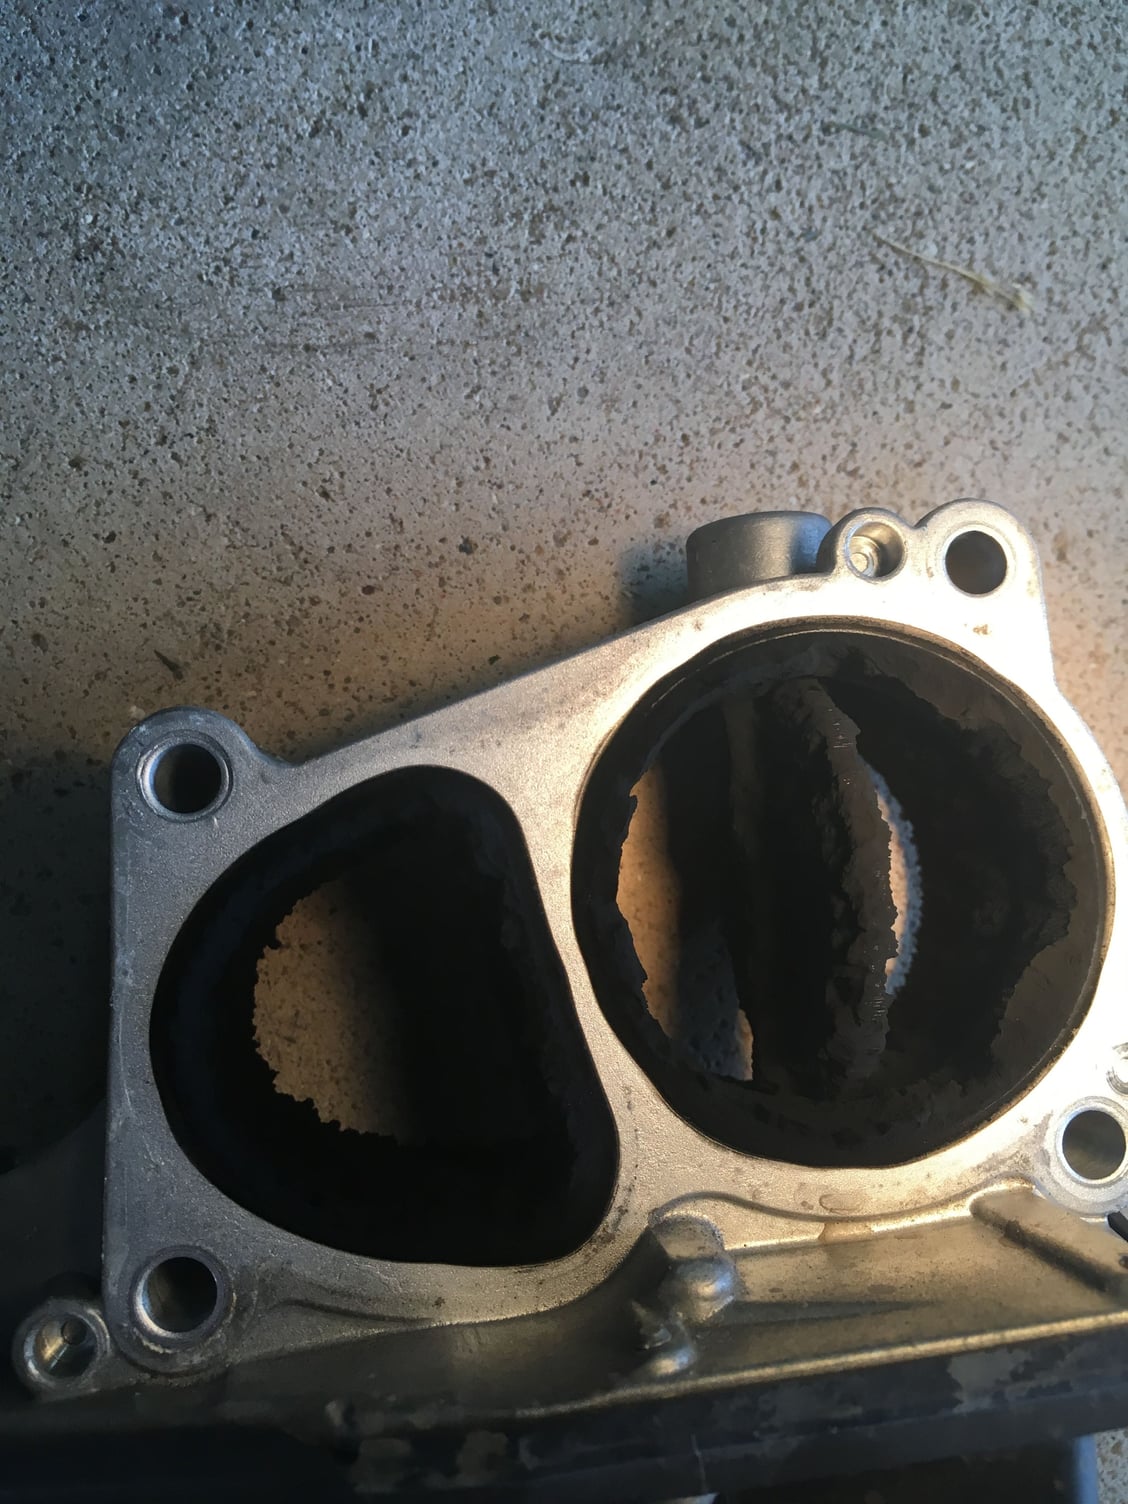
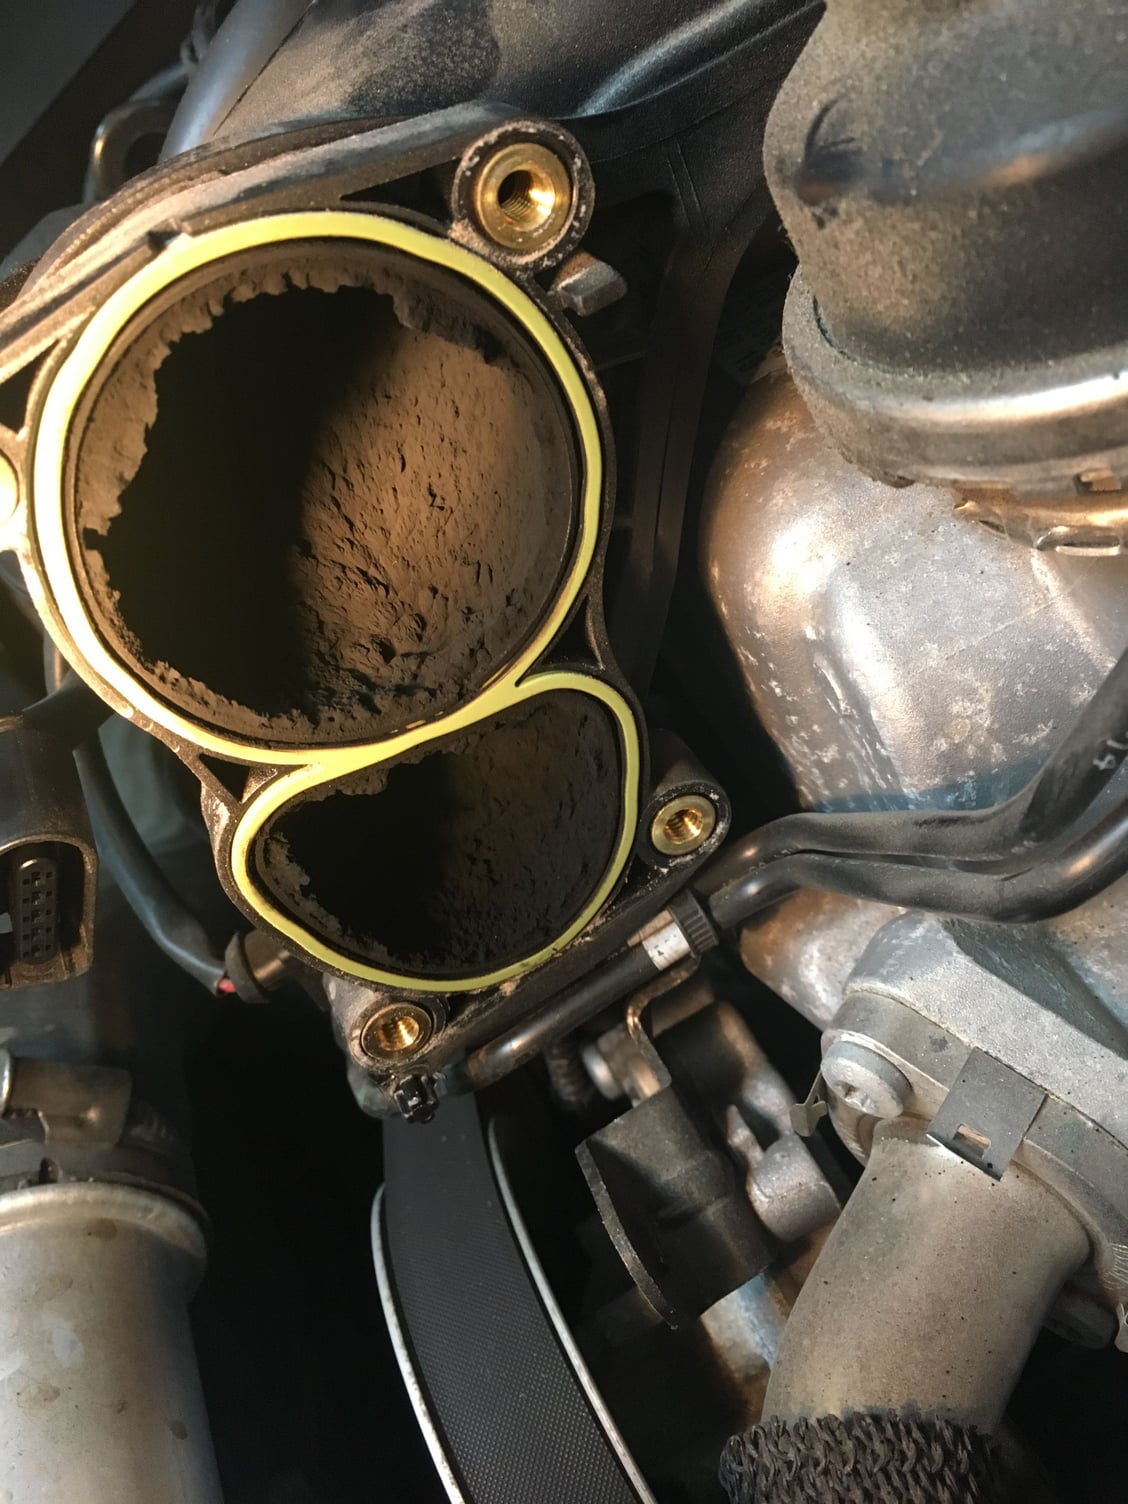
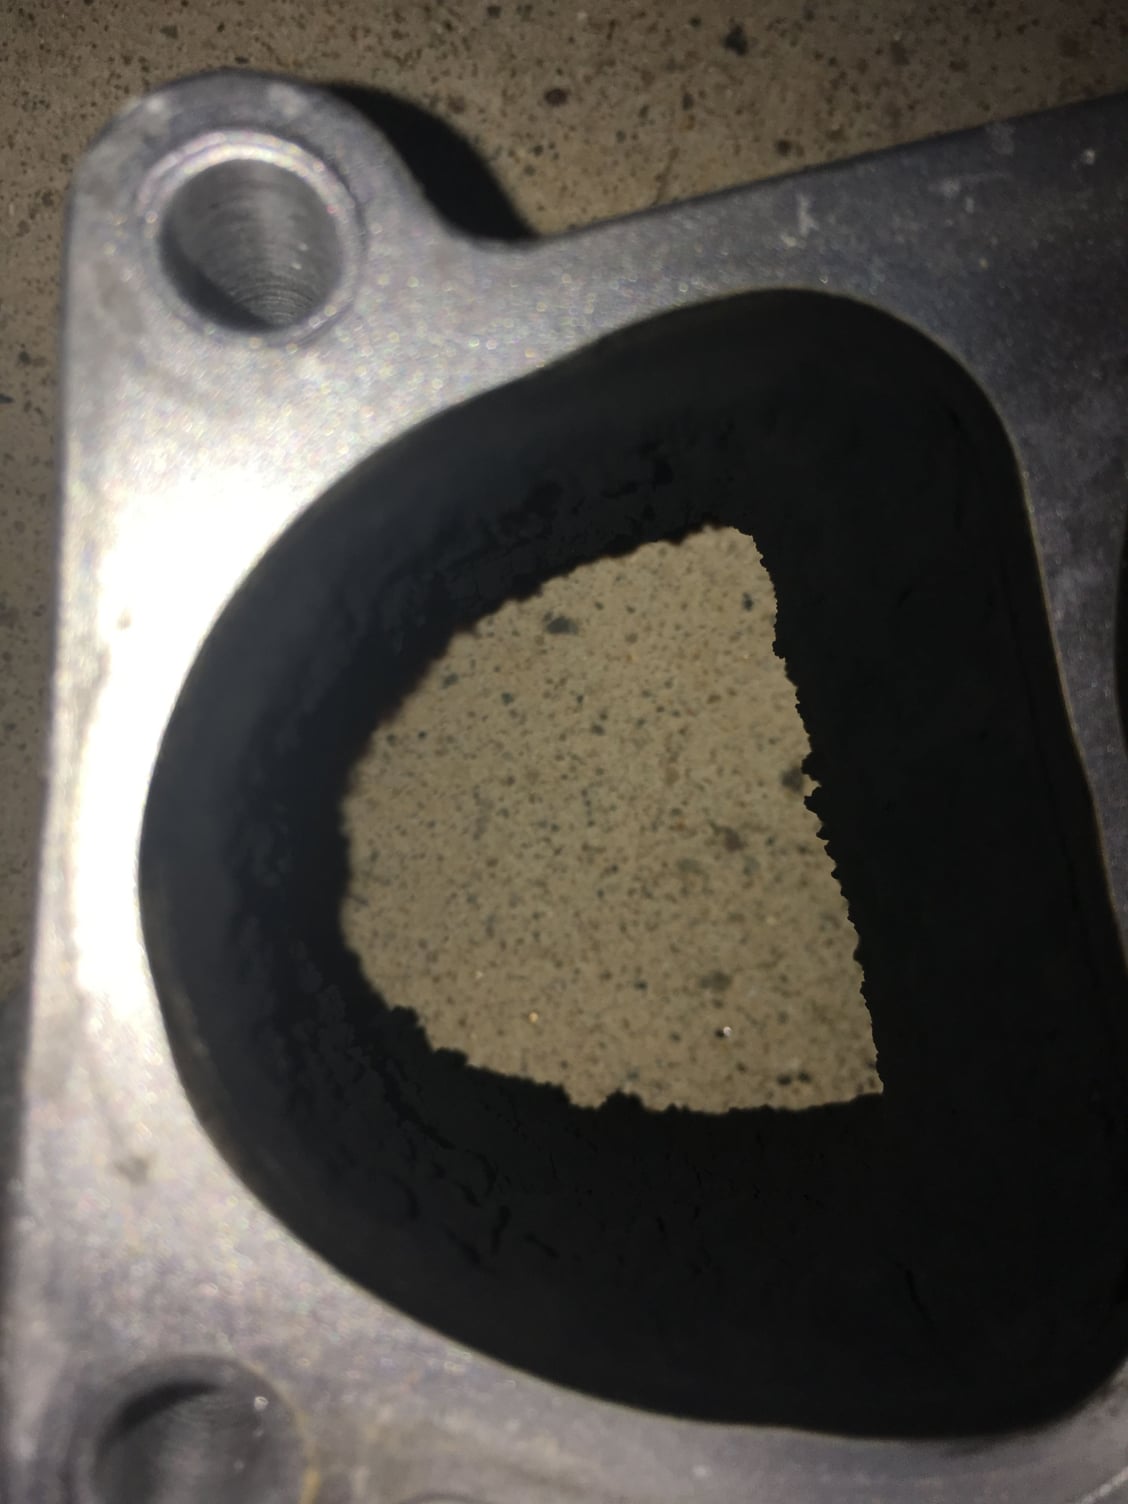
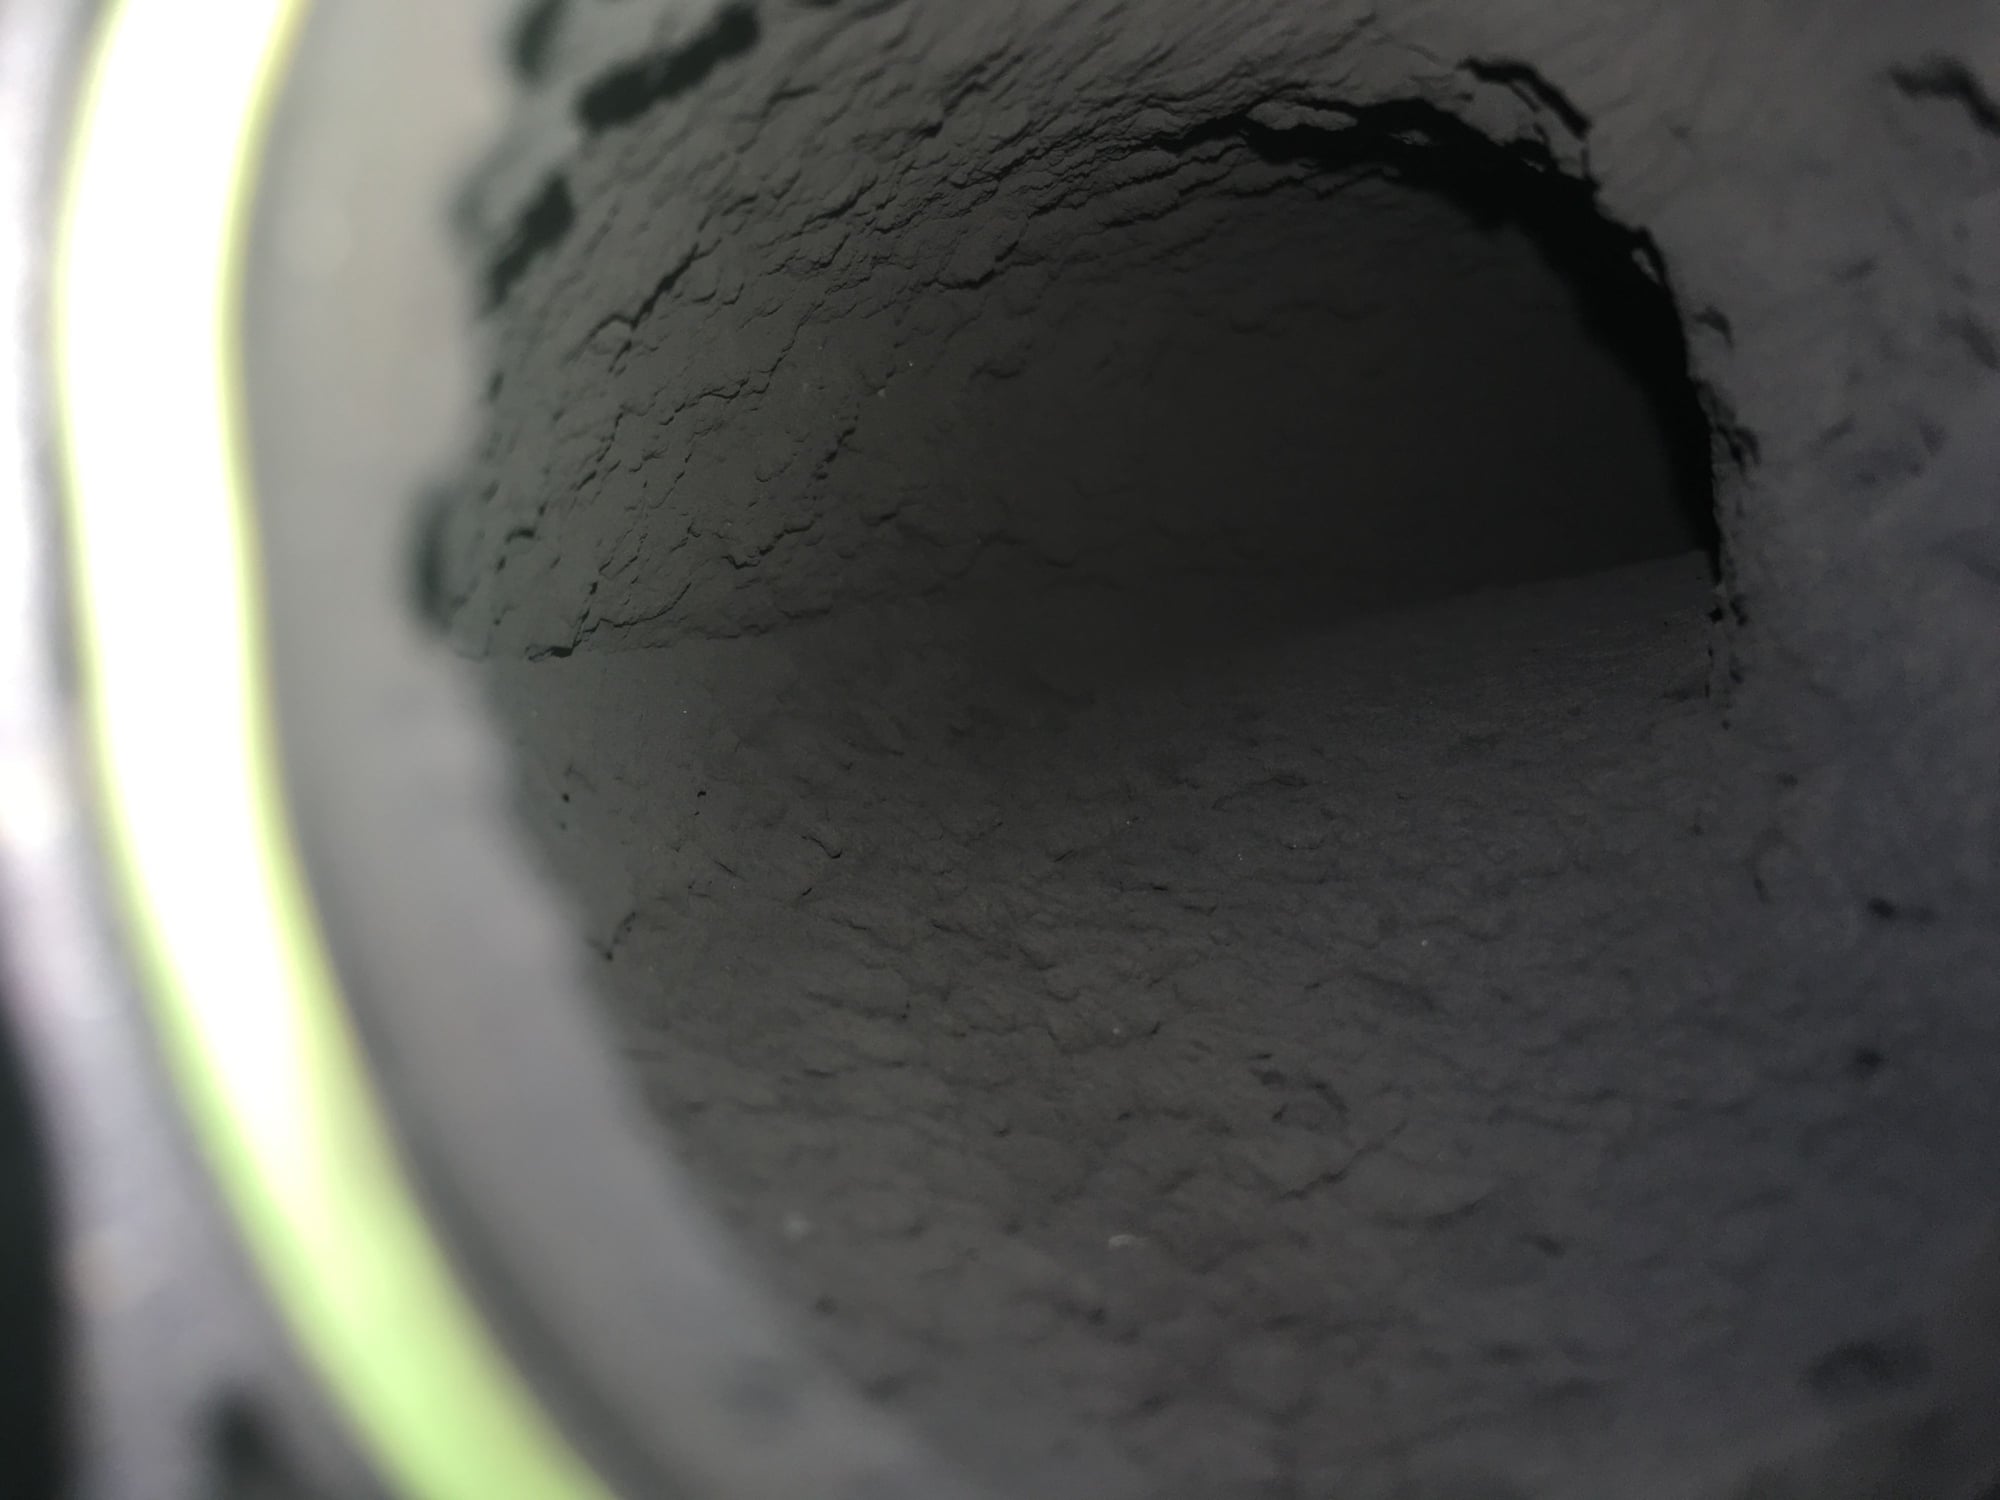
I'm also now thinking about doing the full "alphabet delete" and putting a Malone tune on it. I can't believe how carbon'd up this thing was... and all the soot was immediately past where the EGR feeds in.
Car drove noticeably better this morning on the commute (commute from hell... ugh) into the city. Much more responsive off-boost, and the boost seems to come on quicker and more smoothly.
At some point I'll get ambitious over a weekend and pull the intake manifold off, clean it out, along with the intake ports in the heads, and the EGR valve.
I'm also now thinking about doing the full "alphabet delete" and putting a Malone tune on it. I can't believe how carbon'd up this thing was... and all the soot was immediately past where the EGR feeds in.
Glad to hear its running better. Couldn't believe the carbon buildup either.
I'm thinking the same thing about removing intake and EGR valve for cleaning. There are a ton of lines and connections on top of the intake though, so I feel like it will take a while. I'll take pictures and document the process when I do it, but if you do yours first please do the same!
I can certainly take some photos and post them, as I mentioned a few days ago I have family visiting from NZ. so this summer is pretty busy at present. I'm planning on mounting the Provent 200 off the front of the air cleaner and inner right side of the fender upright, just designing a bracket now. The key here, is to use 1" I'd hoses to minimize any back pressure possibly returning to the factory colessing valve at the passenger rear valve cover and fresh air intake. I bought a few copper step up pipe fittings, to easily connect to the factory plastic hose running from the valve cover to the induction air cleaner hose. I also solder elbows together once I know the position of the inlet and outlet of Mann Provent filter, paint them black and Voila it almost looks factory.
APR Universal catch can mounted using APR SA000332 catch can hardware kit. The bracket included was trimmed and inverted to pick up one of the air filter mounting bolts.
Murray,
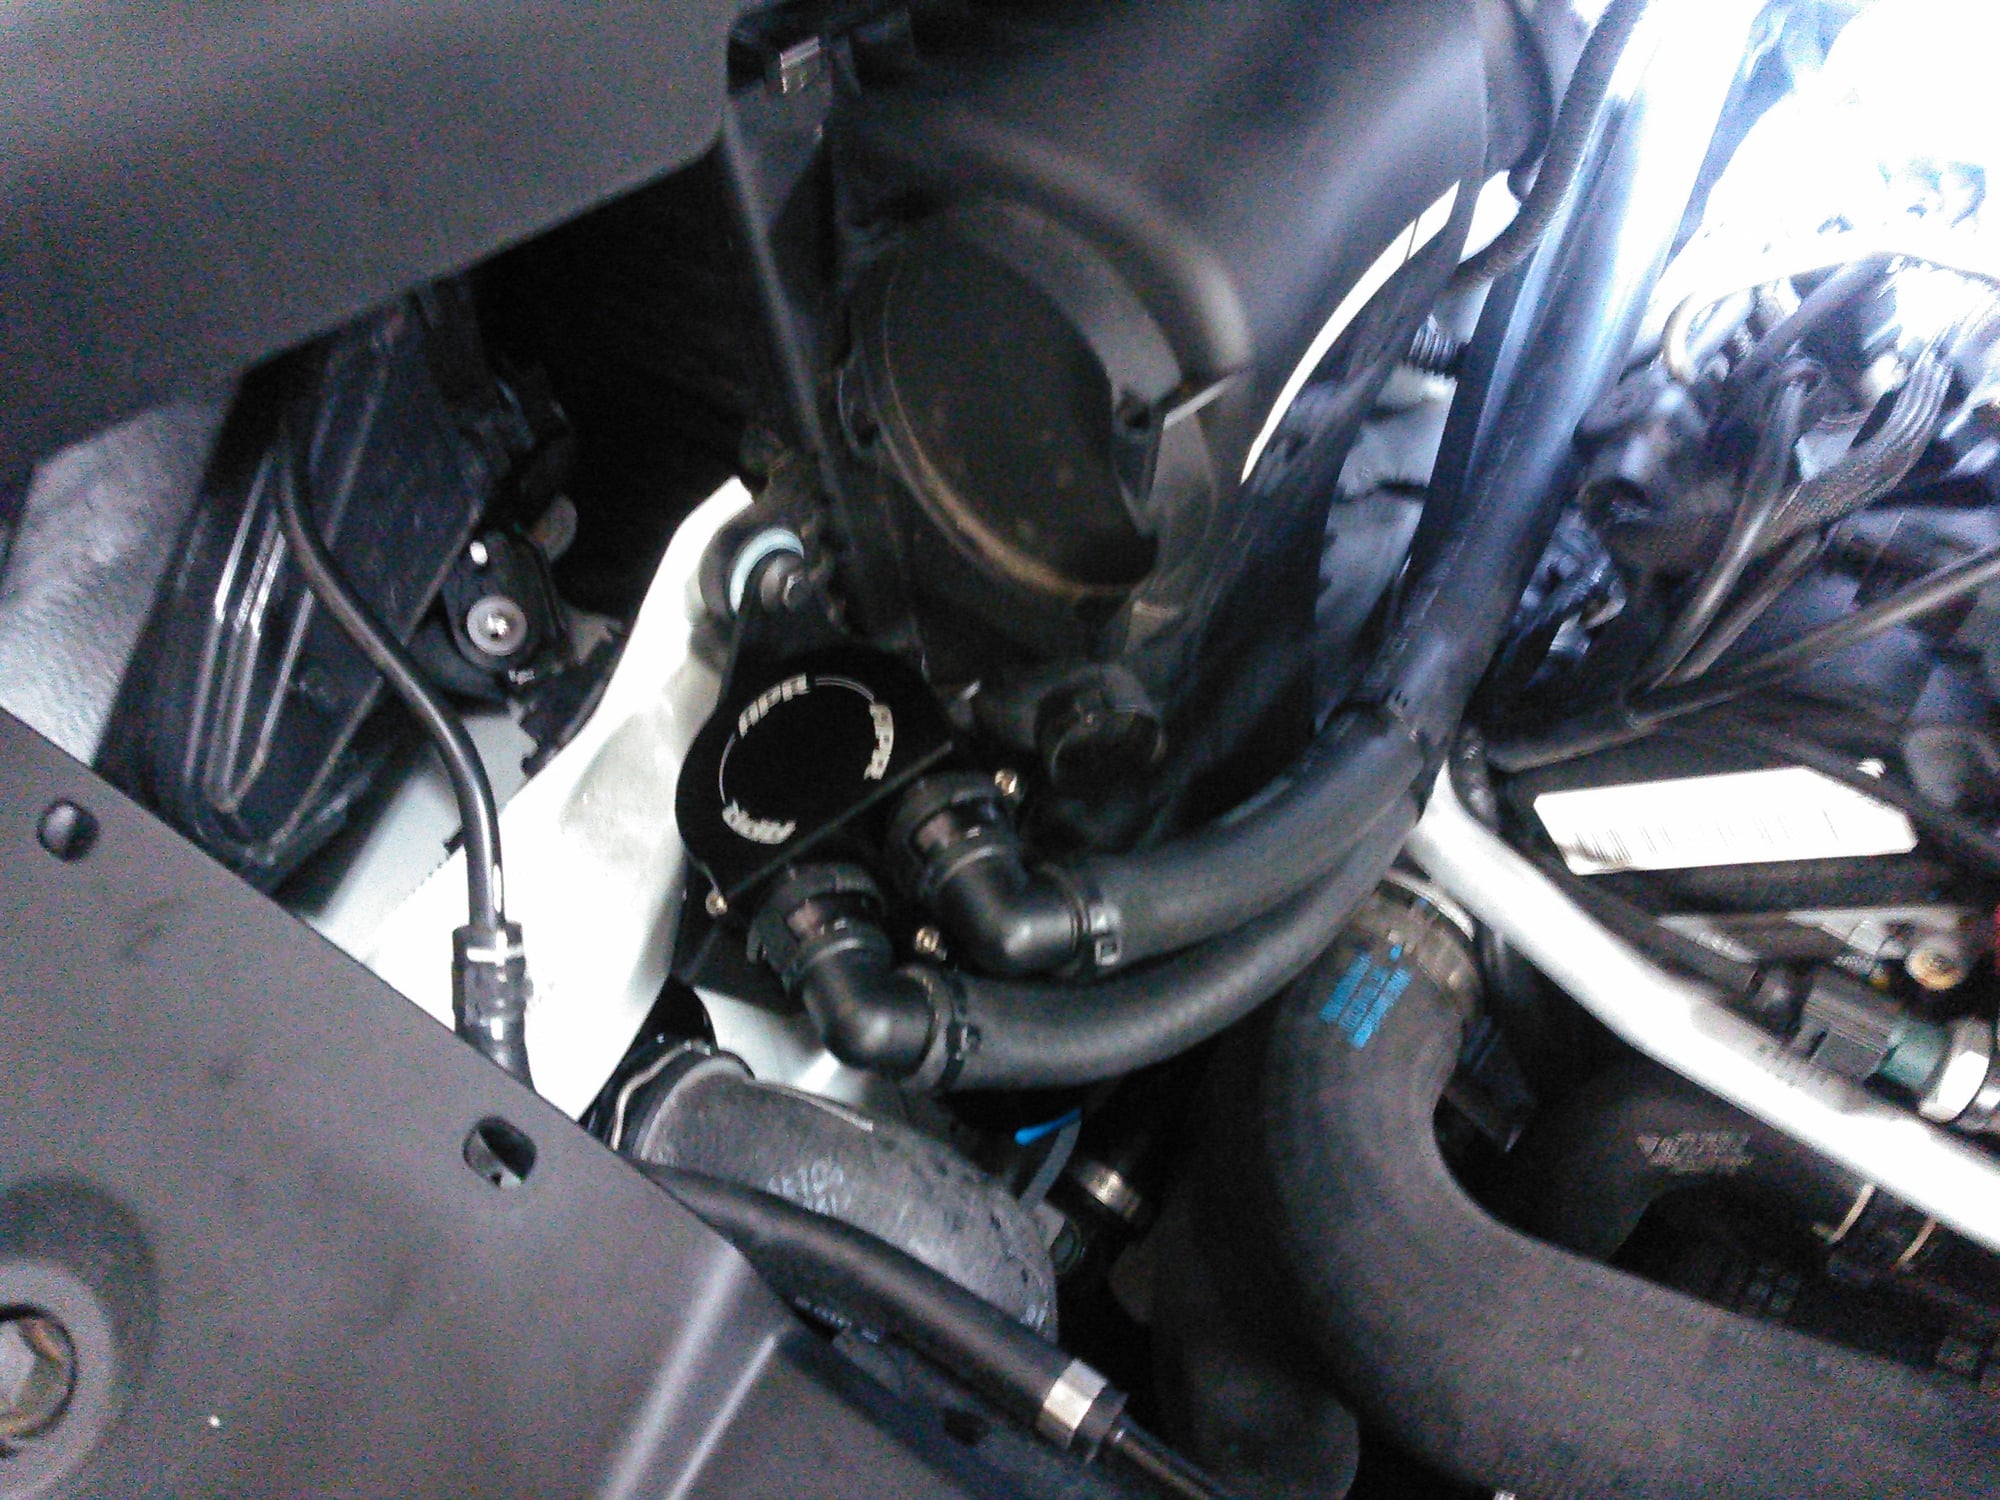
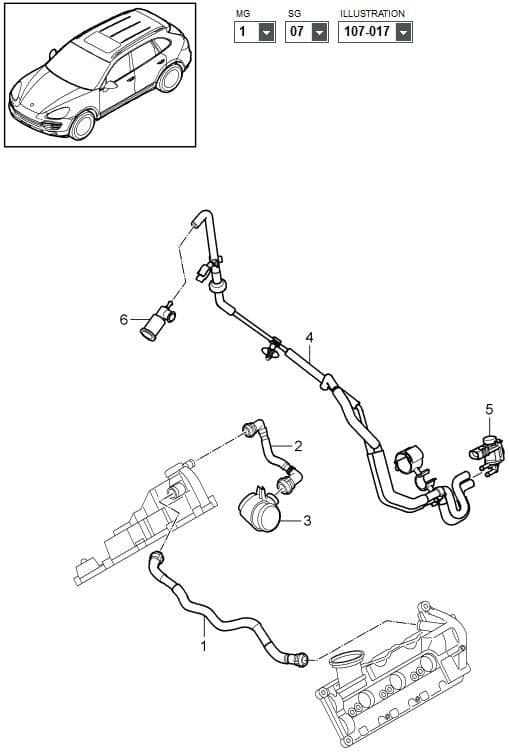
Here is a photo of the vent line which runs from passenger side valve cover to the turbo intake. This is where I plan to insert my catch can. I cut the hose and ran 3/4 ID hoses to the catch can. I'm using the APR universal catch can and the APR mounting kit from a MQB TSI catch can. About 65" of 3/4" ID hose will be required. Update: I've ordered some wire reinforced 7/8" ID heater hose to prevent hose collapse. Hose #2 in the picture below is where I intercepted the crankcase vent. The part number of hose #2 is 958 107 221 10.
You've got the right plan, just one concern about the APR filter, I don't see any pressure relief valve?
Years ago I bought a similar designed filter from the UK for my RHD drive Mitsubishi 2.8 turbo Diesel, tried it but found I was getting some back pressure under certain driving conditions. That's when I discovered the Mann ProVent 200, I installed it and put over 110,000 km on it cleaning it fairly regularly and the inlet manifold along with the intercooler stayed beautifully clean.
Once you look at the ProVent and see the two relief valves, it makes a lot of sense.
For my installation I plan on using 1" ID hose, I'll have a few more close connections, but I'm planning doing a Malone tune so with the increased Hp there's a potential for more pressure.
One other thing, I had two filter elements to interchange when one got all oiled up. I use Vasol or something similar to wash the filters, throughly dry them and store them until there next insertion.
Below is the name of the Company I buy my filters from, I think they're up in the New England area, I'm over here in Western Canada.
Cheer, Murray
If you could do a DIY, Short YOU TUBE video, Pictures, etc.
Some sort of tutorial.
It would be greatly appreciated!
I am so interested in doing this.
Thanks
Pull the engine cover off (just pulls off, held on with rubber grommets.)
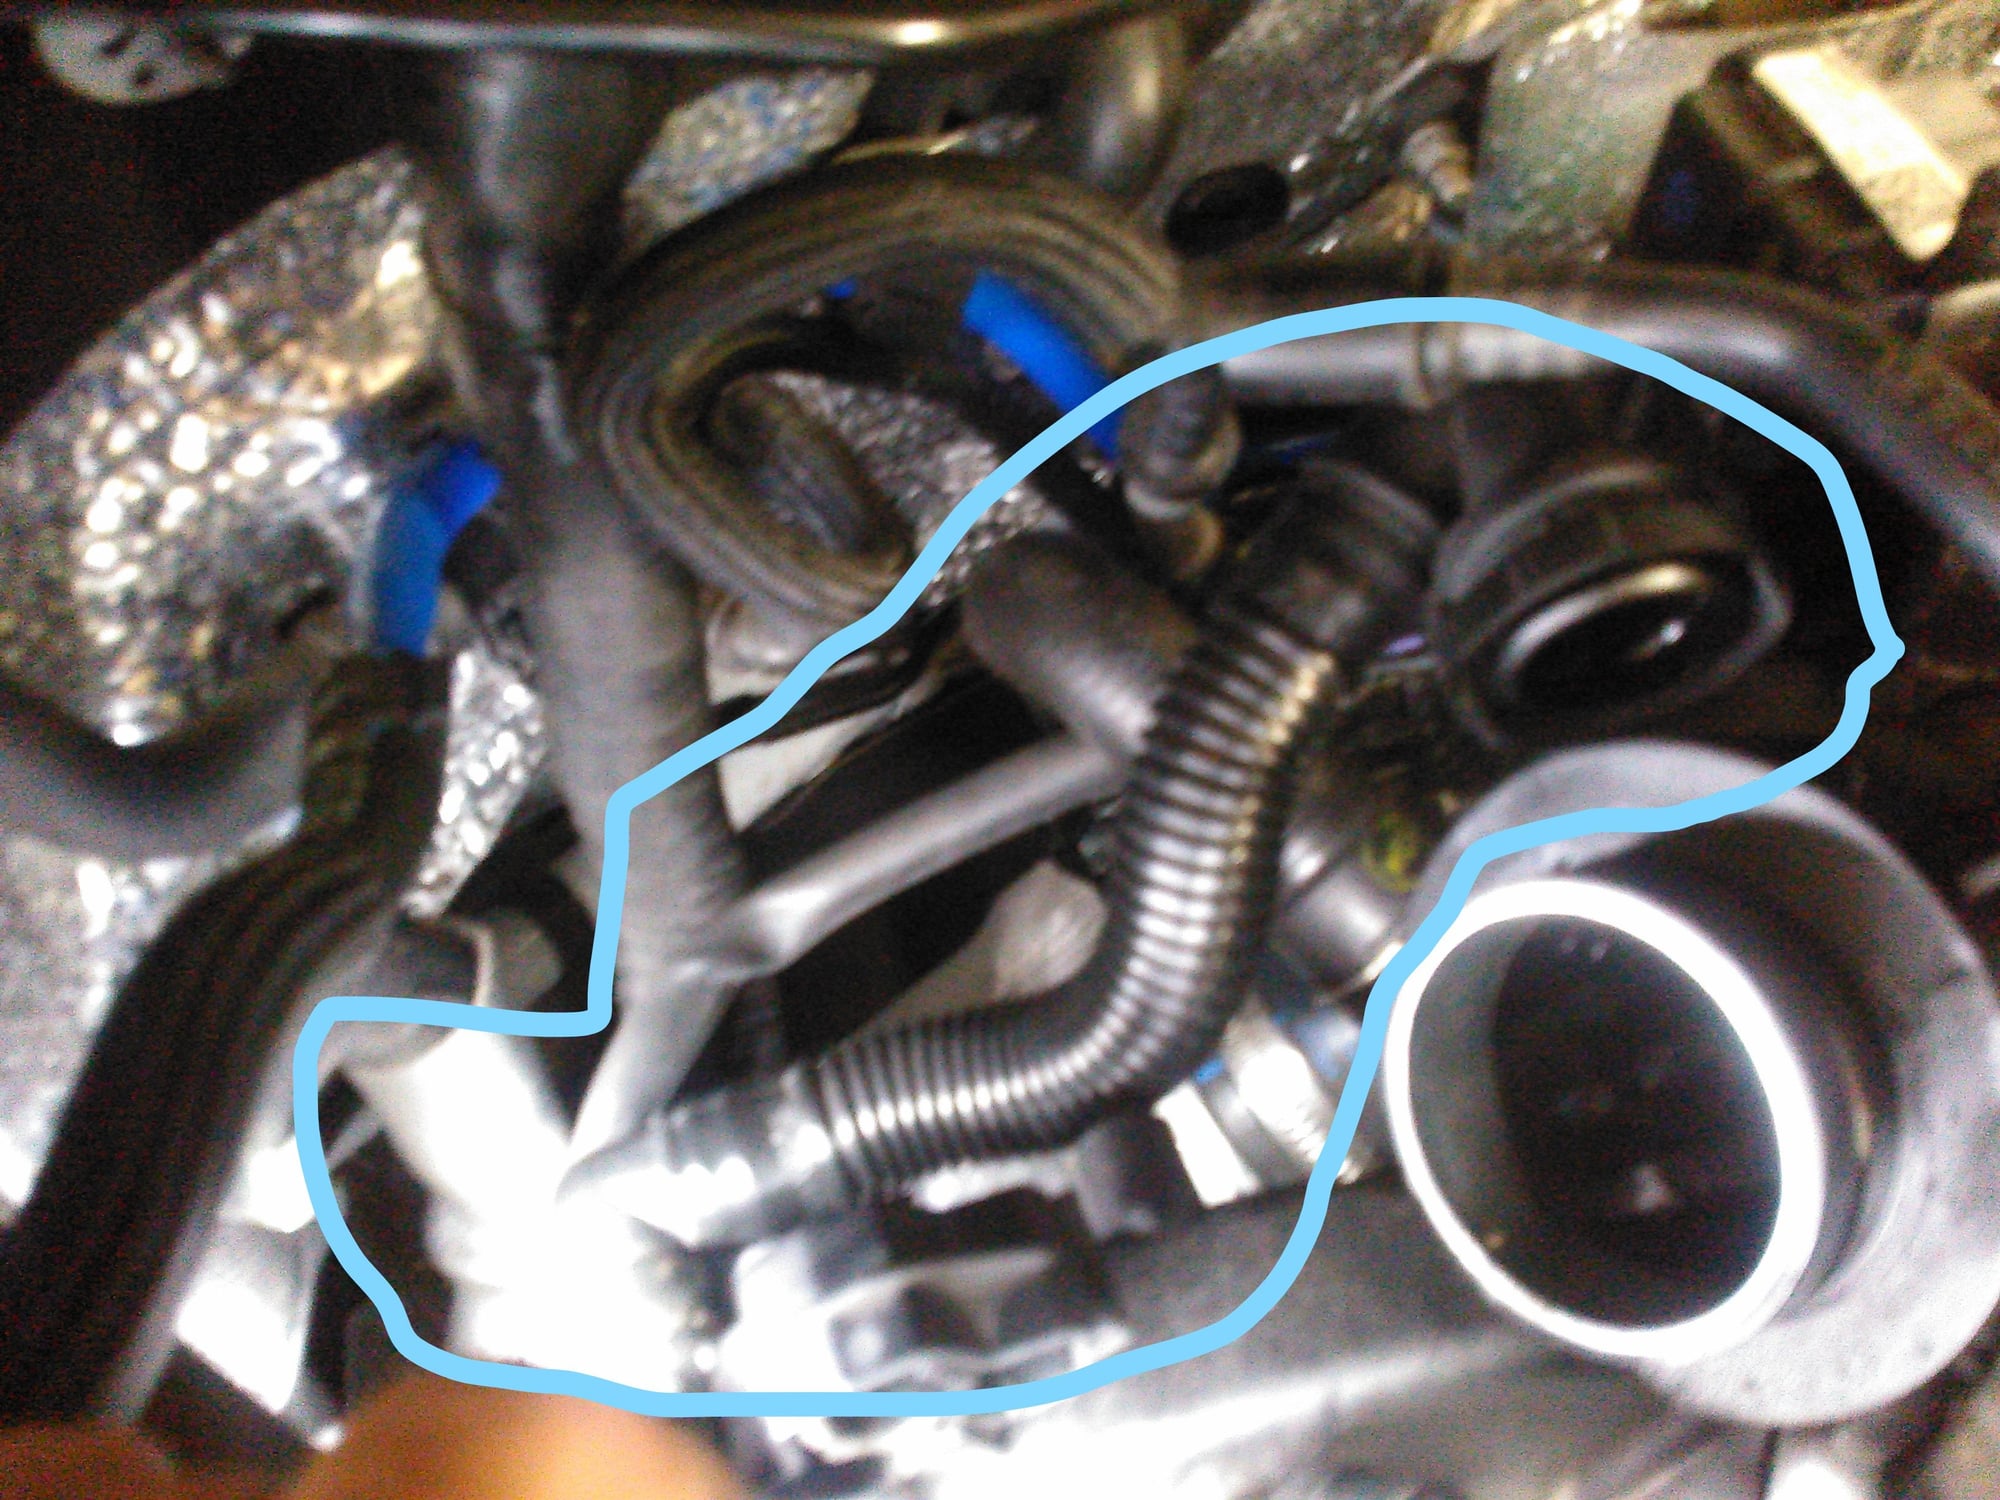
Under the engine cover, front of engine (see attached pic) - 3 things to remove and clean. The two throttle bodies (yellow and red squares) and the long plastic EGR tube (green).
It's all right on top, easy to get to. Take your time.

 07-17-2019, 07:29 PM