When you click on links to various merchants on this site and make a purchase, this can result in this site earning a commission. Affiliate programs and affiliations include, but are not limited to, the eBay Partner Network.
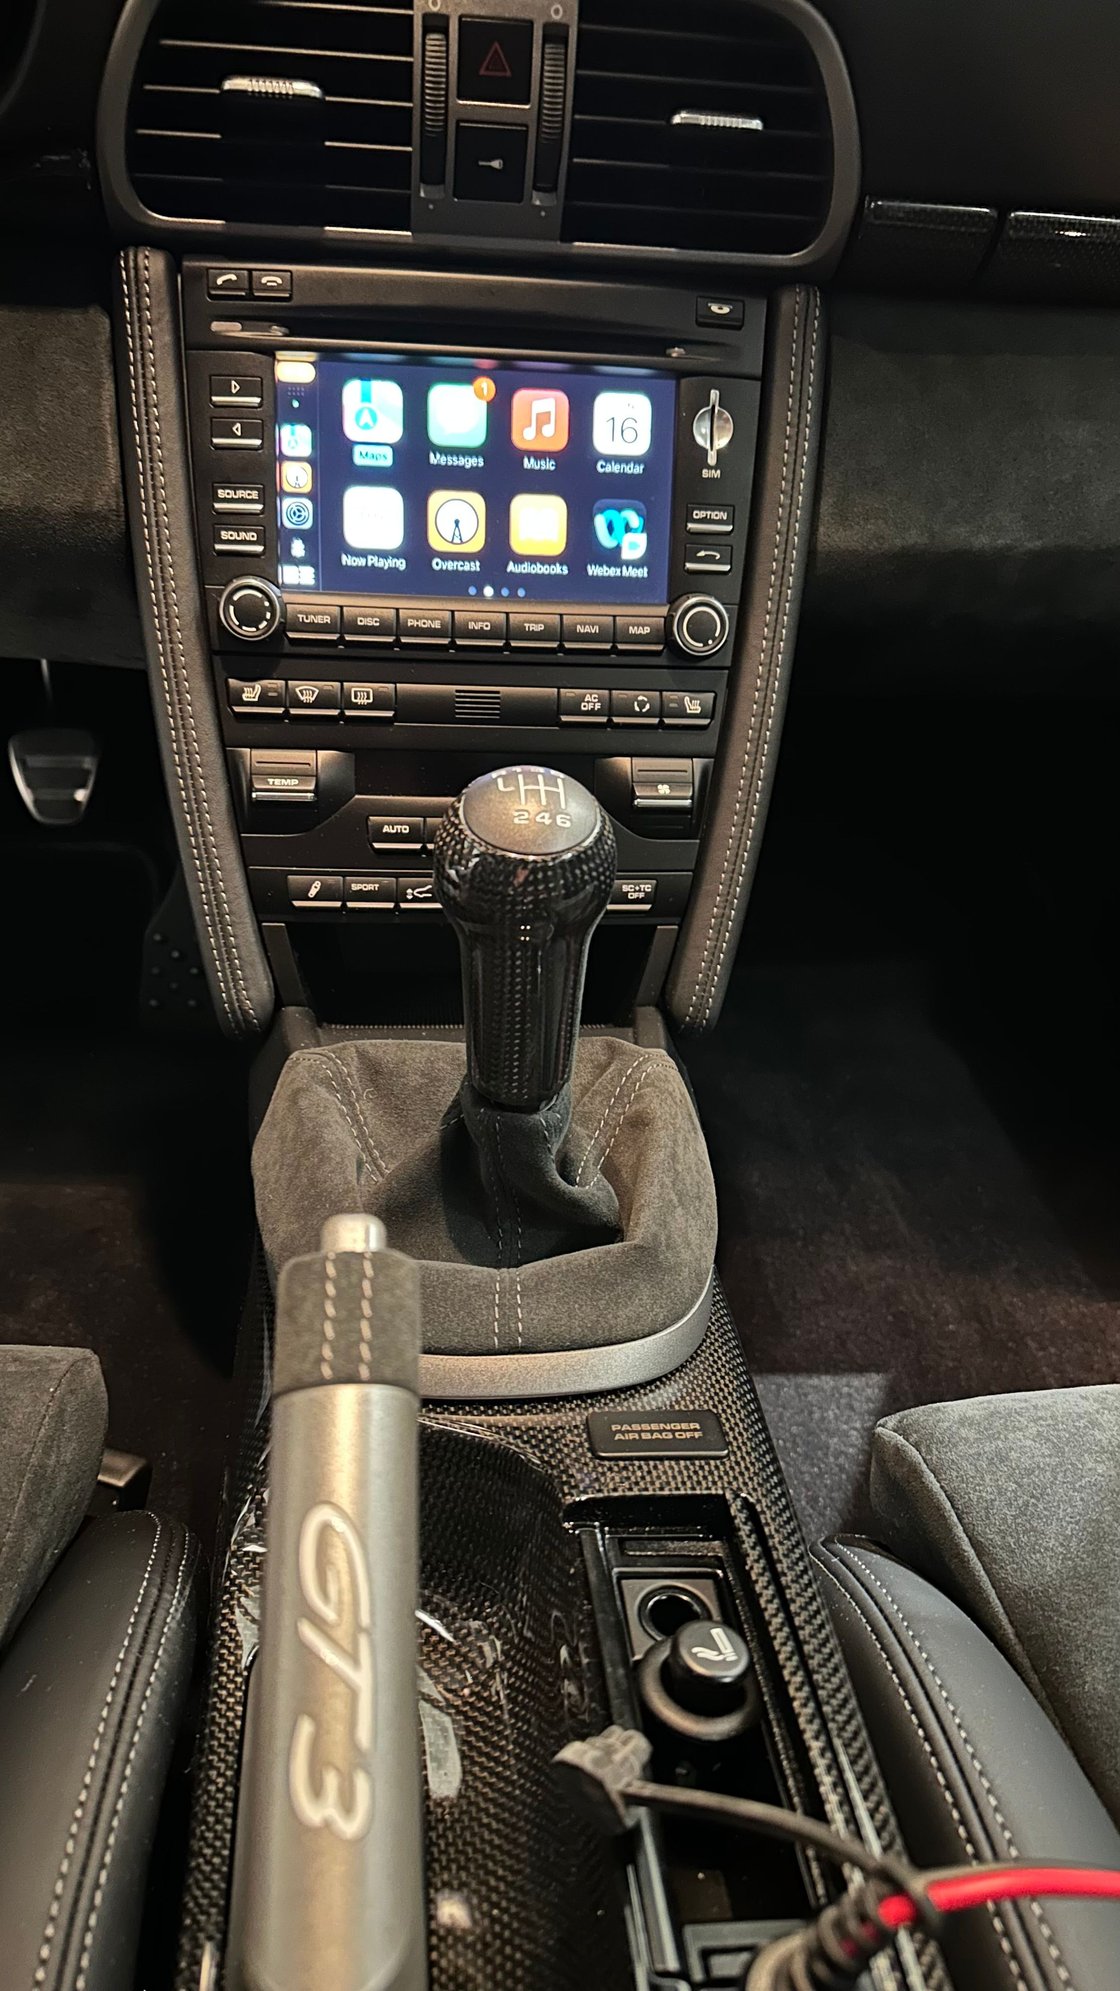
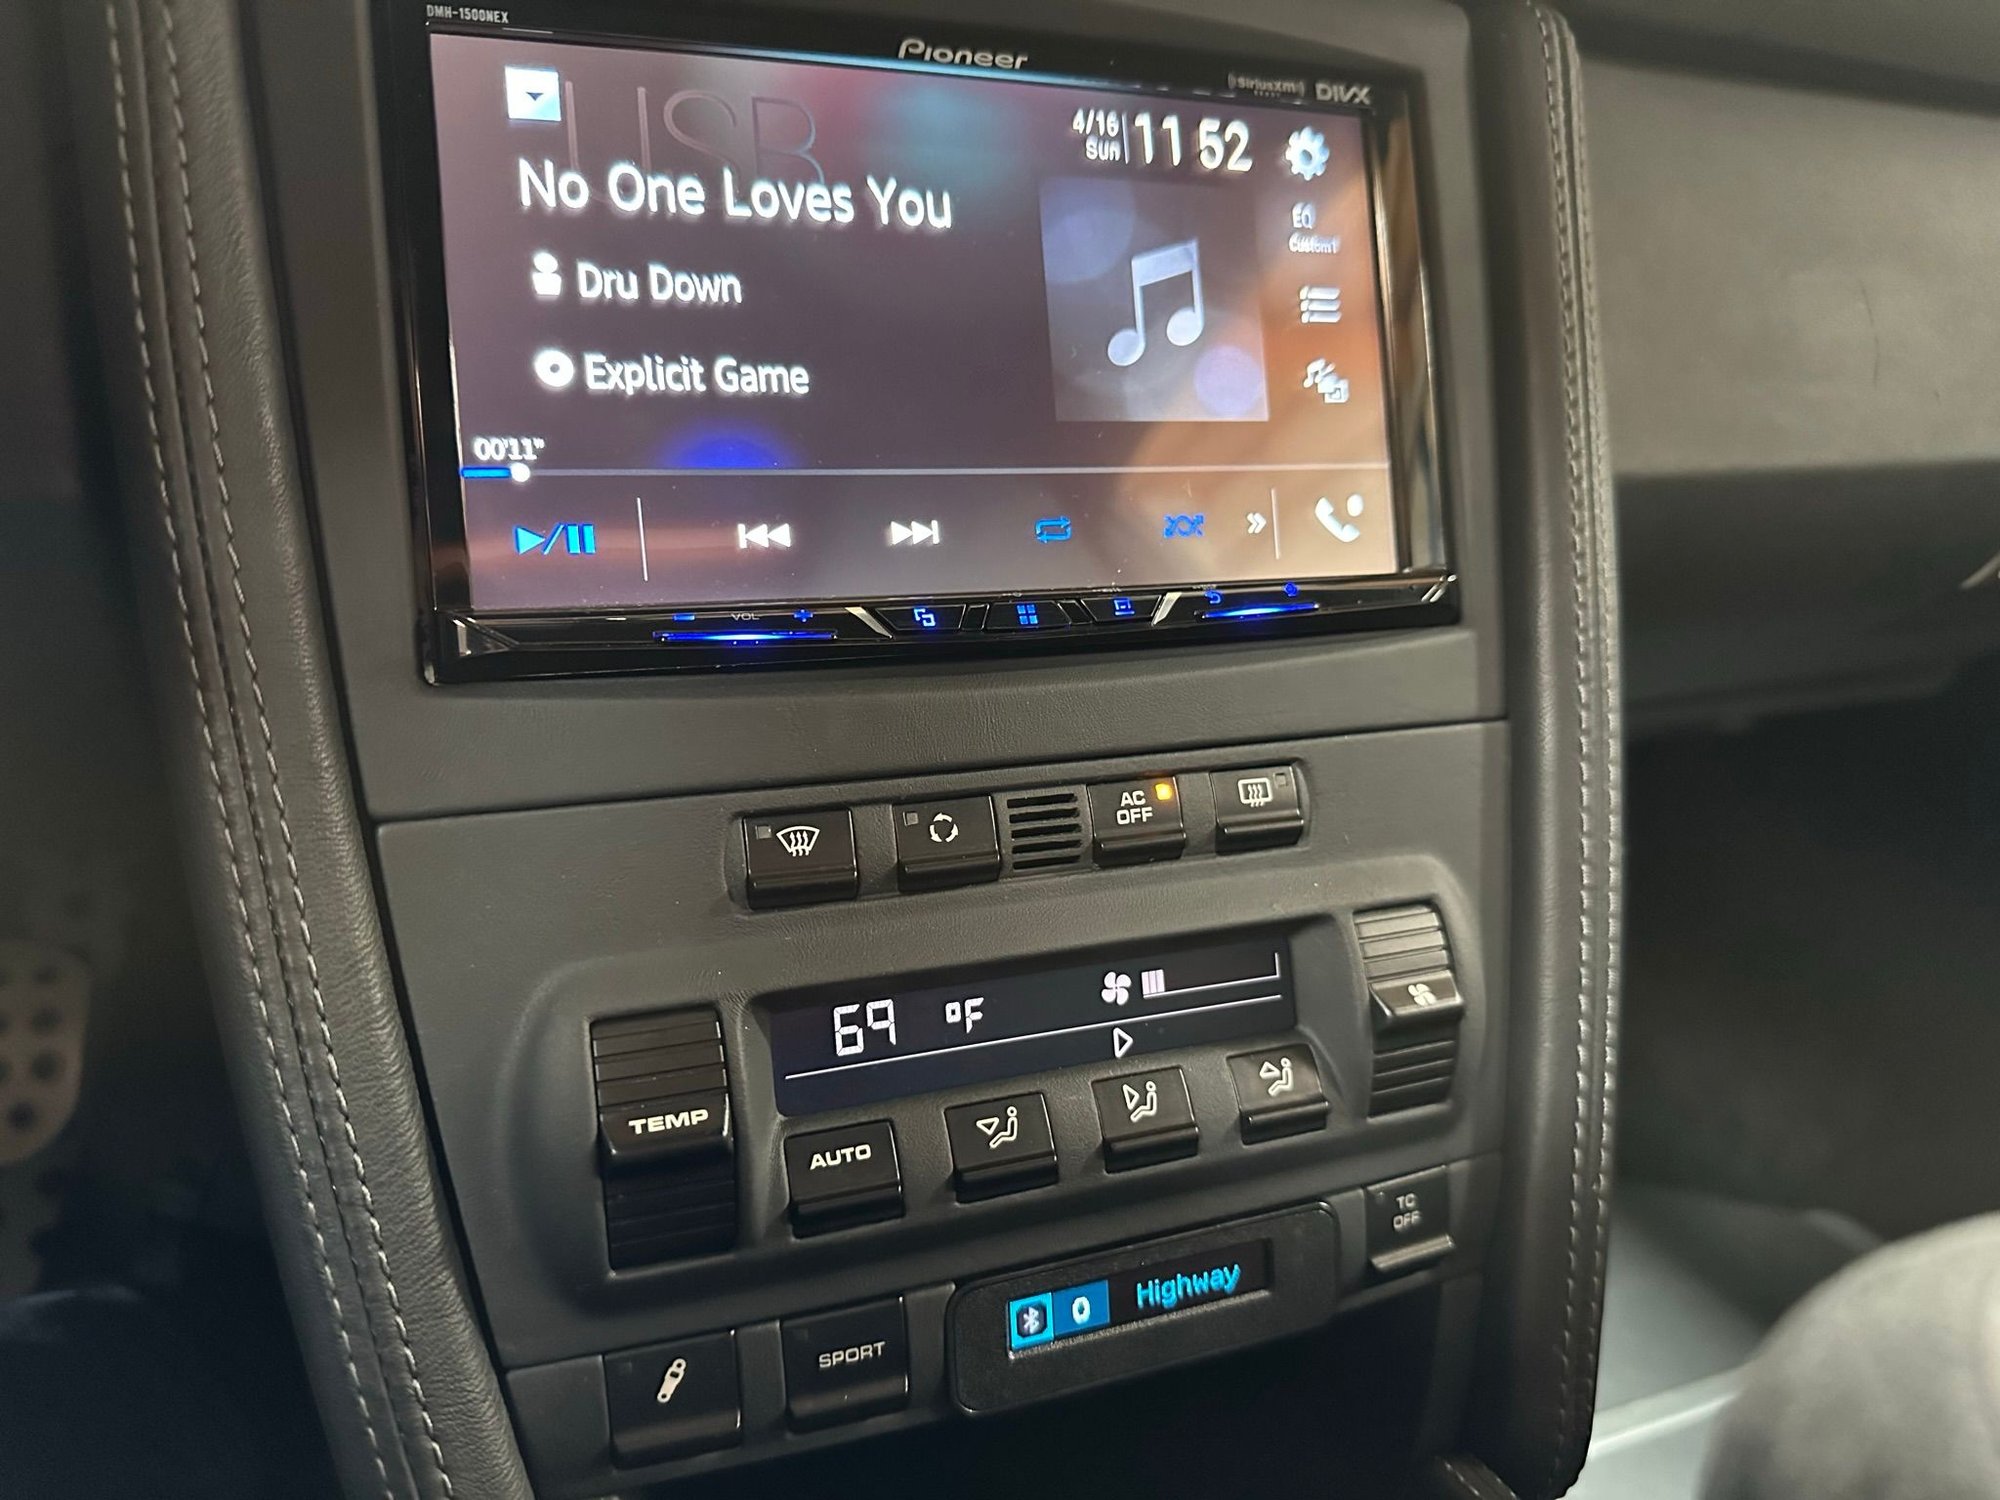
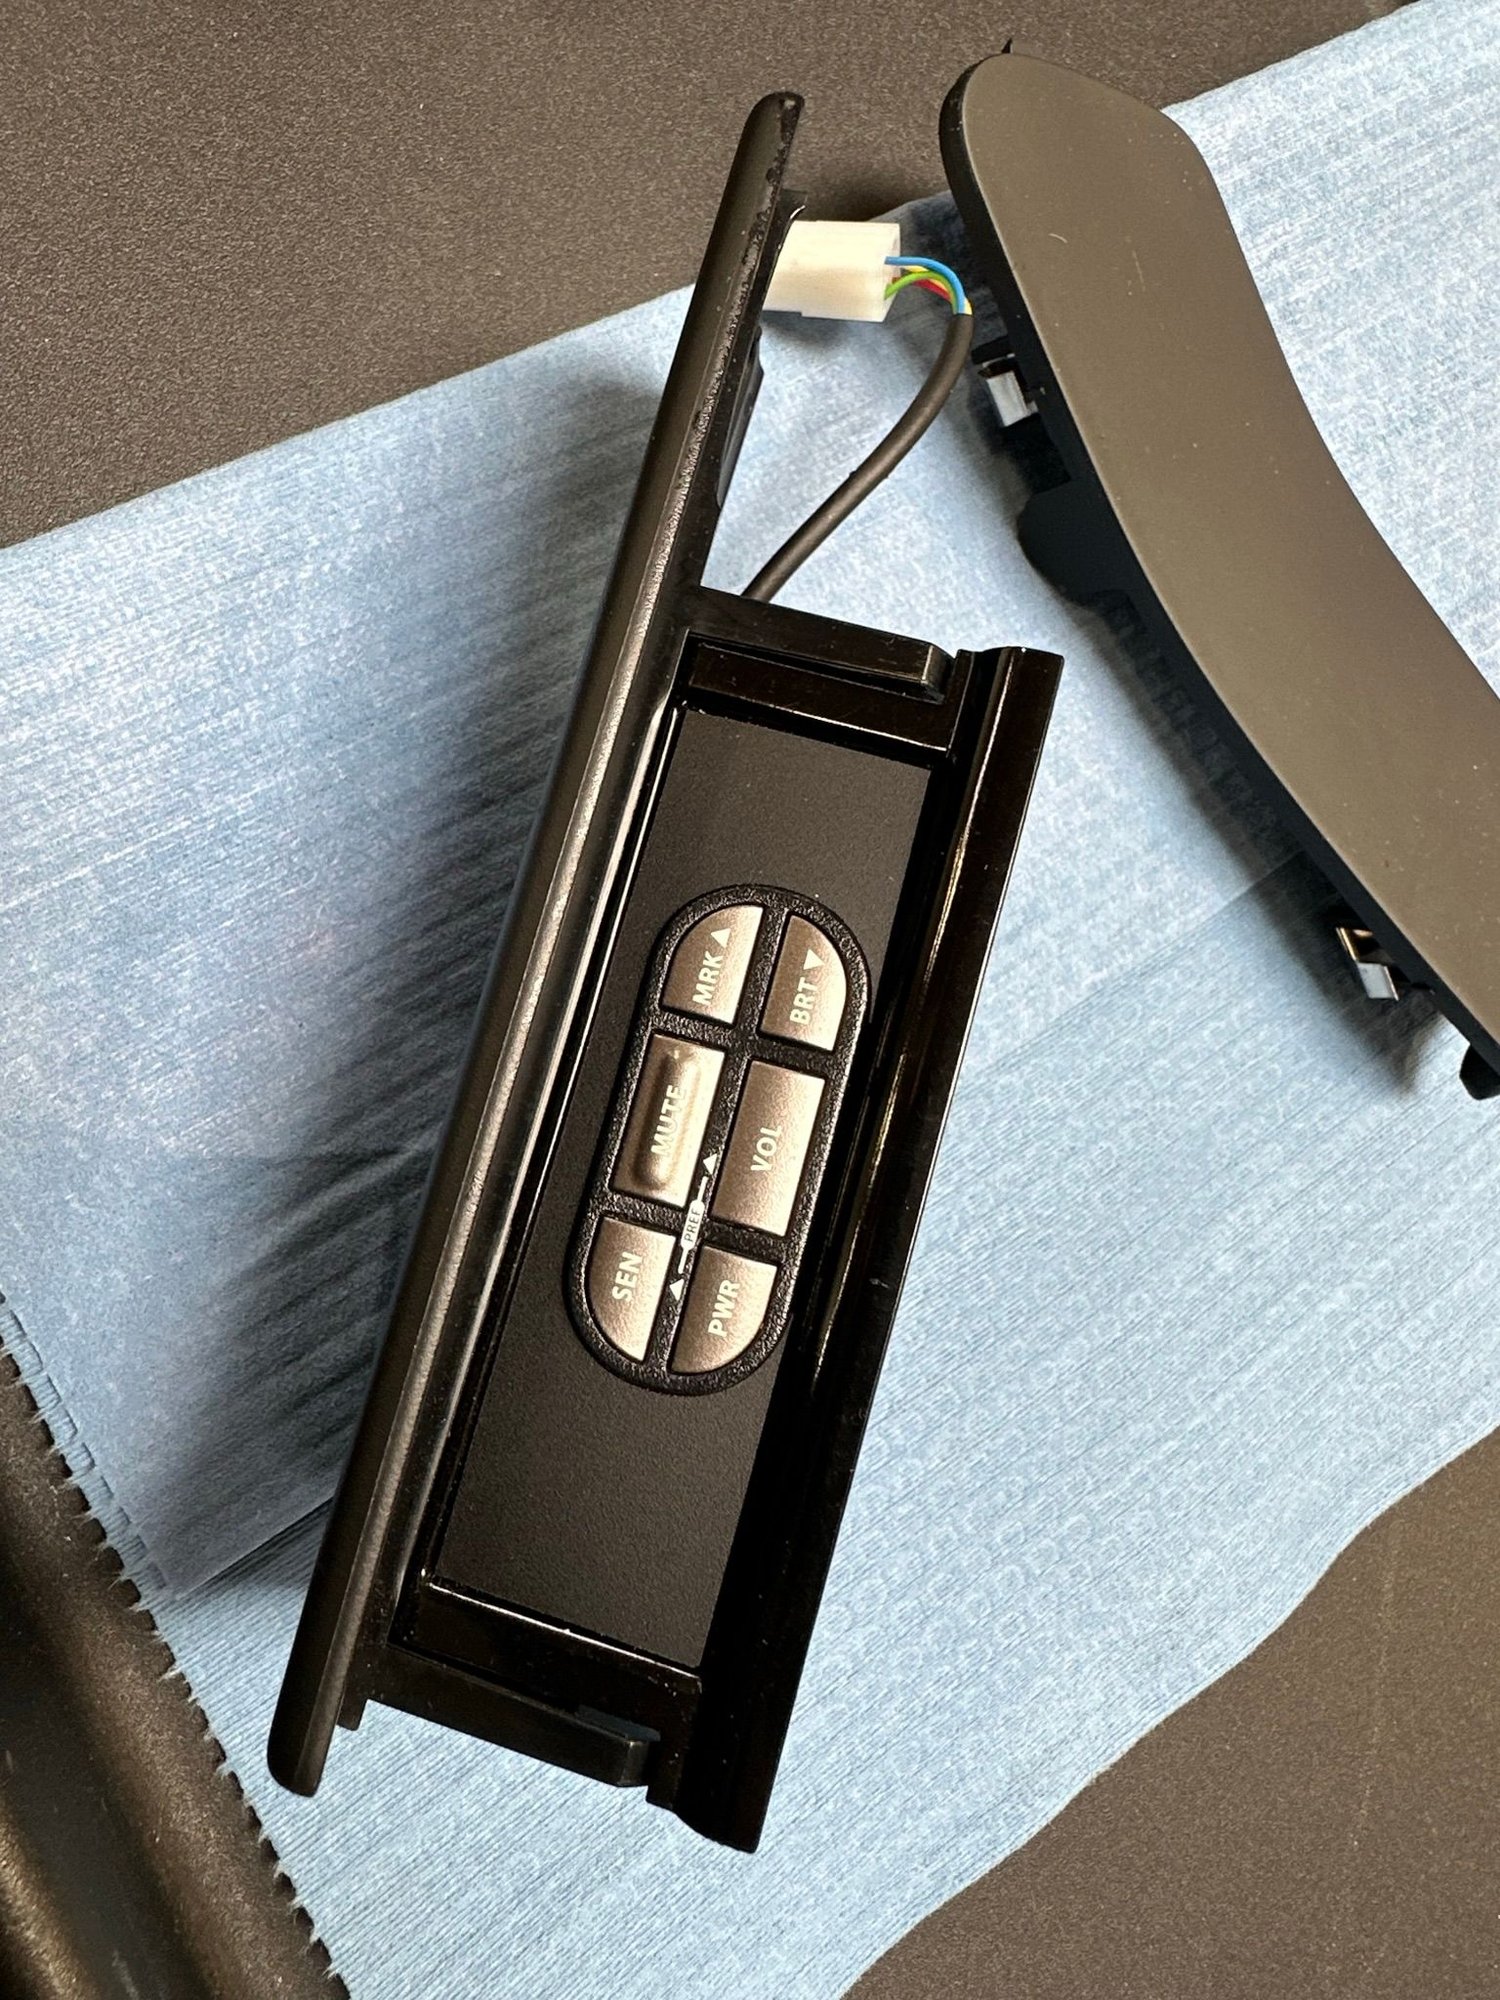
After my aborted attempt to install a CarPlay retrofit board in the PCM last week, I talked to Nick at NM Automotive and purchased one of his kits that doesn’t require a MOST fiber optic system (but does require the AUX is enabled in the PCM). Shipping was quick from the UK; arrived on Thursday and I did the install yesterday.
Install is a little more involved than the Mr12Volt unit, but Nick does a number of custom touches to his unit that give it a nice polish over the other kits.
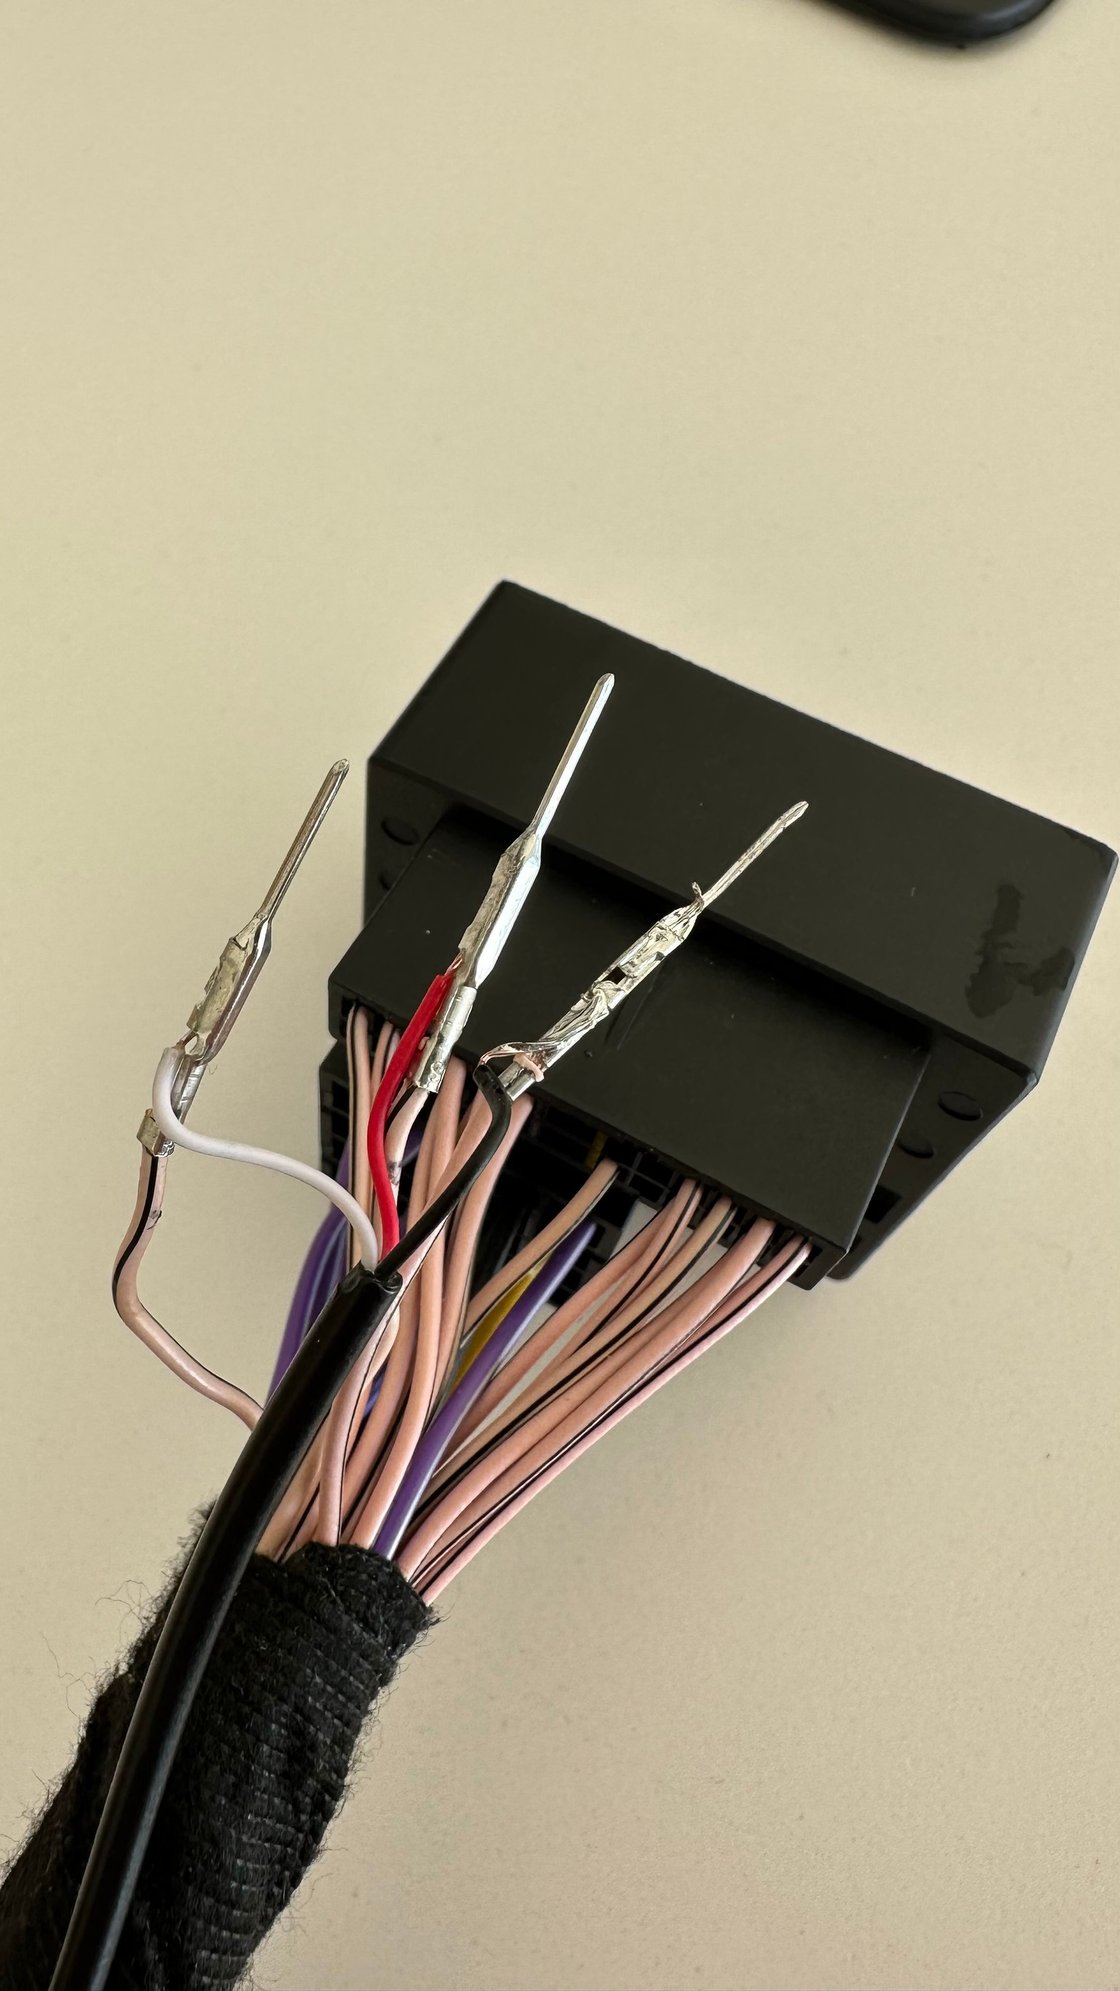
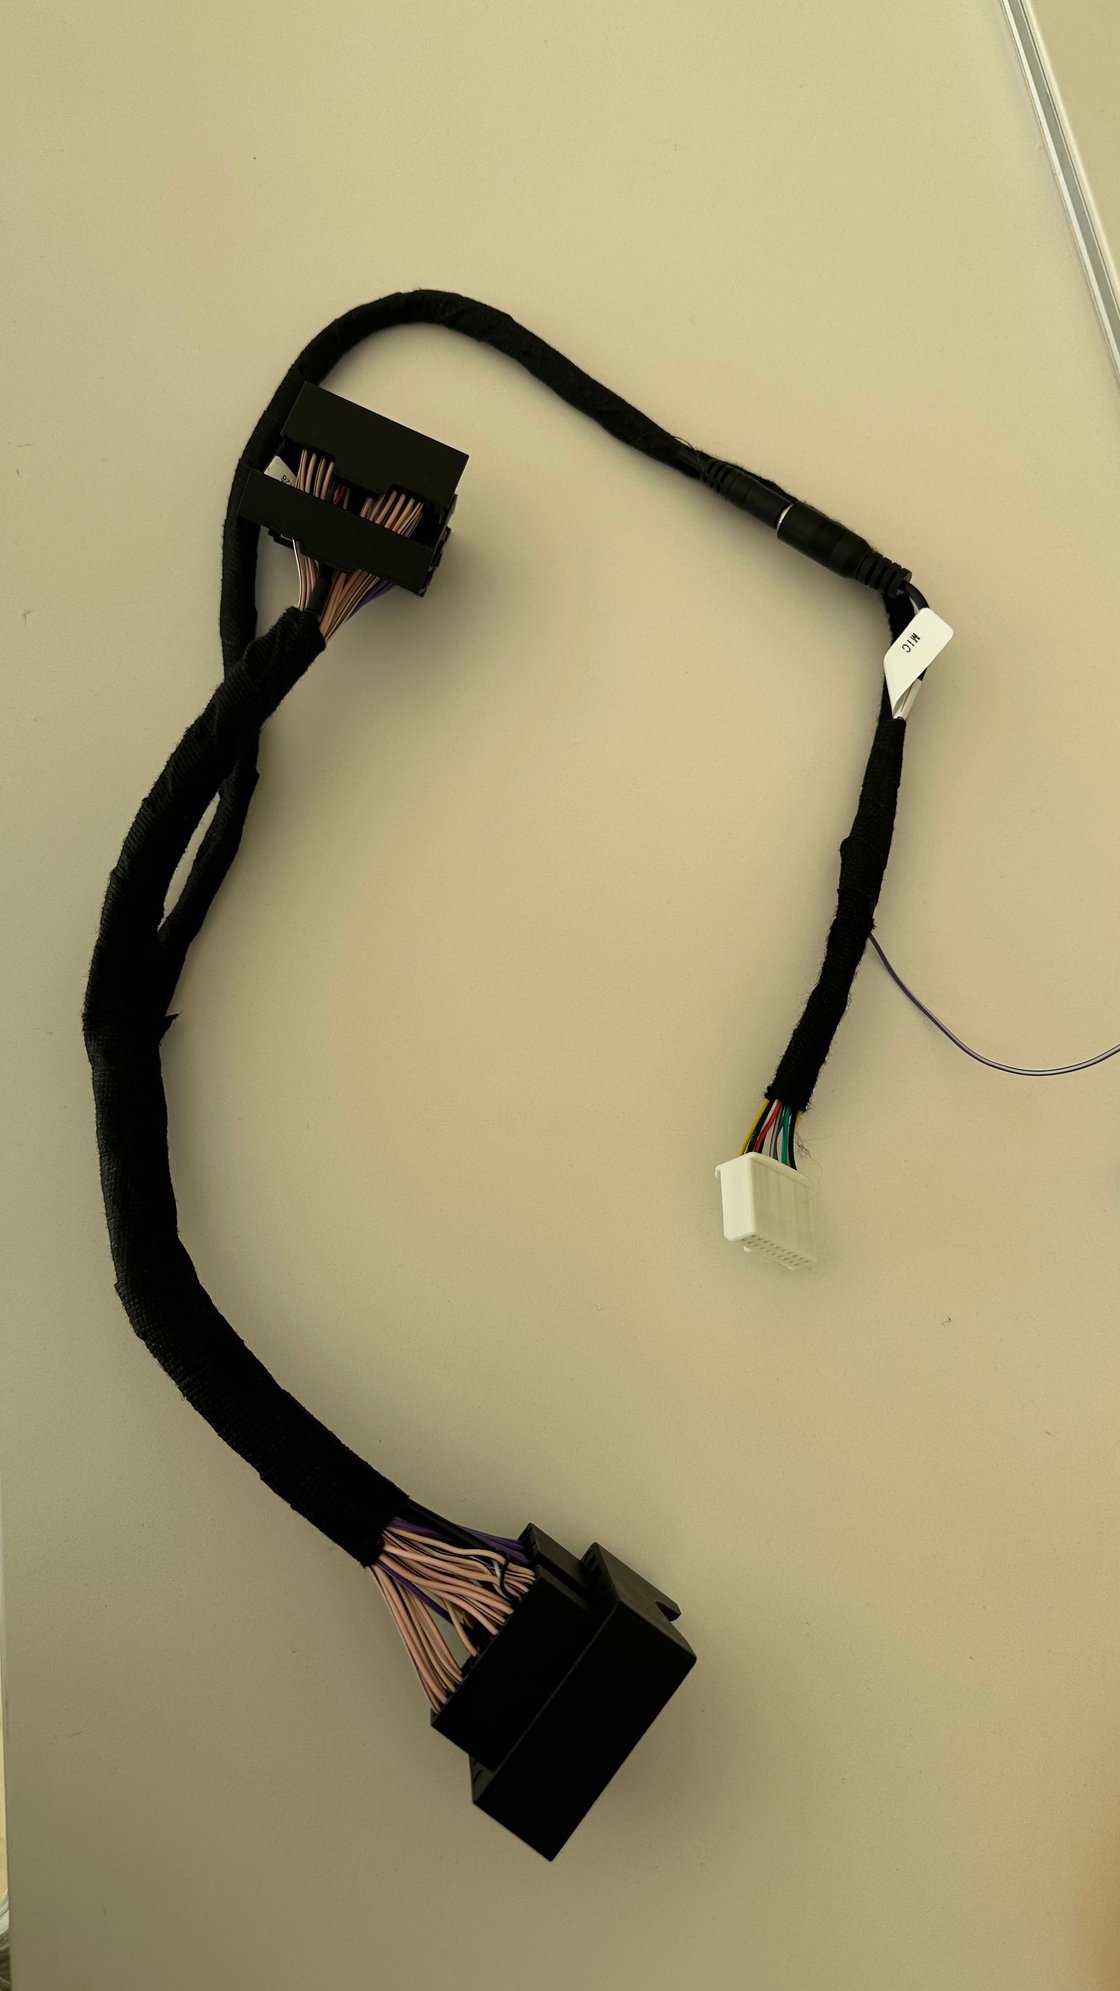
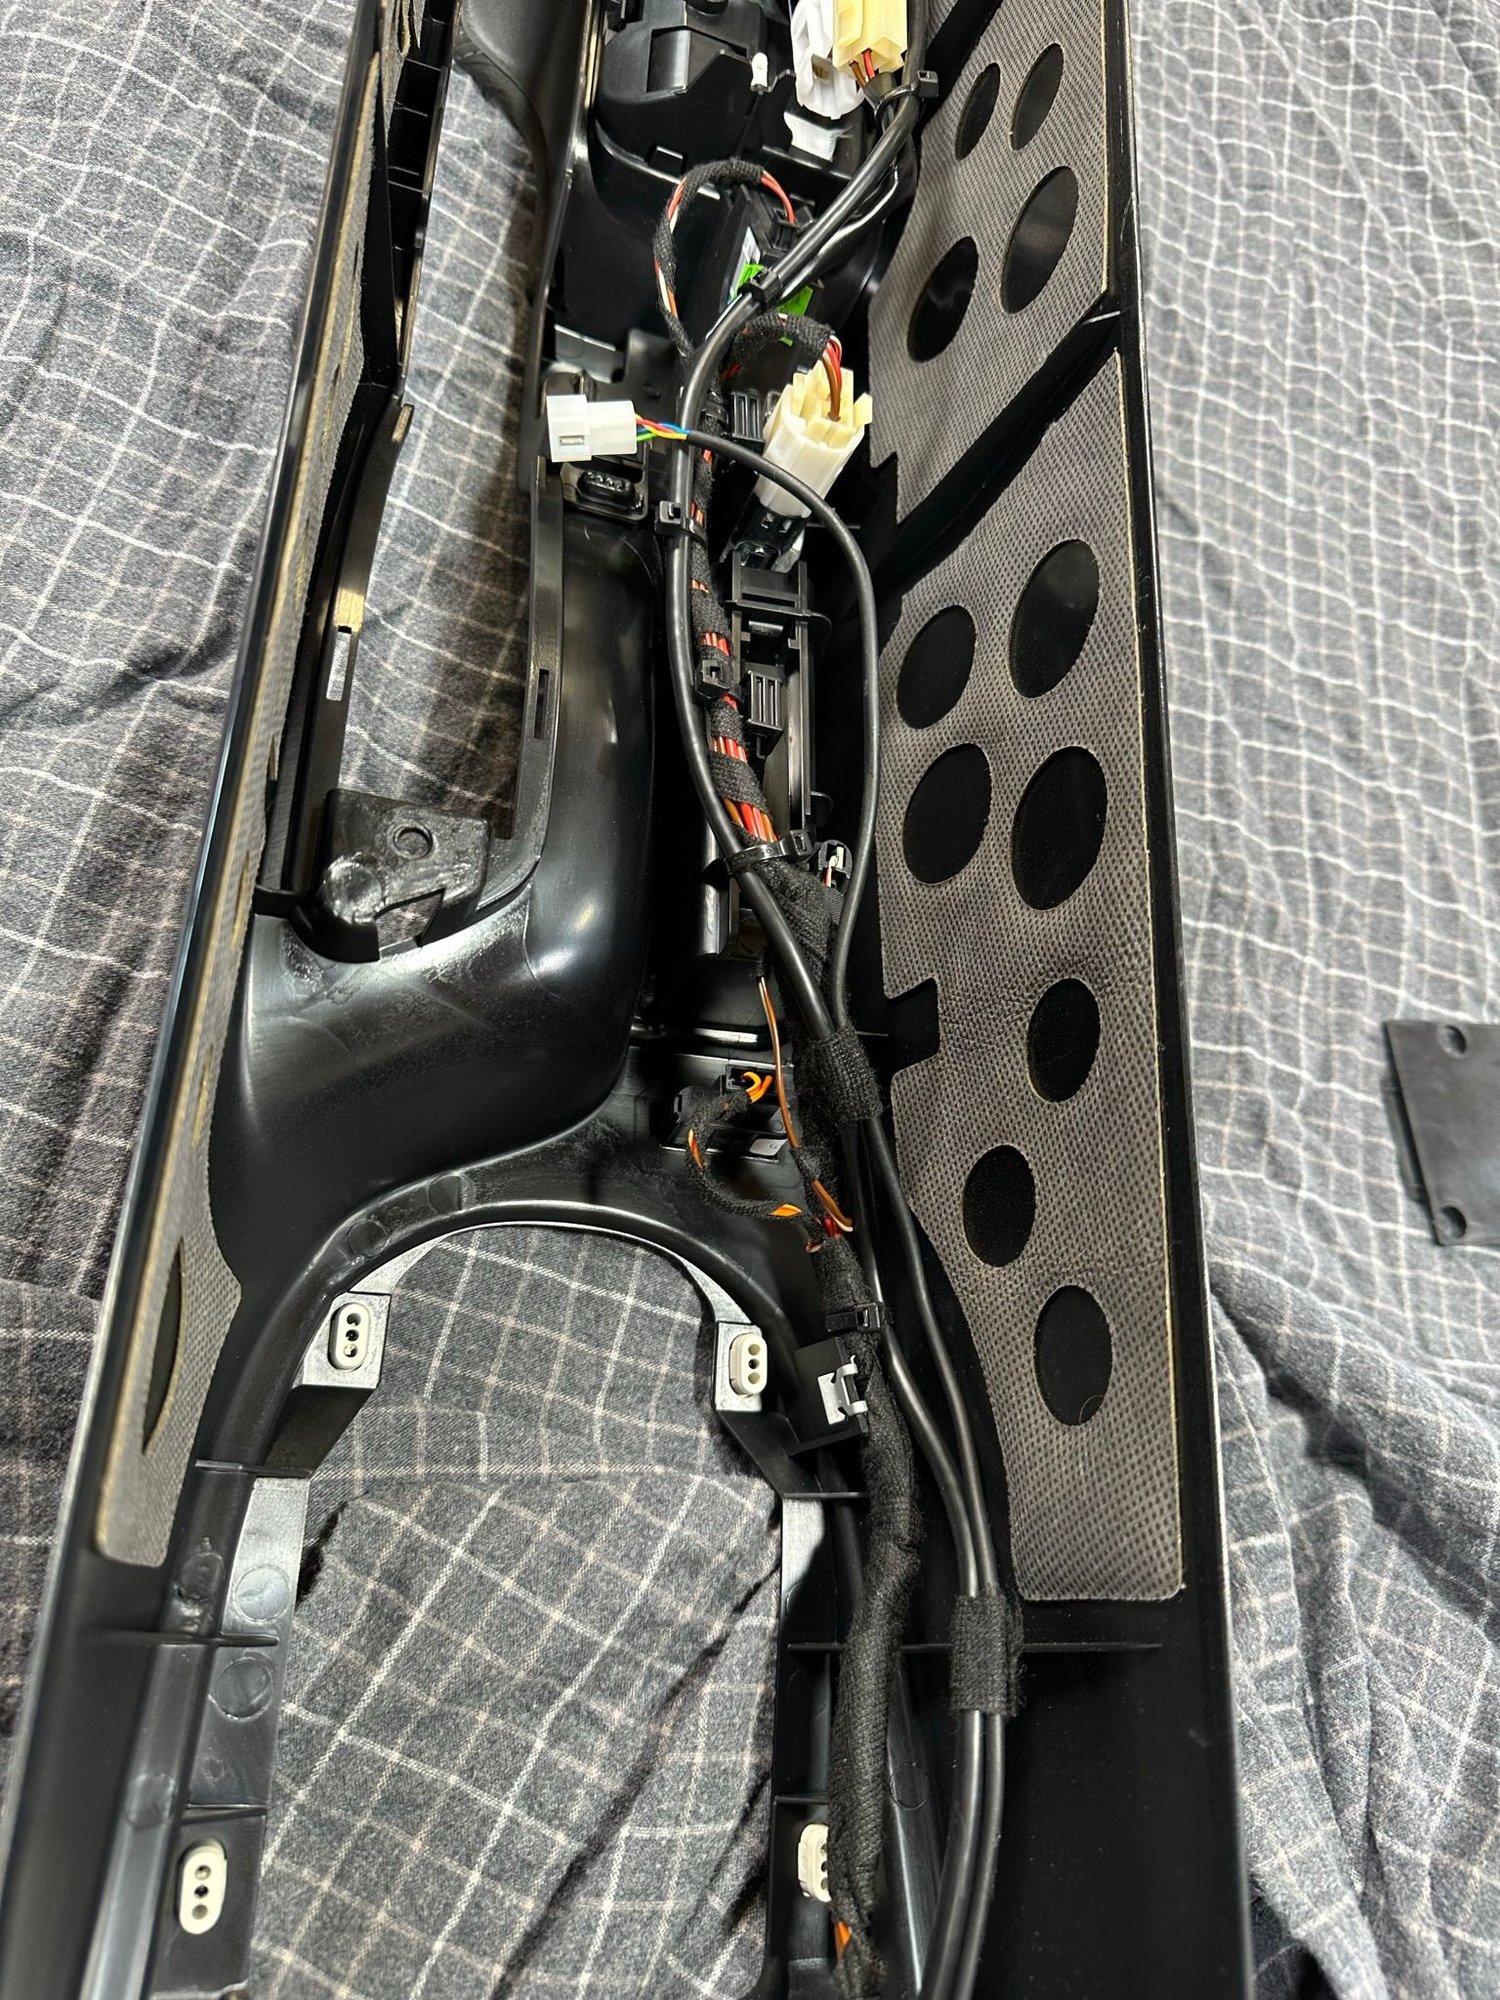
I wanted to use the factory mic for phone calls and Siri, vs. using the included external mic. So I patched in a 3-wire mini-jack connector into NM Automotive’s wiring harness which bridged the factory mic into the retrofit board. Fabric taped it all up securely. It works perfectly and no external mic hanging around. I used the same 3-wire connector and process outlined over in the Mr12Volt thread: https://rennlist.com/forums/porsche-...-pcm3-1-a.html
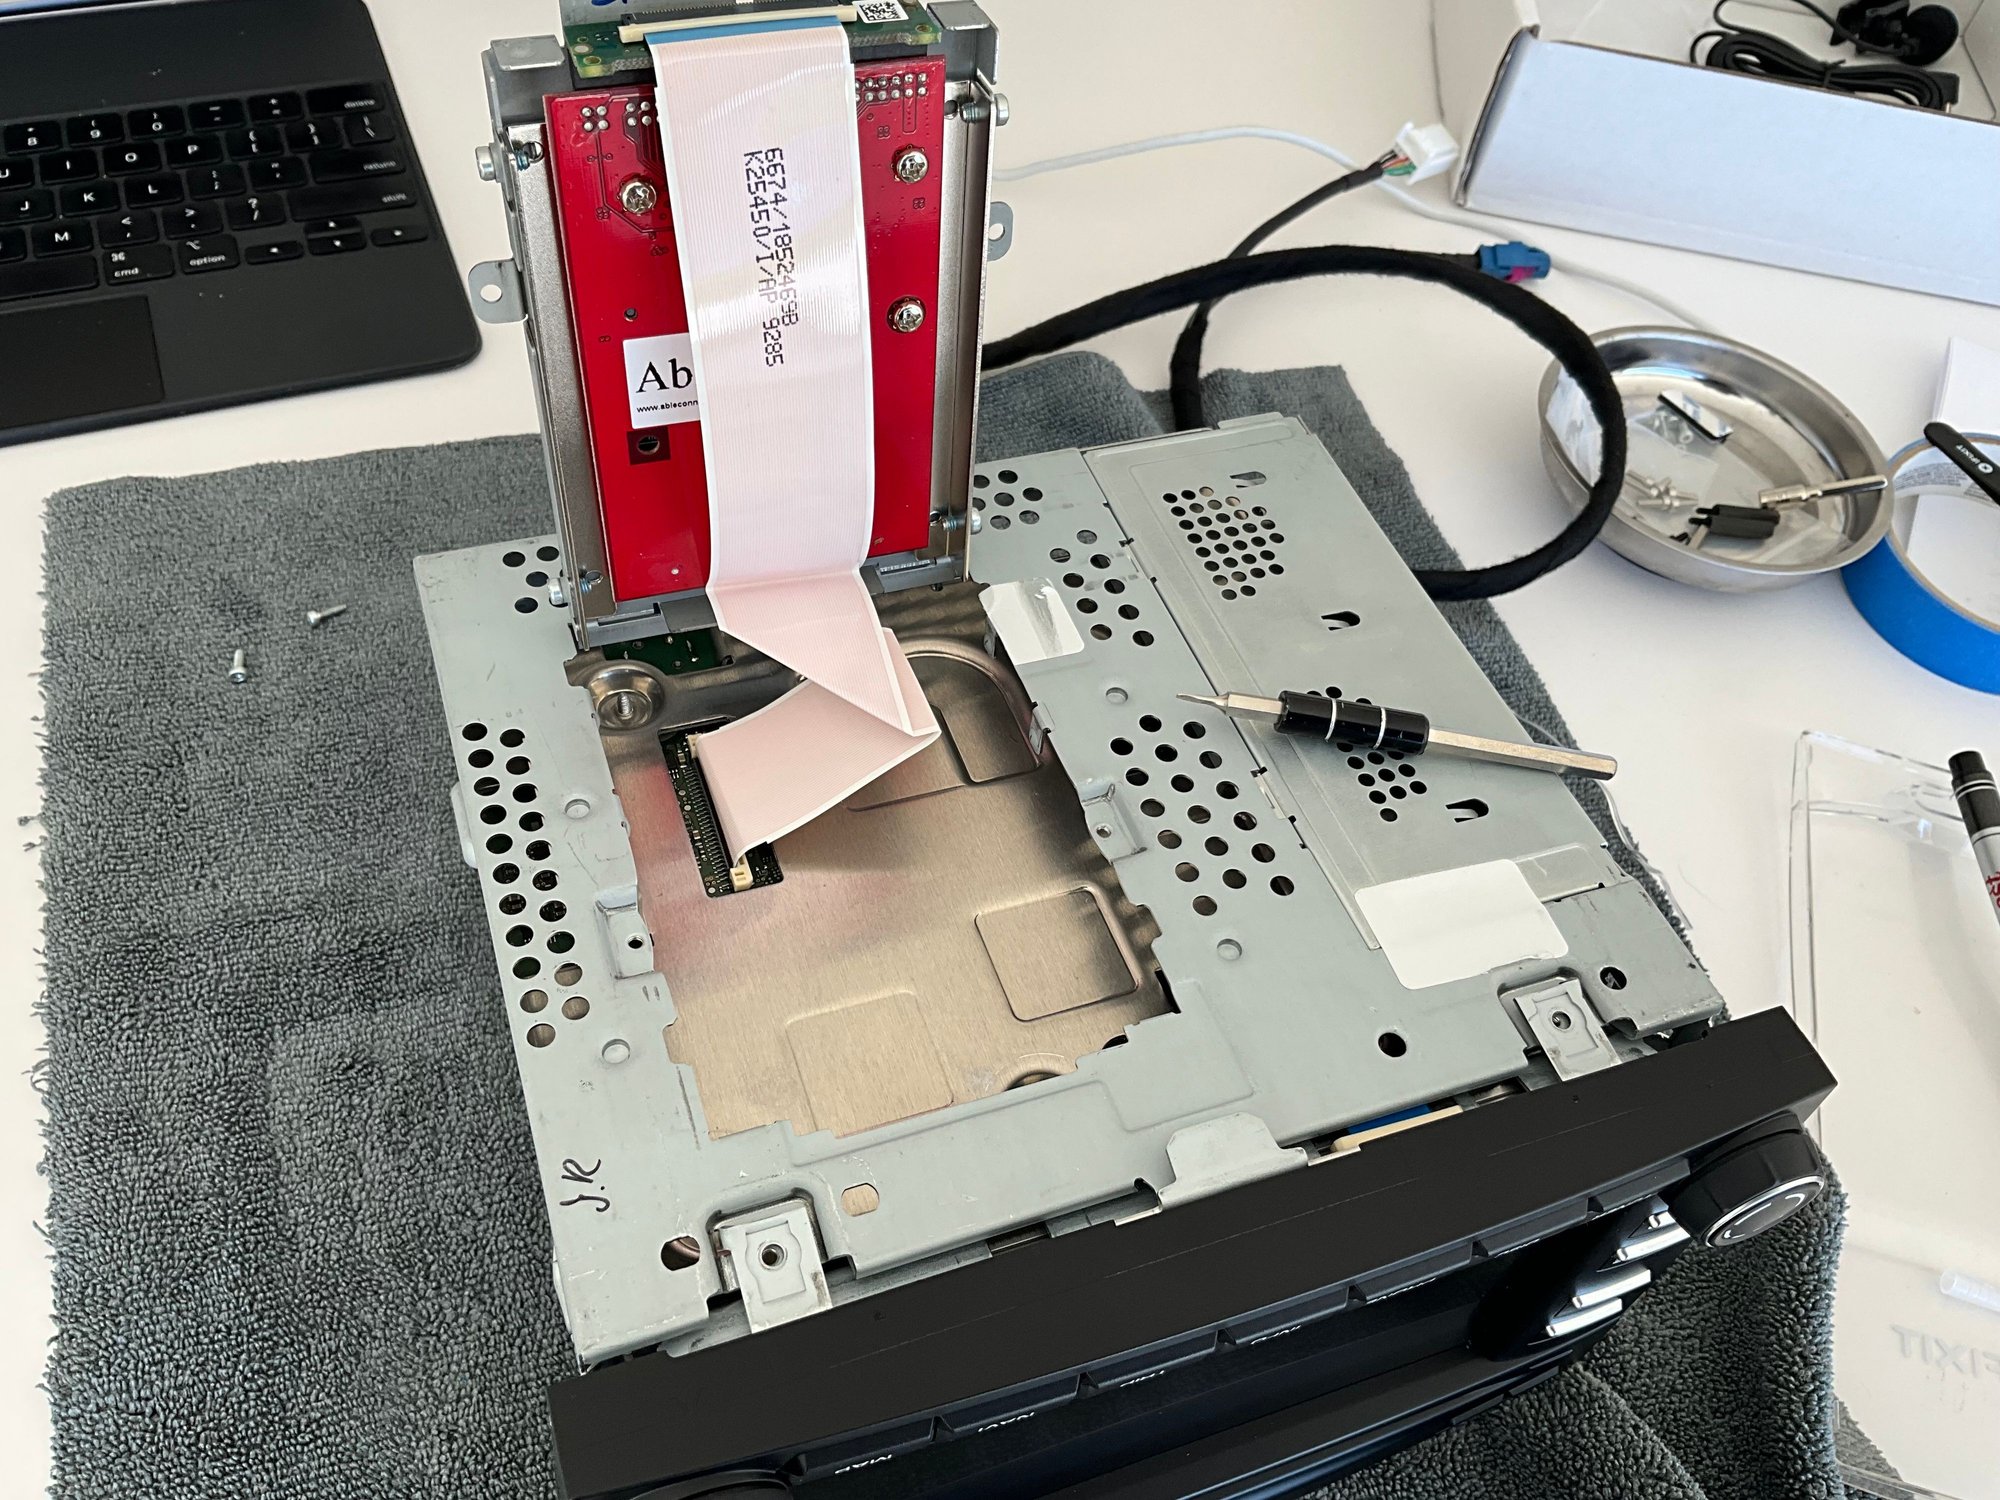
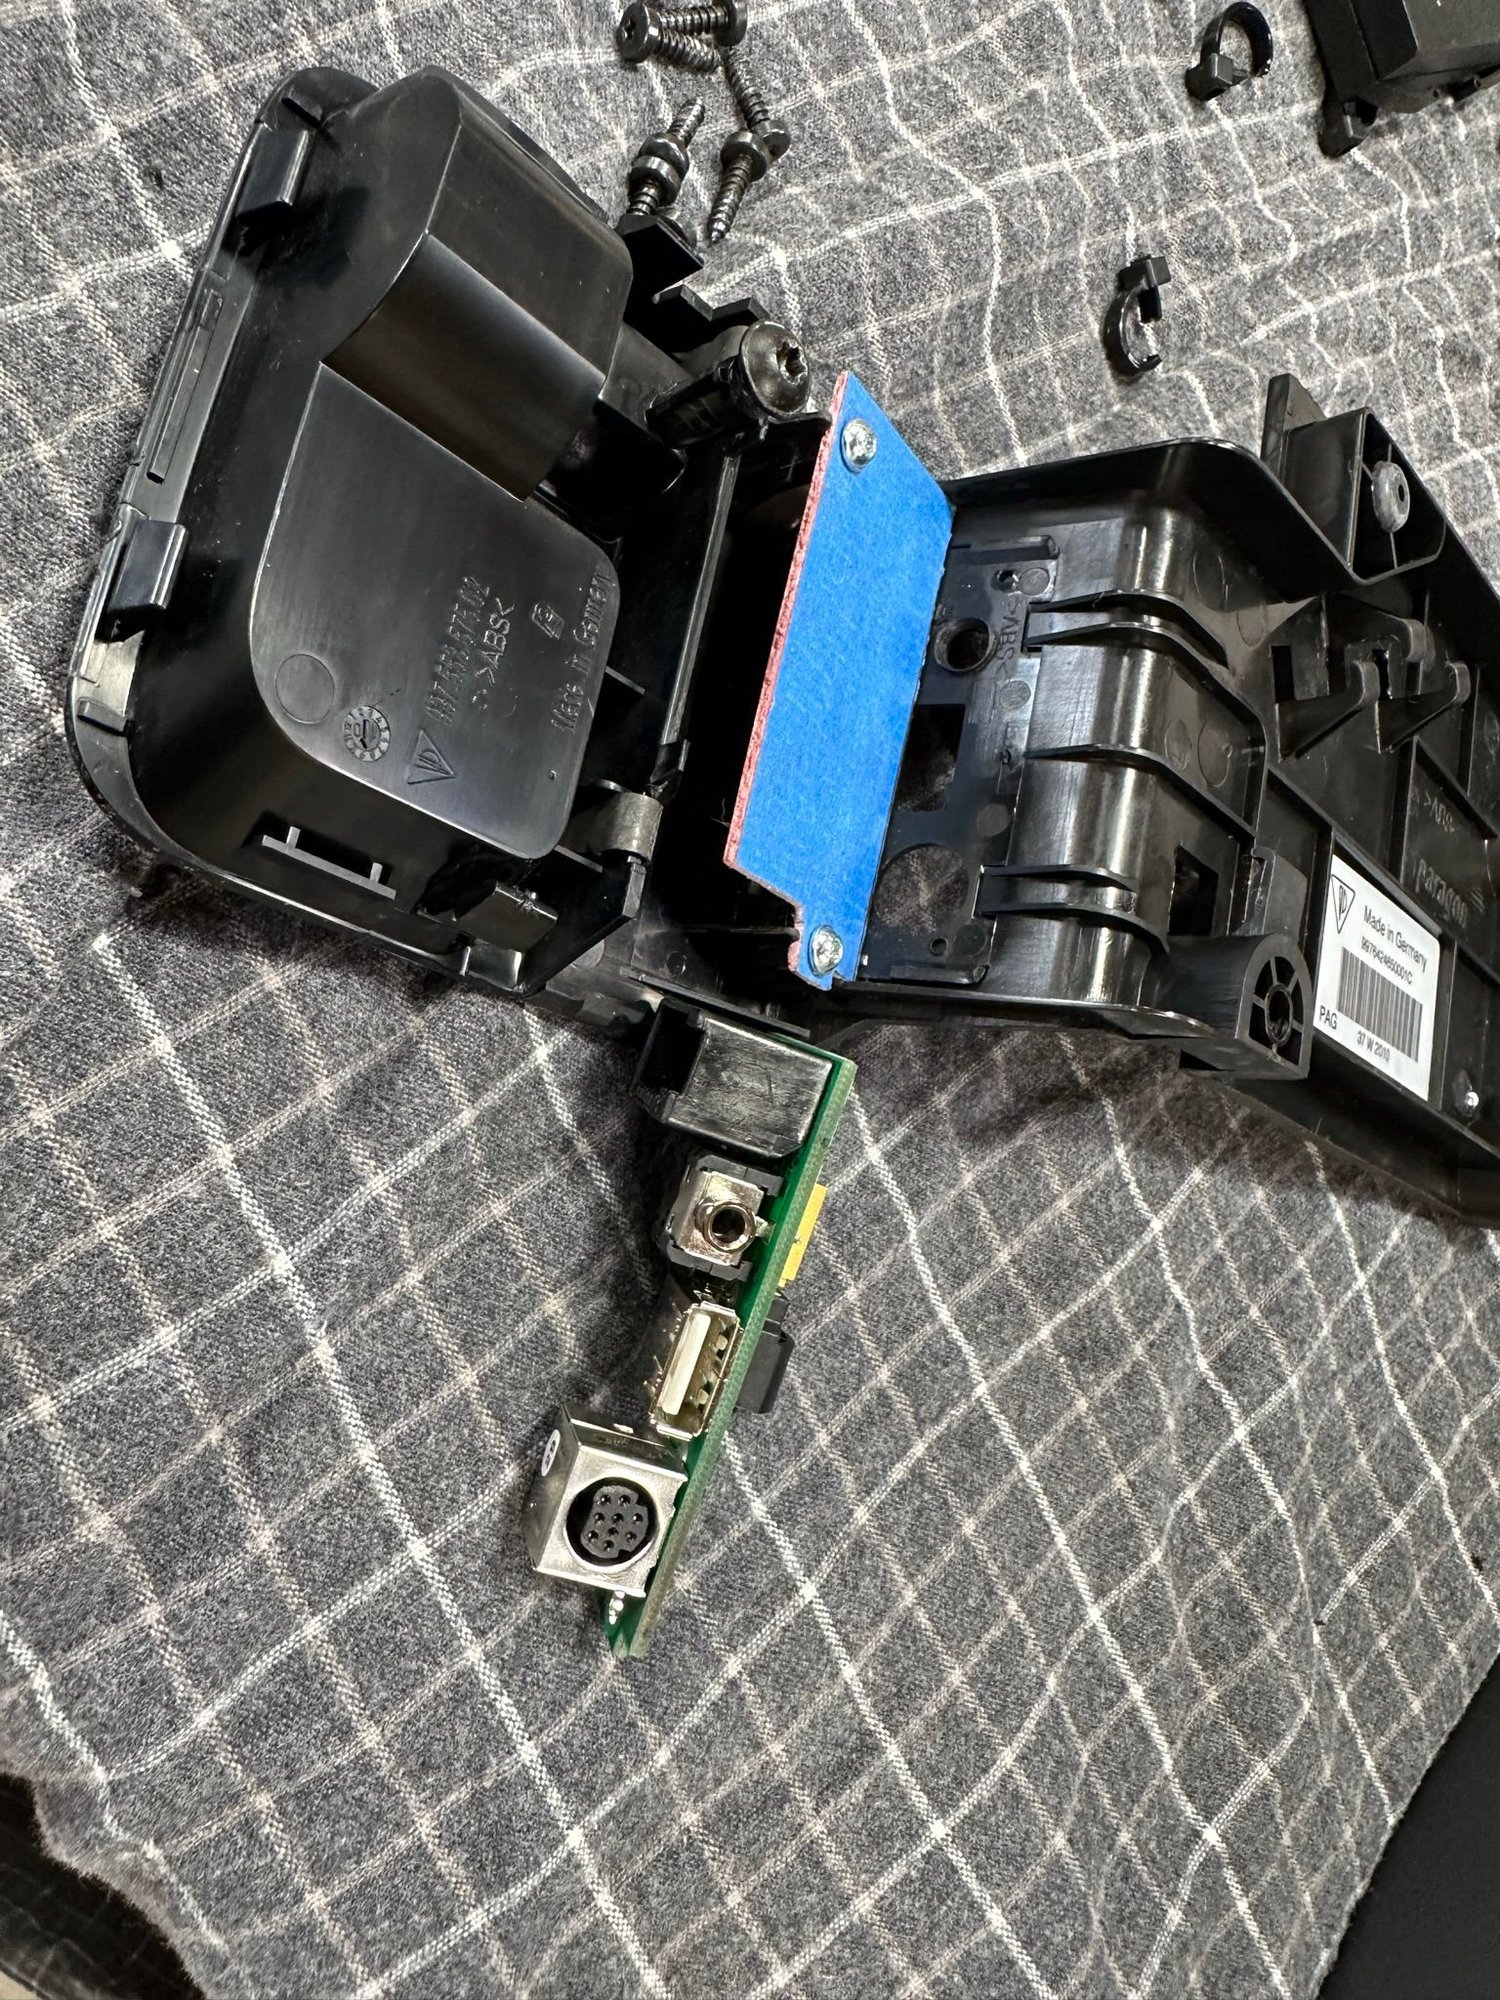
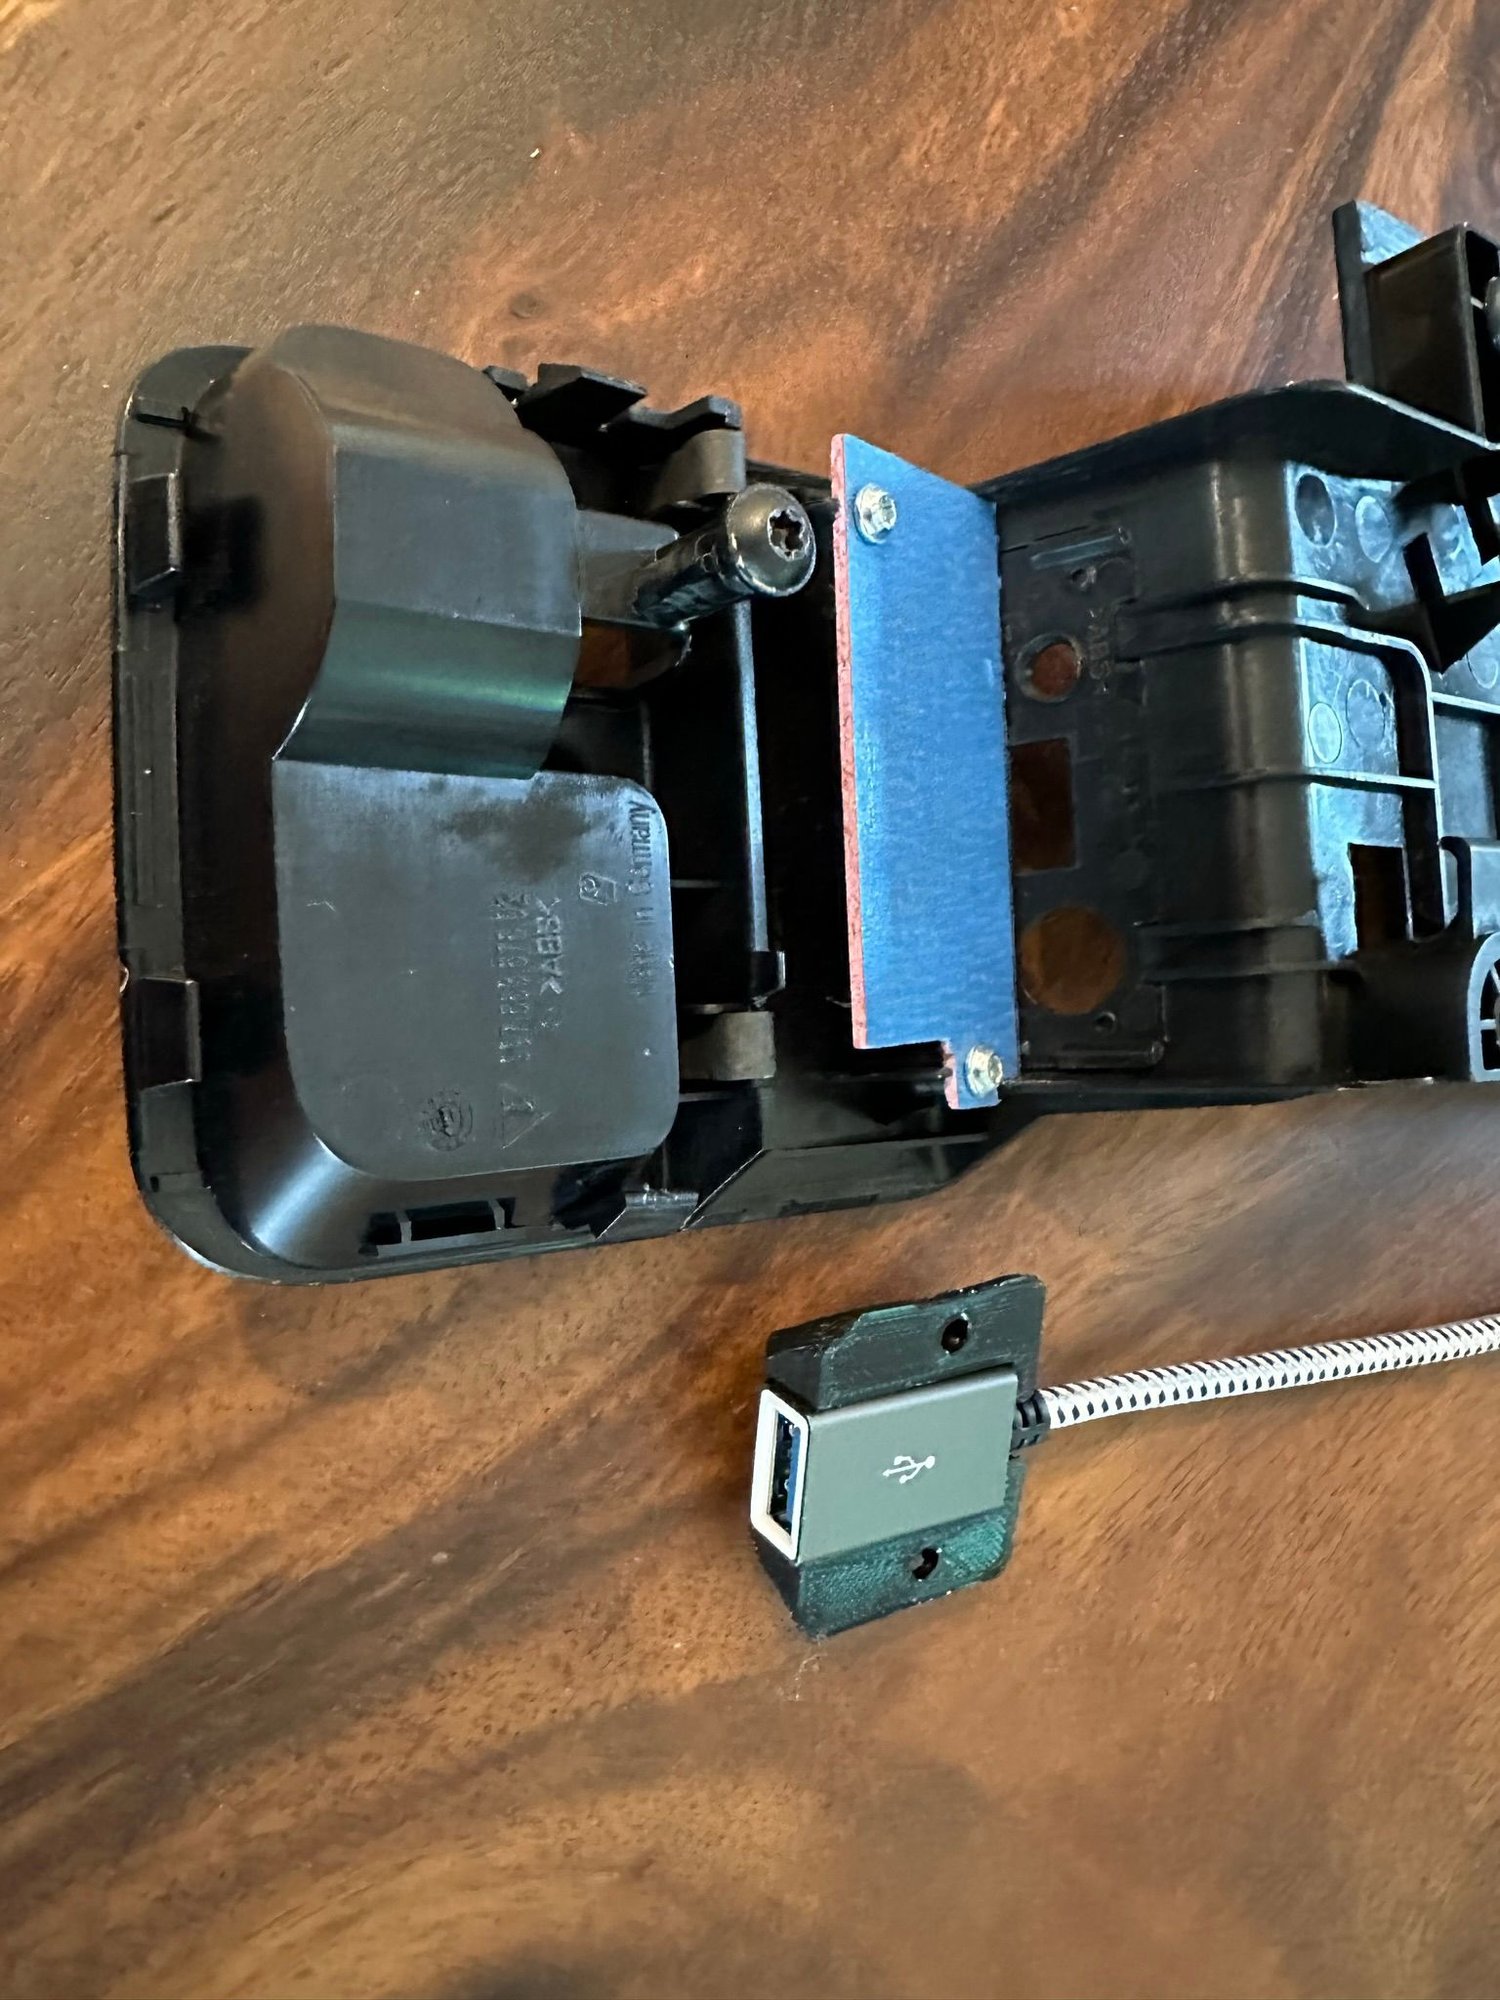
While the PCM was out, I cloned the spinning disc hard drive onto a SSD and installed it in the PCM (and put the original away for a backup). ‘Used this thread for a reference: https://rennlist.com/forums/997-foru...tructions.html
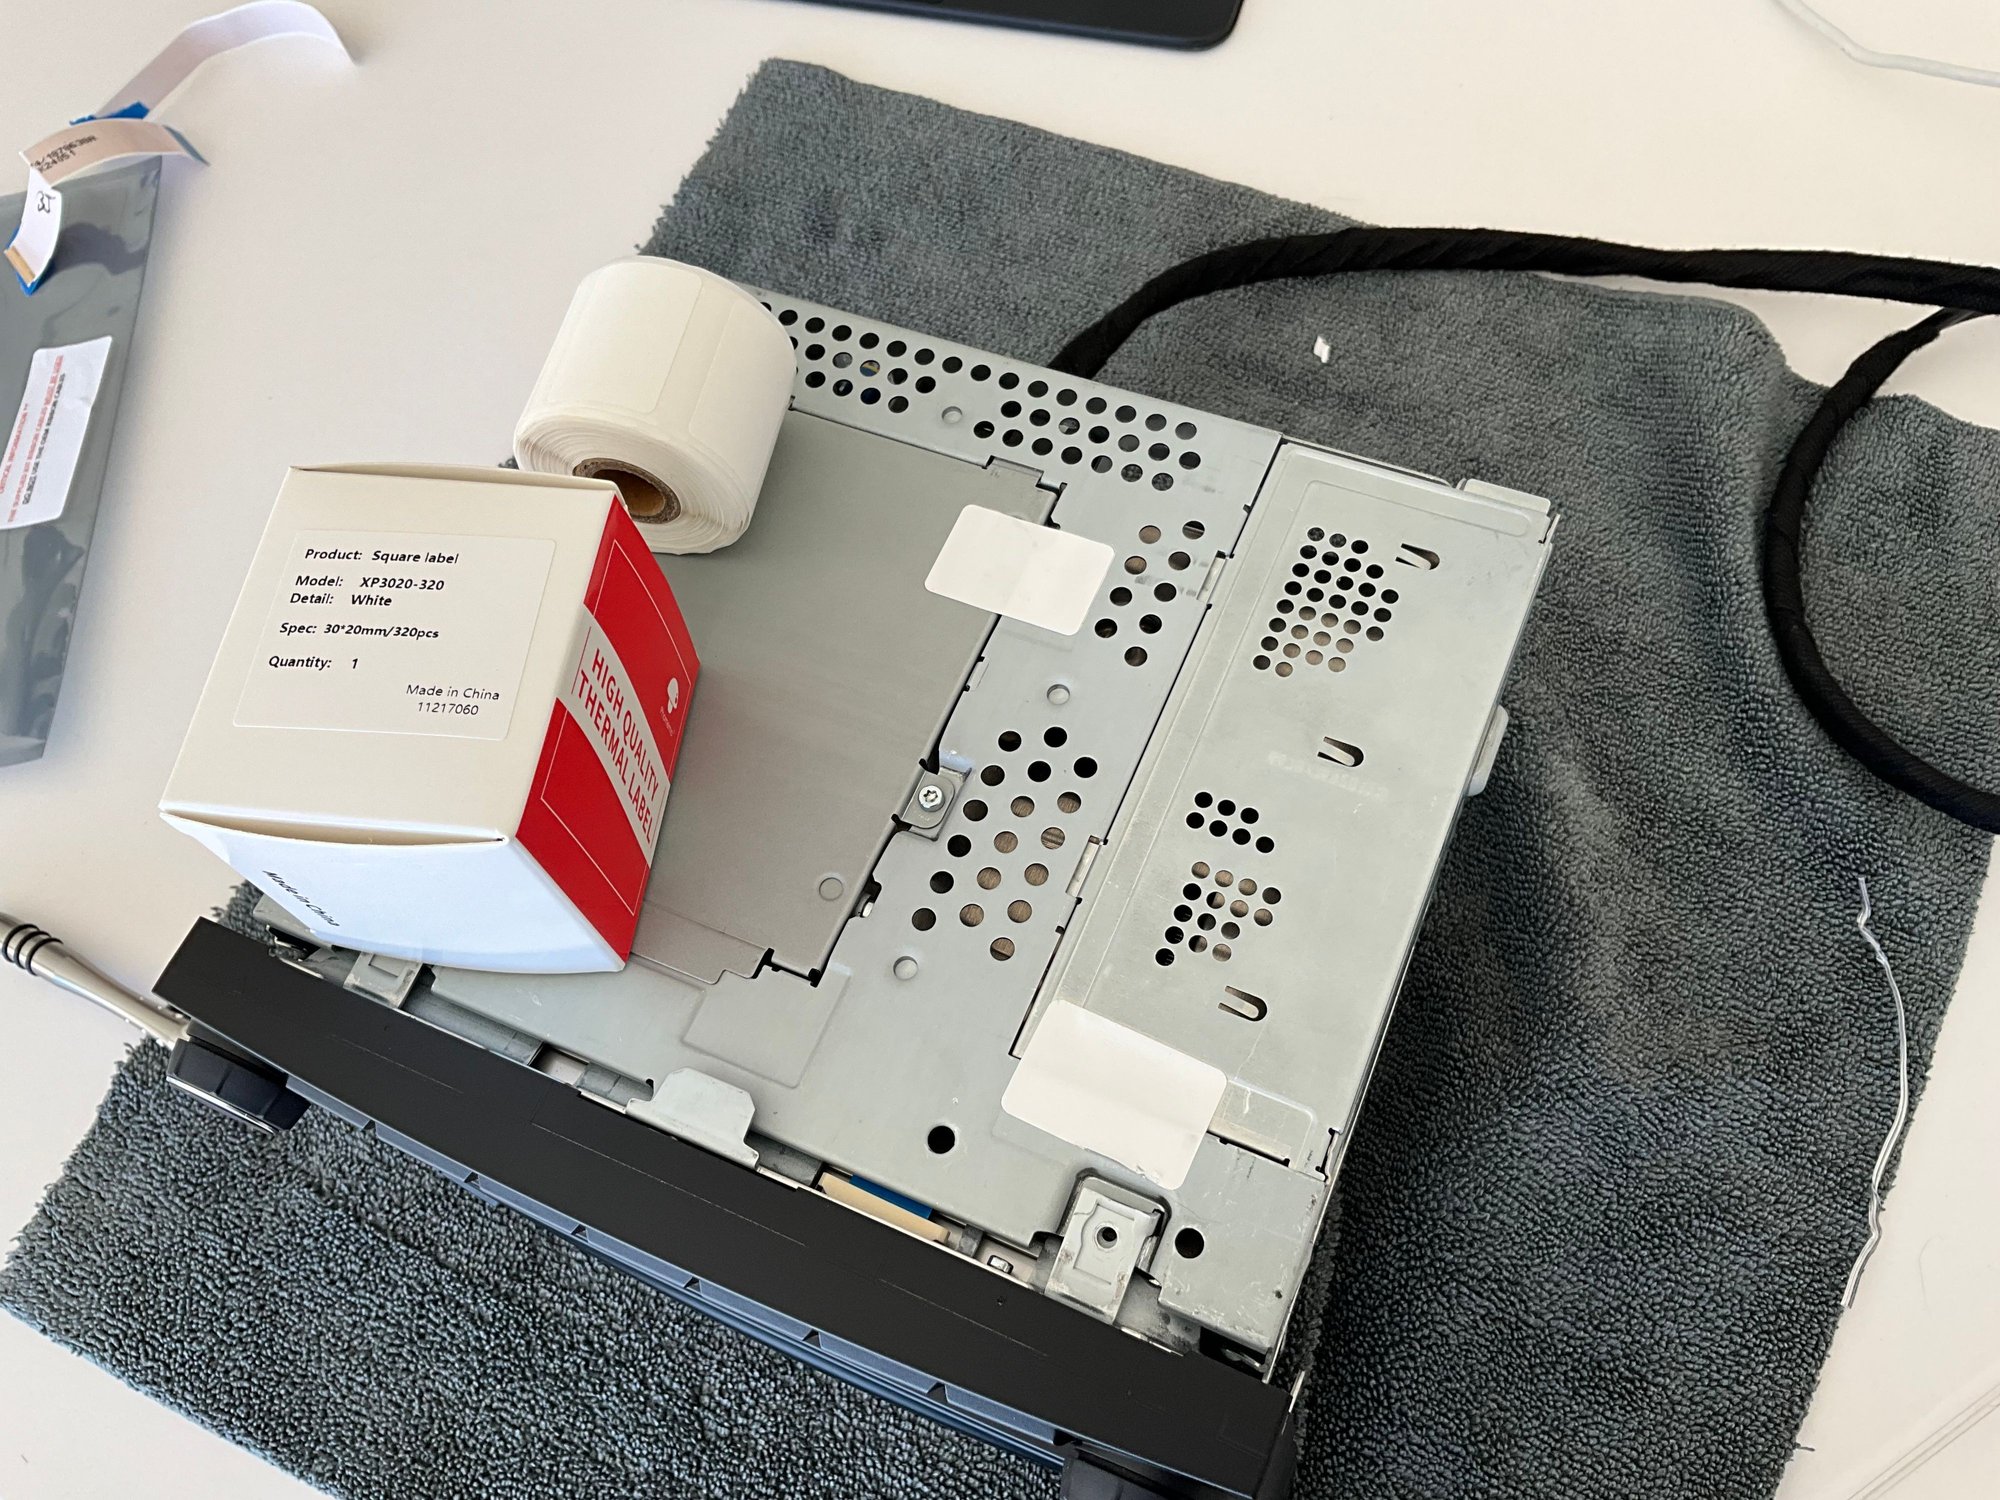
Last but not least... in my quest to make everything appear as stock as possible, I found small 30mm x 20mm labels that perfectly match the anti-tamper stickers that I had to cut in order to open up the PCM. ‘Got them on Amazon, if anyone is curious:
After my aborted attempt to install a CarPlay retrofit board in the PCM last week, I talked to Nick at NM Automotive and purchased one of his kits that doesn’t require a MOST fiber optic system (but does require the AUX is enabled in the PCM). Shipping was quick from the UK; arrived on Thursday and I did the install yesterday.
Install is a little more involved than the Mr12Volt unit, but Nick does a number of custom touches to his unit that give it a nice polish over the other kits.
I wanted to use the factory mic for phone calls and Siri, vs. using the included external mic. So I patched in a 3-wire mini-jack connector into NM Automotive’s wiring harness which bridged the factory mic into the retrofit board. Fabric taped it all up securely. It works perfectly and no external mic hanging around. I used the same 3-wire connector and process outlined over in the Mr12Volt thread: https://rennlist.com/forums/porsche-...-pcm3-1-a.html
While the PCM was out, I cloned the spinning disc hard drive onto a SSD and installed it in the PCM (and put the original away for a backup). ‘Used this thread for a reference: https://rennlist.com/forums/997-foru...tructions.html
Last but not least... in my quest to make everything appear as stock as possible, I found small 30mm x 20mm labels that perfectly match the anti-tamper stickers that I had to cut in order to open up the PCM. ‘Got them on Amazon, if anyone is curious: https://www.amazon.com/gp/product/B0...?ie=UTF8&psc=1
‘Buttoned everything up, and went for a quick spin. It’s nice having modern maps in the car!
Wow really like this mic solution. I do wish my NMAuto kit didn't use an additional mic.
Theres no difference in the NM kit vs the one you would buy on Ali Express.
It's just a JoyAuto kit - not even repackaged.
NM- $528 + shipping
AE- $344
I’ve bought 2 from NM, 3 from AE and installed in 2 981 GT4s, a 987.2 & 2 997s including my current car.
Nice addition redoing the harness for the OE mic!
If I used Siri or voice commands I would have done the same.
~~~~~~~
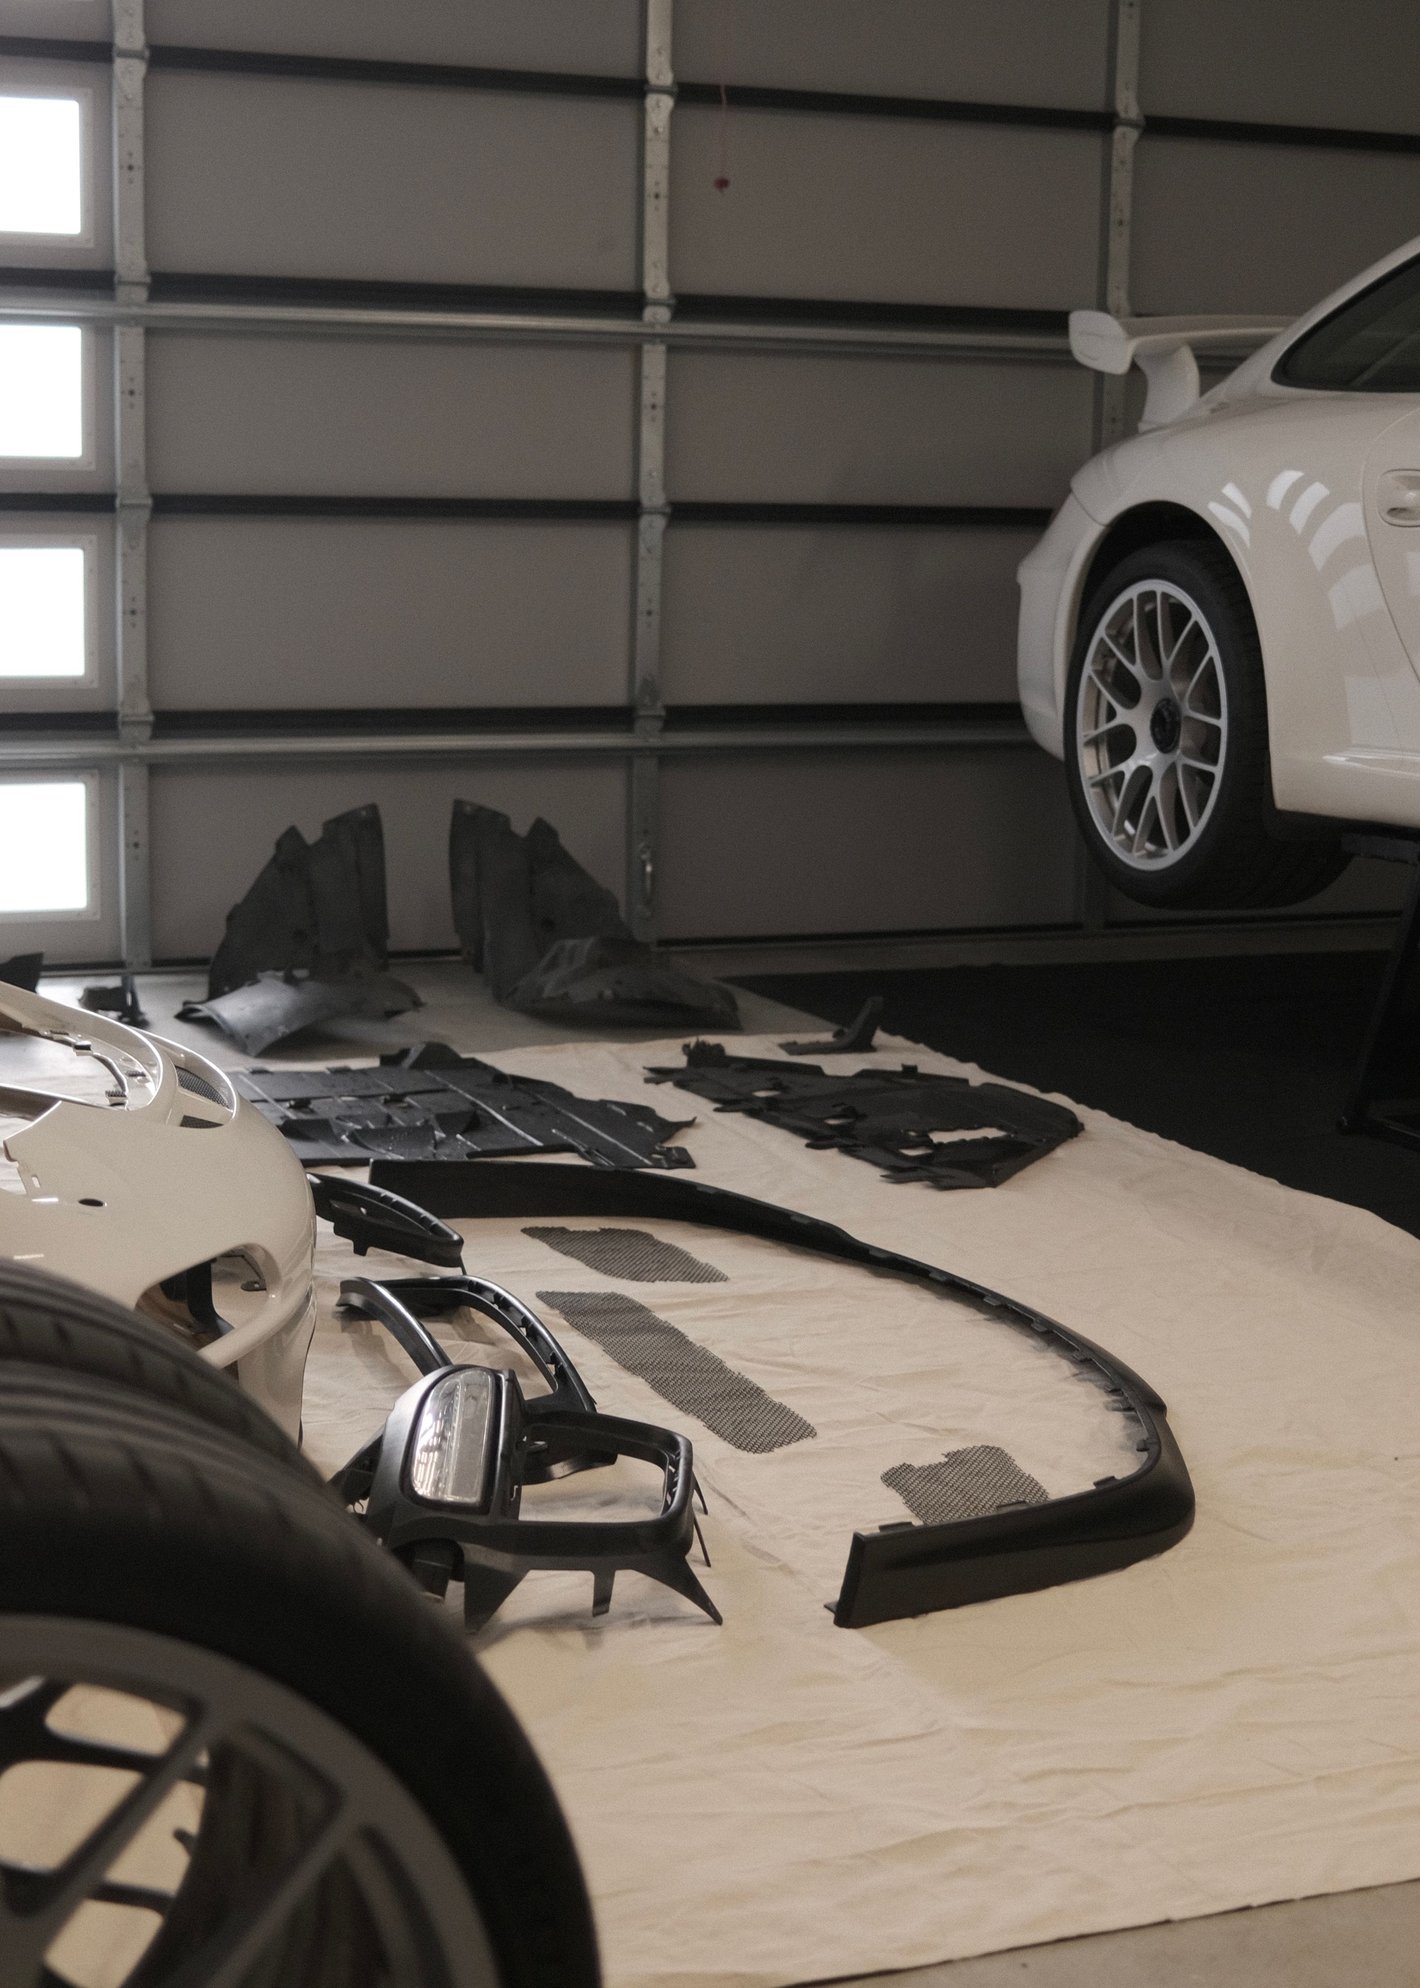
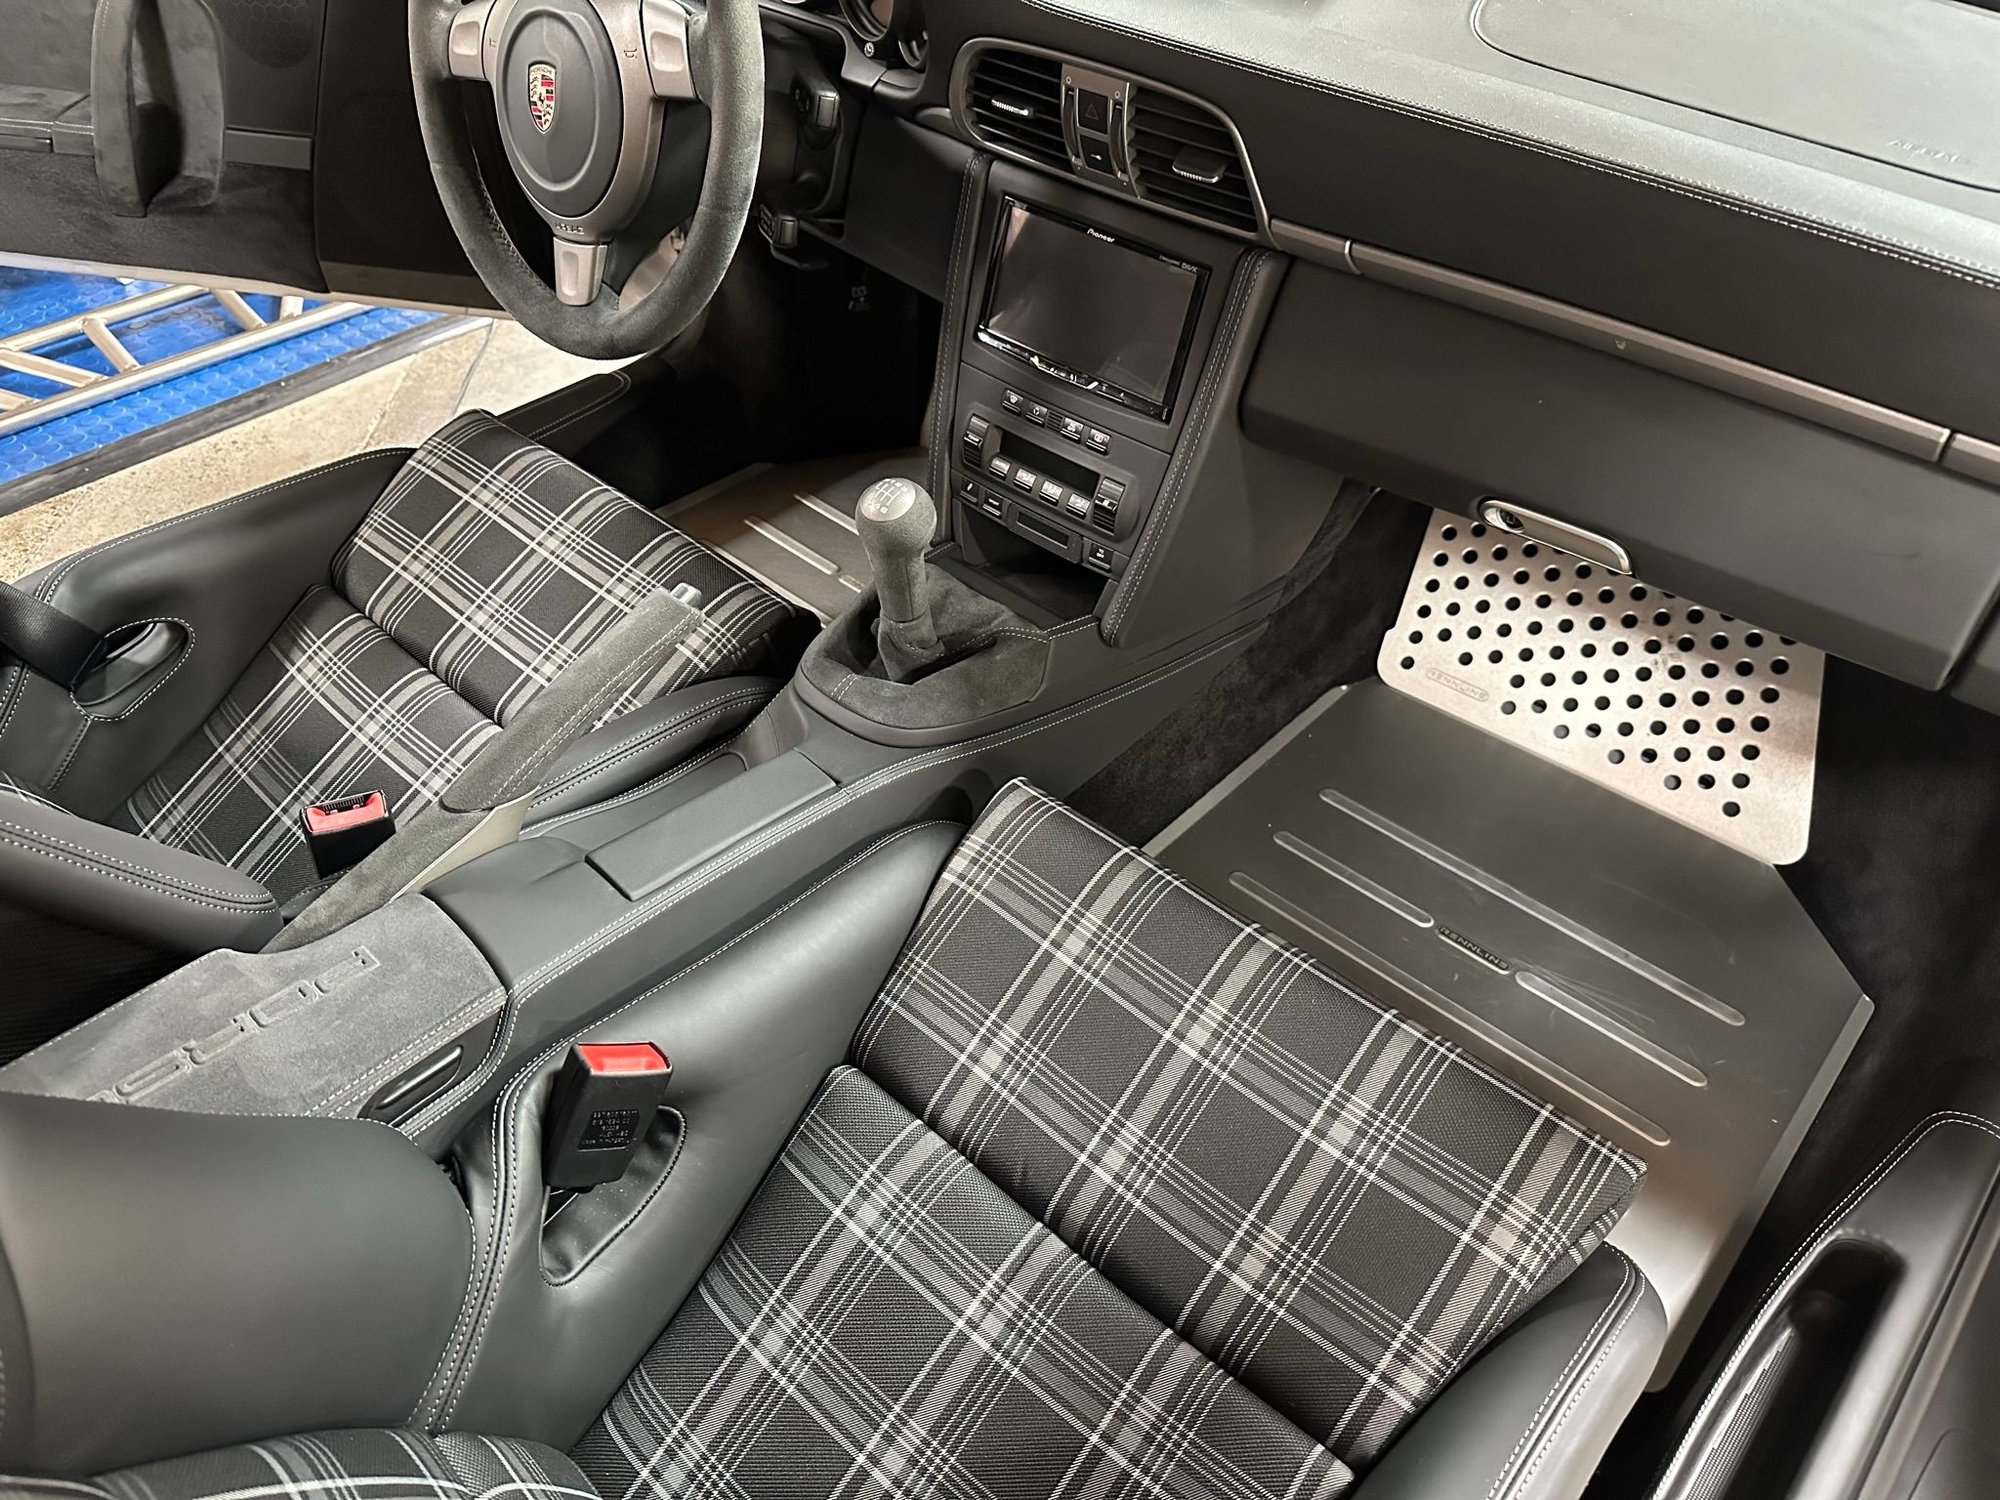
Over the last few weeks I’ve done a refresh on the car.
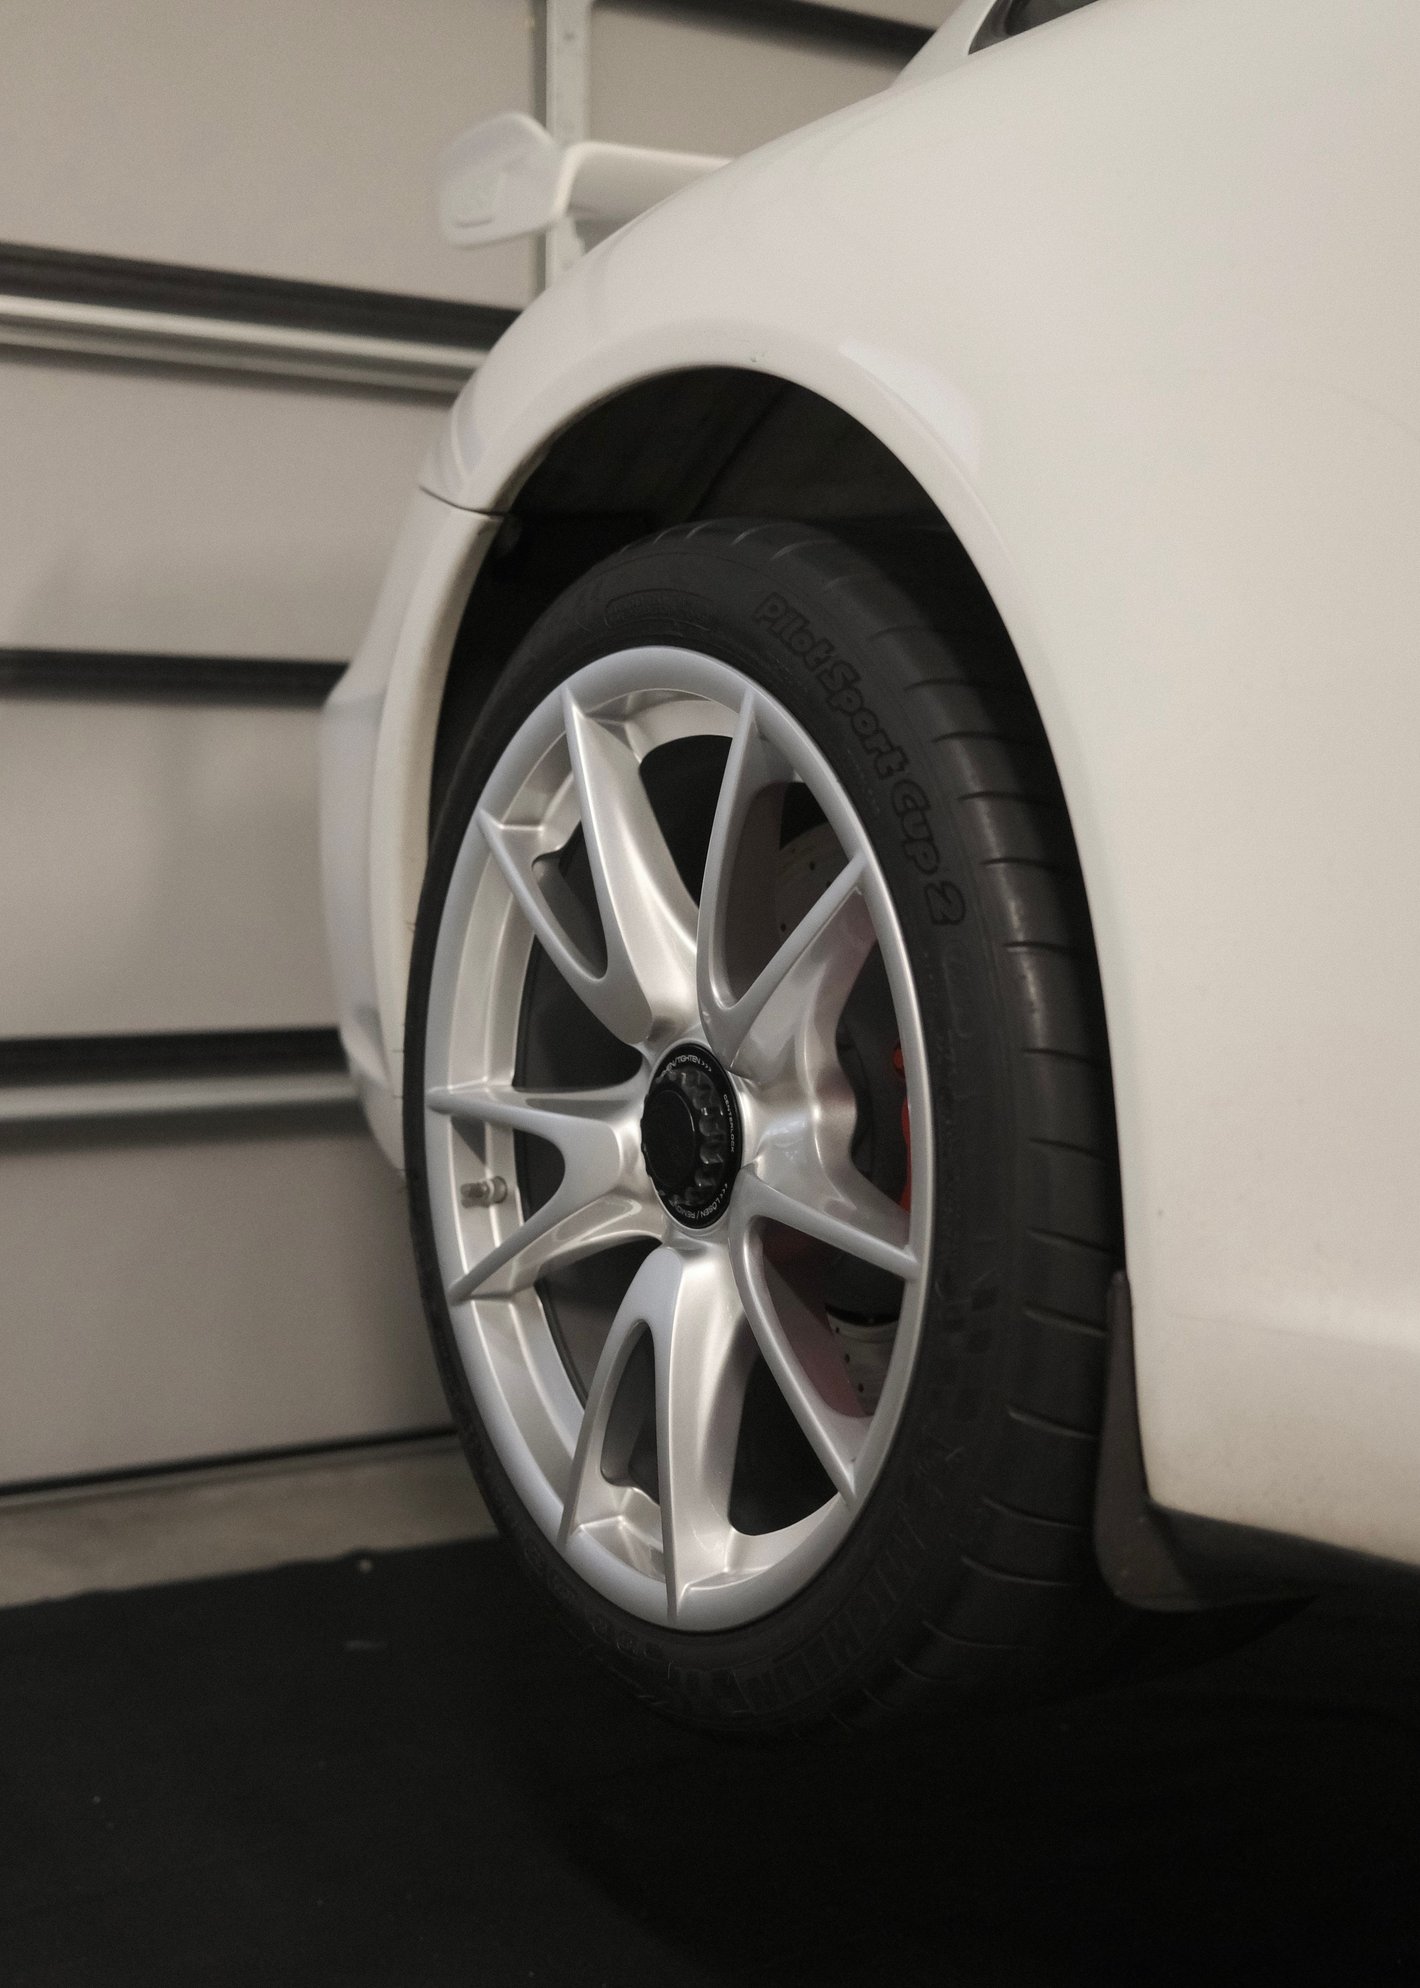
- refinished wheels in BBS Motorsport Silver
- new bumper mesh
- new lip
- cleaned every bolt and clip, if rusty replaced
- removed all fender liners, plastic underbody, air-box, headlights, tail lights, mud guards, etc and detailed everything to the best of my abilities.
- replaced anything broken
- replaced line and fitting for FAL and replaced all hydro fluid.
- ton of other small stuff throughout
I got a plastic welder as well, and repaired some misc items under the car like small cracks in the plastic. Best $250 I ever spent! Super versatile.
Thanks to Supreme Power for the wheel refinish. They look awesome.
I got a plastic welder as well, and repaired some misc items under the car like small cracks in the plastic. Best $250 I ever spent! Super versatile.
Wow, lot’s of work… the car looks incredible. Do you have any photos of your work with the plastic welder? It seems really interesting, I’d love to know more.
Wow, lot’s of work… the car looks incredible. Do you have any photos of your work with the plastic welder? It seems really interesting, I’d love to know more.
I tried to be as thorough and as practical as possible.
To me the front bumper of a car is pretty much a wear item and with how much I use the car for road trips, canyons, etc. I am much happier fixing what I can vs buying a brand new front bumper and worrying about it all of the time. The bumper itself was probably a 7.5/10 and I think with the repairs and refinishes its now an 8 - which to me is perfect for the use it gets. Rest of the car I would say is a 9/10.
I didn't get a ton of photos but I'll post some that generally illustrate what I did on the misc pieces.
Unfortunately the plastic welding isnt terribly attractive - but it can be sanded and painted over if need be. But none of this is actually visible.
For the welds on the underside of the car I was going more for functionality vs a perfect look considering what the pieces serve to do.
While the underside panels are polypropeline, they are much easier to repair. They can be melted with the spade head and just a bit of PP weld needs to be added. Once bonded they are chemically combined so this is a permanent fix vs an adhesive.
However the front bumper cover is made out of polyurethane. Which these days seems pretty rare. So in order to chemically bond this you have to melt the PU rod through the "hot shoe" and into a V cut made between the PU parts. The heat is much lower because unlike PP, melting PU will destroy its structure and you'll be worse off.
So here's some photos along the way of the repairs and refinishes I made on the bumper and underside panels.
Anything that was not worth repairing or was too far gone was replaced.
Small crack on inside of the bumper with the V cut made with a Dremel, and the polyurethane weld.
Cracks on underside panel- the horizontal one is not repaired in the photo but the vertical one has been repaired. Gives an idea of the difference.
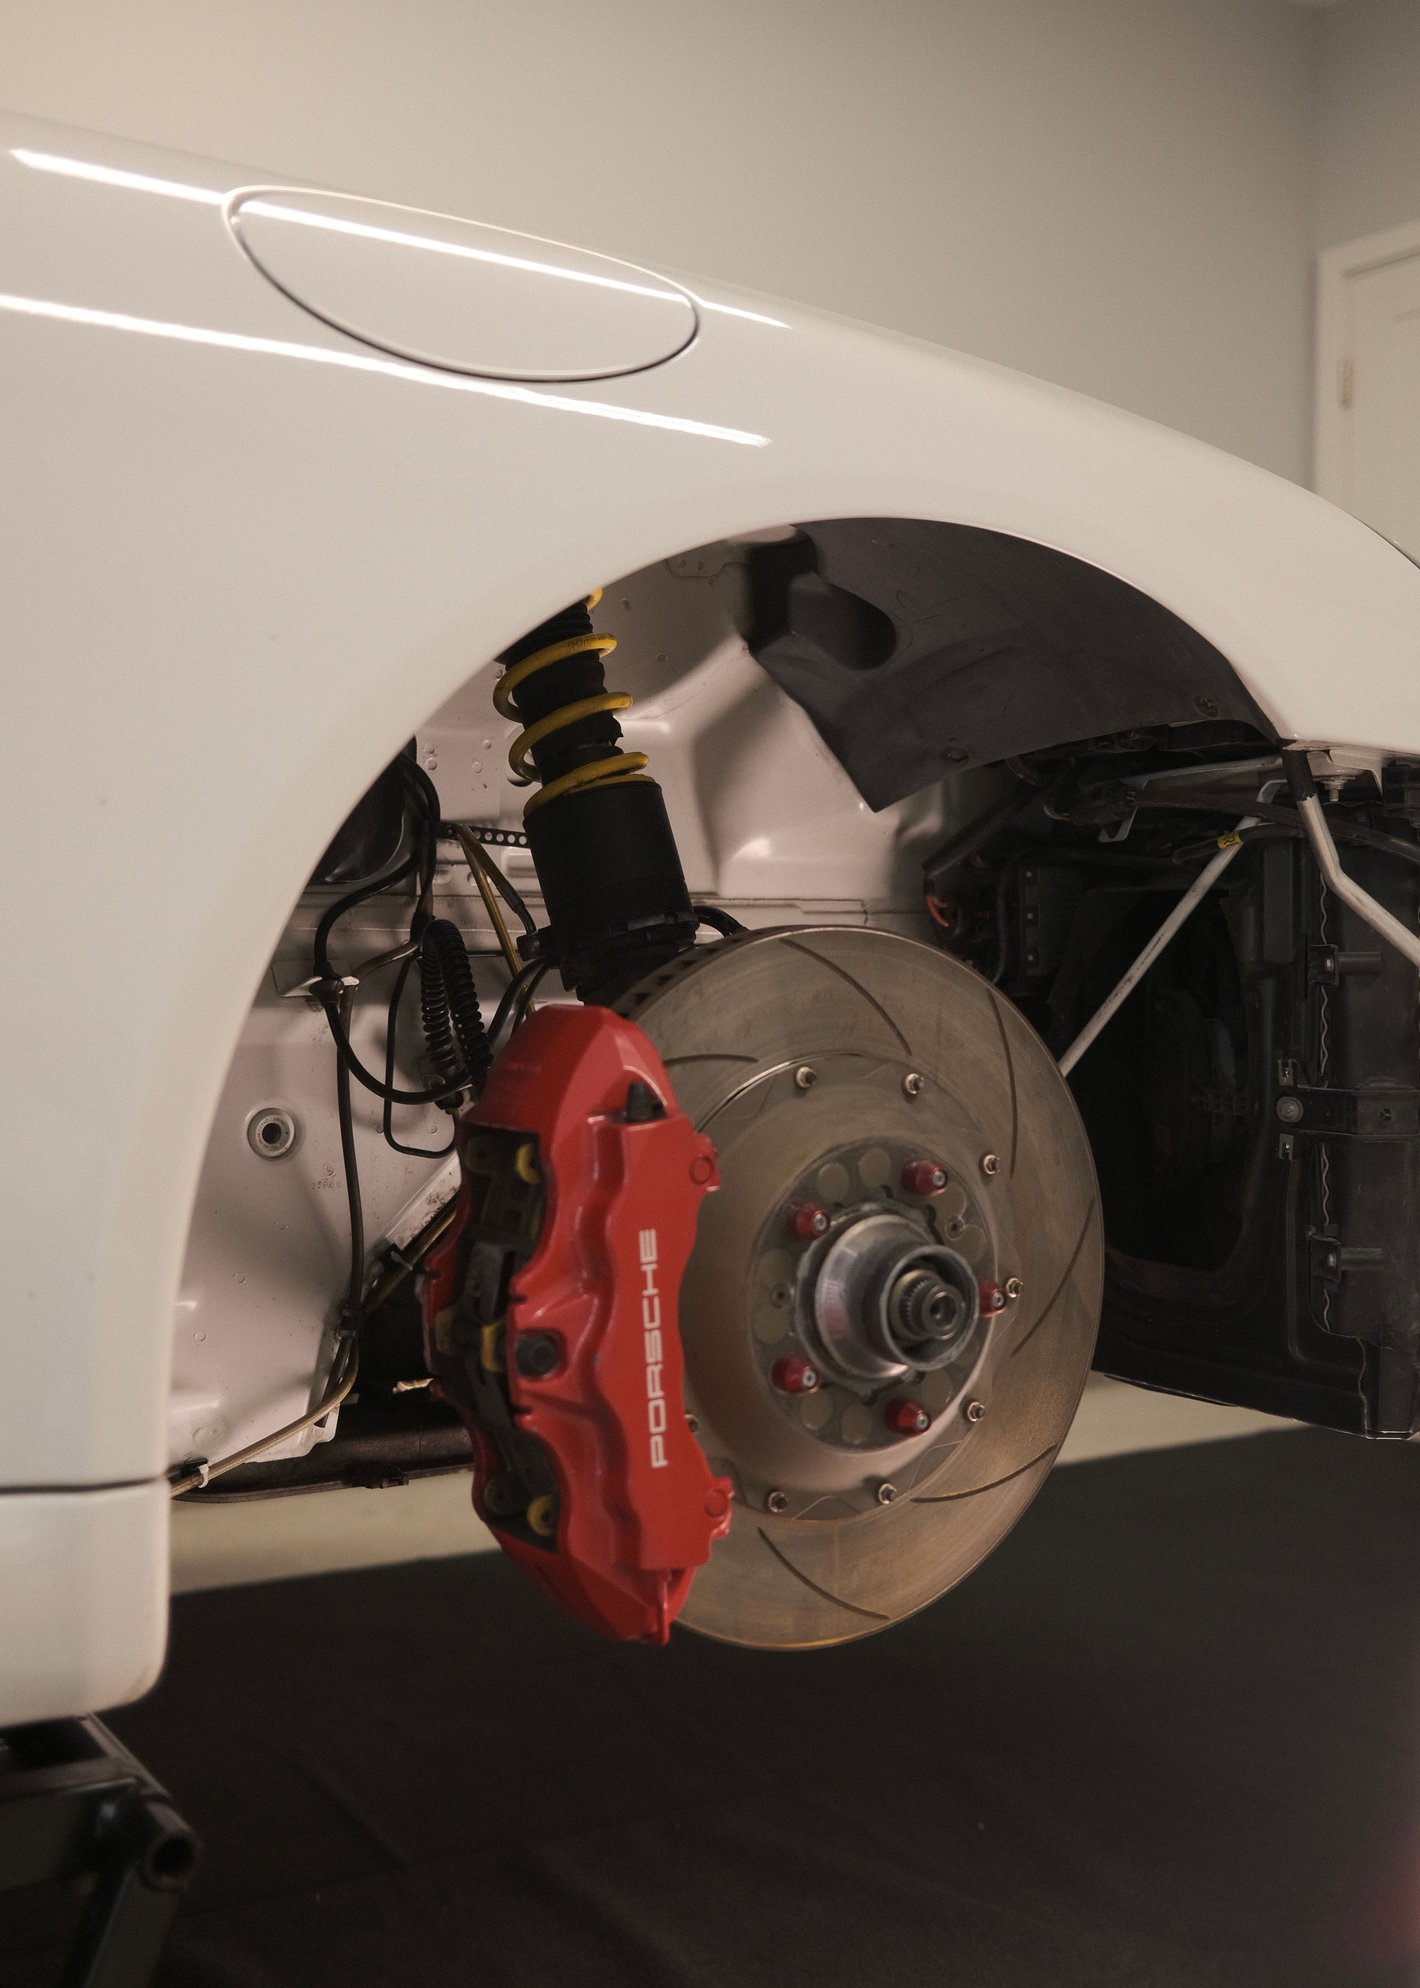
Huge fan of this upgrade, as it added quite a bit of compliance handling rougher pavement. On the track I run in sport PASM and don't have any issues with the controller.
did you do the install yourself? I have the .1 so it’s not quite as plug and play as the .2.
did you do the install yourself? I have the .1 so it’s not quite as plug and play as the .2.
I also have a .1 and the only reason I haven’t purchased it is the requirement to splice wires. If the harness that I was splicing into was easily replaceable, then that would be a different story as I’d just order a second harness to have on hand.
I also have a .1 and the only reason I haven’t purchased it is the requirement to splice wires. If the harness that I was splicing into was easily replaceable, then that would be a different story as I’d just order a second harness to have on hand.
Unfortunately I think that’s enough for me to bow out of this upgrade. At least there’s the PCCM+ waiting in the wings.
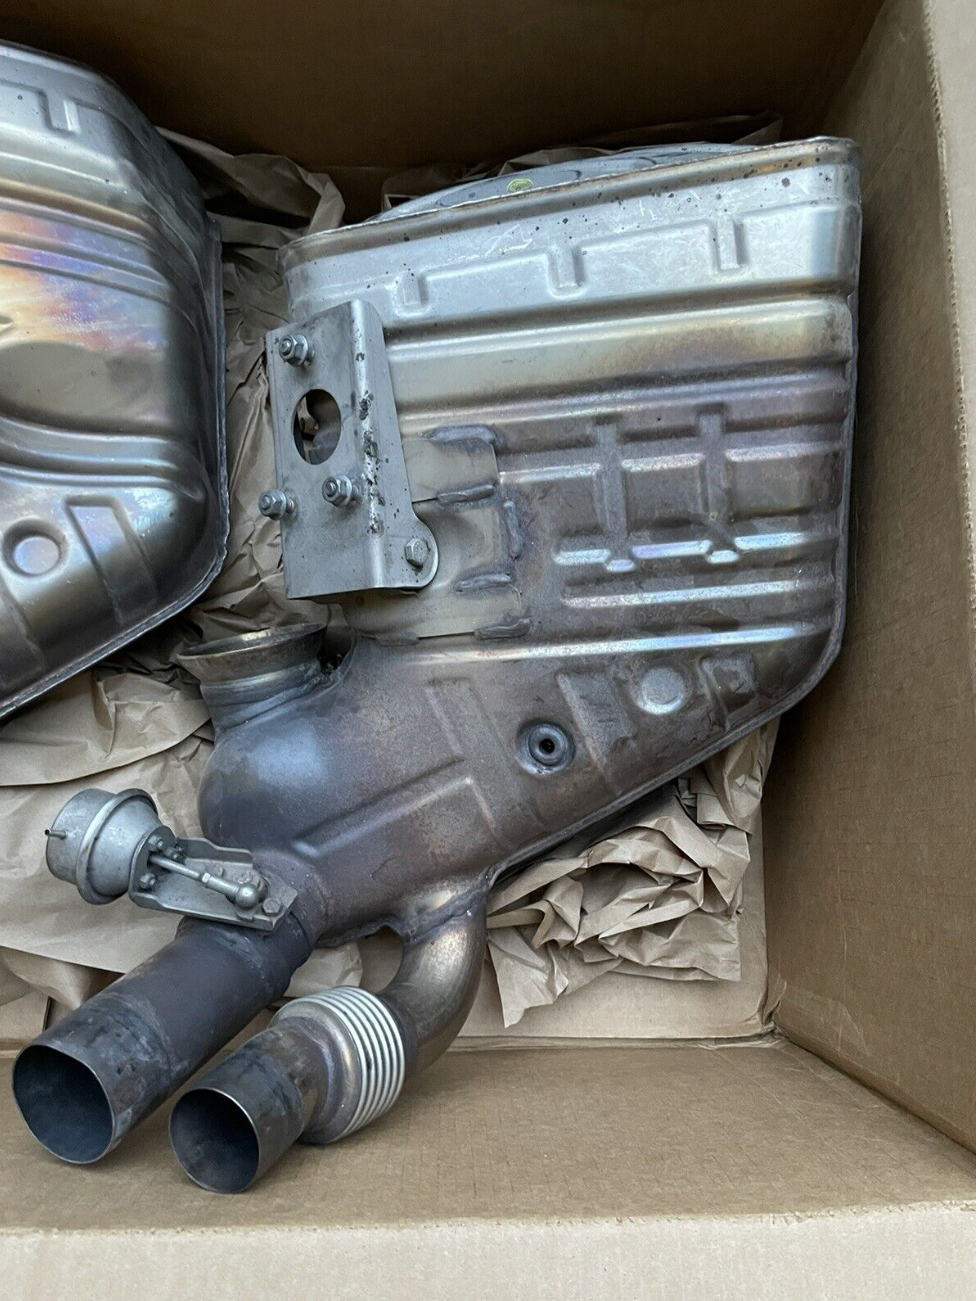
No pictures but removed my side mufflers for modification. Now they get mailed to Rhonda and she sends them back to Germany to undergo the knife. Hopefully they arrive back to me at the same time my new kicks arrive.
I'll post up some pics tomorrow.
So it wasn't Rhonda who could modify my mufflers, it was Gert. Shipping picked up the box yesterday and I will hopefully have it back in a few weeks. Hopefully new kicks arrive and I can keep the transformation rolling.
What are you having done to the sides? Something Fister can do here locally (NorCal)?
Originally Posted by RAudi Driver
So it wasn't Rhonda who could modify my mufflers, it was Gert. Shipping picked up the box yesterday and I will hopefully have it back in a few weeks. Hopefully new kicks arrive and I can keep the transformation rolling.
What are you having done to the sides? Something Fister can do here locally (NorCal)?
Oh, don't tell me that now. My side mufflers are on a plane to Belgium to get modified to be louder. Cost of $800 including round trip shipping. Rhonda said that Brombacher wouldn't do it, even though it's their system. Wish I would have know about Fister. 🤷🏽♂️. Think I'm still going to call them to se if it would have been possible as the knife in me isn't enough, I also need it twisted.
Oh, don't tell me that now. My side mufflers are on a plane to Belgium to get modified to be louder. Cost of $800 including round trip shipping. Rhonda said that Brombacher wouldn't do it, even though it's their system. Wish I would have know about Fister. 🤷🏽♂️. Think I'm still going to call them to se if it would have been possible as the knife in me isn't enough, I also need it twisted.
Gert is first class...Rhonda is first class too, but FVD probably has to follow TuV limits?
Gert is first class...Rhonda is first class too, but FVD probably has to follow TuV limits?
How about the Gundo hack, you can do it nicely?
The Gundo might have actually worked the way these pipes enter and exit the side mufflers, but I started the car without any mufflers and the sound, well, it's not gonna cut it with the neighbors or anyone for that matter. Long tube headers thru 200 cell cats and right to the atmosphere was loud and it didn't even sound like a flat 6. I saw that the Gundo pushes gases thru the muffler and thru the shortcut. Hoping for some nice work from Gert.
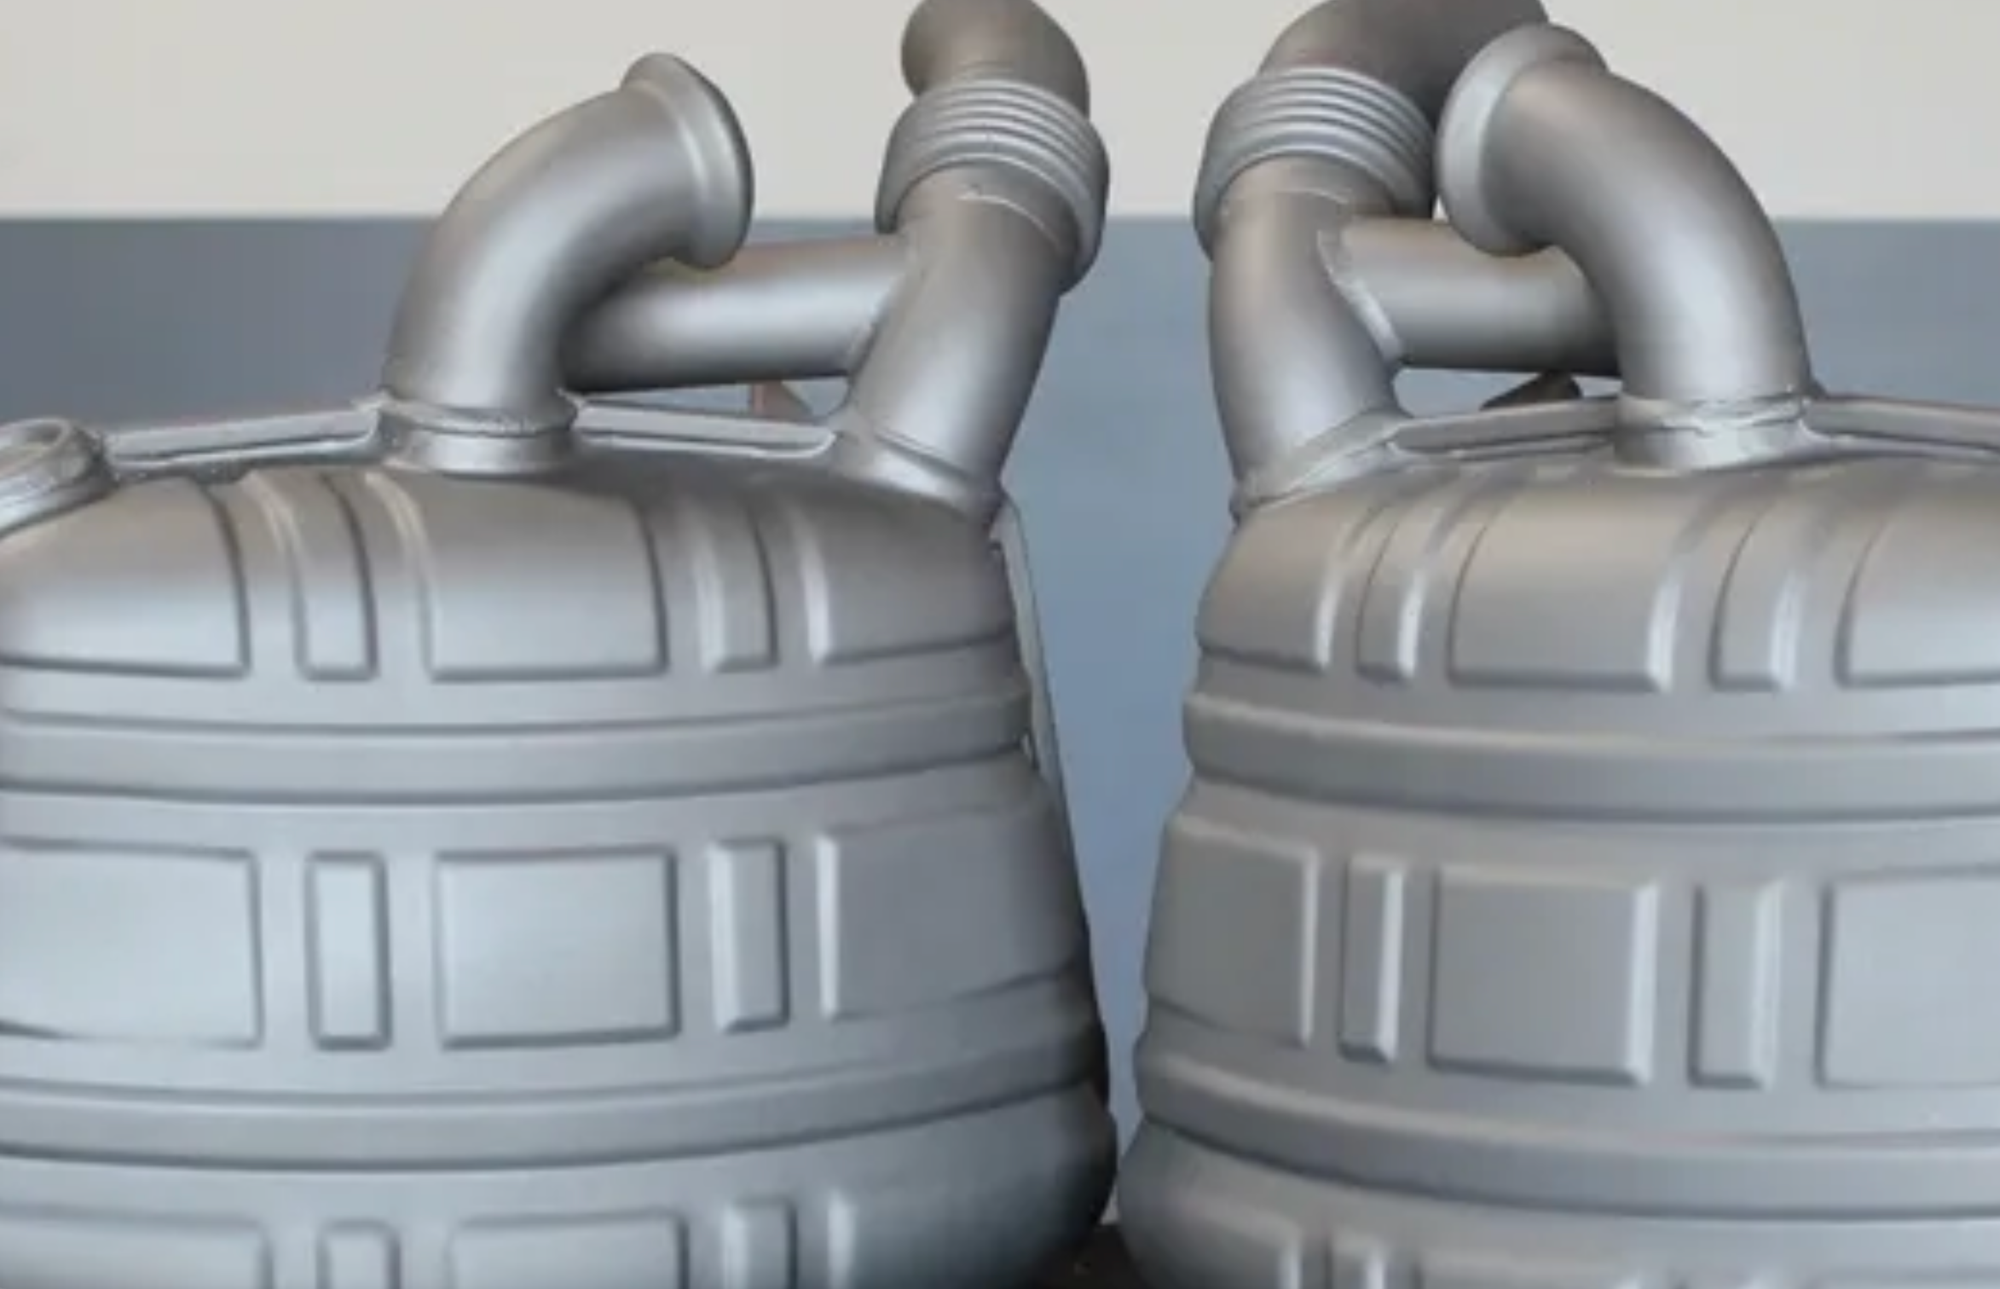
So just took a view at Fister's website and it appears that their modification for the 997 side muffler is a Gundo Hack, albeit a very nice one. Gert's modification is all internal. Wish I could hear them both but I'm just rolling the dice on sound and have faith in Carnewal.
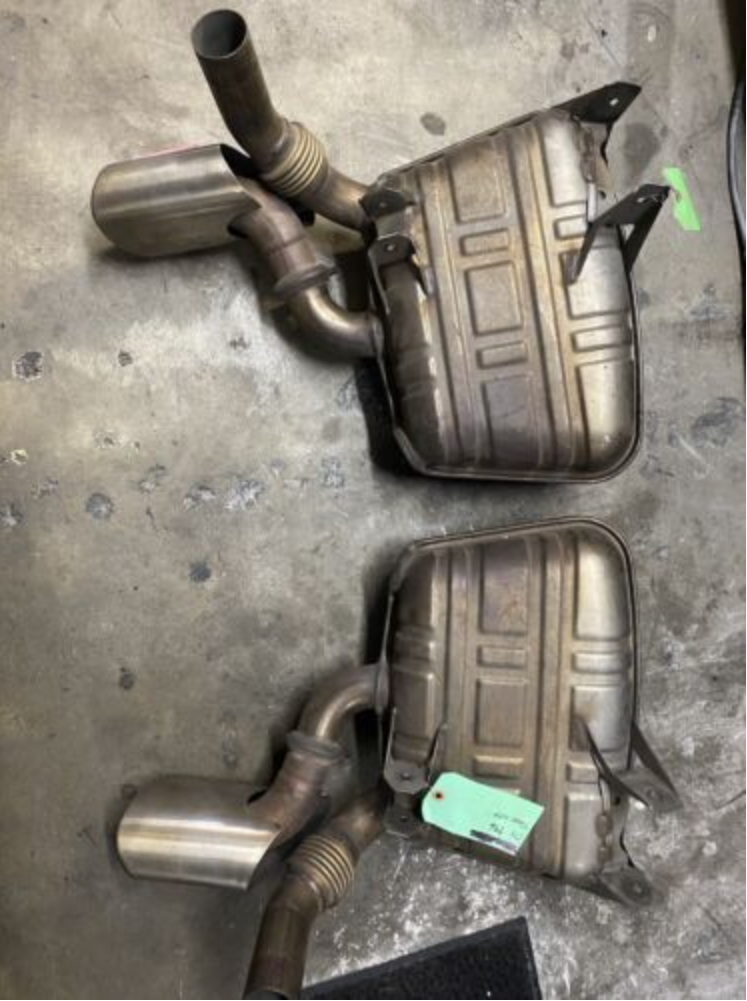
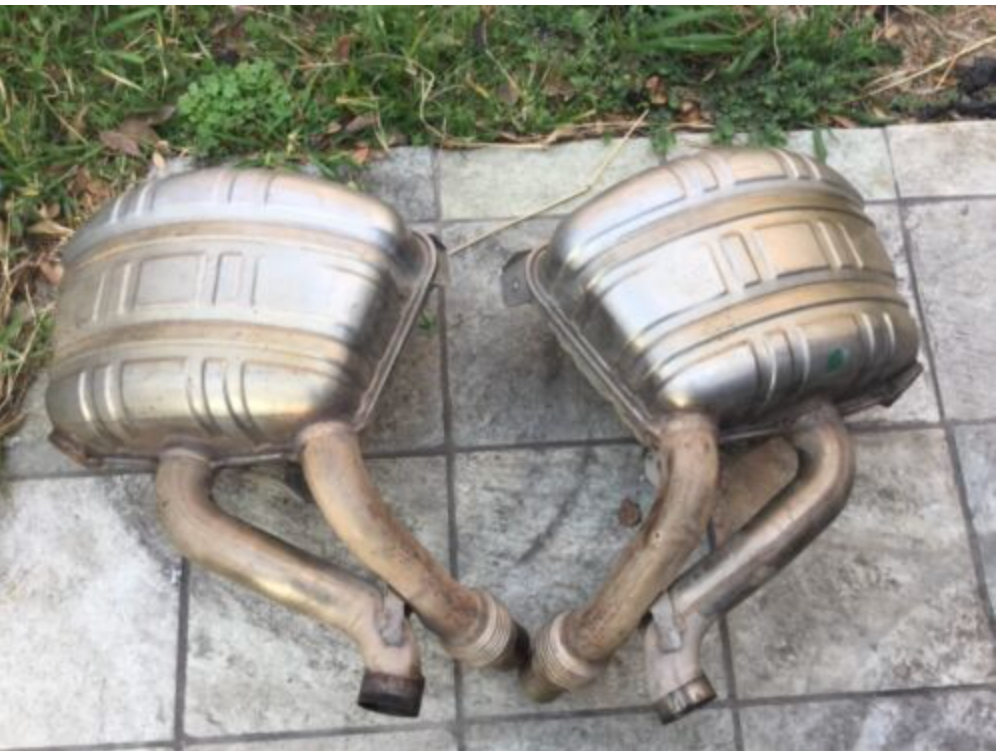
Here's another thing I noticed is that the Brombacher GT3 side mufflers resemble the OEM S mufflers so much more than 997 GT3 side mufflers. One inlet and one exit on Non GT and Brombachers mufflers, vs the GT's 1 inlet and 2 exit pipes on the other side of the inlet pipe.
GT Mufflers:
997 Mufflers, Non GT:
Fister's modified 997 Mufflers:
Brombacher GT3 Muffler:
Last edited by RAudi Driver; 04-20-2023 at 09:31 PM.


 04-16-2023, 11:44 PM