When you click on links to various merchants on this site and make a purchase, this can result in this site earning a commission. Affiliate programs and affiliations include, but are not limited to, the eBay Partner Network.
Thanks for the reminder about replacing Torx screws when replacing the bumper cover
Please share the link to the YT resource that you mentioned. My bumper cover will be replaced this winter and I suspect that will be a good resource for preparing for the job...cheers!
Originally Posted by Edgy01
Today, I FINALLY finished up with a long term project (for me, anyway). Over the years since I ordered the car, I have experienced so many issues with road conditions. That, and steep driveways, had continued to take a toll on my car.
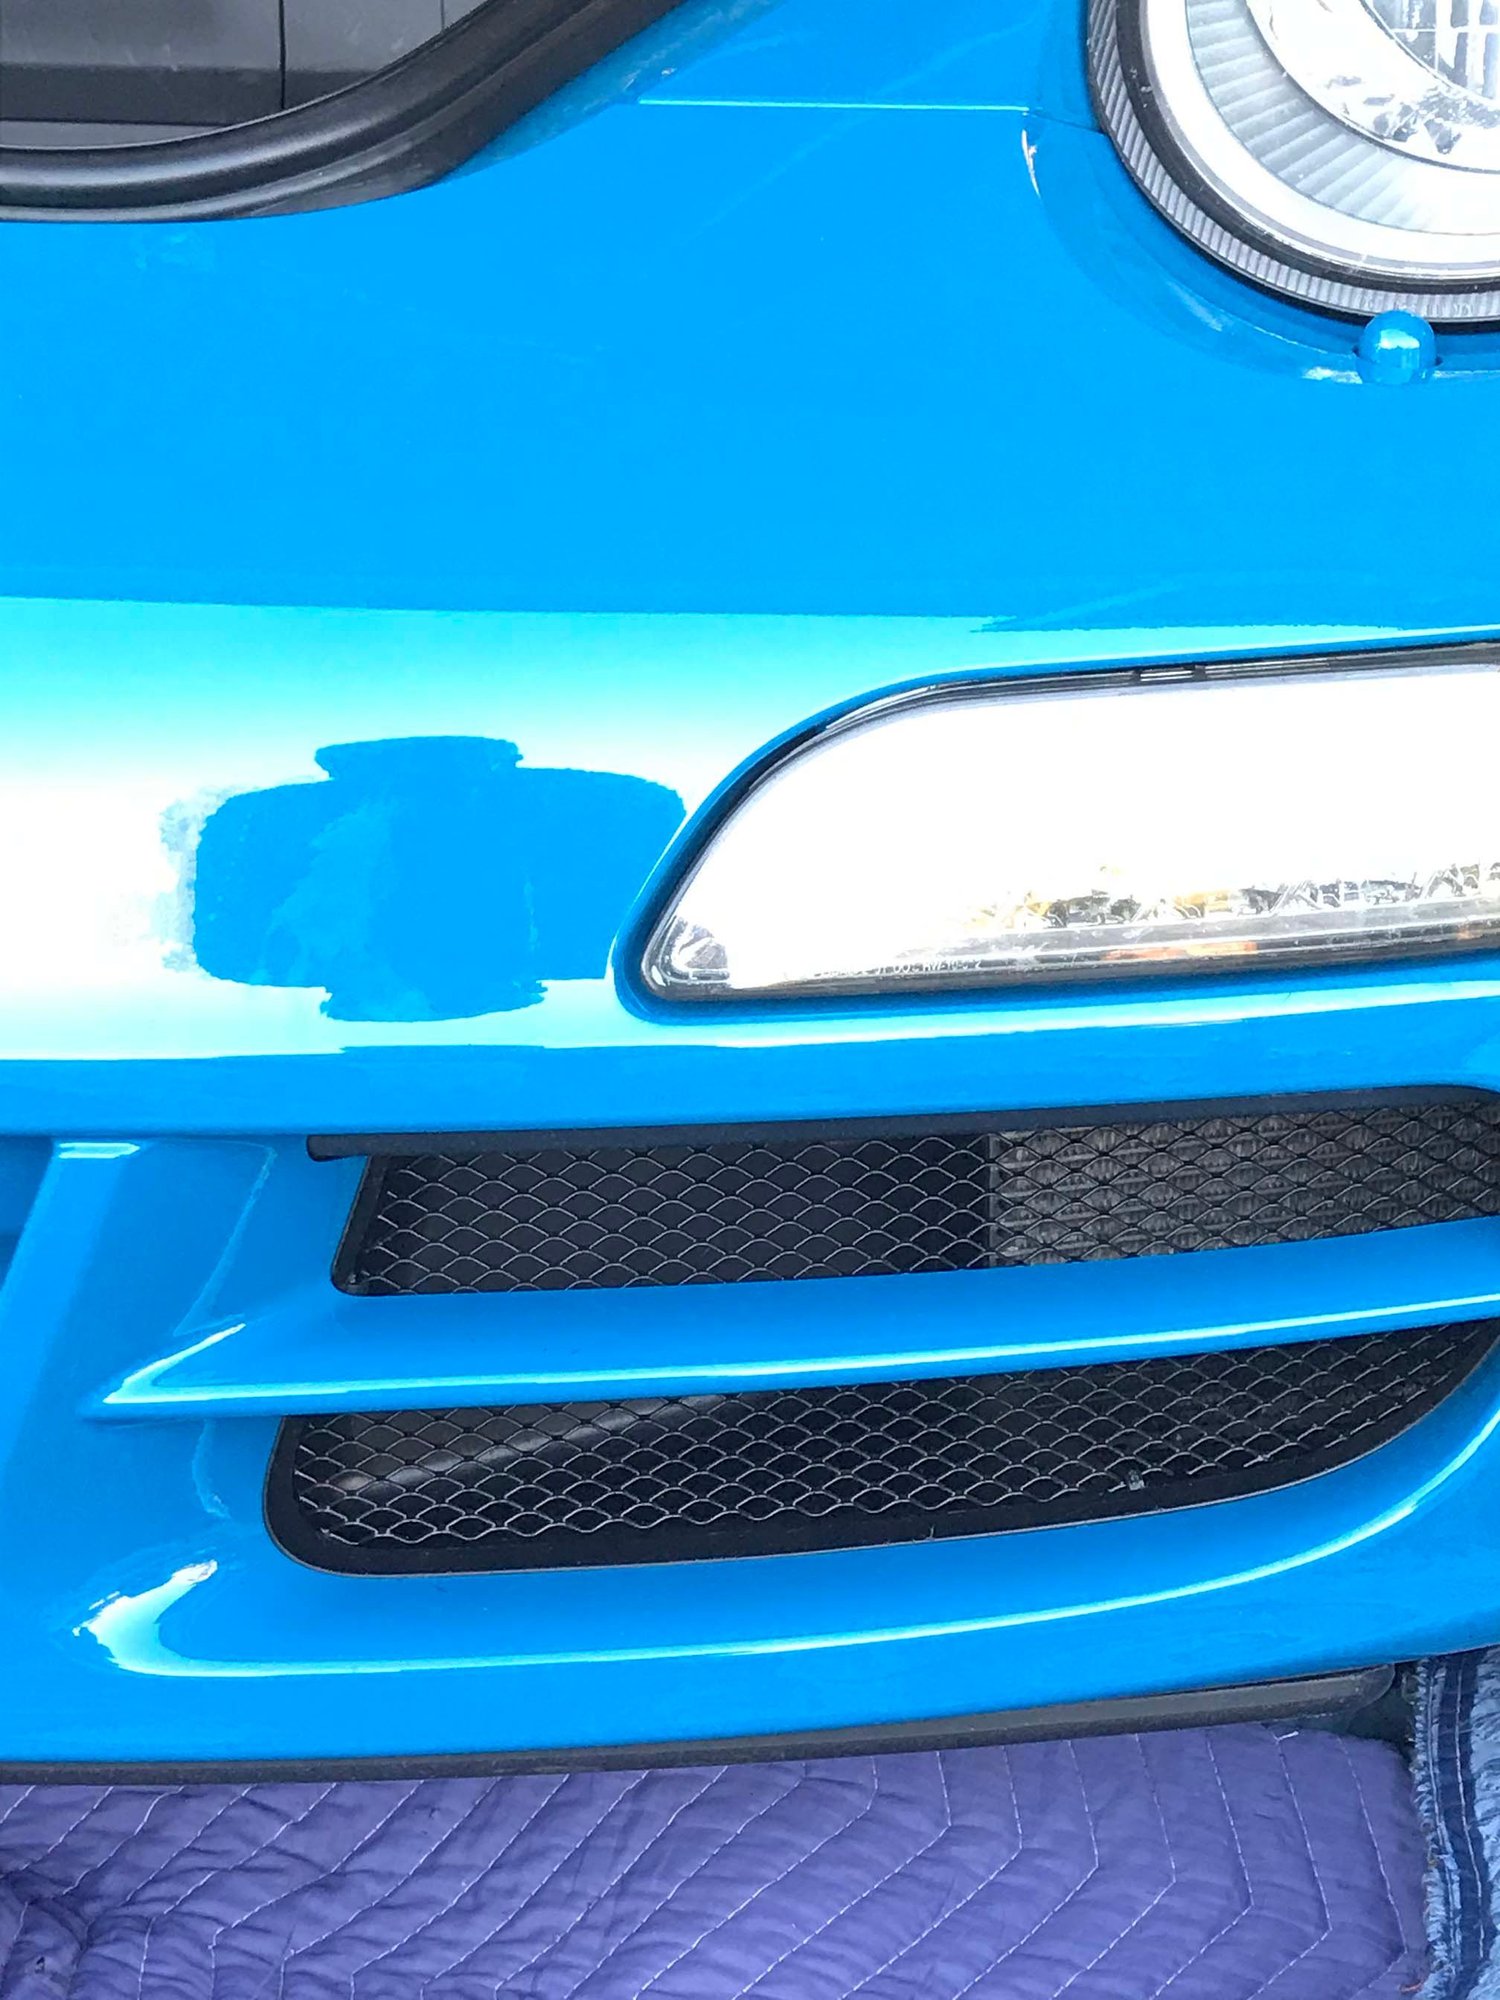
I finally decided to get under the front of the car and replace a bunch of things. With about 123,000 miles on it currently, I discovered that I chose the right time to do this. Had I waited any longer some of the Torx headed screws that secure the bottom of the bumper cover would have been impossible to remove. I contacted Sunset Porsche in Portland and ordered a new front bumper cover (yes, the whole front end) along with two new lower front inner wheel wells and a few other odds and ends. I sent the bumper cover out to my local paint shop and because the car is a solid blue, matching was a breeze. I also bought several new Torx fasteners because many of the originally fitted ones had been ground down considerably.
While I had the entire thing apart I transferred all the pieces from the old onto the new piece--which is limited to the electrical wiring harness and the water lines for the front headlight washers. I also took the front ducts out and cleaned up the front radiators. They weren't as bad as many I have seen--but we don't have a lot of leaves which are killers to these cars! I also took the time to make a template and install black metal grills for the intact ducts. Being metal, they are quite stiff and I was able to secure them with out of view zip ties--only needed three on each side.
When I get a little time I will add photos later. (I know, it wasn't done if there are no photos).
Think about doing this for your cars if you get under the front and see things ground up a bunch! Now I have to remind myself that dips in the road and steep driveway entries HAVE to be avoided! Many of you are probably missing that narrow front air dam that is under the center front of the car--they are usually the first to go!
While doing this I learned a lot about how they can assemble these things so quickly. I sourced a You Tube video for insight. Oh--and what got me started was the need to replace one of my horns which had died. (Apparently one is usually bad of the two frequencies we have).
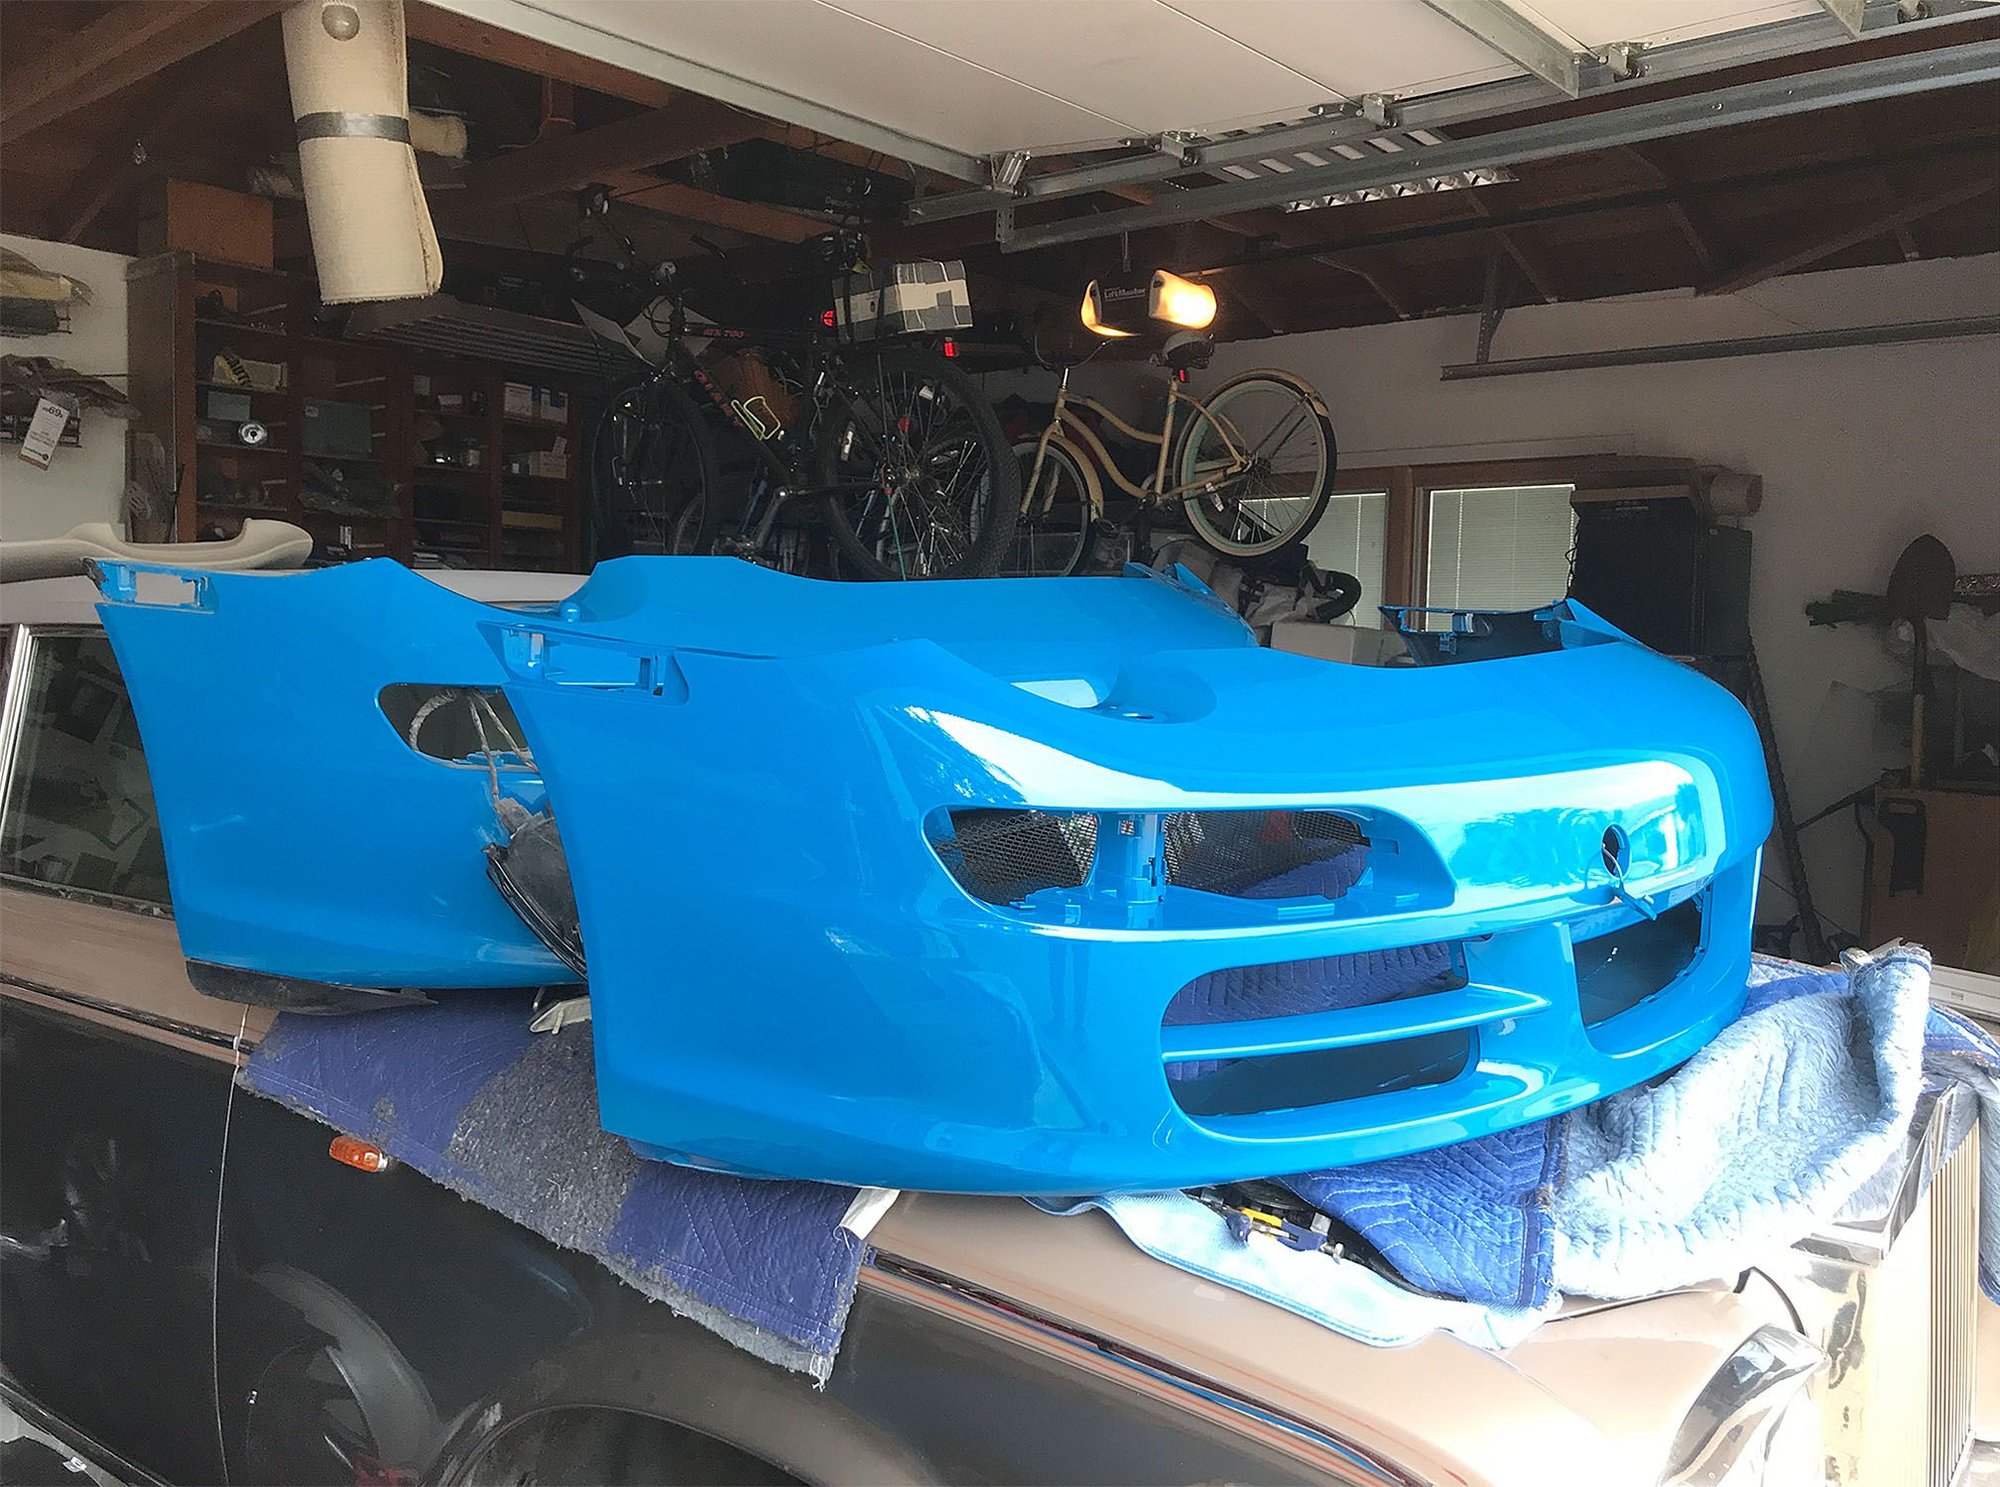
New custom Grills
(And, yes, they are resting on the hood of a Rolls-Royce.) Newly Painted Bumper Cover
Changed my own oil in my 06 C2S for the very 1st time, helped by the excellent guides here on RL. Oil from the dealer was unknown, so after 1K miles I changed it. Used BR40, plan is to use it as a flush before changing it again to DT40.
I was never raised to know how to do this stuff so I was mildly proud of myself
But in the long run even after the $500+ outlay for 4 jackstands, floor jack, 2nd cheap scissor jack, socket wrench, etc. I'll save money. And I can easily mail back samples to Blackstone.
Took about 2 hours, I'm certain that will go down the next time around.
Guys you don’t even have to jack this car up to drain the oil. I recommend backing the wheels to the edge of your garage “lip” and you’ll have plenty of room. Even on a lowered car.
if you don’t have one of those you can back it up on to 2x4 pieces to achieve the same thing.
For you guys new to oil changes on a 911, I highly recommend that you buy a 5 gallon bucket from Home Depot (the lighter color the better) or an old clean white 5-gallon bucket from a painting project--add a measured amount of water to it and mark the inside so you know how deep it needs to be. Make it high enough to handle about 12-14 quarts of oil--then cut the top ring off it and then later add some marks inside so that you know how much oil you have removed--and then add back a handle.
For you guys new to oil changes on a 911, I highly recommend that you buy a 5 gallon bucket from Home Depot (the lighter color the better) or an old clean white 5-gallon bucket from a painting project--add a measured amount of water to it and mark the inside so you know how deep it needs to be. Make it high enough to handle about 12-14 quarts of oil--then cut the top ring off it and then later add some marks inside so that you know how much oil you have removed--and then add back a handle.
Do you a have a pic of this contraption? I think I get it, but I�m a visual guy.
For you guys new to oil changes on a 911, I highly recommend that you buy a 5 gallon bucket from Home Depot (the lighter color the better) or an old clean white 5-gallon bucket from a painting project--add a measured amount of water to it and mark the inside so you know how deep it needs to be. Make it high enough to handle about 12-14 quarts of oil--then cut the top ring off it and then later add some marks inside so that you know how much oil you have removed--and then add back a handle.
IMHO the marks to show how much oil you removed is critical in order to refill properly. Measure the oil level before draining and add or subtract from the drained oil quantity so that you can add a bit less than needed. Then add a bit at a time for a few days.
I keep a few empty 5 quart oil jugs around so I can pour the used oil into these to get a more accurate measure of the drained oil. This also makes taking it to the recycler easier.
And if you don't have these jugs then empty a new jug into the motor and use that to measure 5 quarts that you can then dump into a Homer Bucket so you can dump the rest of the oil into the jug for a final measure. Dump this into the bucket as well and then add oil from your second 5 quart jug (of new oil) to the empty jug until you have the amount you need. Yes, you'll be mixing new with old, but a change is only a dilution anyway. And this will prevent the risk of adding more than you intended.
I will have a Bilt Racing 1/2 quart sump kit (https://lnengineering.com/bilt-racin...nsion-kit.html) with a factory oil pan and baffle already modified for sale here shortly. Will include a tube of loctite 5900 as well. The kit is usually $350 just for just the spacer and hardware. Will let it go (kit, hardware, factory oil pan that's been polished, modified baffle, and sealant) for $300. PM me if interested. The full kit will let you swap this seamlessly and also keep your original unmodified.
This lowers oil temps, helps with possible oil starvation, and lets you change your oil with exactly 9 quarts.
You looking for the UIDS, right? Seems legit and am excited about it.
You looking for the UIDS, right? Seems legit and am excited about it.
Yea- But I actually think I am going to go with the mantis set up as its been proven. the 1/2 quart one is great and has served me well but want to move up.

 10-10-2021, 10:07 AM