When you click on links to various merchants on this site and make a purchase, this can result in this site earning a commission. Affiliate programs and affiliations include, but are not limited to, the eBay Partner Network.
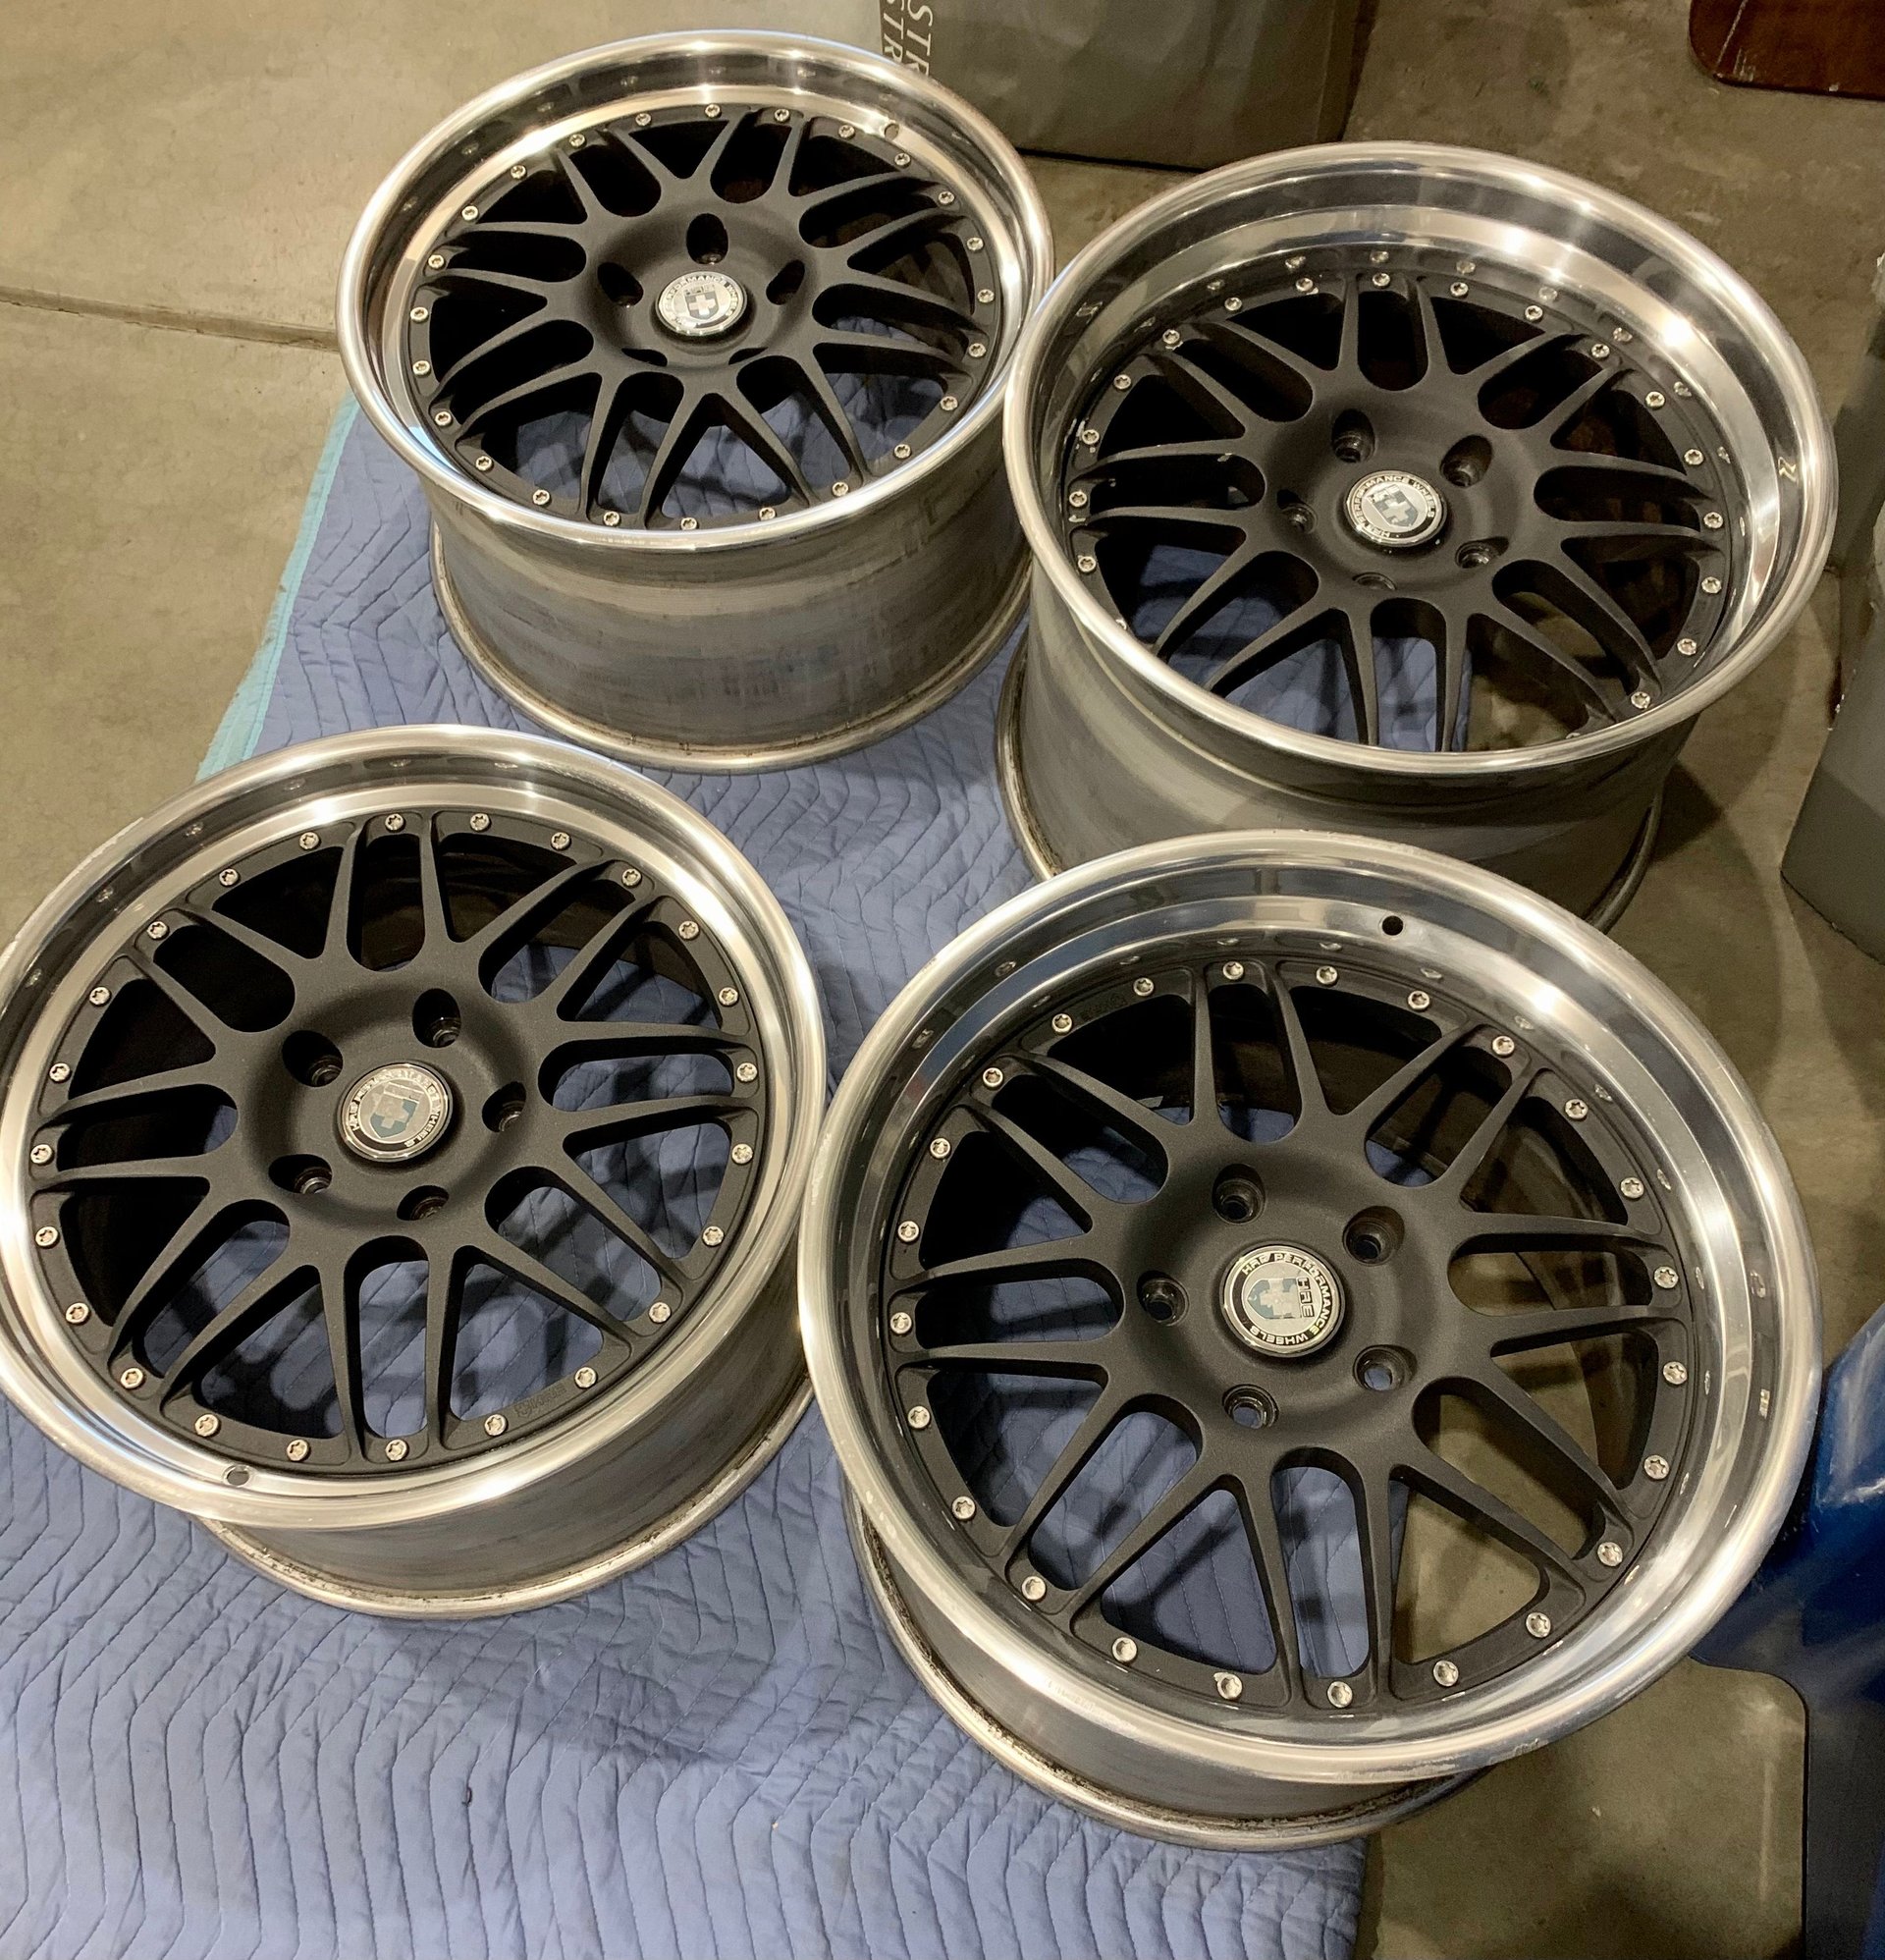
The guy that will be refinishing my recently acquired HRE wheels unfortunately fell ill and so it looks like there will be a delay in being able to get them to him.
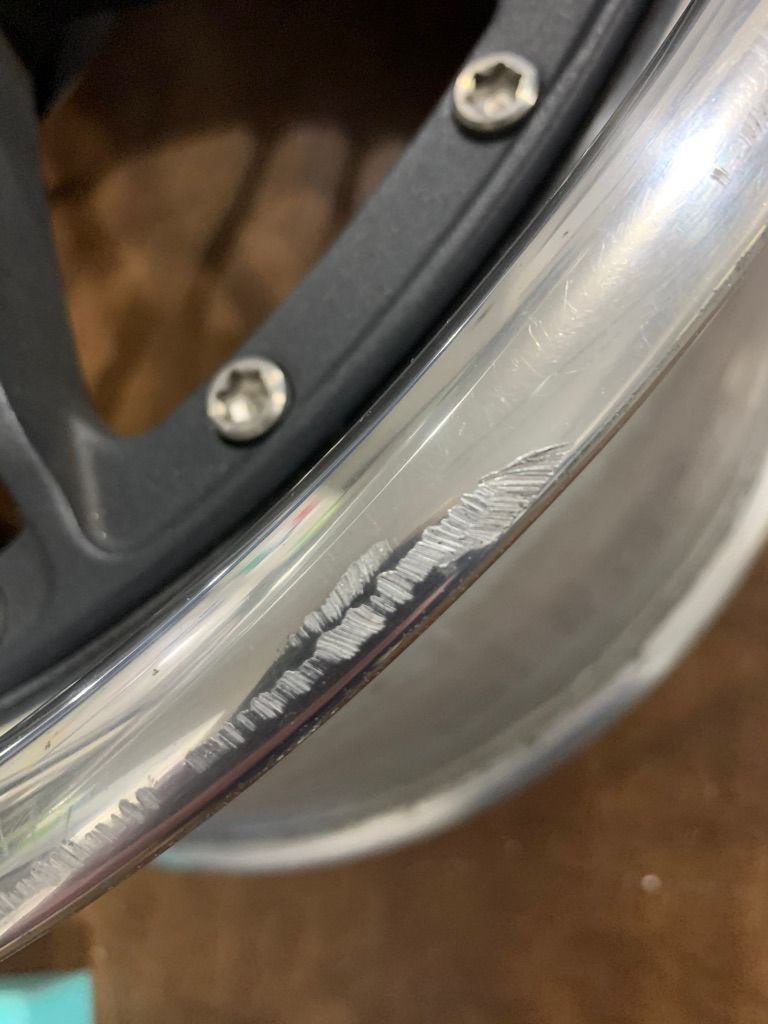
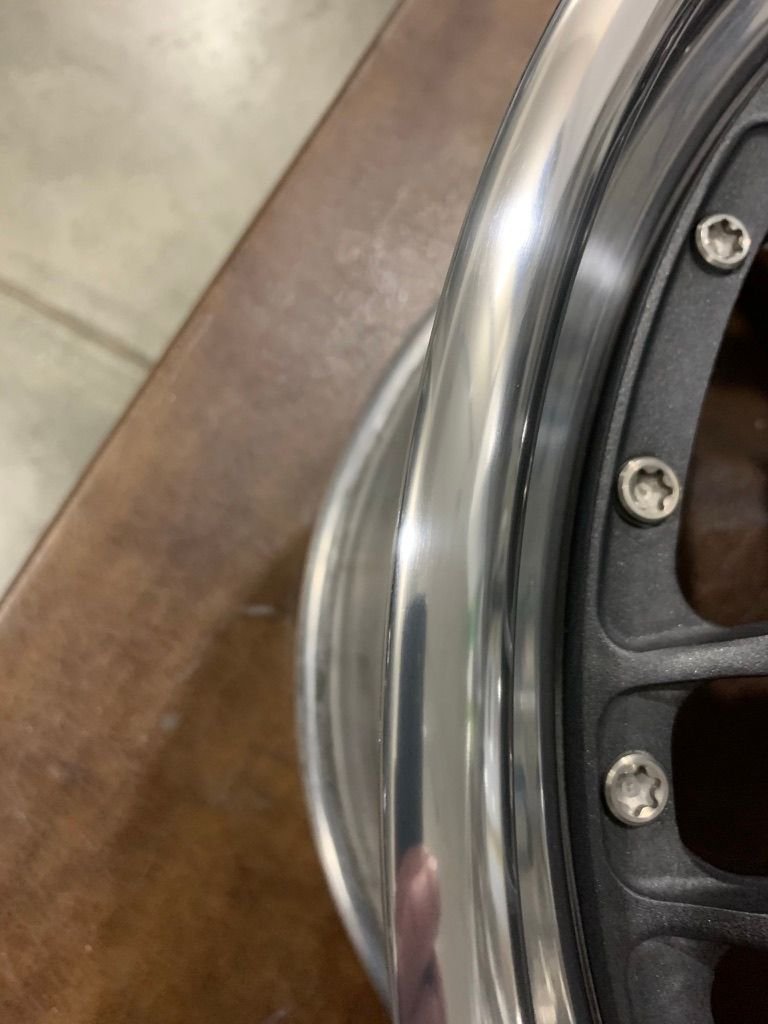
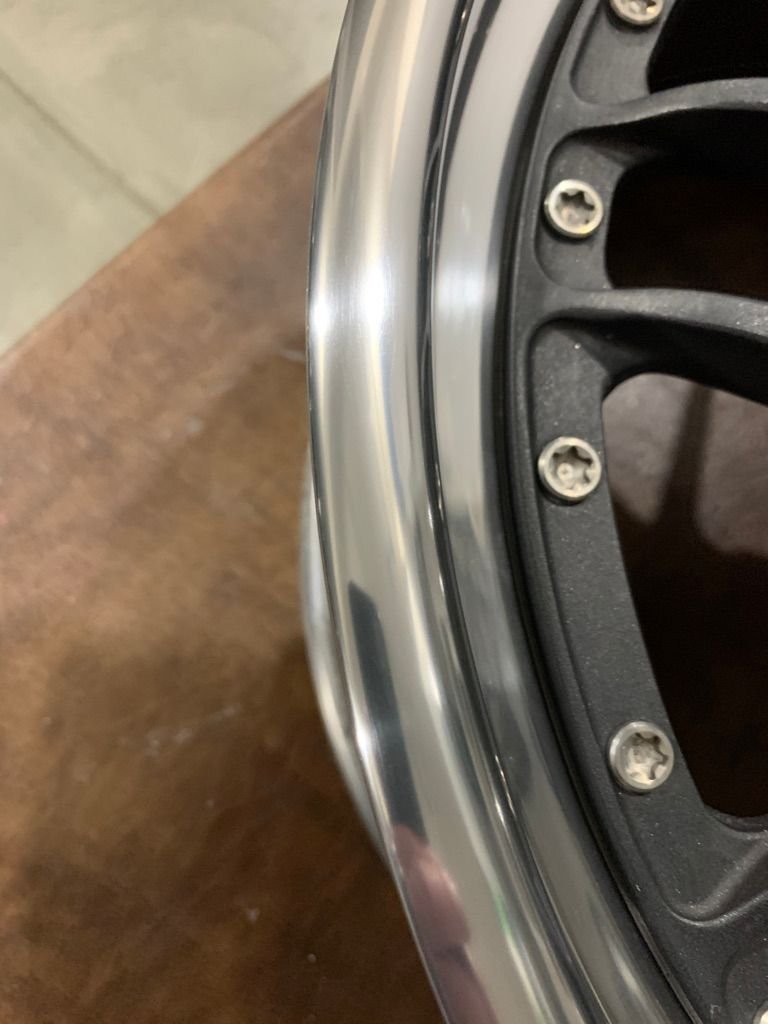
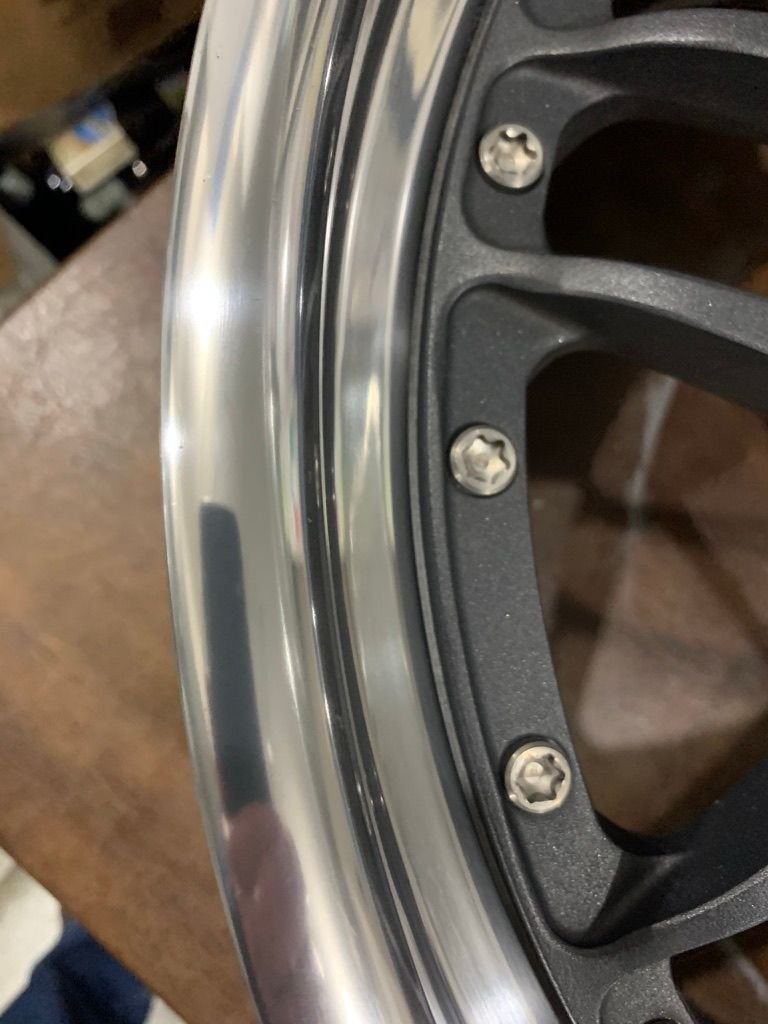
In the mean time (and after doing some reading up on the topic), I thought I could probably tackle addressing some of the curb rash on the outer rim lips. Here are some "before" and "after" shots of one of the fronts...
Nice work, those cleaned up really well!
I'm also kind of baffled at how the previous owner could curb rash friggin' HREs!!!
The guy that will be refinishing my recently acquired HRE wheels unfortunately fell ill and so it looks like there will be a delay in being able to get them to him.
In the mean time (and after doing some reading up on the topic), I thought I could probably tackle addressing some of the curb rash on the outer rim lips. Here are some "before" and "after" shots of one of the fronts...
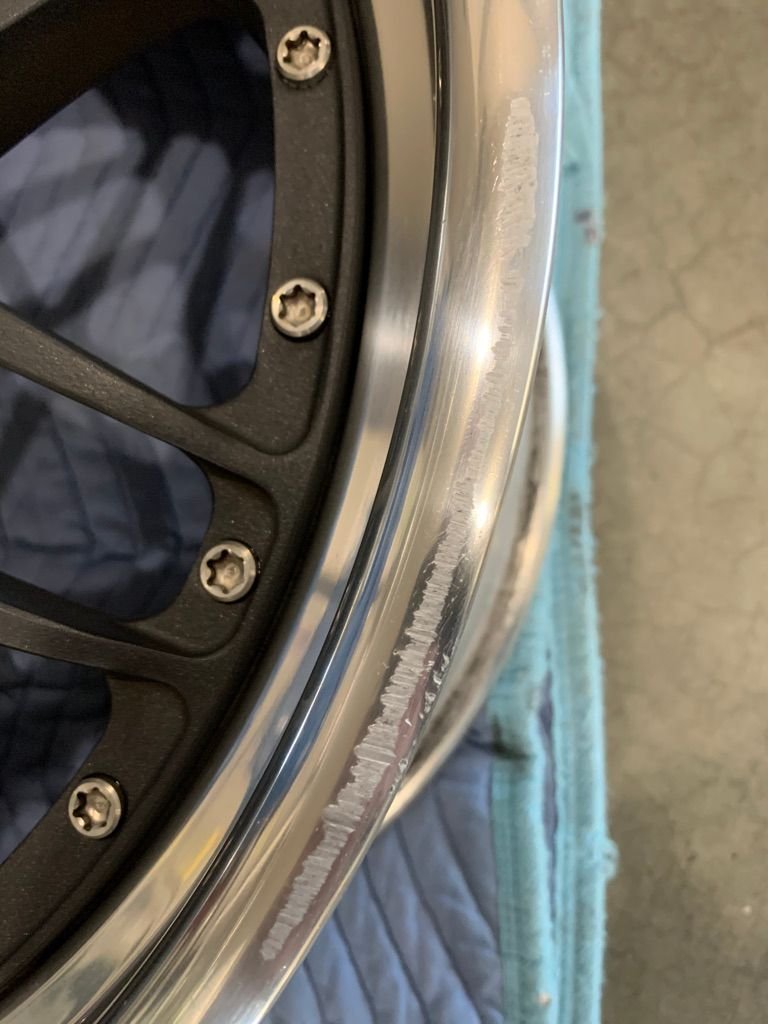
HRE C20's Before Before Before After After After
You did a good job. I've had to tackle this before. With the proper tools its not a bad job.
I'm also kind of baffled at how the previous owner could curb rash friggin' HREs!!!
Originally Posted by Bomar Shelby
WoW, impressed with the curb rash DIY. Now please tell us what you did to achieve that result.
No joke Shock Arrival! I could understand maybe on a spot or two - accidents can unfortunately happen, but on these wheels - 3 out of 4 of them had issues... (Fortunately not super bad ones though.)
Regarding the process - a couple of thoughts about the approach and the materials used:
Primary concern was to avoid altering the shape / profile of the lip when addressing the damage. I chose to not use a machine for the work because of that - all of the work was done by hand.
Materials Used:
Foam tire dressing applicator from the Chemical Guys (cut in half). The consistency of the foam was good for use as a sanding block as it conformed to the shape of the rim. Sandpaper was used with that foam block.
Sequential use of sandpaper:
180 ----> 240 ----> 400 ----> 1500 ----> 2000 ----> 3000 ----> then 0000 Steel Wool with Chemical Guys Heavy Metal polish applied to it, then ----> hand polishing with a cotton cloth with the Chemical Guys Heavy Metal polish.
When the wheel refinisher gets them he will end up disassembling them and the rims will all be machine polished. At least he won't have to devote time to correcting all of the curb rash. That may end up saving me a few bucks on the job.
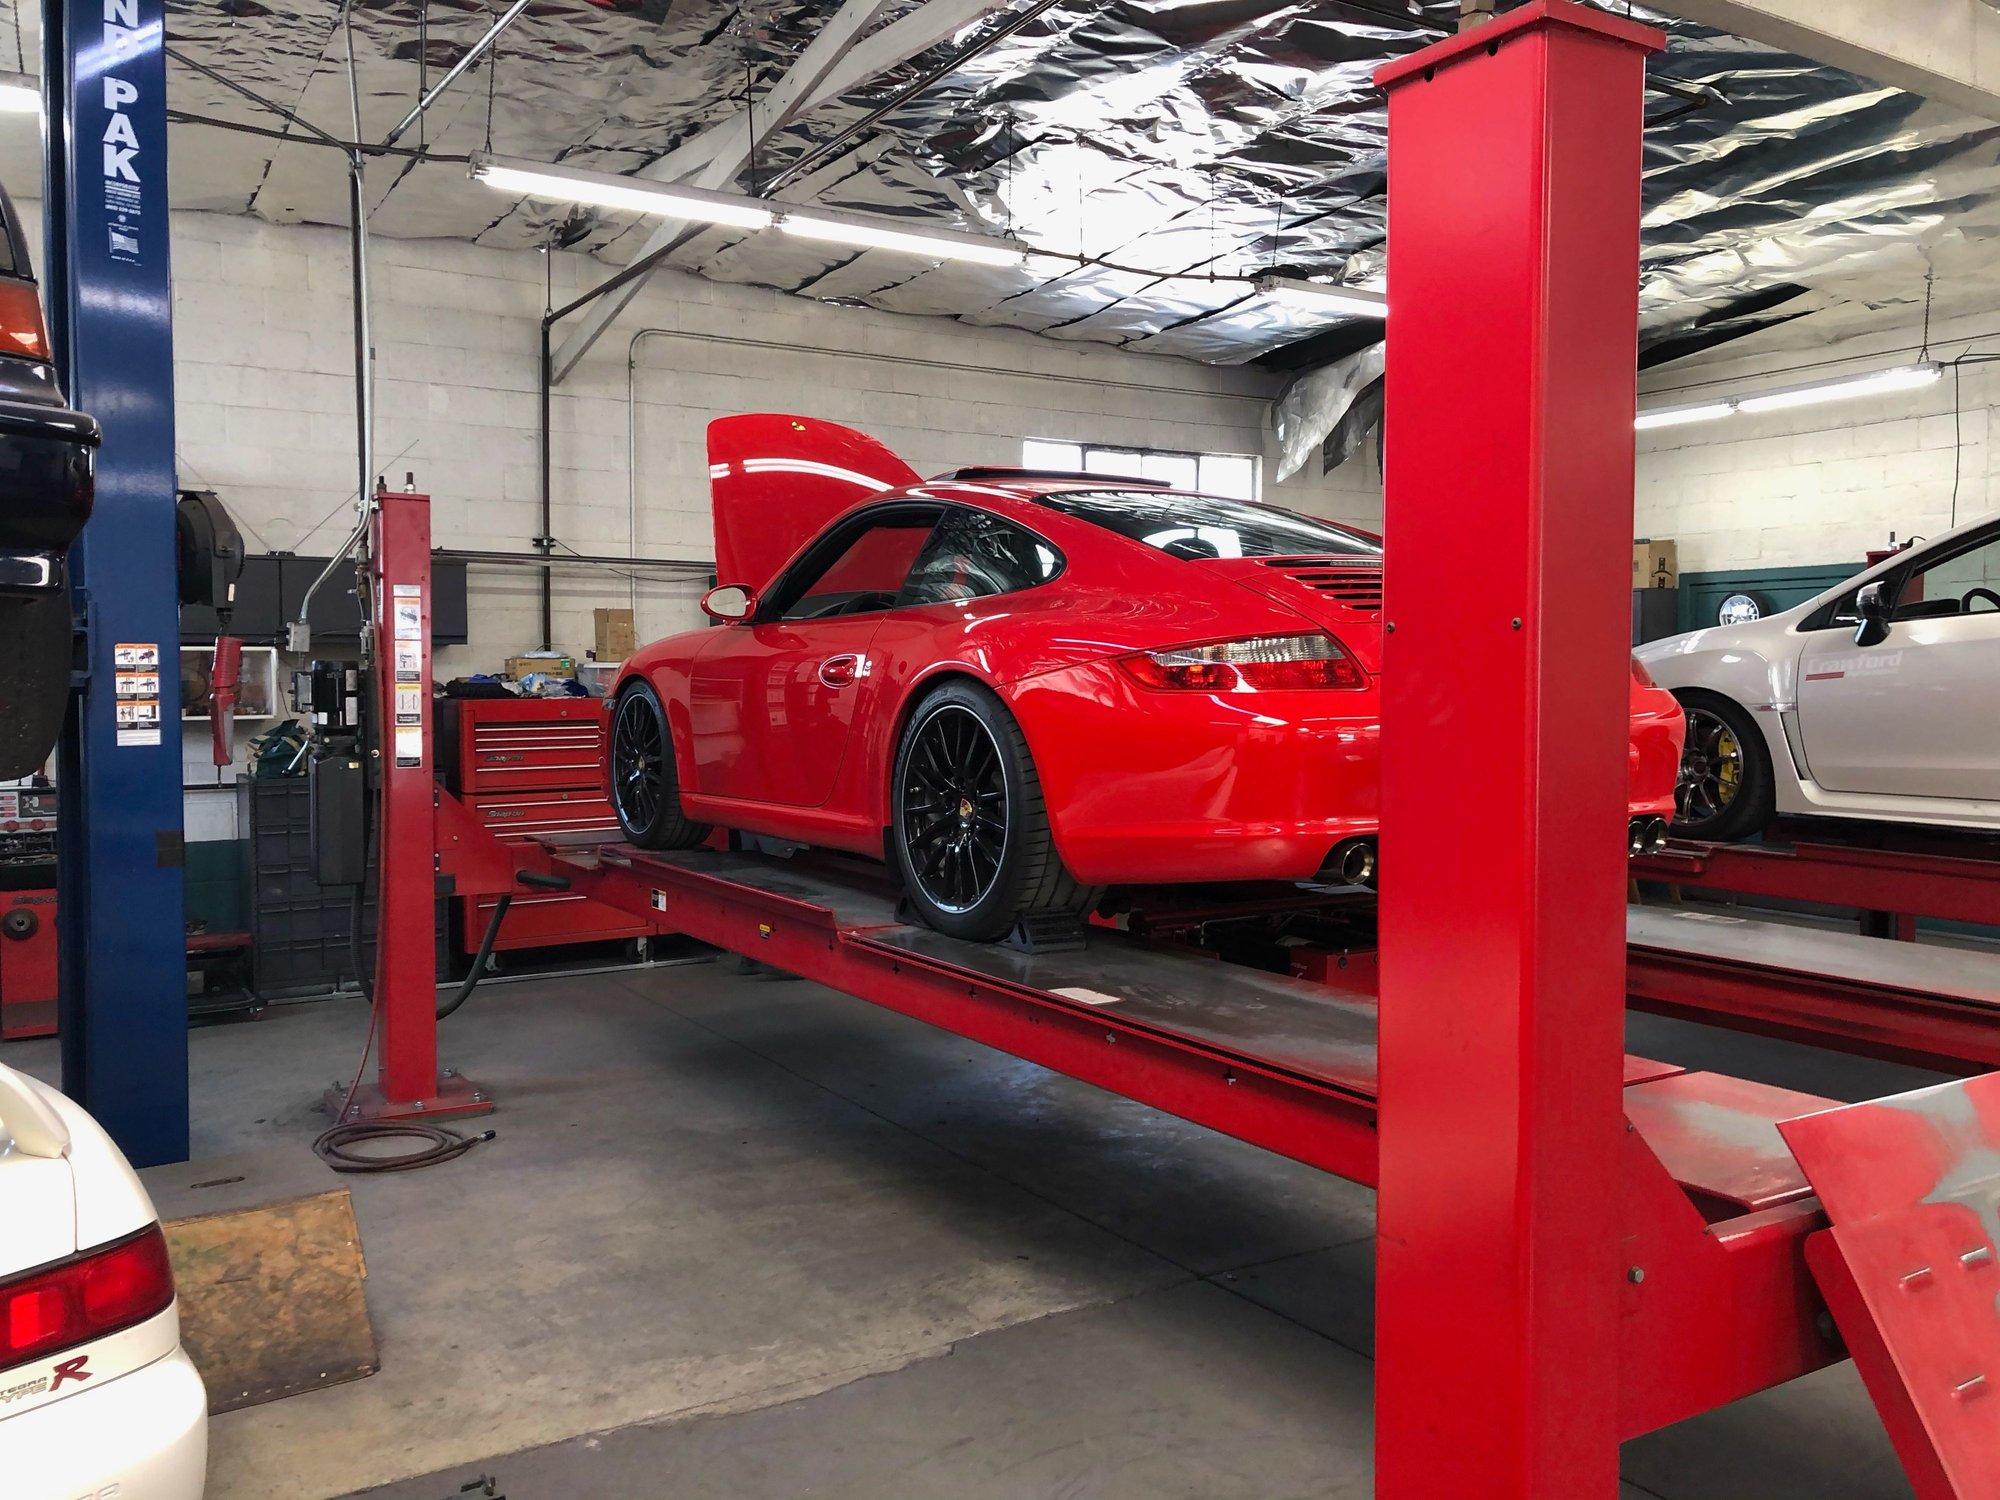
After 3 days and 8 tweaks, got DSC Sport dialed in for my coming track day!
4S with B4 Pasm struts, Eibach comfort lowering springs, H & R sways front and back, Elephant Racing front adjustable lower control arms, dog bone sport bushings, neg 2.5 camber, 18 inch wheels with Yokohama A052s on track and Continental DWS06 street, middle radiator added with rennline screens, RSS balanced smaller crank pulley, intake bypass, sport engine mounts, carbon fiber: center console, door spears, door sills, shifter, dash and door trim.
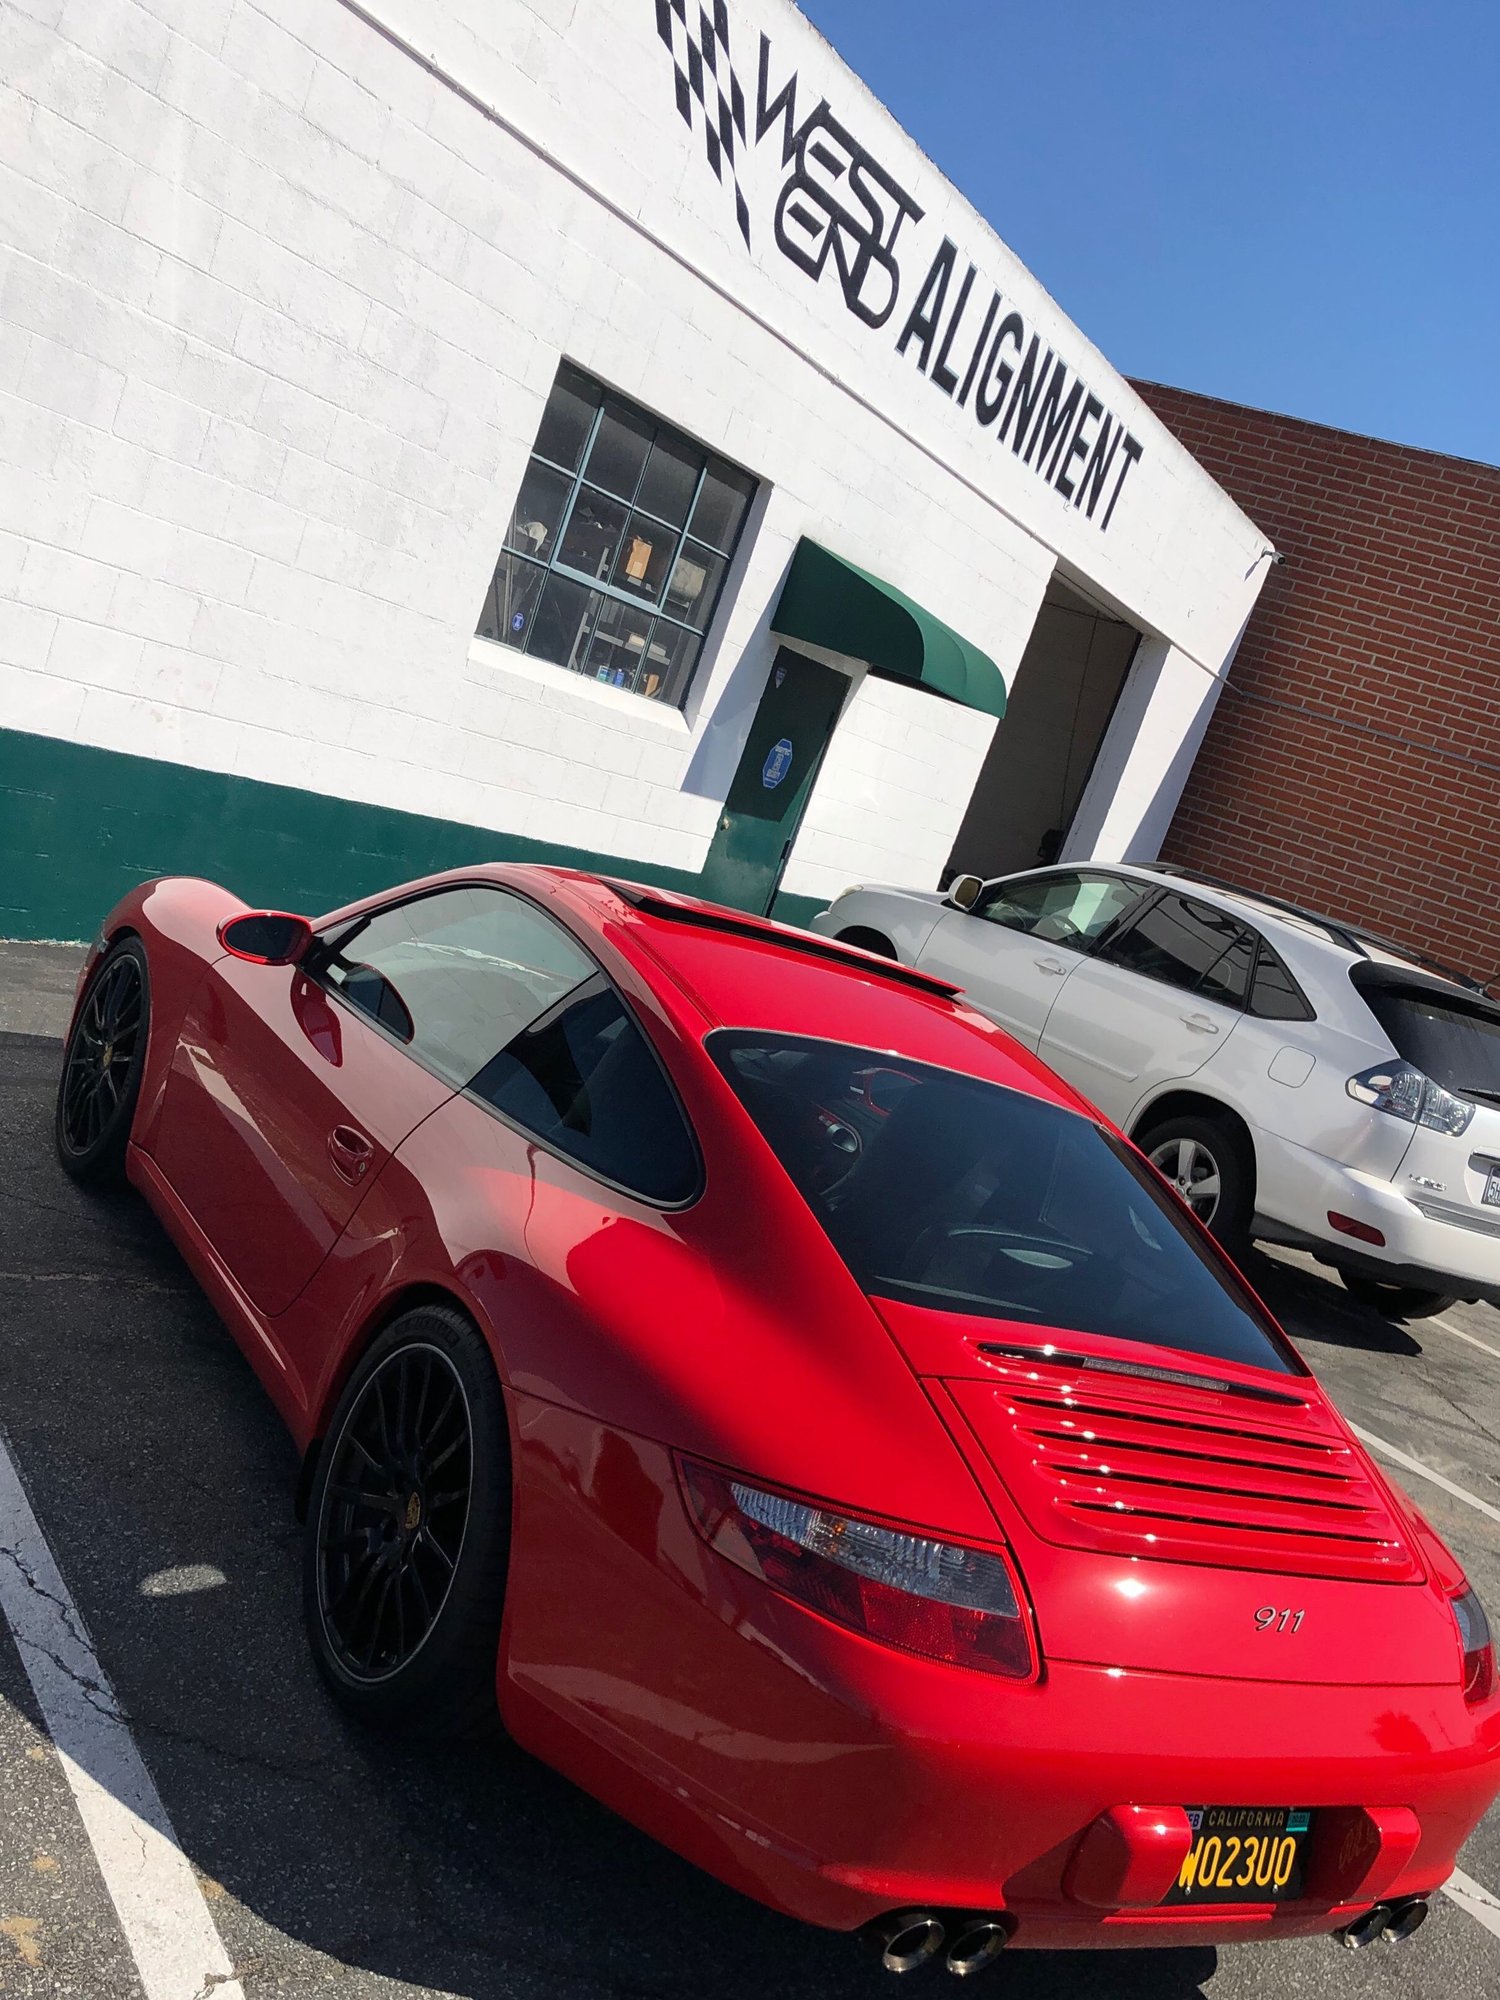
Went to Westend Alignment here in LA. Fantastic shop and Chris and Darren are the real deal. They worked their magic.....Fixed a "unfixable" caster issue, dialed in ride height, did a corner balance, and dialed in alignment for aggressive street/mild track feel. Car feels really good now. Unfortunetly I got a ticket on the way home feeling out the new car ugh..
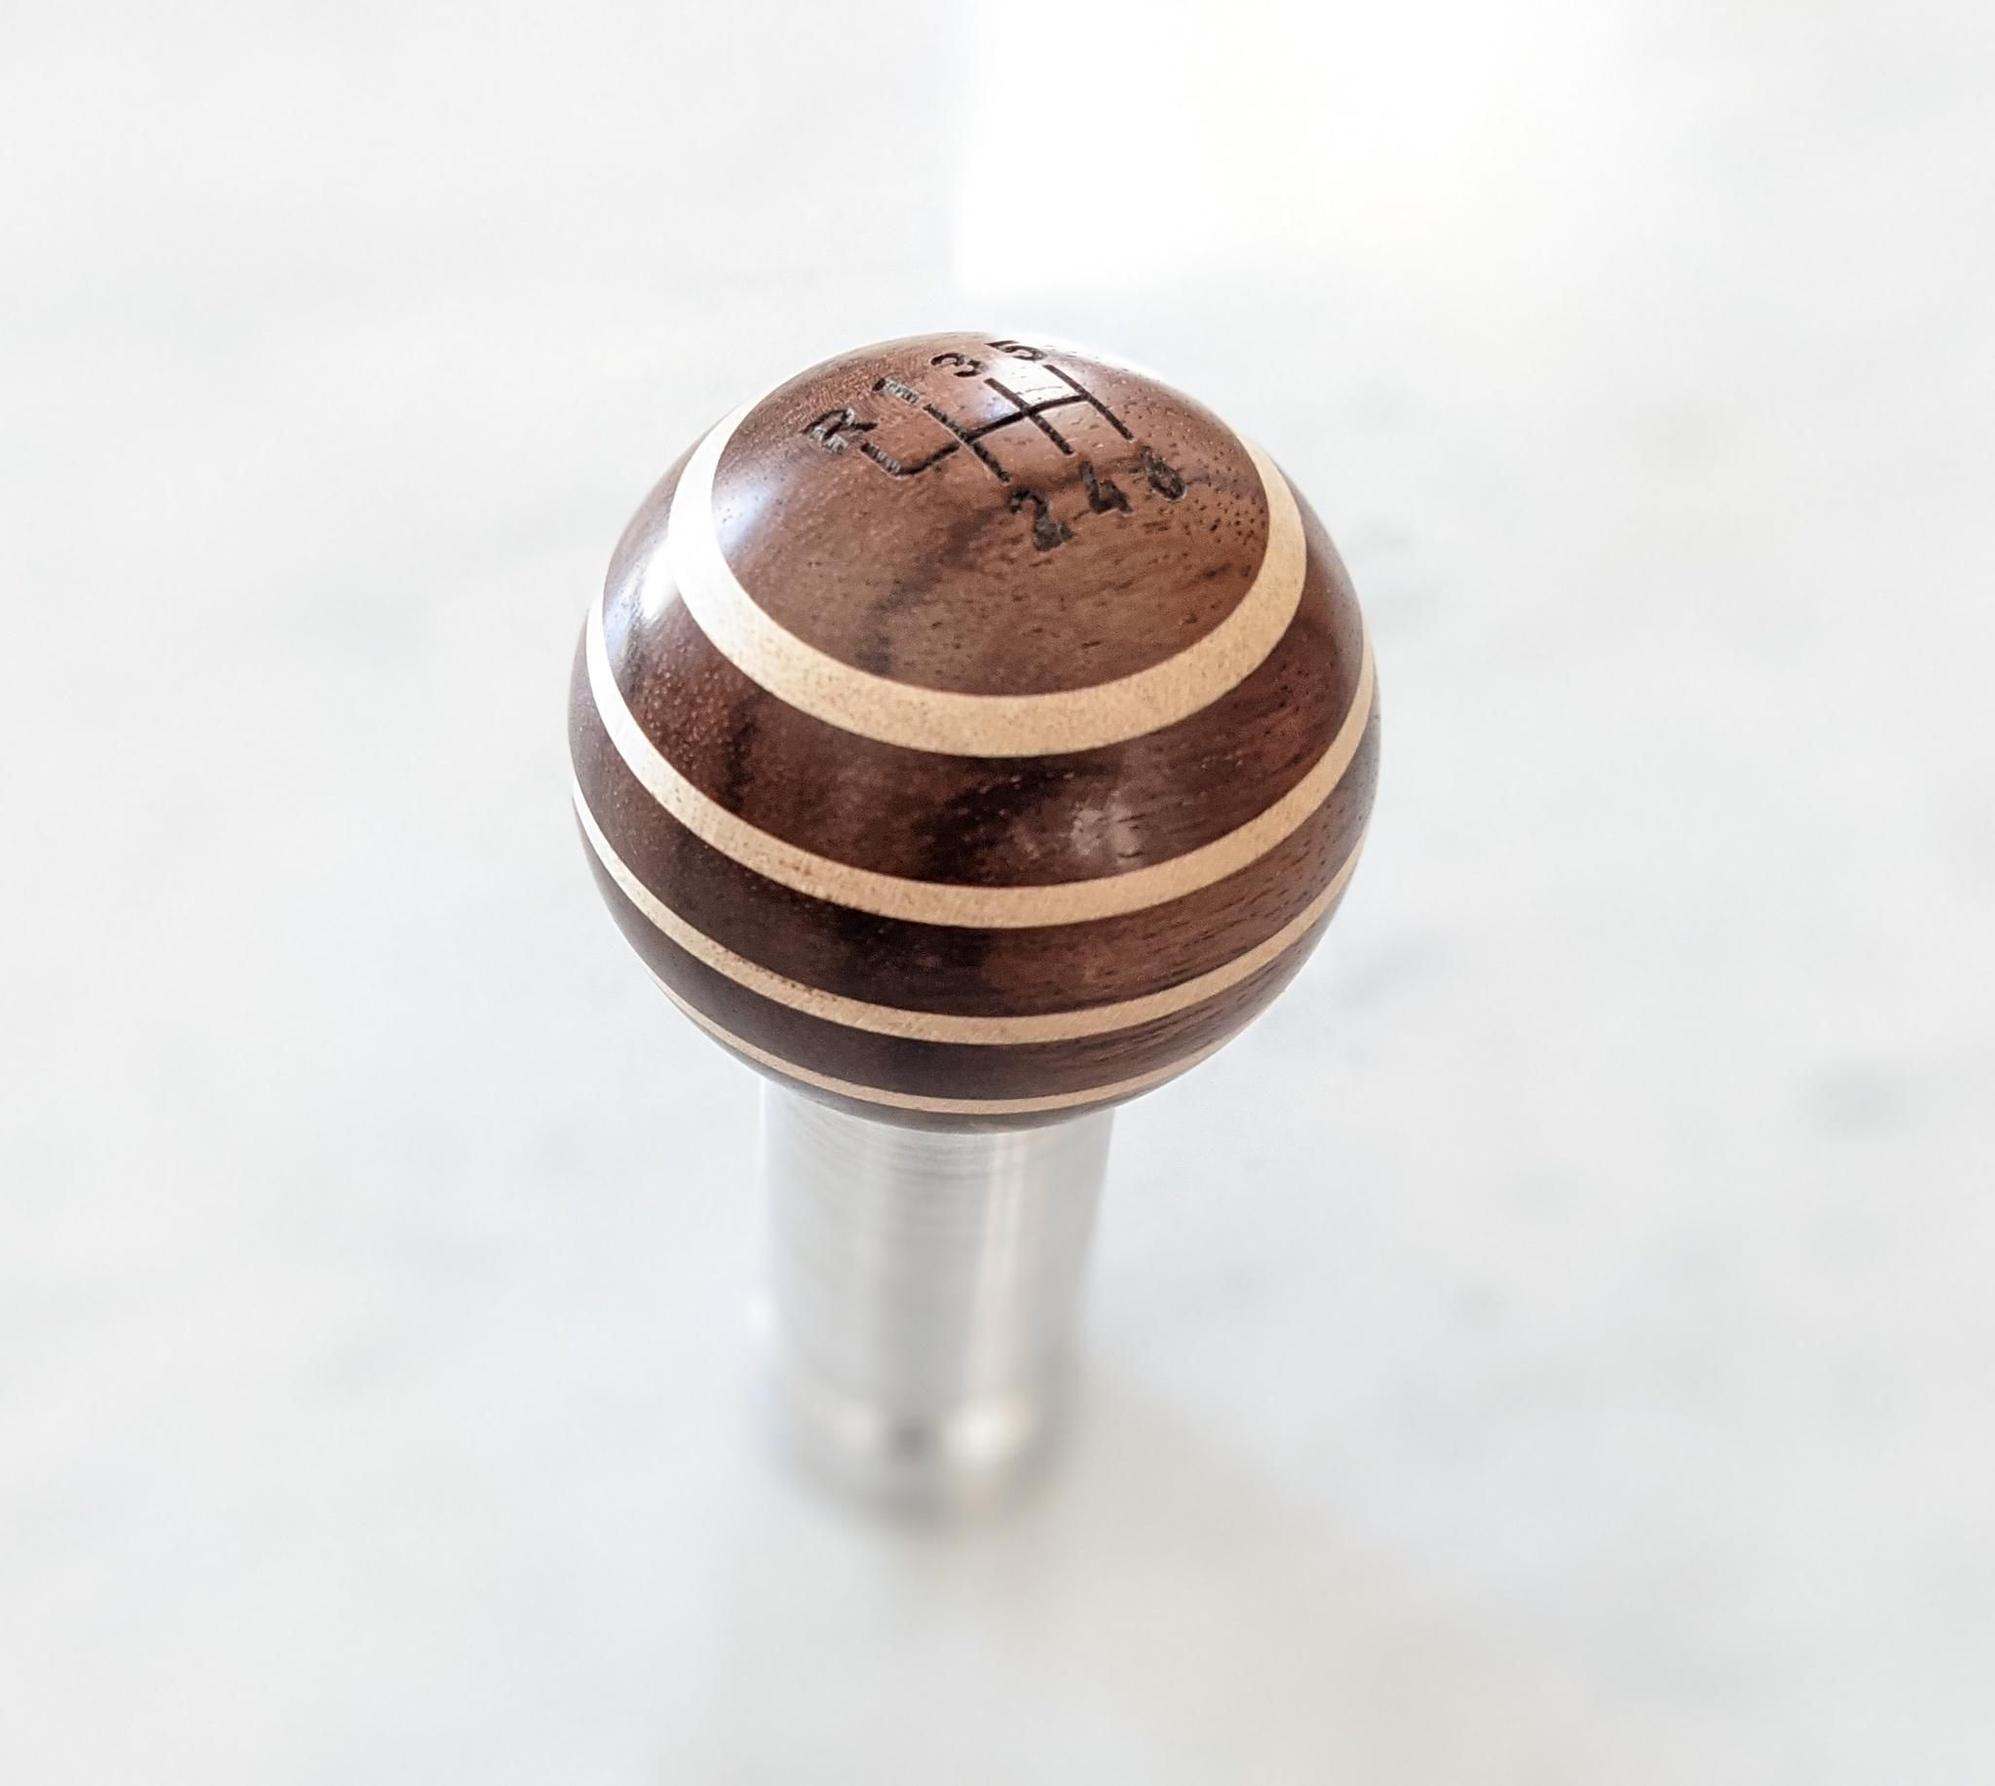
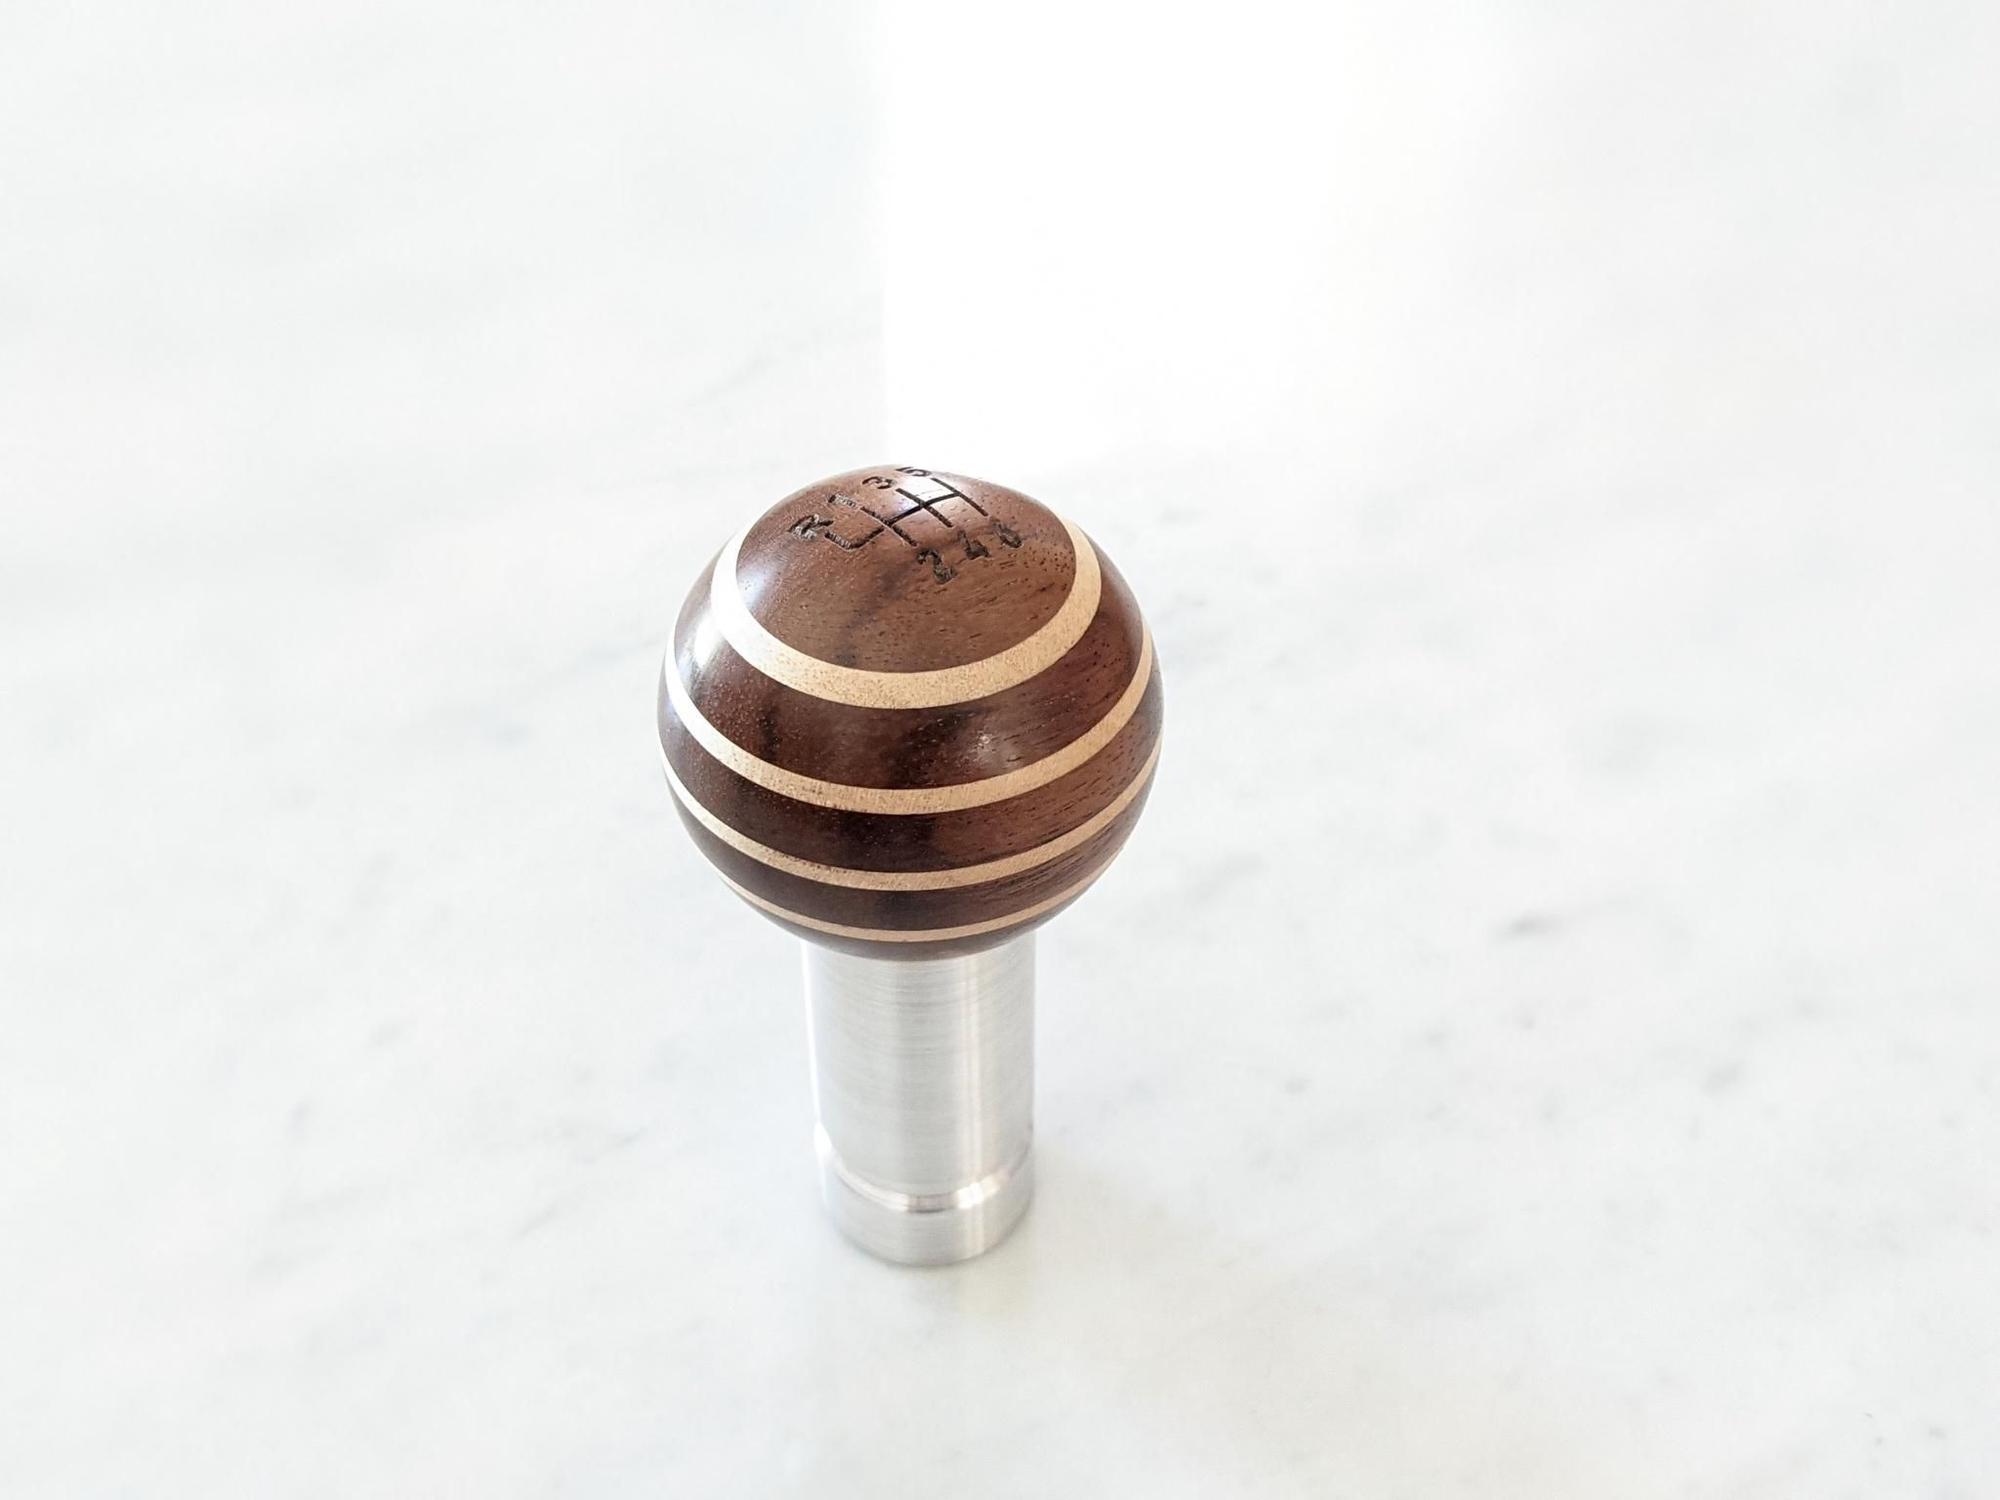
Looks awesome, was a pretty straight forward install? How was attaching the boot to the shaft? Have been considering one of Manny�s shift ***** for awhile now...Thanks
Looks awesome, was a pretty straight forward install? How was attaching the boot to the shaft? Have been considering one of Manny�s shift ***** for awhile now...Thanks
Super straightforward, took about 3-5 mins.
Remove plastic trim holding boot,
Twist **** clockwise (I believe, check YouTube videos to be sure) and pull up.
Remove ring around shaft holding shift boot to old ****.
Zip-tie boot to Manny�s **** shaft and insert **** on shaft. (Beavis and Butthead laughing intensifies)
Tighten the Allen key onto shifter shaft, then align the plastic tabs on the plastic shift boot **** ring and press until it clicks and is seated.
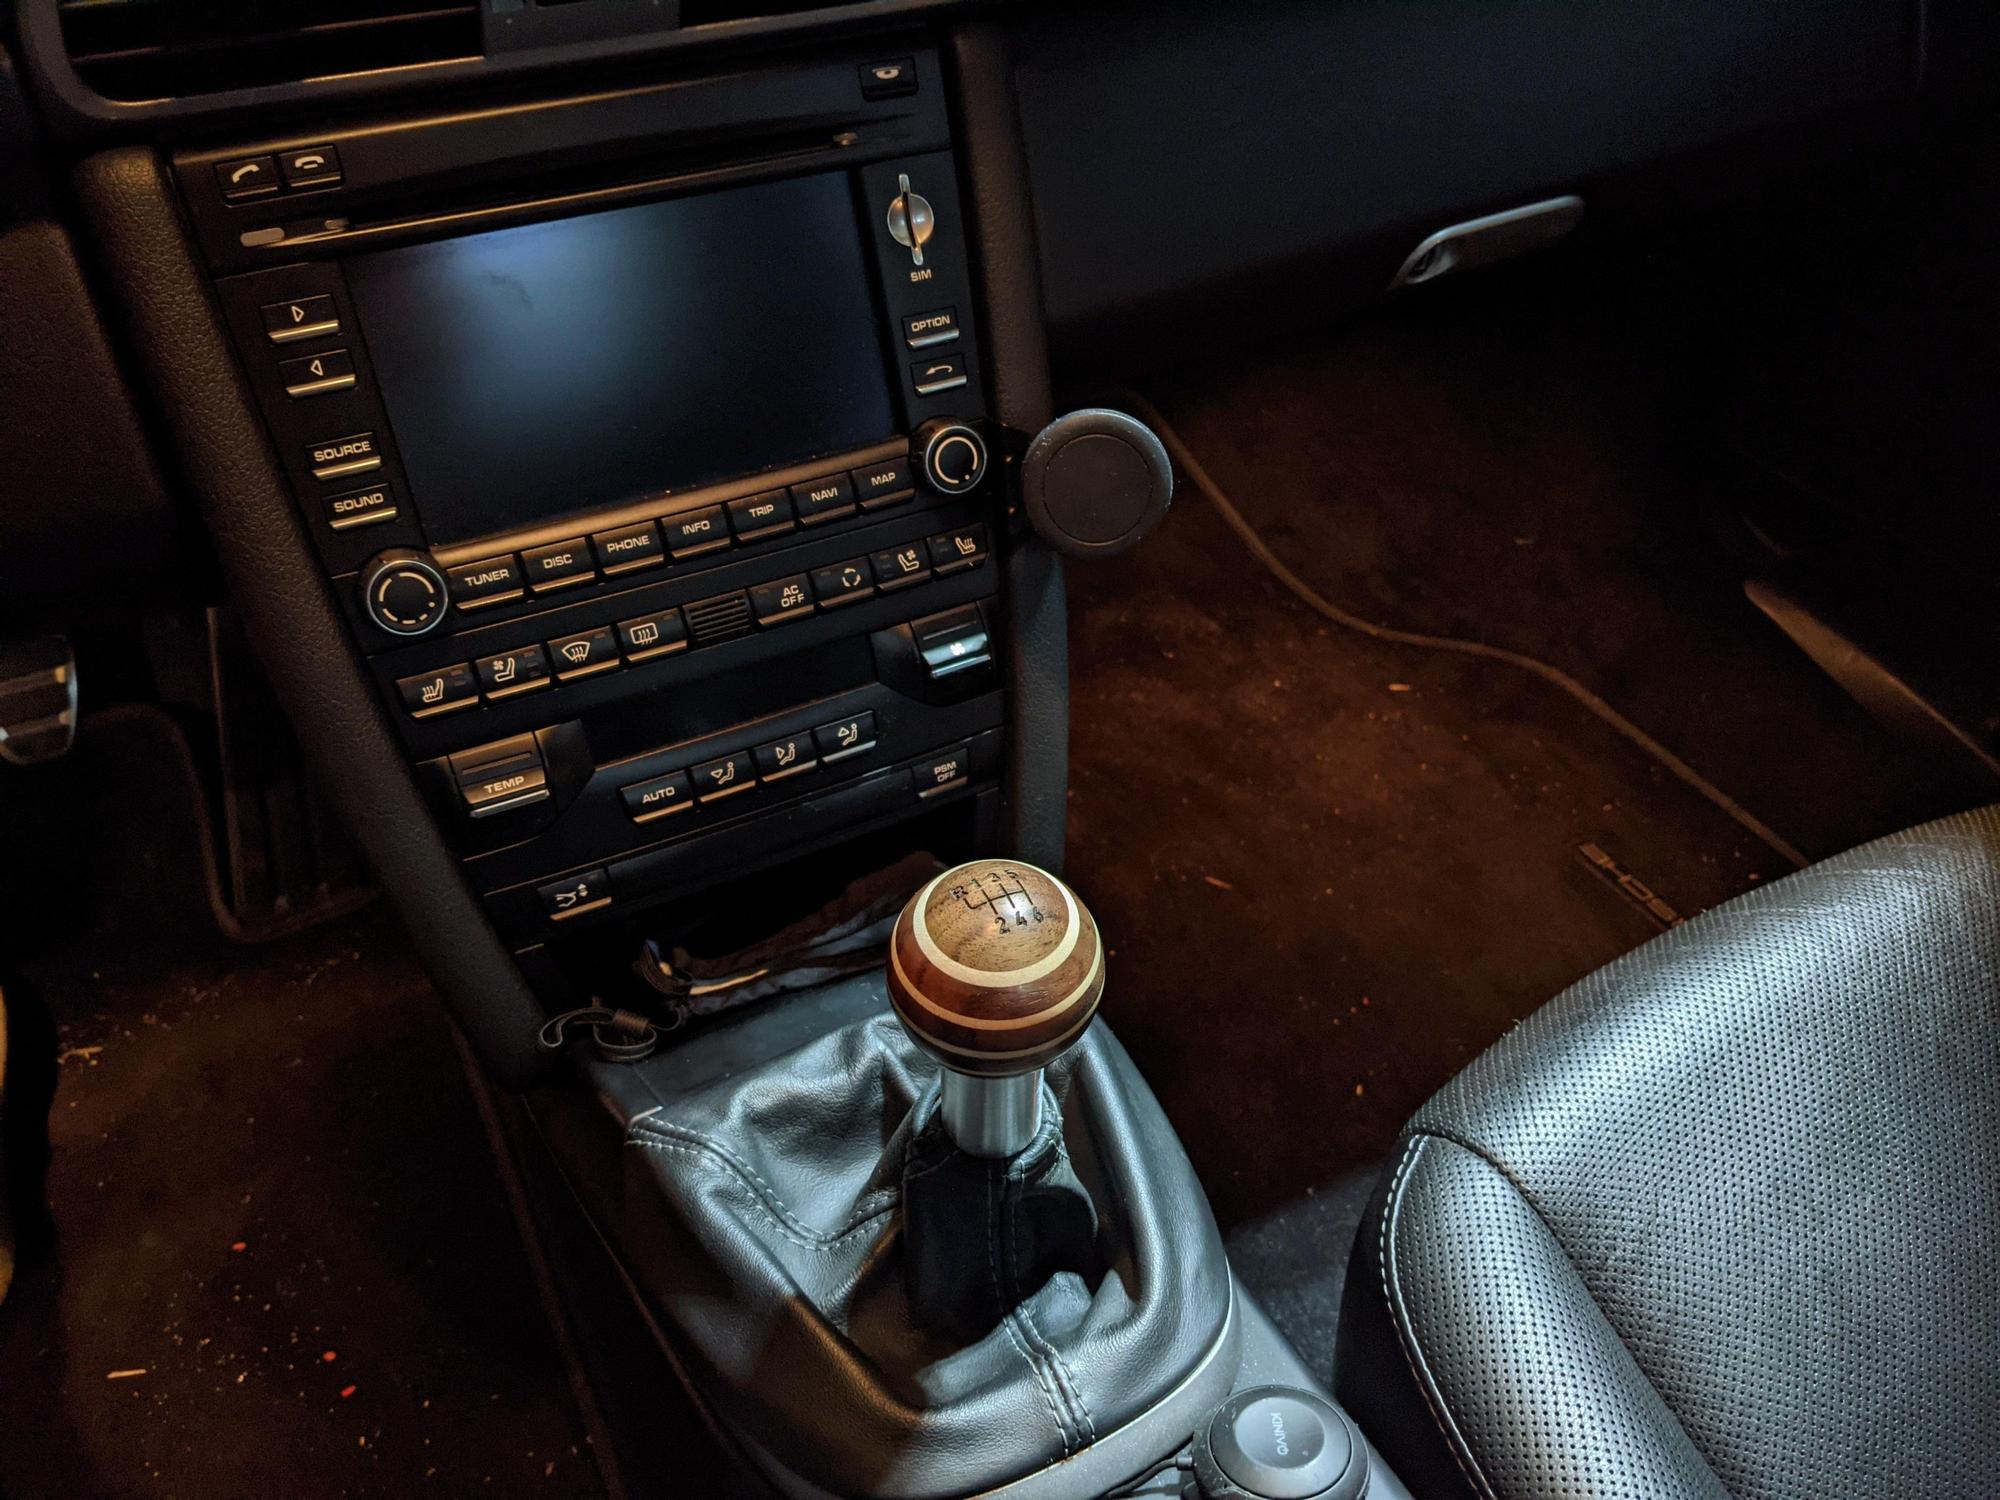
For all the people who wax on about the superior shifting of the Honda S2000 or Miata but are cursed to be driving the lowly 911 rejoice. For the Numeric shifter, in my opinion, outshines the S2000 and is the match of the NA Miata. Before all the S2000 fanboys pile on, understand that I�ve owned all of the aforementioned cars and write this with a somewhat clouded memory. True be told, most of my S2000 memories were of plastic trim chirping and the worst rear brake bias on any street legal car.
The install was about two hours and there are several YouTube and Rennlist articles to review prior. The three takeaways from the instal were as follows; 1. Remove the center cap from your stock shifter with a razor knife and remove the two small T10 screws. After pry off the aft aluminum/plastic trim that laminated the **** to the shifter fork. Attempts to pull the shifter **** up or cut away elastomer are futile when you see what Stuttgart had in mind.
2. Mark the position of the shifter cables to a reference so that you will have a gross guide to help make an easy adjustment to fine shifting feel. In other words if it�s good where you found it return the cables to that length. The numeric has a fore/aft adjustment on the reward cable guides and you can reinstall at the same location on the cable ends sprung fitting. You will reuse the OEM cable fittings on the new shifter.
3. Felt tape the back of trim pieces prior to reinstall. My car has its share of chirps and squeaks. Especially around the forward top trim piece of the center console.
FYI Many YouTube videos don�t show removing the top forward trim piece that wraps around the center radio stack. They struggle to remove two screws forward of the shifter. Several even comment how bad of a design this is from Porsche. We all know Porsche is without fault, at least in this case, and they are knuckle dragging ex Z350 fans and should be removed from the interwebs at Bill Gates nearest convenience.
Hope this helps other pointlessly spend their Covid money that most here never got.
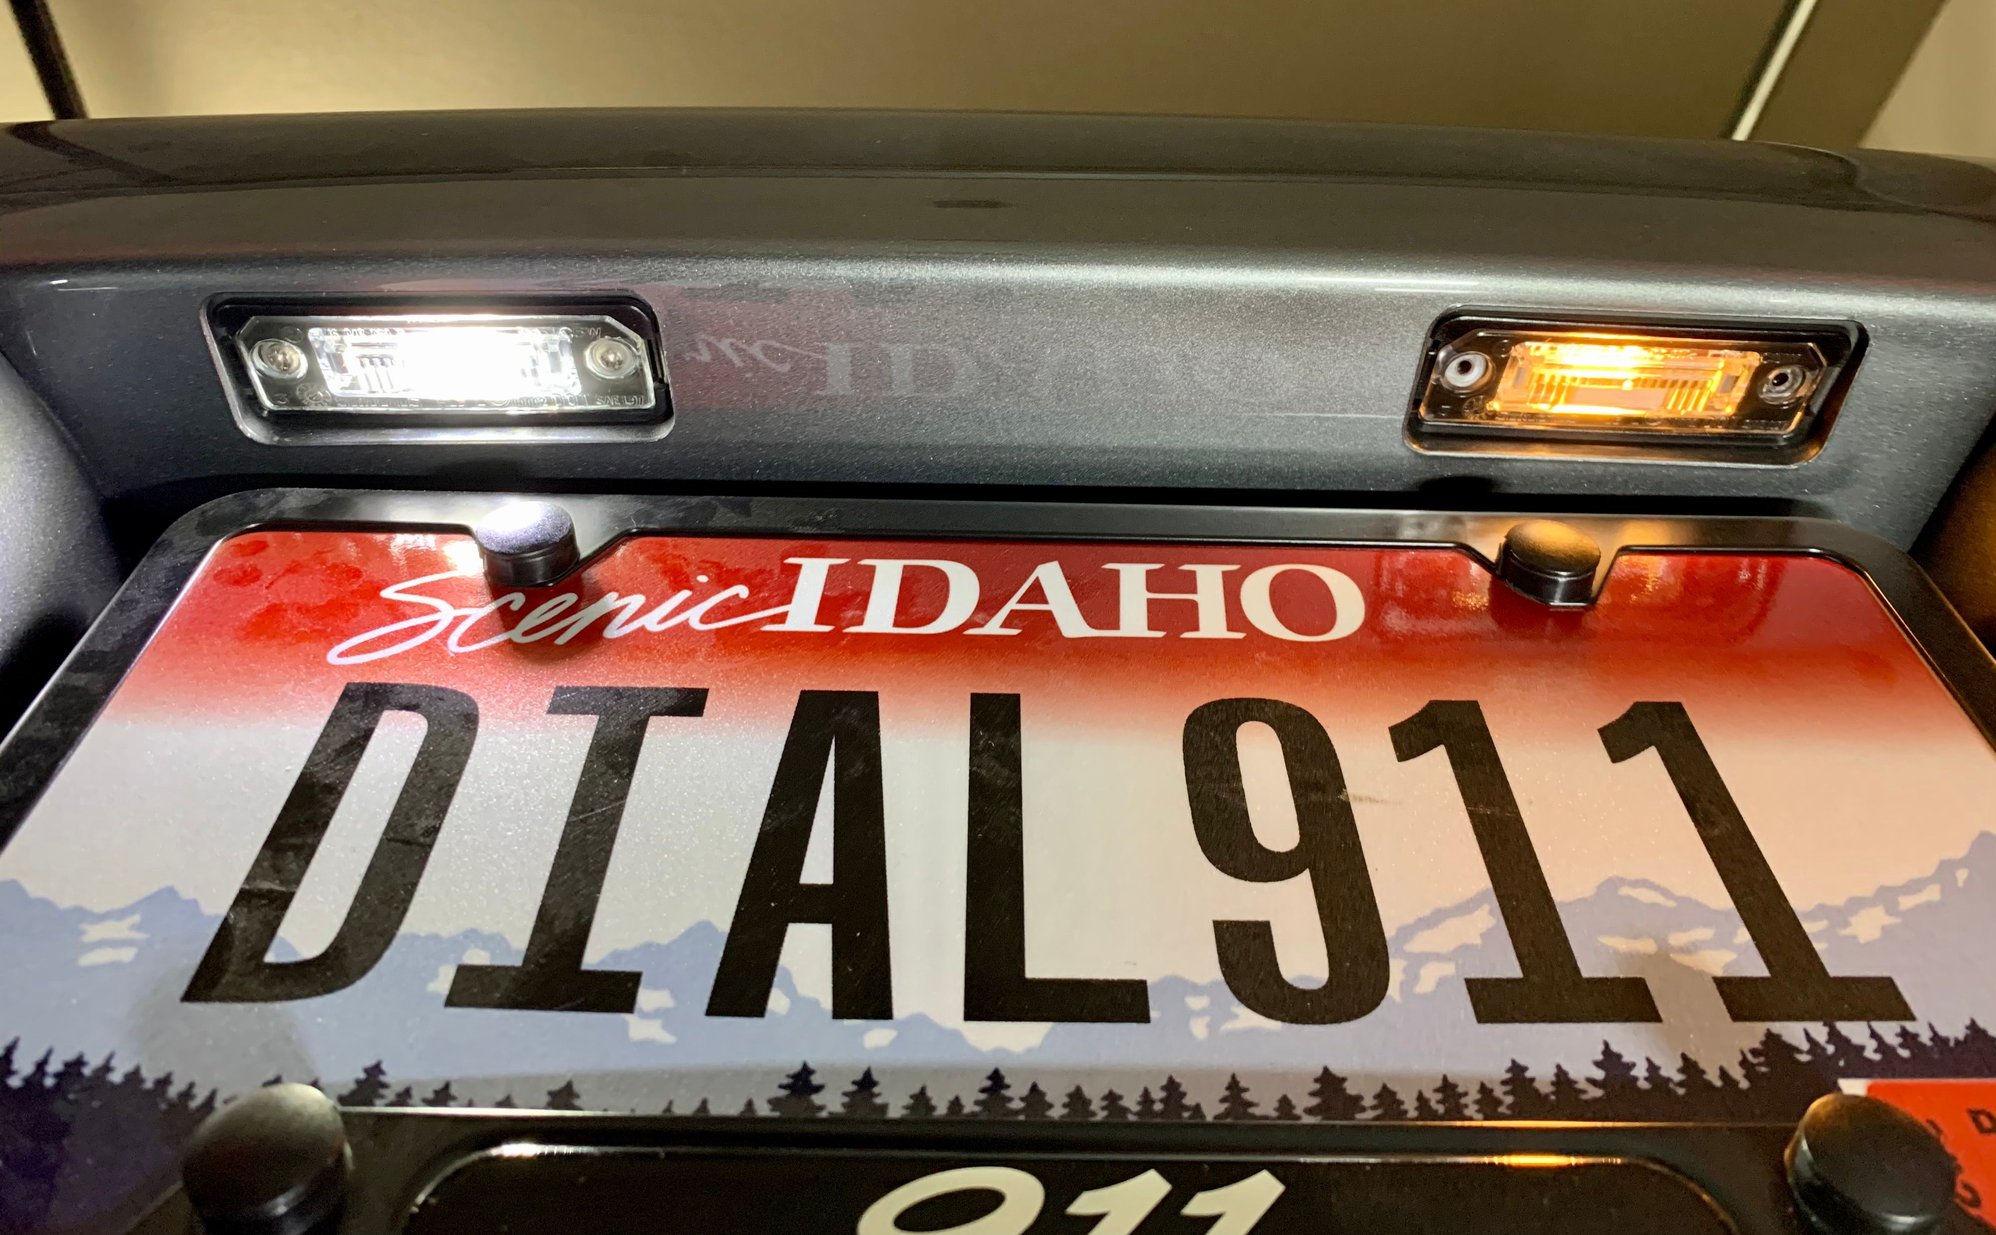
The 997 is such a timeless design, it's a shame to let a handful of little details detract from the appearance.
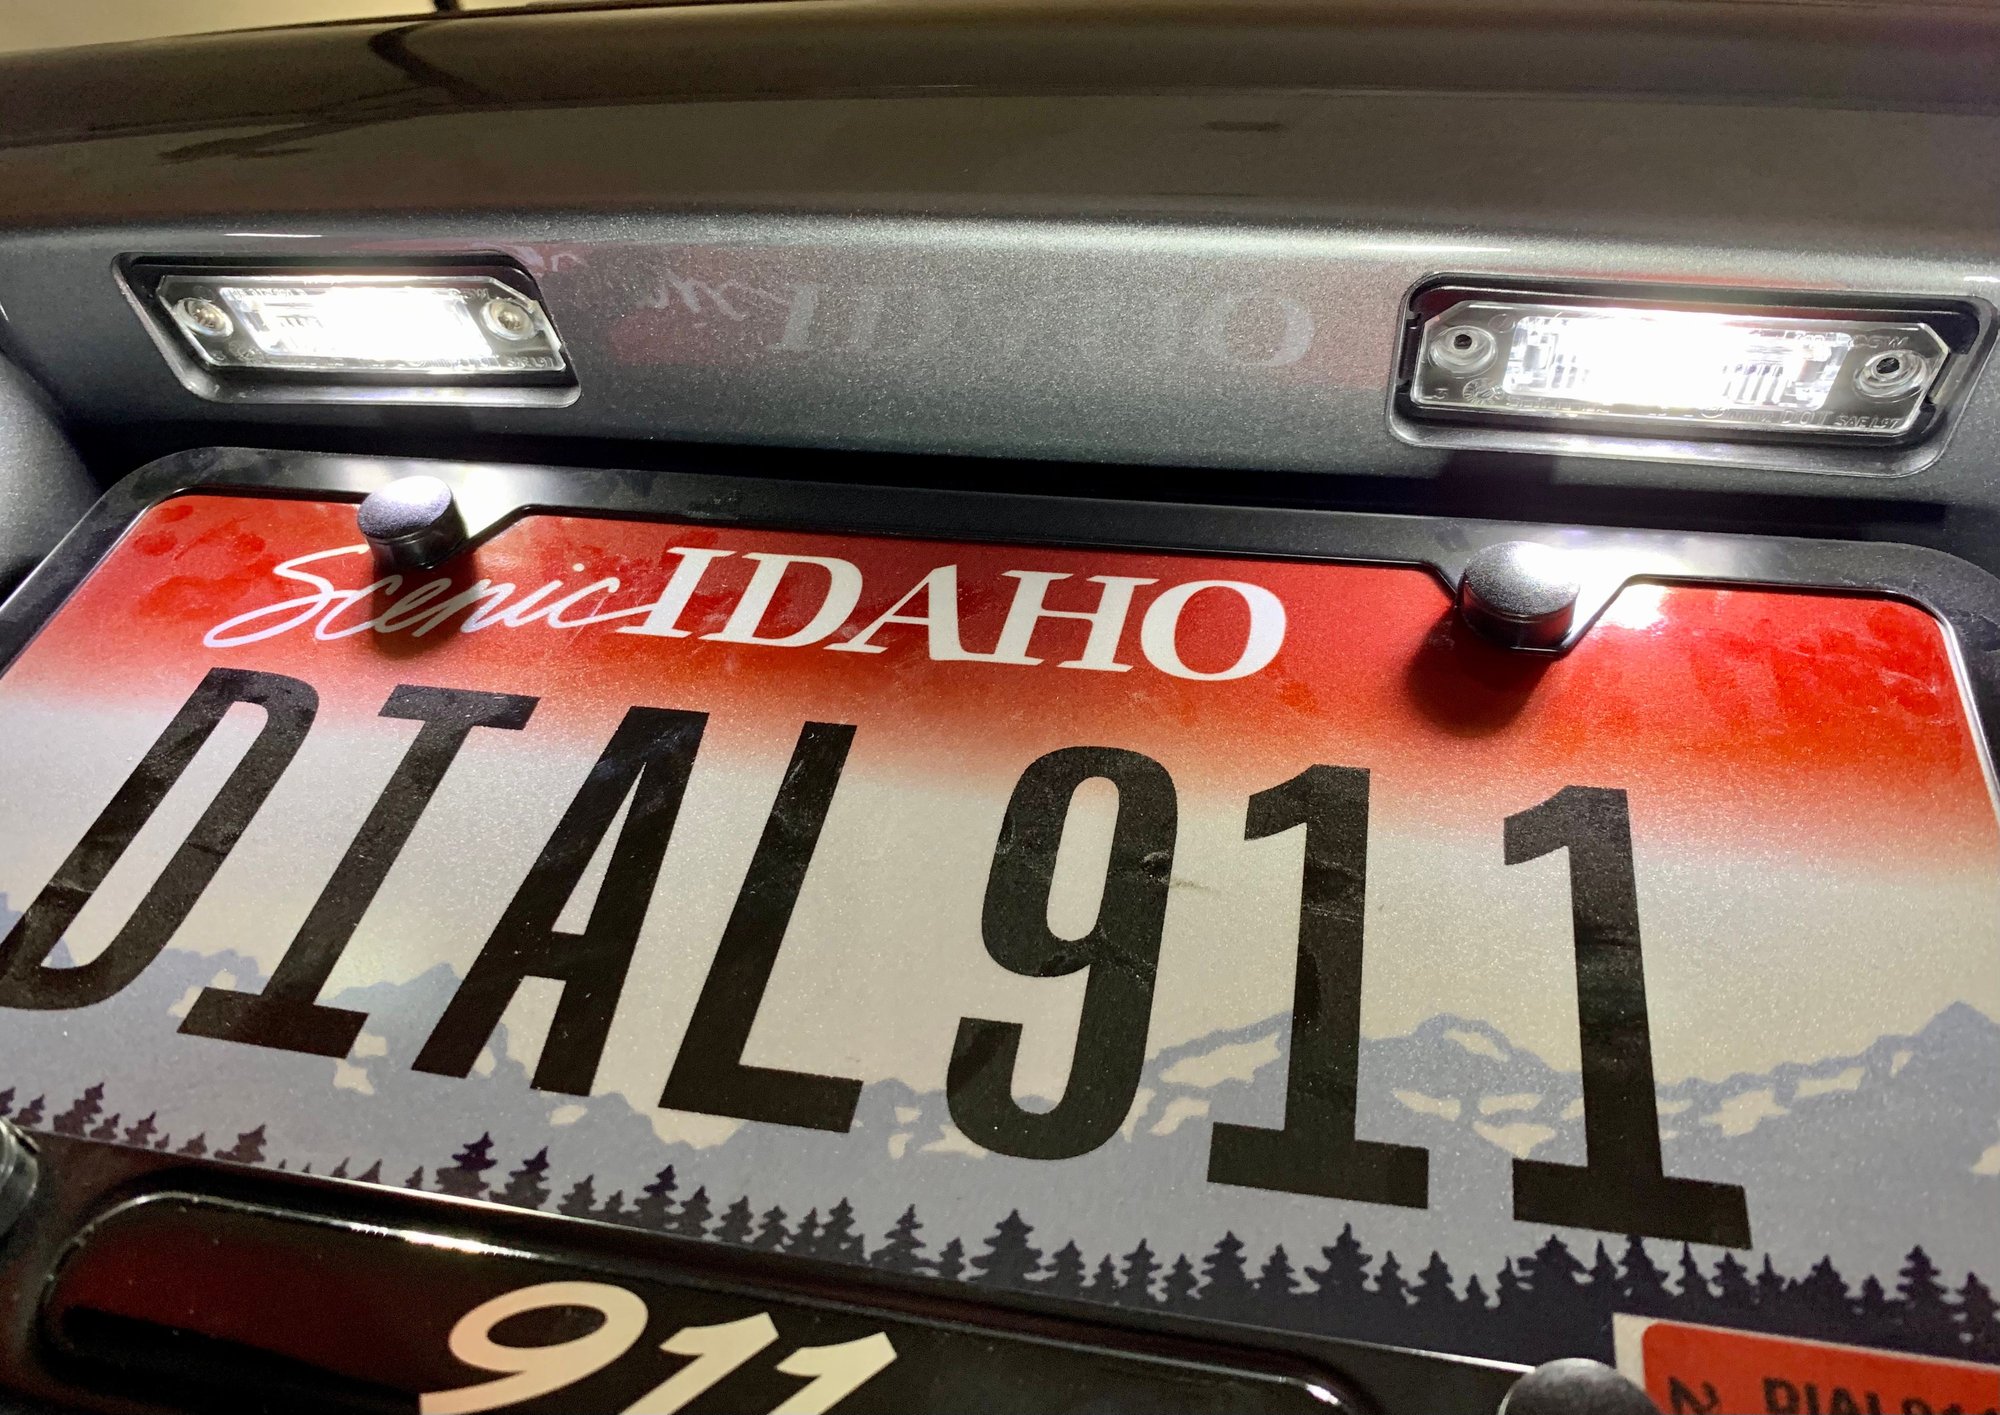
The stock incandescent license plate lights are a minuscule detail - but they do look yellow and dingy and date the vehicle in my view. So I replaced them today.
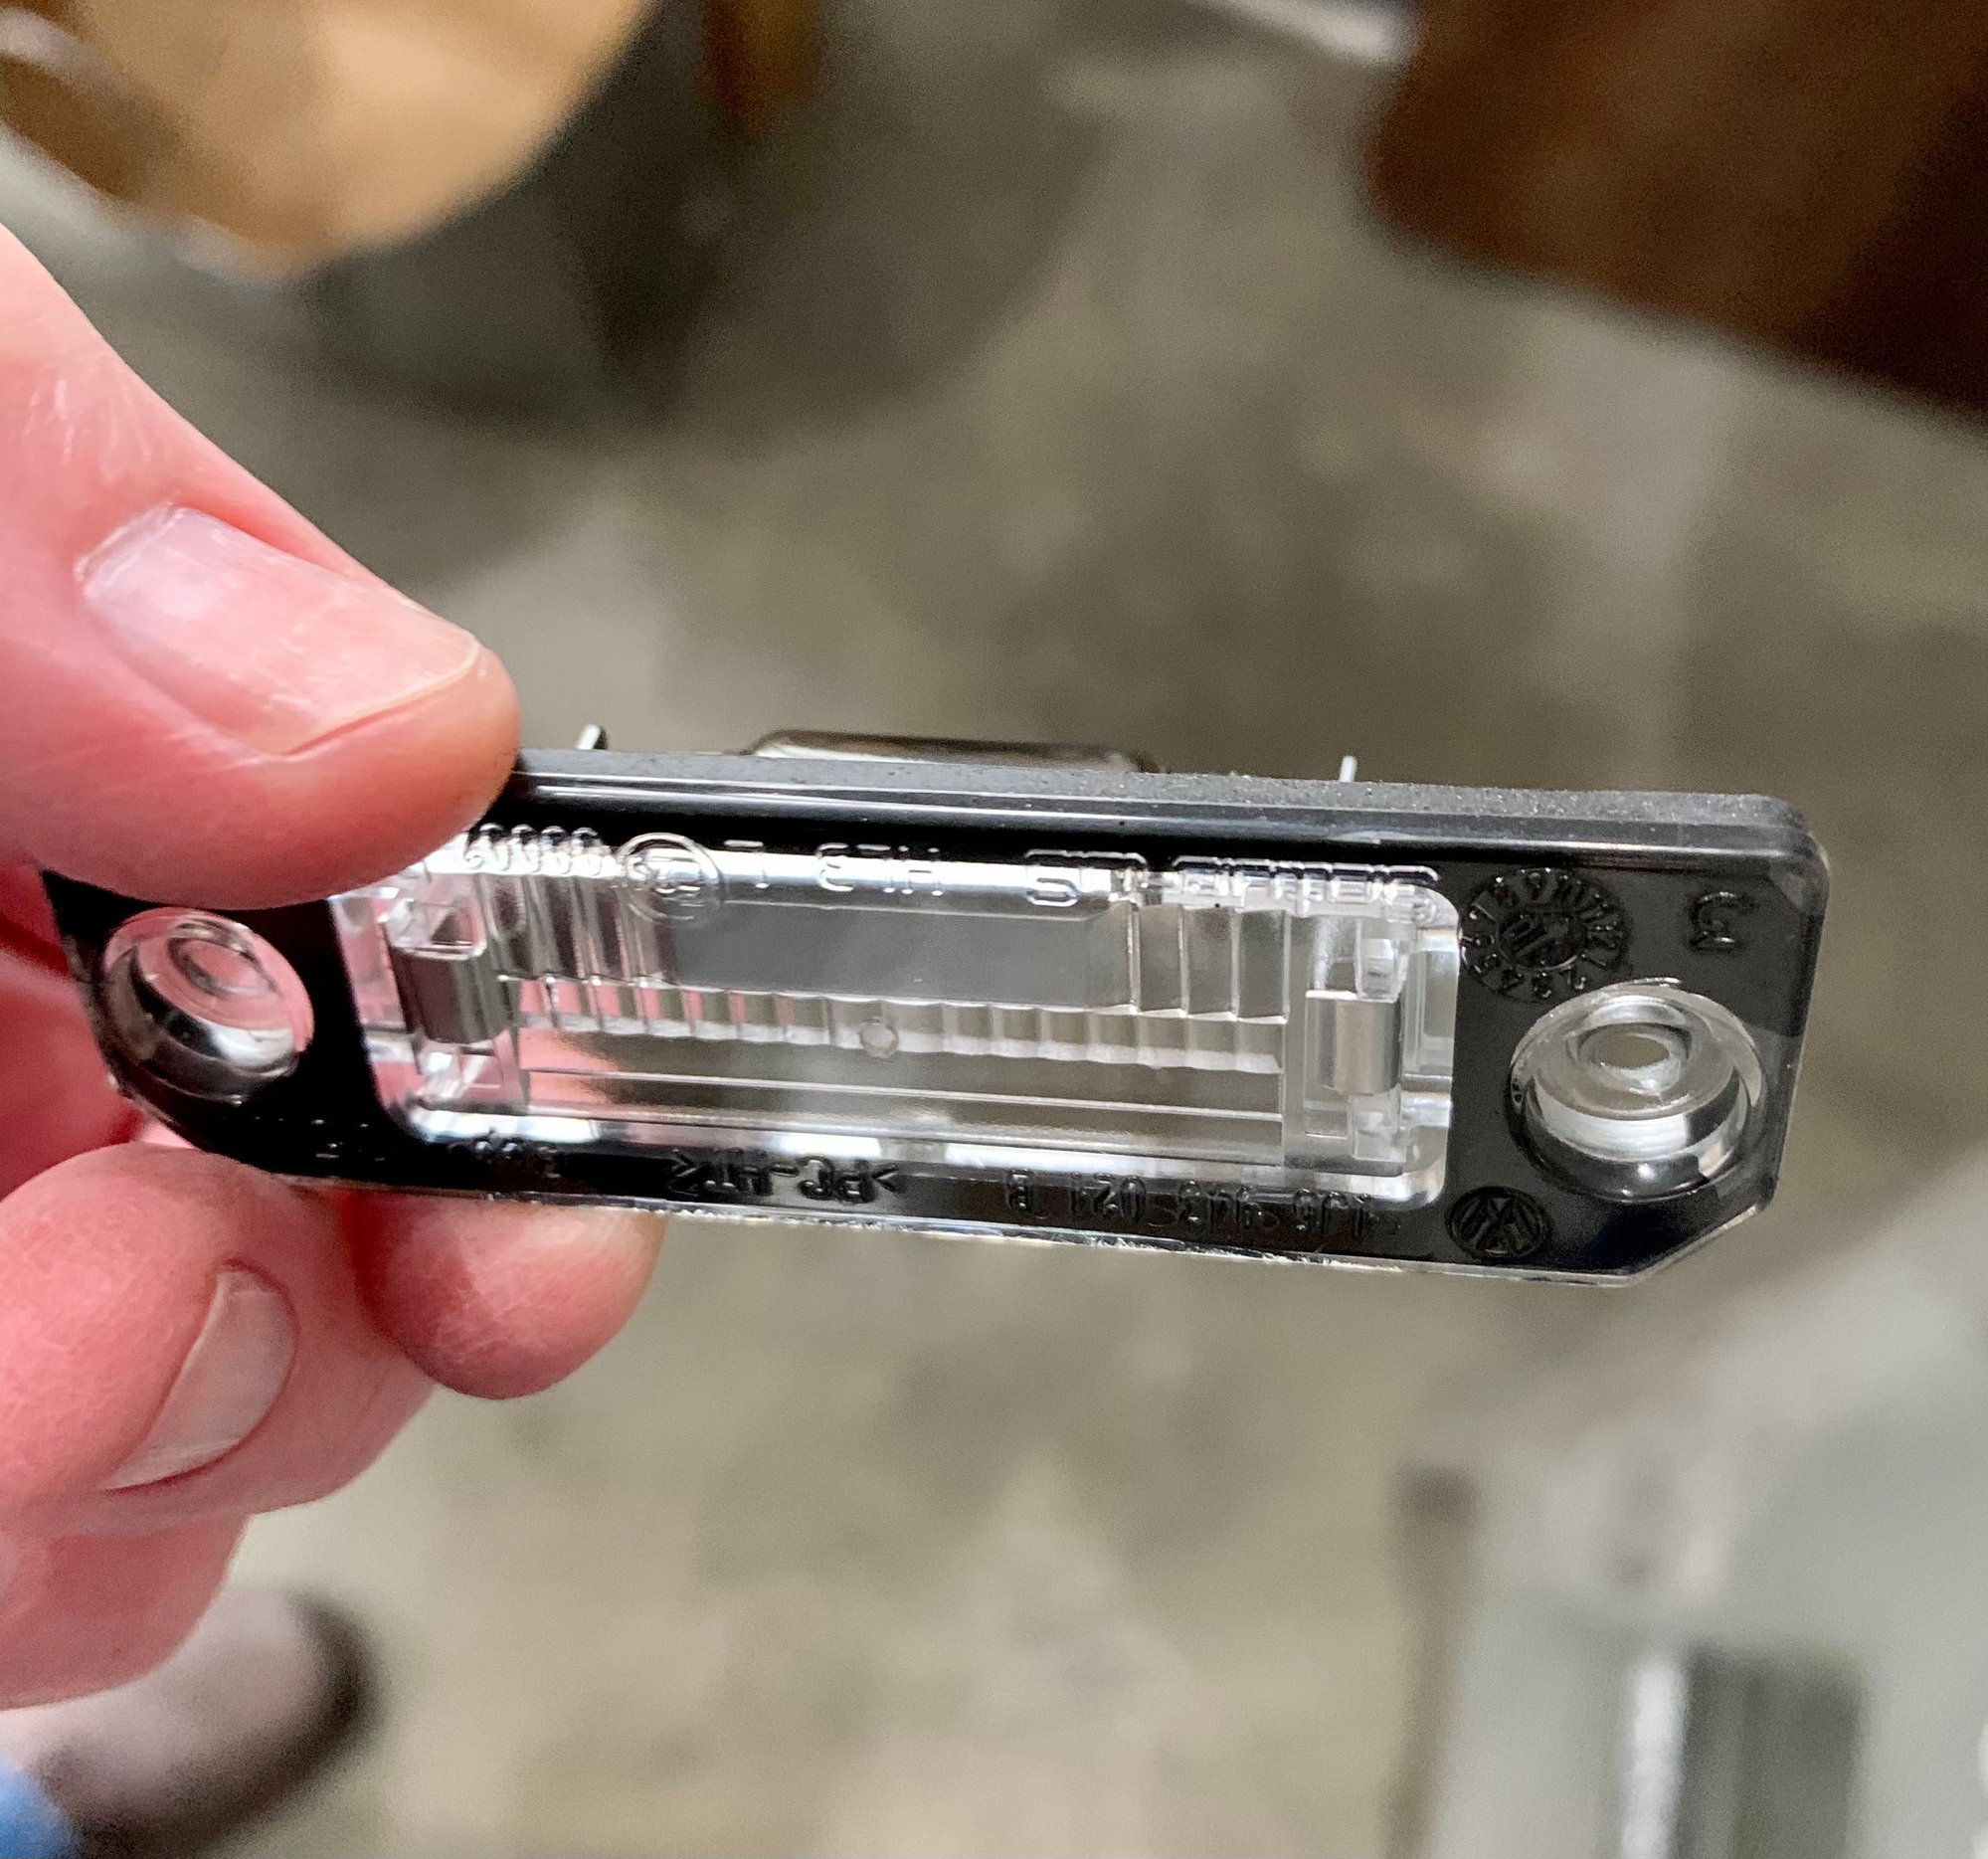
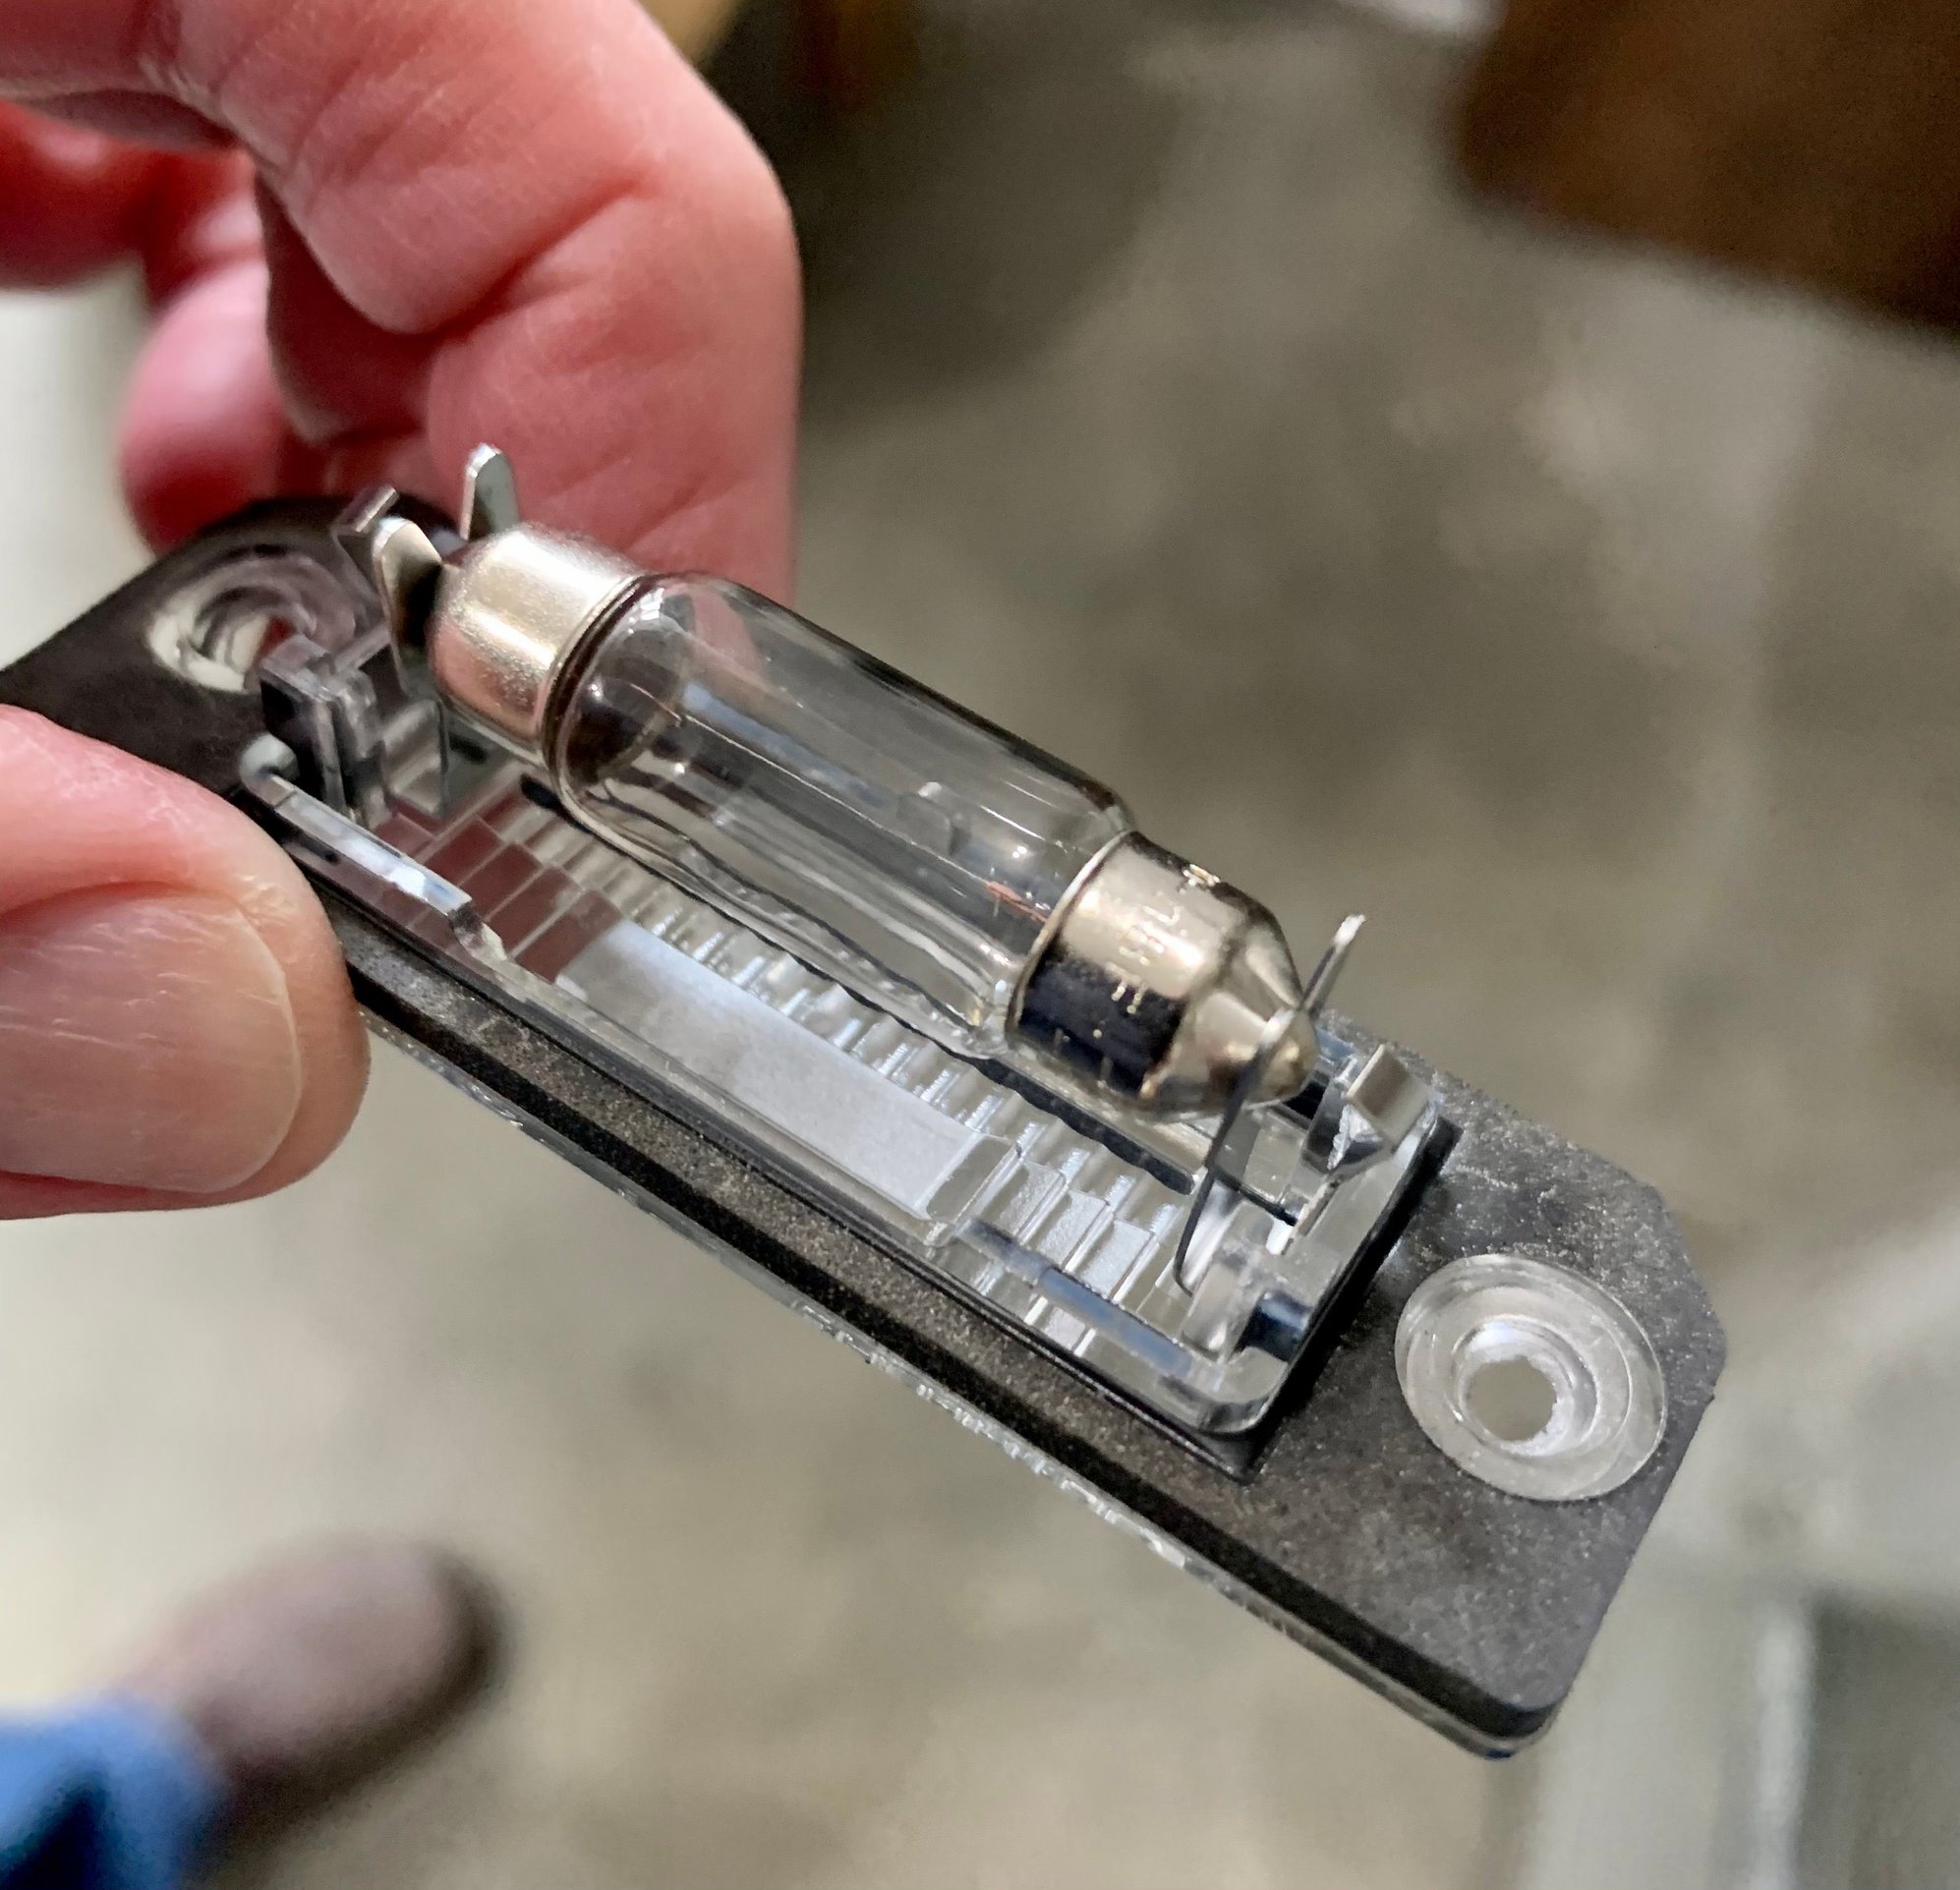
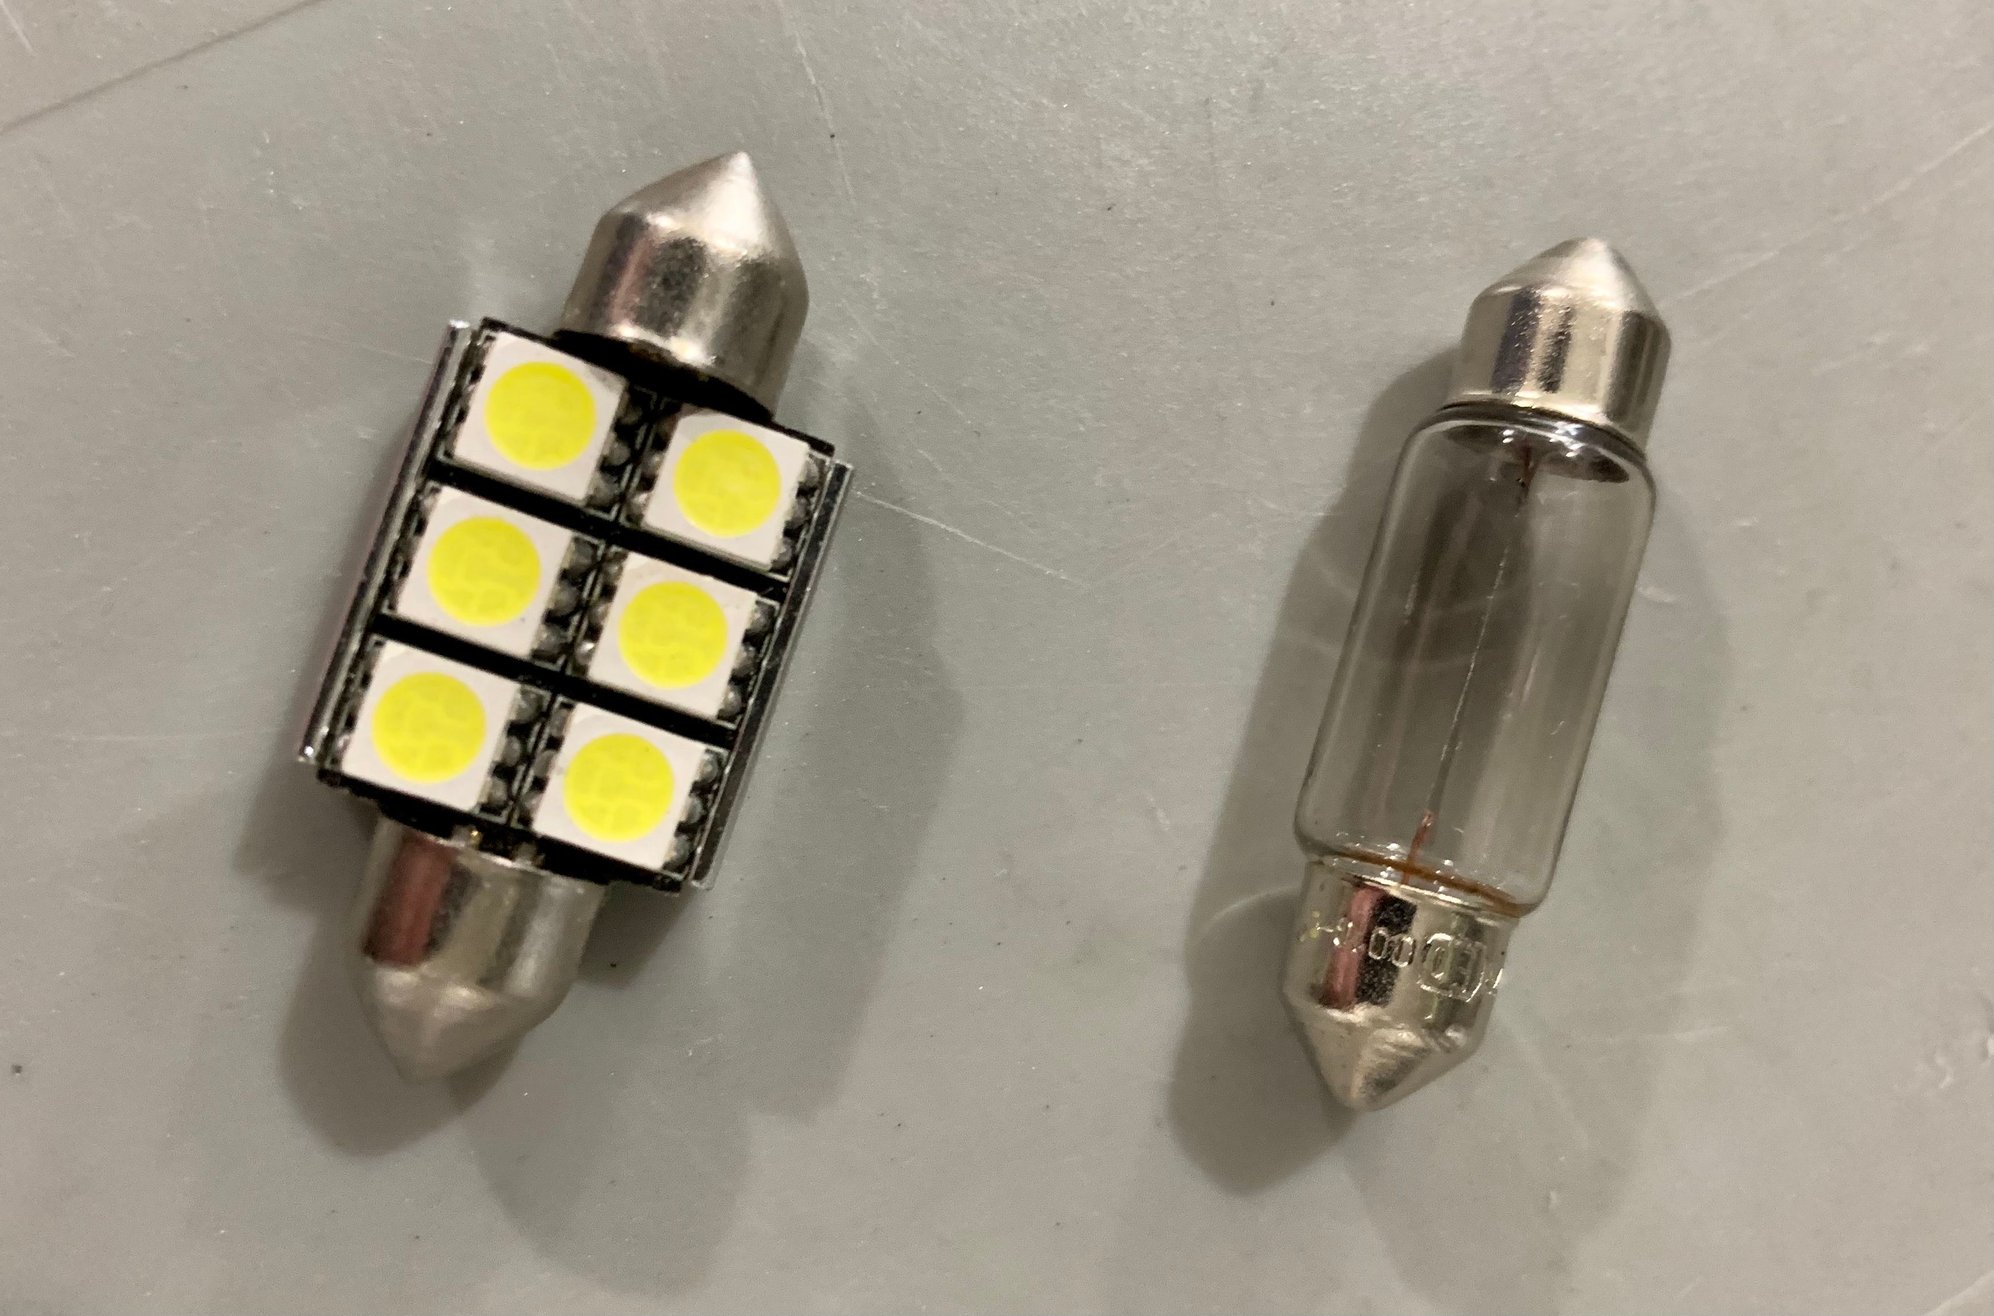
Rather than going the Suncoast route ($79 + shipping)!, I went with the USP Motorsports solution - which is currently on sale at $27 (for the pair). Quick and easy swap - and made a surprisingly nice difference I think...
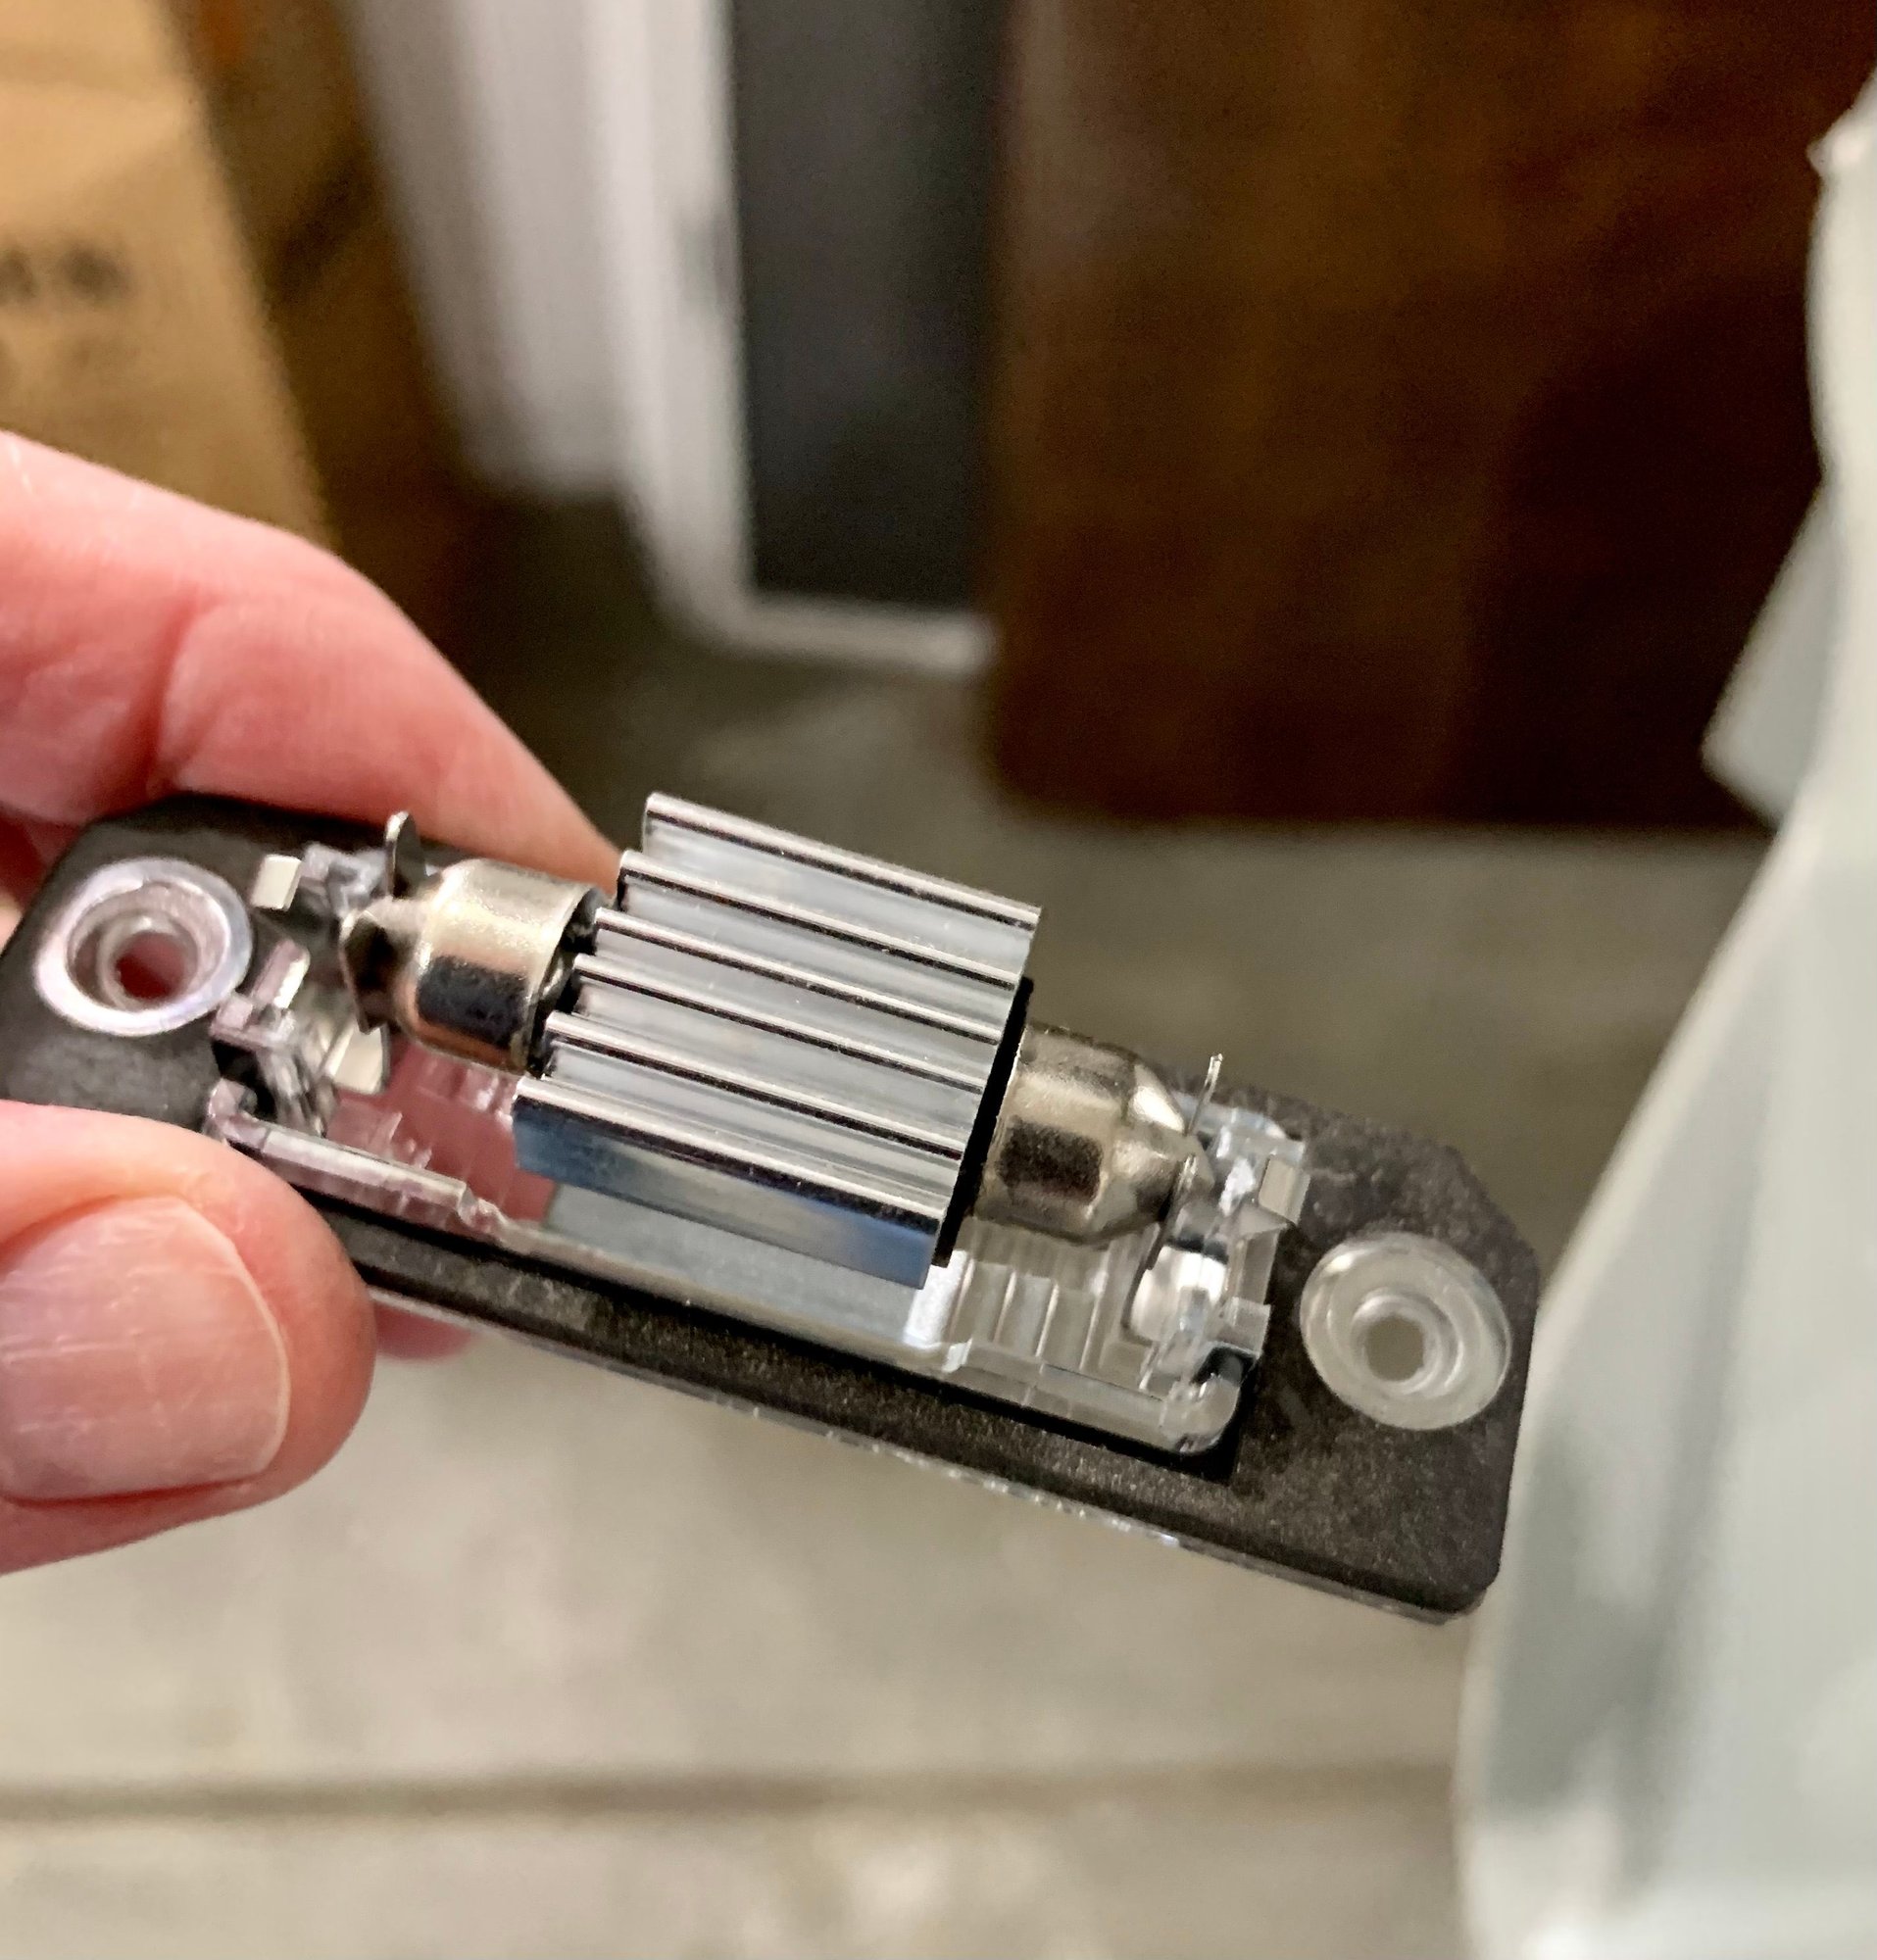
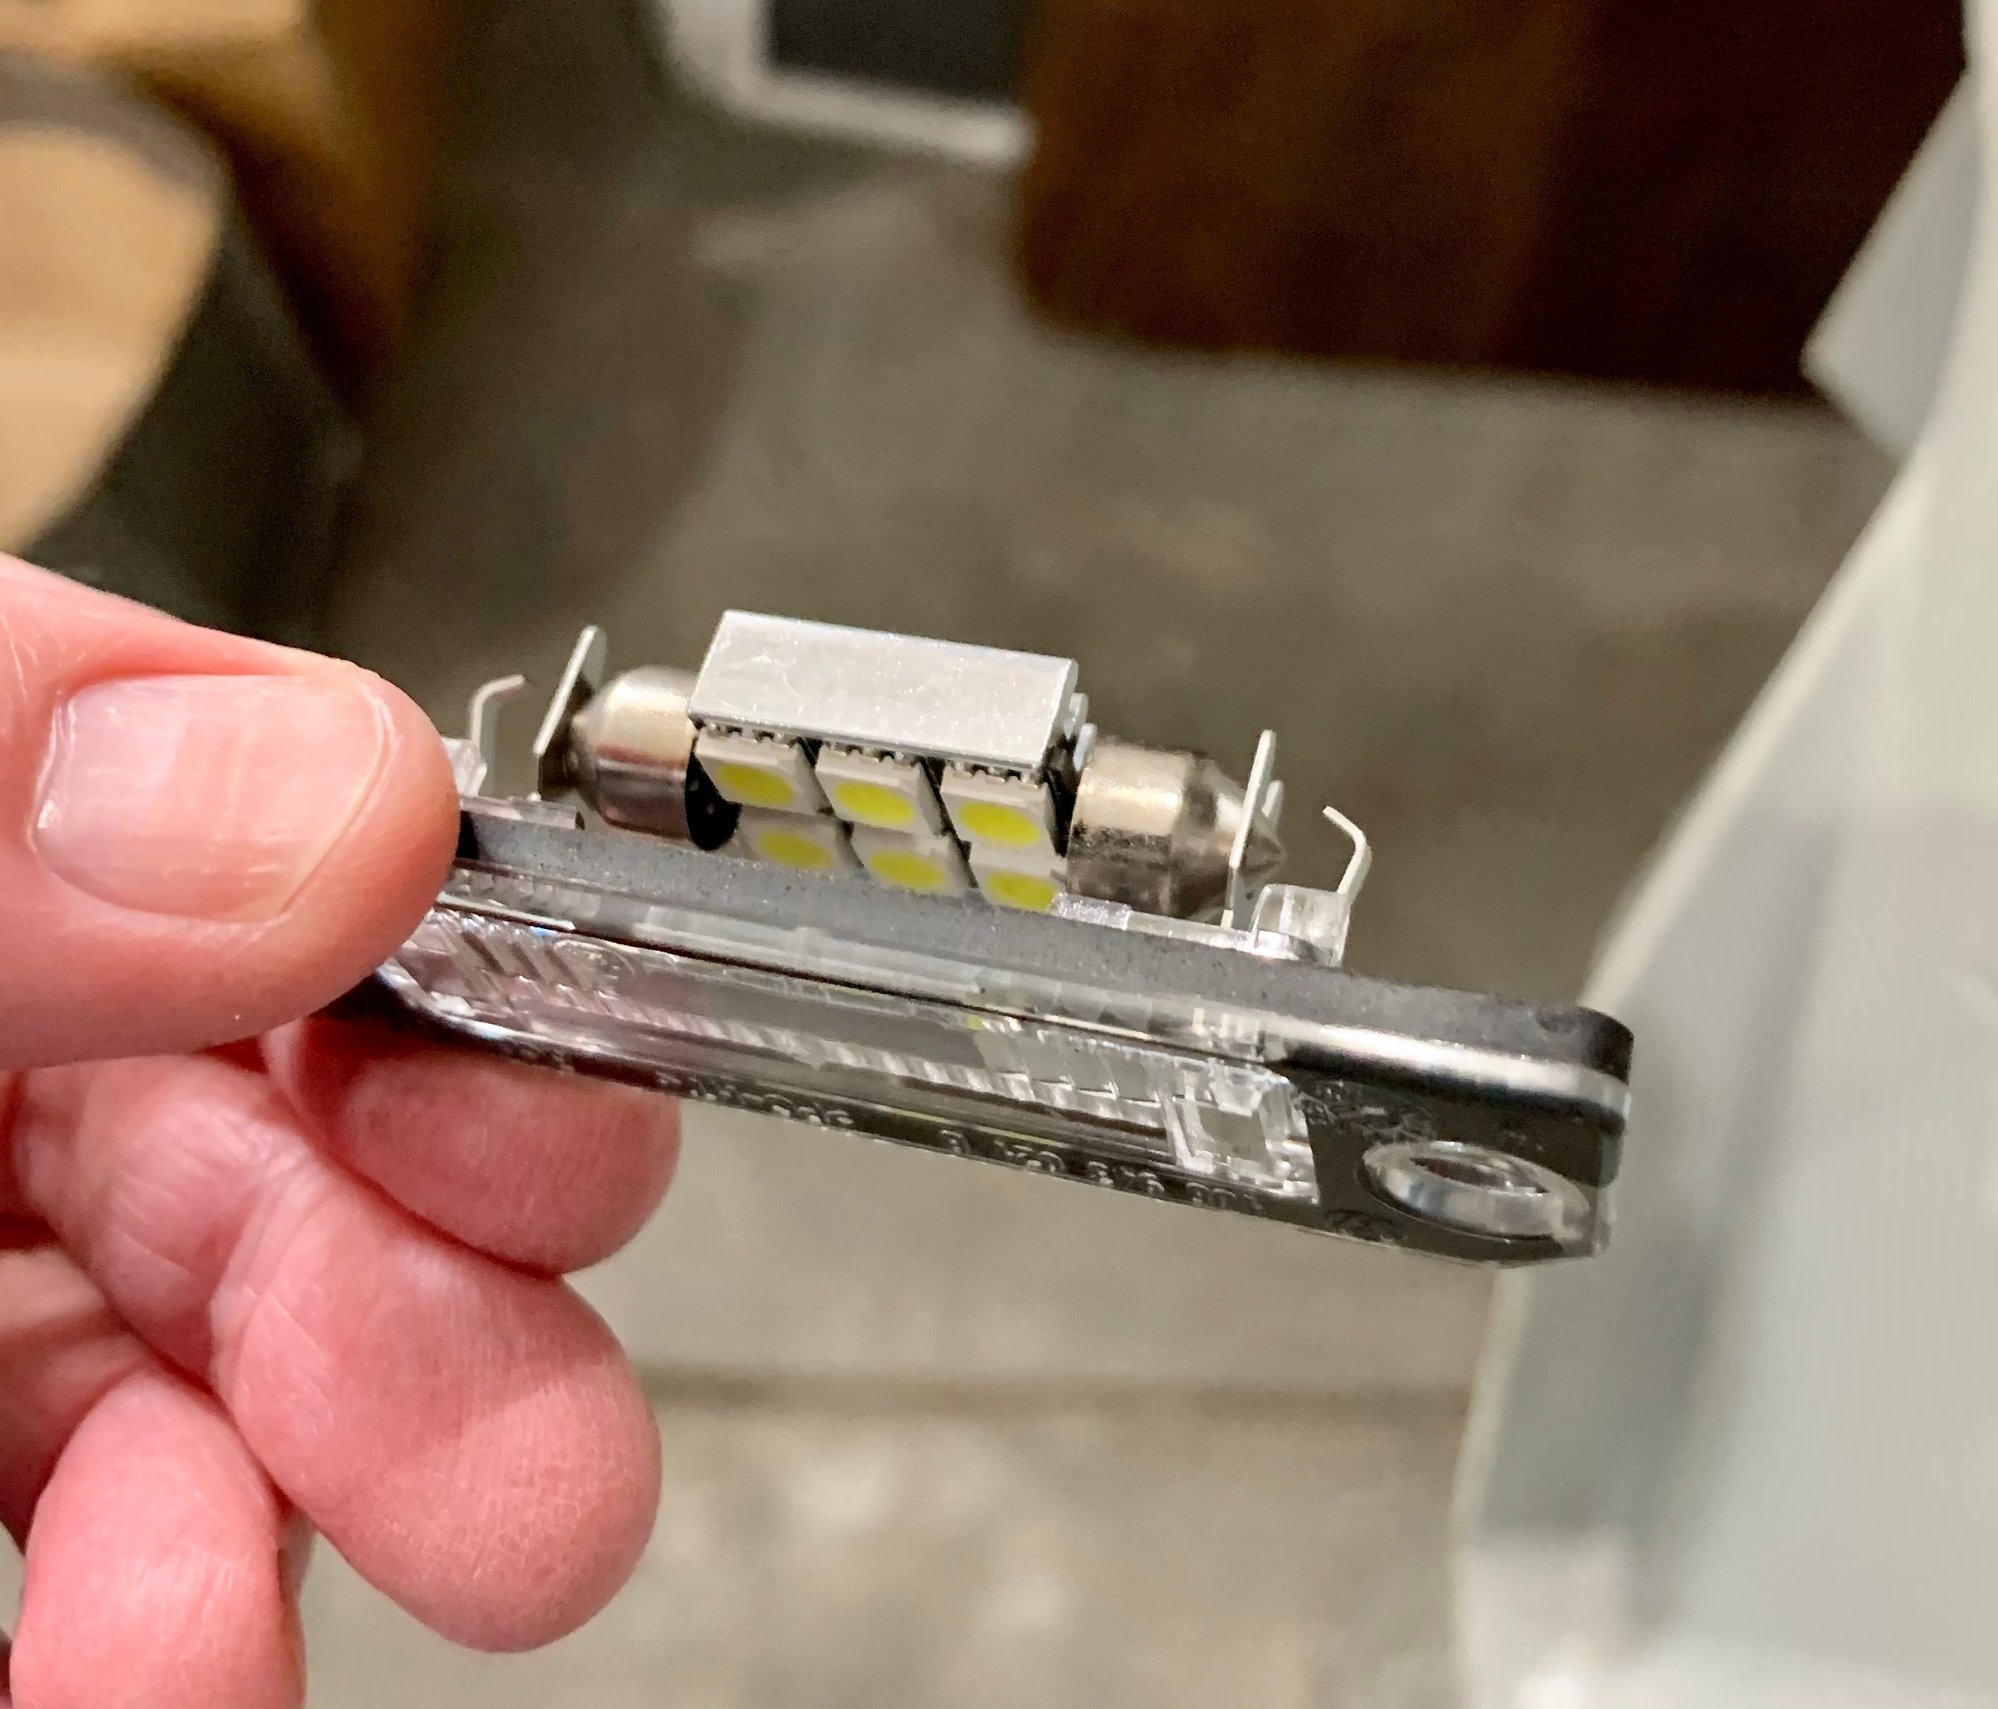
LED vs Stock Incandescent OEM light lens removed Stock incandescent bulb shown in place Canbus 36mm Festoon LED vs stock bulb LED element shown installed in lens Illumination elements oriented correctly Mission accomplished. Time for a beer.

 02-18-2021, 02:58 AM


 ugh..
ugh..