When you click on links to various merchants on this site and make a purchase, this can result in this site earning a commission. Affiliate programs and affiliations include, but are not limited to, the eBay Partner Network.
I just spent 8 sessions over the last 2 days at Watkins with the AIM hanging off the bracket and it perfomed flawlessly. Unfortanately a real wheel bearing gave out at the end if the day yesterday so no 3rd day for me.
I just spent 8 sessions over the last 2 days at Watkins with the AIM hanging off the bracket and it perfomed flawlessly. Unfortanately a real wheel bearing gave out at the end if the day yesterday so no 3rd day for me.
First of all a HUGE shout out to @yaz996 for sending me Version 2 even though I had not even intalled V.1 yet. Thank you!
Finally installed mine yesterday; the car was in the air getting a suspension refresh until then. It is such a great place to hang a phone or whatnot! I had a problem though; the screw holding the hazard switch in place was too short to engage the threads once the new surround piece was added. I found a longer screw (why yes, I am a packrat) and was good to go.
I had a problem though; the screw holding the hazard switch in place was too short to engage the threads once the new surround piece was added. I found a longer screw (why yes, I am a packrat) and was good to go.
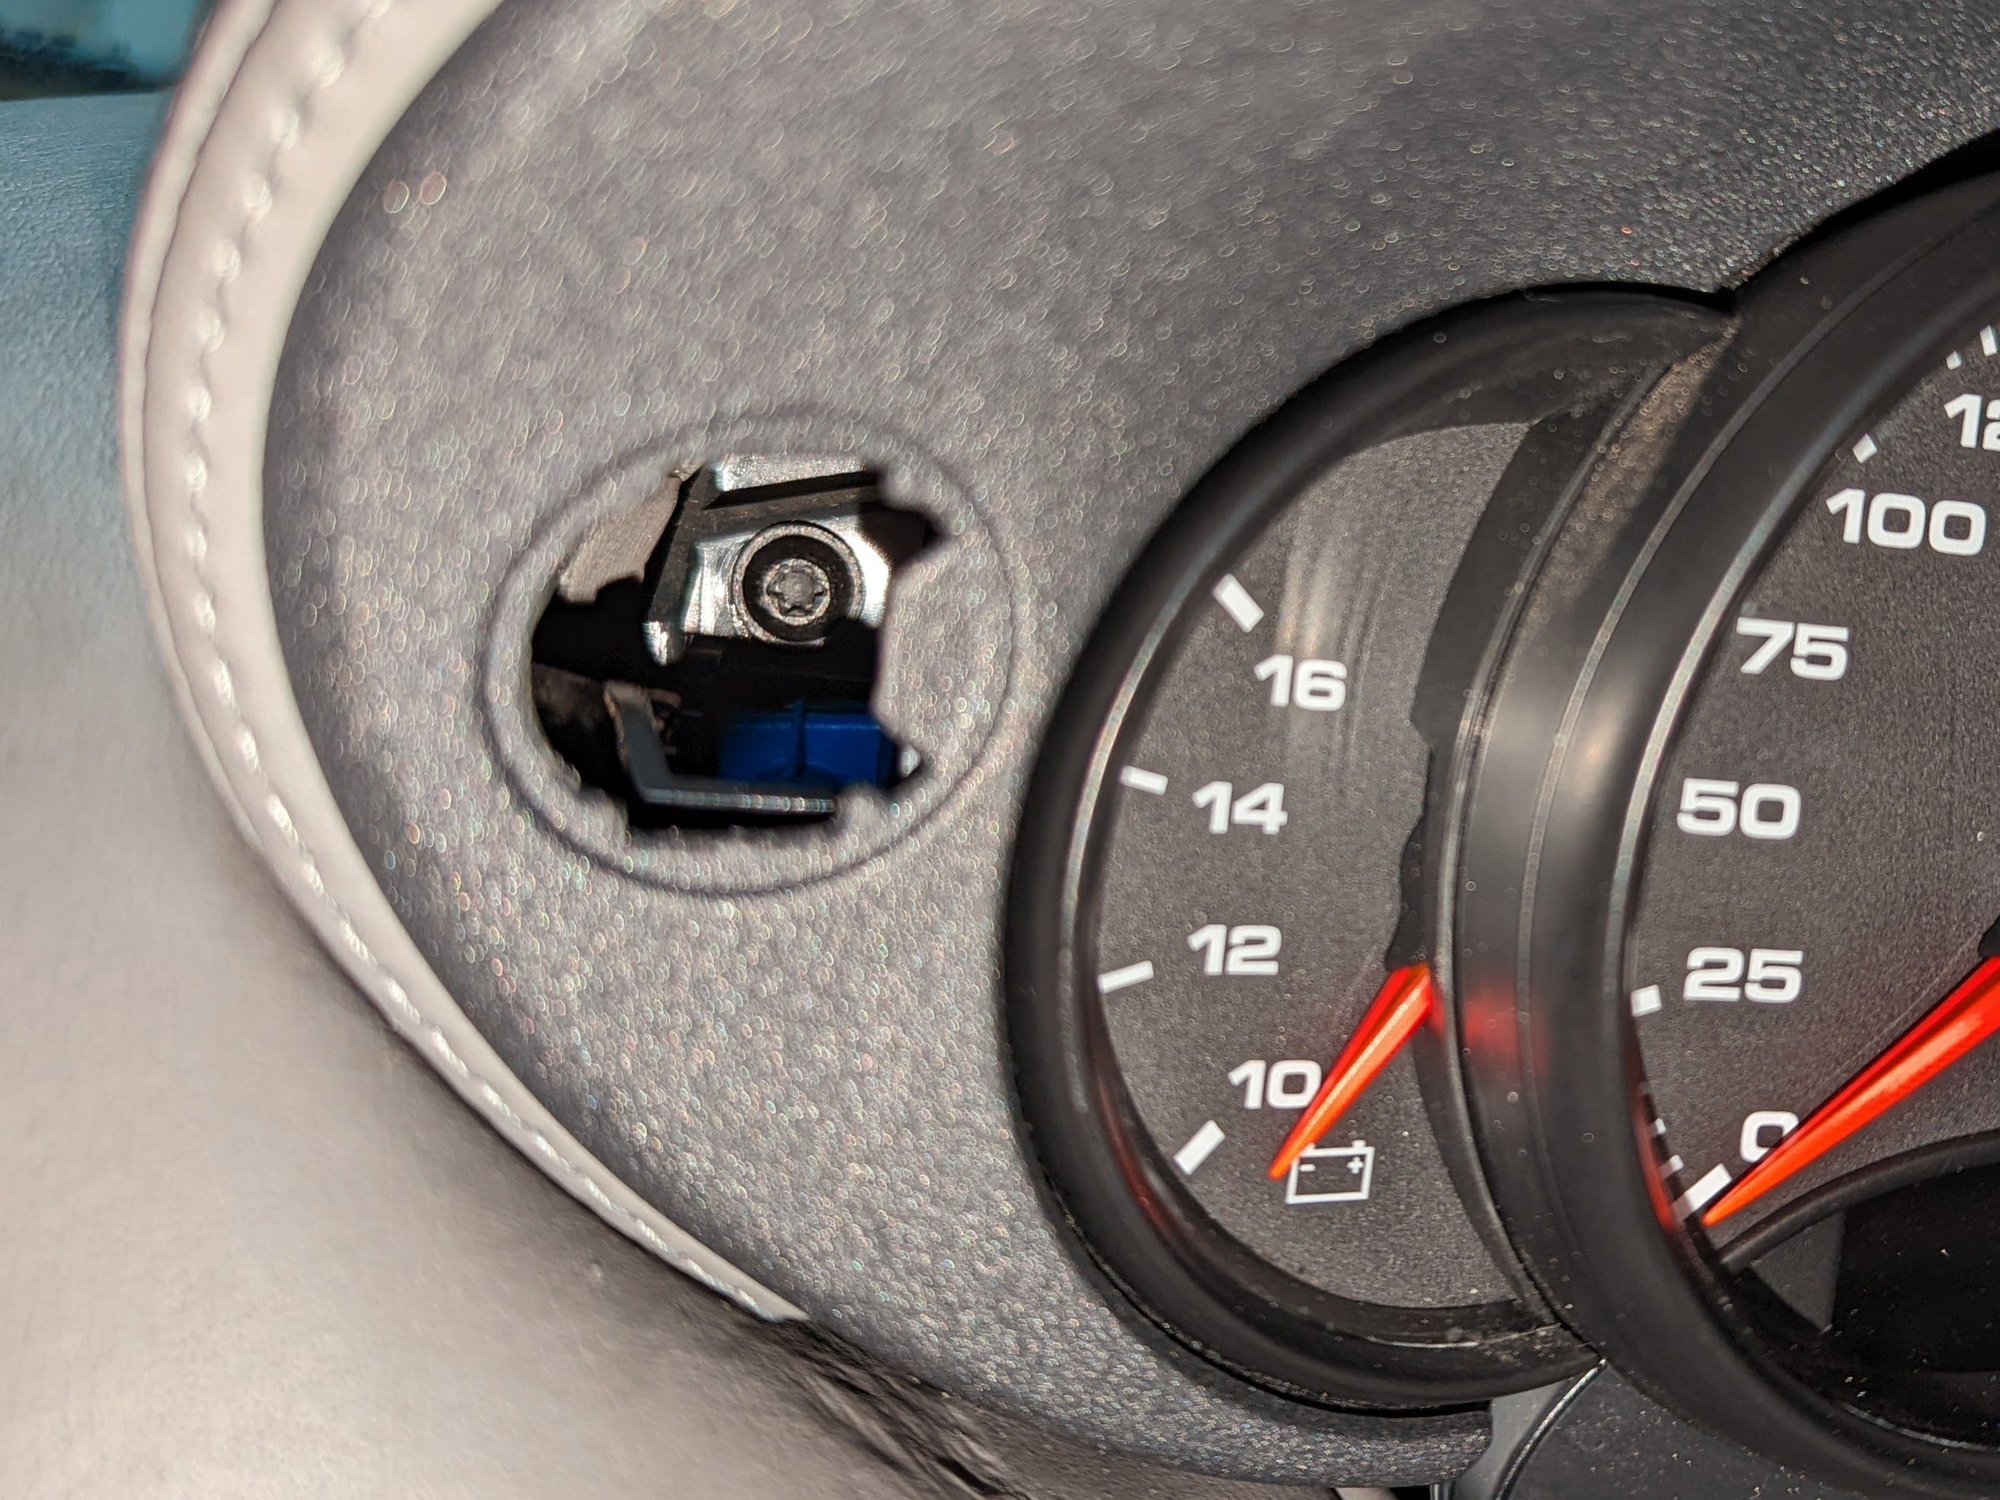
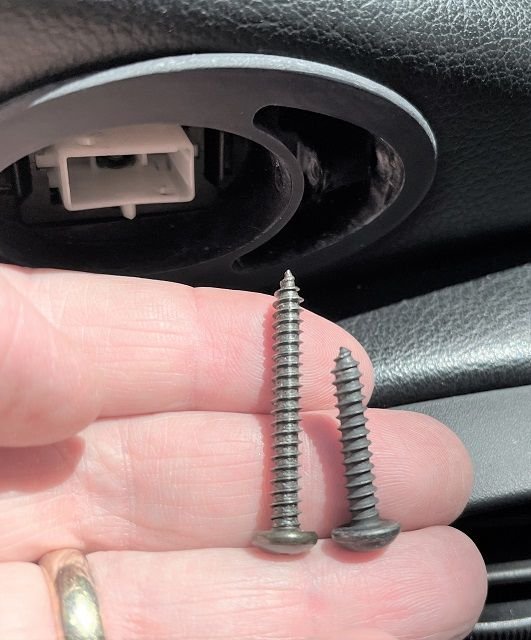
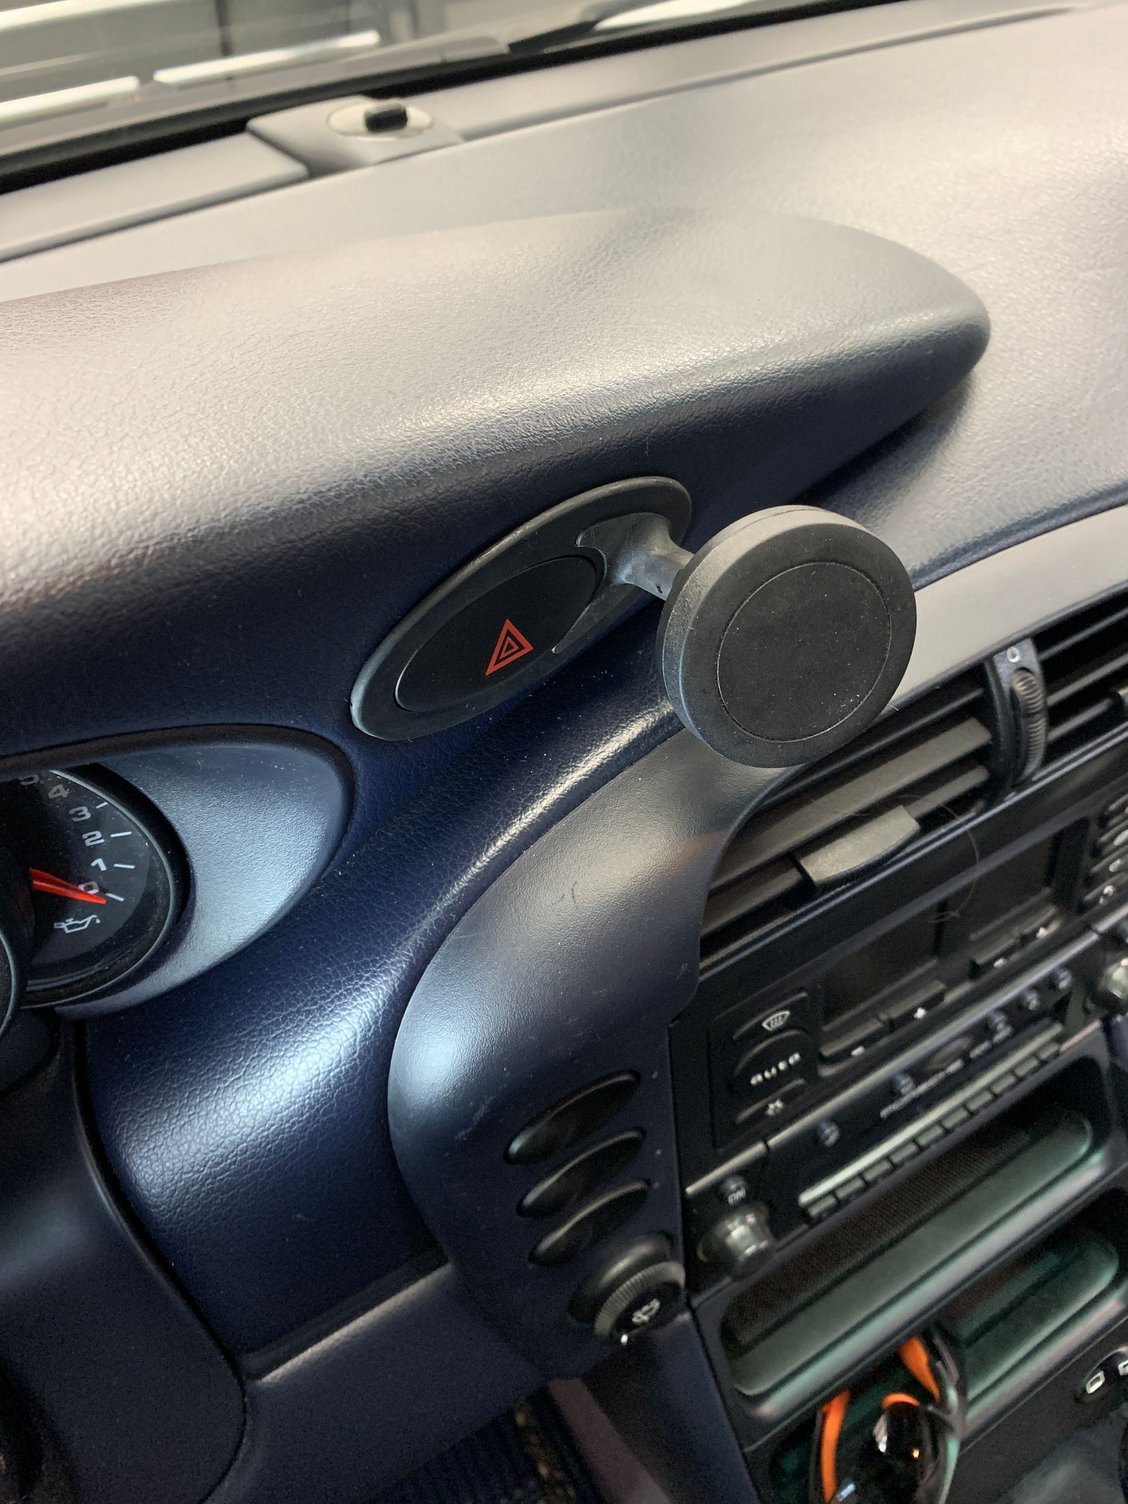
Looks like I need to include a longer screw. Happen to have any details on what you used for the replacement? PET is showing that they switched from 5.0x30 (999-919-188-09) to 4.8x25 (999-073-220-09) for 2001. My early 2001 still had the longer screw. The mount is 4mm thick there, and that leave about 11mm on the backside with the longer screw (see pic below). It could probably still be installed with the shorter screw it is inserted into the mount first, but I'm not comfortable with that much thread engagement.
Looks like I need to include a longer screw. Happen to have any details on what you used for the replacement? PET is showing that they switched from 5.0x30 (999-919-188-09) to 4.8x25 (999-073-220-09) for 2001. My early 2001 still had the longer screw. The mount is 4mm thick there, and that leave about 11mm on the backside with the longer screw (see pic below). It could probably still be installed with the shorter screw it is inserted into the mount first, but I'm not comfortable with that much thread engagement.
The screw I used was about 1/2" longer than the factory piece. It was long enough that I was concerned it might hit something, so I screwed it in by itself first. It spun right in without effort and I concluded that it did not come in contact with anything. I think you could add 10mm without worry.
The screw I used was about 1/2" longer than the factory piece. It was long enough that I was concerned it might hit something, so I screwed it in by itself first. It spun right in without effort and I concluded that it did not come in contact with anything. I think you could add 10mm without worry.
EDIT: My car is a 2002 996.2.
Found a regional (in stock) source for a 35mm version of the factory screw. No surprise that it's a somewhat specialty item. I'll get those mailed out shortly after they get to me.
Unrelated, why did she keep pointing to the left while you were exiting the inner loop and setting your line for the outer loop?
It kind of a uniique "blind" apex. U dont see it until a third of the way around. Its natural to look foward while breaking so your eyes stay on what u r trying to avoid. The issue is u dont know what u r turning into. I had a hard time with keeping my radius and throtle input in the turn correct thus making the car unstable.
The correction is to turn your head early and the car will follow. That way u pick up the curve much sooner. I fixate too long on each visual que. I need to move to the next item faster to get the car to go to the next "stage" faster.
Its just unlearning 30+ years of street driving.
I will be updating my thread or we can carry on in the track video thread so yaz can sell some doodads .
Just want to say that the Yaz phone mount is "top notch", very well designed and in the perfect location. I have had all sorts of phone mounts and there all junk compared to Yaz's..
Just want to say that the Yaz phone mount is "top notch", very well designed and in the perfect location. I have had all sorts of phone mounts and there all junk compared to Yaz's..
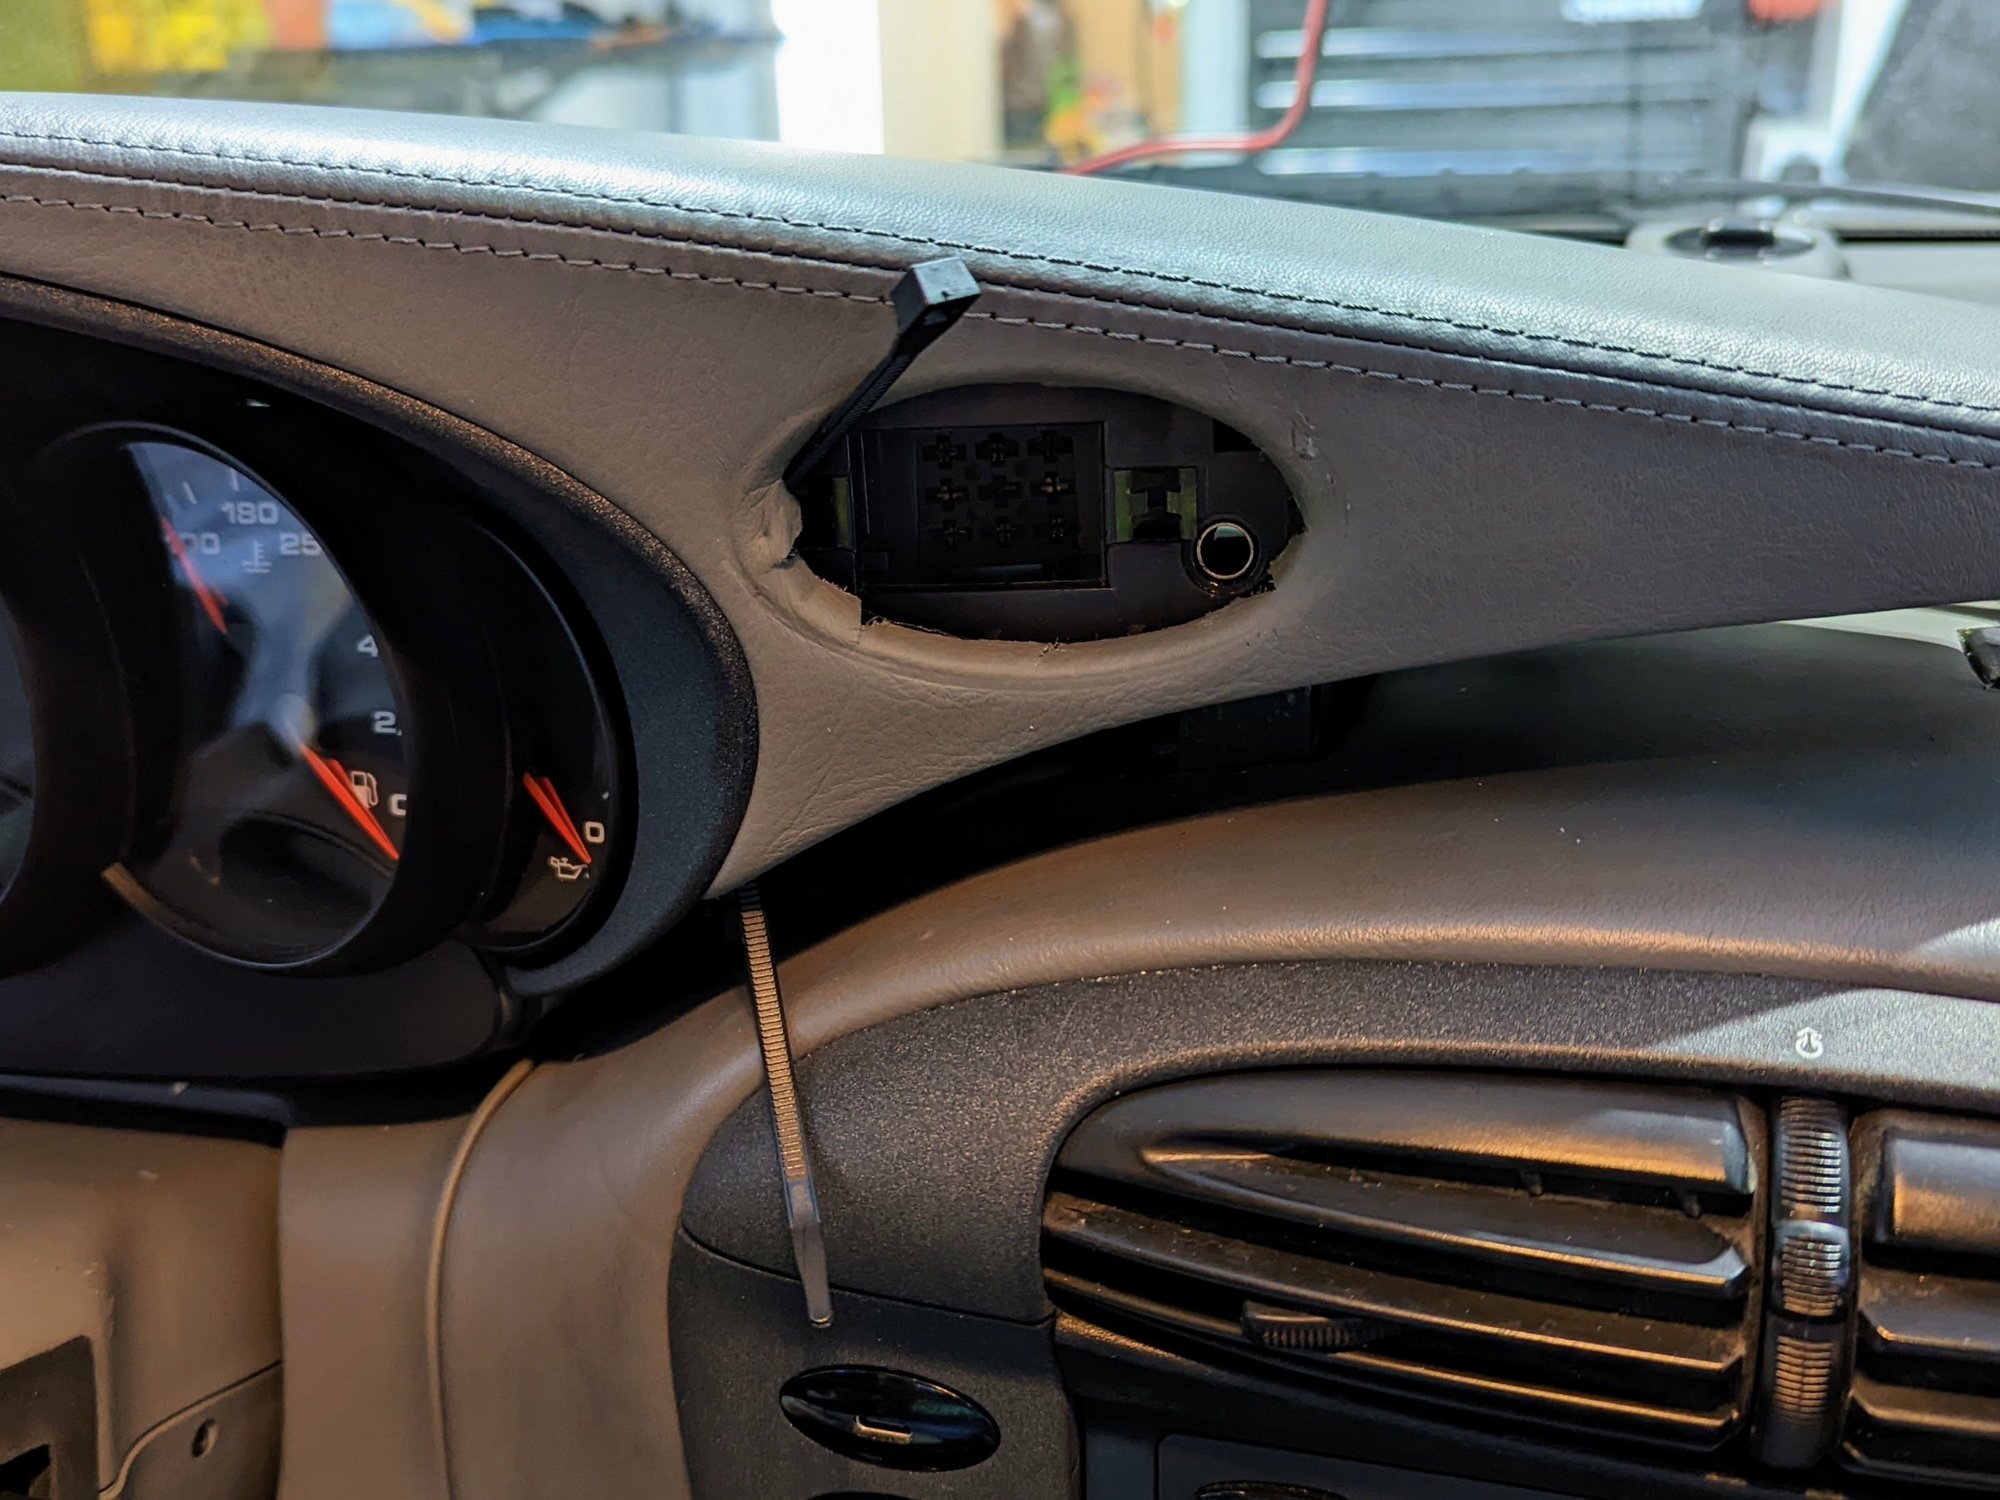
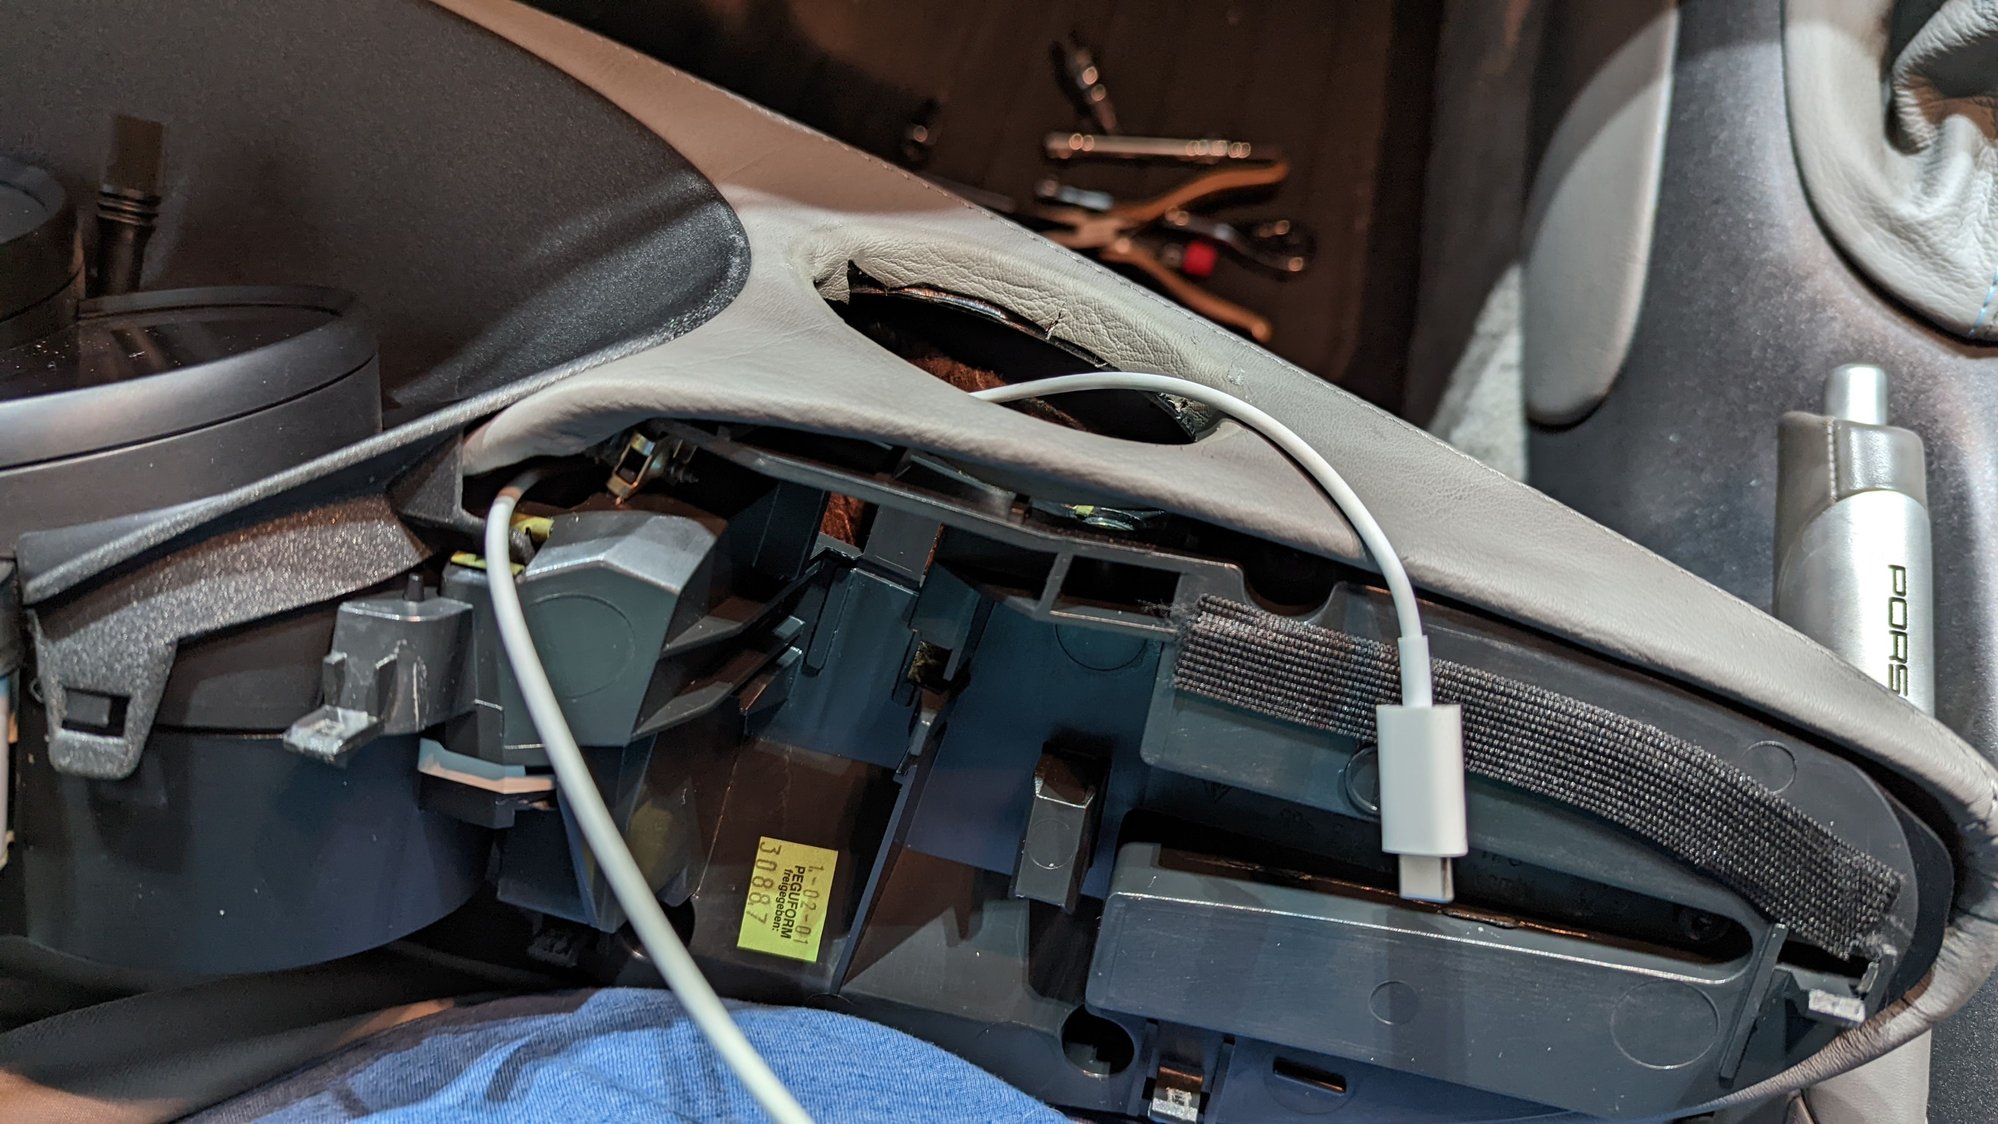
For those intending to route a cable through the mount, here are some additional details with that aspect of the install. It is not necessary to completely remove the binnacle to route a cable through it. The more challenging part is feeding the cable down through the dash to whatever else you're connecting (i.e. head unit or power source). It only takes a couple more minutes to completely removed the binnacle (pop out the instrument cluster and hazard trim connectors), so that might still be the easier way.
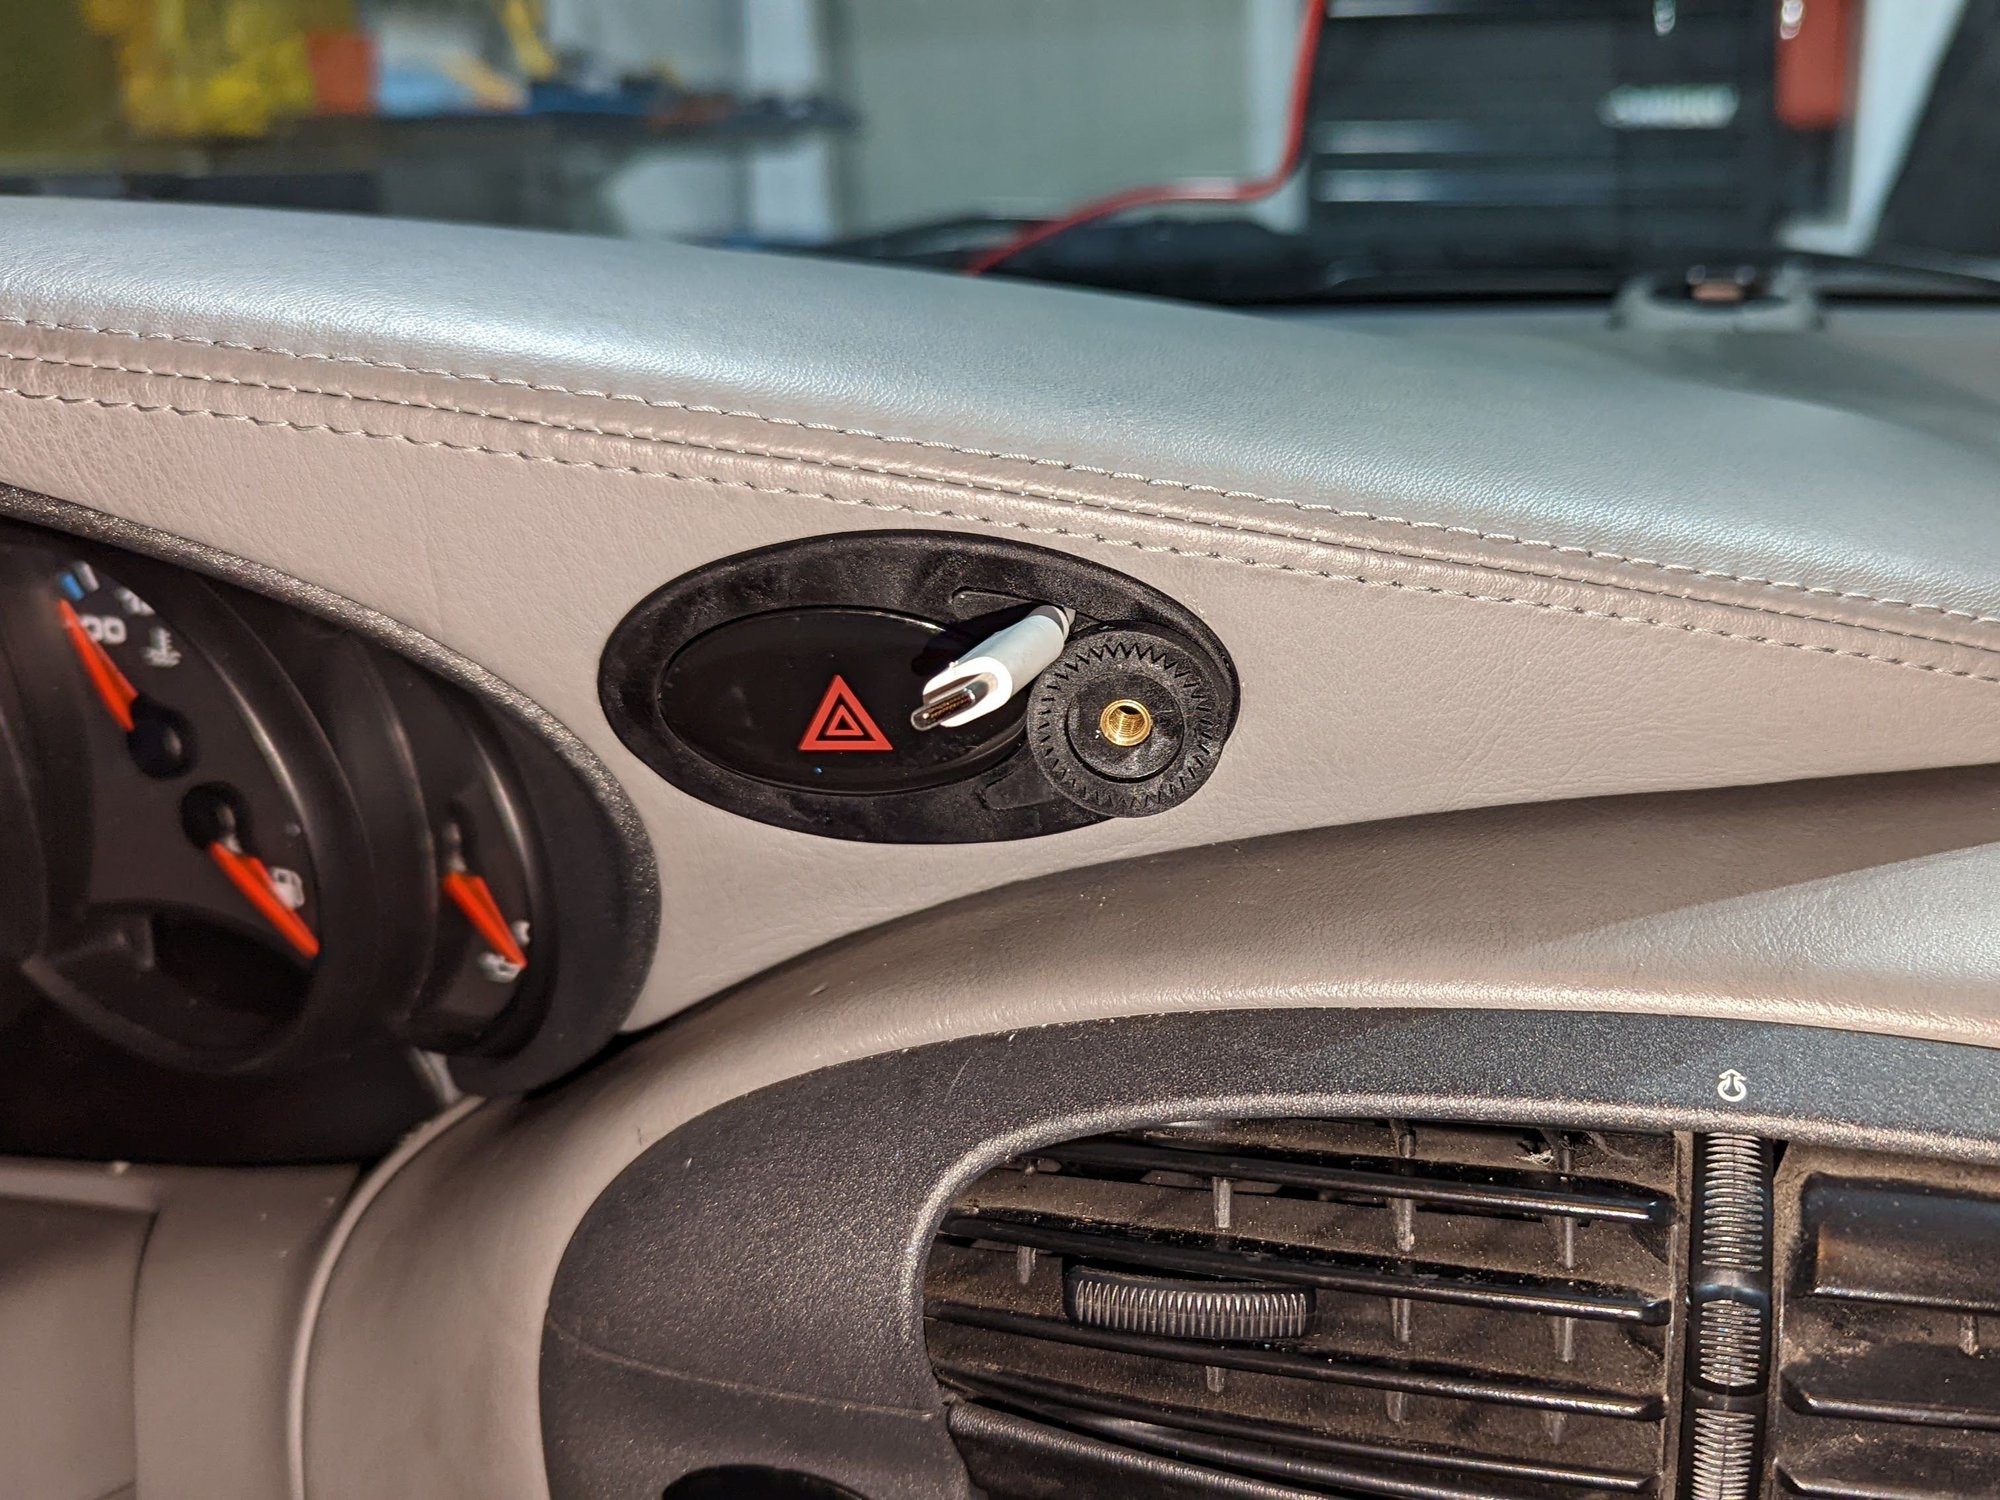
Remove the microphone cover trim and T20 torx screw to the left of the instrument cluster. Pop the binnacle up out of the spring clips securing it to the dash. Feed a zip tie up through the small gap behind the edge of the trim piece (see next pic for more detail), and out through the hazard trim cutout. Here's a pic of the cable routing with the whole assembly removed. Tape the cable to the zip tie and feed through the hazard trim cutout. Feed the other end of the cable down through the dash cutout. Proceed with the mount install. Be liberal in the amount of cable exposed. There's plenty of room in the binnacle for additional cable length. The cable cutout was sized so that the cable can be pushed back into the binnacle.
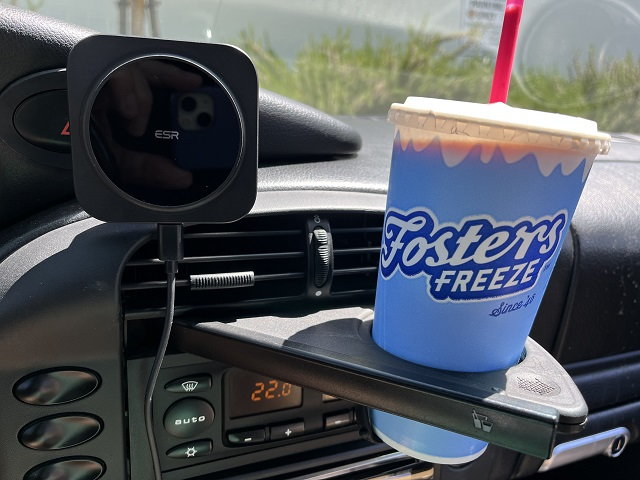
My phone mount went in today. Executive summary: Installation is not complete, but it is functional.
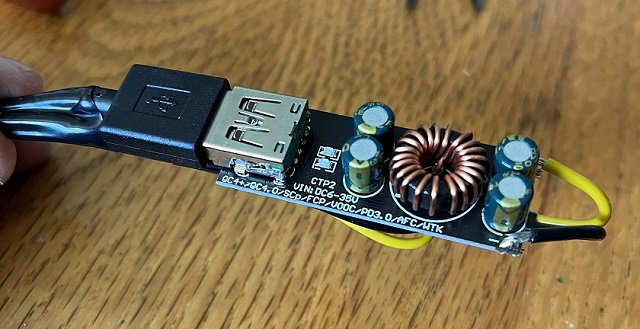
I wanted to use the higher power mag charger so I bought this board that can detect fast charging devices and deliver sufficient current. Here it is with power wires and the USB coming off the other side
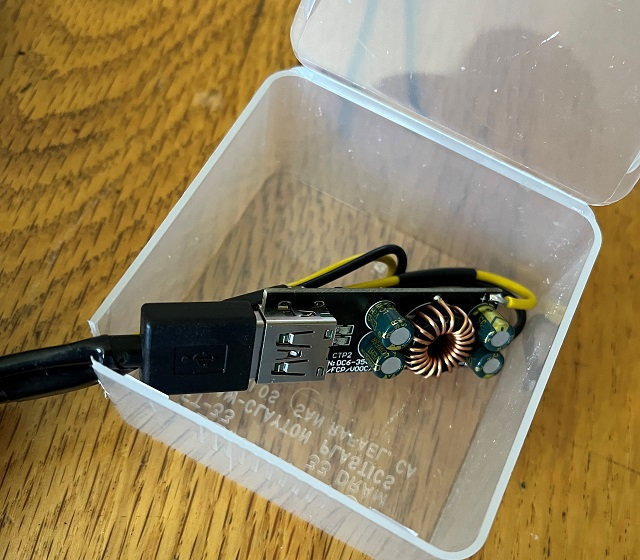
I couldn't find a nice compact box so I scrounged through my wife's collection of collections and found an adequate hold-me-over until I find a final solution. Cut the corner. Tape the leads. Not horrible.
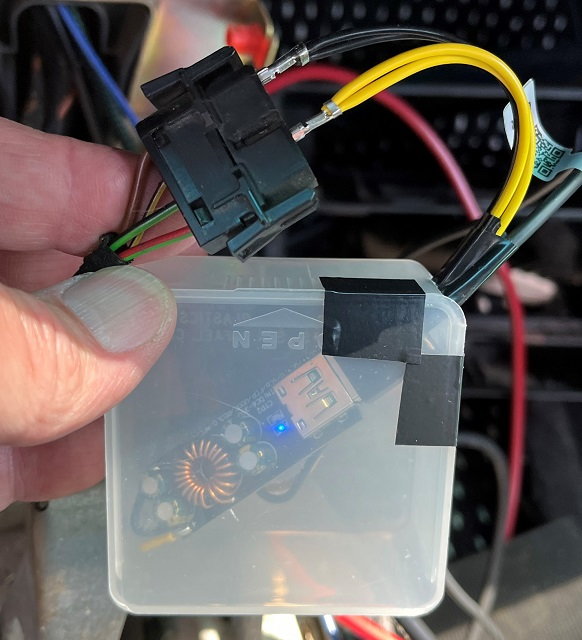
Connect to the phone jack hiding in the center console. Specifically connected to the switched contact so there is no parasitic draw from the board when the car is off. I stole the male contacts from a Molex 4 pin power harness. Not shown is the tape added to cover the open metal and secure the wires to the connector.
As Yaz has indicated, '02 and later cars need a longer screw to secure the housing. I used a #10x1.5" sheet metal screw. It uses a phillips screw driver. I hope this doesn't imbalance the car.
And, calorie replacement therapy after stress testing the mount! It's all good! Thanks Yaz!
 05-14-2022, 10:31 PM


 .
.