When you click on links to various merchants on this site and make a purchase, this can result in this site earning a commission. Affiliate programs and affiliations include, but are not limited to, the eBay Partner Network.
Give me another day. Got a couple dozen of various styles ready to go. Getting all the other ducks in row. In the meantime, I'll share the installation instructions.
Install requires a few fairly common tools, and only takes a few minutes...
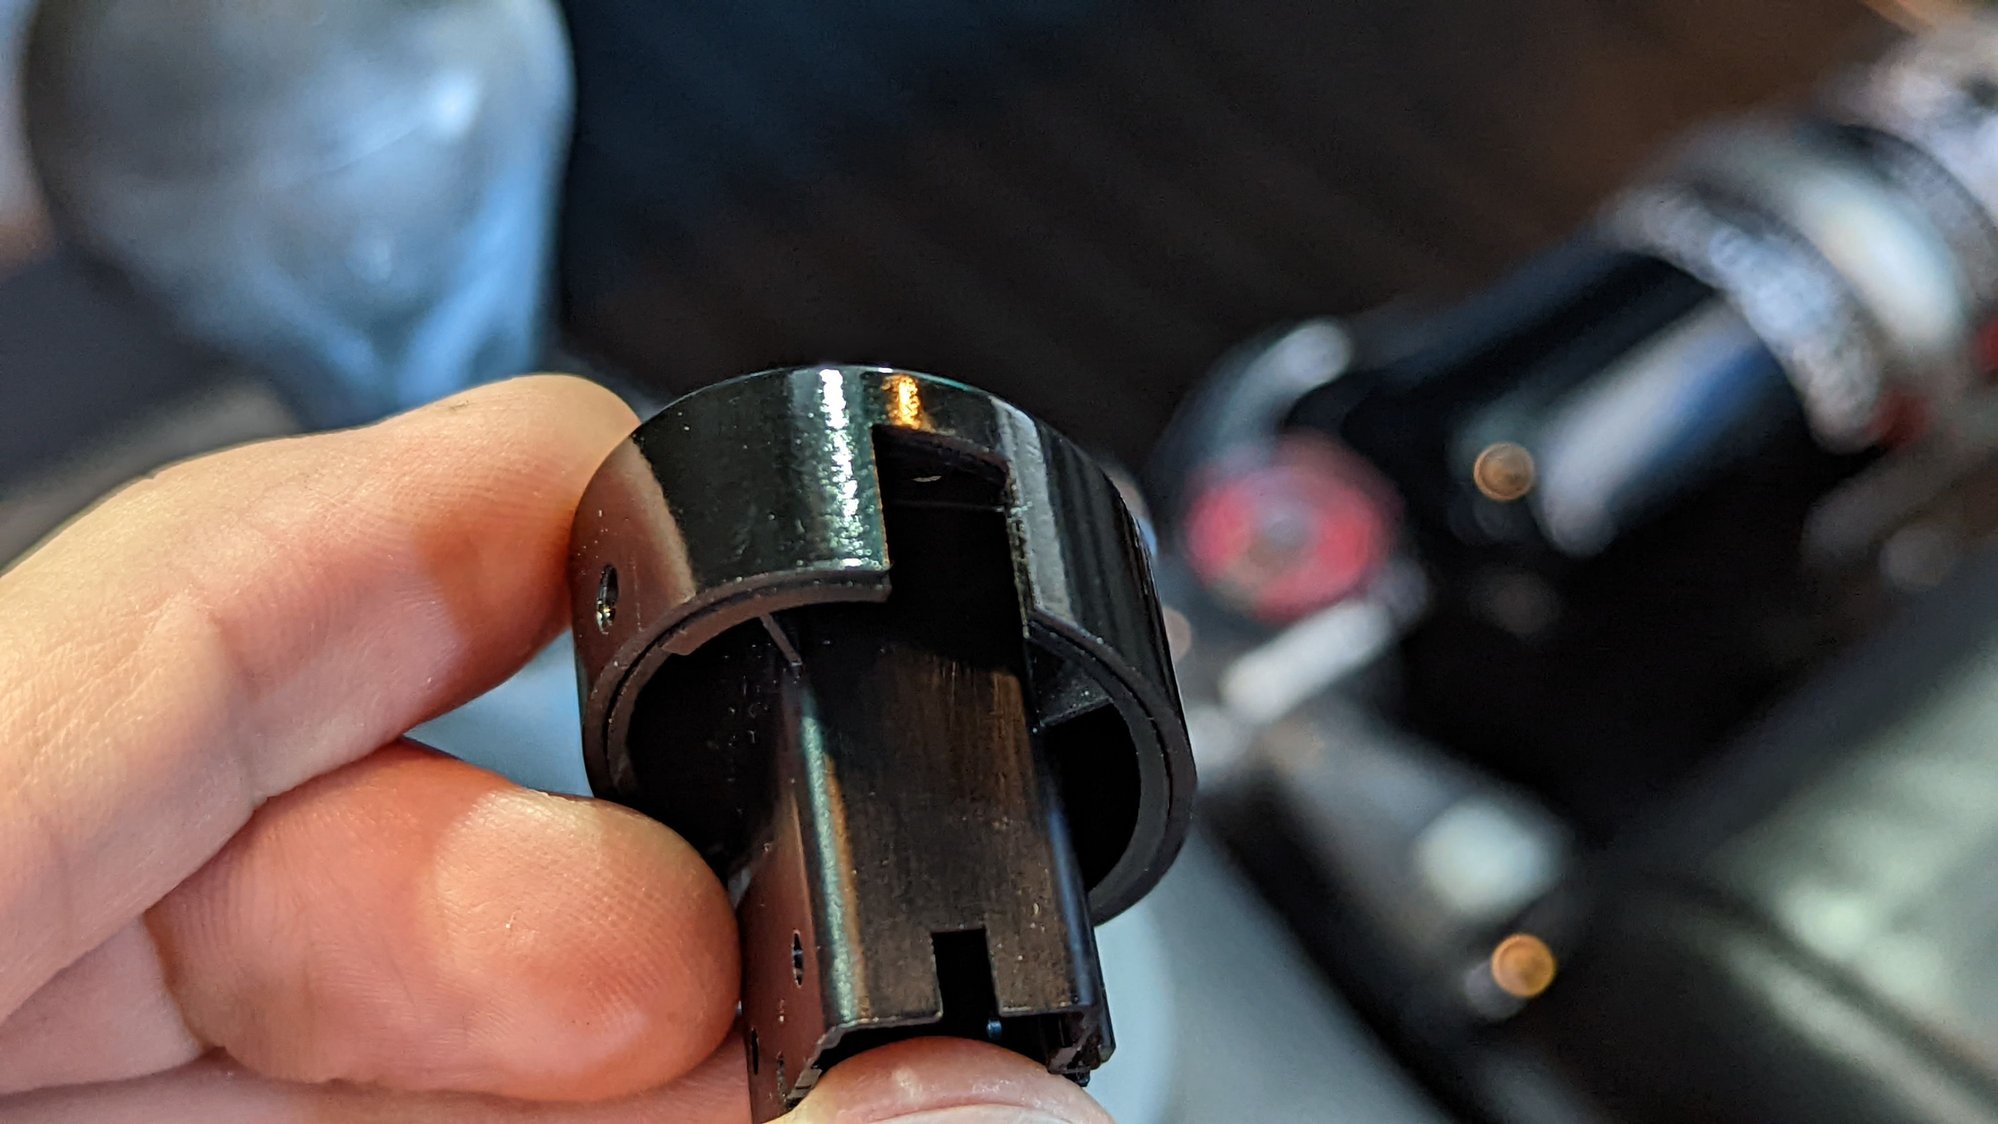
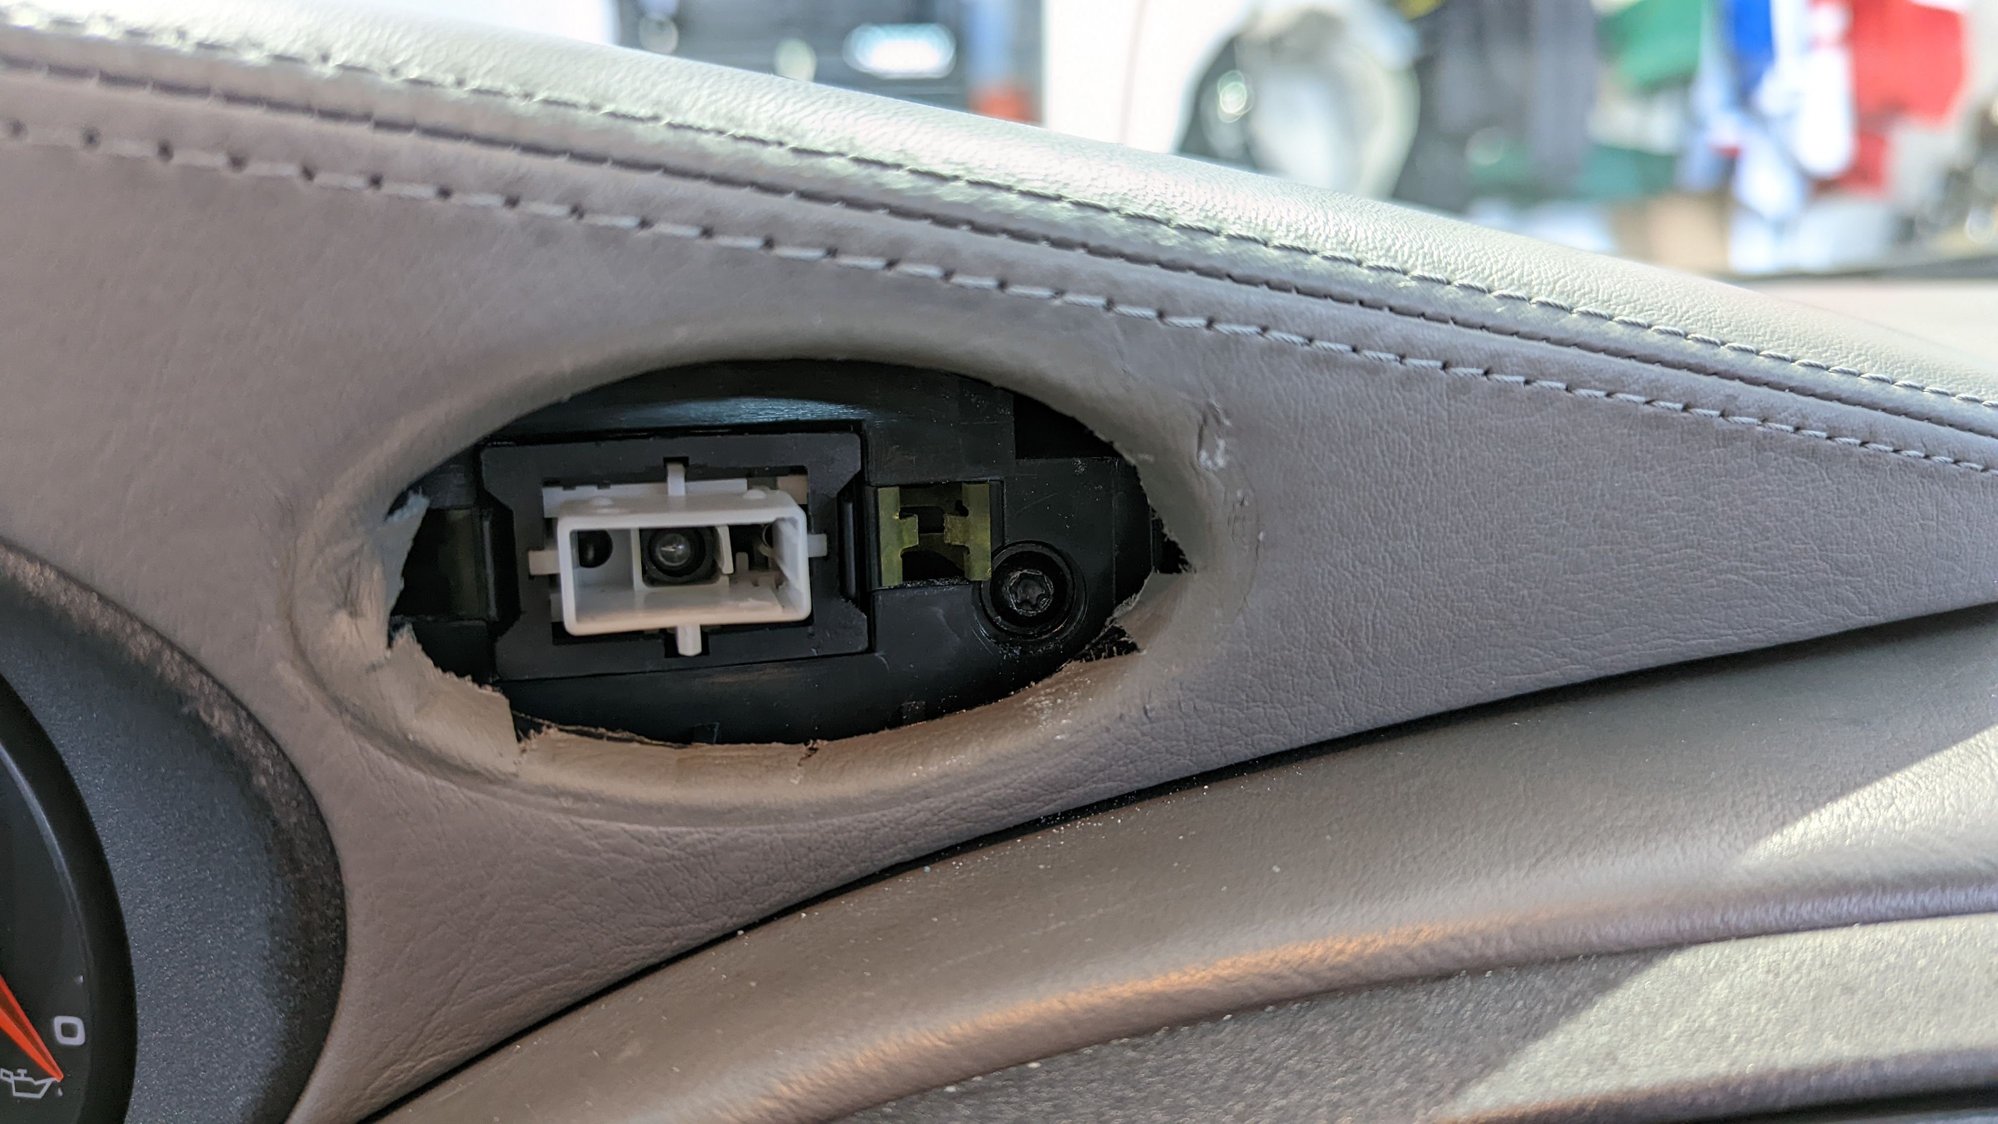
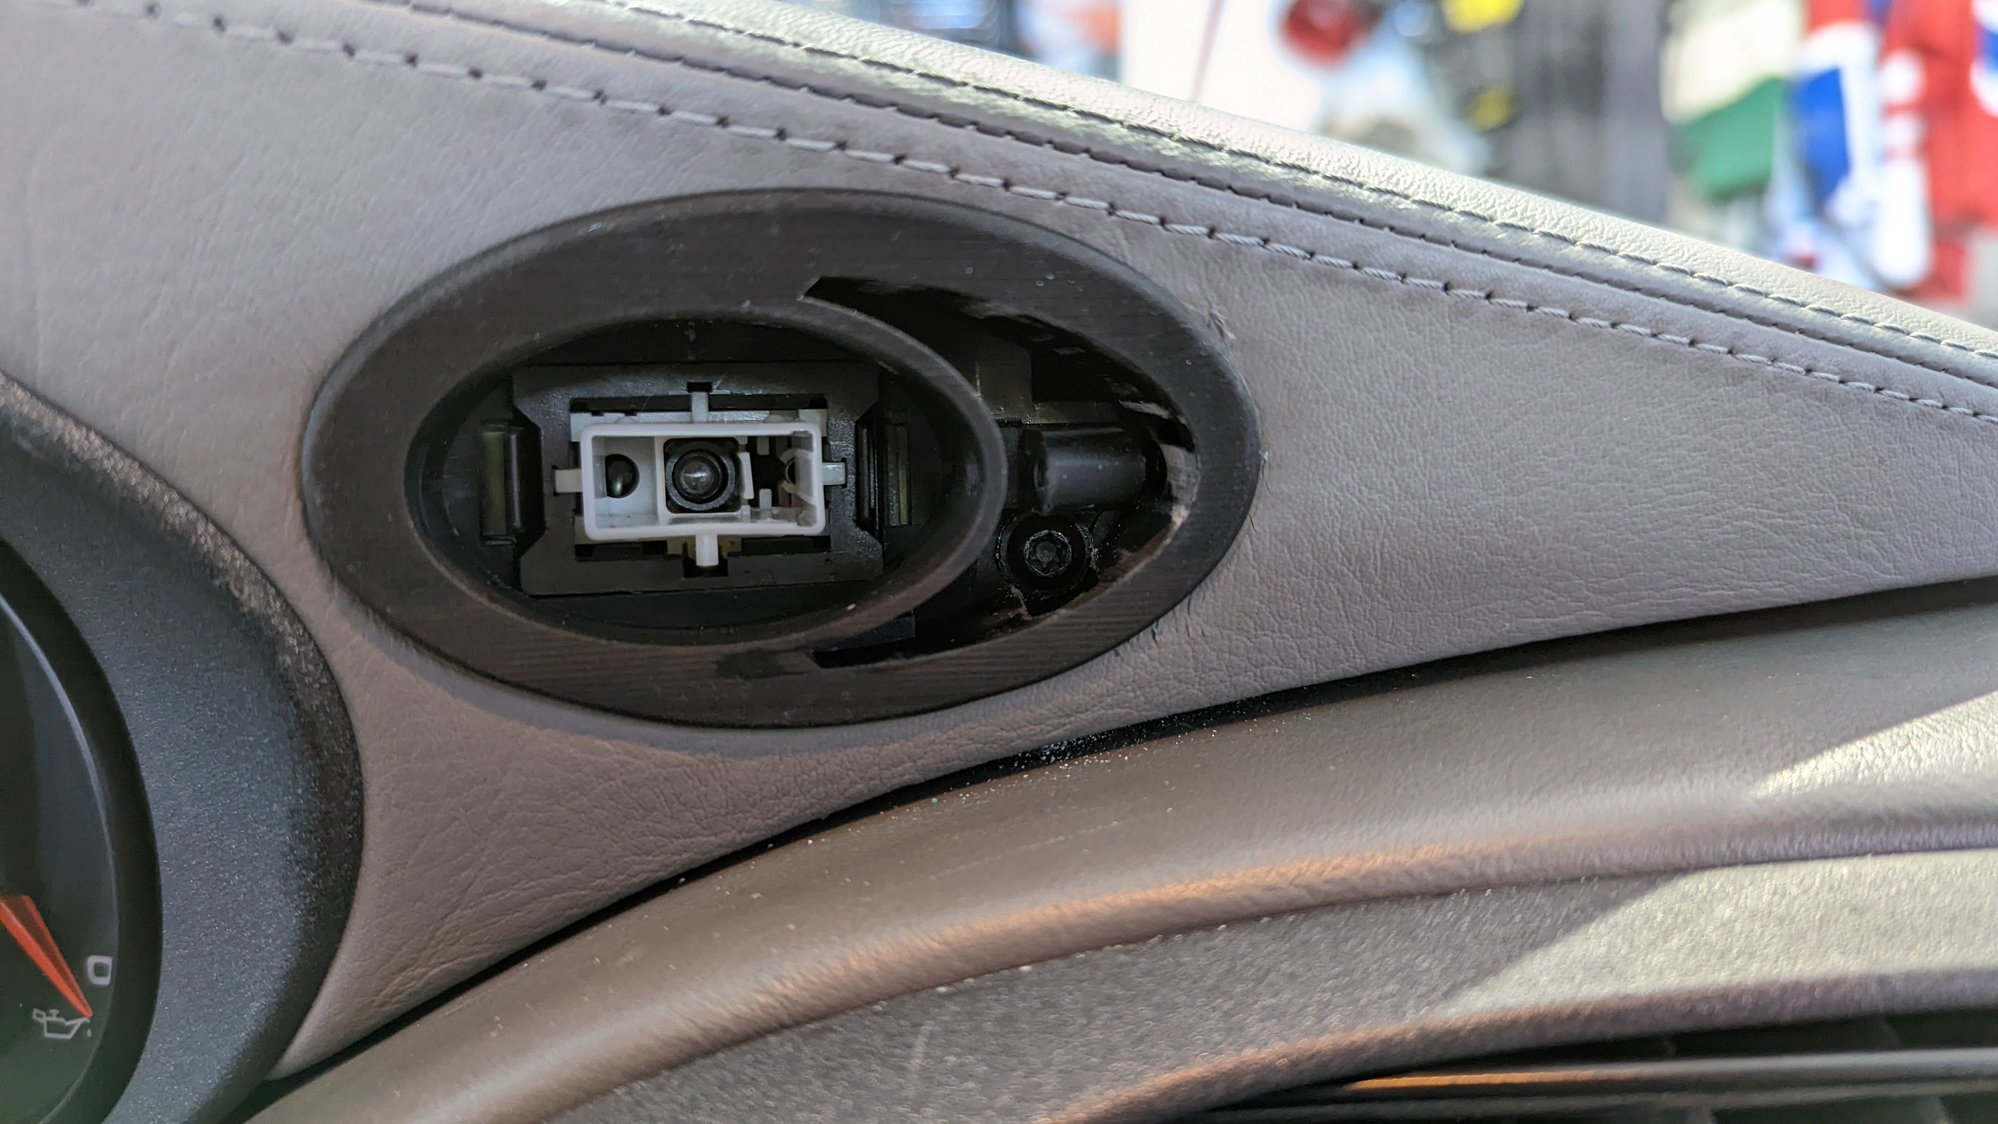
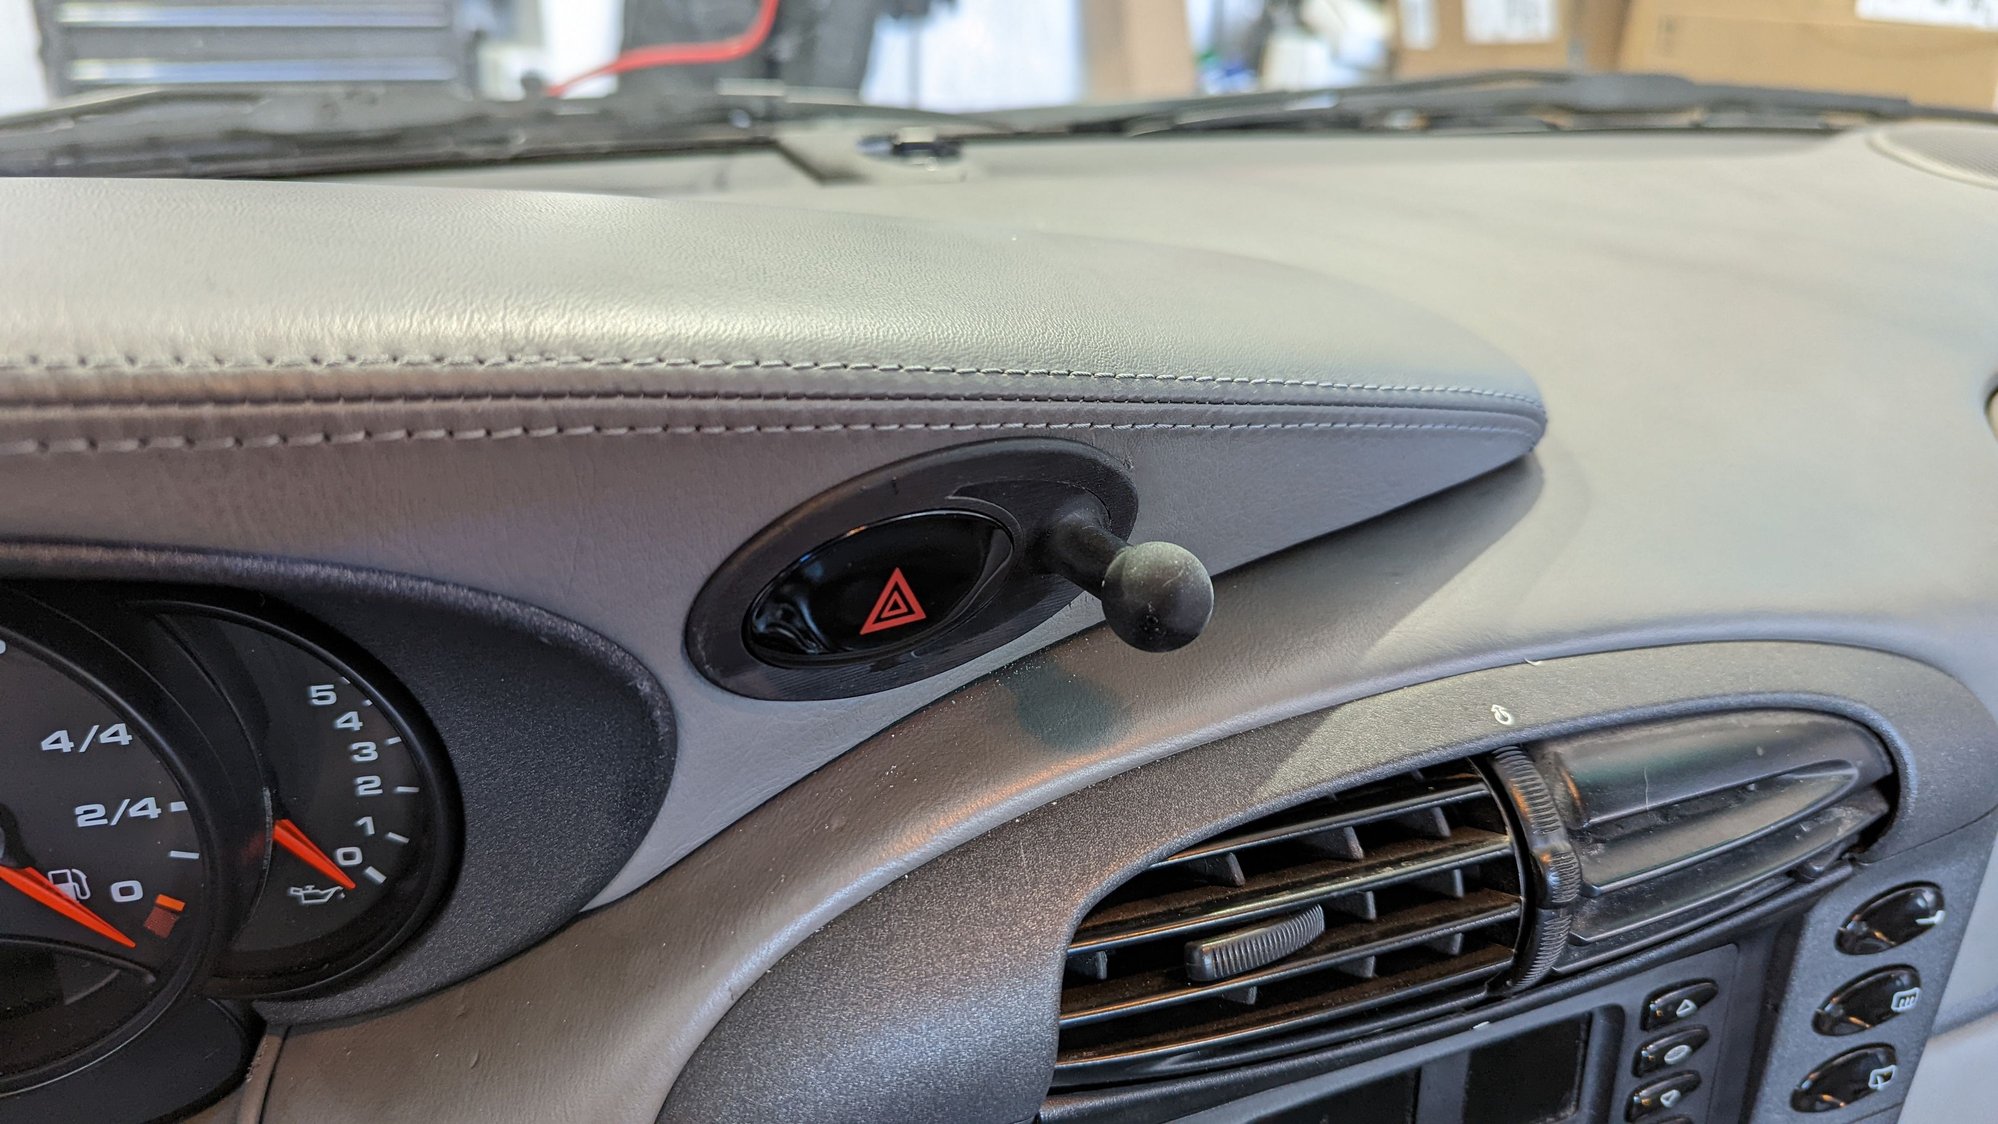
Tools: trim removal tool, small flat head screwdriver, T20 Torx driver, and 2mm Allen key. Parts: base, insert, and dog point set screw. Step 1: Turn the hazard lights ON so the switch is extended outward. Step 2: Use the small flat head screwdriver to pop out the switch. The cutout shown here is same on both sides. Step 3: Hazard lights can be turned back off. Use a trim removal tool (or a larger flat head screwdriver with the tip cover in electrical tape) to pry out the hazard light trim piece. Step 4: Remove the torx screw located to the lower right. Step 5: Insert the mount base. It's a tight fit, and the bezel should sit flush with the face of the instrument cluster binnacle. Step 6: Secure with the same Torx screw that was removed in Step 4. Step 7: Install the mount insert. This may take a little finesse due to the tight tolerances. Step 8: Insert the dog point set screw Step 9: Using the 2mm Allen key, tightened set screw until recessed. The hole on the far side of the mount insert is sized to accept the extended tip of the set screw, and will prevent the screw from being tightened to far. Step 10: Re-insert hazard switch.
It looks great! Bringing something like this - new to the world - is hard work!
I�ve always like my Rennline mount, but also have always disliked how low it is and distracting to look at for navigation. This will be a huge improvement.
Perfect timing for an upcoming road trip with n May!
Supplies will be limited, but I'm printing more every day. If your preferred mount is unavailable, please click on the "notify when available" so I can get an idea on what inserts are in the highest demand. Currently only shipping in the US, but I'll get international options added soon. For the UK folks, I am planning to add a RHD option.
And as I've mentioned previously... if demand justifies switching to injection molding, I'll offer previous purchasers a replacement for the cost of shipping.

 04-22-2022 | 01:55 PM