When you click on links to various merchants on this site and make a purchase, this can result in this site earning a commission. Affiliate programs and affiliations include, but are not limited to, the eBay Partner Network.
Got impatient waiting on FedEx. Installed the wire harness just partially. Mostly to get a lay of the land.
Need to review some old photos to make sure I have things located and oriented properly. It's fairly obvious where each connector goes. It's more the routing of the harness that's in question.
Finally the white truck arrived. I'll wait until tomorrow to install this and redo the wiring.
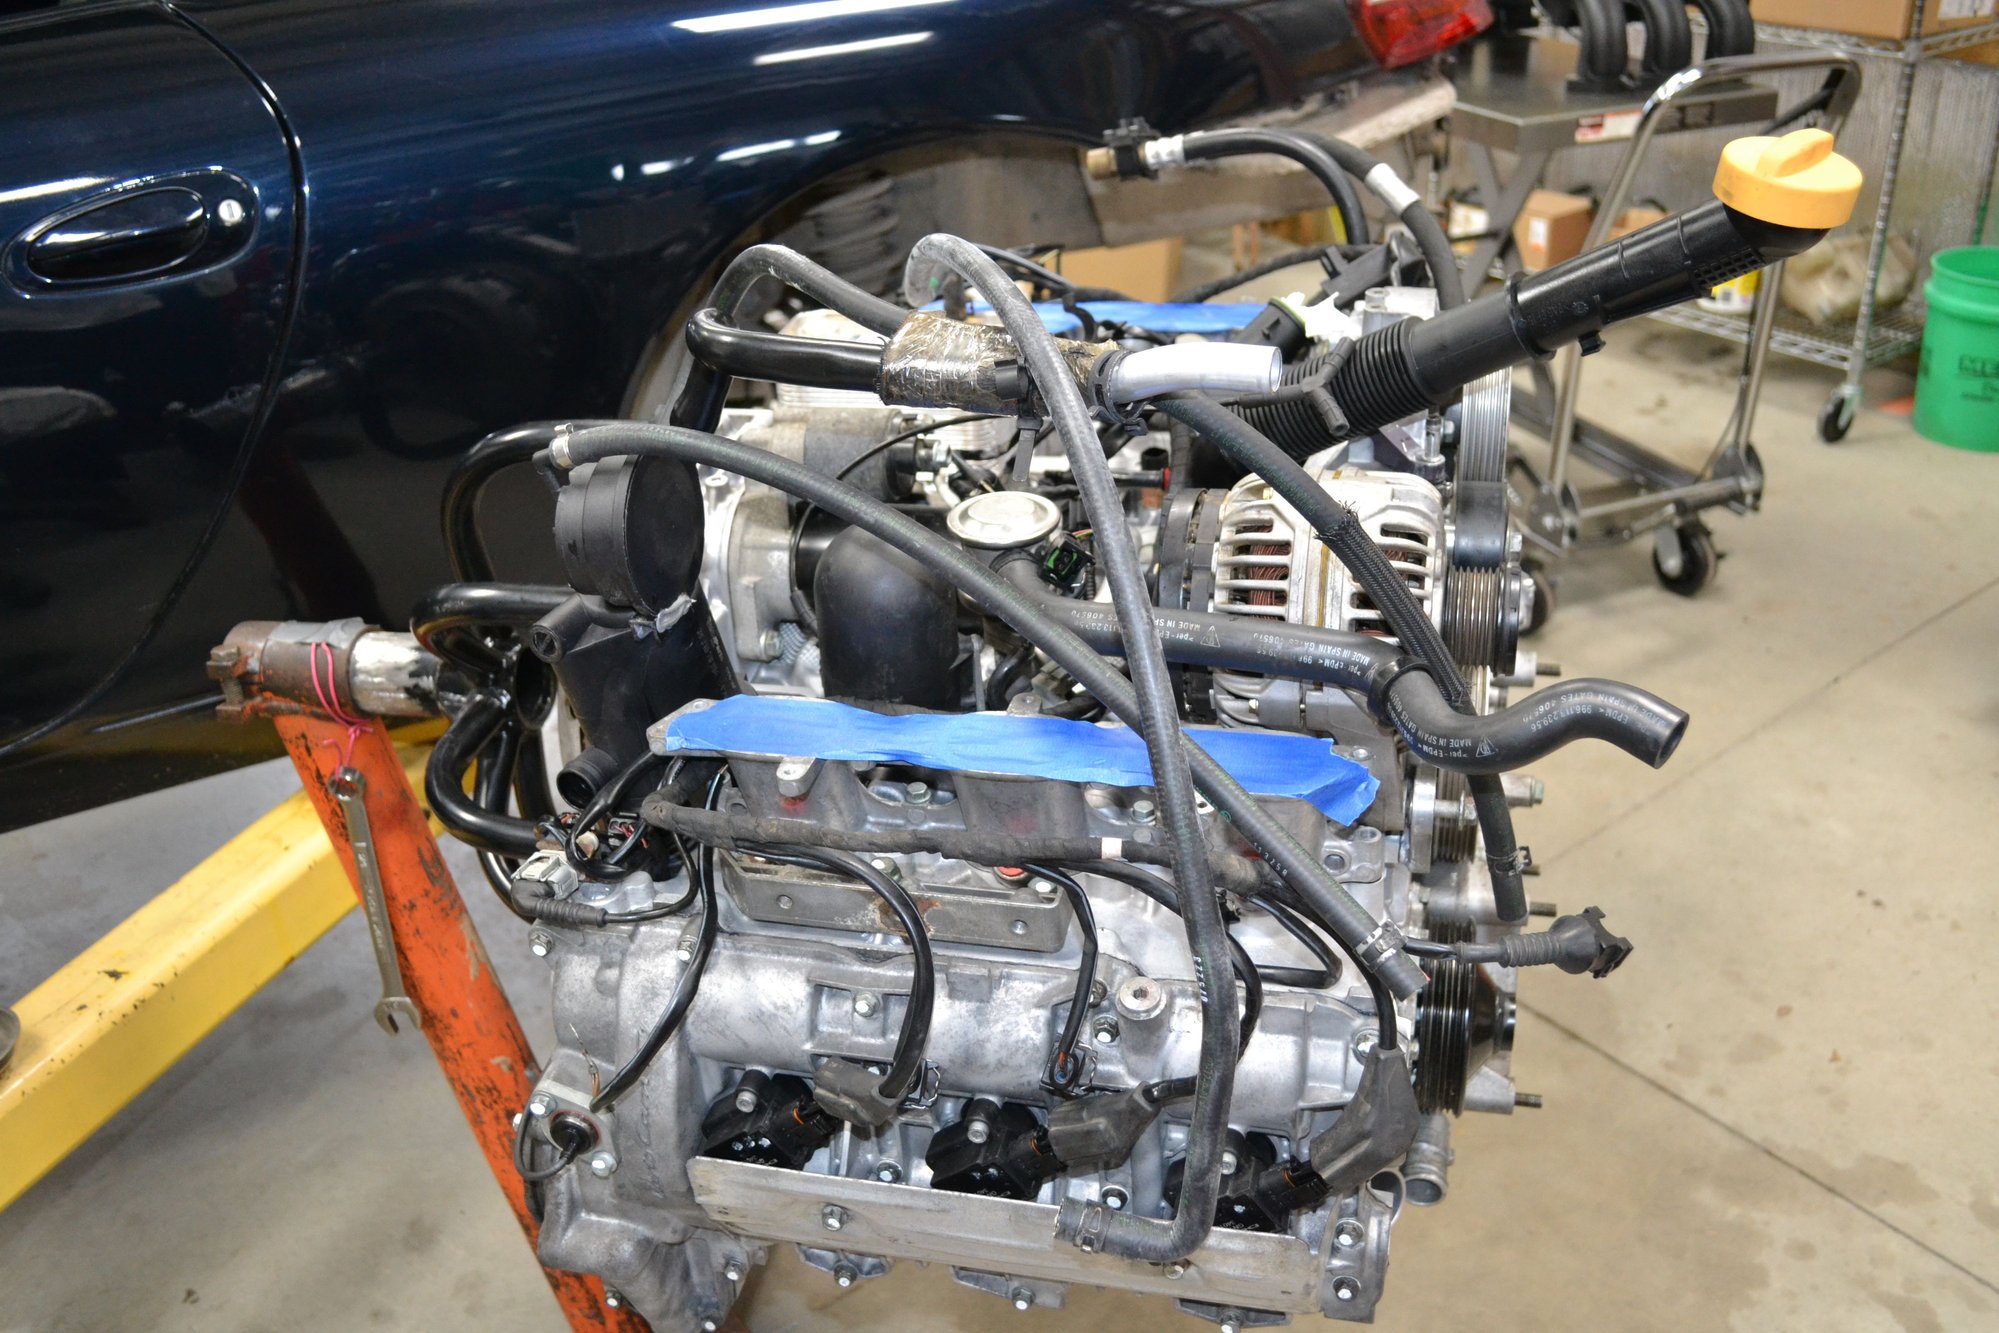
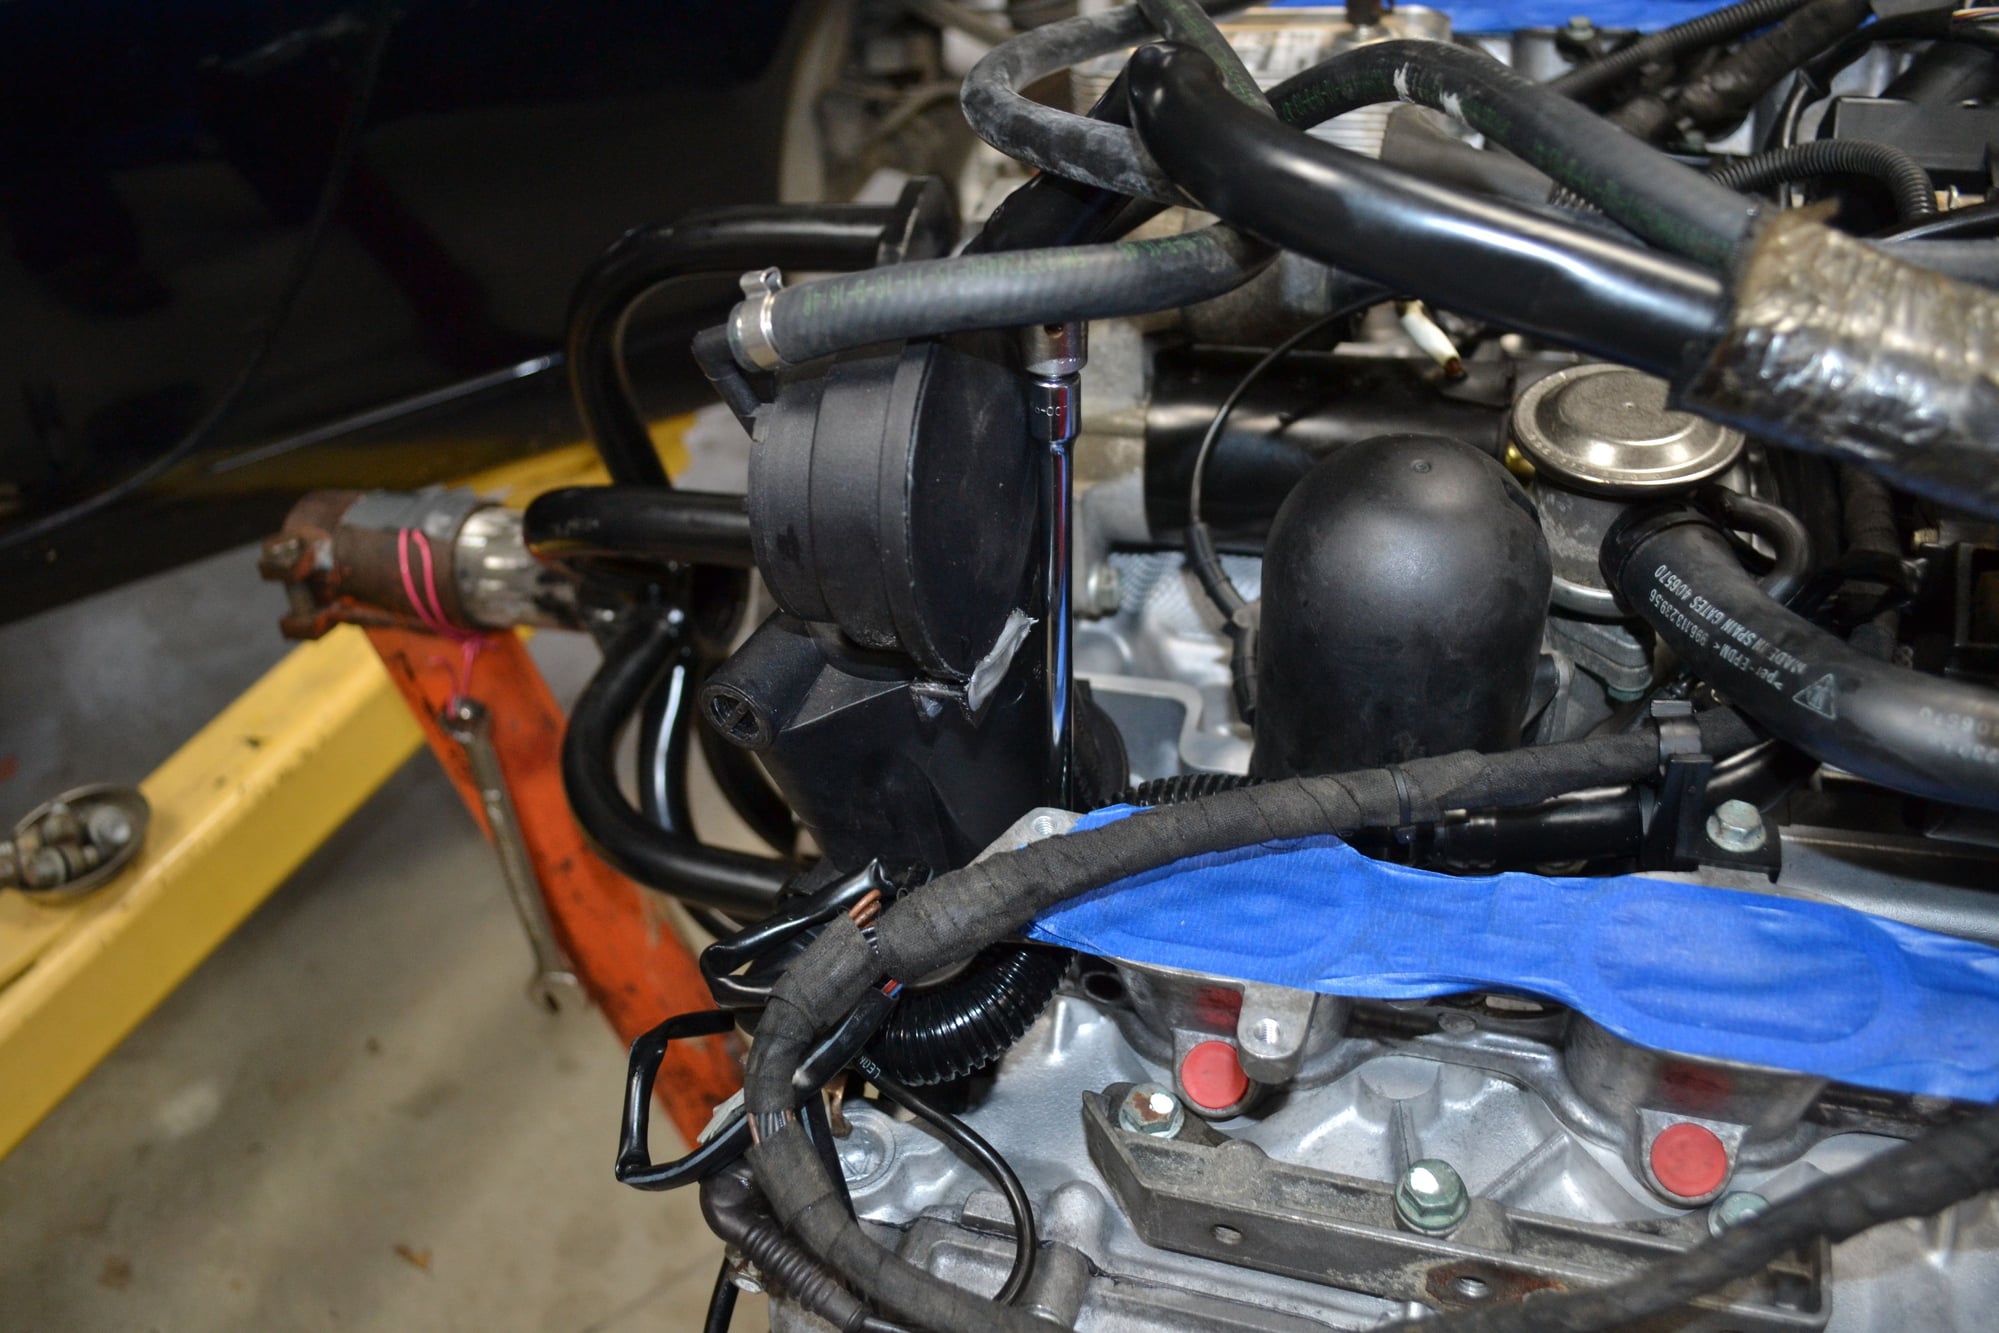
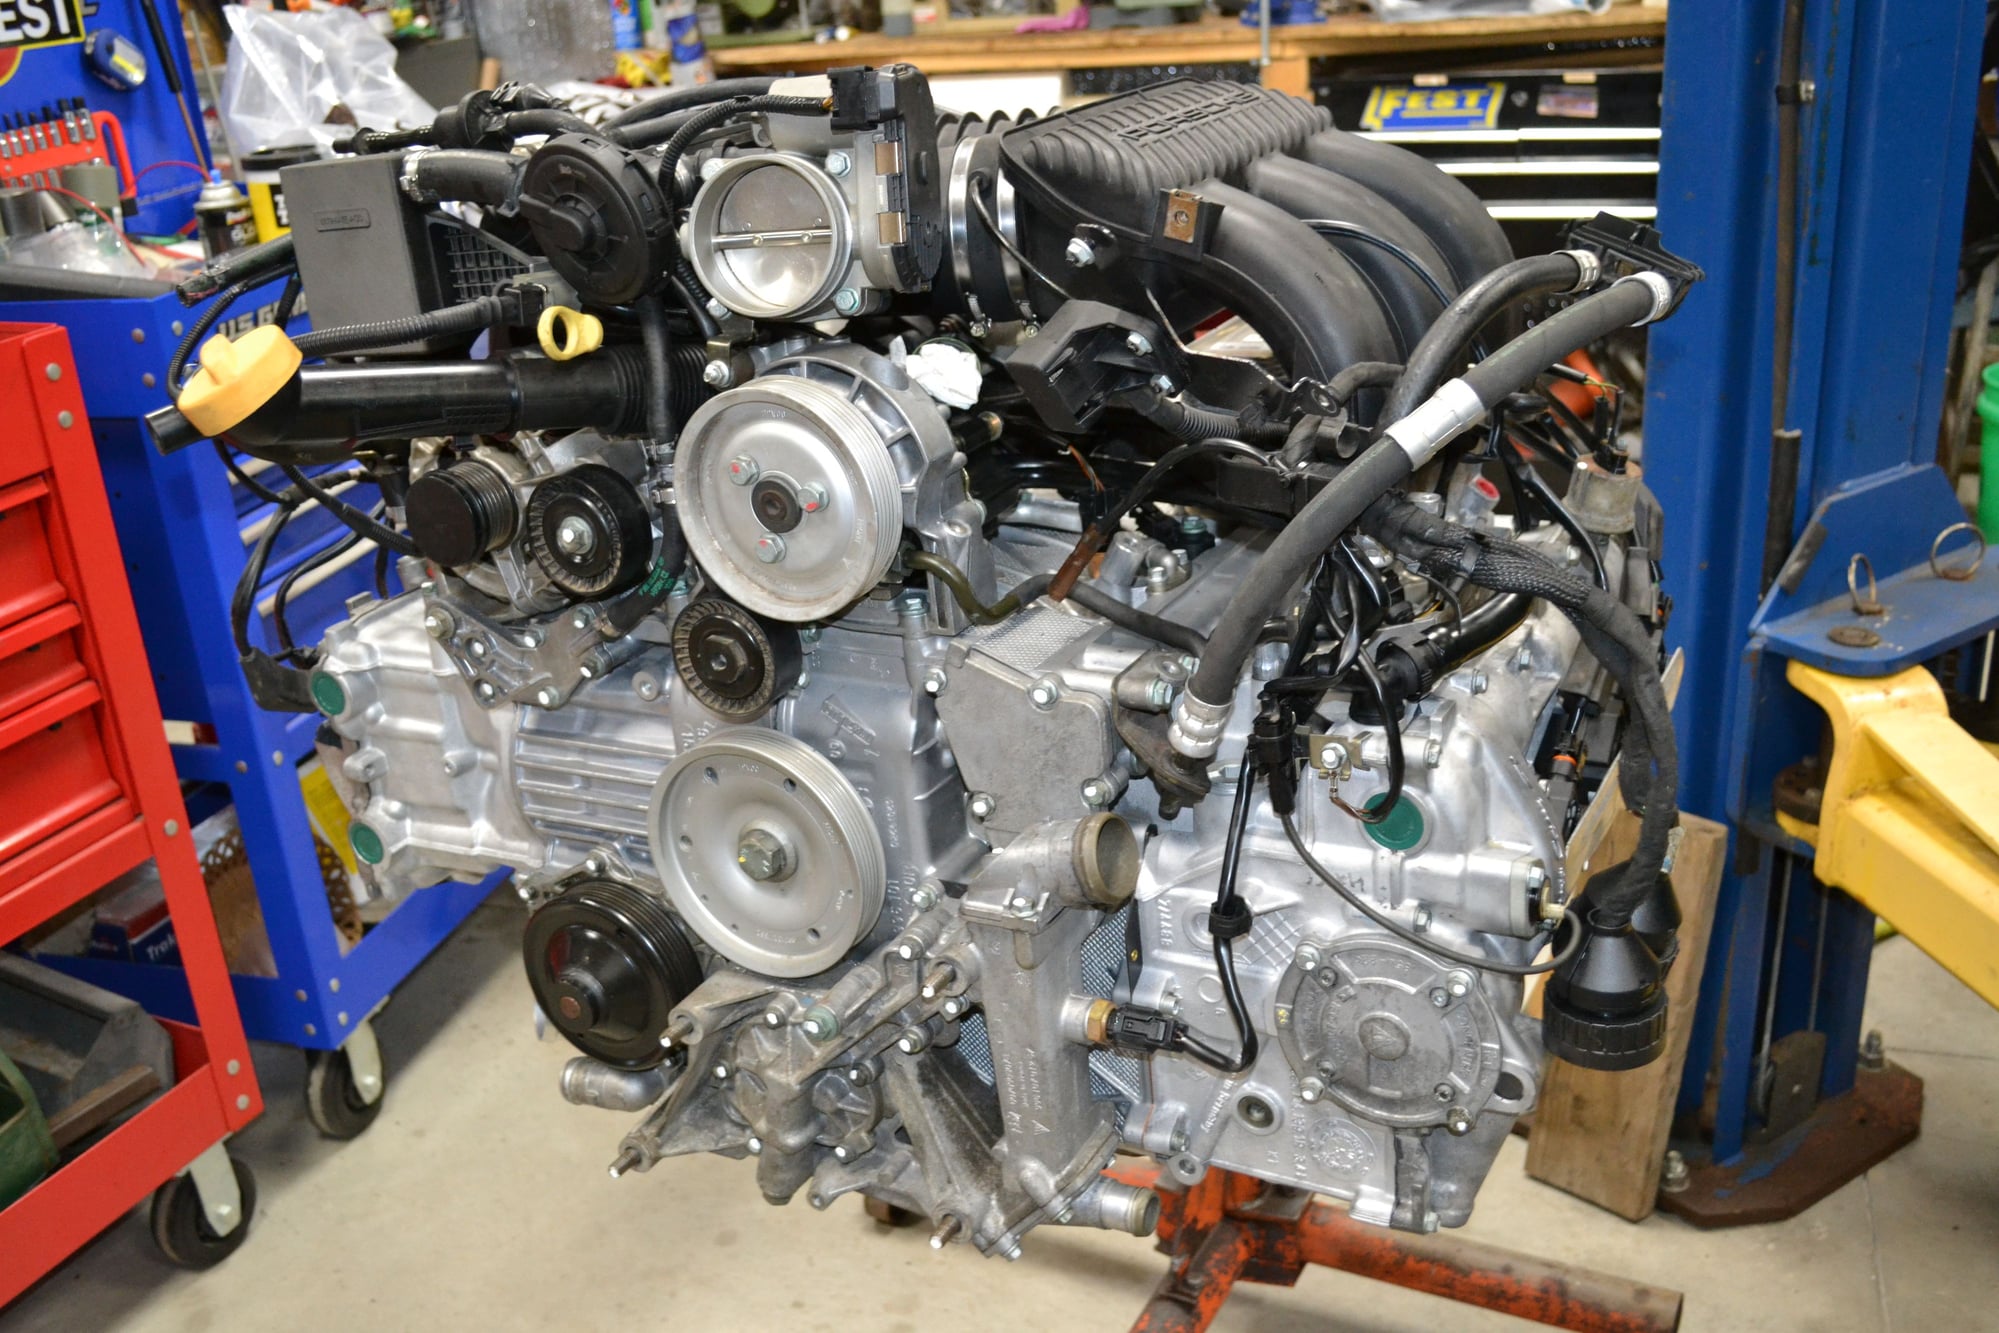
Since I'm working from home, I took my lunch break in the garage. Installing the AOS crossover pipe was a royal pain. I had to use a dead-blow hammer to wack the end into the AOS.
The other end was no easier, but it wasn't conducive to hammer blows. Had to remove the valve and shove it in to the pipe. Not sure if they're all such a tight fit, but this one was. I bought a lesser brand pipe, so maybe that's it. The AOS is URO brand, but I think the valve may have been genuine Porsche (would have to check my records/ receipts).
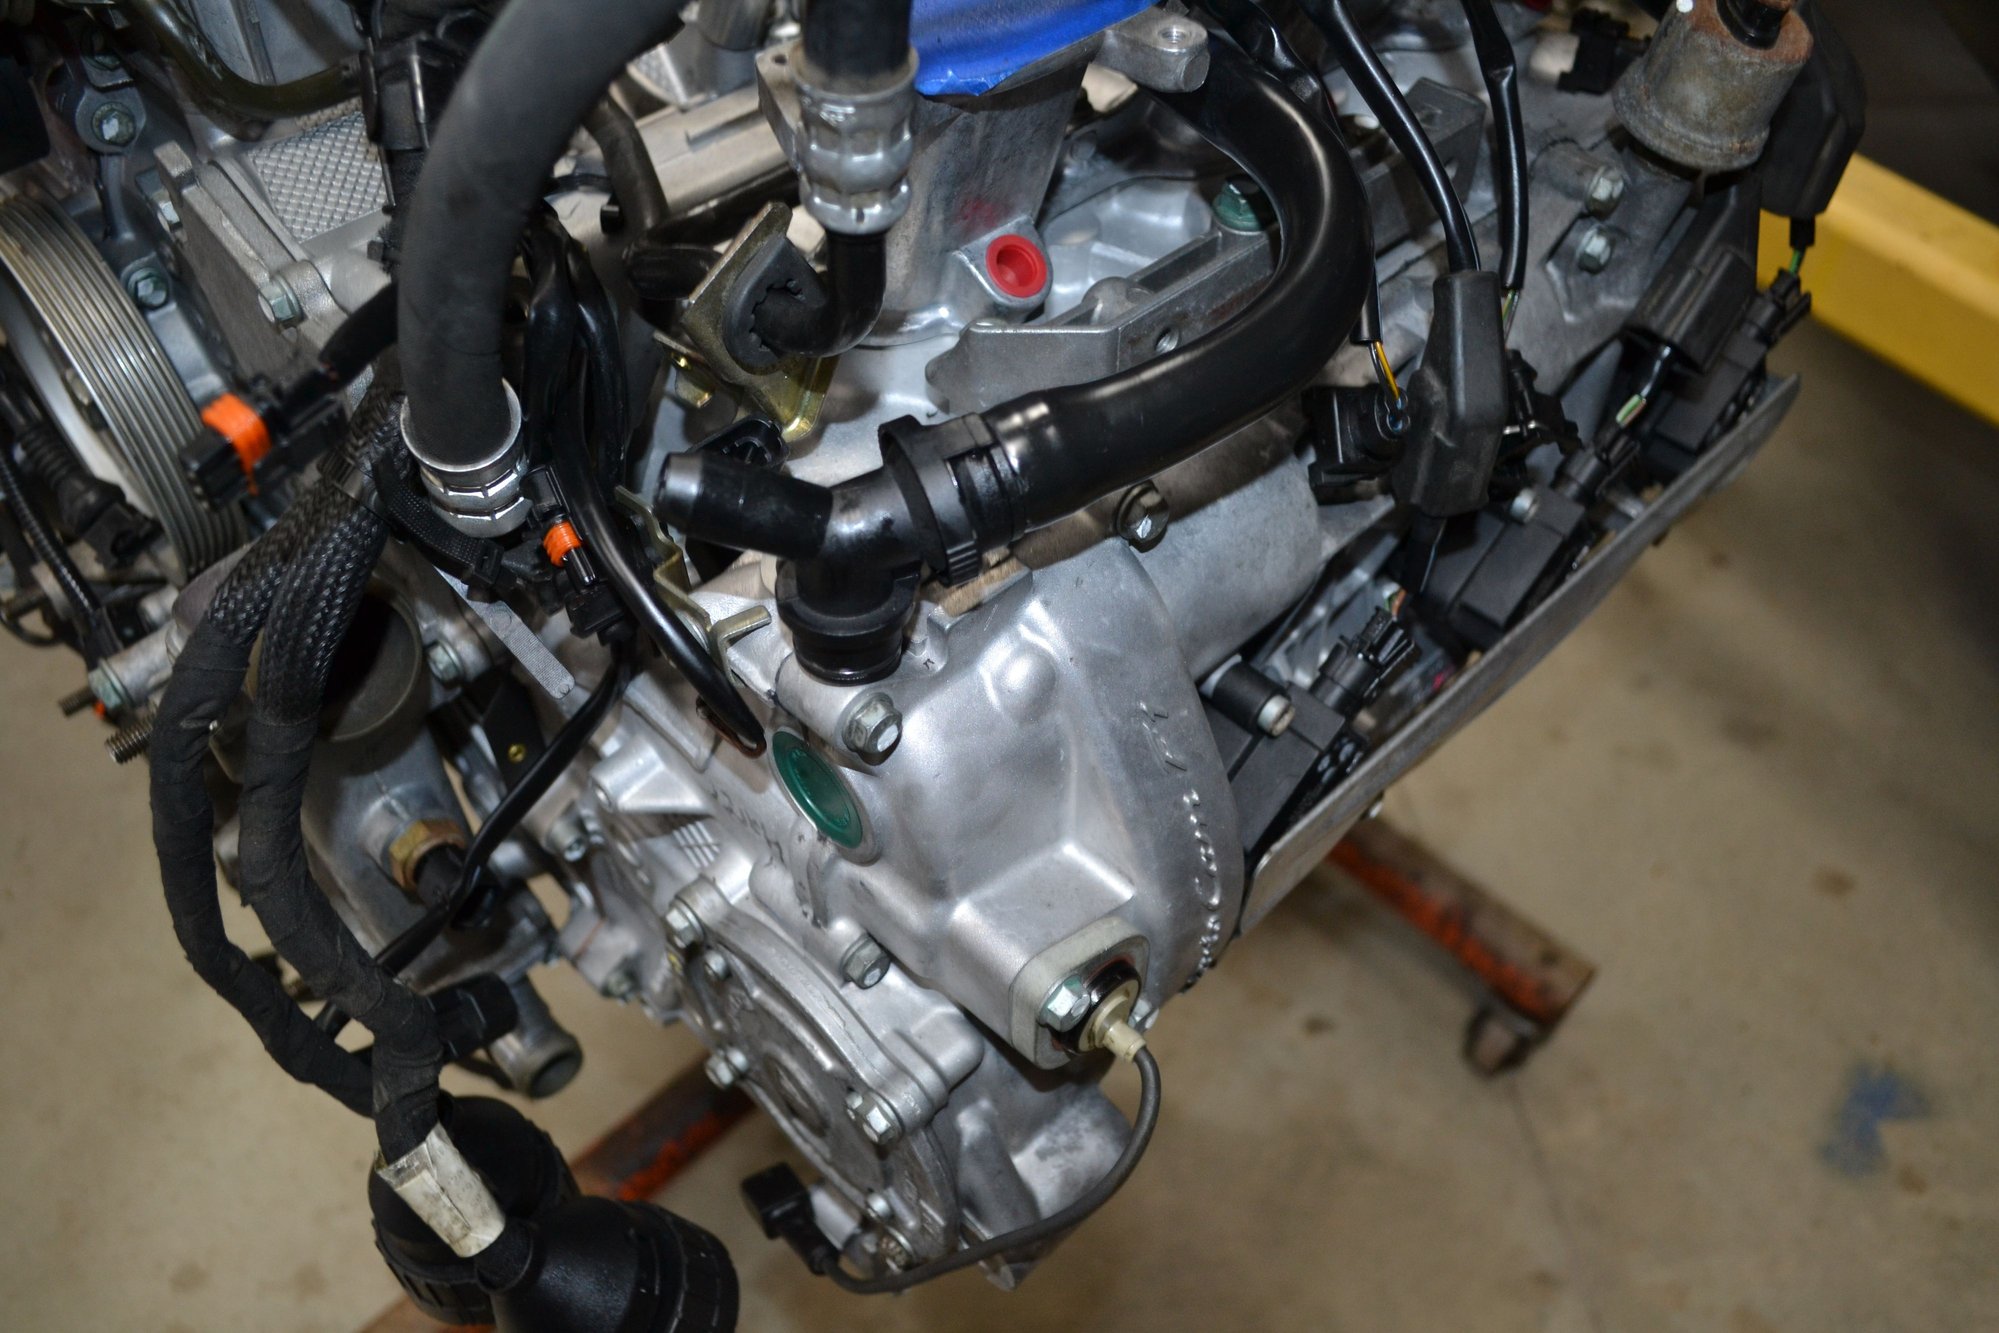
Hot tip: don't get too far ahead when it comes to installing that AOS pipe. I had just installed the oil dipstick tube. That was a mistake. It had to come out to get the pipe located. Also, the alternator and oil fill pipe can go on afterward. I ended up taking the alternator out again, to route the wires to the bank #1 knock sensor and the air pump switch. Everything is so tight. Sequencing things properly will save a lot of bother.
Speaking of sequencing. You should also torque the intake manifolds in place before routing that damn AOS pipe (at least the bolt closest to the AOS). 1/4" drive tools bailed me out of a big headache...
Yup^^^ at least you've got the "flexi-ends"... the 3.4 is much worse...
That is a 3.4 i think. the pass side valve is the give away. My old hose has flex on both sides but the new one only has a flex on the pass side.
Keep up the good pics. They will come in handy for me this weekend as i put my motor back together. I didnt take enough pics and it took so long for me to get my parts i forgot some details.
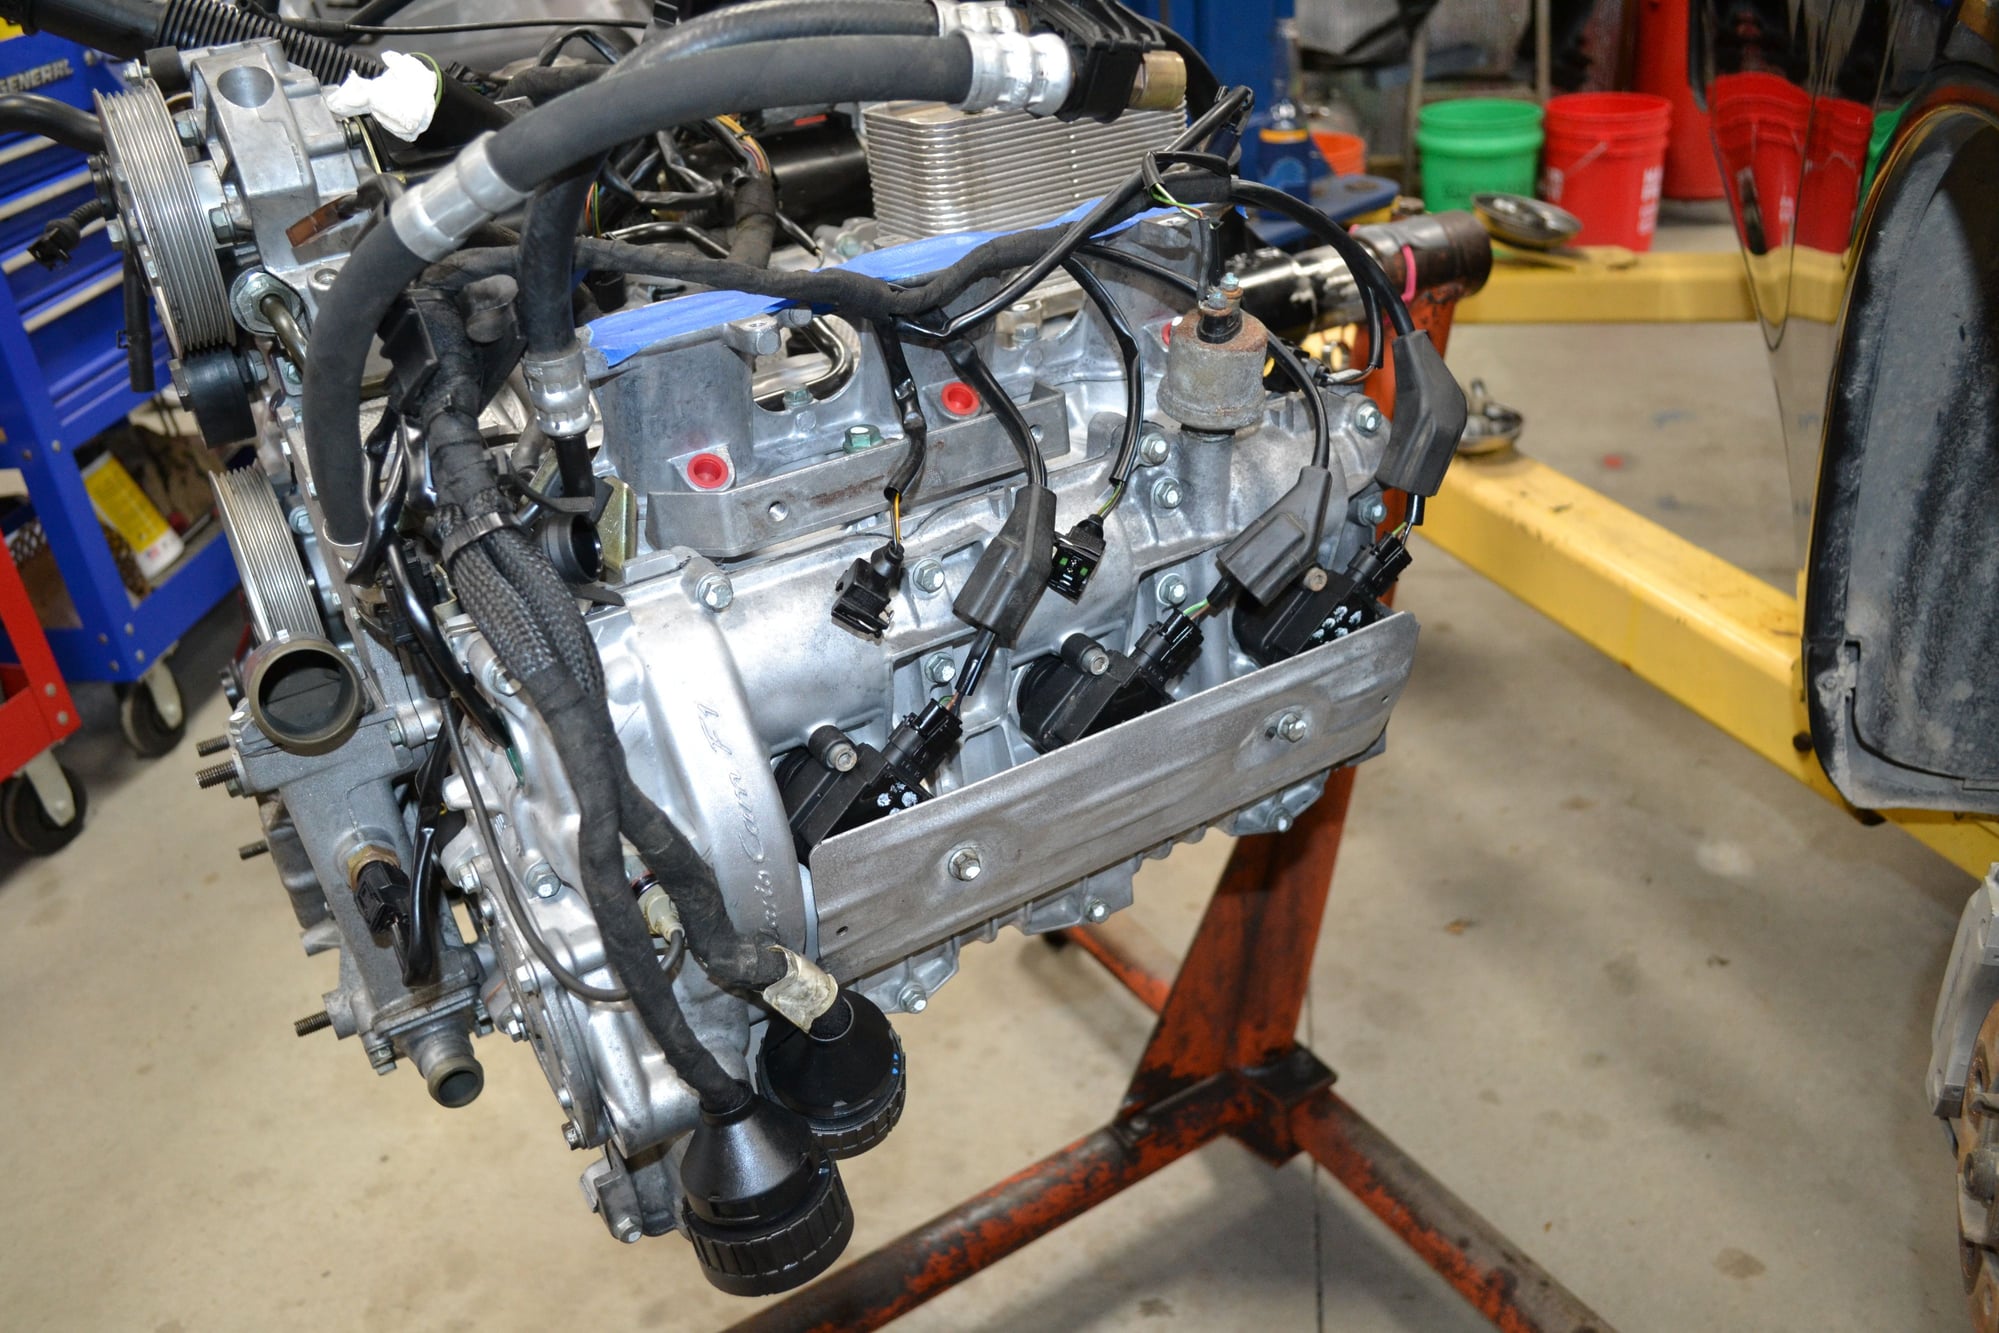
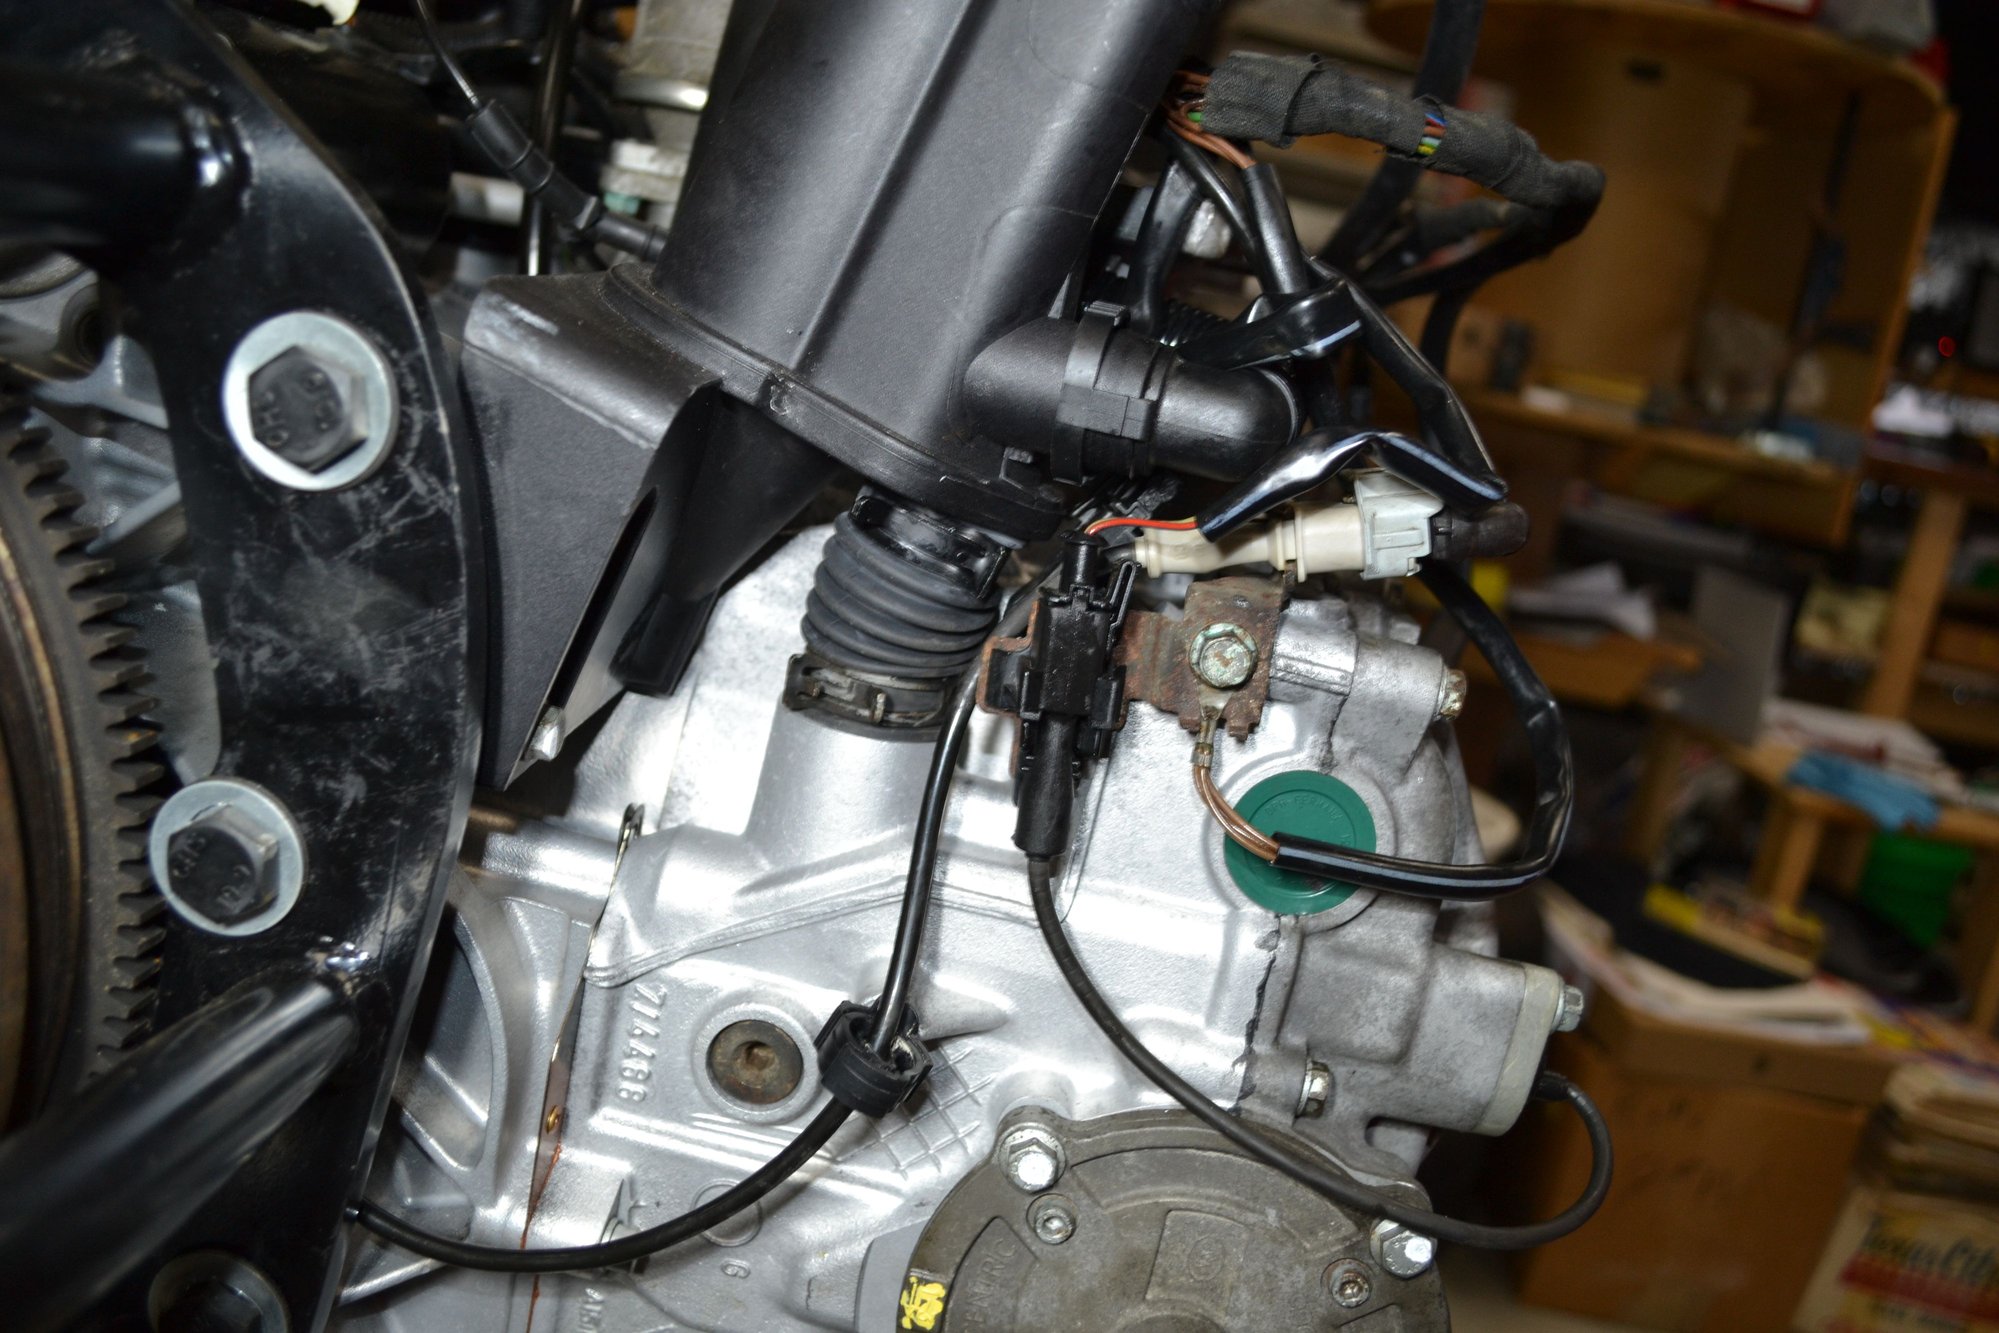
Cleaned all the connectors again and applied a little dielectric grease to each one and installed everything toward the center of the engine. All the injector and coil connections are just in their general area.
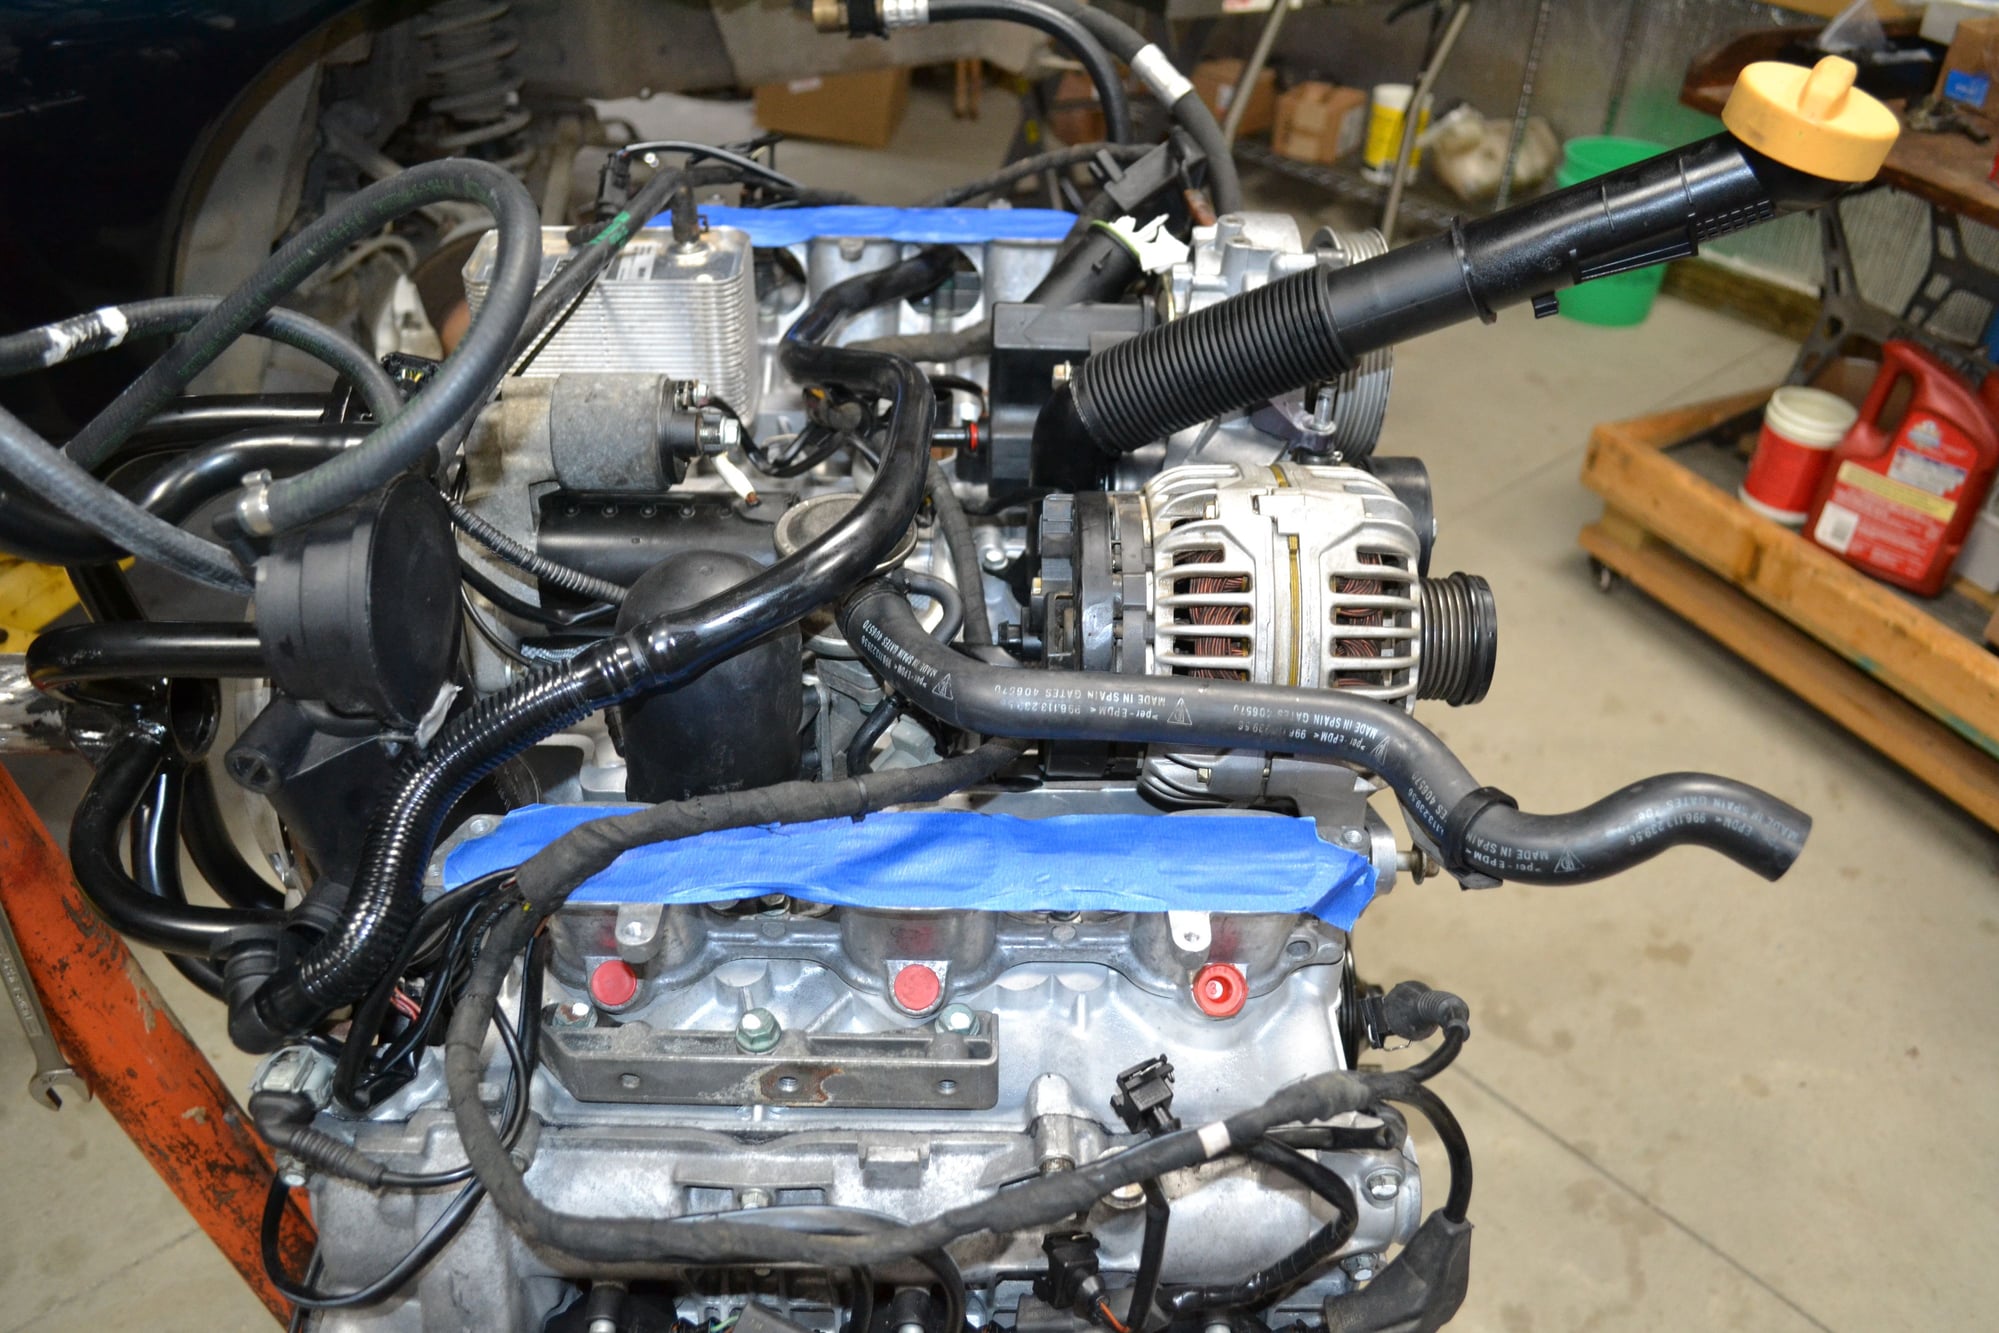
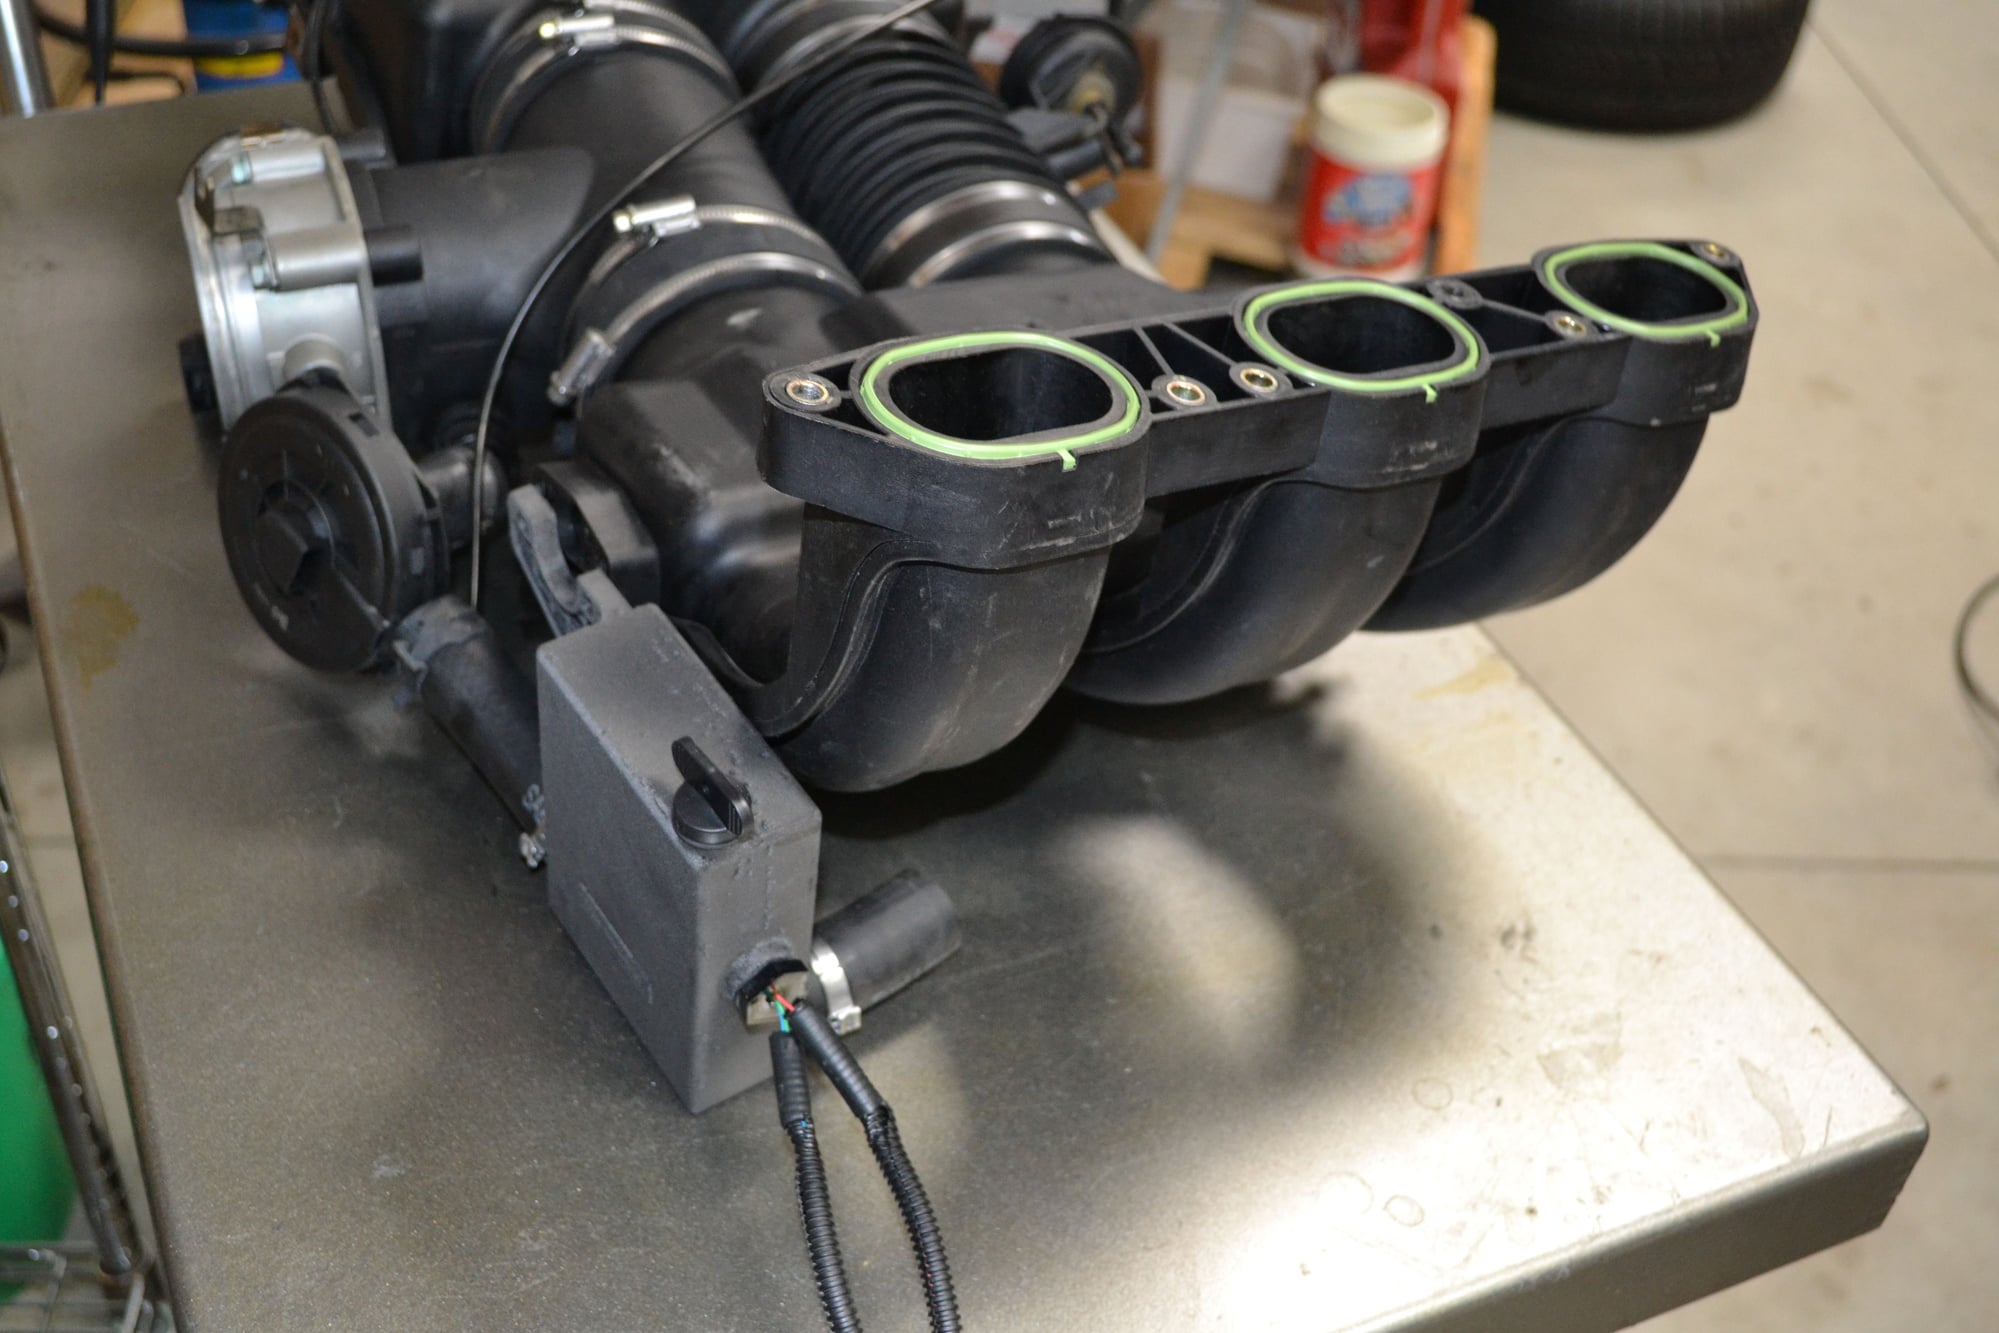
Here's how everything fits near the AOS. Not much room to maneuver. There is a definite sequence that works better than others.
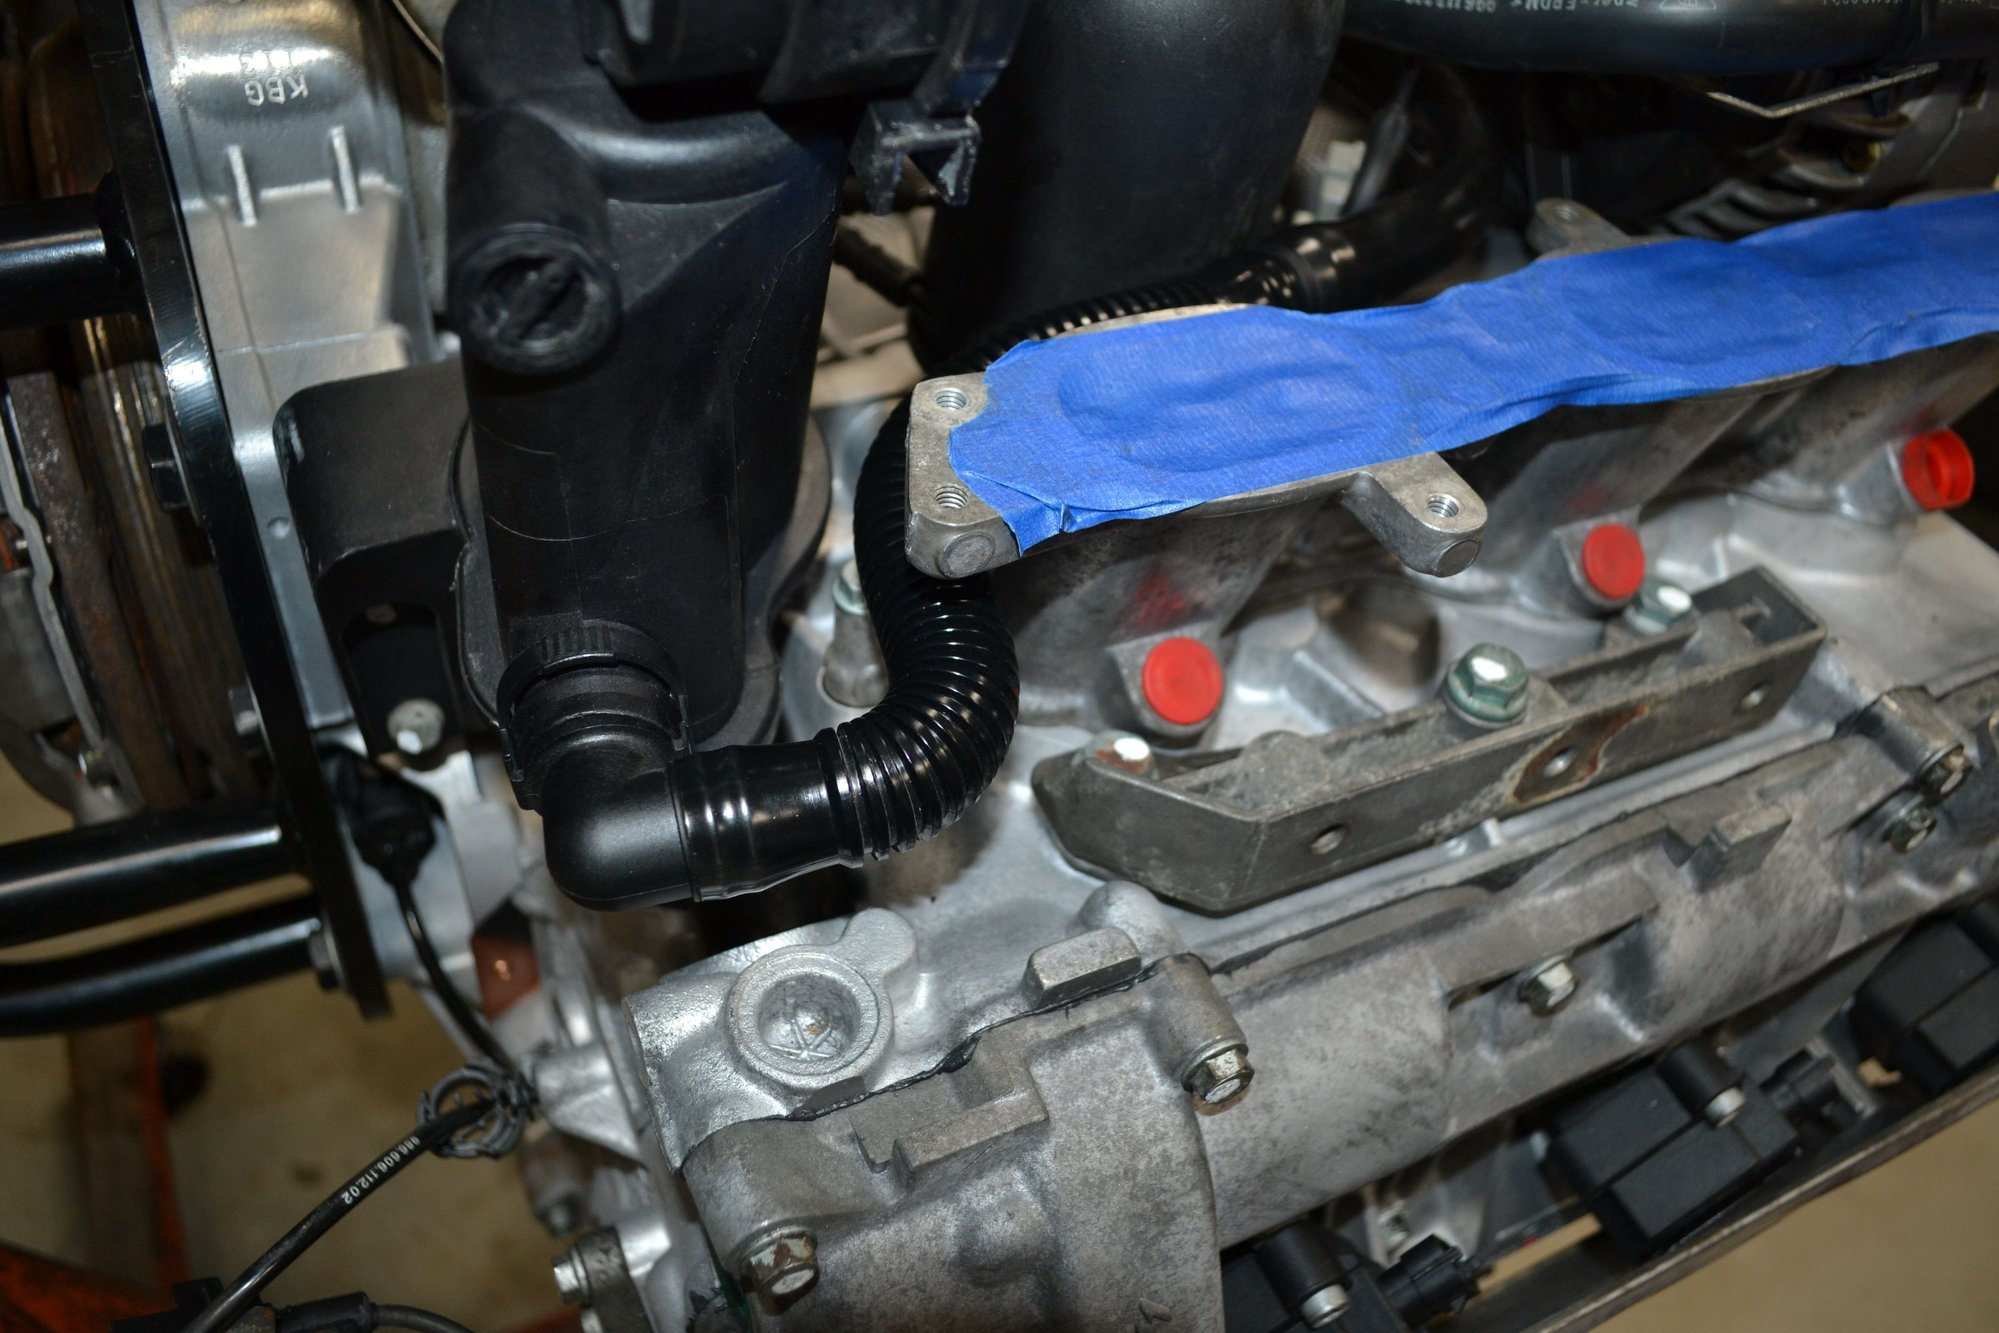
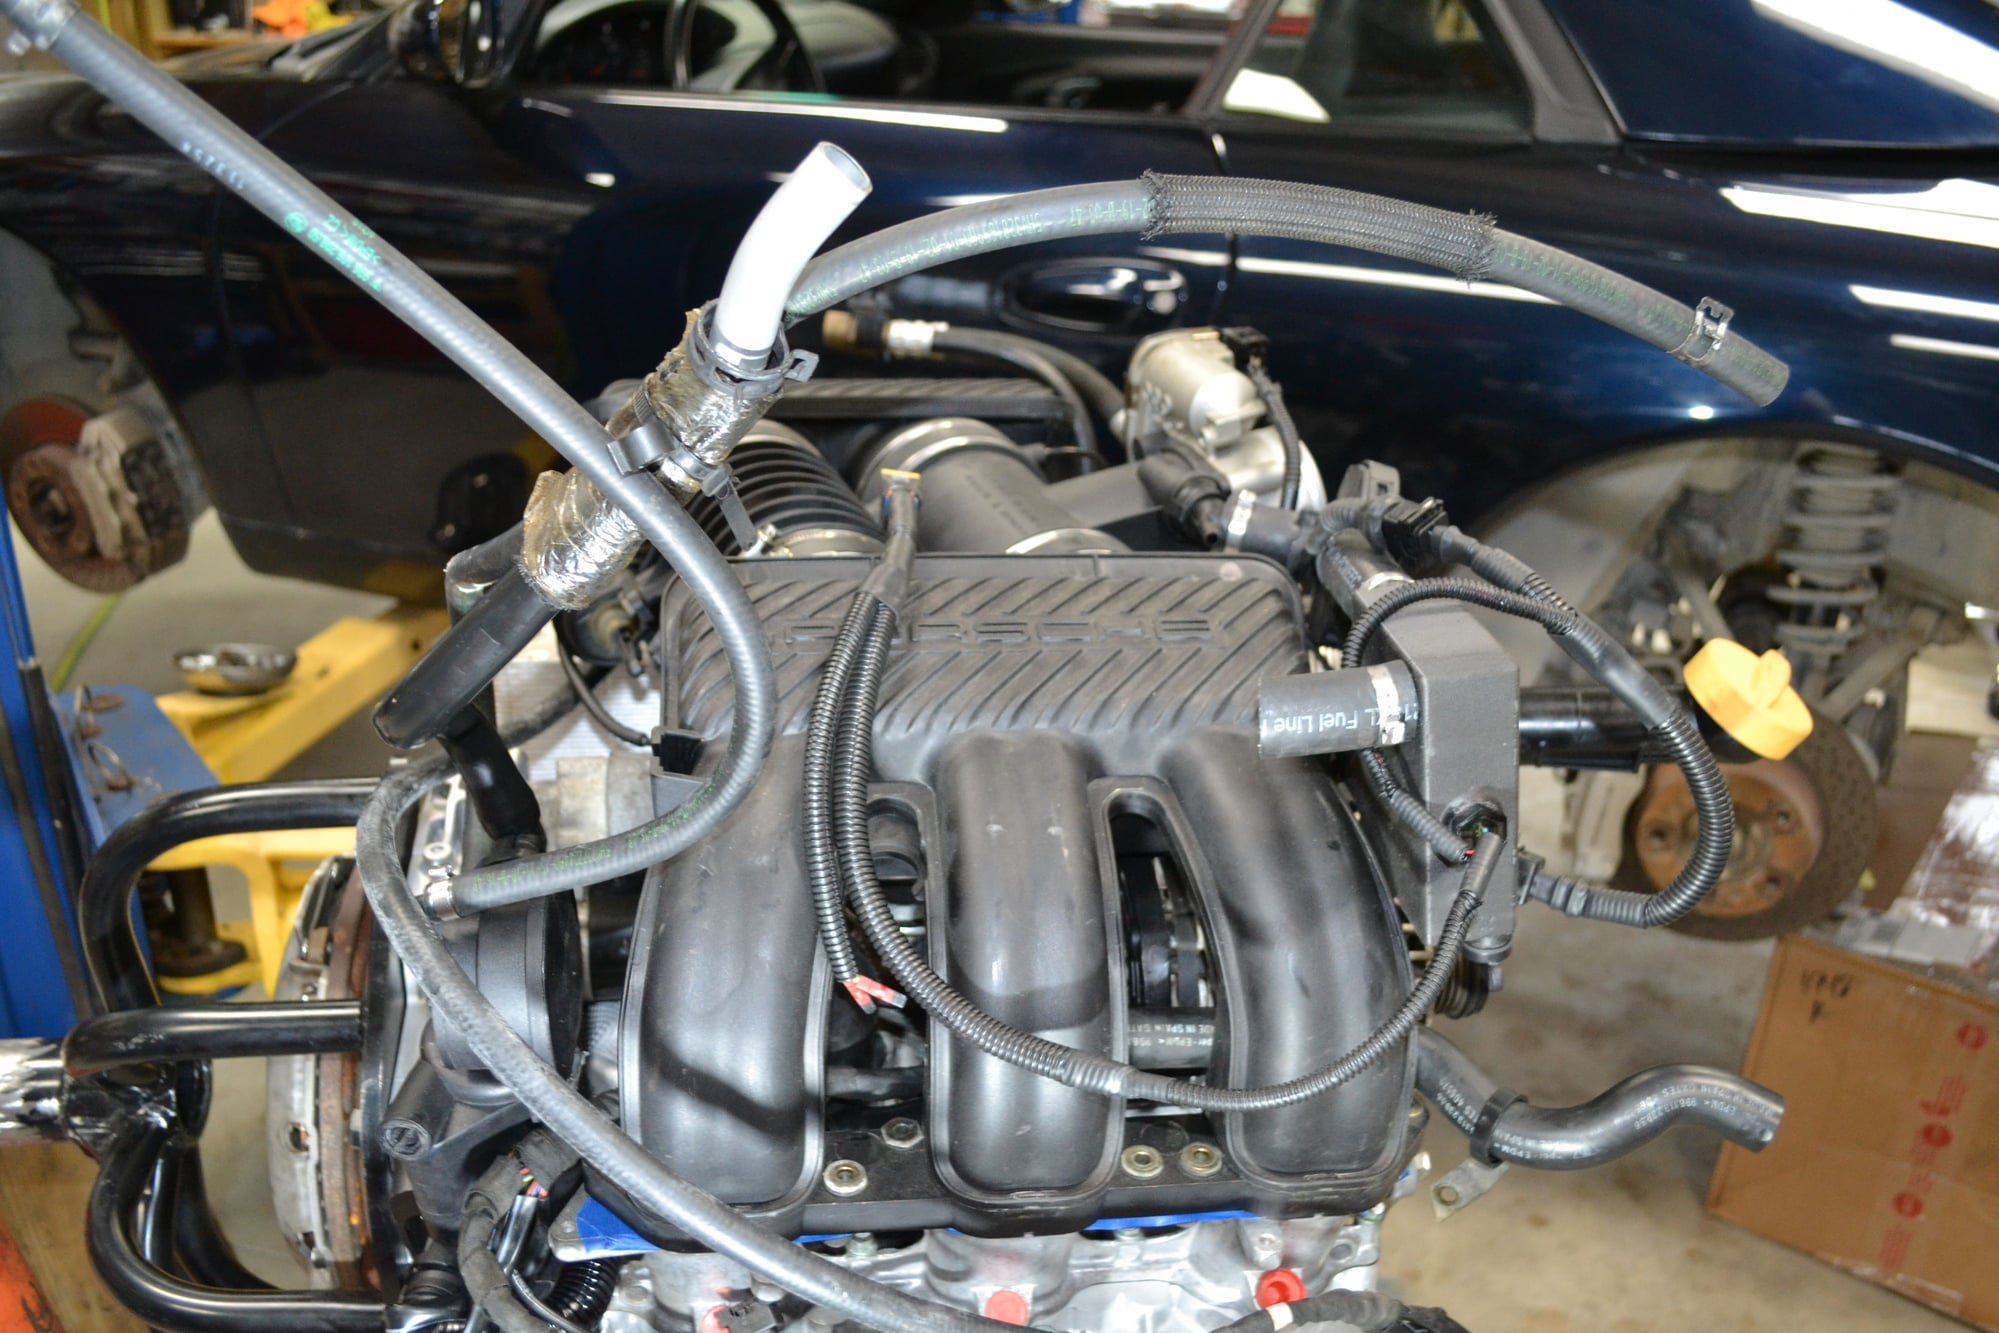
Last trial fit of the upper air intake system, before going for real. Swinging the upper AOS plumbing up and rearward reduces the tangle.
Nice.
You're getting close to being ready to install now!
True. Getting closer. Need to modify the injectors and install the rails and fuel lines. Might be able to take care of that tomorrow. Then I'll have a good look at the exhaust. I want to weld up a cracked mount too.
It looks to me like the UAOS sensor wiring needs some support so it doesn't vibrate and break right at the sensor?
Already on it, the wiring on the Infra-red sensor is a 24awg is is a lot more robust than it looks, it has a very thin insulation and is molded into the sensor very well. Once mounted and installed there is very little weight on the wires, only their own weight. Anyway all the harnesses built this week have an extra heat shrink give a more robust look and to give more support to the cover and relieve the wire itself.
Nice work Scott!
To bad they don't stay shiny and clean for very long.
It will be worse than that, in my case. Once it warms up, I'll get my winter wheels painted and mount my winter/ dirt tires. I envision a lot of break-in miles on my dirt oval.
Originally Posted by ltusler
It looks to me like the UAOS sensor wiring needs some support so it doesn't vibrate and break right at the sensor?
This didn't go unnoticed. Tape and zip ties are in the plan. And as you can see, below, the inventor is on it too.
Originally Posted by Porschetech3
Already on it, the wiring on the Infra-red sensor is a 24awg is is a lot more robust than it looks, it has a very thin insulation and is molded into the sensor very well. Once mounted and installed there is very little weight on the wires, only their own weight. Anyway all the harnesses built this week have an extra heat shrink give a more robust look and to give more support to the cover and relieve the wire itself.

 04-29-2020 | 08:28 PM