
New! 9m93 Speedster widebody - full build in detail
 02-18-2010, 11:21 AM
#256
It even looks better in real life! I went across to 9M this morning, and now the shell's out of the paint booth the natural sunlight really 'flips' the colour - shadows looking like a royal blue/purple - strong light really bright, metalic blue.
Ever so pleased with the result - and that's only the underside that no-ones meant to see!
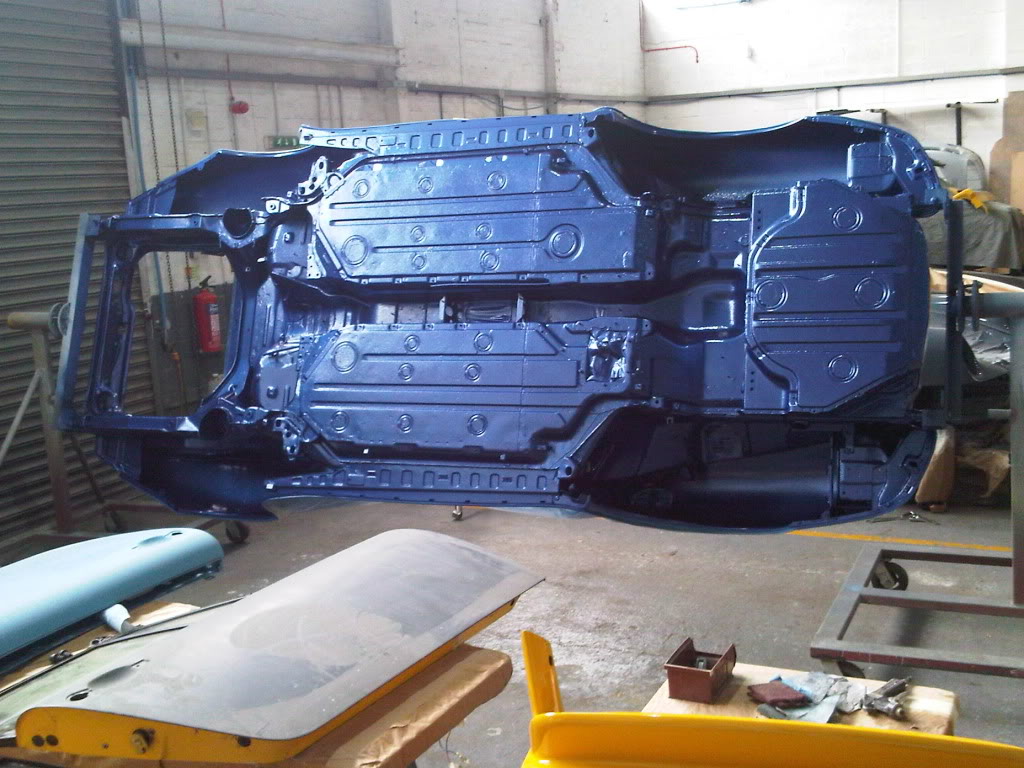
Once the shell's been flipped over and the re-inforcing cage removed, the interior and front trunk will be painted and then the rebuild commences! It only took a week to strip - wonder how long to re-assemble? Answers on a postcard to ........................
Graham
Ever so pleased with the result - and that's only the underside that no-ones meant to see!
Once the shell's been flipped over and the re-inforcing cage removed, the interior and front trunk will be painted and then the rebuild commences! It only took a week to strip - wonder how long to re-assemble? Answers on a postcard to ........................
Graham
 02-18-2010, 12:27 PM
#259
Addict
Rennlist
Site Sponsor
Rennlist
Site Sponsor
Thread Starter
The next step is to pre-assemble all the pipework (PAS, brakes, vaccuum, fuel, etc) into the tunnel & engine bay before we refit the carry frame onto the jacking points; it can then be lifted off the spit on the 2-post lift and dropped onto the castors. What then follows is another masking off session & painting of the interior and trunk/boot compartment. We'll then fit the running gear and leave the exterior panel painting until everything but the interior is fitted to minimise the potential of marking any fresh paint.
02-18-2010, 03:28 PM
#261
Rennlist Member
Join Date: Oct 2007
Location: Racking up air miles....
Posts: 3,735
Likes: 0
Received 663 Likes
on
278 Posts
I'm amazed with just how quickly your crew works & the high level of craftsmanship that is being acheived. I had a major Mercedes project completed with a well respected specialist shop & the progress was achingly slow at times and took over 2 years to complete.... Not only that, but not once did the shop's owner post on the Mercedes forum build thread that I maintained throughout the process! There were days that I had to force him to take crappy cell phone progress pictures to send me.
That said, I have few complaints about the quality of their work & the car turned out better than expected - so it was worth the wait.
Just nice to see enthusiasts working on an enthusiast's car.
Well done so far.
That said, I have few complaints about the quality of their work & the car turned out better than expected - so it was worth the wait.
Just nice to see enthusiasts working on an enthusiast's car.
Well done so far.
02-18-2010, 05:03 PM
#262
Addict
Rennlist
Site Sponsor
Rennlist
Site Sponsor
Thread Starter
I'm amazed with just how quickly your crew works & the high level of craftsmanship that is being acheived. I had a major Mercedes project completed with a well respected specialist shop & the progress was achingly slow at times and took over 2 years to complete.... Not only that, but not once did the shop's owner post on the Mercedes forum build thread that I maintained throughout the process! There were days that I had to force him to take crappy cell phone progress pictures to send me.
That said, I have few complaints about the quality of their work & the car turned out better than expected - so it was worth the wait.
Just nice to see enthusiasts working on an enthusiast's car.
Well done so far.
That said, I have few complaints about the quality of their work & the car turned out better than expected - so it was worth the wait.
Just nice to see enthusiasts working on an enthusiast's car.
Well done so far.
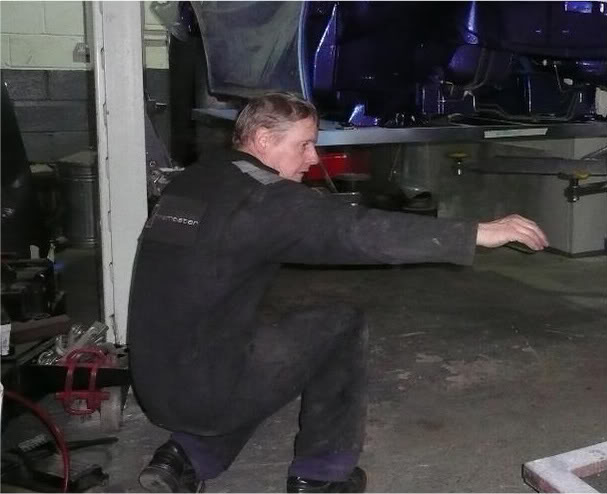
To be honest, when we started the conversion for Graham none of us anticipated that we would choose to go into so much detail with the build, but one thing led to another and here we are. I have to say that the reason that the car is being completed quickly is down to both Marc and Graham's enthusiasm for what they are creating, Marc for tirelessly getting stuck into the job and motivating the Panelcraft staff and Graham for doing 99% of the legwork to ensure that the parts we need land on time. OK, that we can share the details on Rennlist is down to me nipping through the bodyshop periodically with camera in hand, but in truth I'm happy to spend some "brain out" time on the blogging as it's a needy break from the serious tasks of writing a new 9m business plan, chasing stock from manufacturers and dealing with my 9m Racing customers.
But thanks for the
 Nurburger!
Apparently tomorrow Marc's intention is to paint the inside and boot aperture; Saturday's task will be to flick in the black on the dash and floor; next week will see the assembly begin for real after we have finished the GT3 repair which is due out on Thursday.
02-19-2010, 07:14 AM
#265
Addict
Rennlist
Site Sponsor
Rennlist
Site Sponsor
Thread Starter
The holes in the trunk floor are masked off on the inside so we can paint the outside, you can't see the holes because the masking tape has not yet been removed and is still covered in paint.

 02-19-2010, 11:43 AM
#268
Addict
Rennlist
Site Sponsor
Rennlist
Site Sponsor
Thread Starter
They standard cars are only light grey because the primer is unpainted. We prefer to follow Ruf's example and fully paint the floor of all our project cars which is the only way to properly protect them for use on the UK's salted winter roads. After all, 9m cars are built for driving and built to last .....
 02-19-2010, 01:11 PM
#270
Yes, yes, yes, yes............... you could swim in the depth of that paint! Just need some PhotoShop pro to recolor the indicators white and loose the bumpettes and headlight washers - oh and the roof. Or wait 'til next month for the real McCoy!
Graham
Graham