When you click on links to various merchants on this site and make a purchase, this can result in this site earning a commission. Affiliate programs and affiliations include, but are not limited to, the eBay Partner Network.
I'd be glad to understand what you're sentence exactly mean, it is so frustrating when the language represents a barrier for a proper communication: these wheels are amazing, suffice to say I can't stop grinsing when I look at them...
As they say, a picture is worth a thousand words, so here are two of my cars:
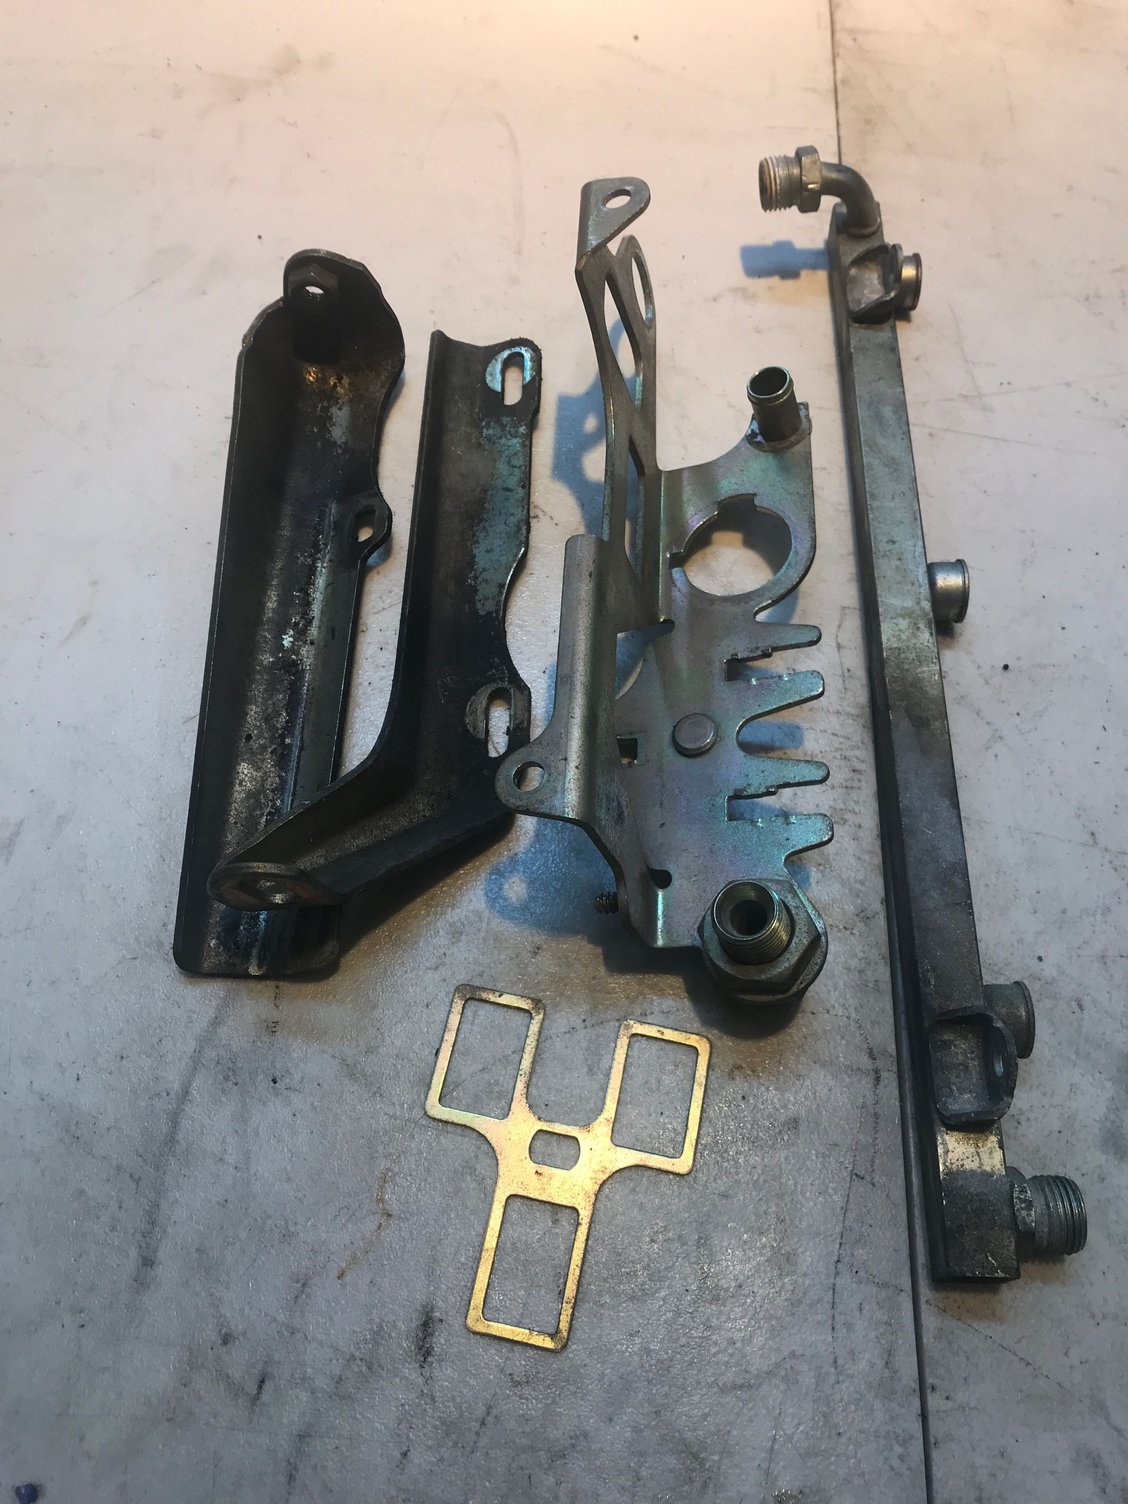
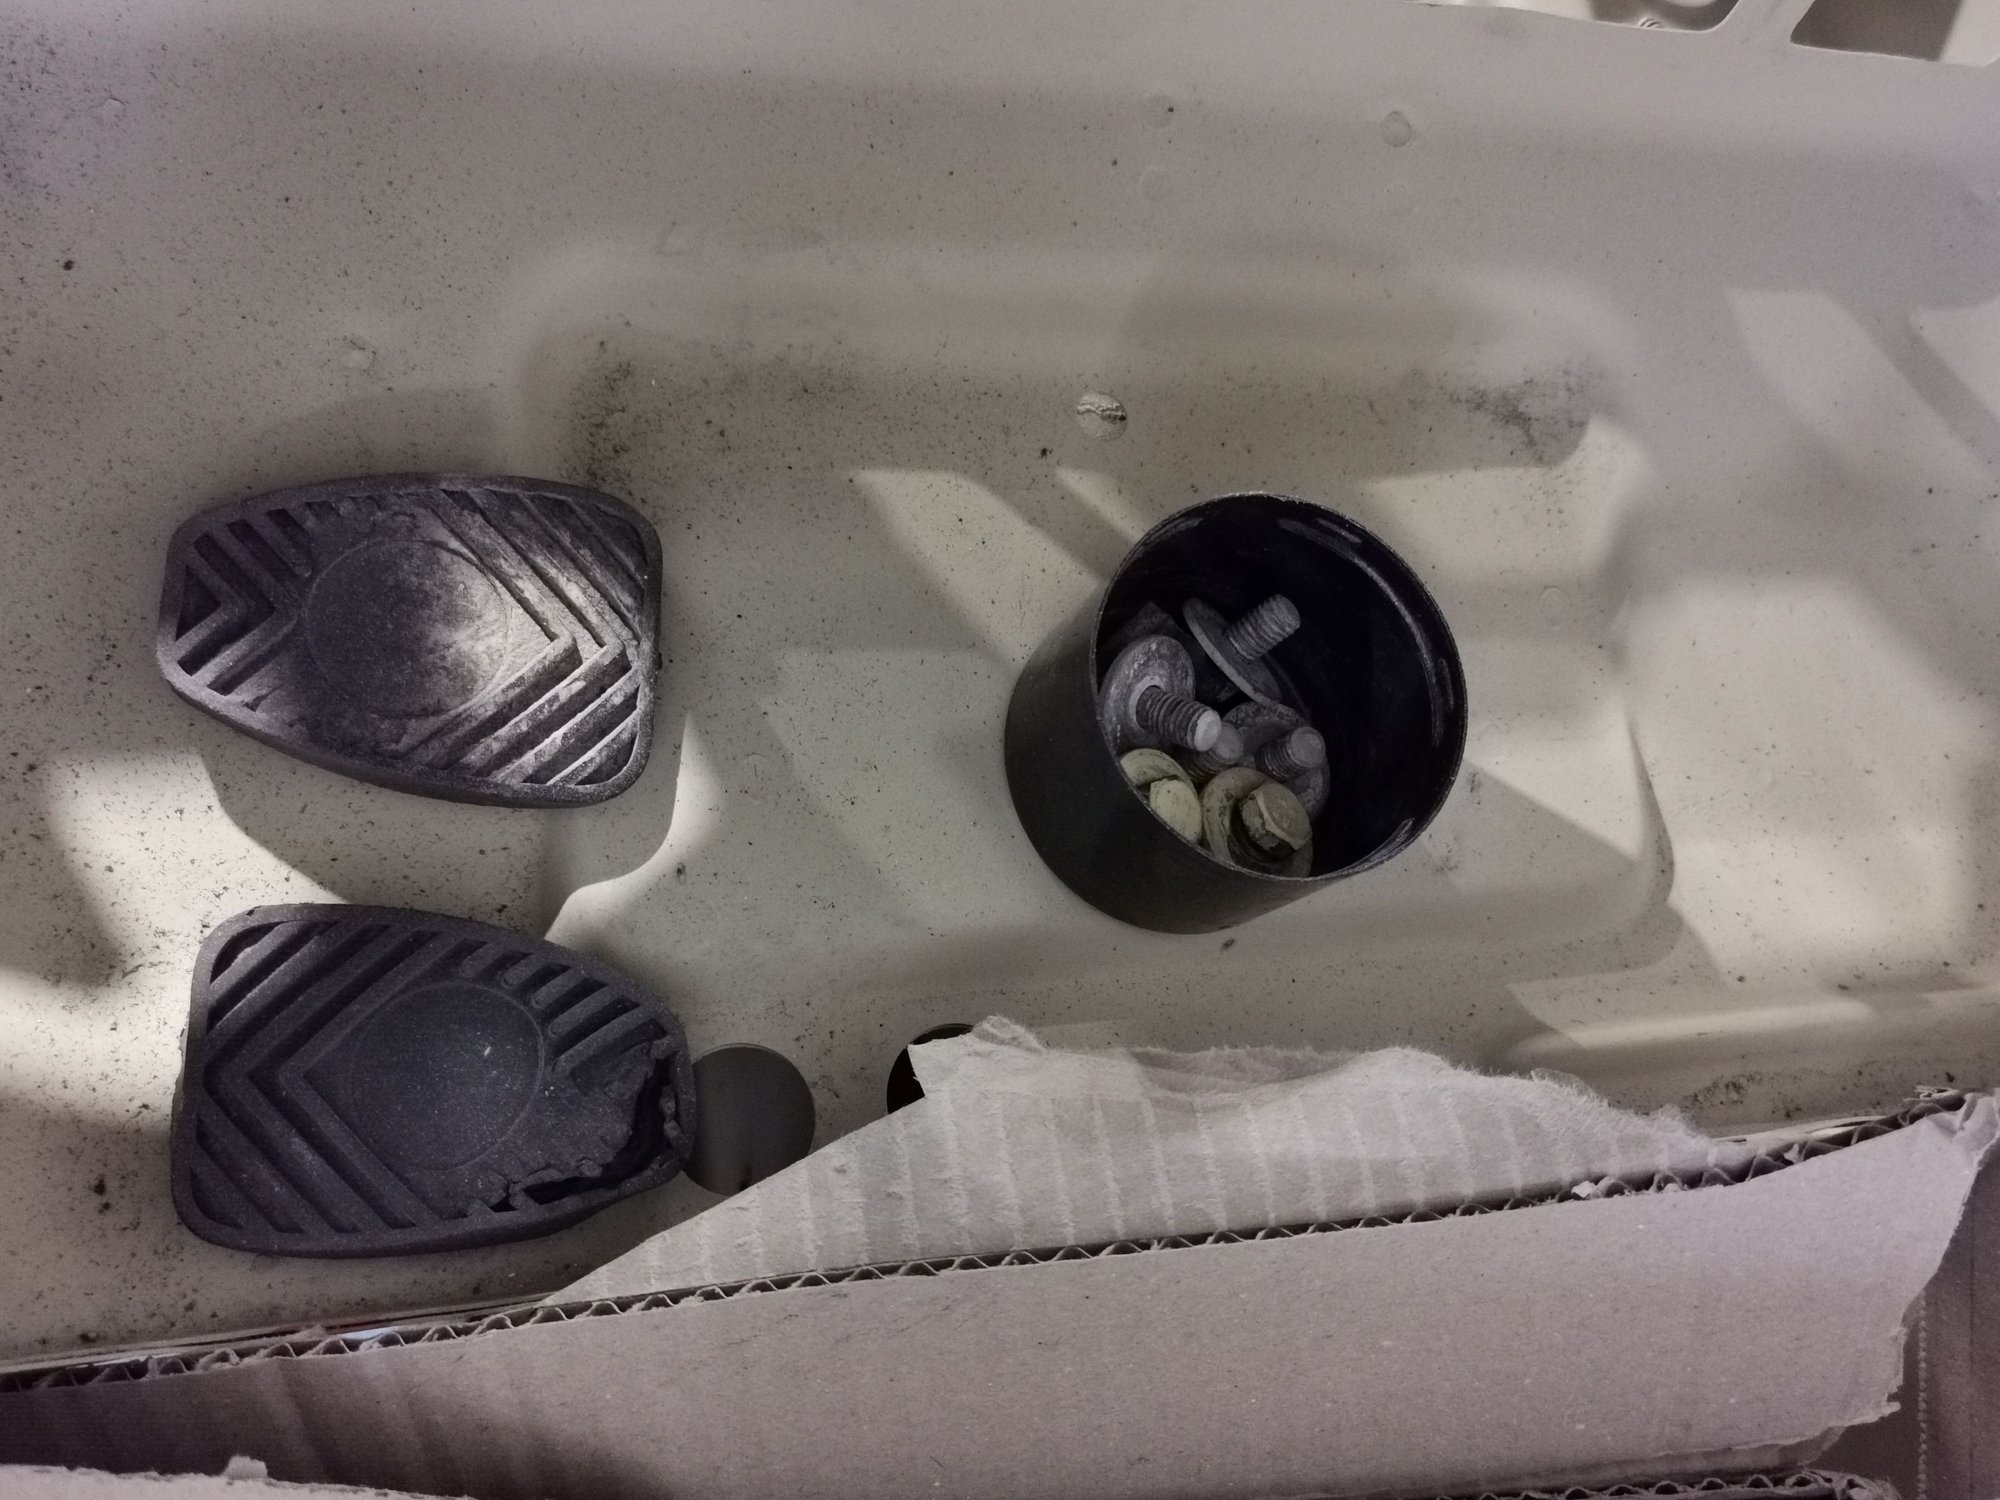
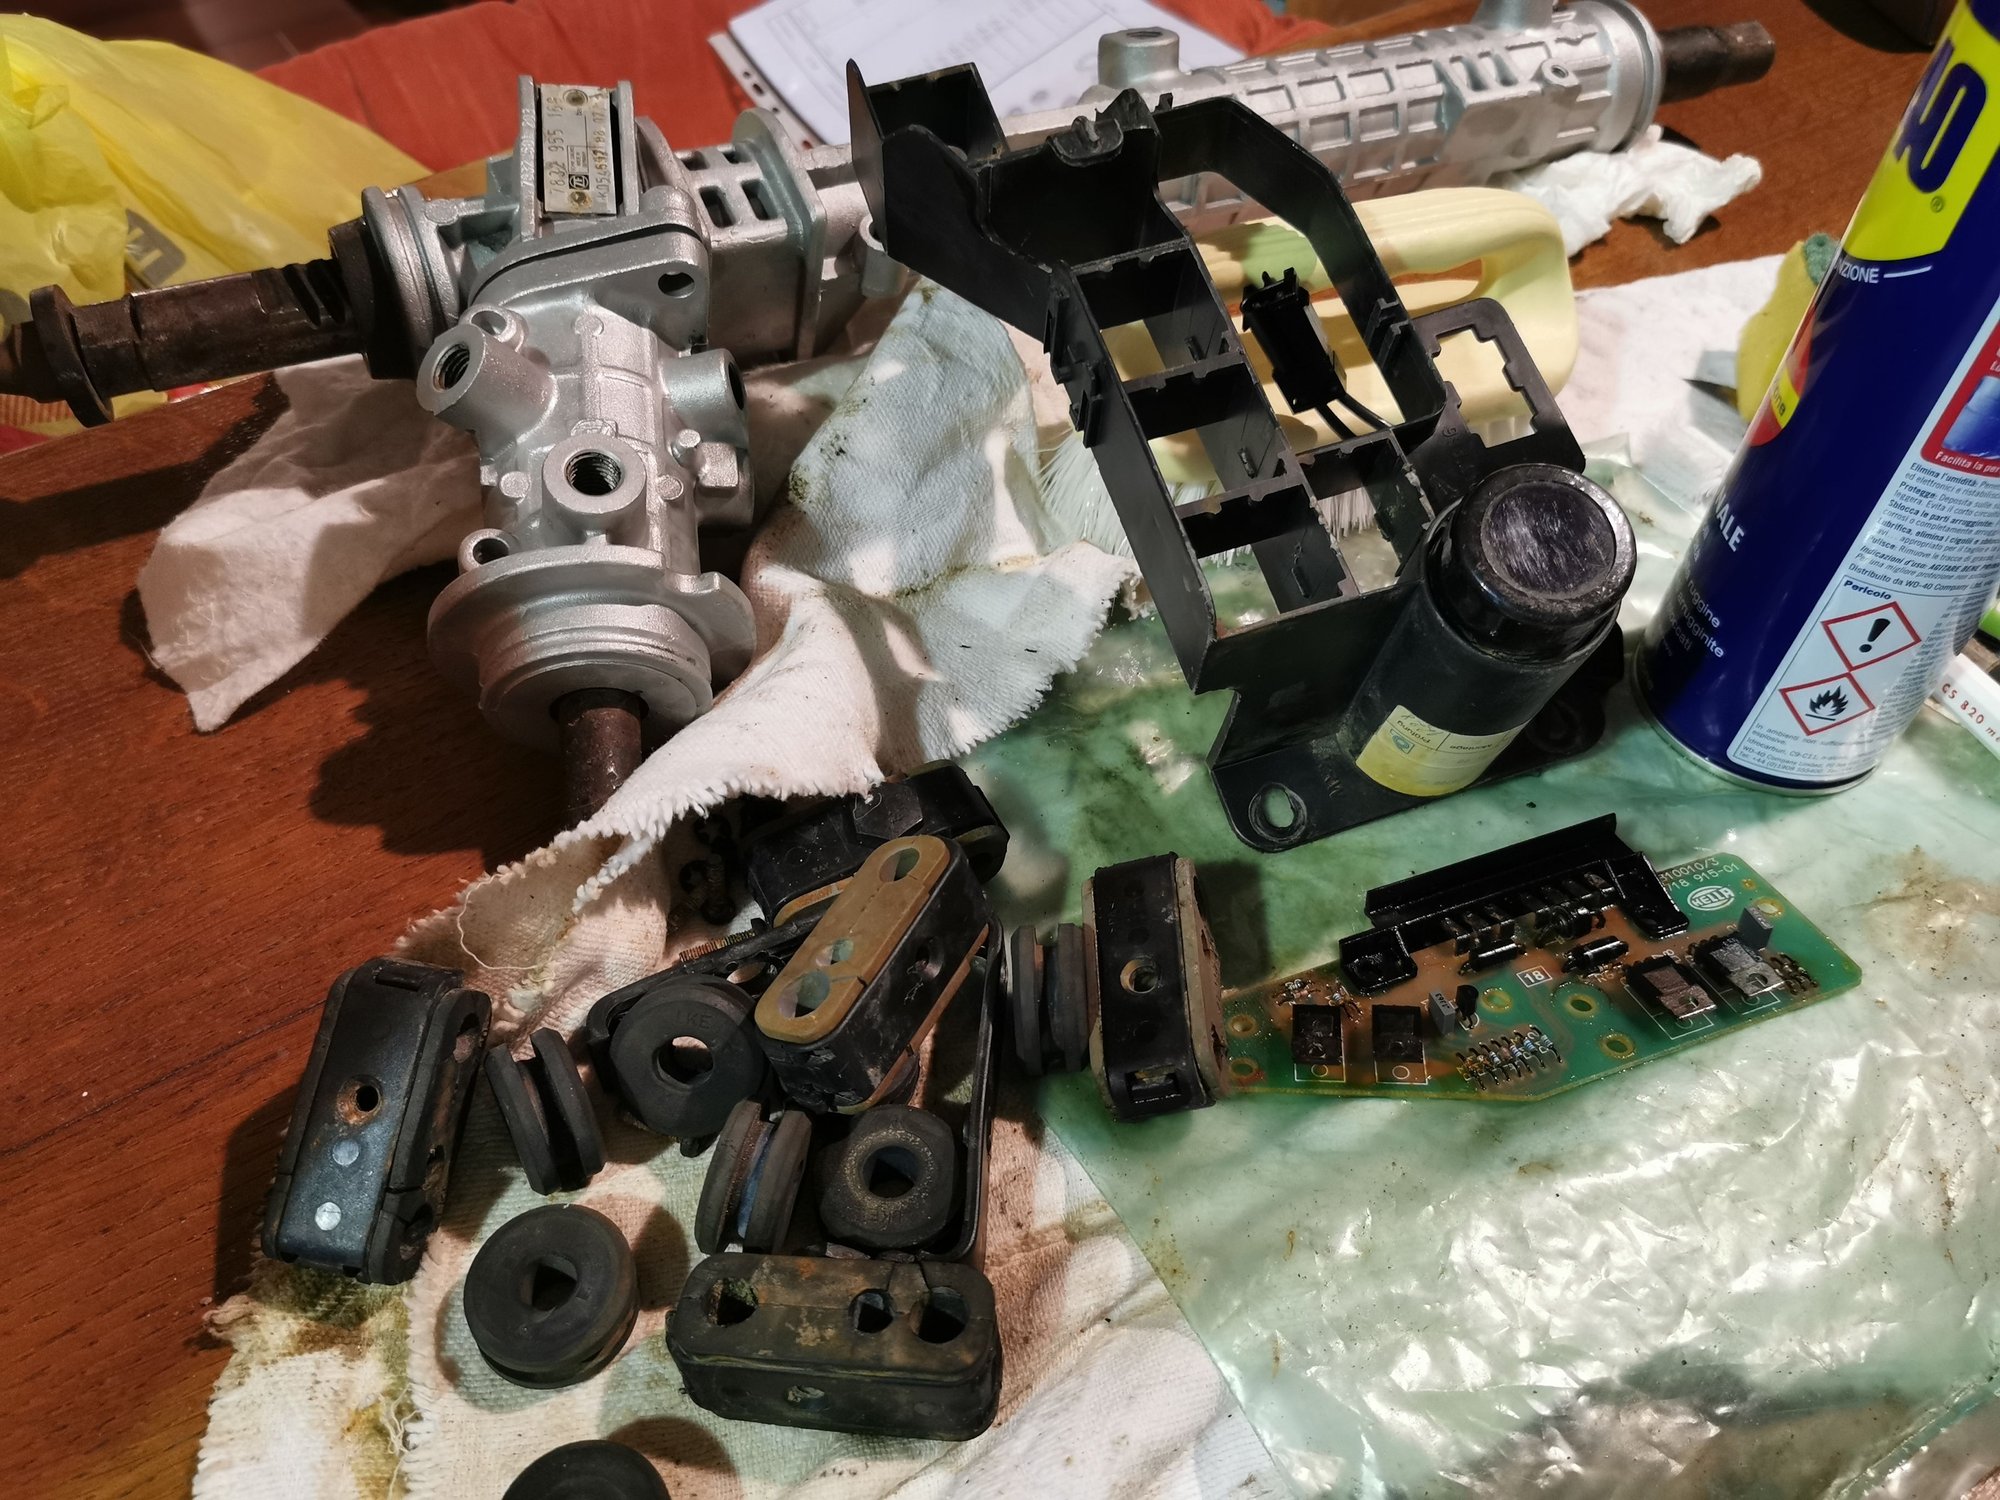
Picture of some of the bolts, washers, studs I'll be soon cleaning, before making them zinc plated or passivated, in order to reuse them.
I do this quite often. Might I suggest buying a tumbler instead of any grit blasting. Also if you can source a place to do Yellow cadmium instead of Zinc. The cadmium was original and holds up better but hard to find someone to do it due to health and environmental issues. If you grit blast the parts they won't come out as shiny.
If you use a tumbler with vinegar & polishing stones it will break down the grime and rust and polish the pieces so when treated they get that nice iridescent gold finish. It takes about 48 hours of time to clean and them polish prior to having them plated.
I have done thousands of parts over the years and has saved me a small fortune in hardware. 964 parts.
this is a great advice.
but are you sure the suspension bolts were all cadmium and not zync plated?
I would say the opposite, since I bought new bolts when last year I installed the rear auxiliary frame and they were zync plated.
the only thing, I need a big machine to clean also larger parts, and i don't think it is easy to find, but the cleaning process itself is nice
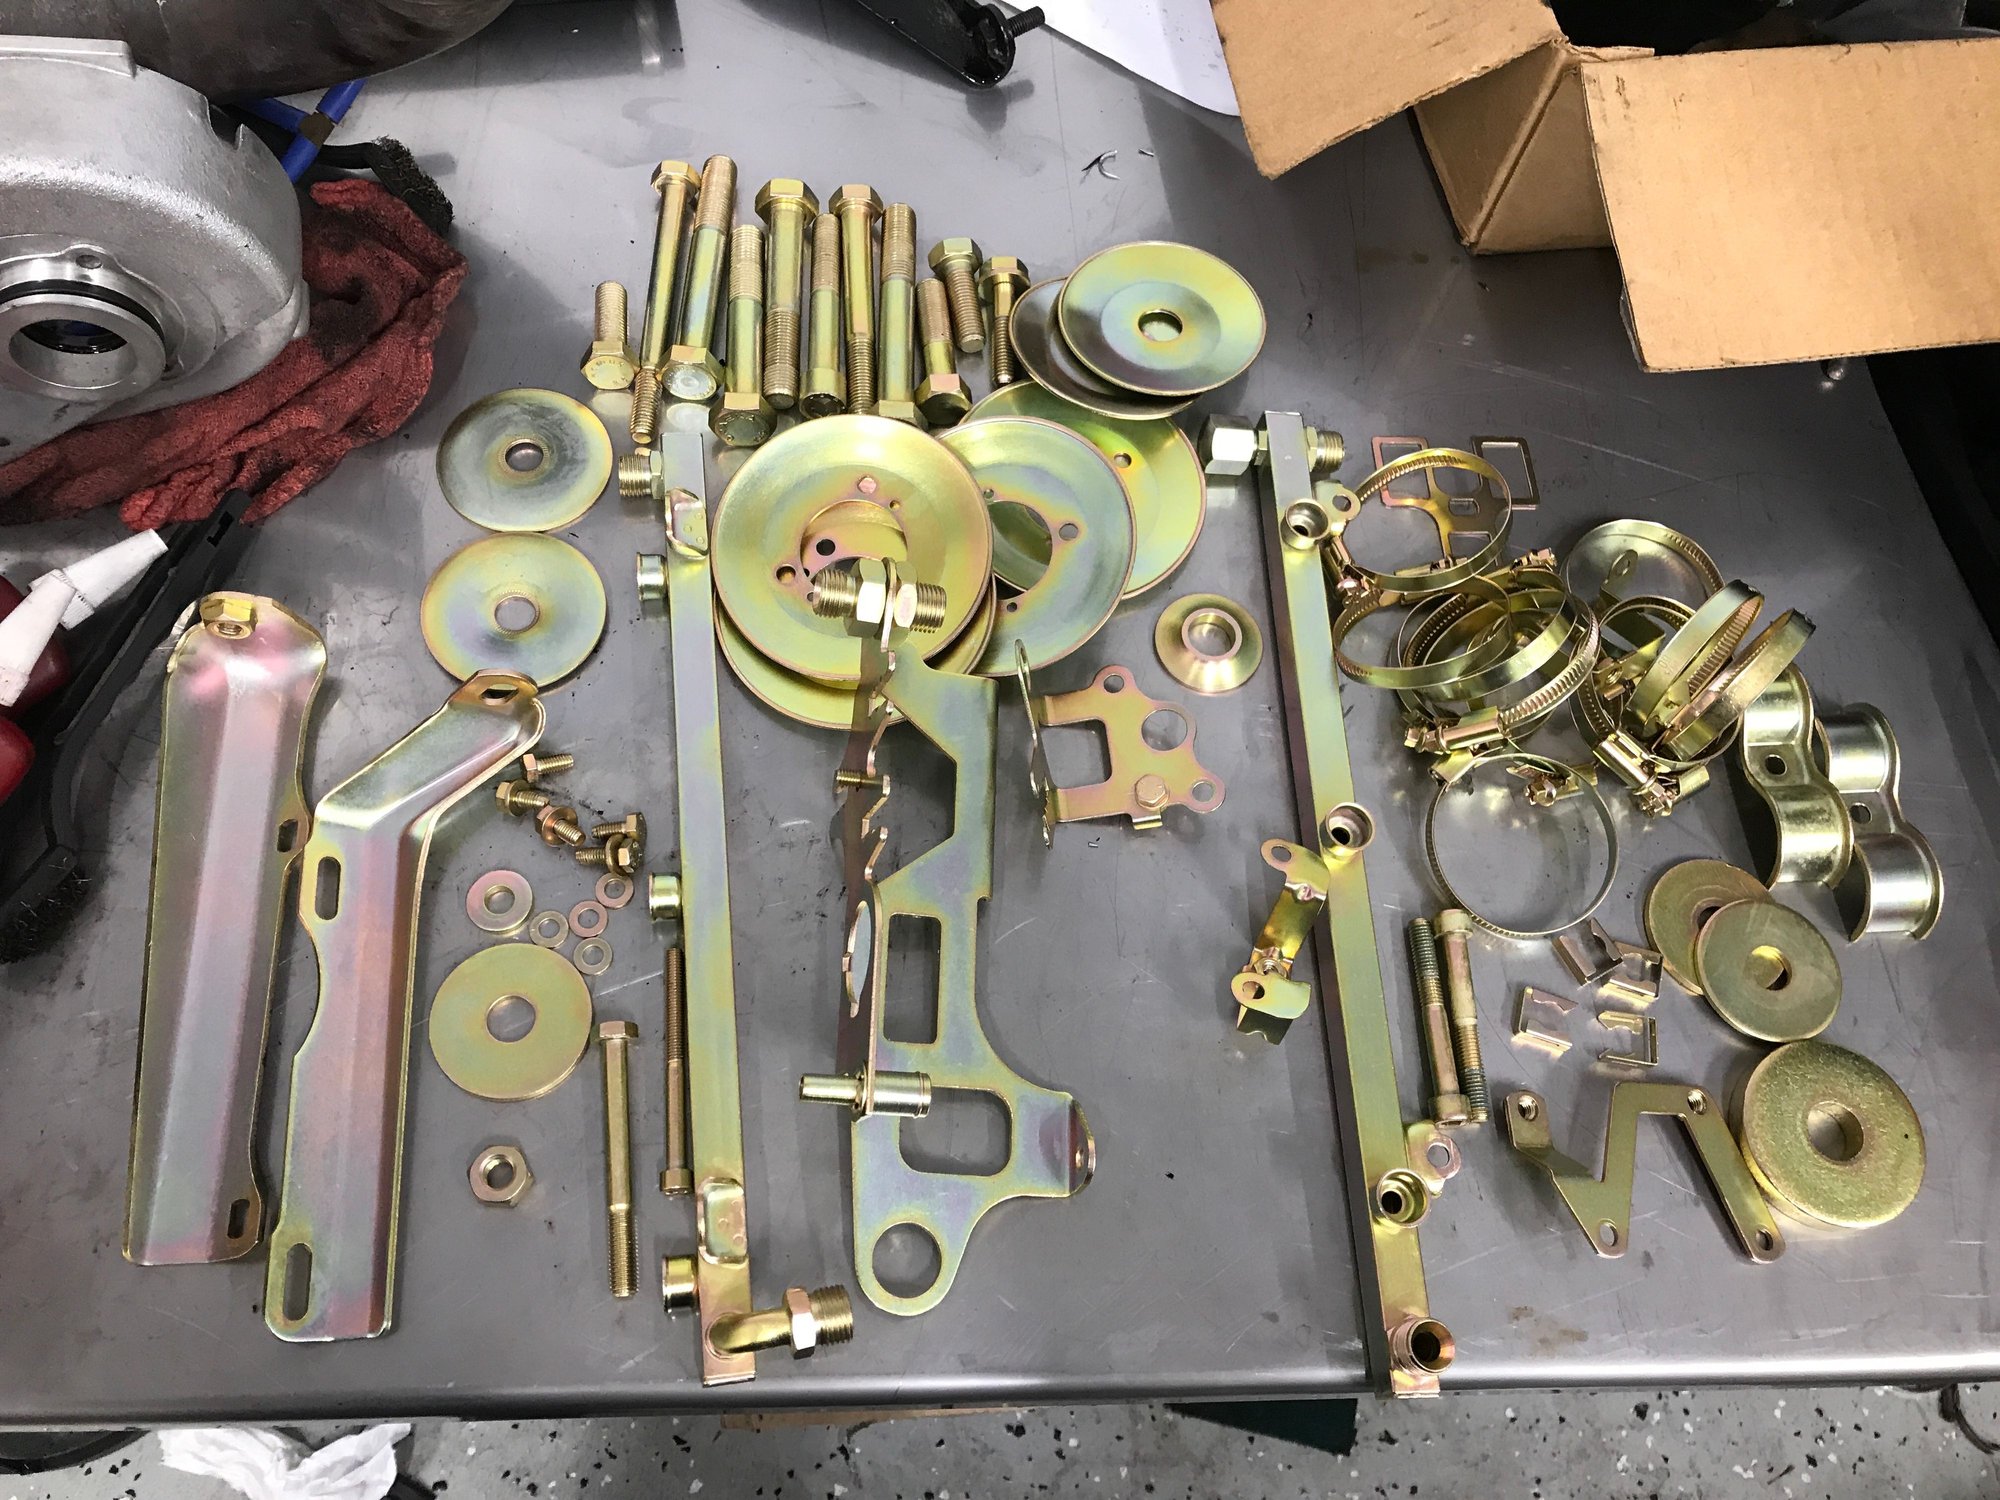
Anything you buy new today from Porsche will vary. I received the same part from two different Porsche facilities within a week of each other and one was Zinc plated the other not. AFAIK Porsche no longer cad plates their parts due to environmental reasons and is outlawed in some places. The parts from the 90's came yellow cadmium as the parts I posted pictures of. Yellow cad and Zinc look quite similar. I went over this with my friend who does both Yellow Cad and zinc plating amongst other processes for the US Military. He assures me the older parts were Yellow Cad plated and not zinc. I had some parts zinc plated once and others yellow cad I used on the same car. After a year the zinc parts already lost their coloring and were showing signs of corrosion while the cad parts still looked pretty much like how I installed them.
Still going through the polishing process but the parts look quite clean already and will be looking relatively like new when done.
Little update: I am going to follow the advice of Cobalt and polish all the bolts and nuts plus smoller parts to be passivated with a tumbler.
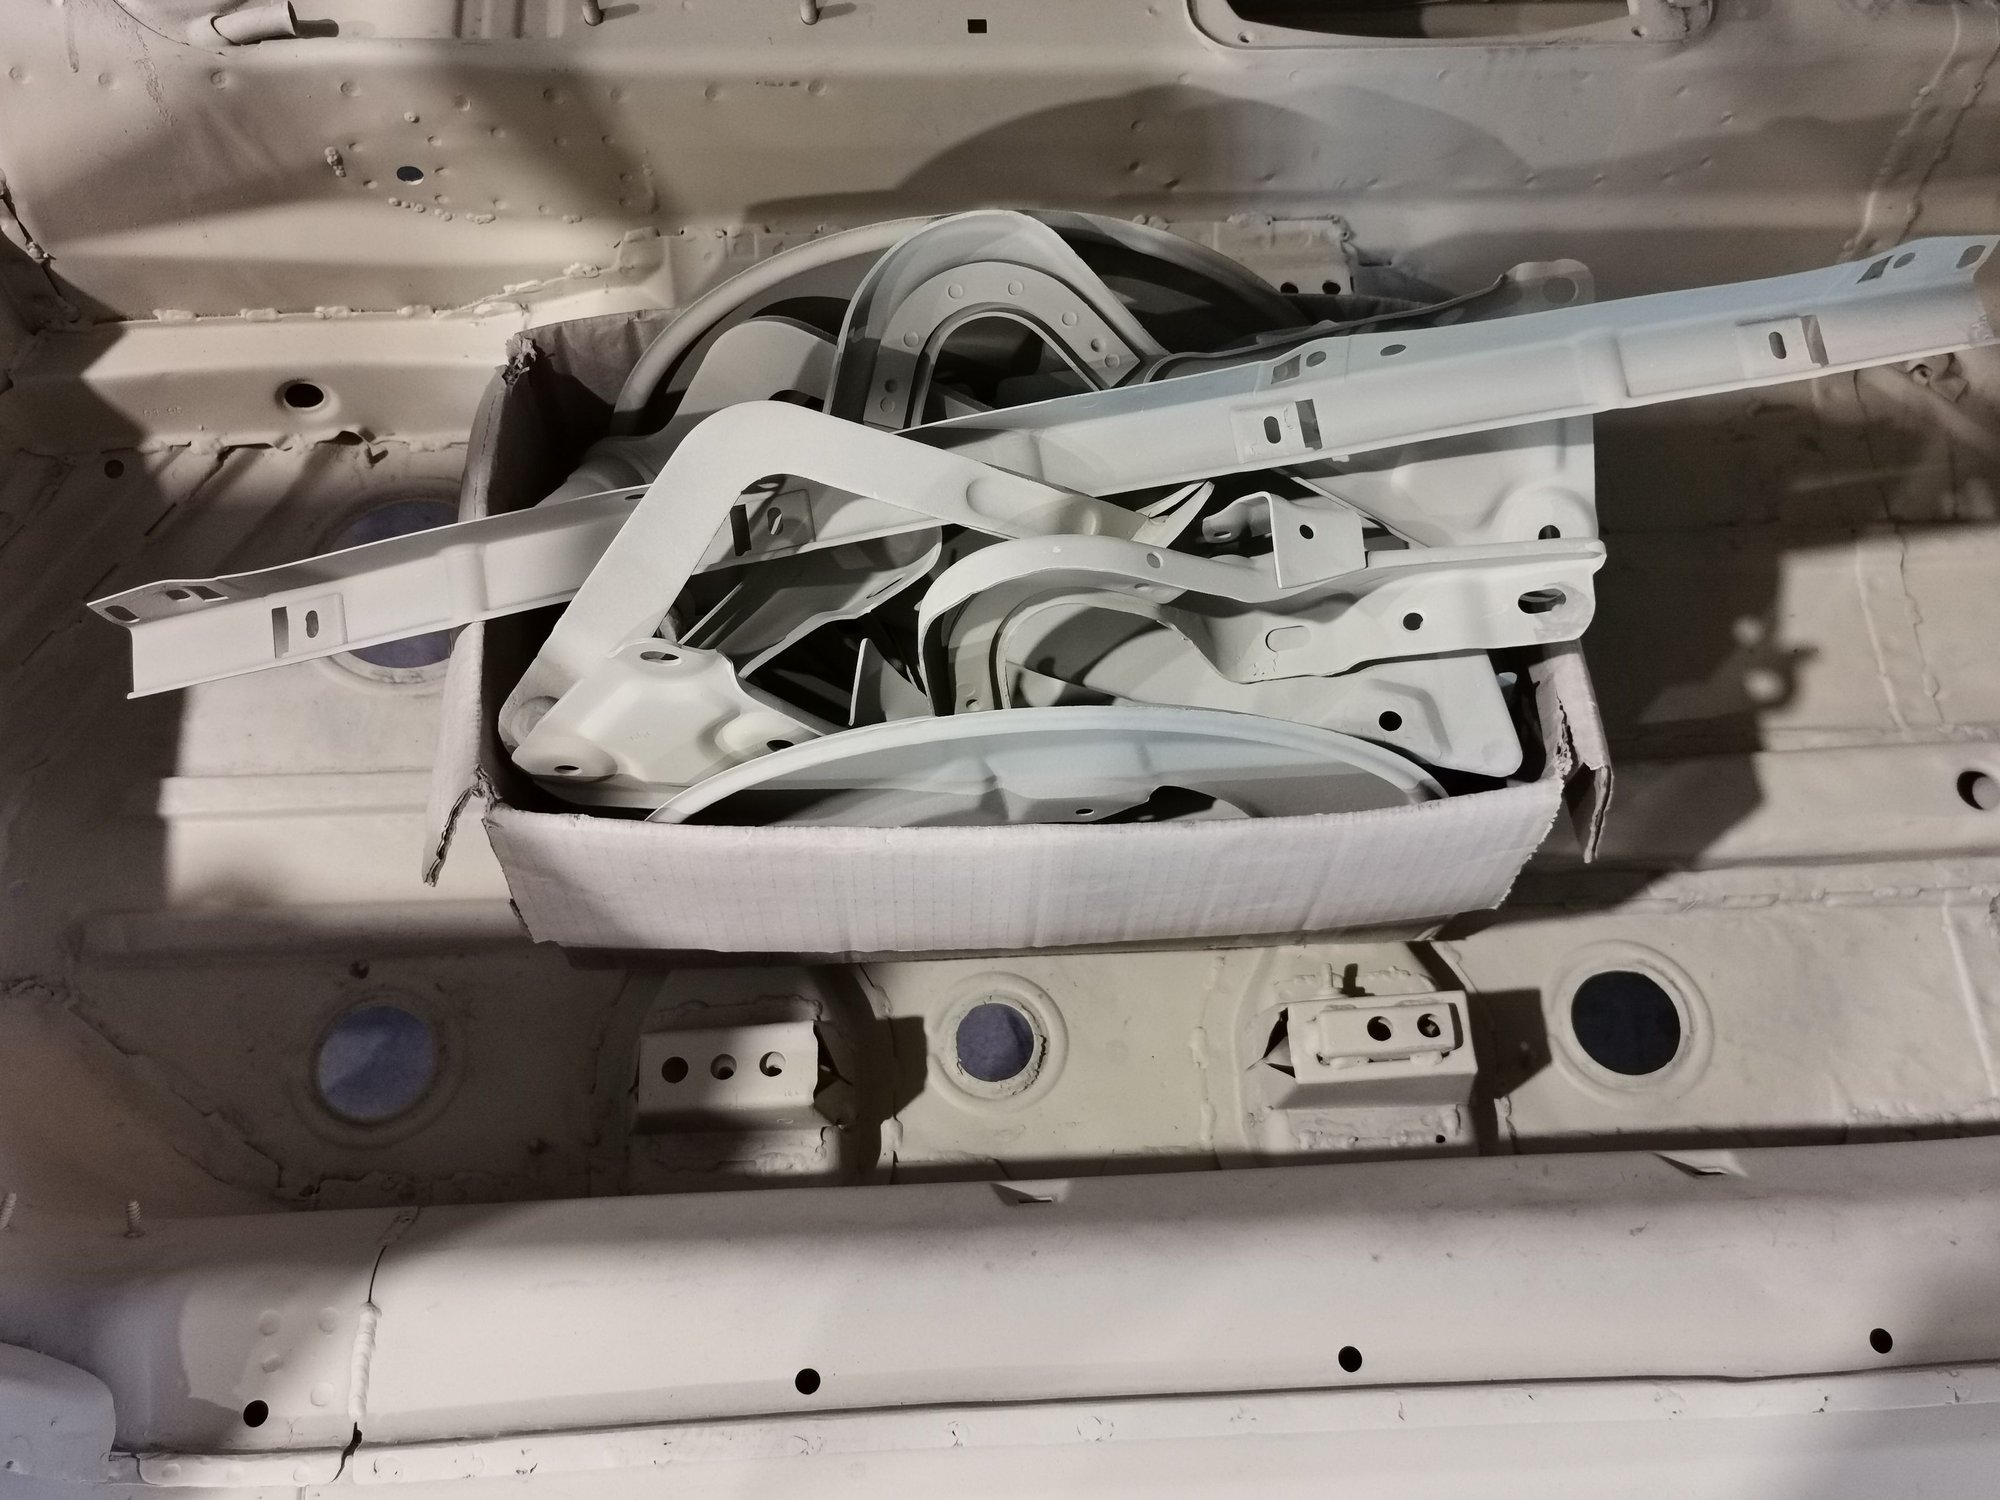
Meanwhile some other bigger parts have been sand blasted and already spray coverd with an anti rust layer
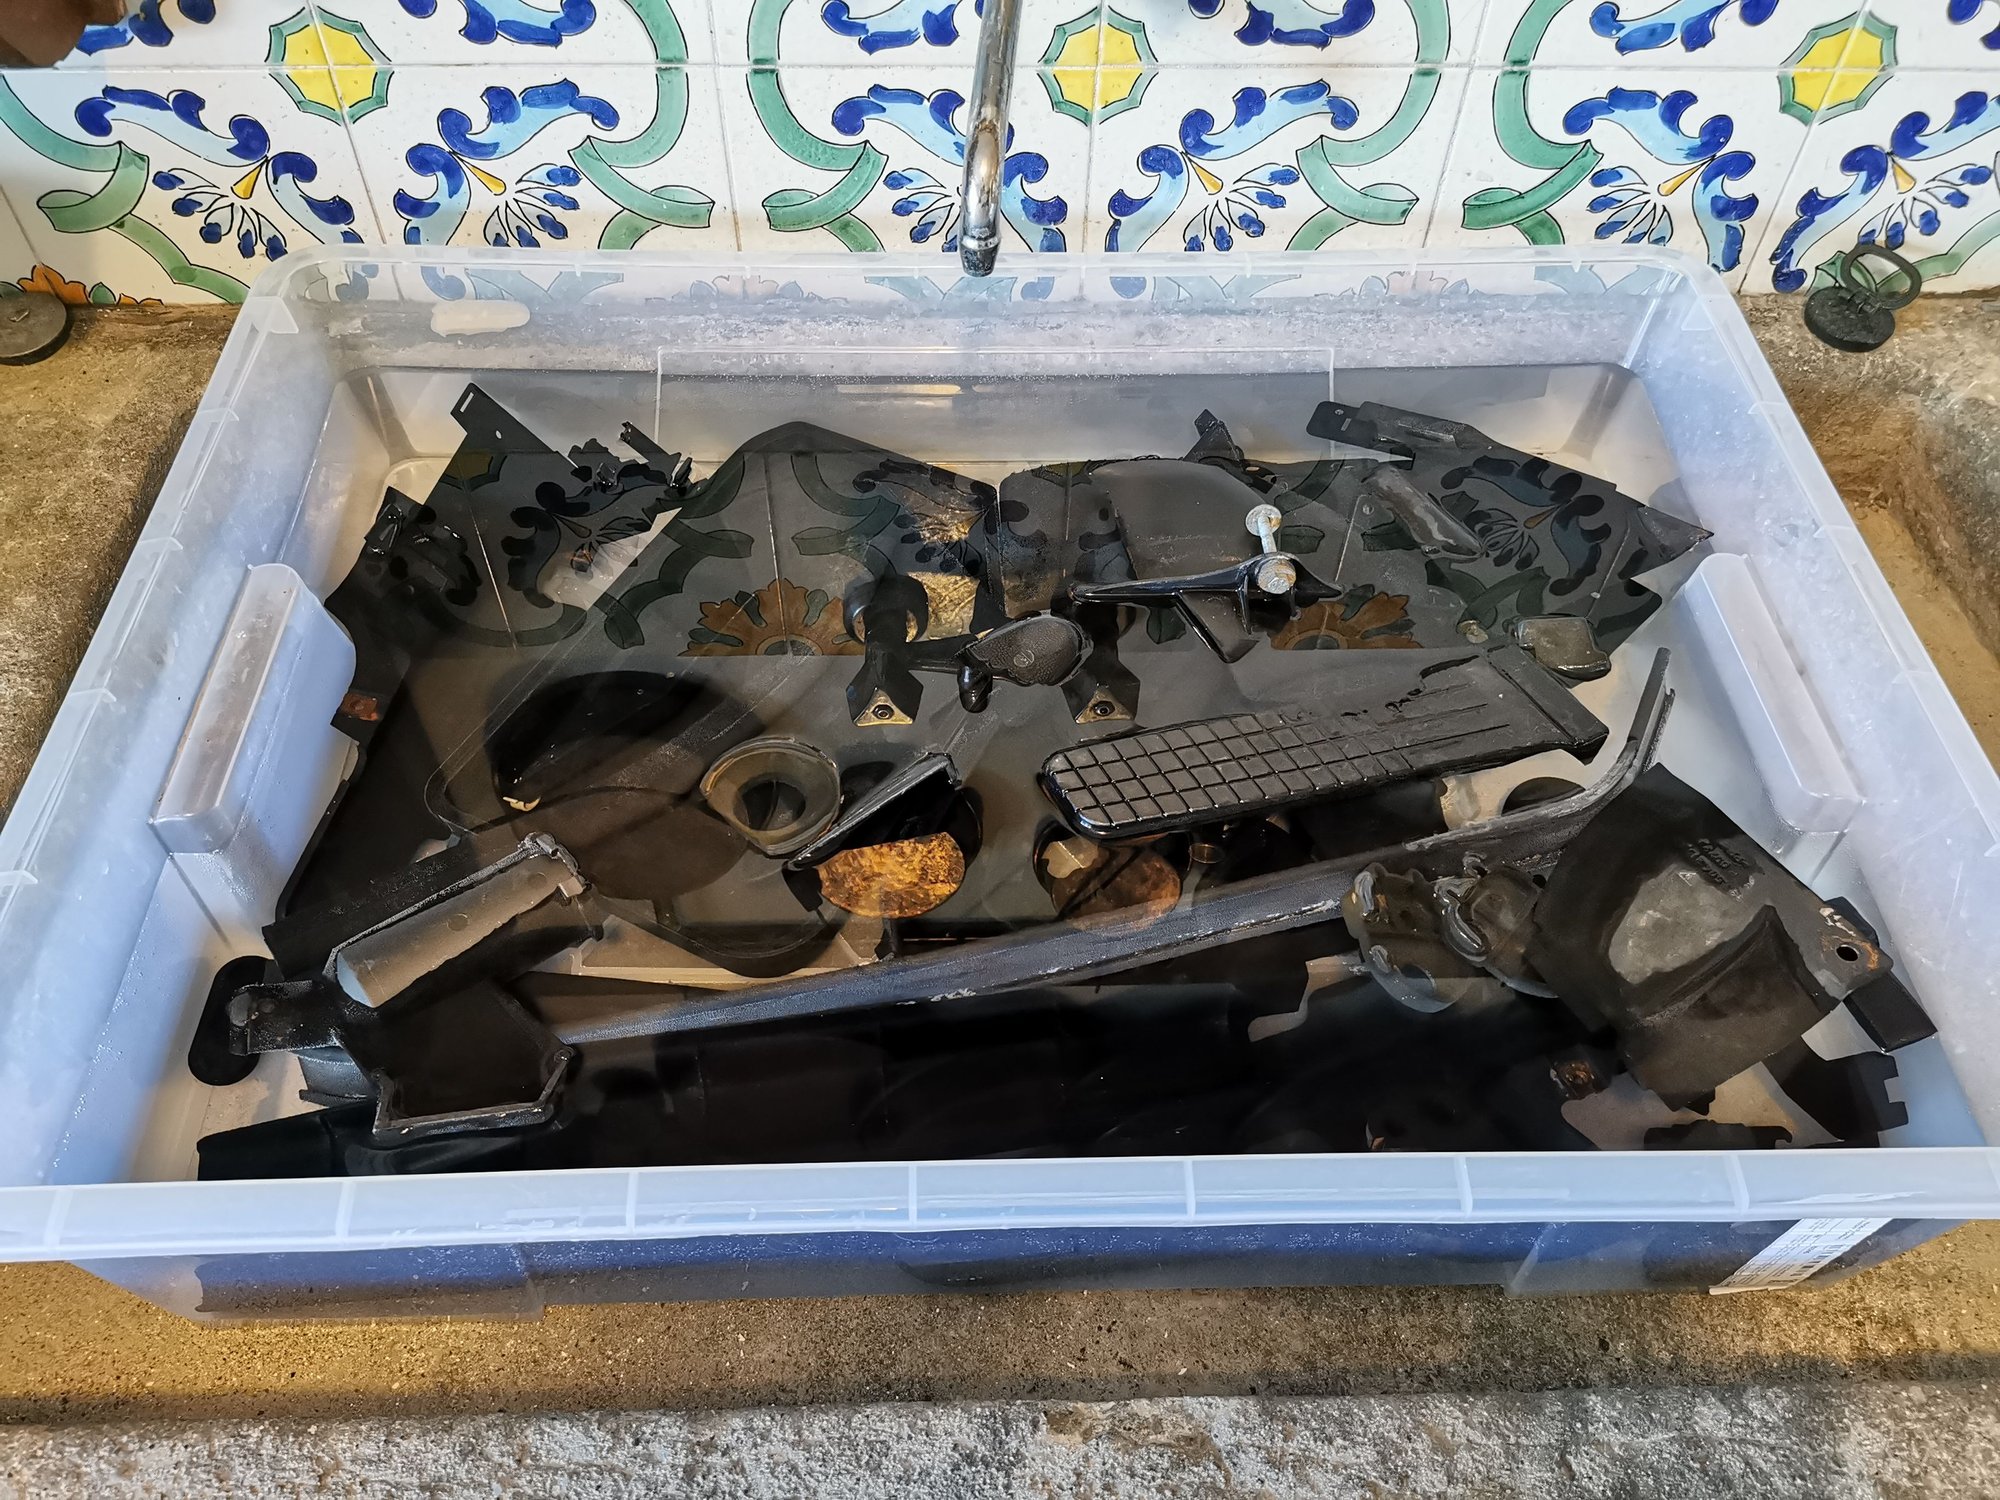
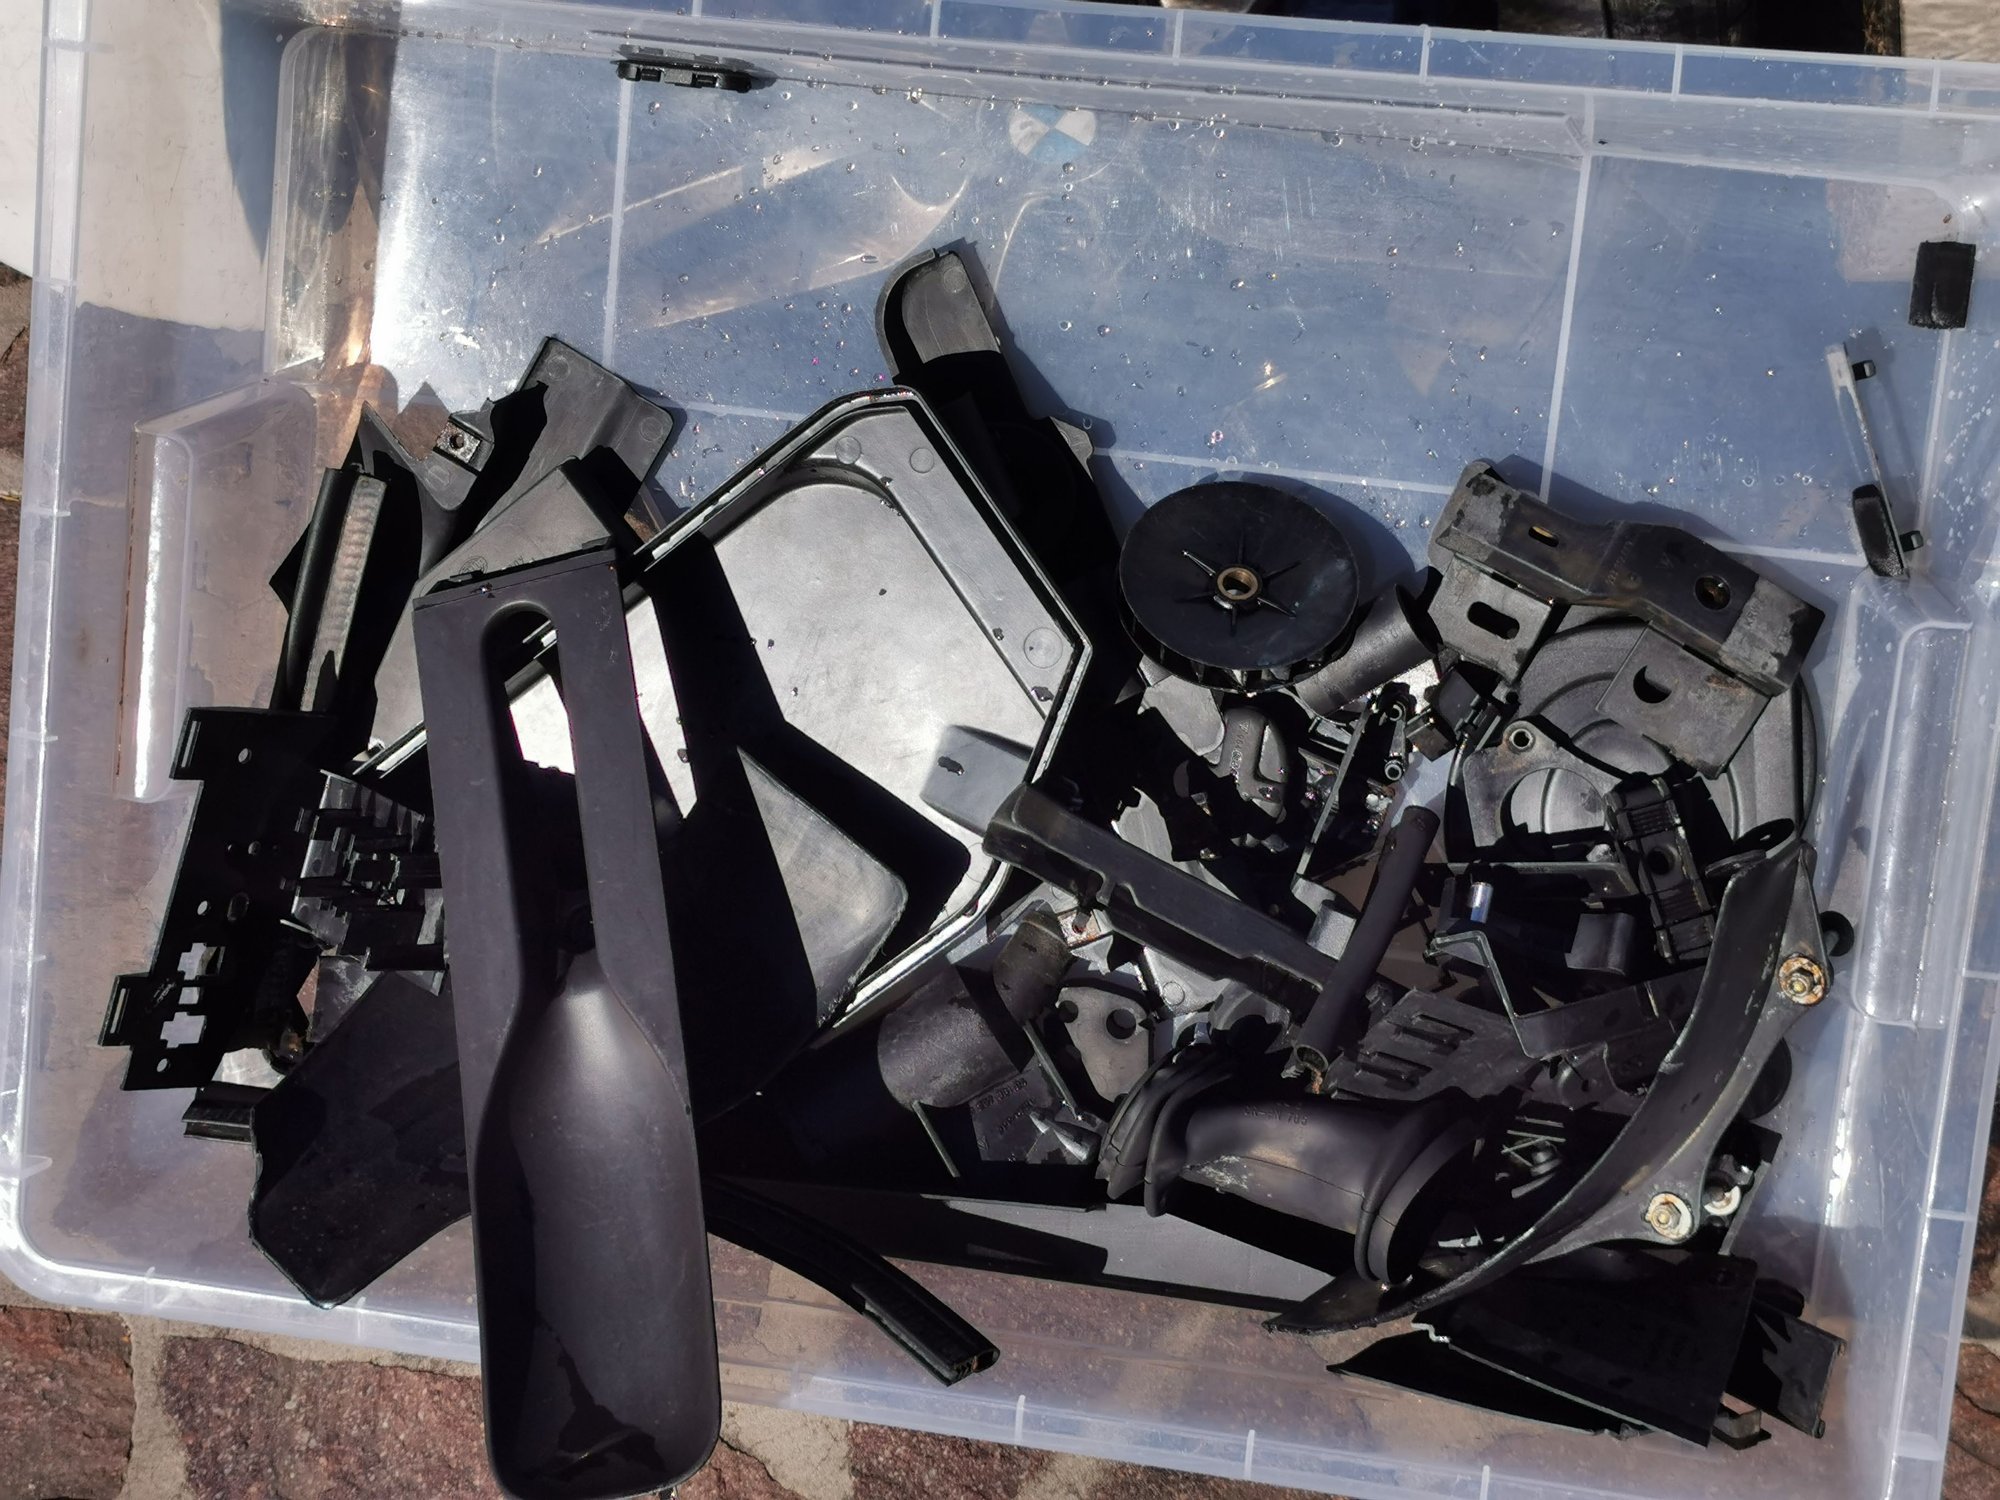
I am also putting all the surviving plastic and rubber parts together, and in order to clean them deeply, I was considering to put them inside a wash machine in a perforated bag, with soap and then give the plastic some kind of plastic finish product, since they are in very good shape.
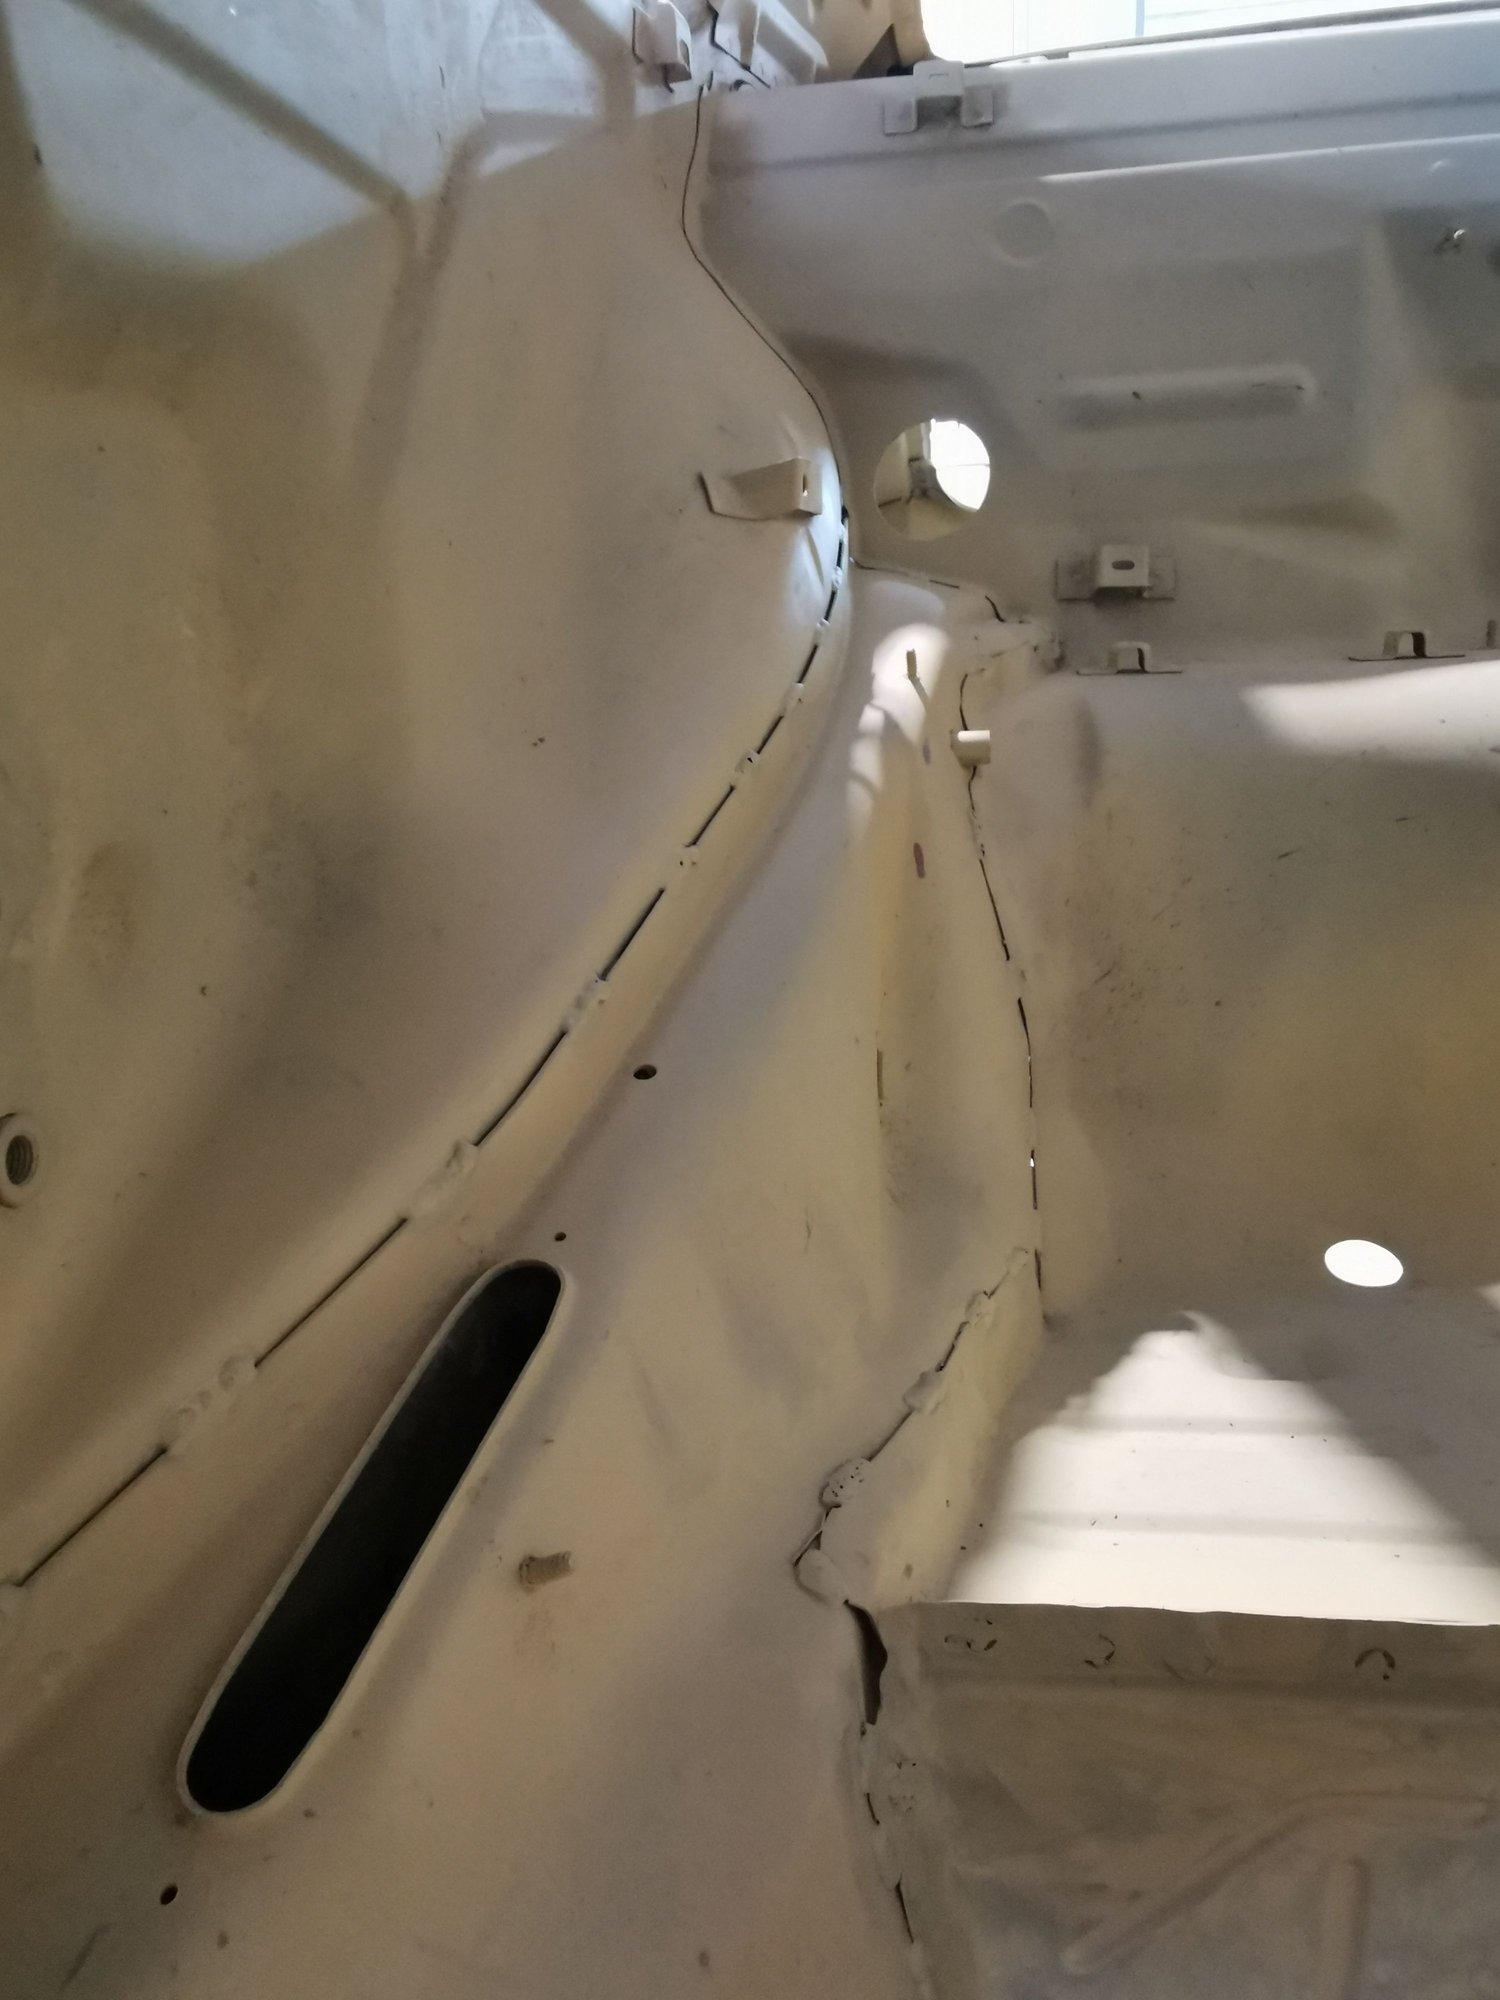
Seam weldings
Spayed sand blasted parts
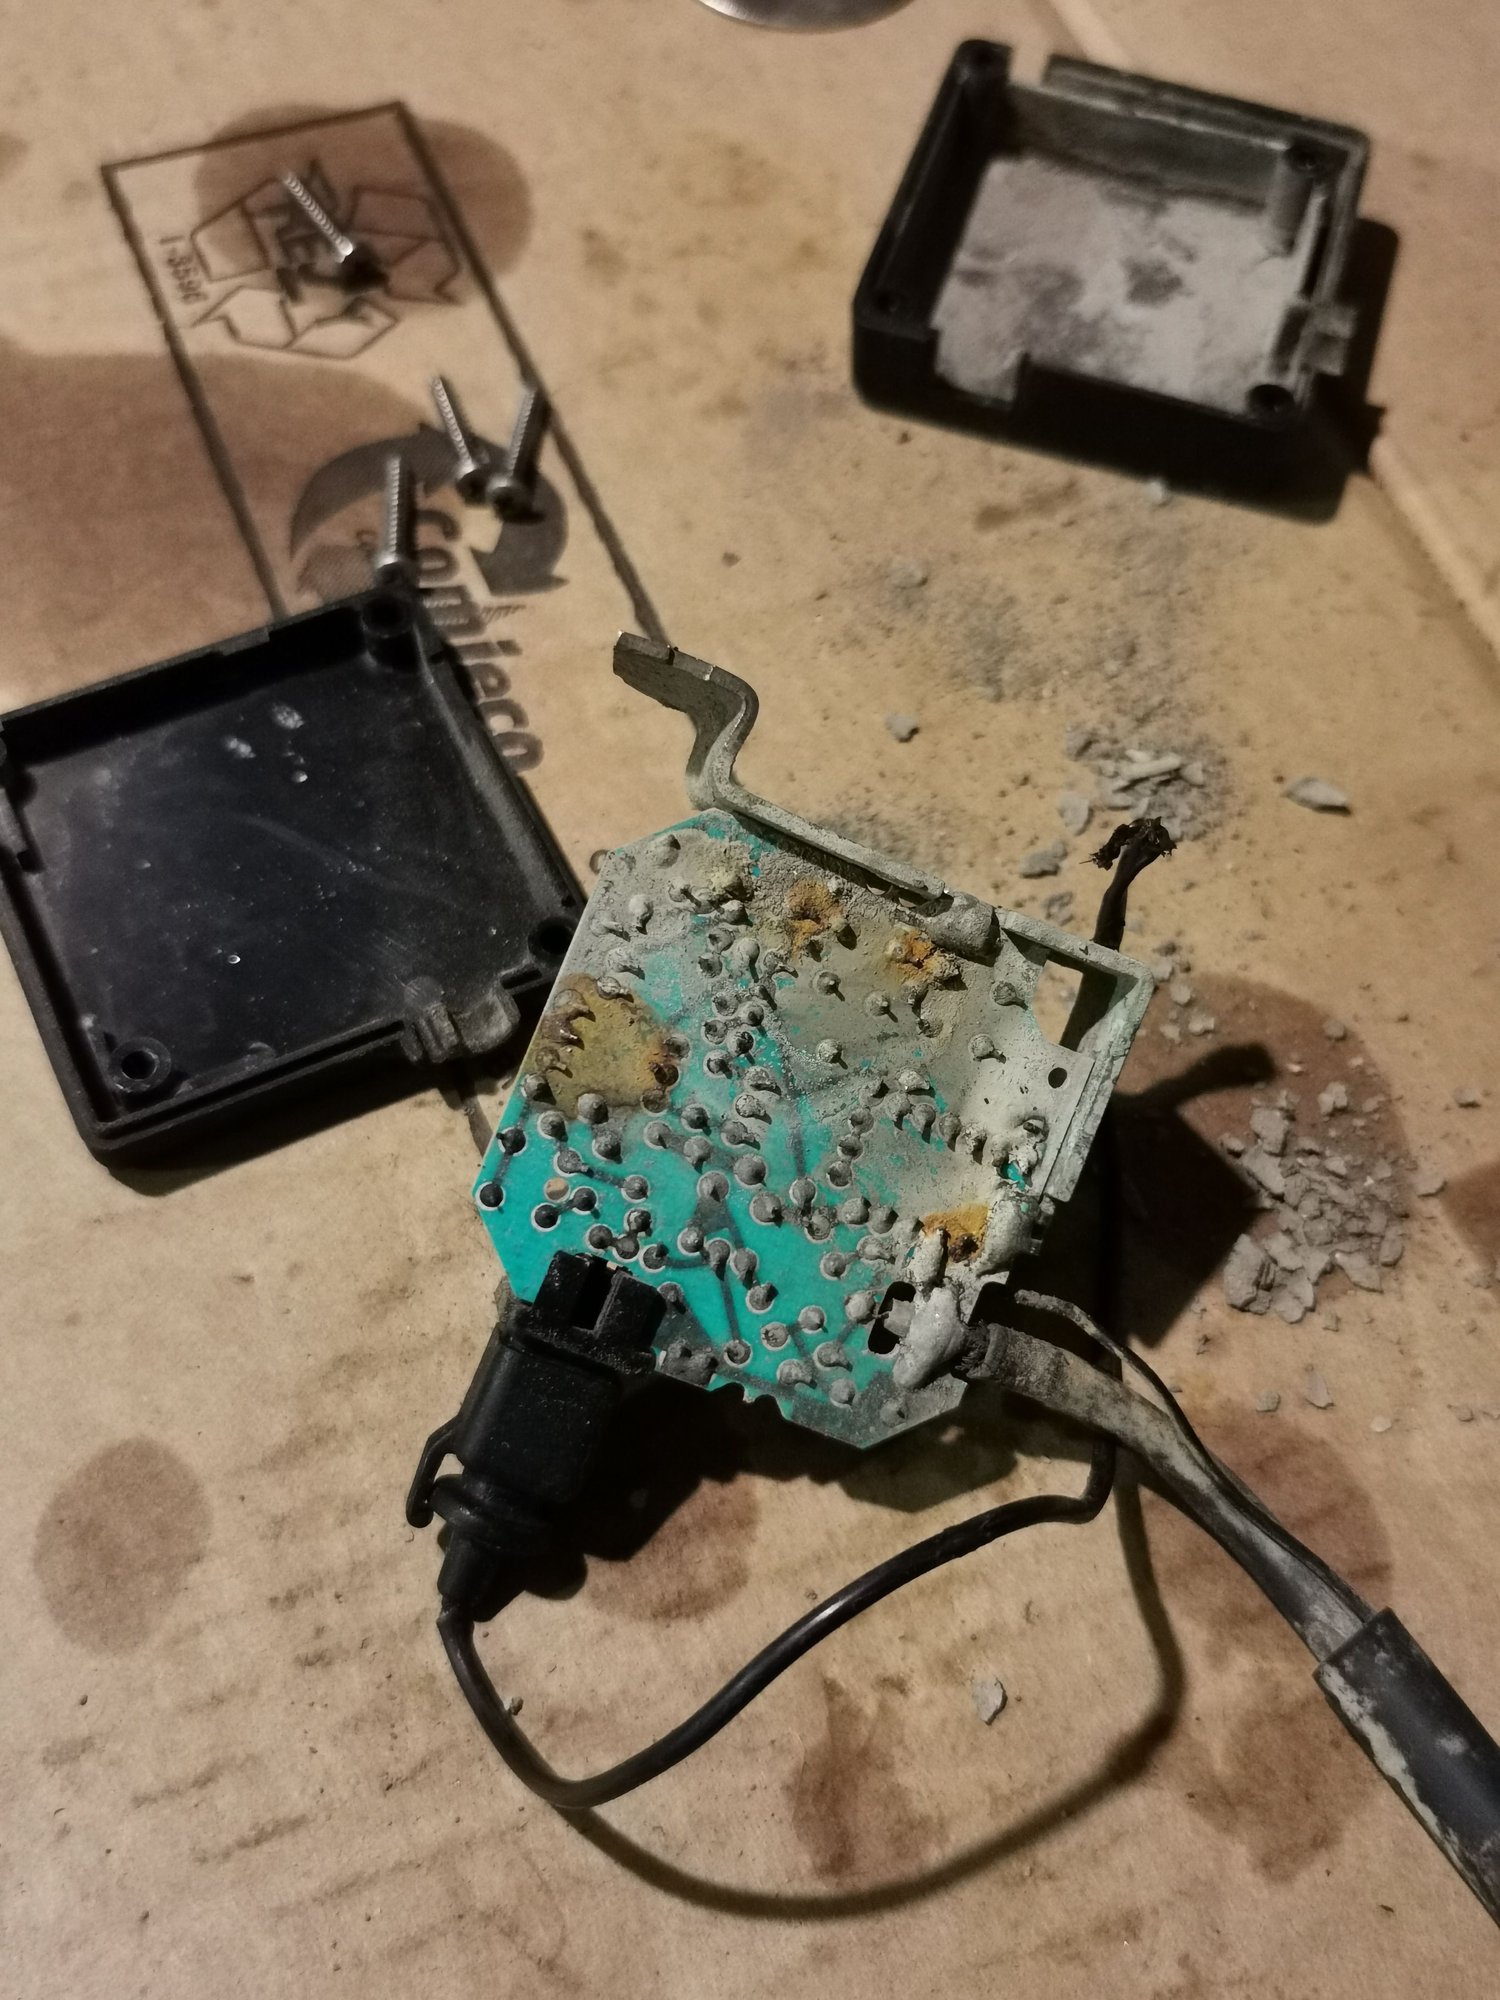
Parts that have something to say...
The FUBA radio antenna amplifier
The tank lid is from some days sitting right next to the mouse on my desk... A very nice presence all day long
it's amazing: one month ago I was in Germany, taking goodies home, now I am in lockdown...
Finally also the rear lid has been water blasted: no sign of damage on the zinced surface this time, I am planning to go for the engine fan restoration. Do I need and extractor for sure: can anyone help giving some advice which one is the one to go and if there are tricks or things to be very careful about while removing the fan from the fan housing?
I would also like to find details on the mods to add for using the "bubble depression reservoir" that is necessary to actuate the varioram intake depression servos...I suppose some hanging screw must be welded to the body, right? is there a template or a thread somewhere or can someone give me indications?
I am considering making the engine fan same color as the car, what do you think about it?
I think it would look great. Not faithful to a true reproduction but who cares?
Exactly! I think it is a nice personalization, opening the engine lid and see the core of the engine painted the same color of the car...with the fan housing painted same not glossy neither matt black of most of the underbody stuff, it should look nice.
Finally also the rear lid has been water blasted: no sign of damage on the zinced surface this time, I am planning to go for the engine fan restoration. Do I need and extractor for sure: can anyone help giving some advice which one is the one to go and if there are tricks or things to be very careful about while removing the fan from the fan housing?
This is the way I did it. Cheap puller with the arms removed and wire from an old coat hanger. Worked like a charm.

 10-21-2020, 01:00 PM