When you click on links to various merchants on this site and make a purchase, this can result in this site earning a commission. Affiliate programs and affiliations include, but are not limited to, the eBay Partner Network.
Just a comment about using spare parts to modify. It is hugely helpful because you can study all of the hidden clips and fasteners before you start removing stubborn parts. Much less breakage and frustration.
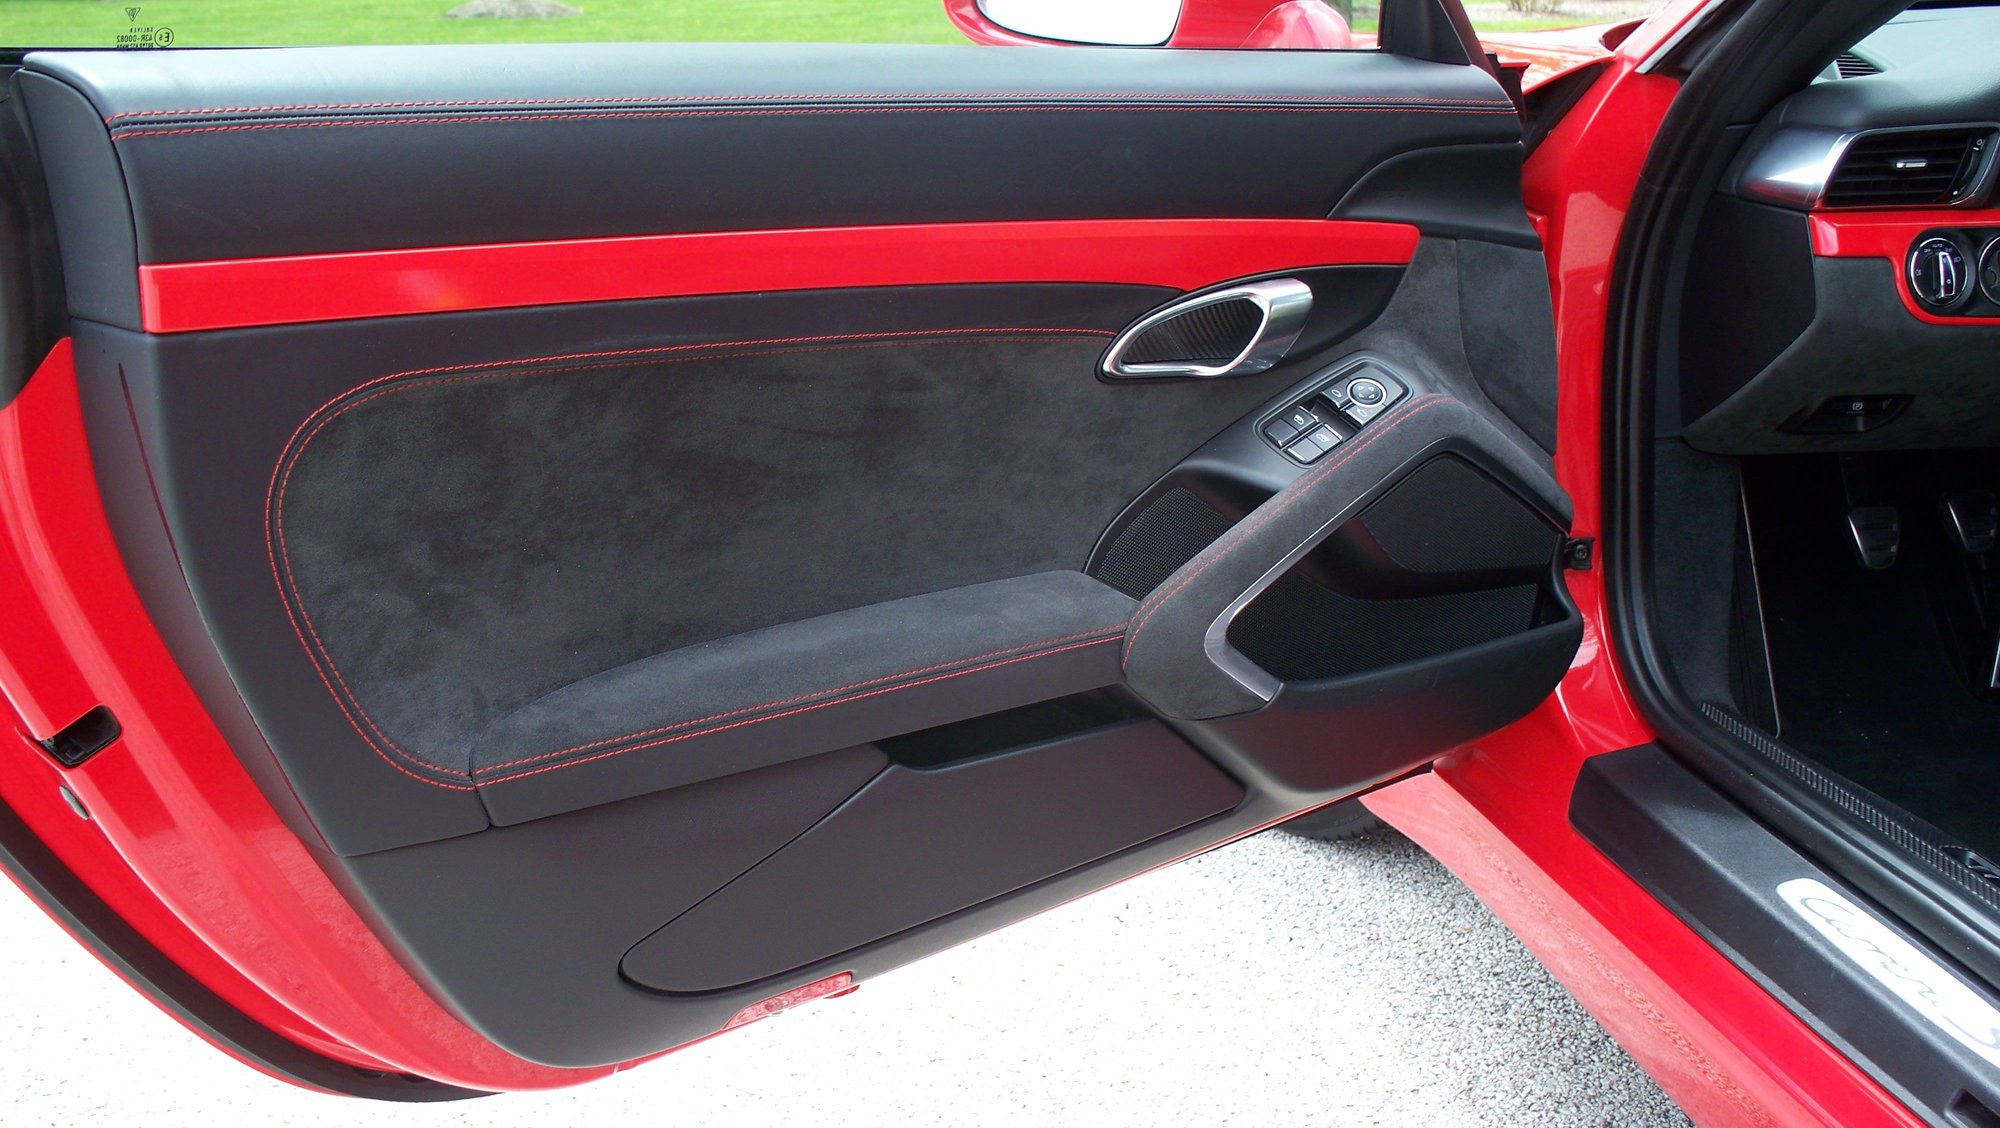
First I had to transfer red door trim to new alcantara and leather door panels. No problem, I'm an expert on door panels now.
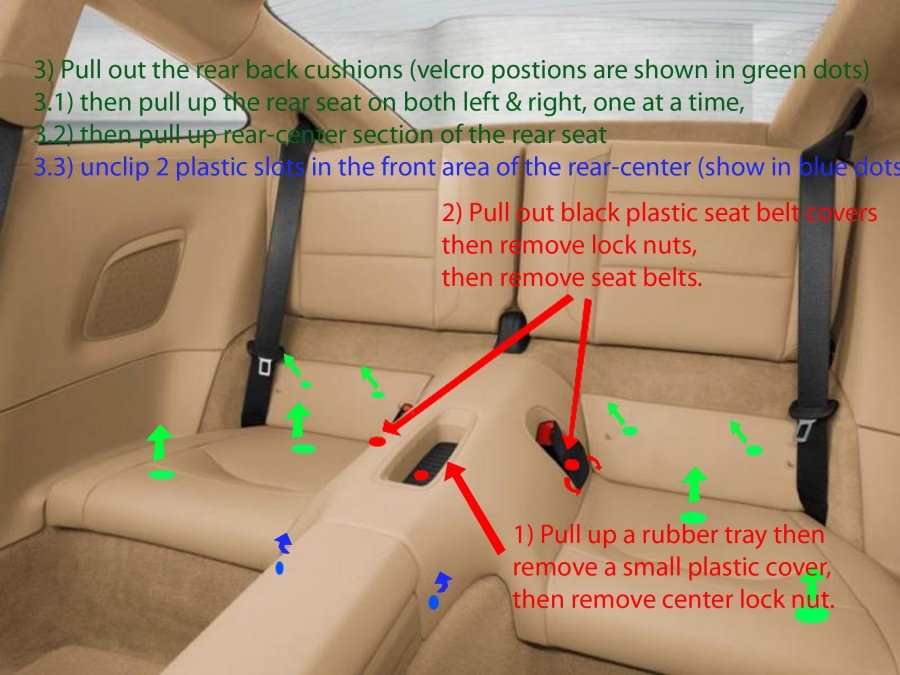
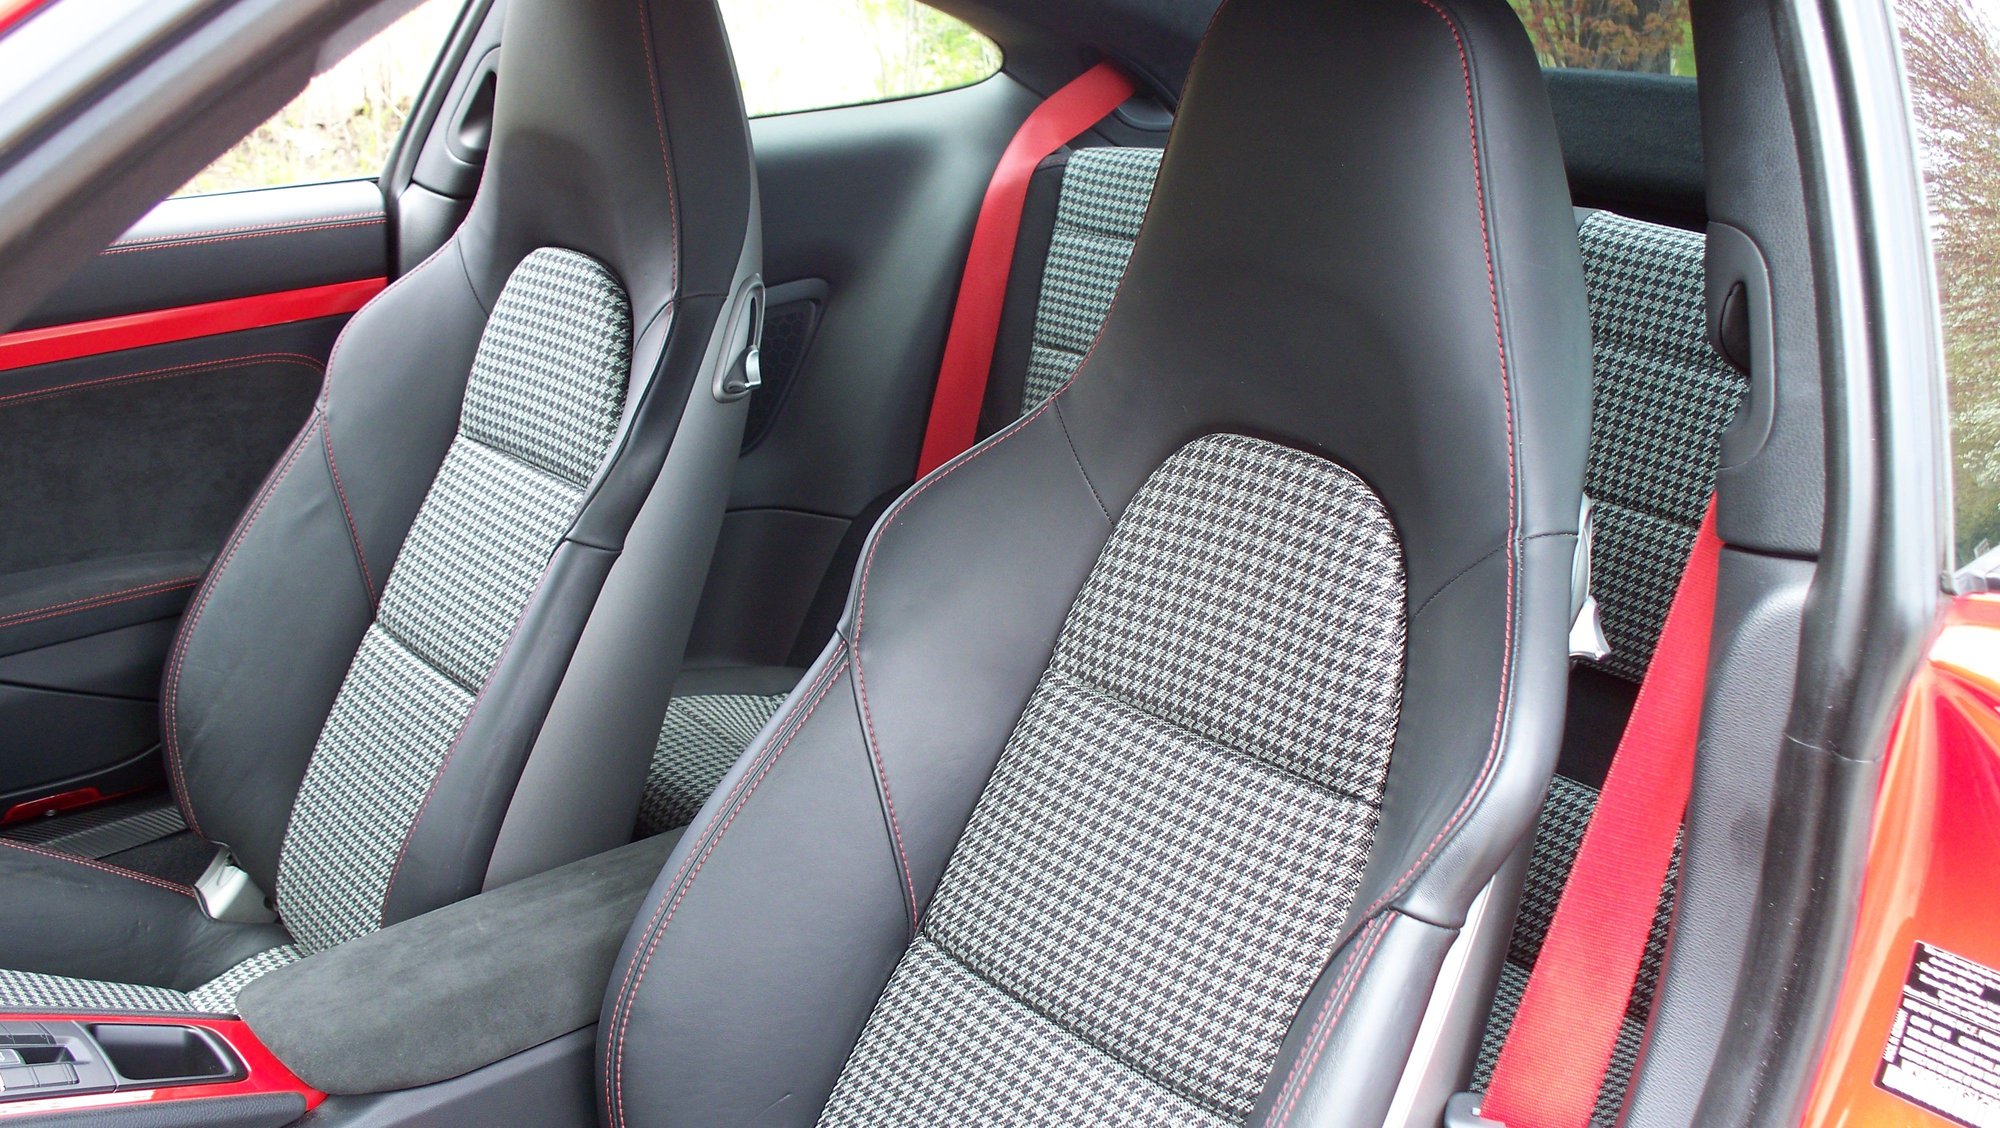
Then remove the seats. The front is very easy, just drape a blanket over the door jam so you don't scratch anything.
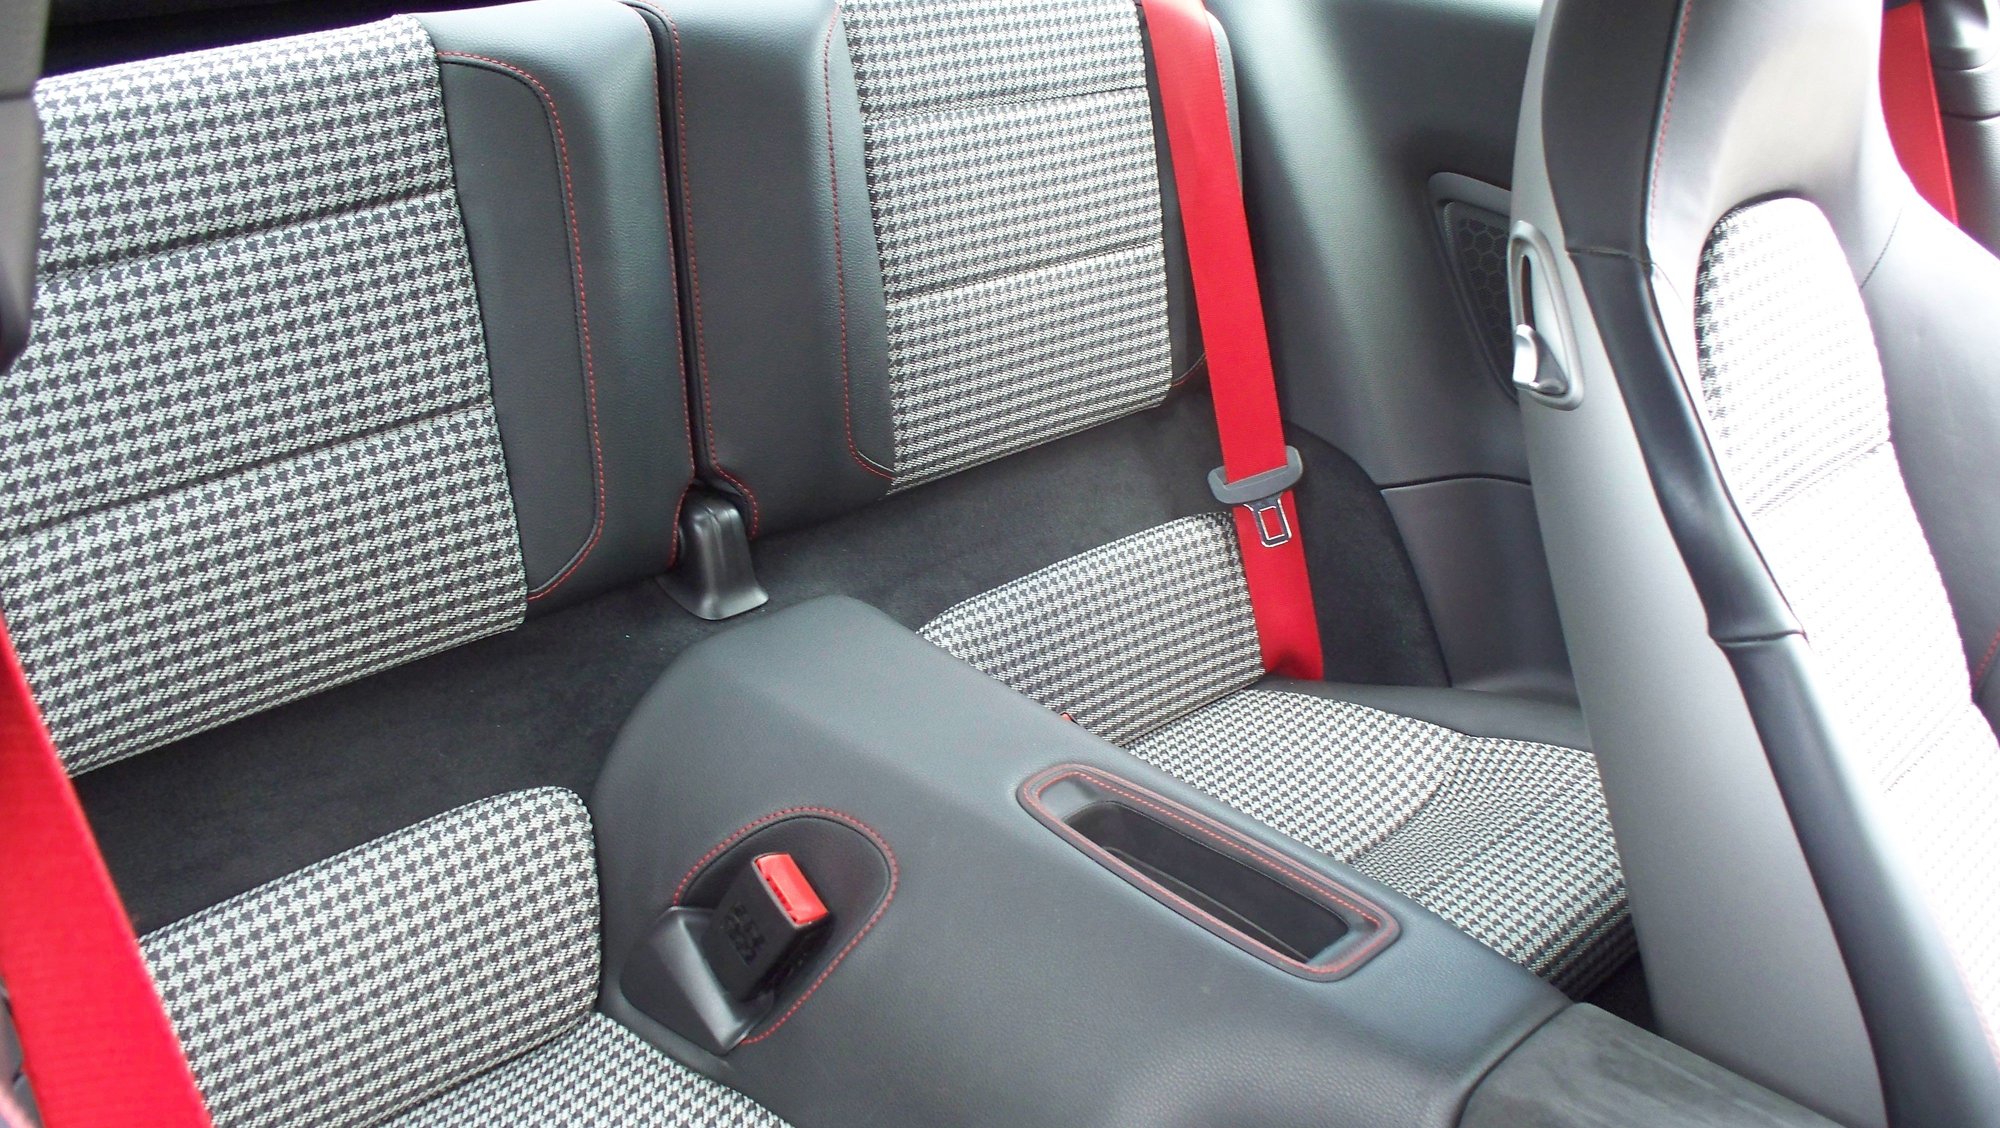
The rear seat was a little tricky. I found this picture to help on the seat bottom. Sorry I can't recall where I found it.
The best source for rear seat removal is a rear rollbar procedure I found here. Roll bar install pdf
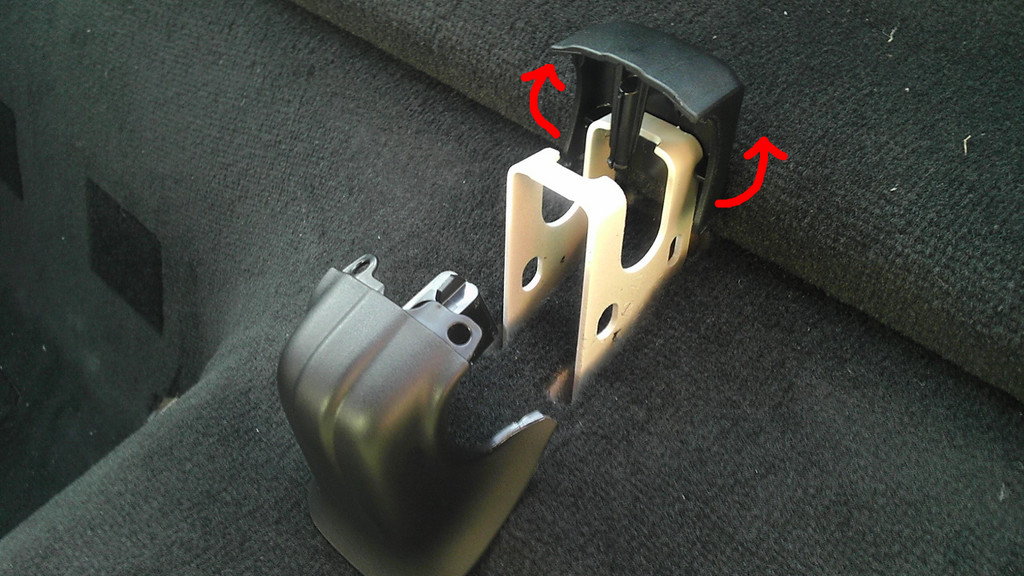
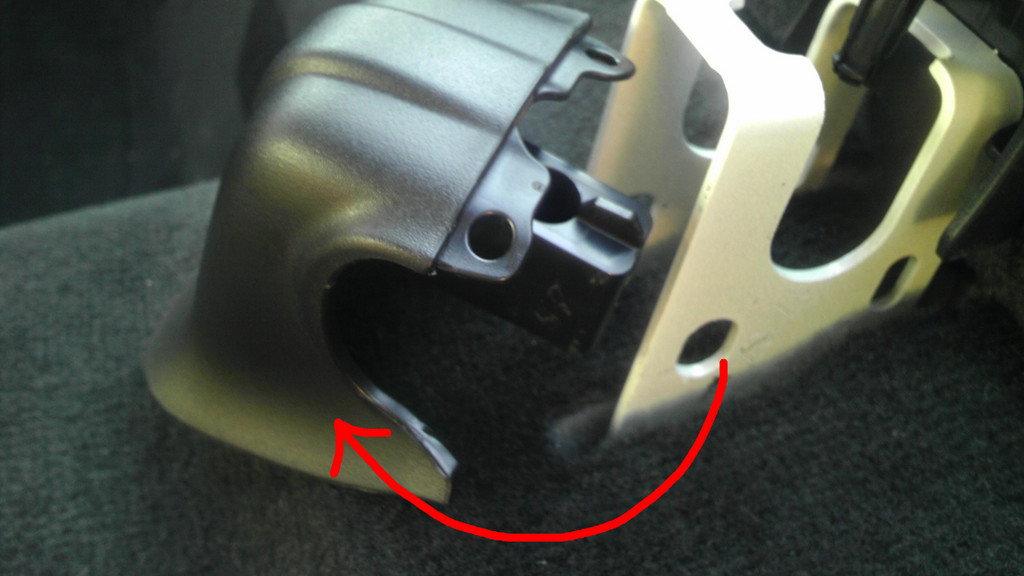
..edit, added pics of rear seat bracket
This is another helpful thread on B pillar issues Rear interior panel removal
At the end of the thread Plenum linked Porsche service manuals which were very helpful. Service manual reference
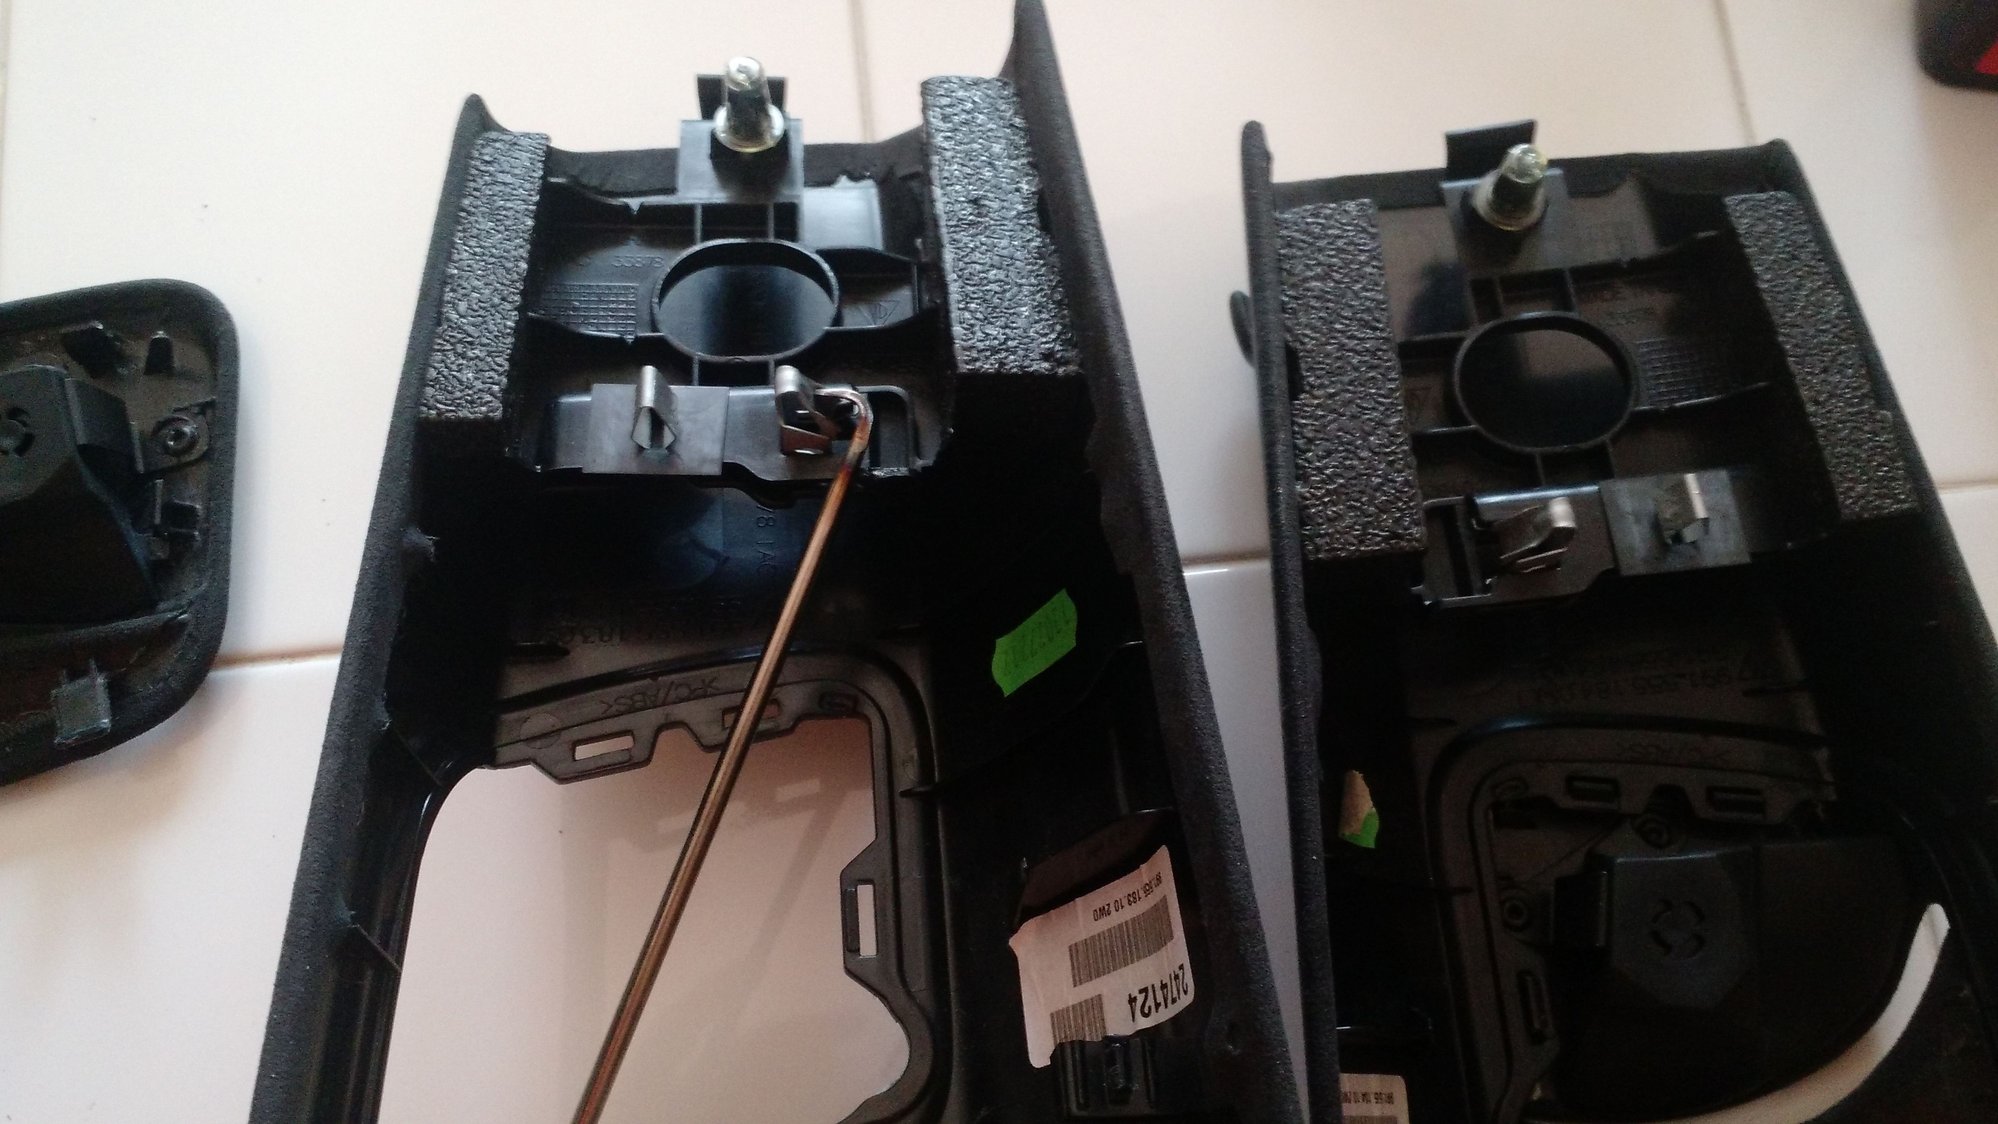
Even with these resources, I struggled to replace the side panels. I got the B pillar off after I made a tool to replace VW tool T10118. I couldn't get the rear side panels to budge, so I didn't install my deviated stitched side panels. I didn't want to create a bunch of rattles. Maybe another day..
Rear seats installed.
....edit...
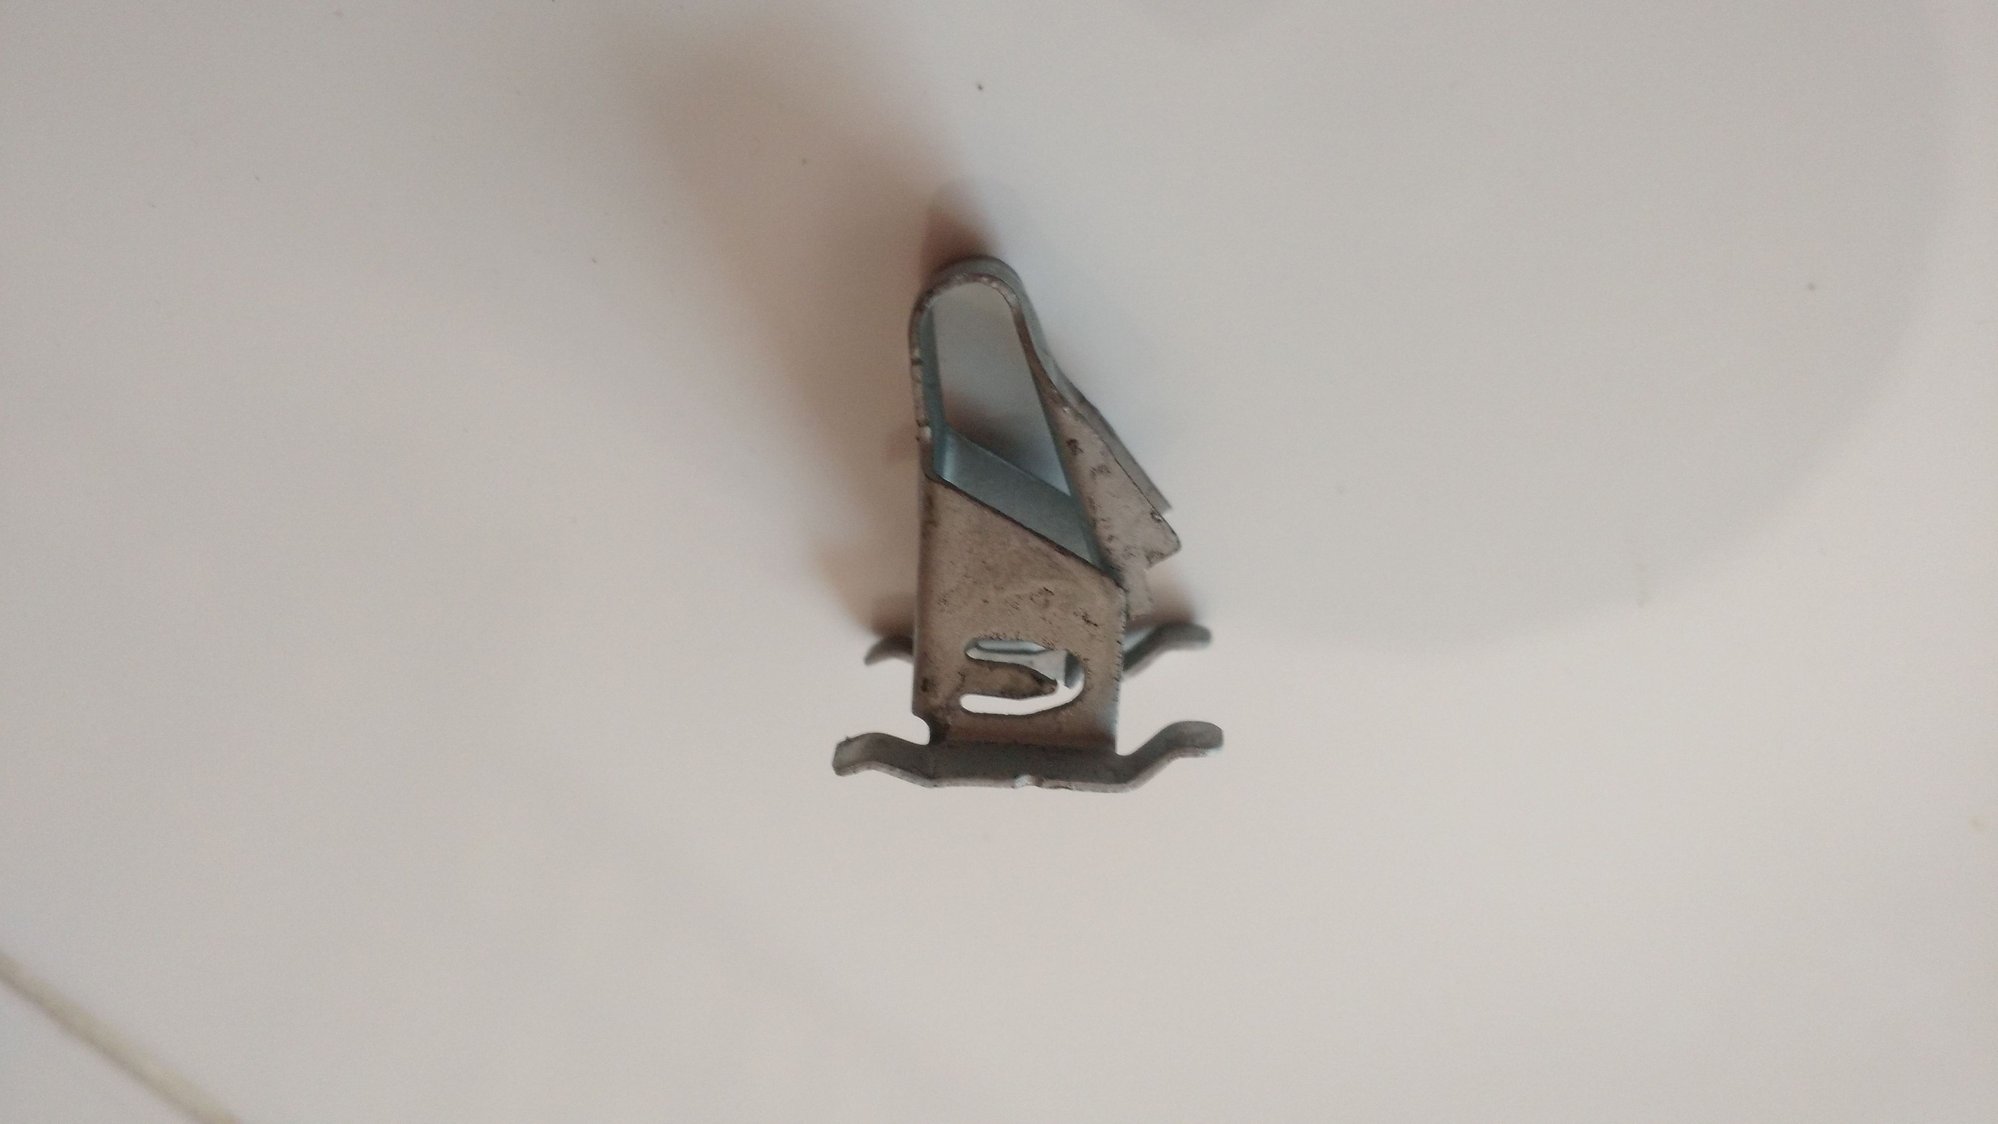
Added pictures of hidden B pillar clip and tool
Last edited by DanQ; 06-01-2020 at 04:52 PM.
Reason: Added pics of clip
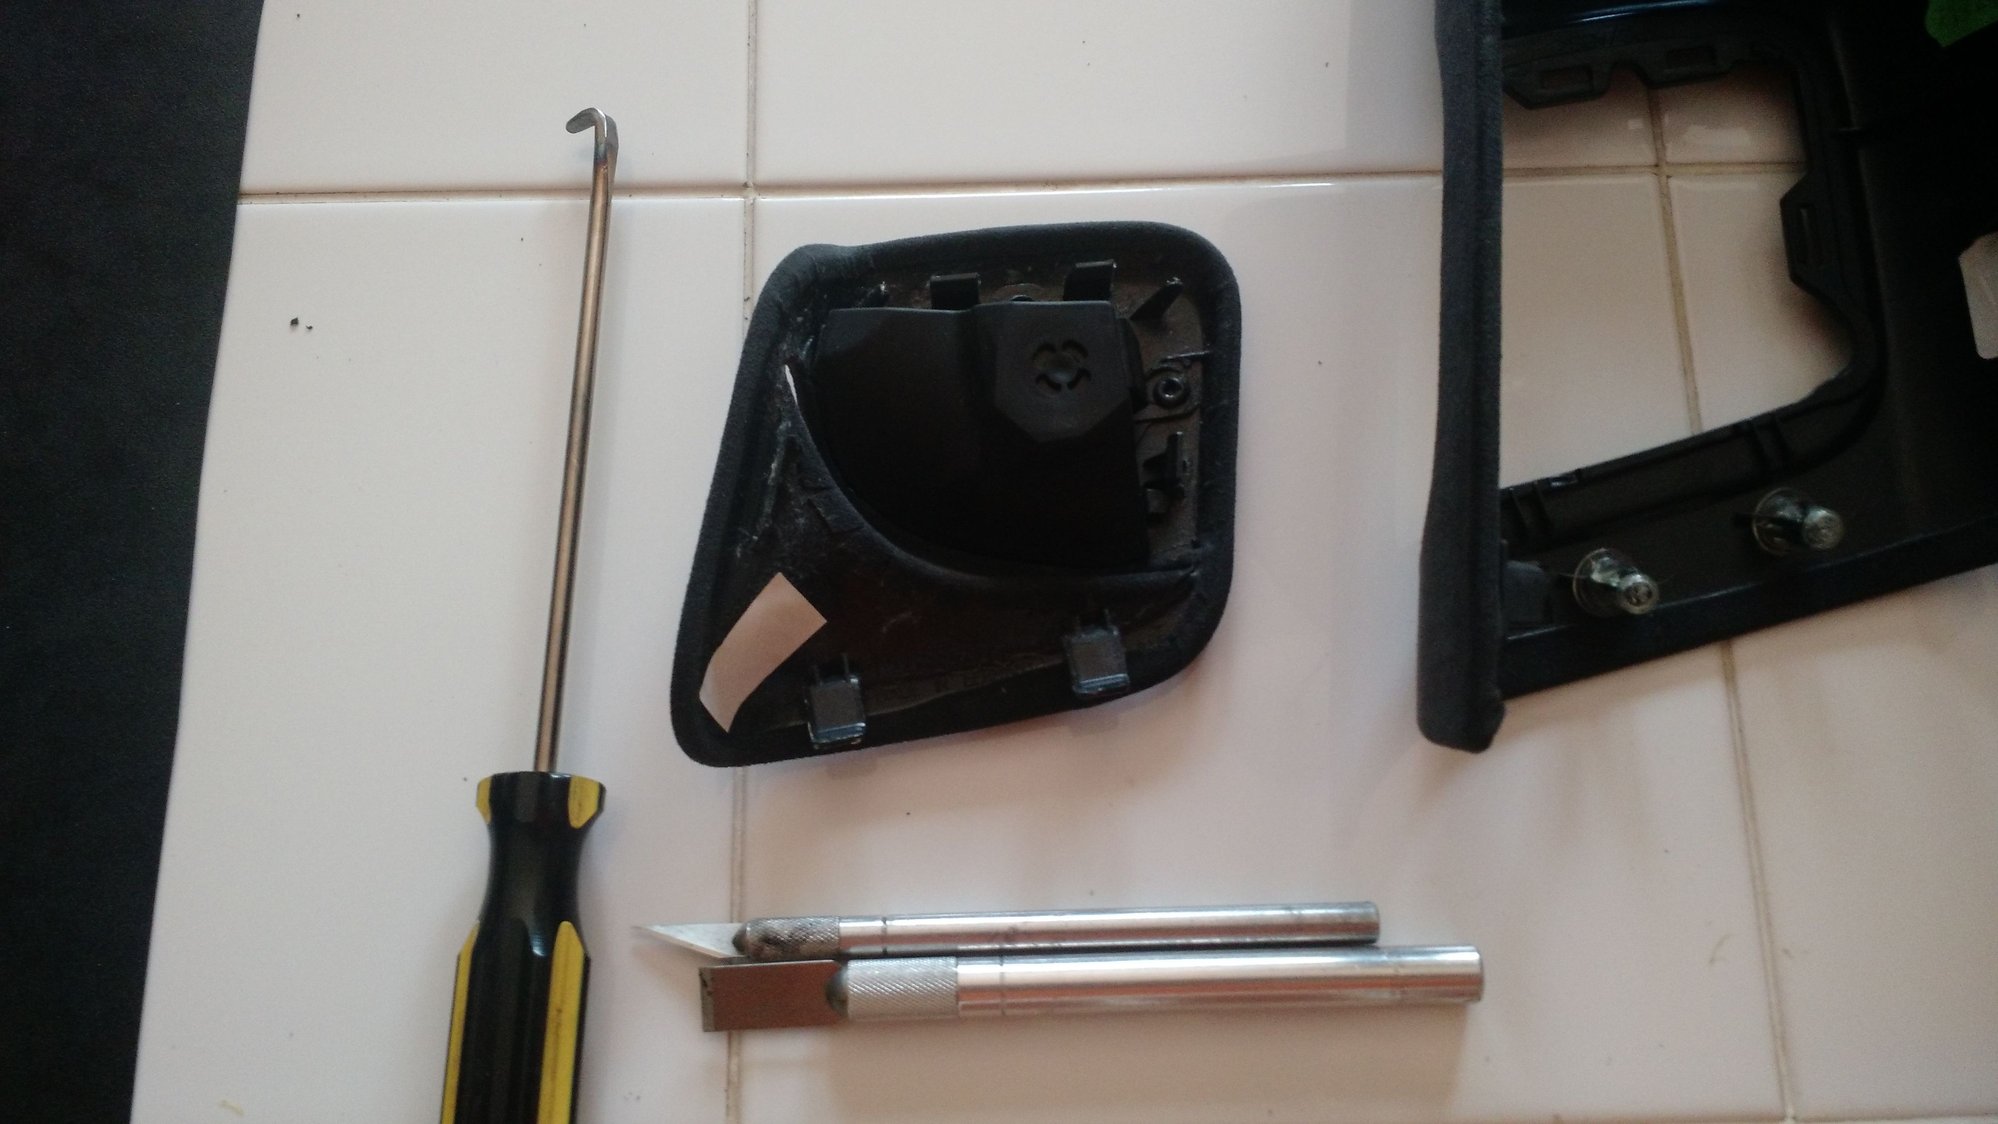
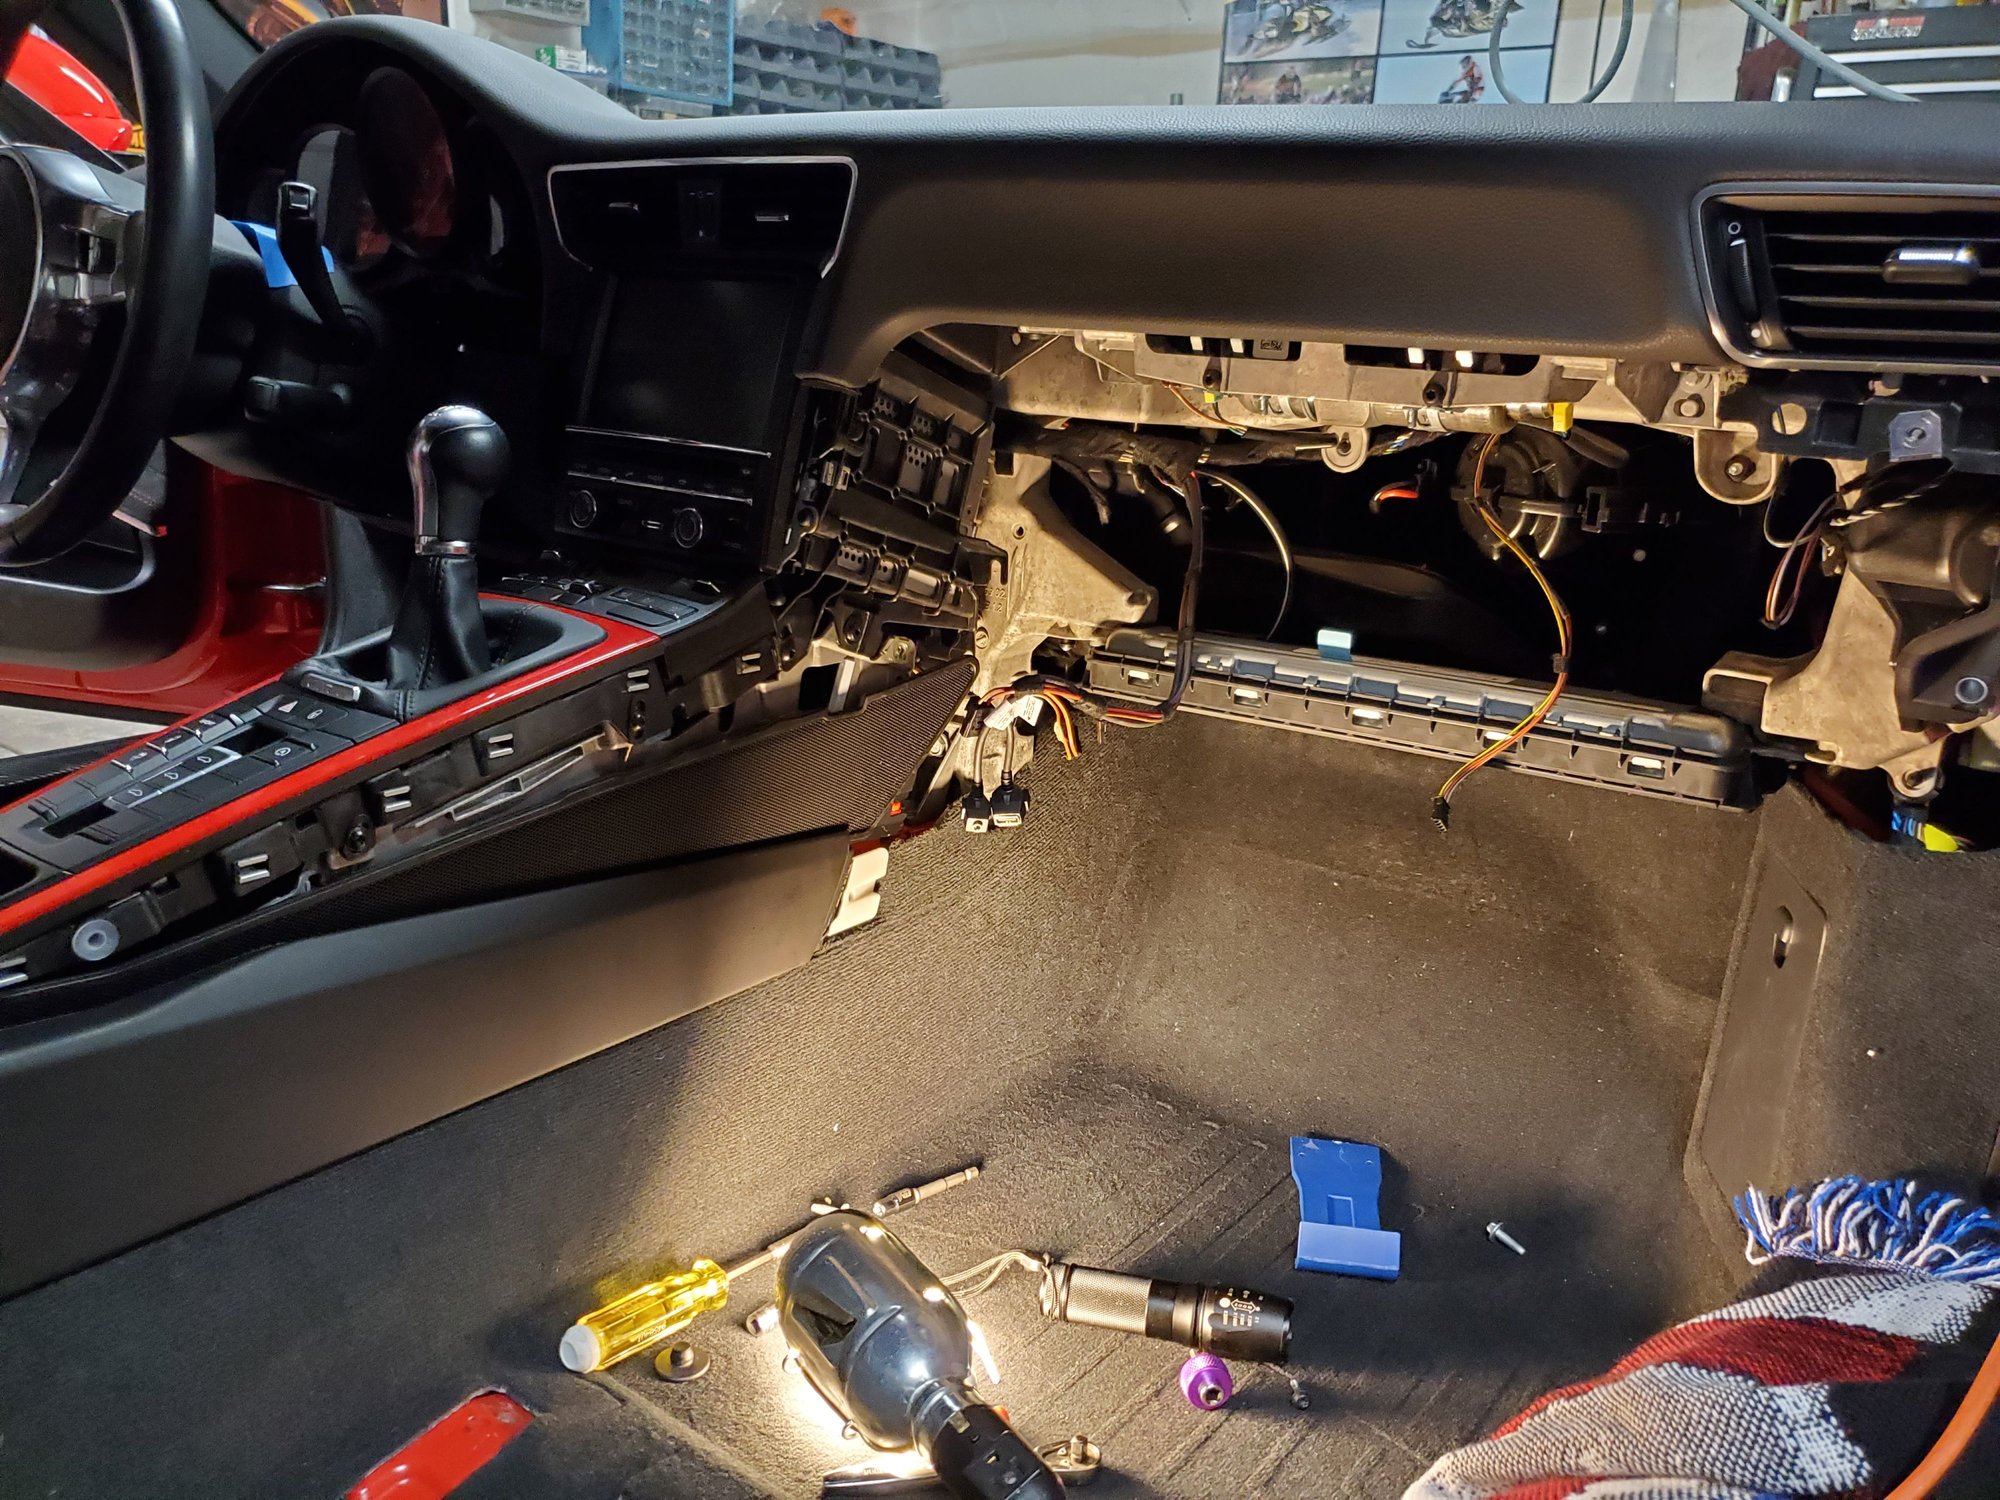
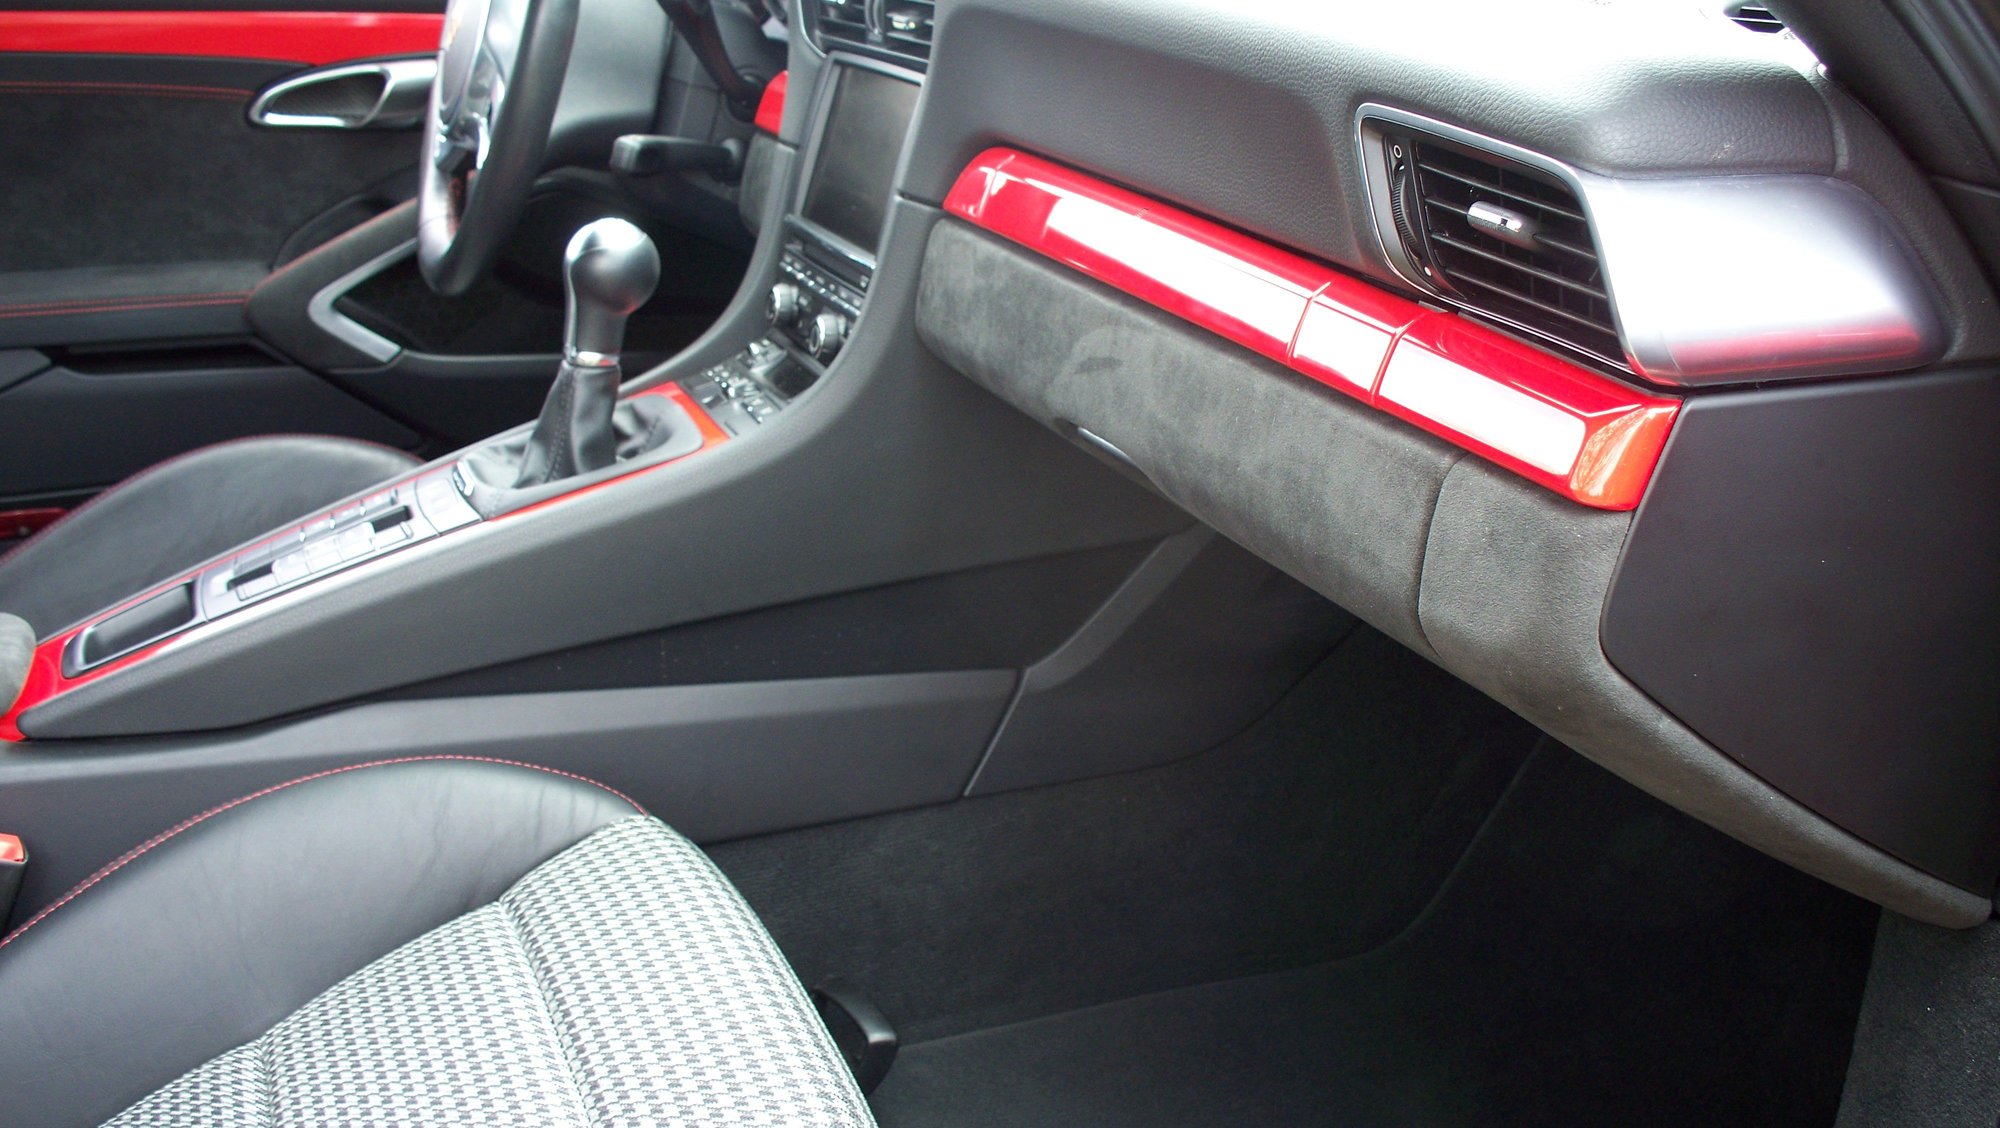
Next part is the trim panel under the steering wheel. It helped that the seats are out. I'm not limber enough anymore to twist around in confined space.
WM 701929 service manual summary:
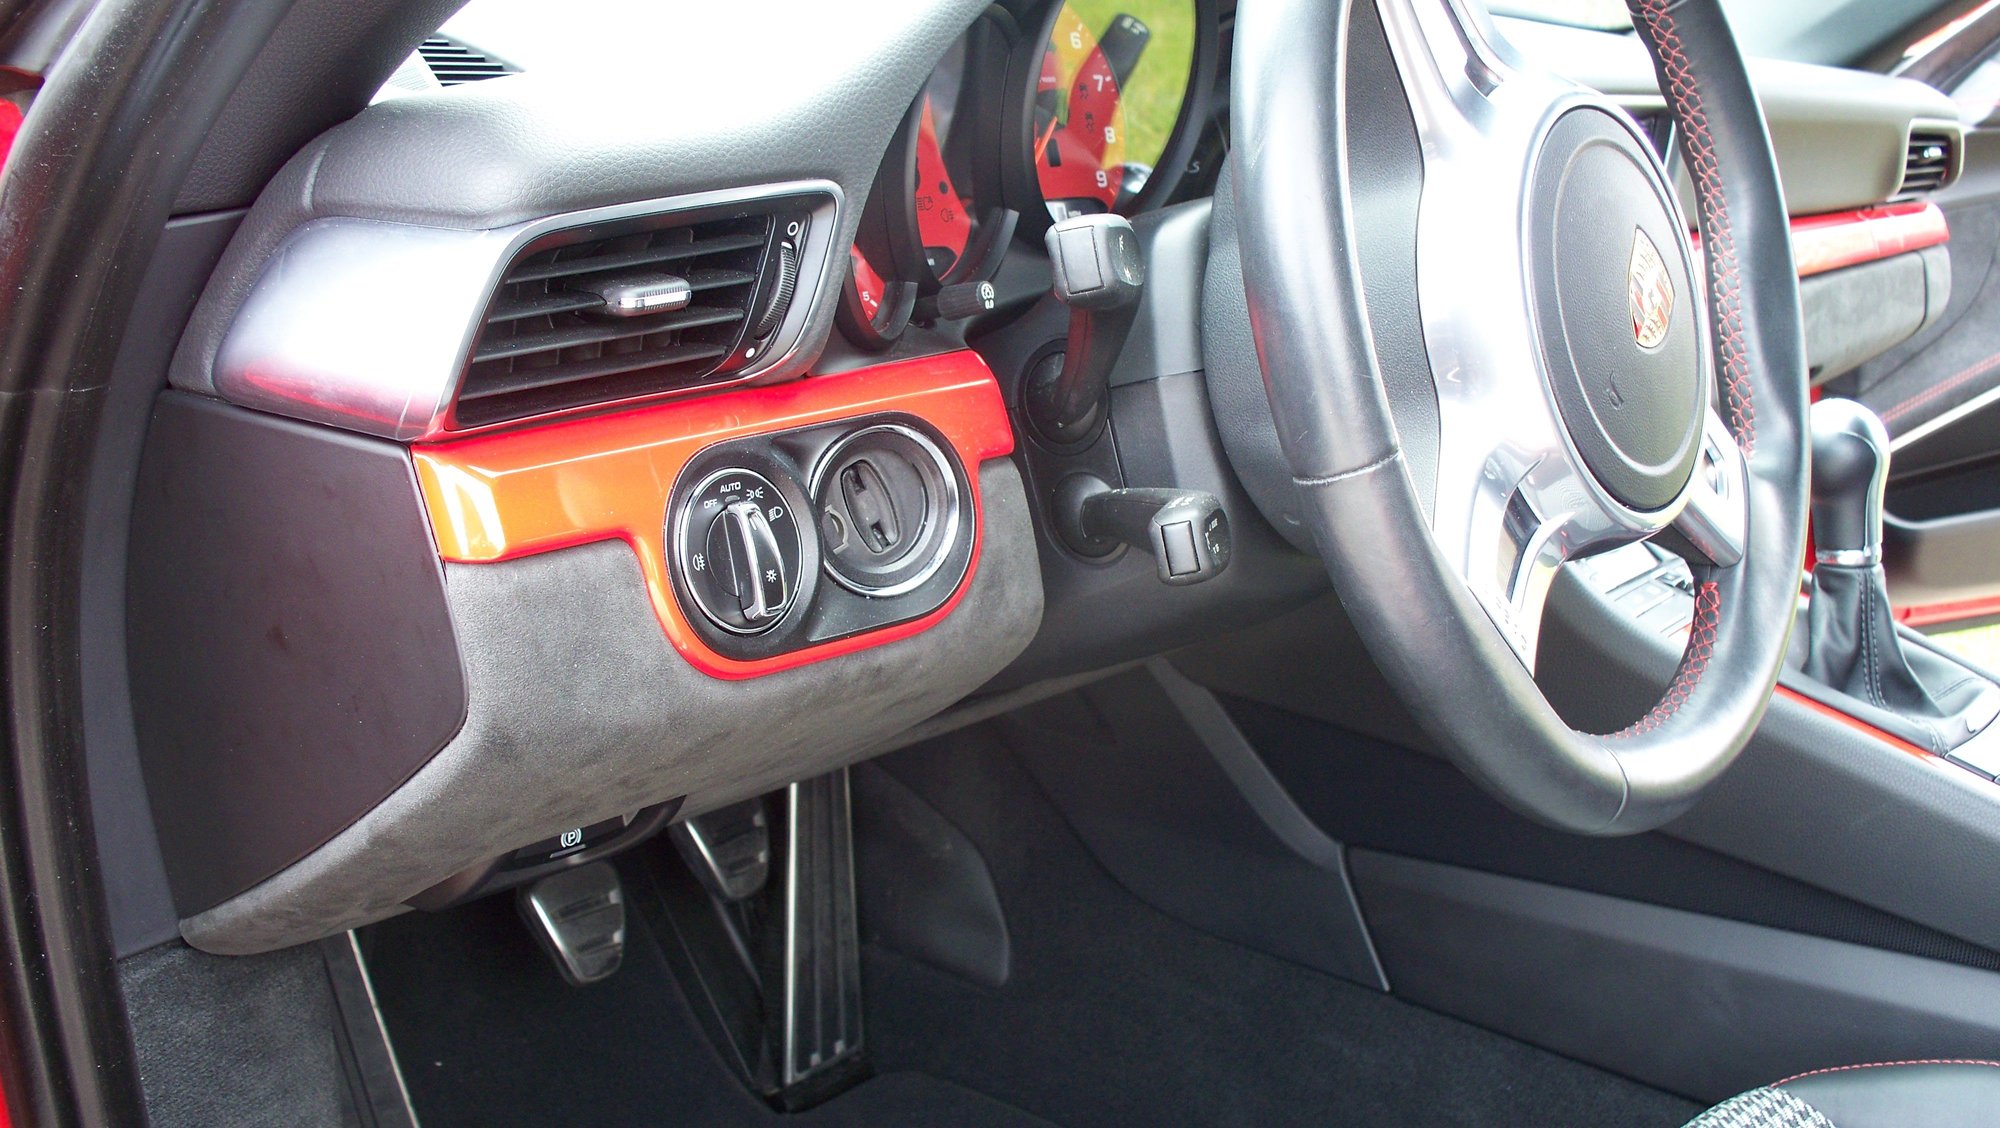
1) Remove the trim on end of dash
2) Remove the trim around the key and it's mate to the right of the wheel
3) Remove the instrument panel trim WM 902519
4) Remove the instrument panel
5) Remove the console side panel
6) Remove the footwell light
7) Remove the 4 fasteners and finally drop the trim panel.
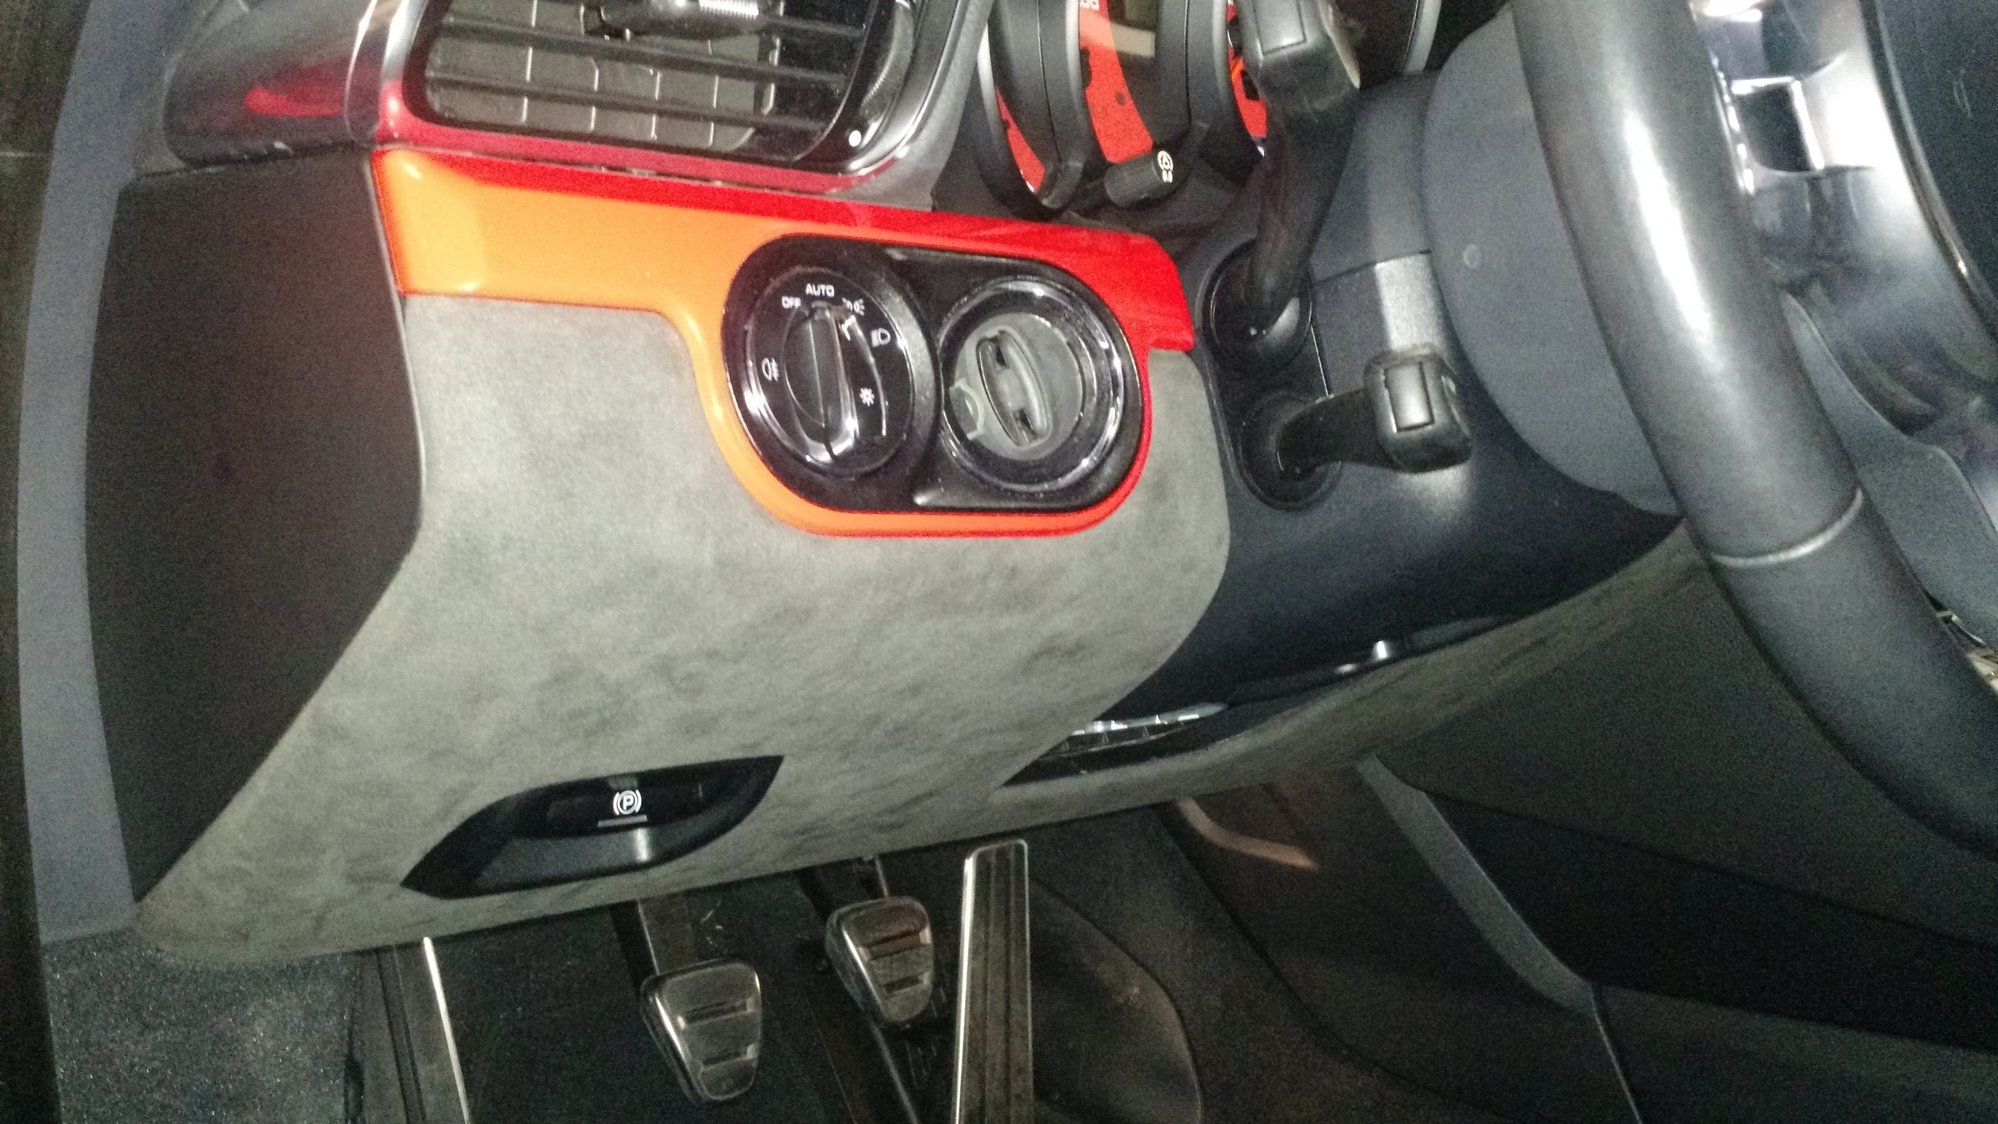
8) Swap over ignition switch, light switch, parking brake lever, and cabin temp switch.
More trim panel removal information documented in this thread. Removing kick panel
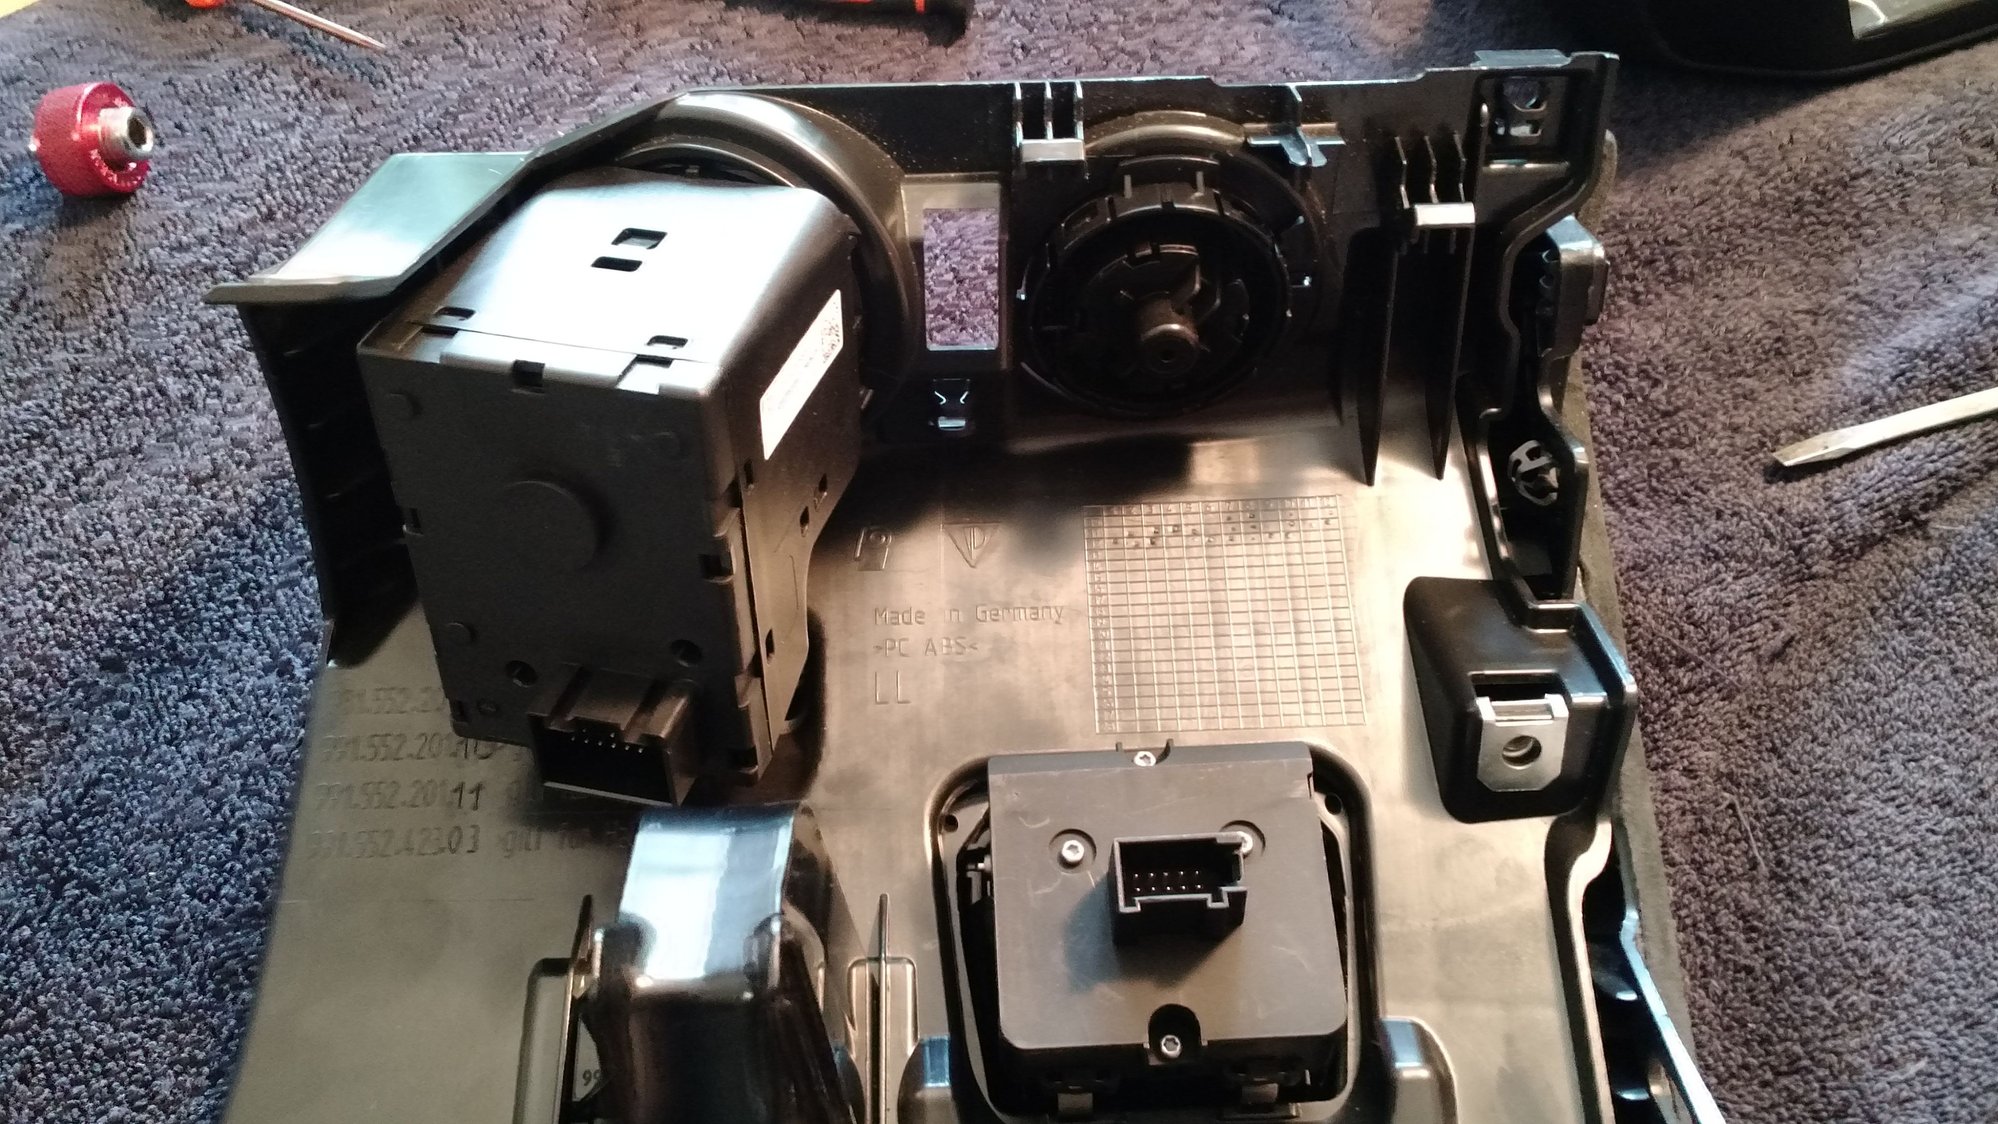
cabin temp switch
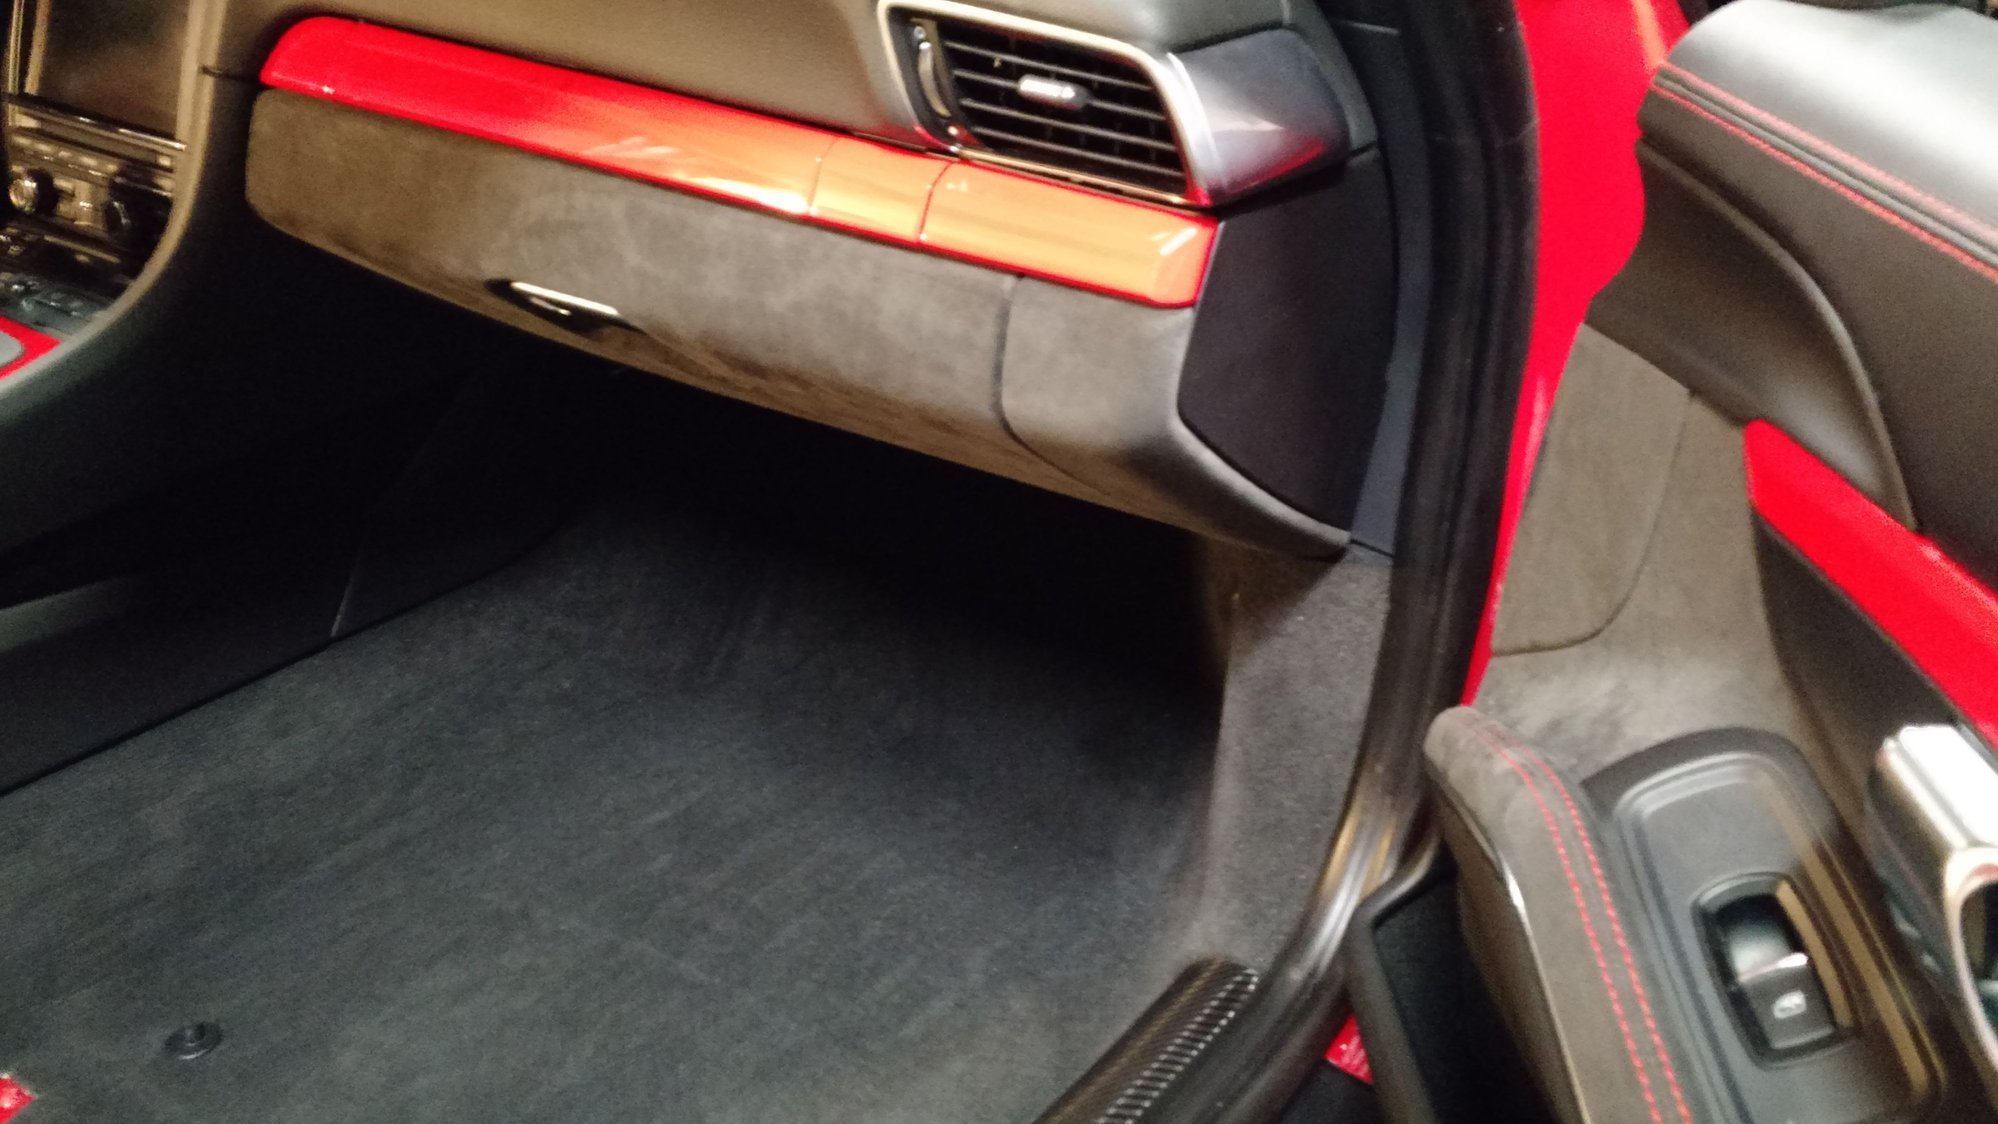
I wasn't happy with my first attempt on the right glovebox end piece alcantara, so I re-wrapped it. It's perfect now in the areas that are visible.
Last is the glove box lid. Unfortunately you have to remove the whole glove compartment first. Again, it's easier with the seats out.
WM 681519 glove box removal summary:
1) Remove console side panel WM 681419
2) Remove lower kick panel, disconnect 12v outlet plug wire.
3) Remove footwell light. WM 961529
4) Remove infotainment panel in glove box. Disconnect wires. WM 912219
5) Remove right side trim plastic
6) Remove end of dash trim
7) Remove cup holder
8) Remove 6 bolts holding in glovebox.
9) Disconnect plug on back side of glovebox for interior light.
10) Remove glove box door WM 681219
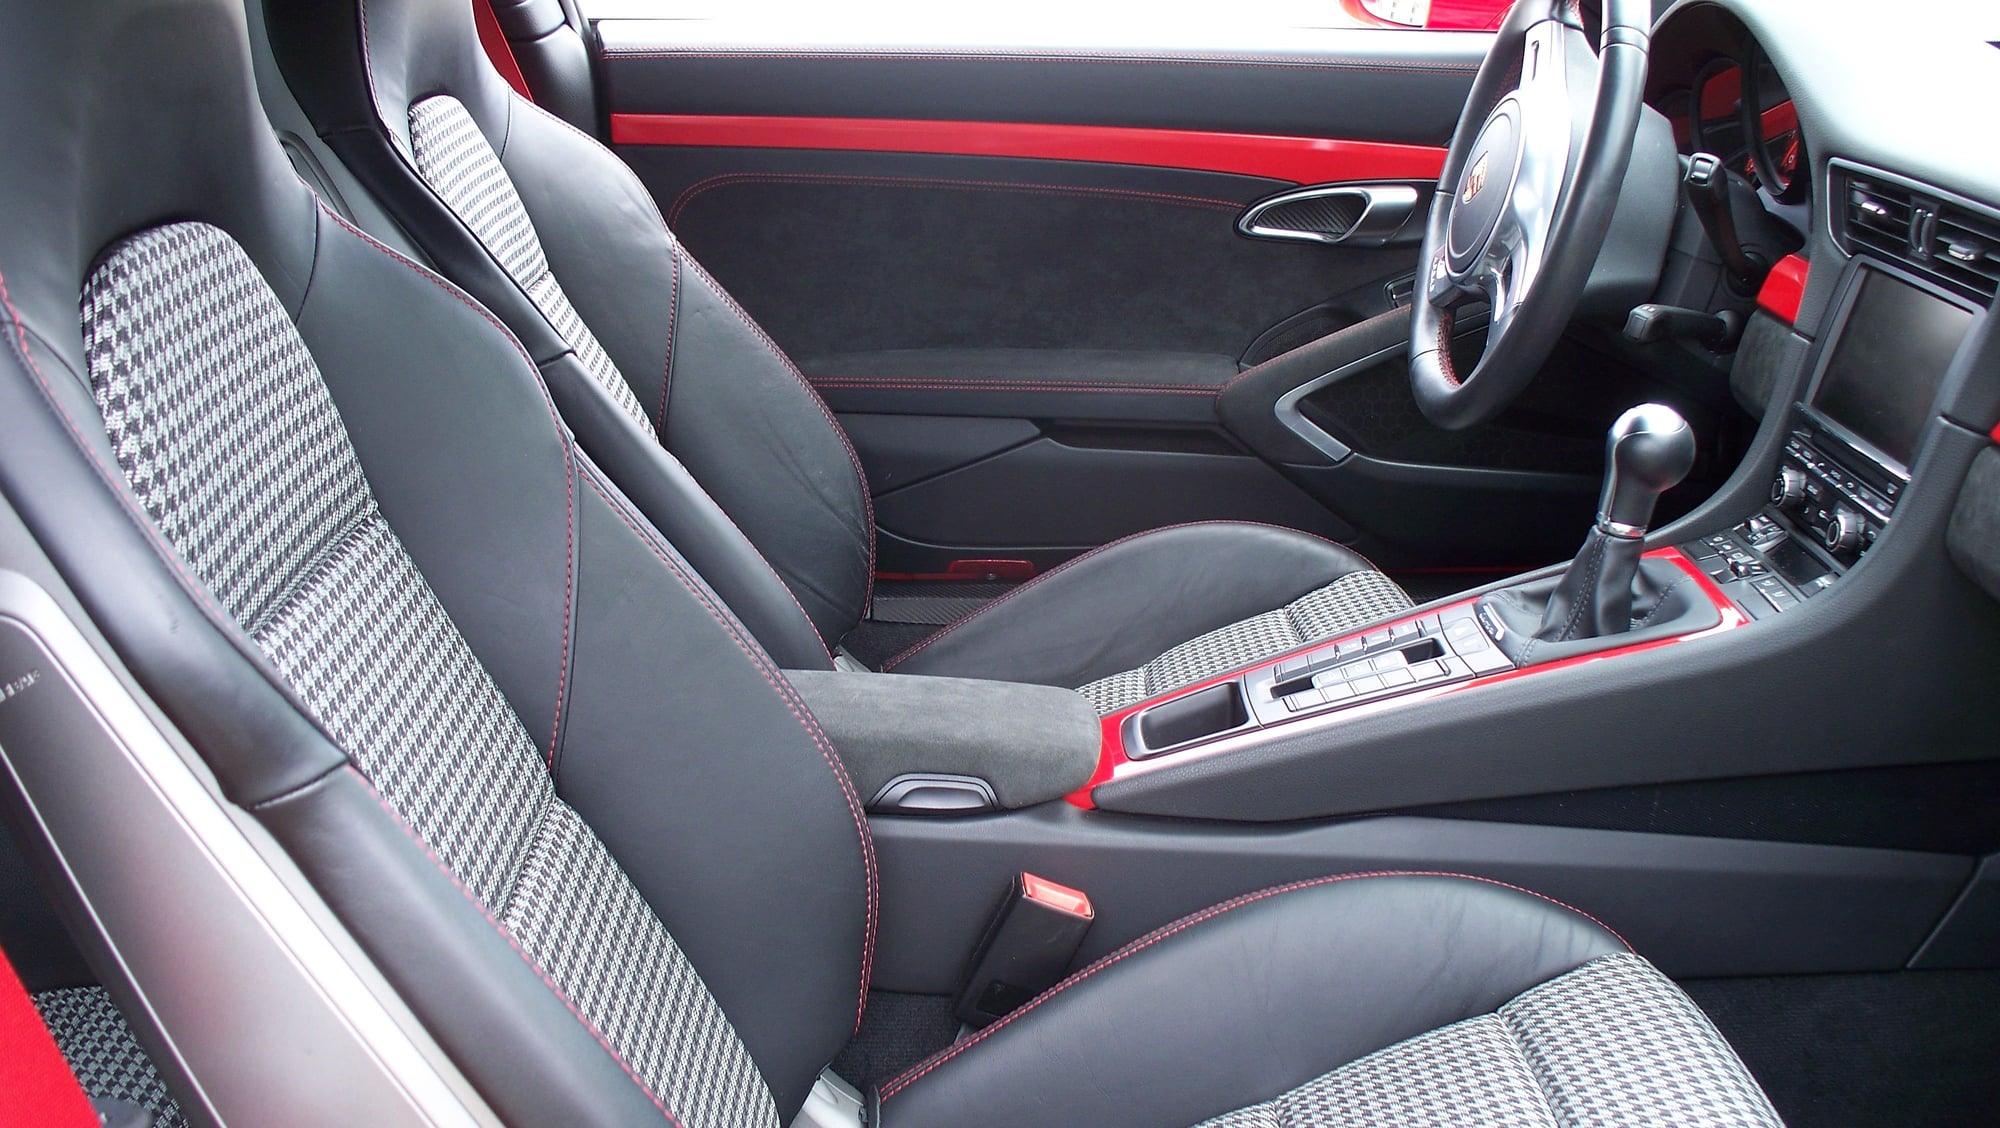
Last step is to reinstall the front seats. I swapped the occupancy sensor to the passenger pepita sport plus seat and dropped it in.
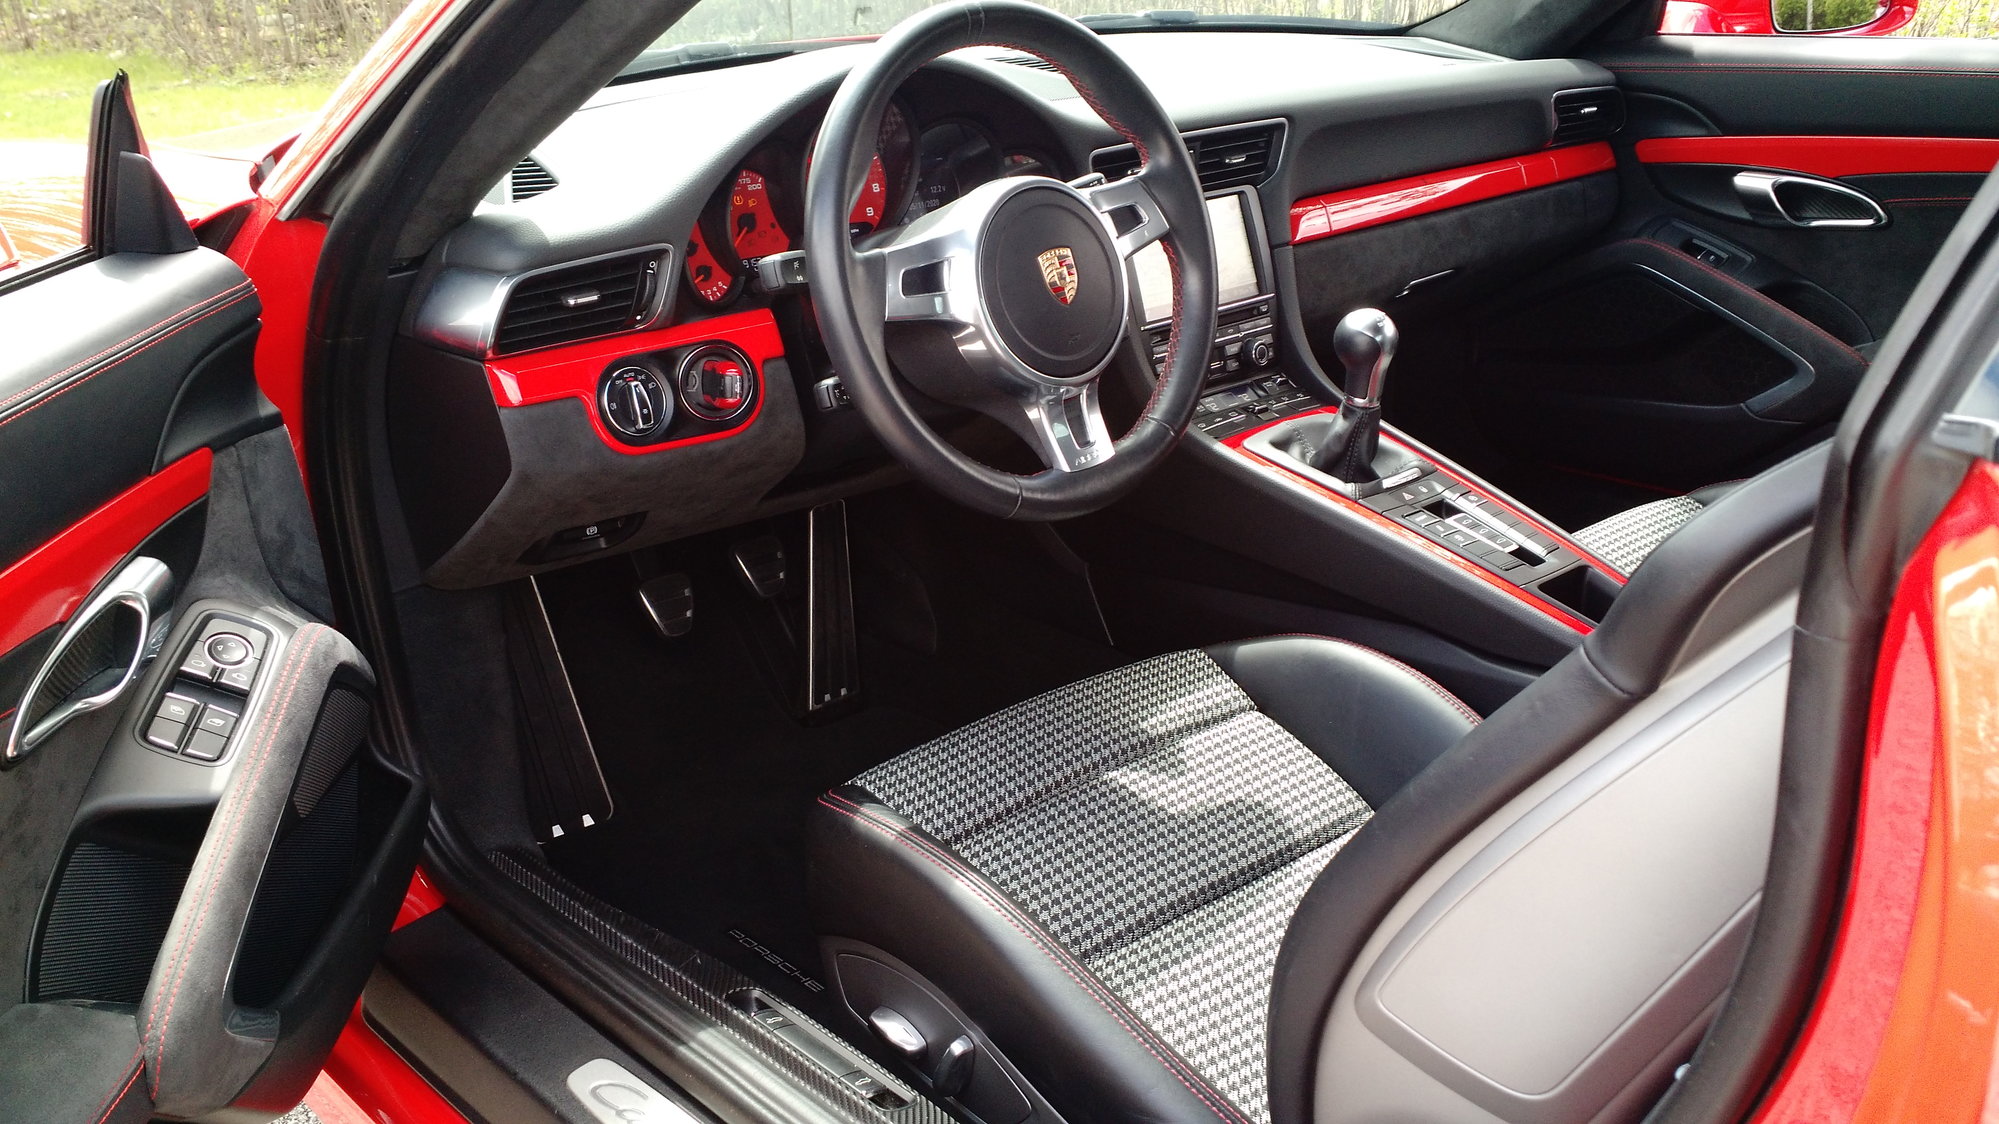
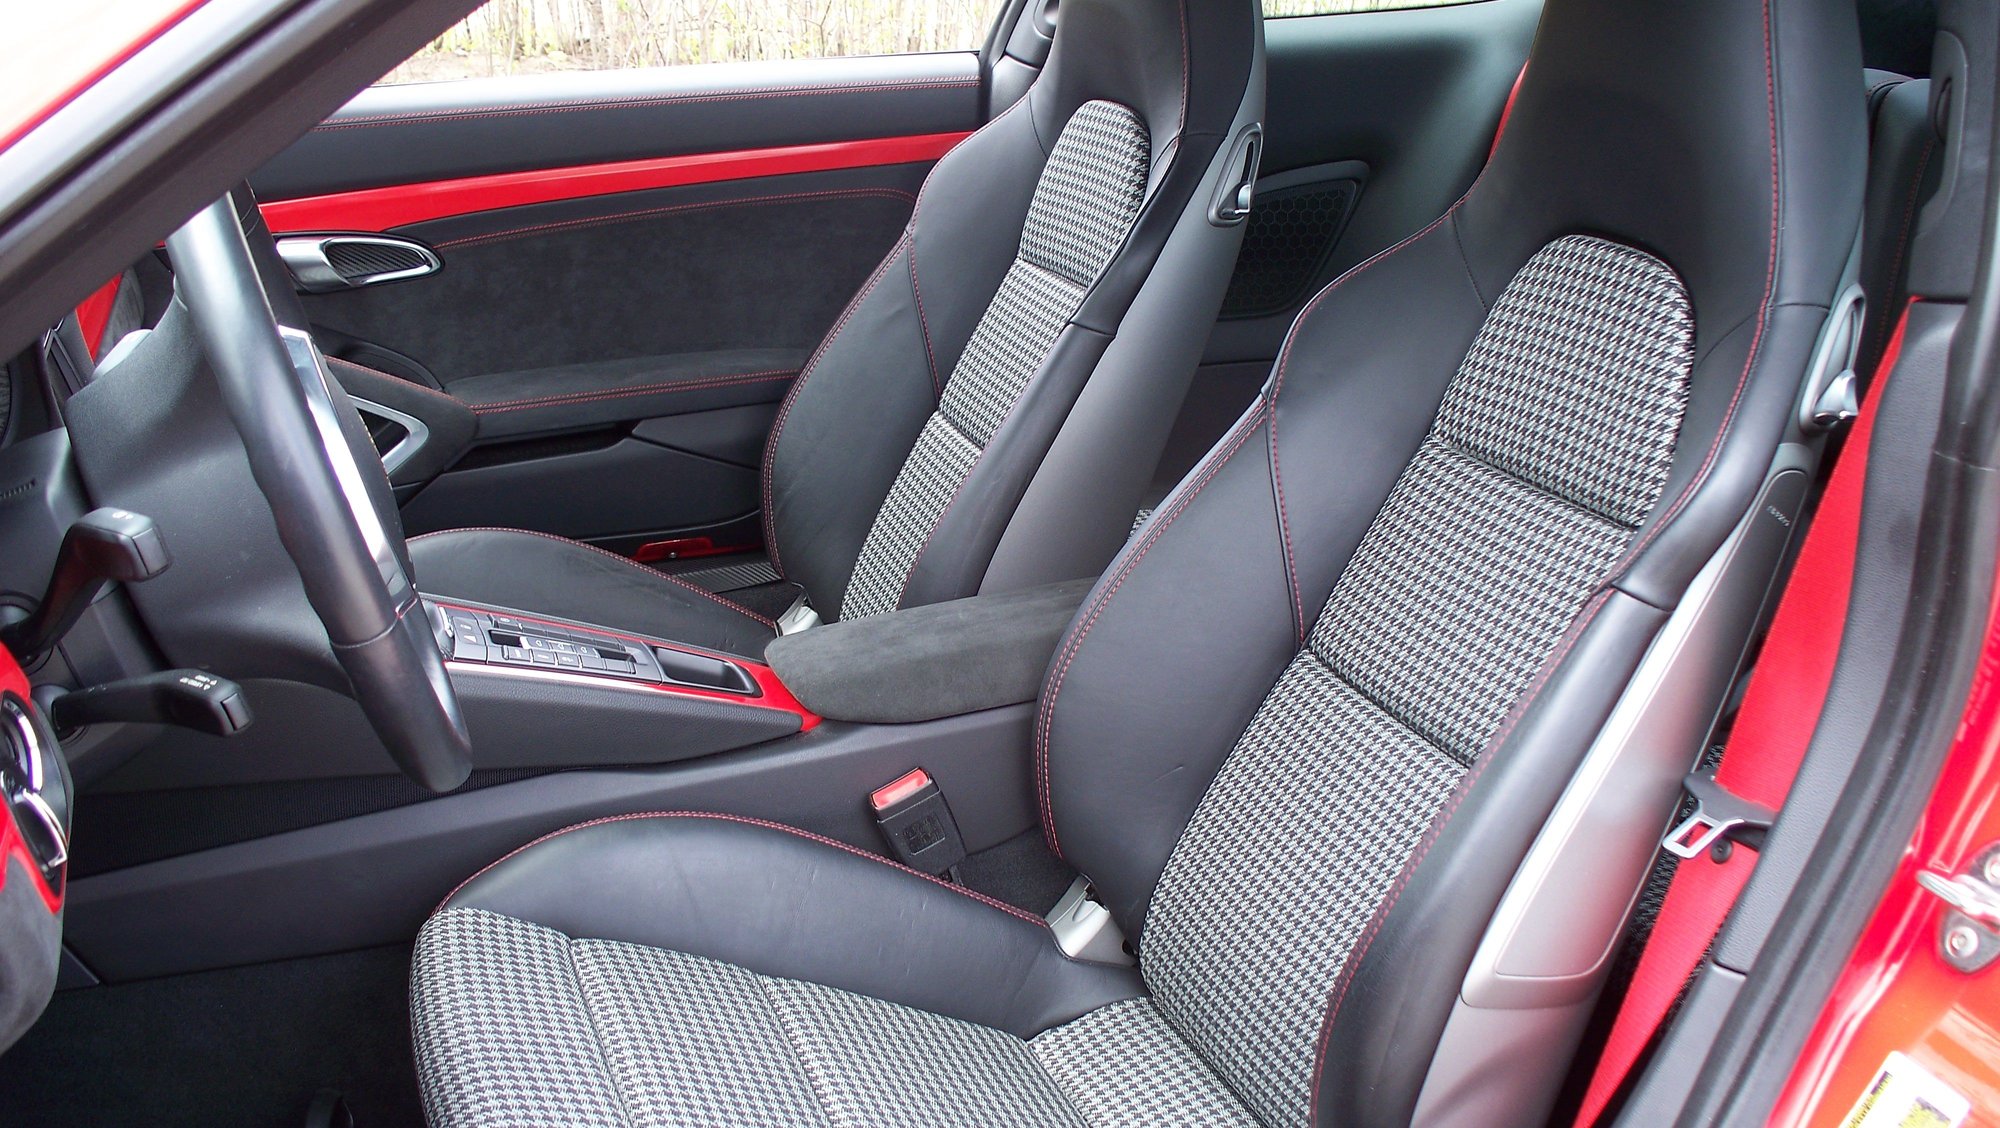
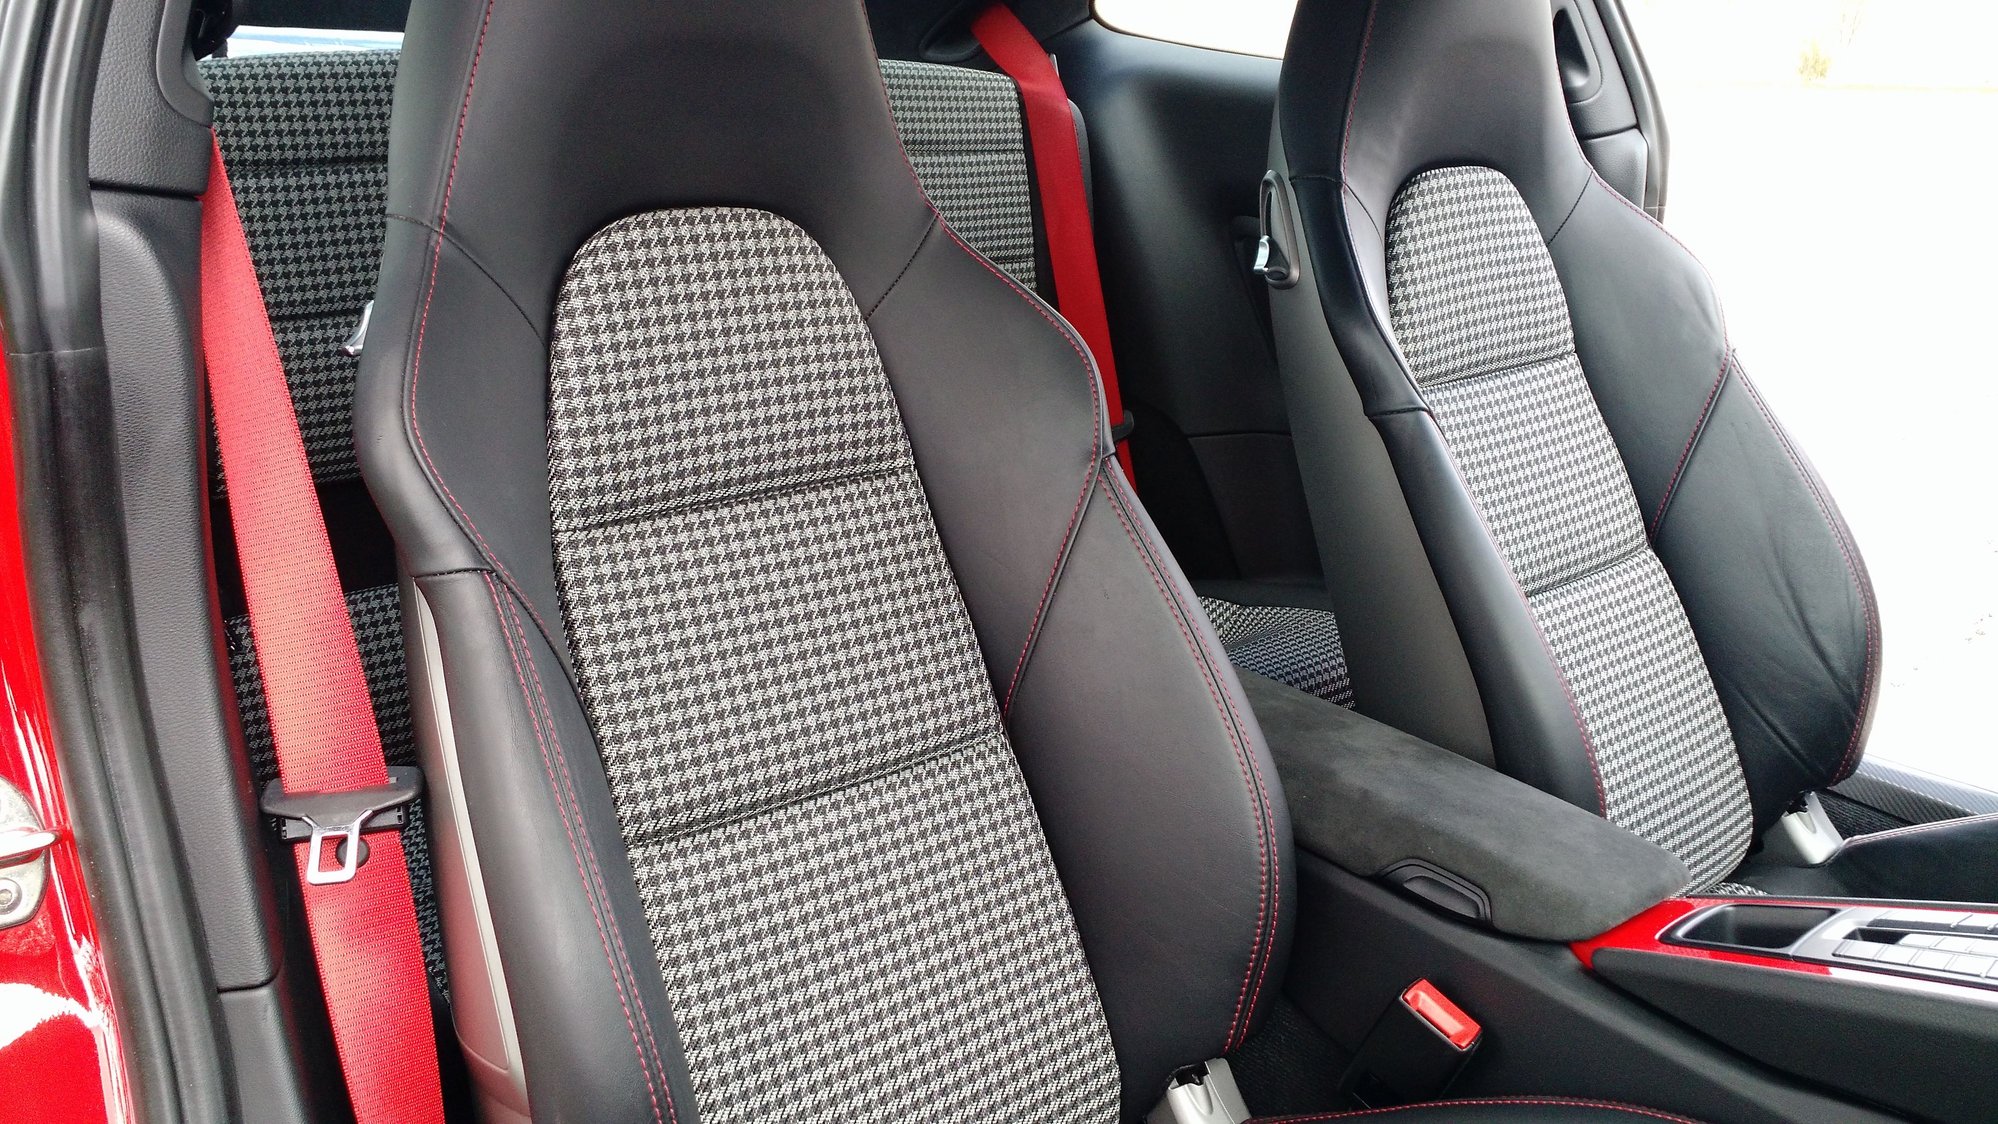
Took some pictures with a better camera.
Updated with alcantara A pillar shots
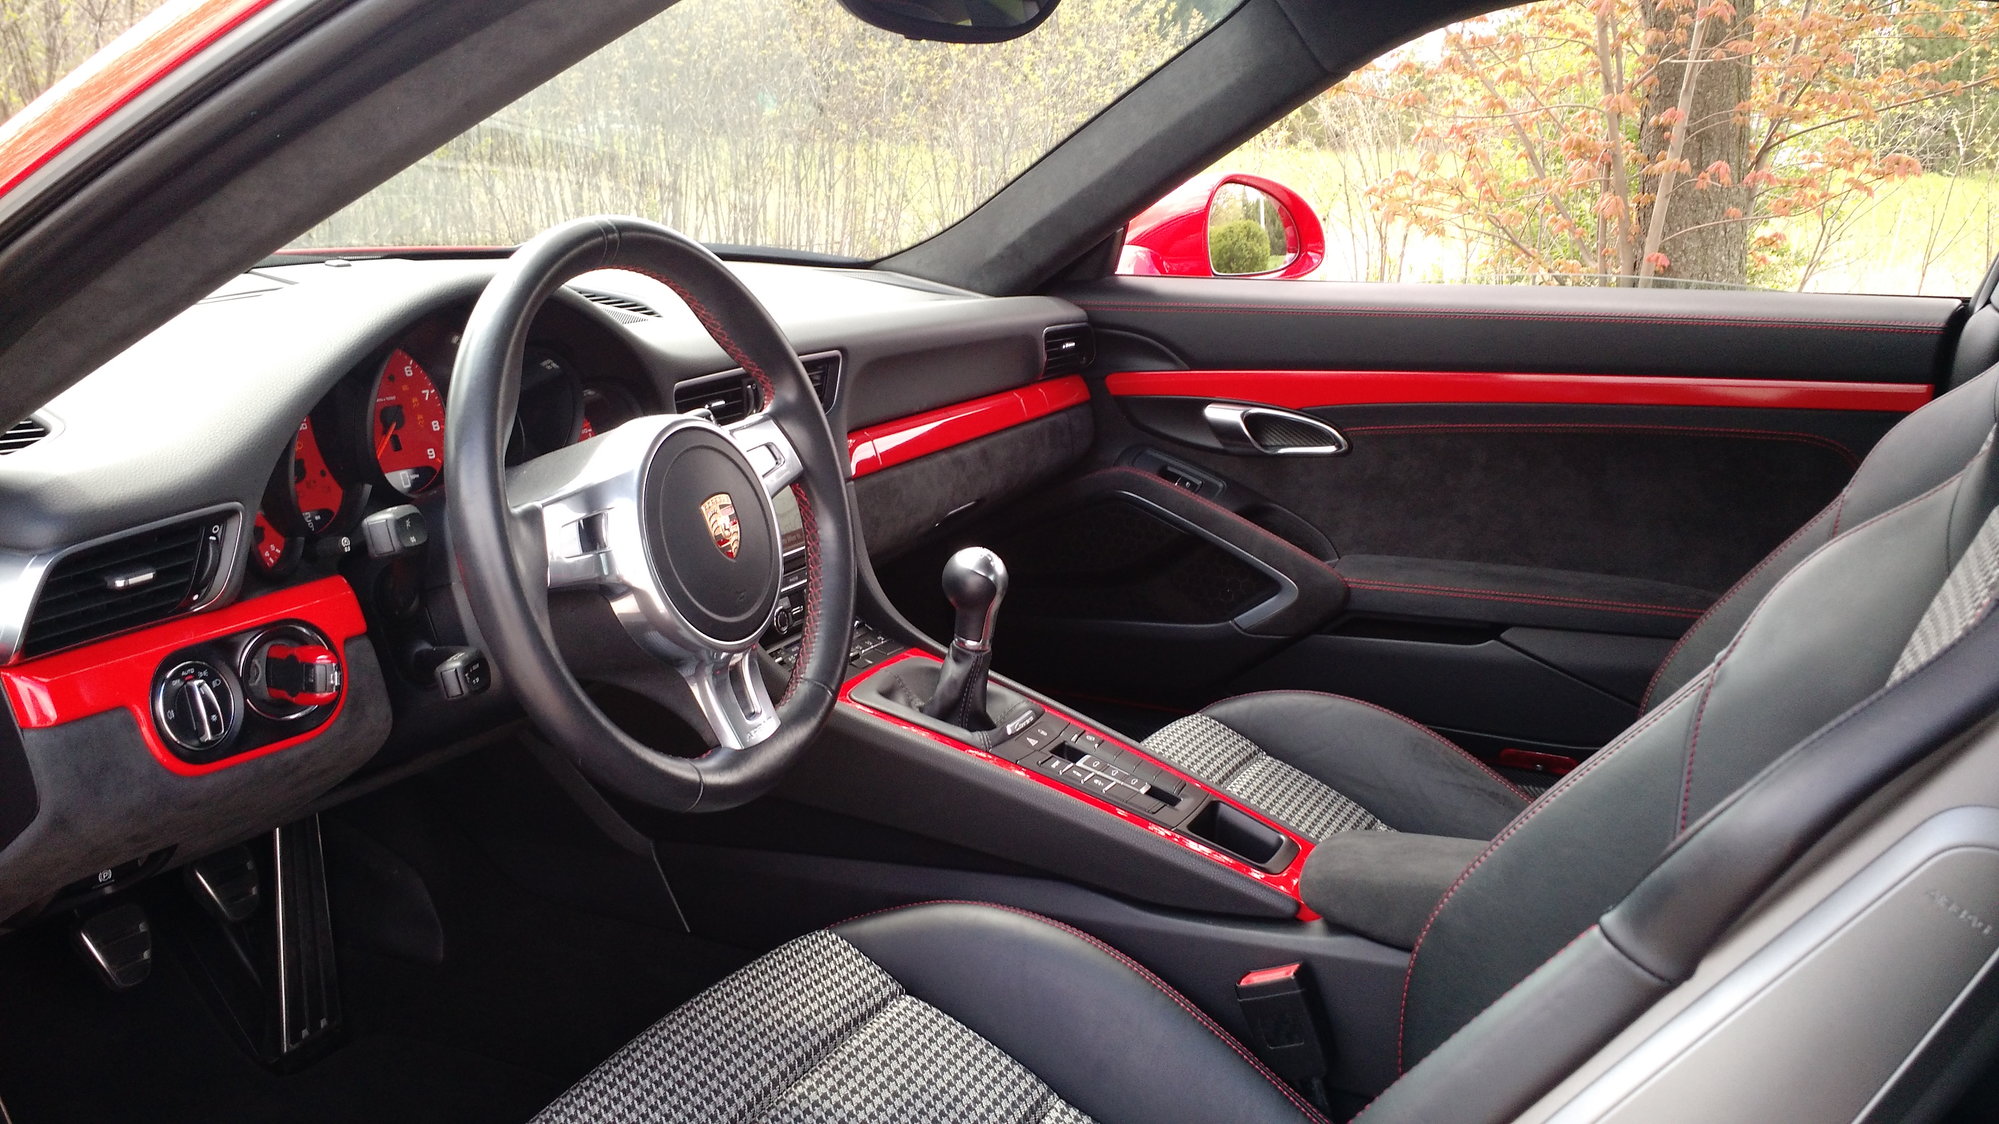
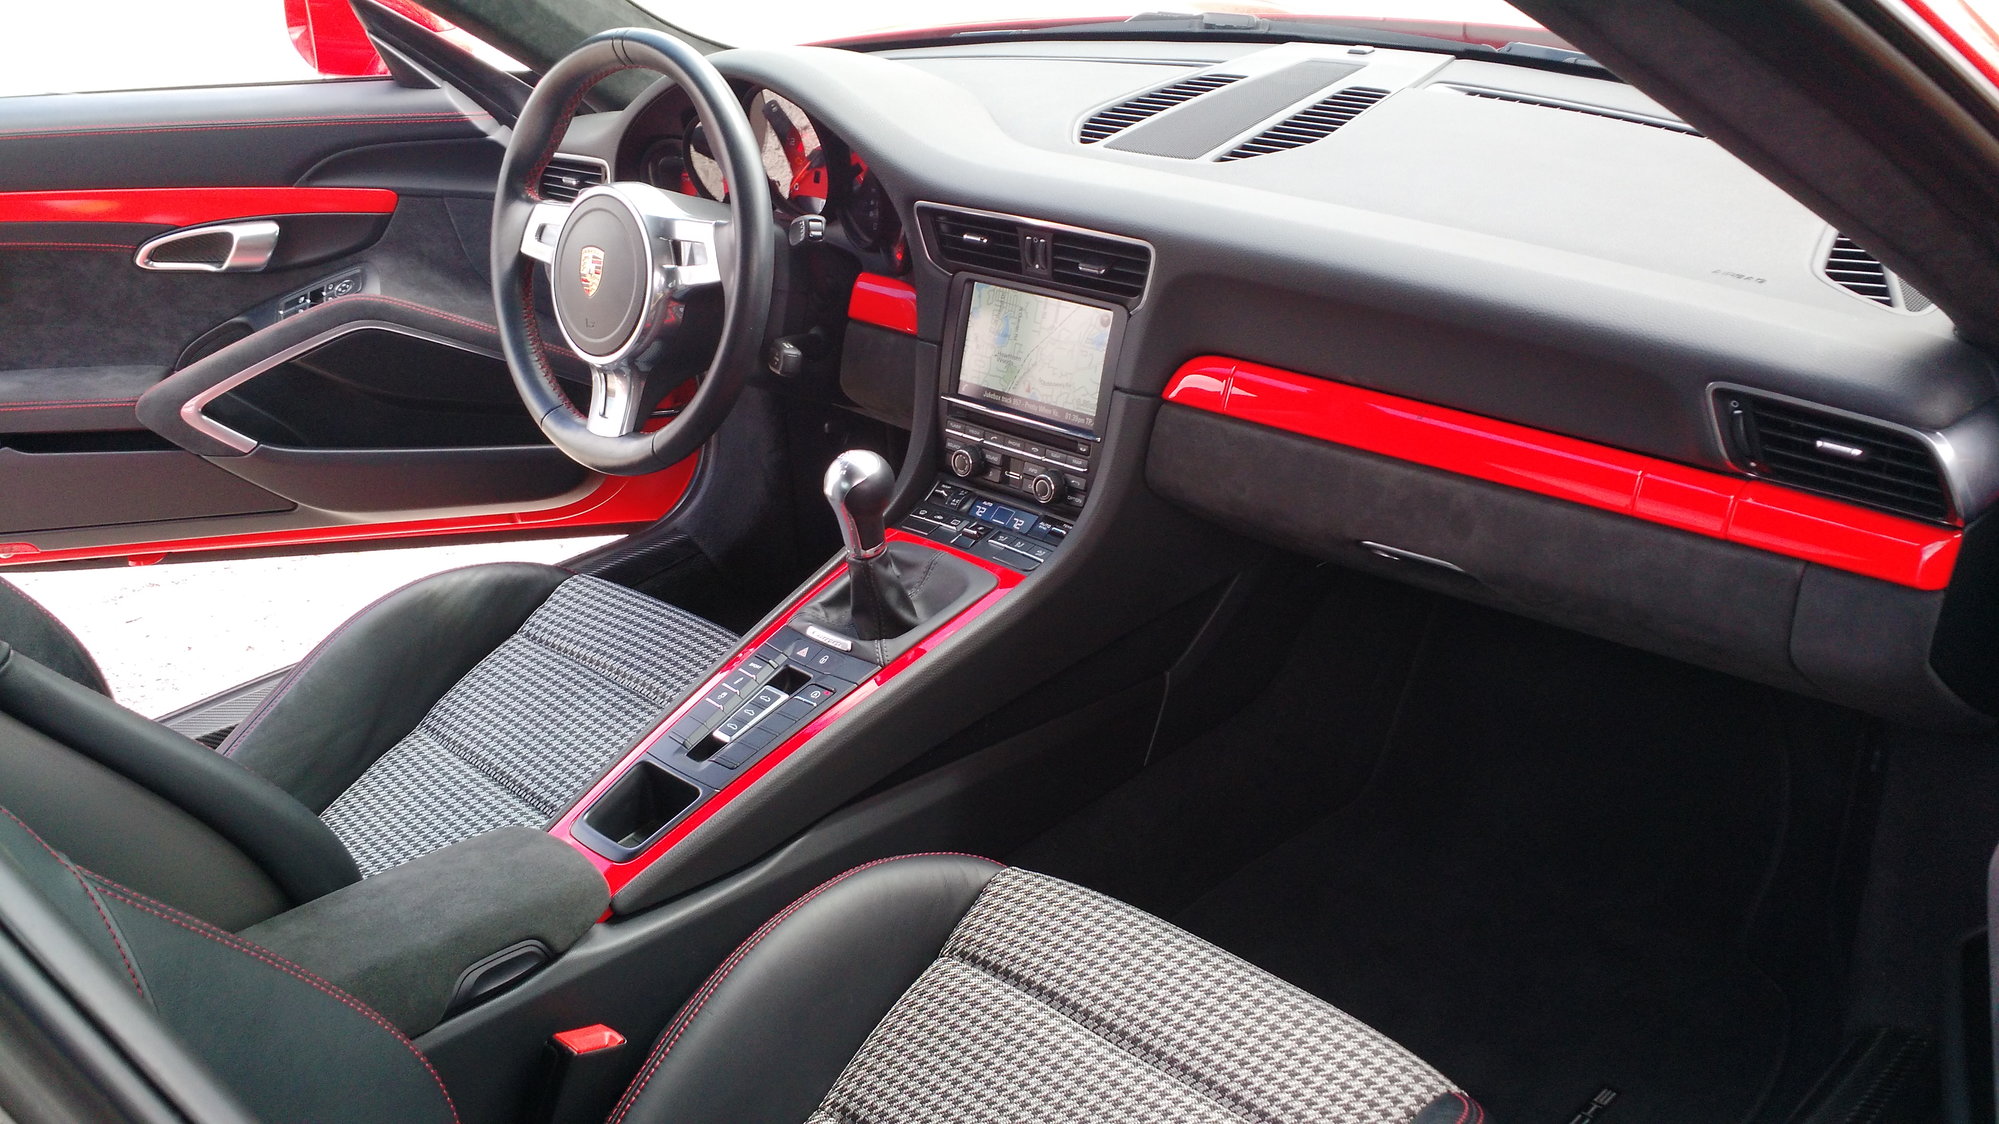
I'm really happy with the result! I feel like this is the interior the car should have had at the start.
I tried to create blend of what Porsche did with the 50th anniversary edition, 911R and GT3 Touring.
Thanks to everyone who followed along. I hope you found it somewhat useful.
Last edited by DanQ; 05-14-2020 at 12:19 PM.
Reason: Added some with alcantara A pillar
Now that door panels are dyed, I have to reinstall the door trim. I wrapped the silver parts in oracal gloss red 031 vinyl (closest I could find to guards red) to see how they would look. I'll remove wrap to paint and clear coat if I want to make permanent.
Turned out better than I expected! Color is still a little dark in some light, but inside the car it's pretty good.
Do you have any more pics of your process for wrapping the door accents? Looks really clean. Did you remove them to do it?
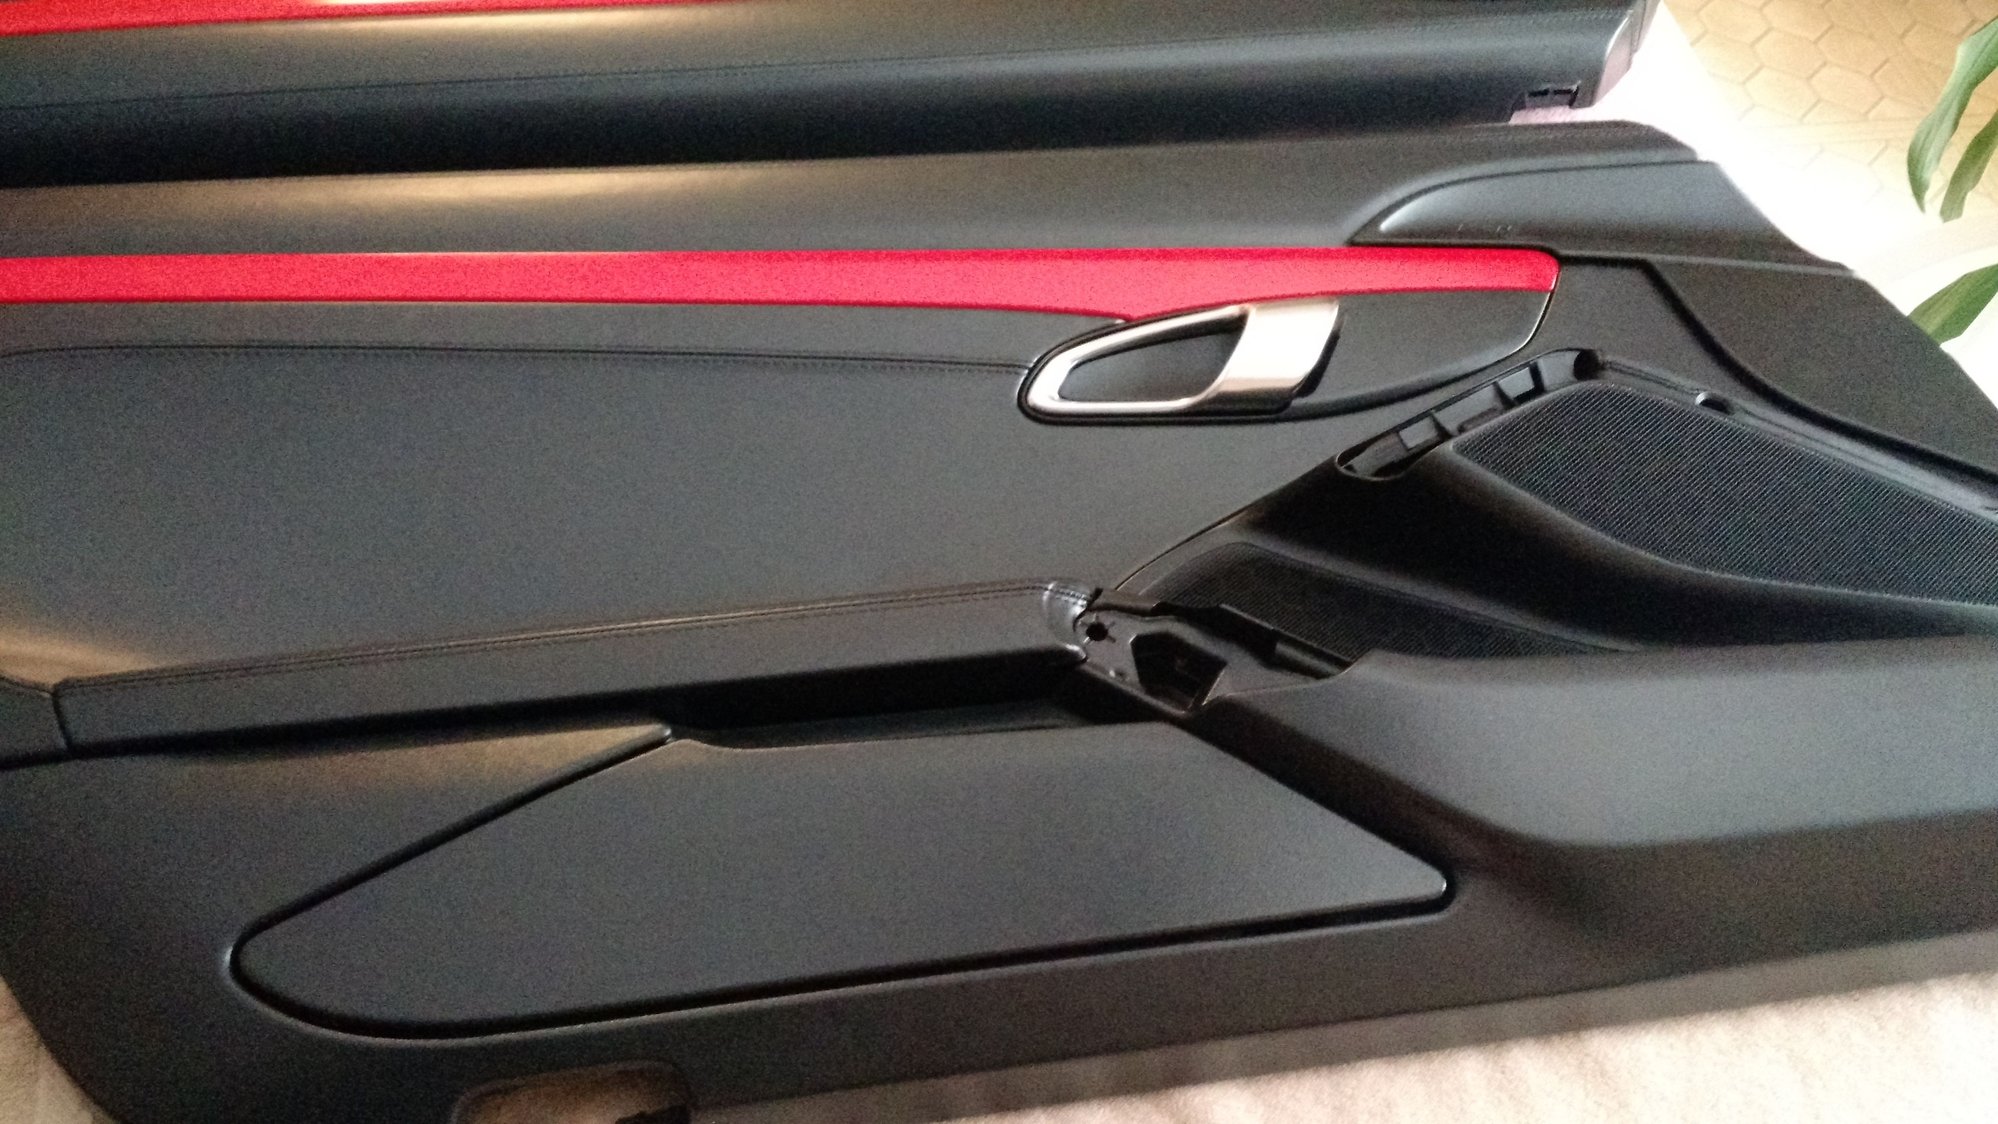
I wrapped the pieces that contain the door handle and that go around the door speakers but I really want to get them painted...need to decide whether I want to take the doors apart though. By the way, the pieces behind the pull latch pop right out so you can wrap or paint those as well but if you do you may want to do the sections just forward so it appears that the whole area is done. Trust me, it is easy to do more than initially planned.
Do you have any more pics of your process for wrapping the door accents? Looks really clean. Did you remove them to do it?
No, sorry no pictures. Yes, I did remove the door spears. The wrap goes around to the back side. A heat gun helped stretch the vinyl around the edges. You really can't tell it is wrapped. I'm not even going to paint them anymore.
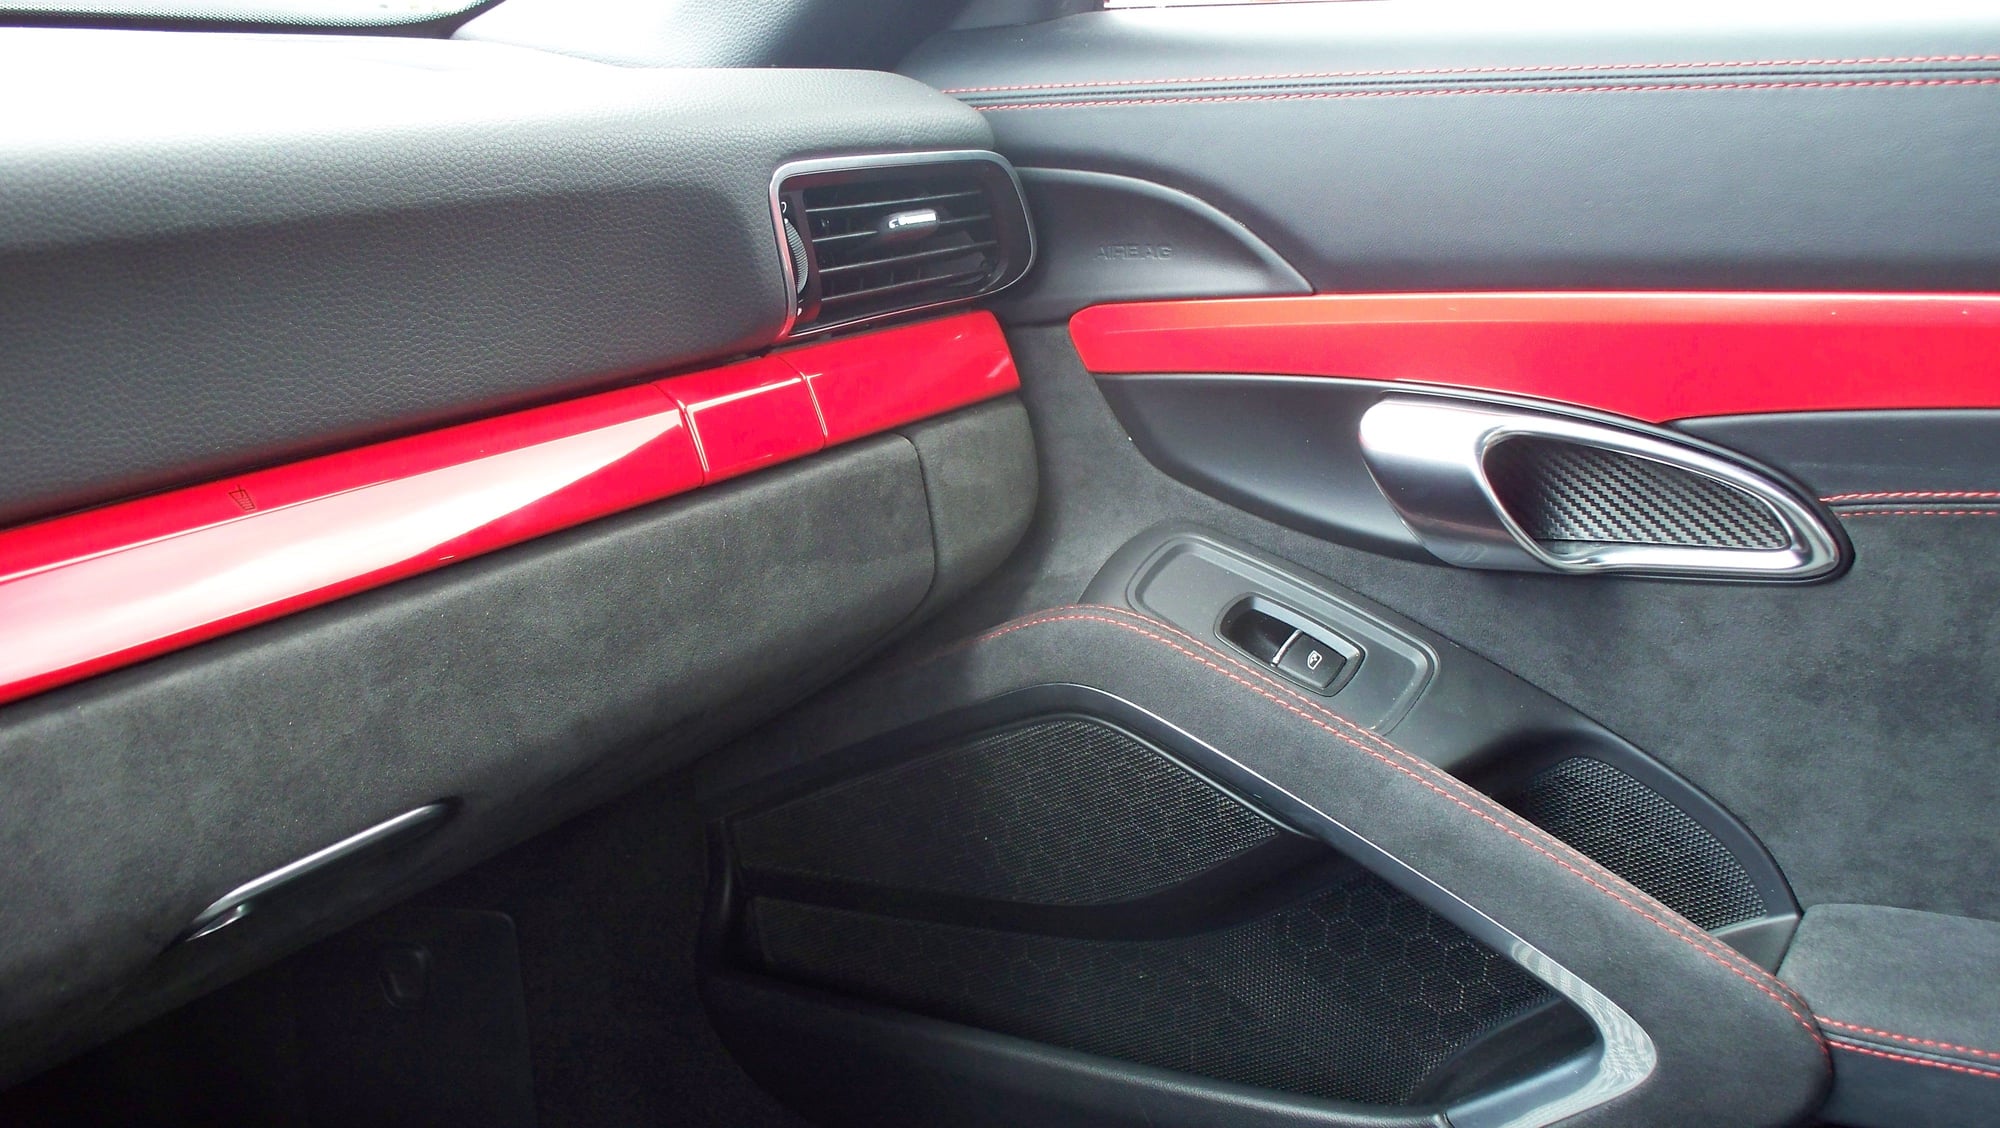
Bob Z, I wrapped the inside of the handle with 3m 1080 carbon fiber. If you look at this picture you can see it. I used them to practice. I think they were the first thing I ever wrapped.
I also wrapped the door sill trims since I keep scuffing them with my feet. If you zoom in on the first photo of post #51 you can see that
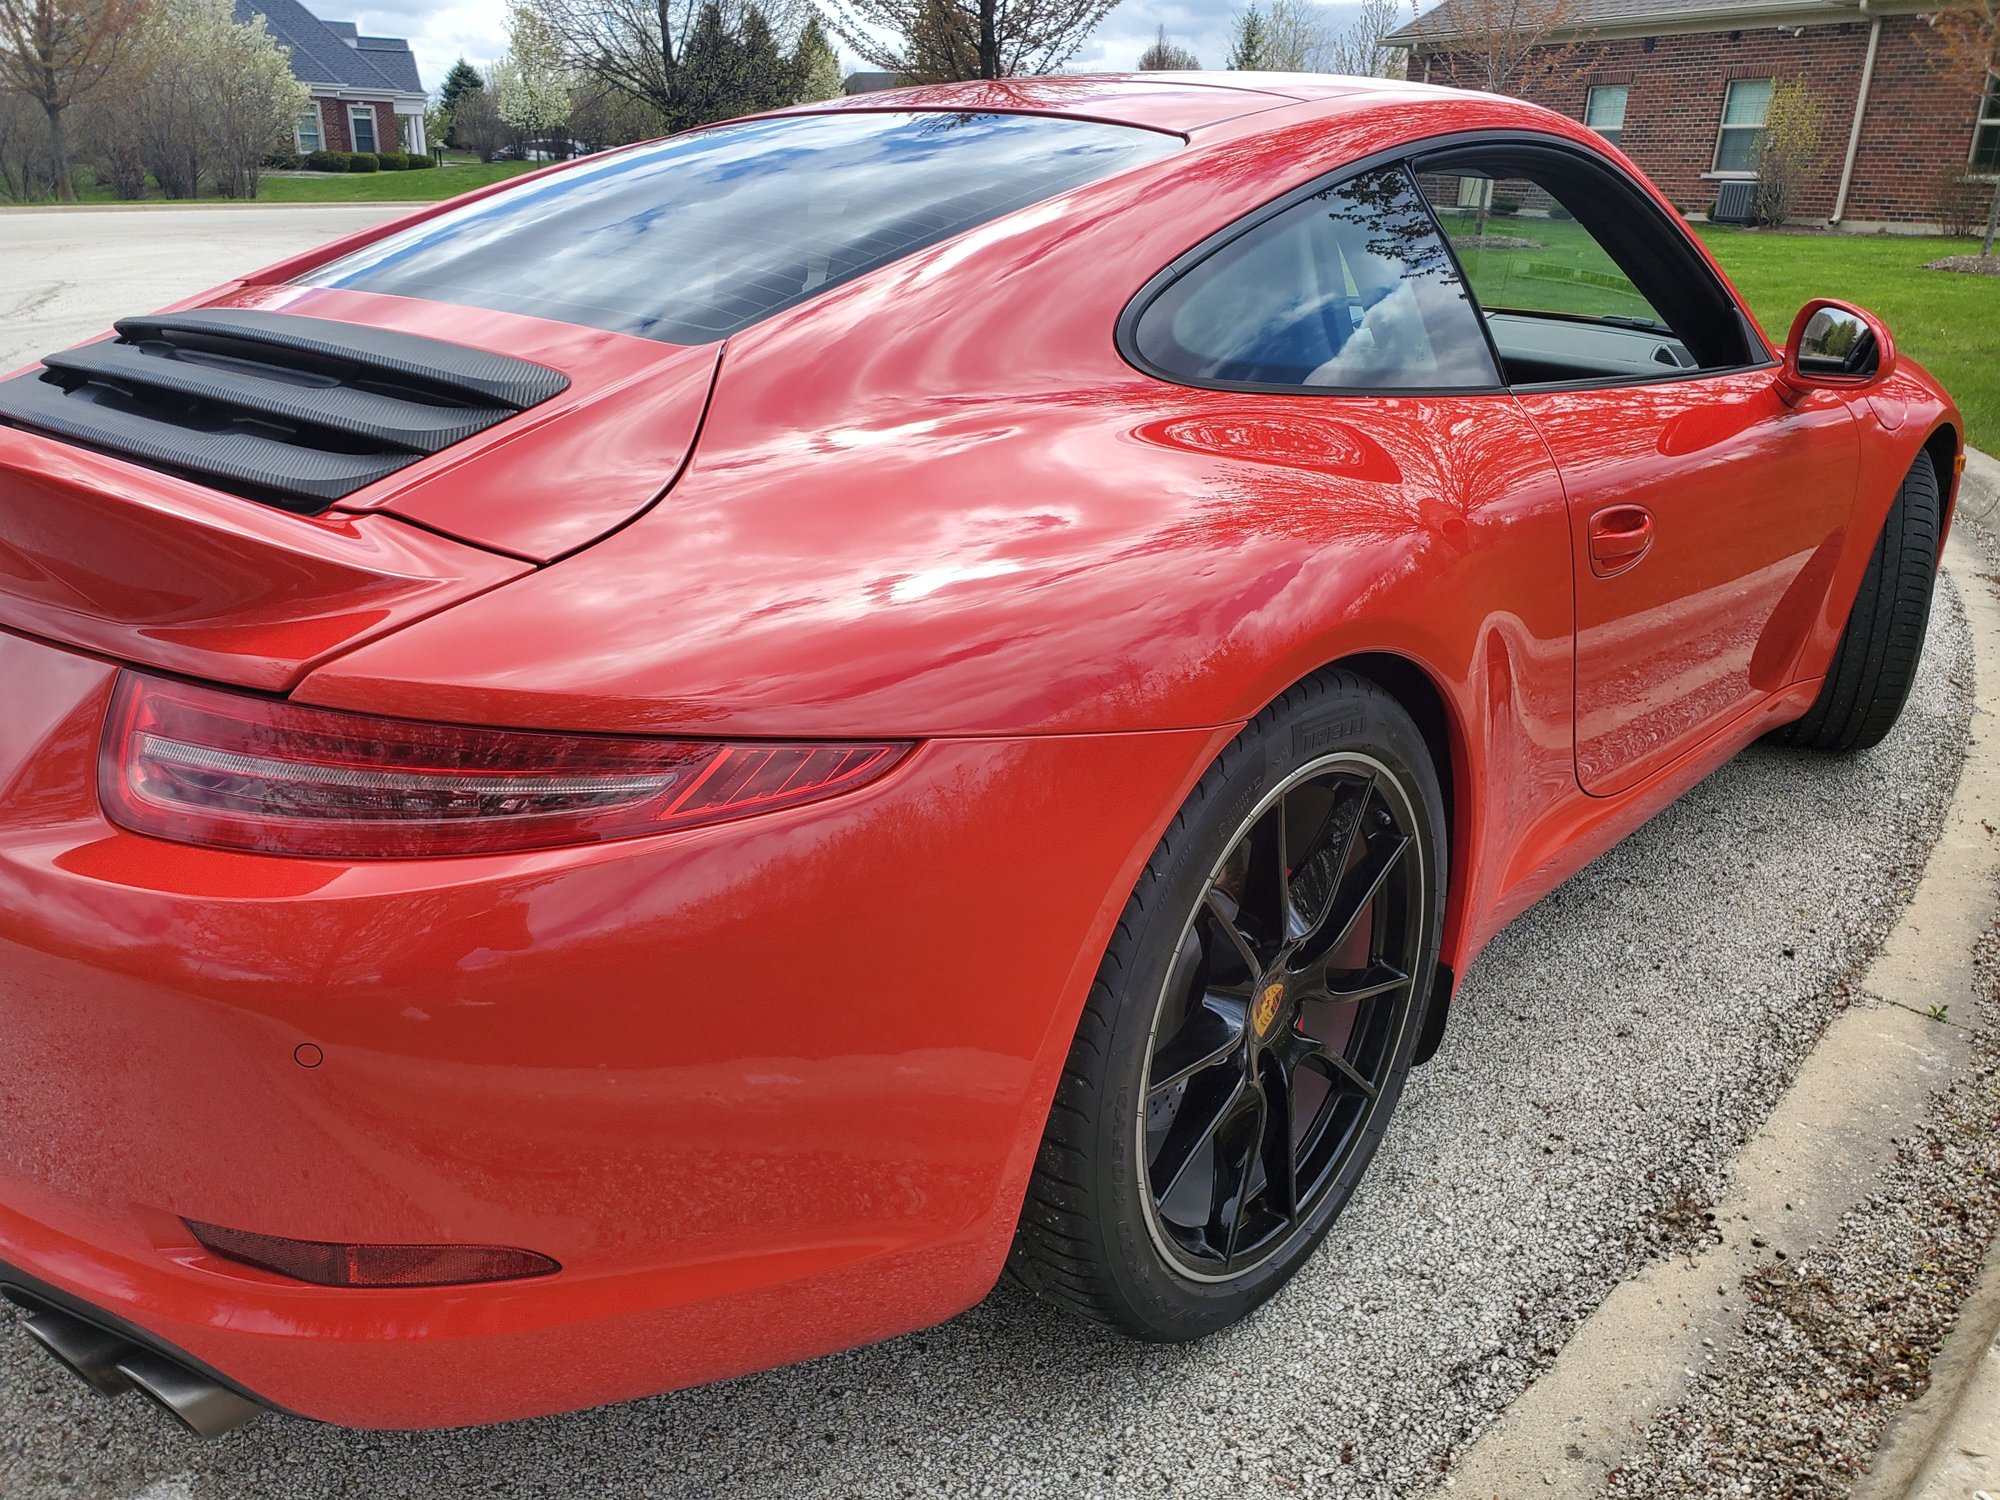
To finish up on stuff I wrapped, here is a gratuitous picture of the engine cover. This is why I practiced on the interior pieces.
....edit.. I got some questions about this so I added these links. Plenum's Engine grill removal FYI DanQ's engine lid pics

 05-06-2020, 10:02 PM