When you click on links to various merchants on this site and make a purchase, this can result in this site earning a commission. Affiliate programs and affiliations include, but are not limited to, the eBay Partner Network.
Usual oil / filter change. Did the spouse�s car too. Pulled samples from both. Cut and examined filters for both. Looking good. Took 4 gallons of oil to the recycler.
Oh, and a quick wash / wax before heading out for gorgeous dinner al fresco. Beauty weather day.
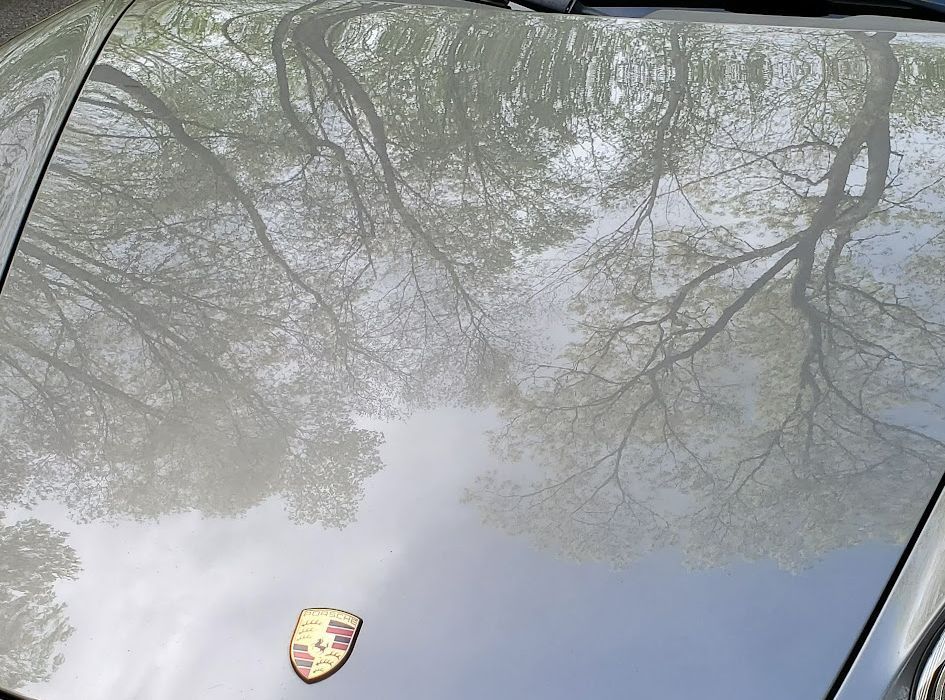
Took the car to a friend's who has tools and experience to polish and protect the car. I learned a lot and performed a wash, clay, and used Wolfgang All-In-One polish as well as the separate compound/sealant with his buffer tool. It was still a good deal of work, but this is now the first car I've ever owned that doesn't have swirl marks on the paint! The key was that I wanted to protect the paint, but the removal of many imperfections was certainly a great bonus!
I took pictures, but they didn't come out great (was more interested in learning the process and doing the work) but I did get one nice shiny look at the hood:
In the end, the car looked much better in person, as expected. Too bad I covered it with bugs on the 2 hour drive home afterwards, but it should clean off easy, which was the real goal of the process!
EDIT: After the work, I had my friend drive the car... needless to say he loved it. He has two Mercs (powerful coupe and now a convertible)... but the Porsche handled SO much better, and just wanted to run. I get it, and that's why I bought it! I wanted him to show me what the car can REALLY do (he's a VERY skilled driver) but there weren't many roads for us to play around with... still, he threw it around a few times and got me clutching the seats!
new battery in the 09 Cayman. Bought it used in 2020, so I wasn't sure how old the battery was other than a 2017 sticker on it, and the car didn't start the other day.
new battery in the 09 Cayman. Bought it used in 2020, so I wasn't sure how old the battery was other than a 2017 sticker on it, and the car didn't start the other day.
Hey there, I'm curious if you went wet cell or AGM...thx.
installed my Pandem kit.
relocated both radiators forward one inch.
flipped my front crash bar so I could use the tow hook
Cut all for welded all 4 quarter panels and weld up the rears.
installed the IDP intake and 82mm GT3 throttle body
installed my Rennline peddles.
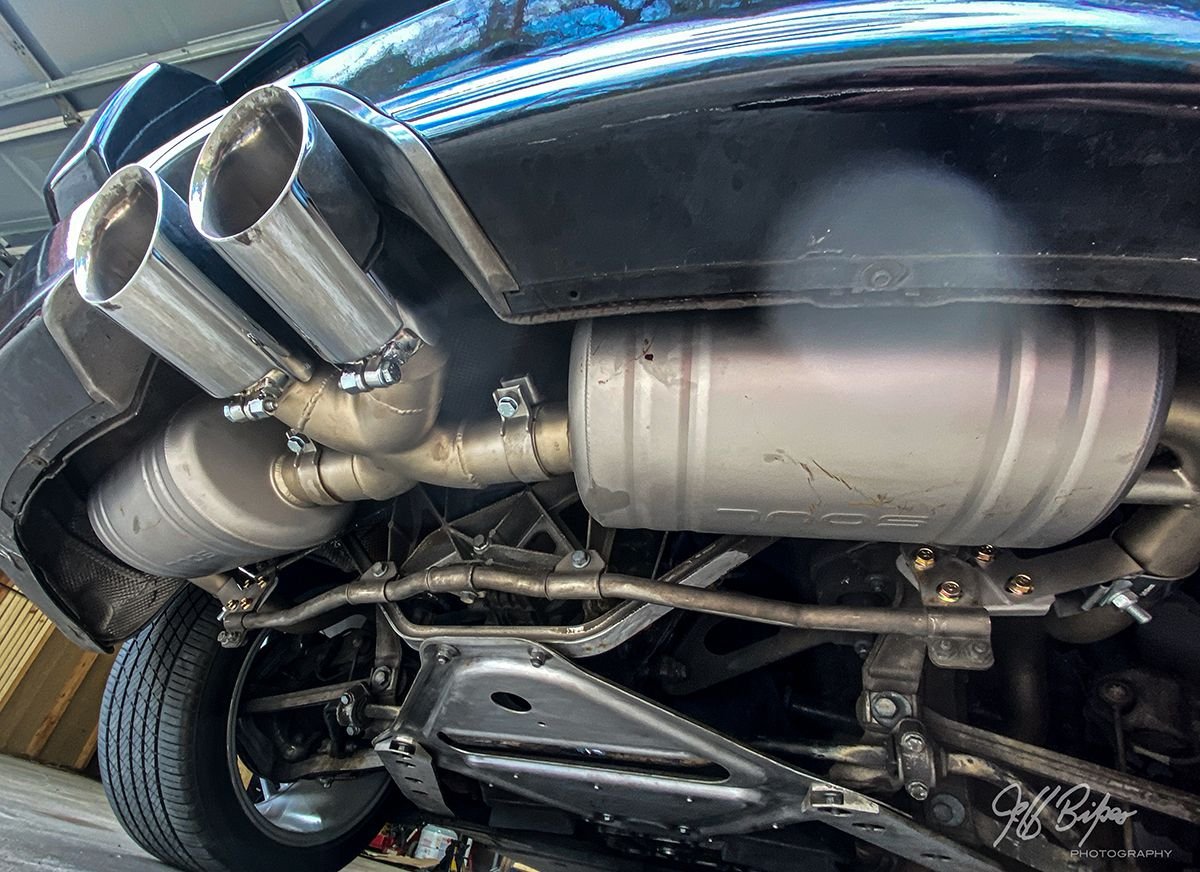
Found a good deal on a new Soul Exhaust for my '05 Boxster. Removed the first nut with ease, then the second. Rounded the one on the bottom. Ended up rounding 2.
Got a new ⅜" U-joint extension, New 13mm socket and a great Nut Extractor. That saved me and did the trick.
The rest went way easier. Removed the OEM system.
Wow, love this Soul Exhaust!
Great sound when you hit it, No Droning, Relaxed sound when crusing. I swear I get an extra kick in the pants when I hit it.
Unfortunately, the foam gasket that is fitted under the carrier plate for battery is not available separately. This plate has slight signs of corrosion which would also be easily remedied with sandblasting and powder coating. Without a readily available gasket, it will just be a new part. I will further replace various plastic parts (trim, visible from the outside), rusted nuts, brake master cylinder (GT3 version), brake fluid reservoir, etc. before reassembly.
I am still having difficulties removing the marks/residues/surface changes in the area of the trim attachment to the left and right of the boot (Velcro pieces). They can't be removed with TarX or clay.
The cleaned surfaces are finished off with Swissvax and should then be easier to clean in the future.
Very nice work!
I faced a similar prob, last weekend, when I removed the front apron of my 987.2 to clean both radiators. I was about 95% successful.
As a part of front apron removal process, I pulled up both of the vertical trim strips from either side of the trunk. On each side, there are three velcro patches. On the right side, two of them lifted up with the trim.
I took this as the opportunity to clean up the glue residue before replacing them with new.
My method - if you can call it that - was to remove all of the original glue with my fingernail and some isopropyl alcohol. That took care of the 80%. I then used P21S paint cleaner to remove virtually all of what the isopropyl did not.
In my case, applying new, similarly sized Velcro patches almost returned it to 100%.
I did this in the context of the larger "cleaning my radiators" project, so I did not give this the focus that I might have were I taking this on as a project in its own right.
However, I think the above is directionally correct. I hope it helps.
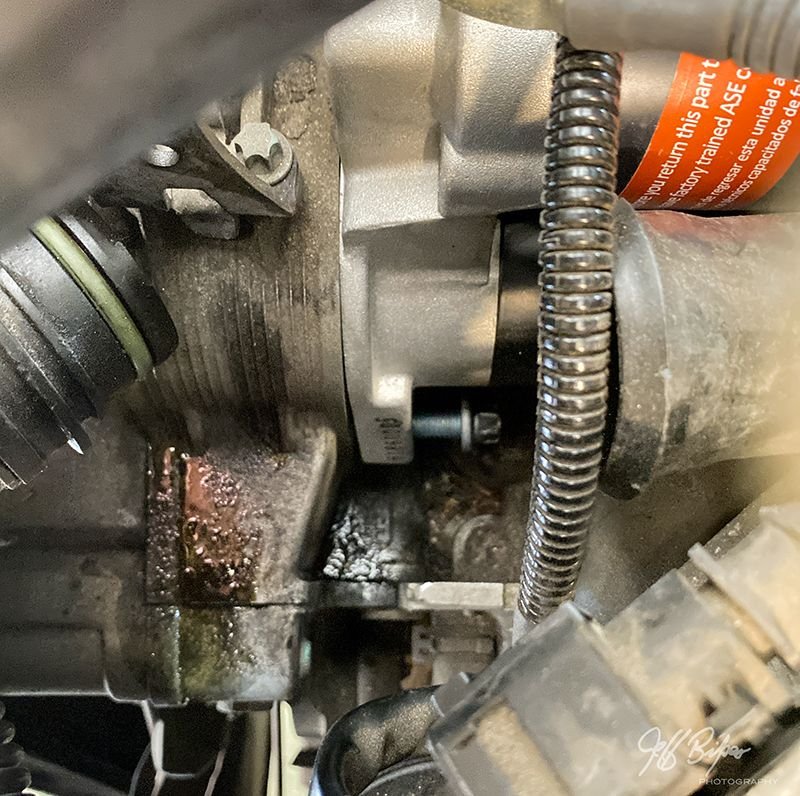
I replaced my starter yesterday. I got the car a year ago and have been having the dreaded ‘pinion gear scream’ a number of times. While reading a recent post and YT vid about this, I was ready for it. I got a reman starter shipped in, as there were none in my small city. I had replaced the AOS last year and noticed that if I removed the oil fill tube, I could get at the bottom bolt on the starter, fairly easily. It was a bit tedious getting at the starter, but not terribly difficult. It was the original. It seems the new one engages much faster than the OEM.
Oil Fill tube removed. Yes, some oil dripped out from the bottom of the tube

 05-15-2022, 09:14 AM