When you click on links to various merchants on this site and make a purchase, this can result in this site earning a commission. Affiliate programs and affiliations include, but are not limited to, the eBay Partner Network.
Arrrgh. Another present from mechanics past. There are 25 peripheral case studs. I did a practice run to put a nut on each and this is what I found on the last one, evidence of serious cross threading. This is beyond running a die over it. Just to top it off the 48mm stud is USD 10. You have to love Porsche's dedication to profiteering.
With the stud unable to tighten I've decided to delay putting the case together until all is correct. I figure it's a poor risk reward to risk that stud area leaking in future because it wasn't held tightly enough.
Last edited by John McM; Jun 10, 2017 at 07:30 PM.
Many decades ago, I was working on a motorcycle, nothing more complicated than replacing the spark plug and I was given the following advice to avoid cross threading.
1. Get in a position to clearly see what orientation your nut/bolt has to the other fastener. This helps prevent being off skew
2. Use hands wherever possible to tighten the fastener. Tools can mask the force being applied. The fastener should start easily with little resistance.
3. Start by rotating the fastener backwards against the other one. At one point in a 360 degree turn you will feel a click. This is where the thread ends are meeting. At that point start to rotate it forwards and the threads should engage and rotate easily for the first few turns at least.
Finally, know the correct torque rating and use a torque wrench to apply it.
Follow the above and you should avoid leaving presents for yourself and others.
I was searching YT for ignition timing videos and stumbled upon your short video using some nice looking software ... At idle it looked like your 964 was at 12.75 spark advance? I thought the 964 spec for idle is 4-5 degrees +/- 1-2 degrees? Do you know what our total timing degree is? Is it noted in WSM?
John, I was searching YT for ignition timing videos and stumbled upon your short video using some nice looking software ... At idle it looked like your 964 was at 12.75 spark advance? I thought the 964 spec for idle is 4-5 degrees +/- 1-2 degrees? Do you know what our total timing degree is? Is it noted in WSM?
The WSM states 880 rpm +/- 40 rpm is 0 +/- 3
The reading you are seeing is an after market ECU I used to have on my car. It ran too rich and I sold it.
More parts have arrived. These are to replace a seal in the front diff and change the mount at the front. Near enough USD 100 for all of that. I'm surprised because the mount is quite substantial. I'm doing this because it's easiest when the engine is out.
Re: idle timing. Stock should be 0. Aftermarket chips are usually around 4deg advanced, which gives a bit better idle. However, that's at operating temperature. More advance is added before the cht reaches operating temp. In case you're comparing numbers.
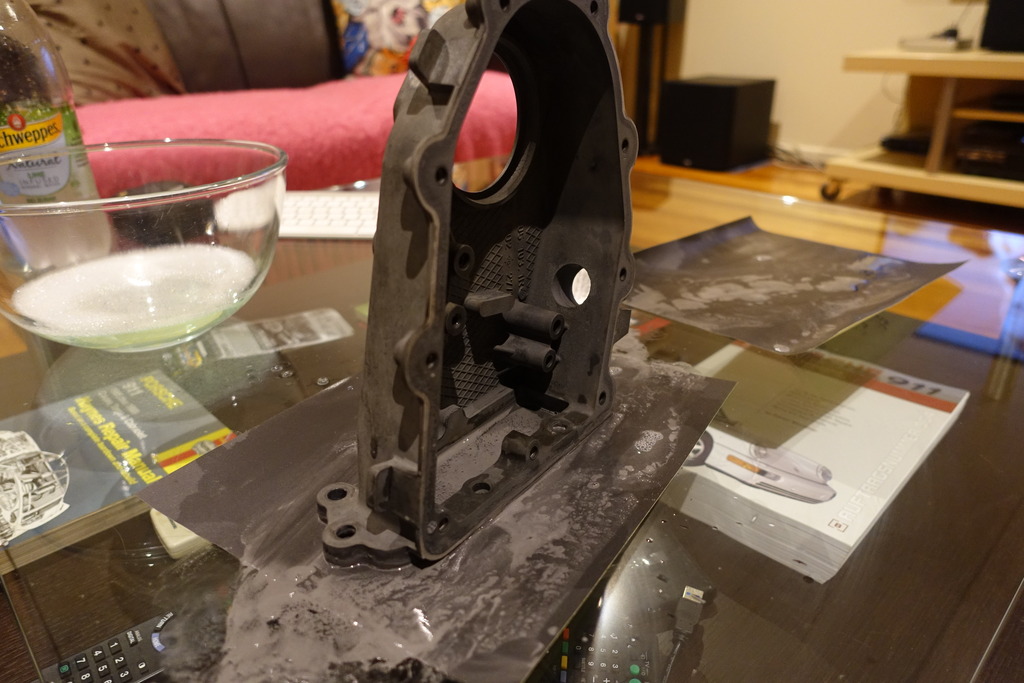
There are 18 collar pin studs on the timing chain covers and 16 came out with the nut. Not what I wanted.
I had to remove the nut, concave washer and rubber insert from each stud, clean them up then reinsert them into the case. The only way to hold the studs while unscrewing the nuts was vice grips. A few marks required clean up but nothing critical.
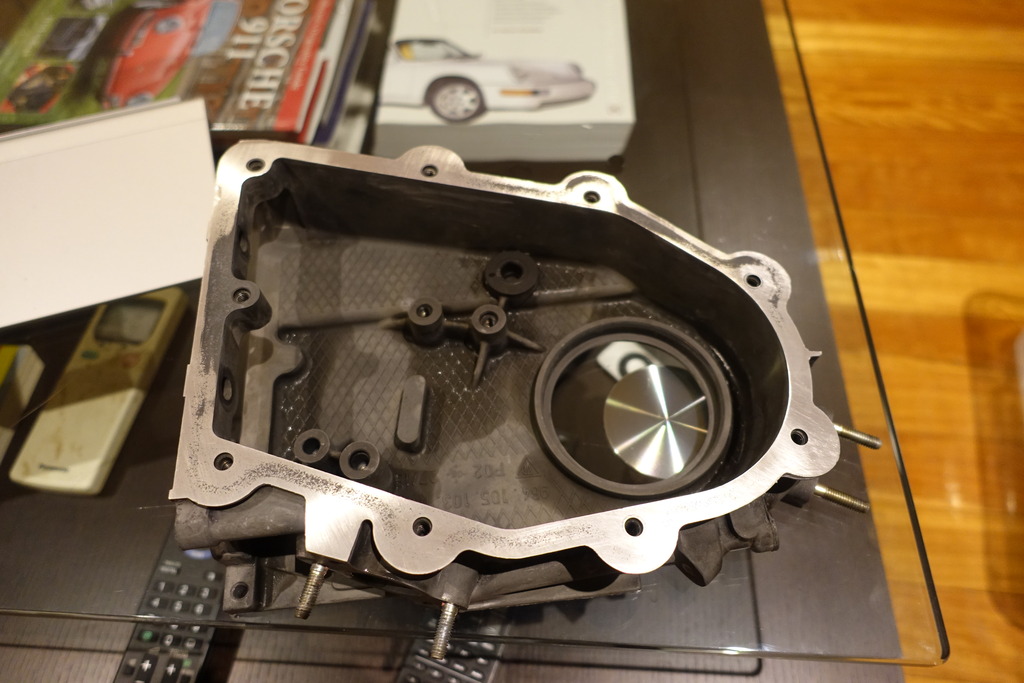
I then ran a tap in each hole, checked the stud would screw in completely, then put Loctite 263 on the thread and torqued each down to 7 ft lbs (10Nm) using an old nut. The critical test was undoing the temporary nut. All successful.
I was very careful cleaning the cases as they are magnesium. I figured that aggressive scrubbing could compromise the surface.
Last edited by John McM; Jun 14, 2017 at 07:12 AM.
when i was at this stage, I cleaned my cases up with some fine wet and dry...
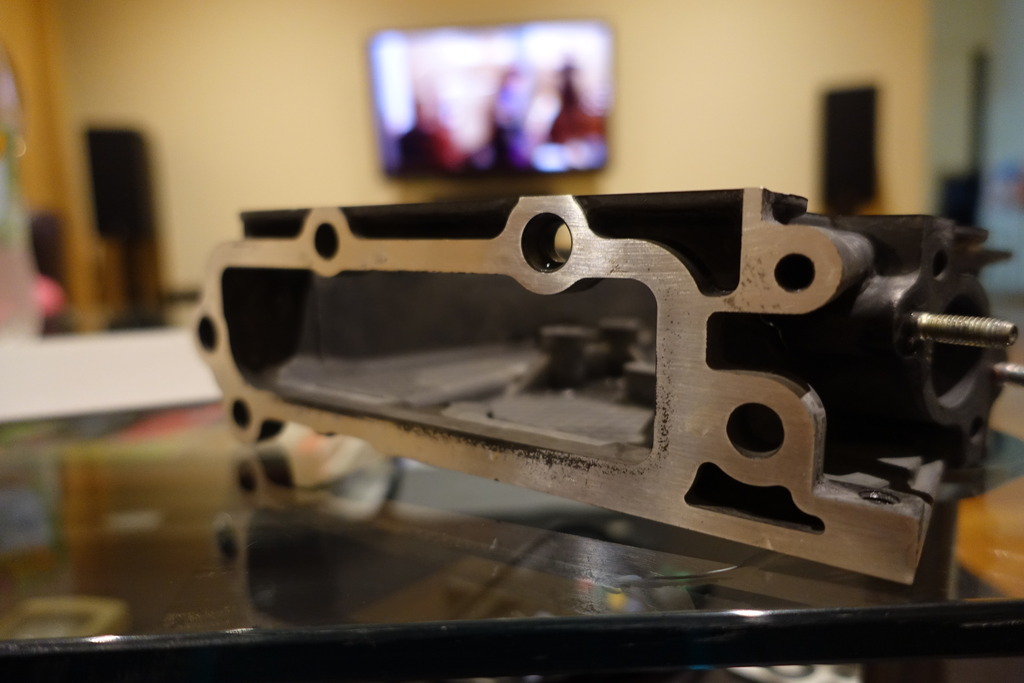
I saw that in your thread. My covers didn't leak before the reseal and the surfaces looked good so I did the minimum clean. If I'd had leaks and/or corrosion I would have done the glass wet sand.
How are people treating the exposed magnesium after removing the corrosion coating? Prior to the 964 these chain boxes were aluminum so it wasn't so much a problem but now???
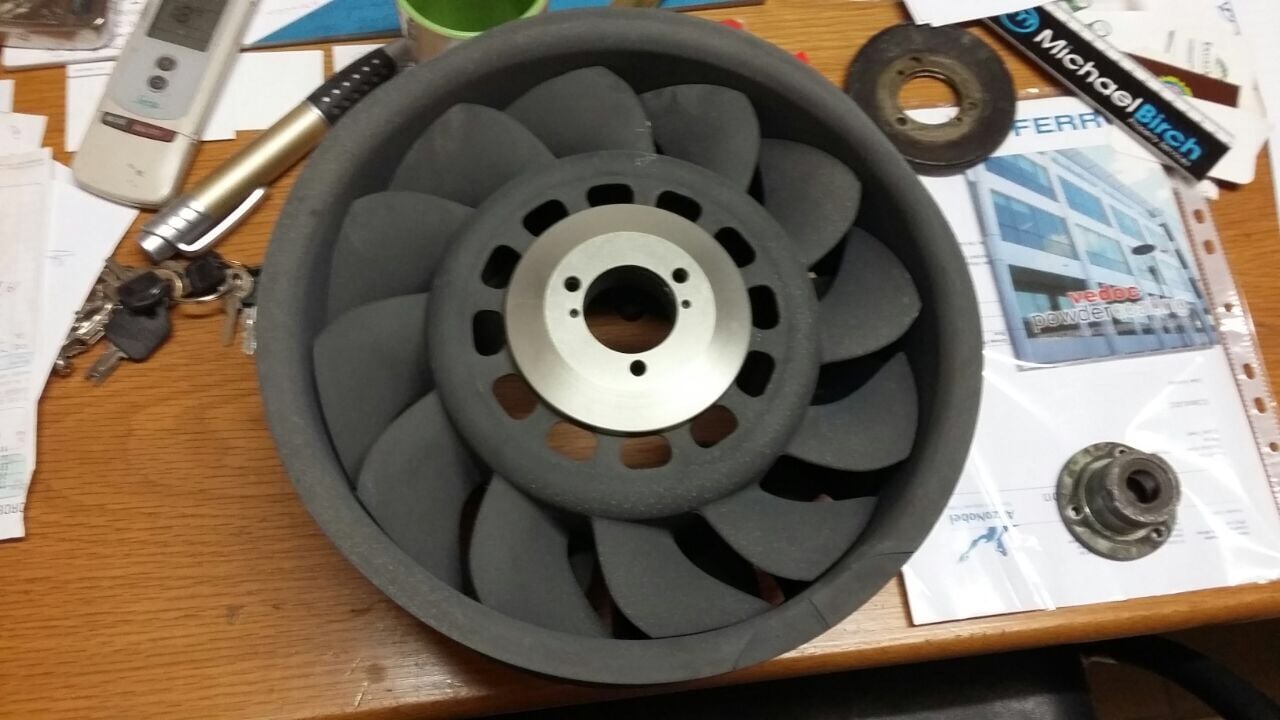
I used a zinc-phosphate dip on my fan (so not a coating) and it gave it a very factory look ala the chain covers etc.. process microblast then zinc phosphate w activator at 30deg dip for 15-20min. This is a formula used by a guy near me who does high end 911S/T type restos which he uses on mag gearboxes etc..


