When you click on links to various merchants on this site and make a purchase, this can result in this site earning a commission. Affiliate programs and affiliations include, but are not limited to, the eBay Partner Network.
Case halves cleaned. Degreaser, Simple Green and CRC gasket remover. The latter was good on the 574 and JB Weld. Now to get the cases and cam towers professionally cleaned.
Finishing the case preparation has brought me close to sealing the case and the knees are starting to tremble.
So much time has been spent to get to this point and the case sealing results won't be known until the engine starts up again.
I don't want or need to blaze a trail. Yet I also know that the original factory method didn't work on the nose bearing so it can't be done by the book.
I have read many threads, have the workshop manual plus the P fix it DVD, and have all of the sealants. In the next few days I will experiment with sealant placement and amounts.
To show you how detailed this job is I have highlighted an area on the case that some seem to miss. It's an oil release channel that Porsche designed to stop a leak in the through bolt channel migrating outside the case. Mine was full of sealant, albeit the area hadn't leaked.
I took the chipped cylinders to the machine shop that almost certainly did the work. They said that they were fine to reuse as did an independent mechanic. However I had a nagging thought that I would do all of this work and potentially have leaks so I went a different route. I have bought another set of cylinders and pistons from which I will use two to replace the chipped ones. These are likely spares from a Singer conversion as the ad said the engine was converted to 4 litres.
A few words of caution about buying used cylinders and pistons:
1. Cylinders must all be the same height group on the same bank. The two height groups are 5 & 6. Those numbers are stamped on the base inside a triangle
2. A piston and cylinder should be replaced as a unit as they wear together and have the correct tolerance groups.
3. Pistons are categorized into weight groups. Ideally the pistons should all be the same weight group for balance. If the new piston is heavier it can be shaved.
My new used cylinders and pistons are the same height and tolerance group as my existing ones but the pistons are a weight group above.
The factory solution is to put new cylinders and pistons on and shave the head flat.
The other solution (what I have) is to cut a groove in the cylinder top and fit a sealing ring. The danger with this is that the cut goes very close to the edge of the cylinder leading to a weakness that allows chips I.e. What happened to me. If it's any indication, my independent mechanic said to fit the new cylinders as is with no cut groove.
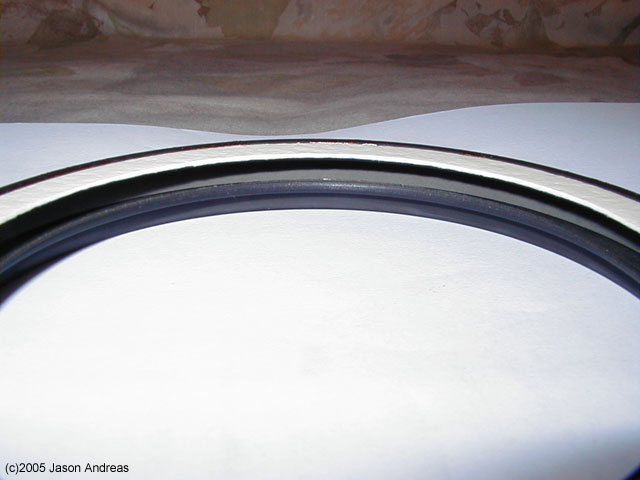
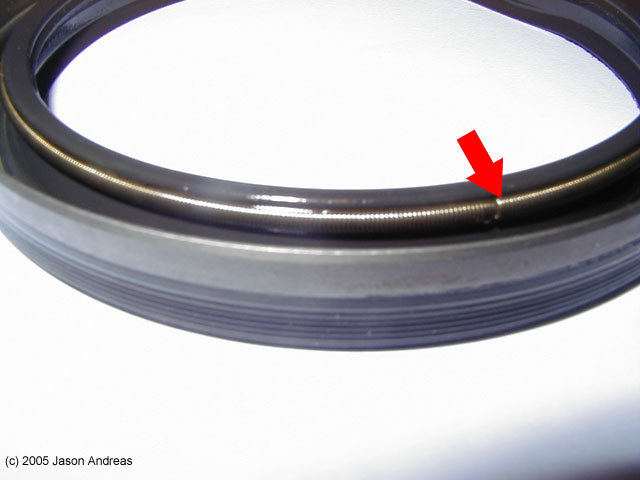
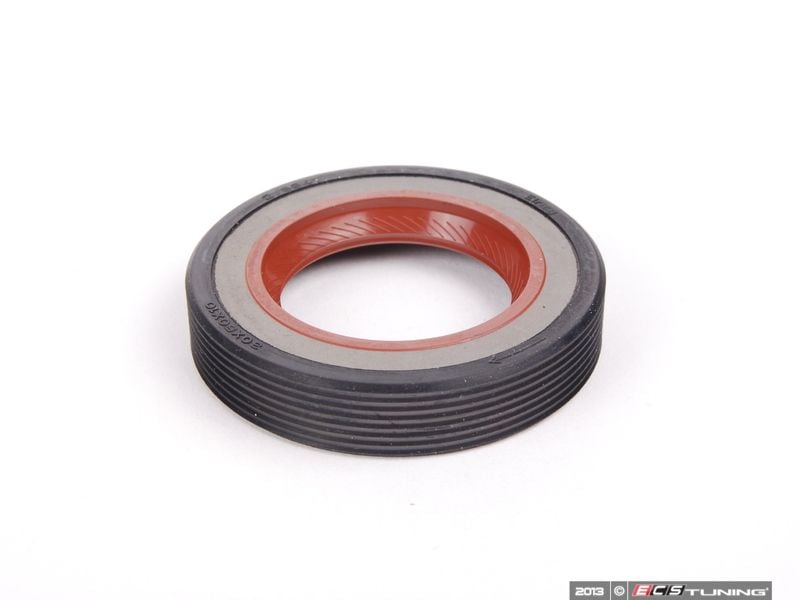
Just for info John, I fitted the Tom Amon ring, sealed well, fitted new front main seal, a Elring one, way way better than the origninal or the genuine Pork one I ordered, it had a double lip and two part material.
Had a problem sealing at the crank bolt and found I had an early bolt, the new ones are revised and have a shoulder, worth checking yours, and I would highly reccomend front and rear Elring main seals.
Will check to see if the ring is leaking after a bit of use.
Also reccomend the Dansk exhaust clamps, the welds failed on my 3 expensive new pork ones, the dansk welds are much stronger.
Oh and whilst you have the engine out do the diff input shaft seal on the front diff - very easy to do by dropping the whole torque tube!, dont forget the small rubber seal inside the shaft. Much easier than trying to remove the diff.
The normal one with the spring, I know they changed them in later cars, but I have read that they tend to leak so folks have been installing the old type. Just that the old type are different quality depending on manufacturer and the Elring ones looked much better. 250 miles so far no leaks.
Just for info John, I fitted the Tom Amon ring, sealed well, fitted new front main seal, a Elring one, way way better than the origninal or the genuine Pork one I ordered, it had a double lip and two part material.
Had a problem sealing at the crank bolt and found I had an early bolt, the new ones are revised and have a shoulder, worth checking yours, and I would highly reccomend front and rear Elring main seals.
Will check to see if the ring is leaking after a bit of use.
Also reccomend the Dansk exhaust clamps, the welds failed on my 3 expensive new pork ones, the dansk welds are much stronger.
Oh and whilst you have the engine out do the diff input shaft seal on the front diff - very easy to do by dropping the whole torque tube!, dont forget the small rubber seal inside the shaft. Much easier than trying to remove the diff.
I'm hoping never to need another Tom Amon Collar. I have ordered a new nose bearing. I have also added an Elring seal set to the order.
Not sure about the front diff seals. I have so much on the to do list I'll never finish. I have decided to reseal the power steering pump and change out my ignition wires.
The nose bearing wasn't my only issue. The IMS cover was also leaking. The old one had ball peen hammer marks on it and a gap on the top edge. The new one fits a lot better but I'll still use some sealant as insurance.

 04-28-2017, 09:14 PM