When you click on links to various merchants on this site and make a purchase, this can result in this site earning a commission. Affiliate programs and affiliations include, but are not limited to, the eBay Partner Network.
Great Job Pete!!
Just read all the way through!
Was just thinking, you're doing he suspension, Hans just posted on FB and has a few more sets left of his steroid (Ott style) drop links.
Keep up the great work man!!
Chuck, thanks. I'll message Hans on FB - that's a great idea as the OEM links aren't great and I'd like to be able to unload the sway bars. Might get a set for the Spyder too.
Agree.
I had them on the GTS and still have them on the 79. Noticeable improvement going through the twisties!!
Also, the bling factor.... Hans links are a work of art!! And seeing how cool the Spyder is, I know you're into "Bling"!!
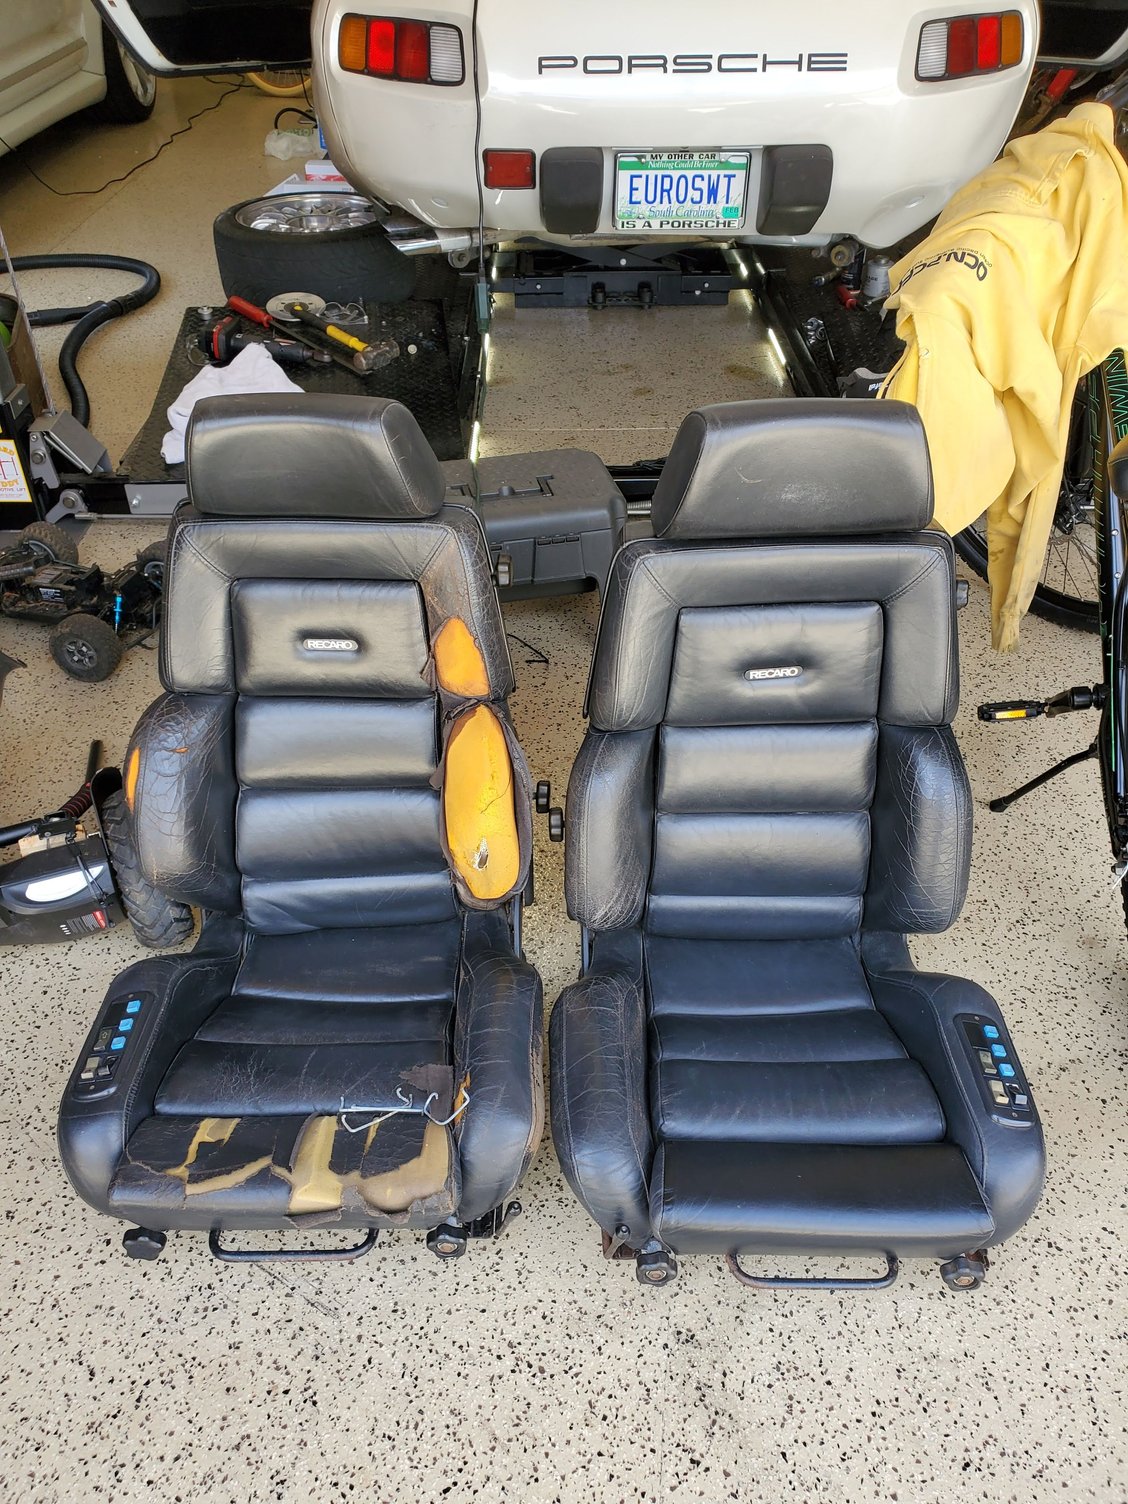
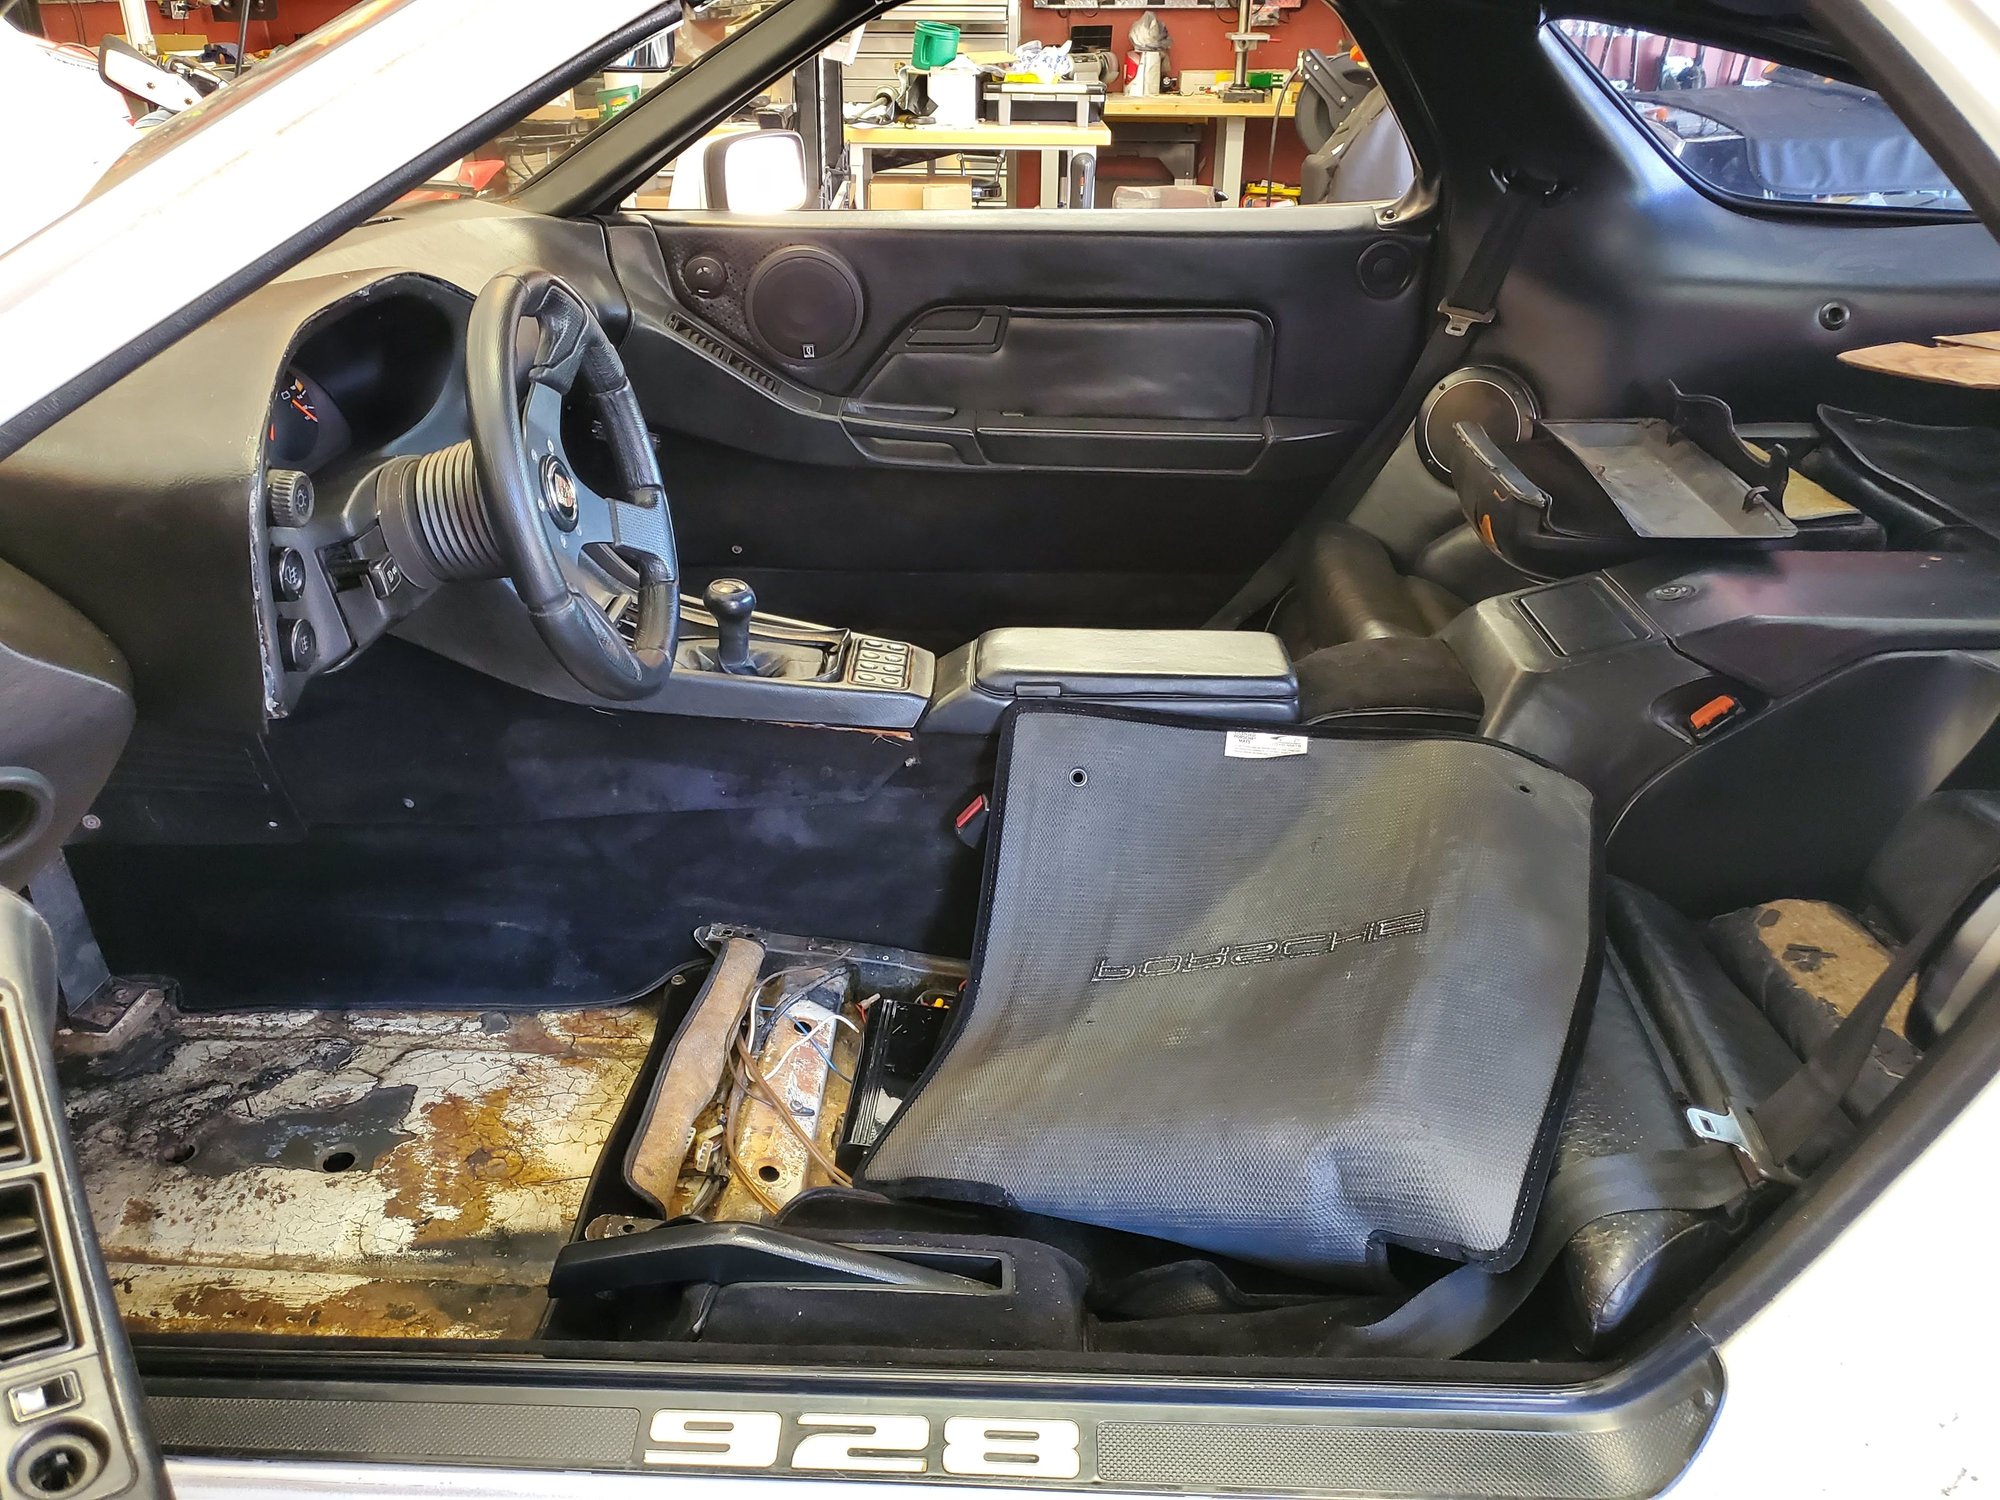
Had a big weekend with the car. After removing the seats (that are going to olmann), I decided to tackle the complete hydraulics system.
That means, new:
Clutch Master
Clutch Slave
Brake Master
Brake Booster
Stainless Brake lines
That job is not the most fun, but with some great tips from Stan (paint sticks to hold the booster rod in it's extended position so it just barely makes it out the opening), I was able to get everything reinstalled. Haven't bled things yet, so don't actually know if any of it works, but it should.
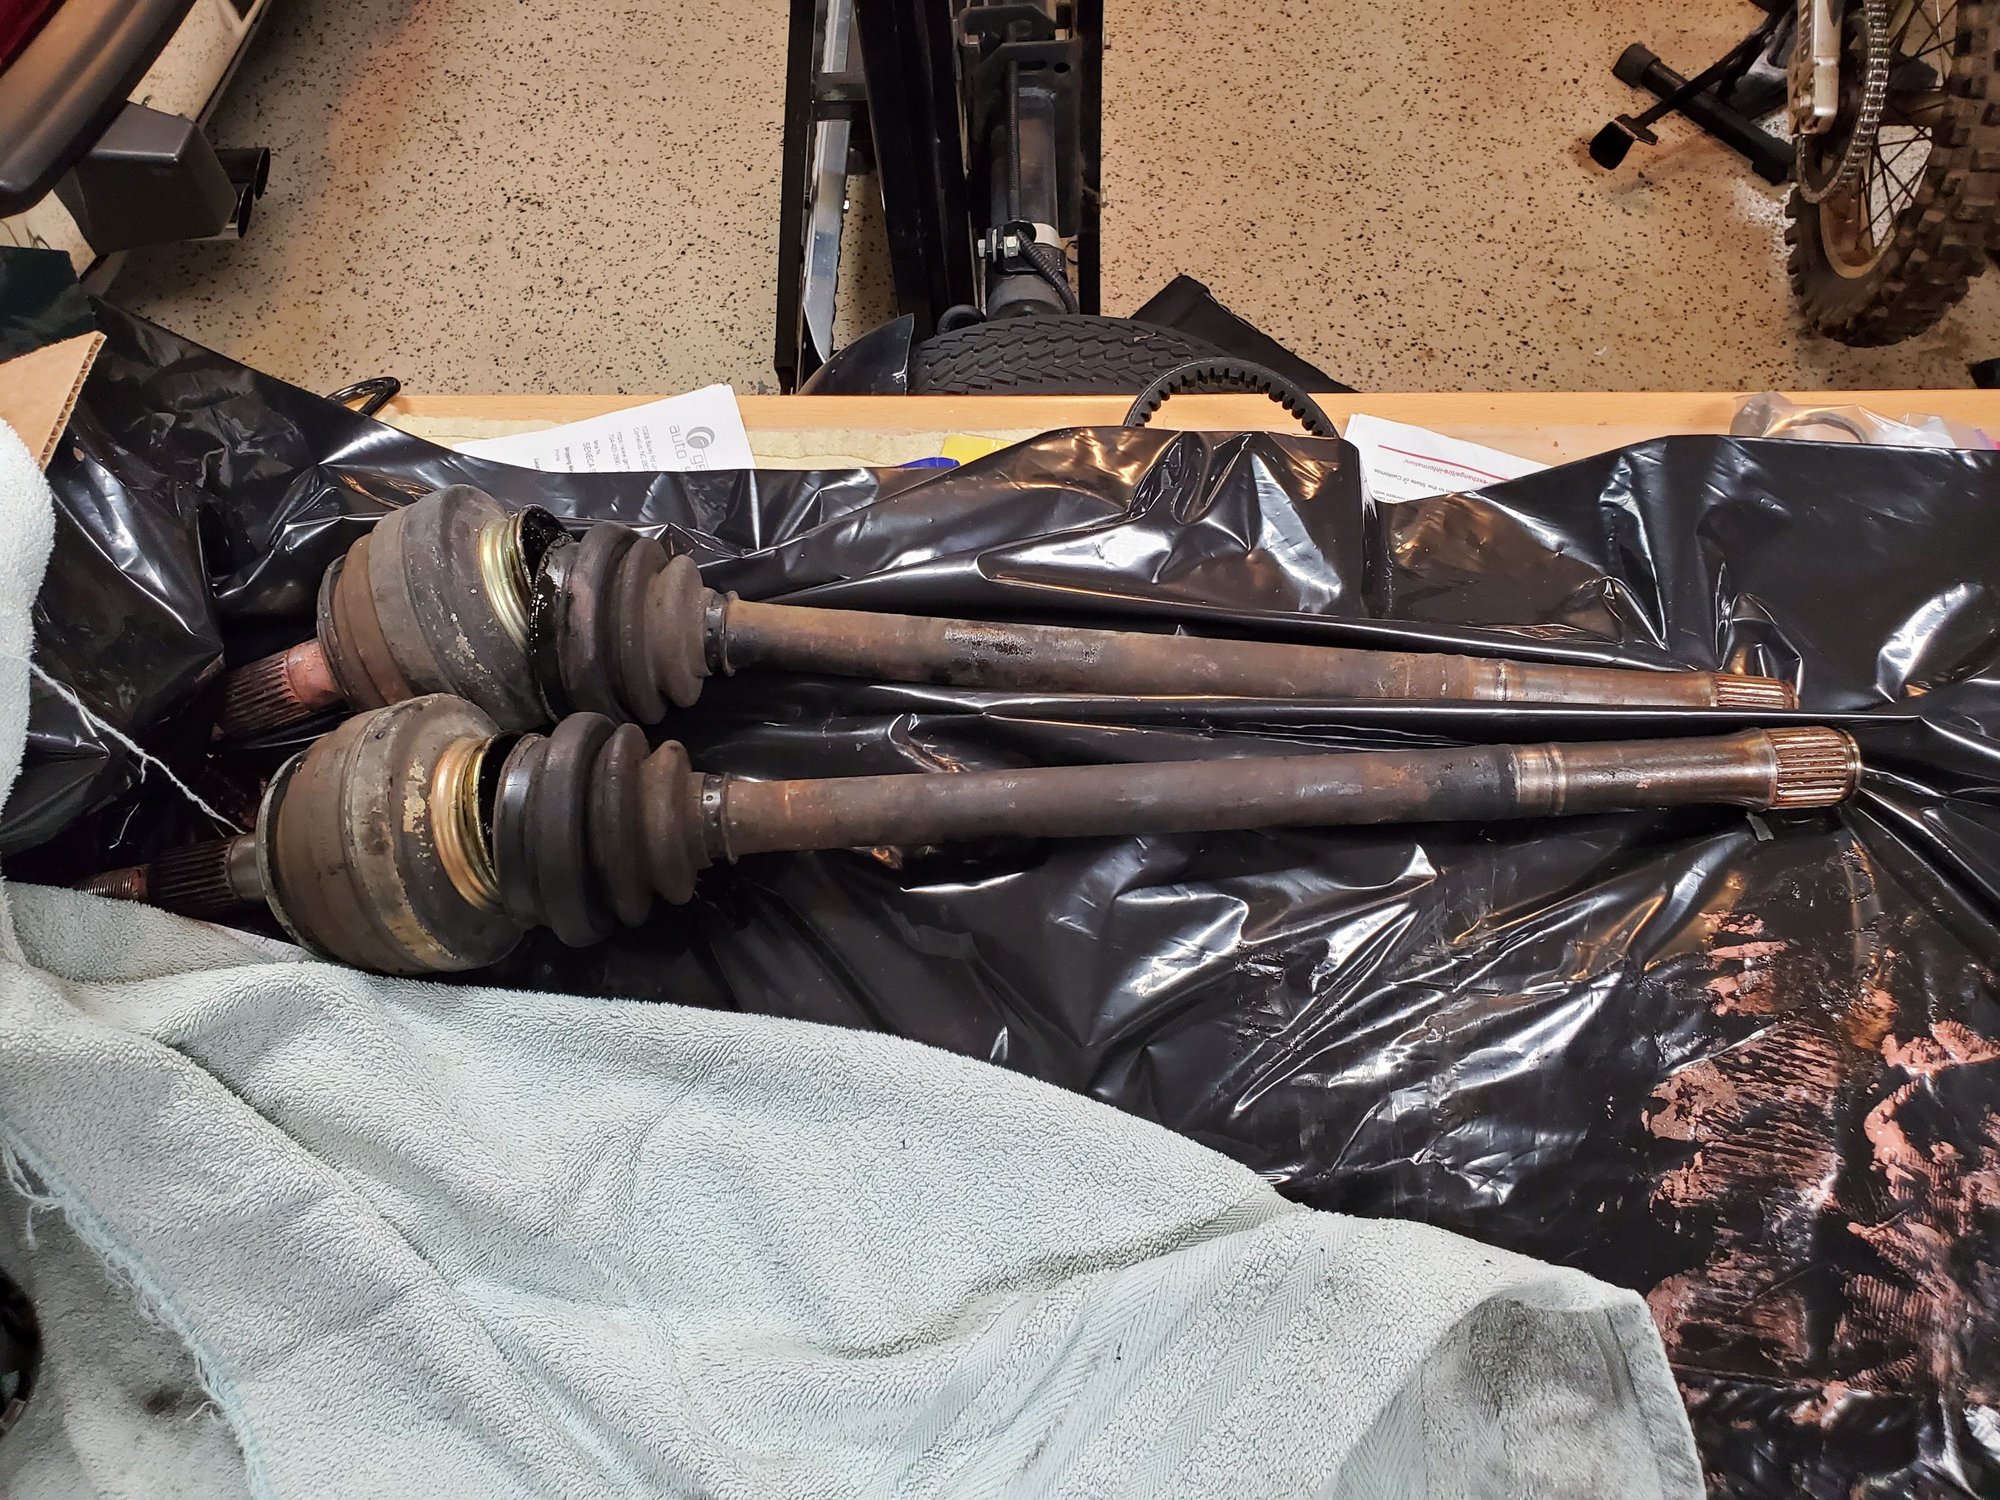
Old stub axles removed last week
Did some paint refresh to them before they go back in this week.
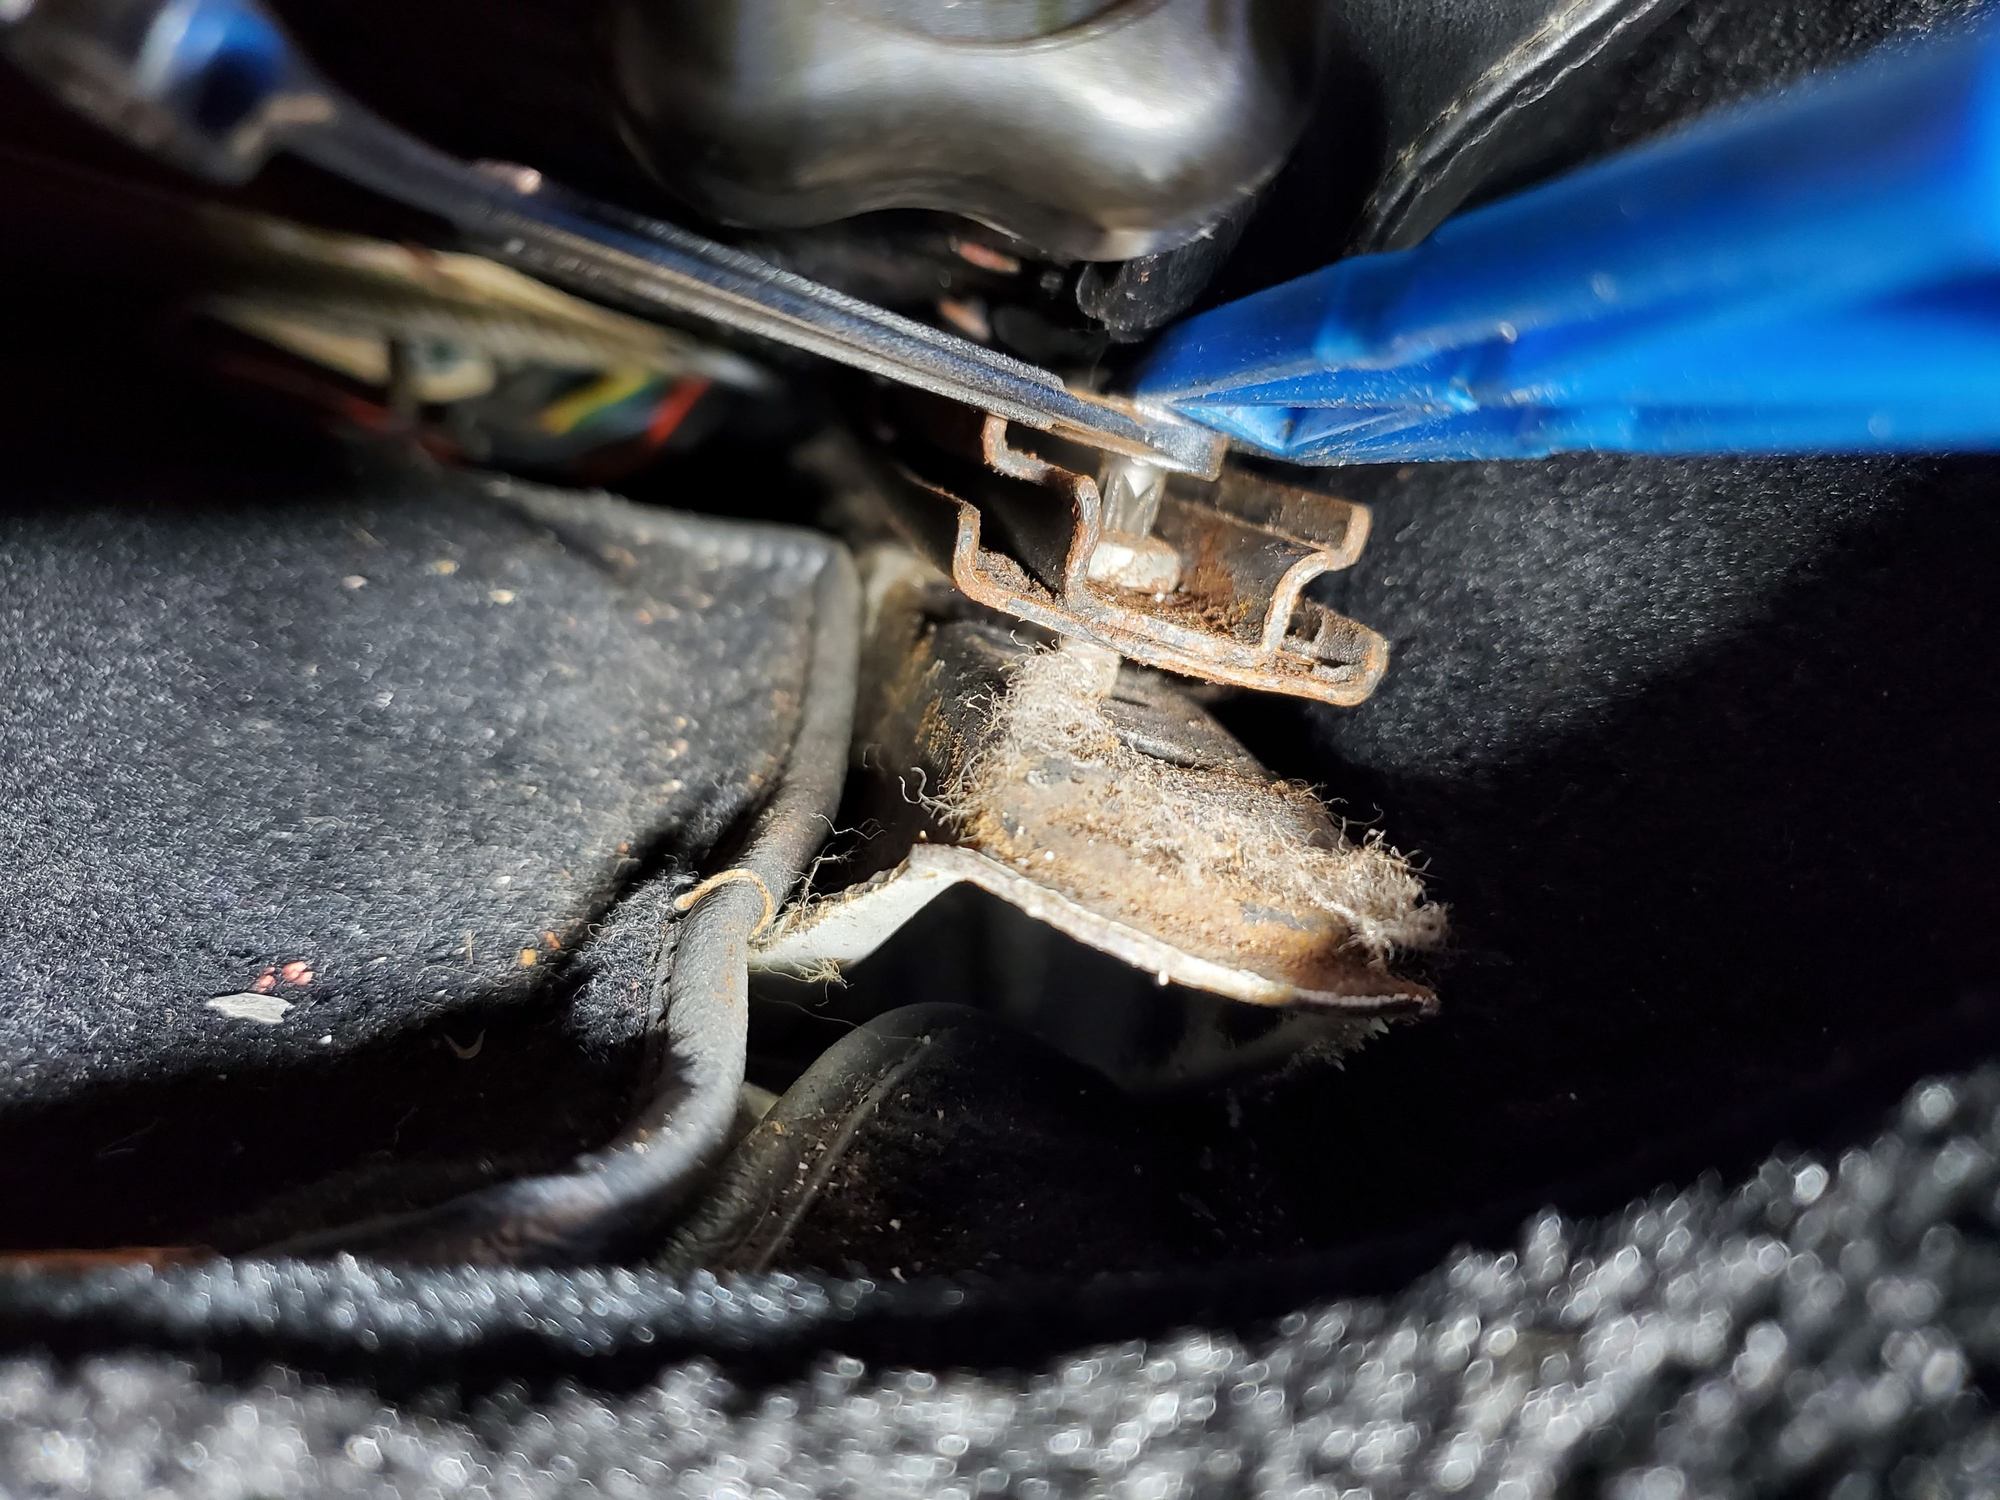
Removing these seats was a lot of fun. Back fasteners were easy - front ones not so much. The seats do not raise at all and there is no space to access the screws/bolts used with a normal tool. And as an added bonus, one one front one they used a 10mm hex bolt and on the other a phillips head screw. I was able to get a 10mm shallow wrench socket on the hex bolt and use the open end wrench to remove the bolt.
On the phillips head screw, I had to cut one of my short bits in half, then wedge a trim tool at the top of it to hold the bit tight into the screw and then use an open end 1/4" wrench about 80 times with a 1/4 turn each to get the screw out.
But, at least I had success. These will get boxed up this week for the new owner.
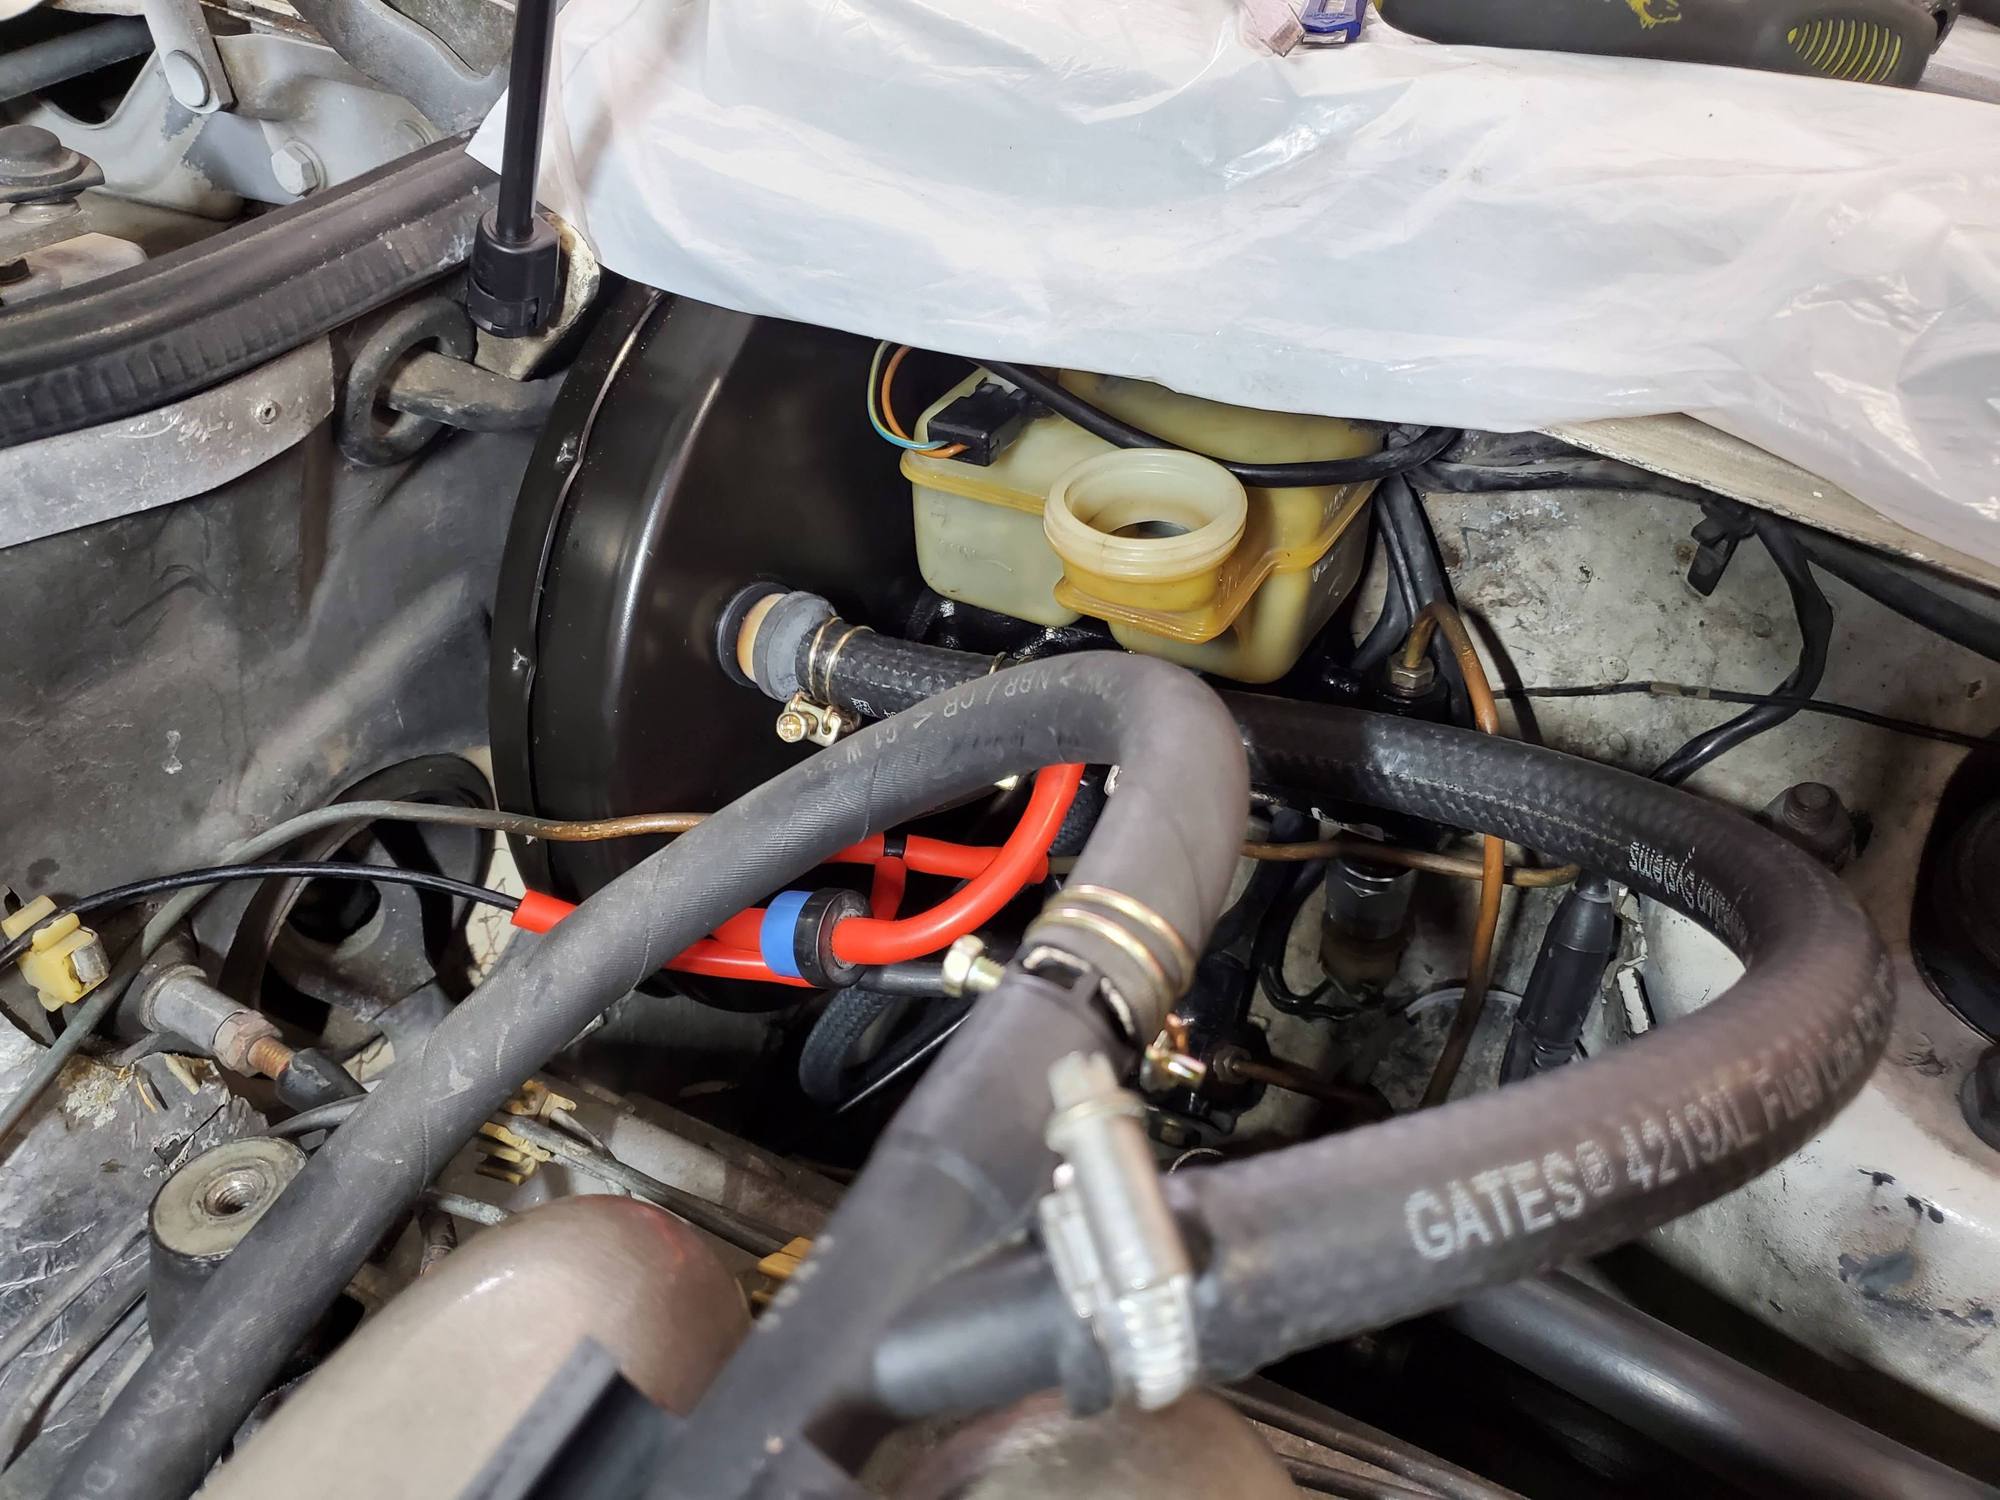
So, while the seats were out, it was time to tackle the hydraulics - open that system one time and bleed all of it at once.
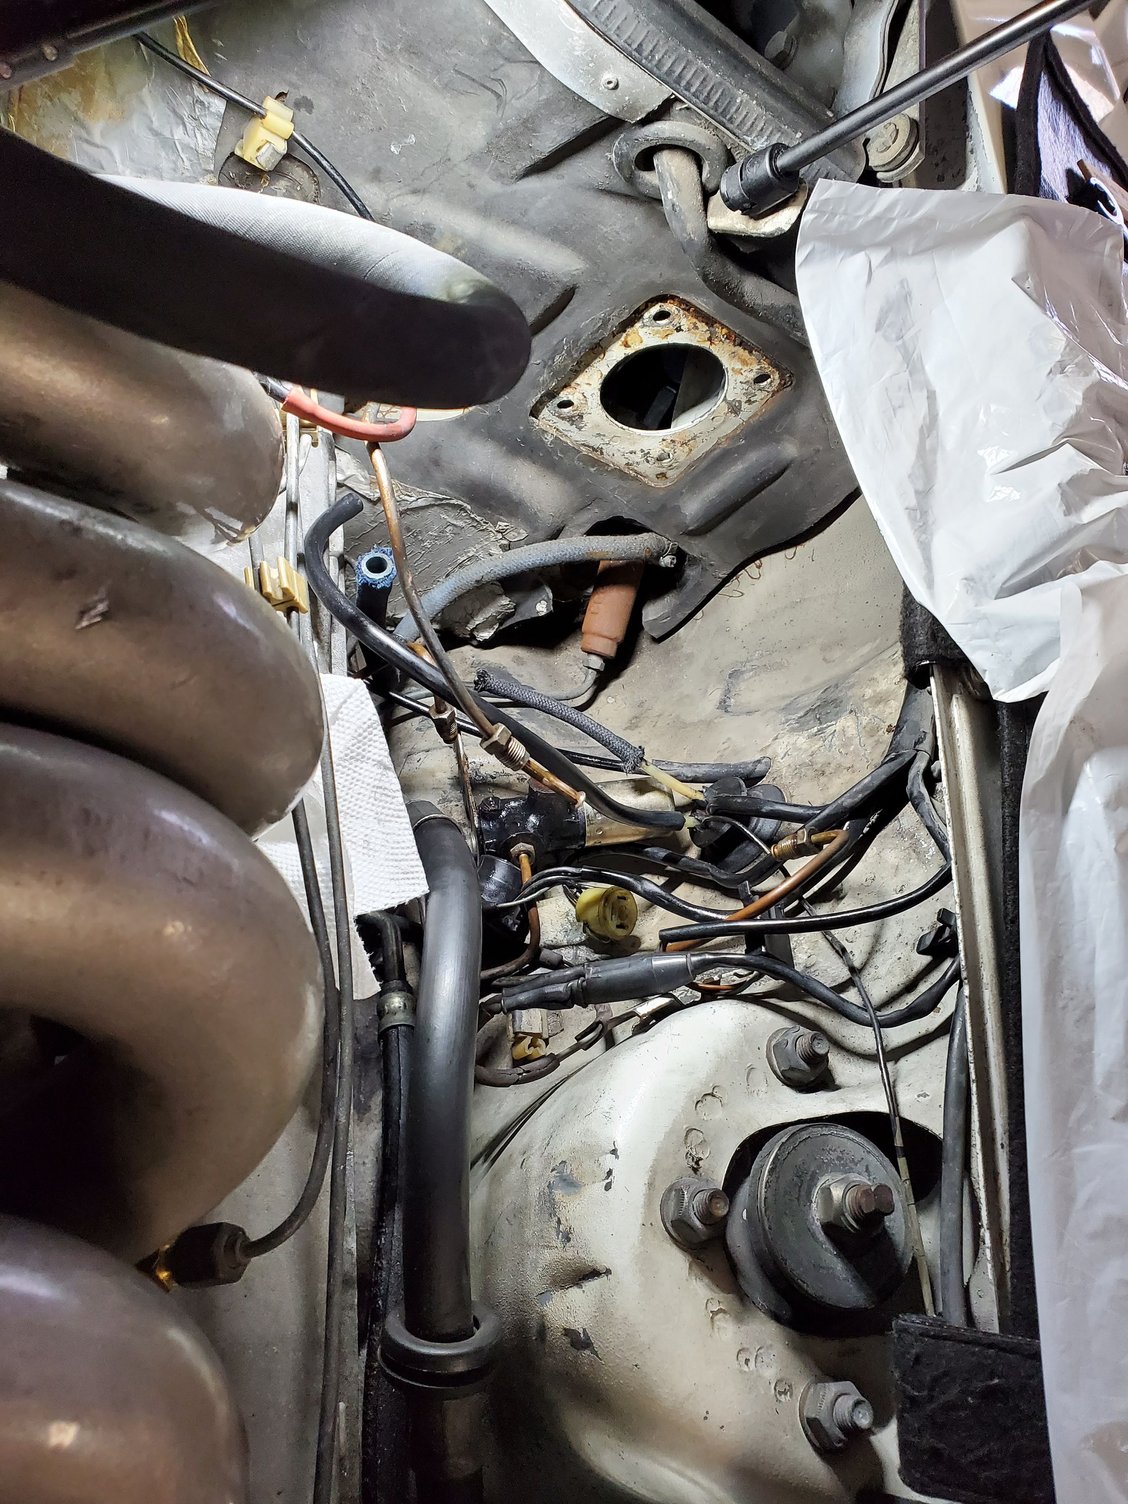
Booster finally out. Rusty clutch slave now visible. I wanted to replace that too as they clutch system seemed to lose hydraulic pressure on it's own. If I held the clutch depressed for a while and then tried to shift into gear, it would sometimes grind. Then if I pumped the clutch pedal 3 or 4 times and tried again, it would work just fine. The clutch master looks like it could certainly be original to the car, so 40 years was a good run, but time to renew it.
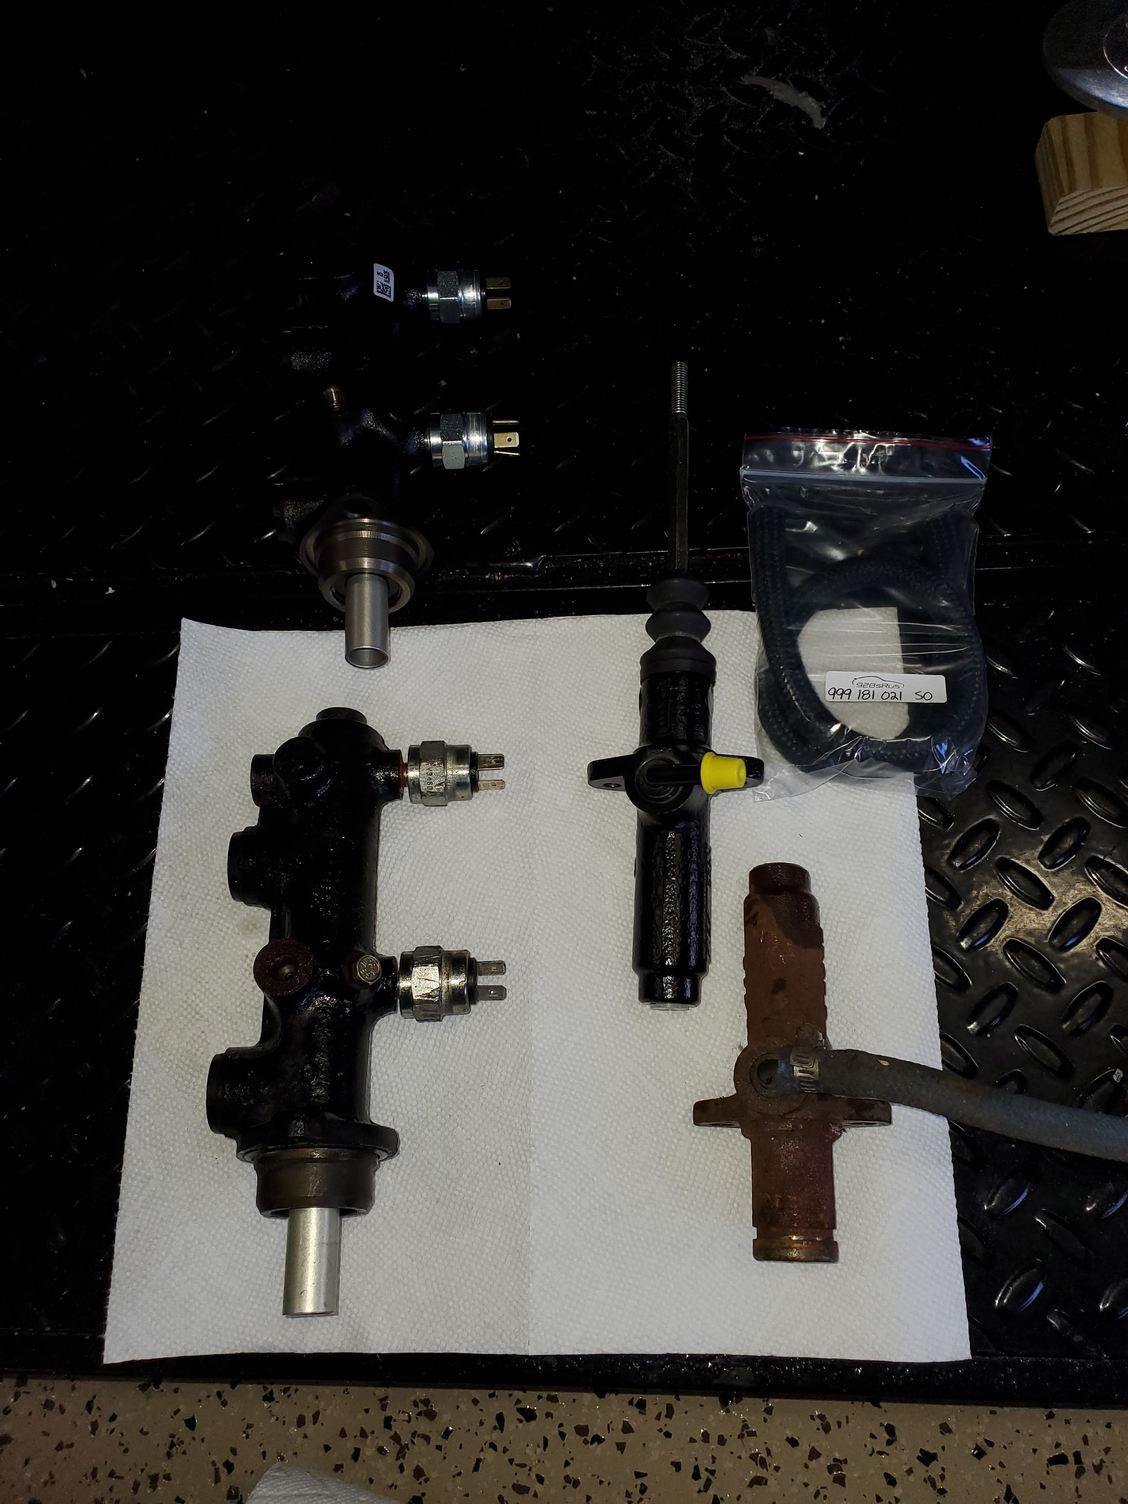
The old Clutch and Brake Masters compared to the new ones. New blue-black hose went in too.
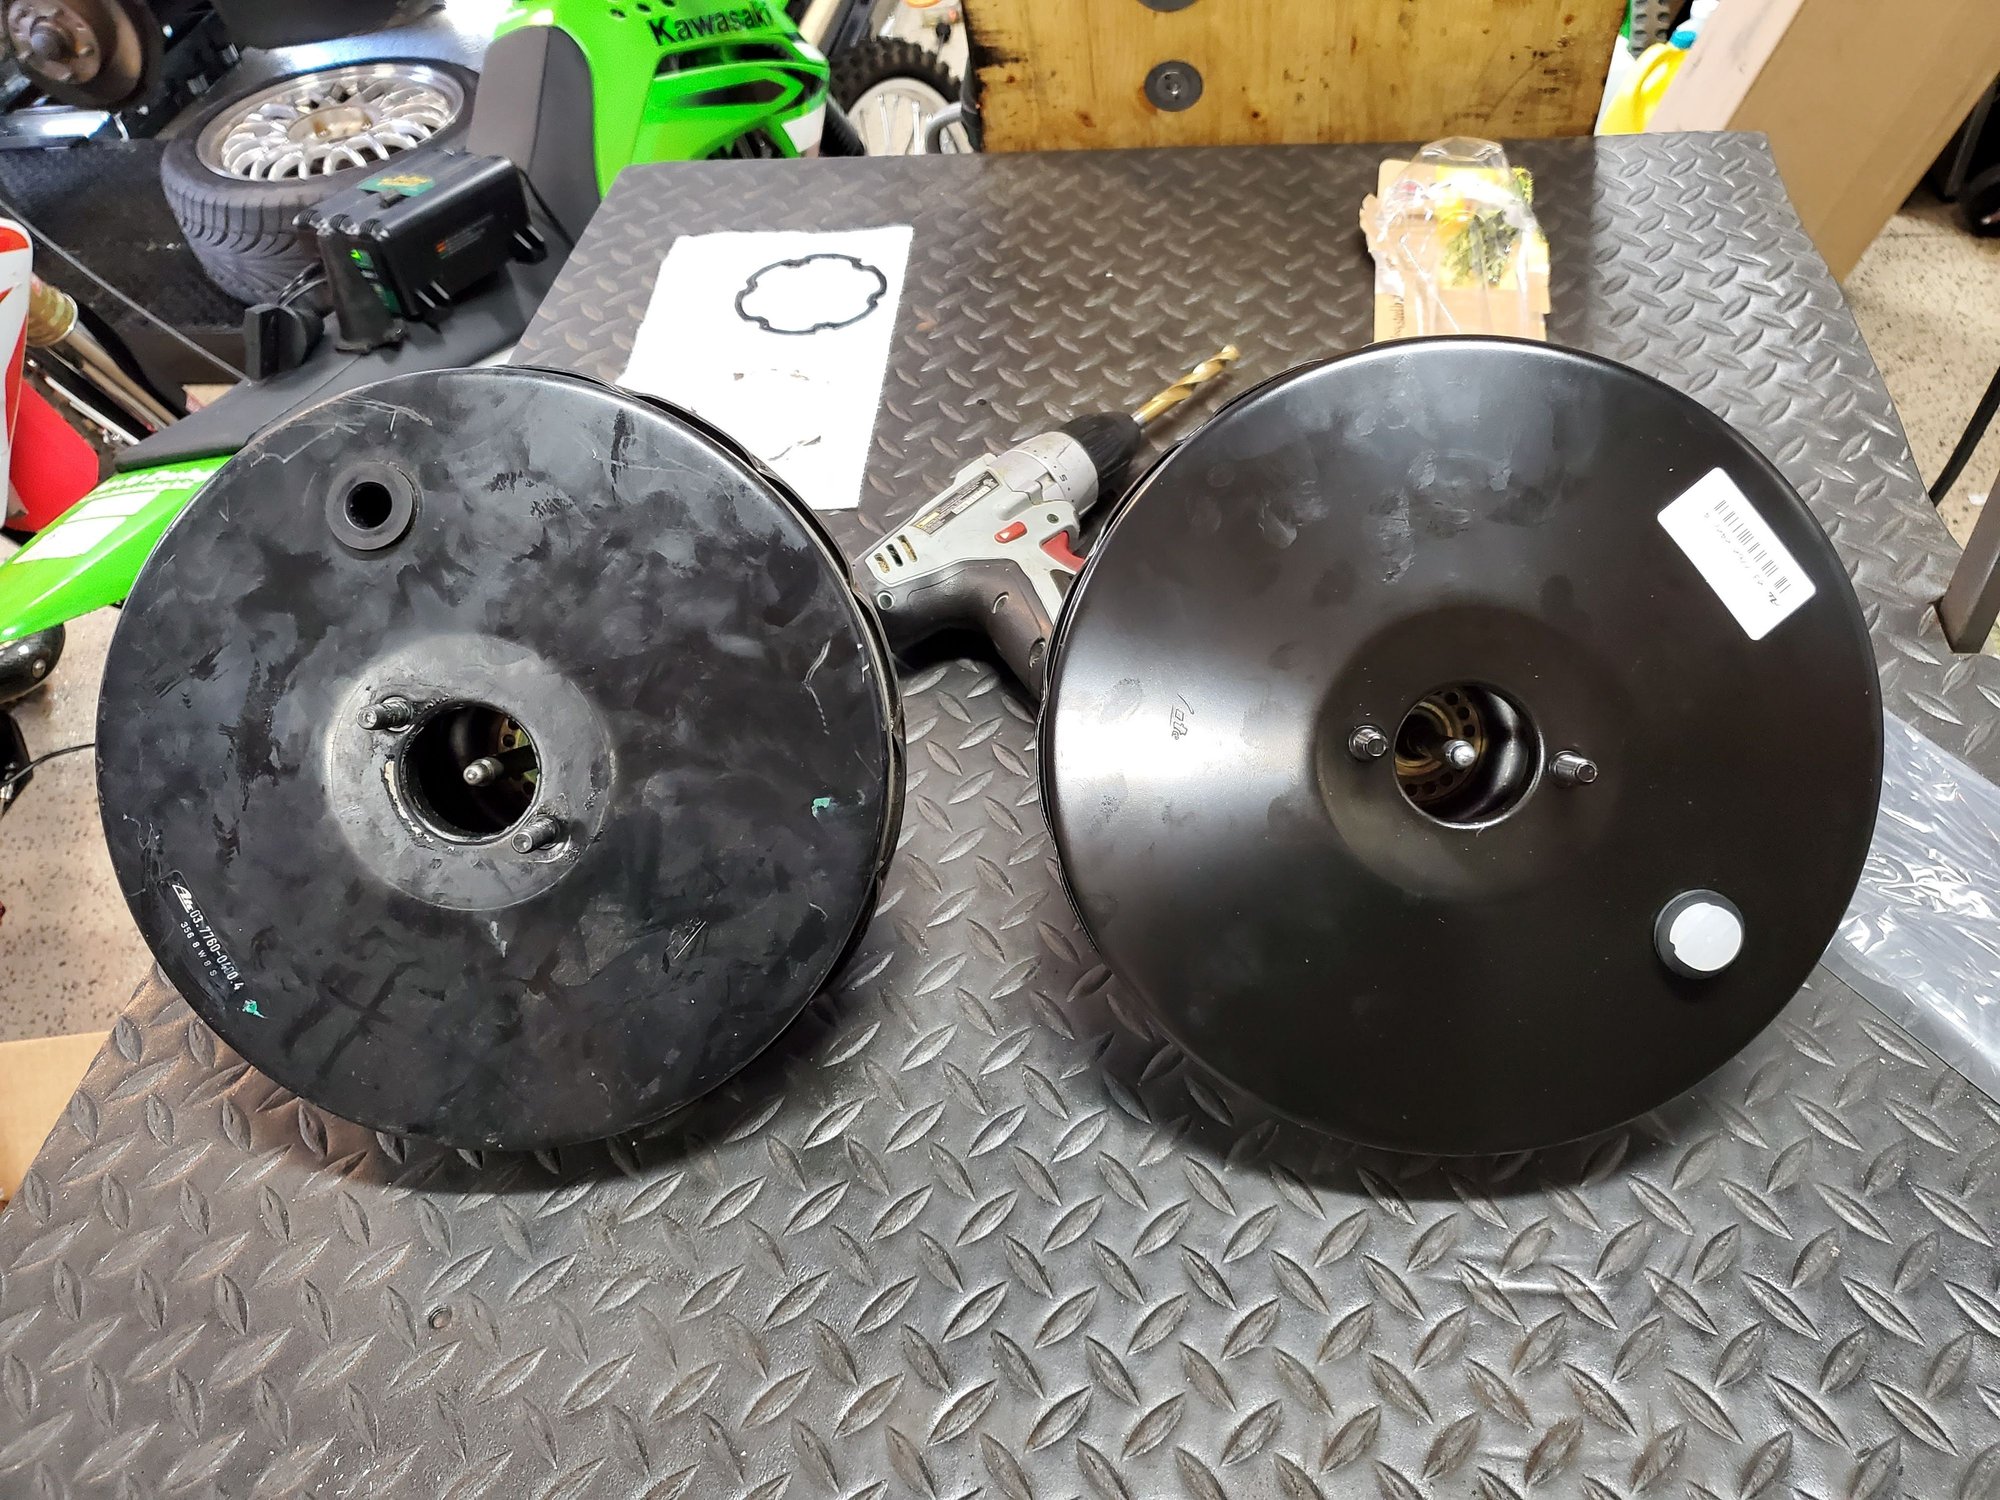
Old brake booster with the new one.
Everything back in place where it should be.
GB flex line to the new clutch slave
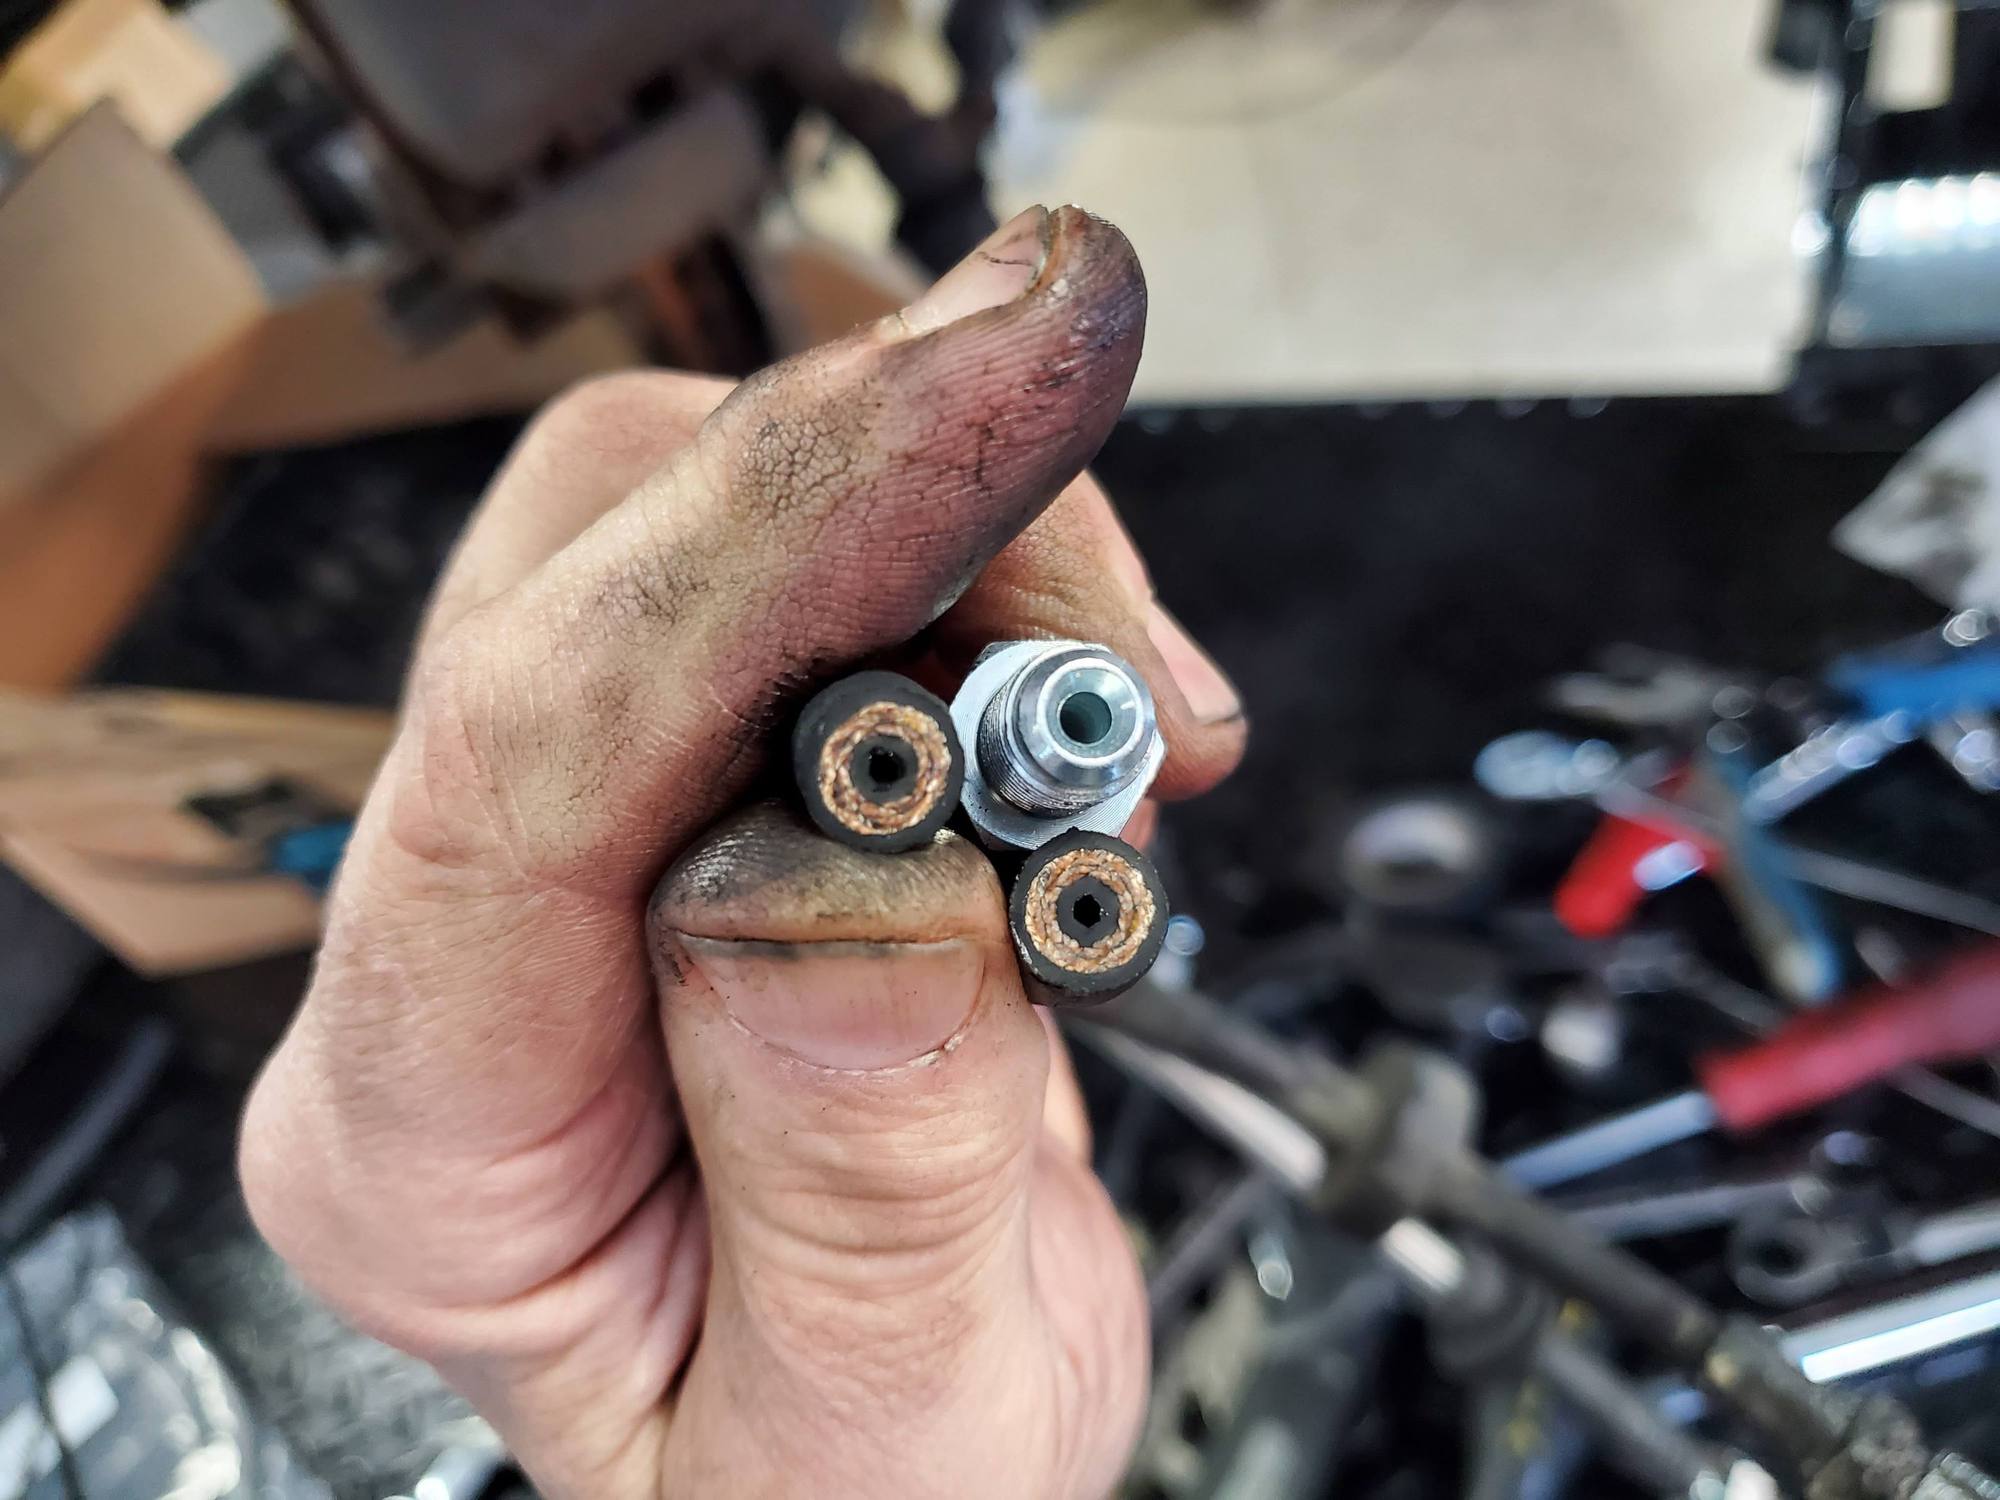
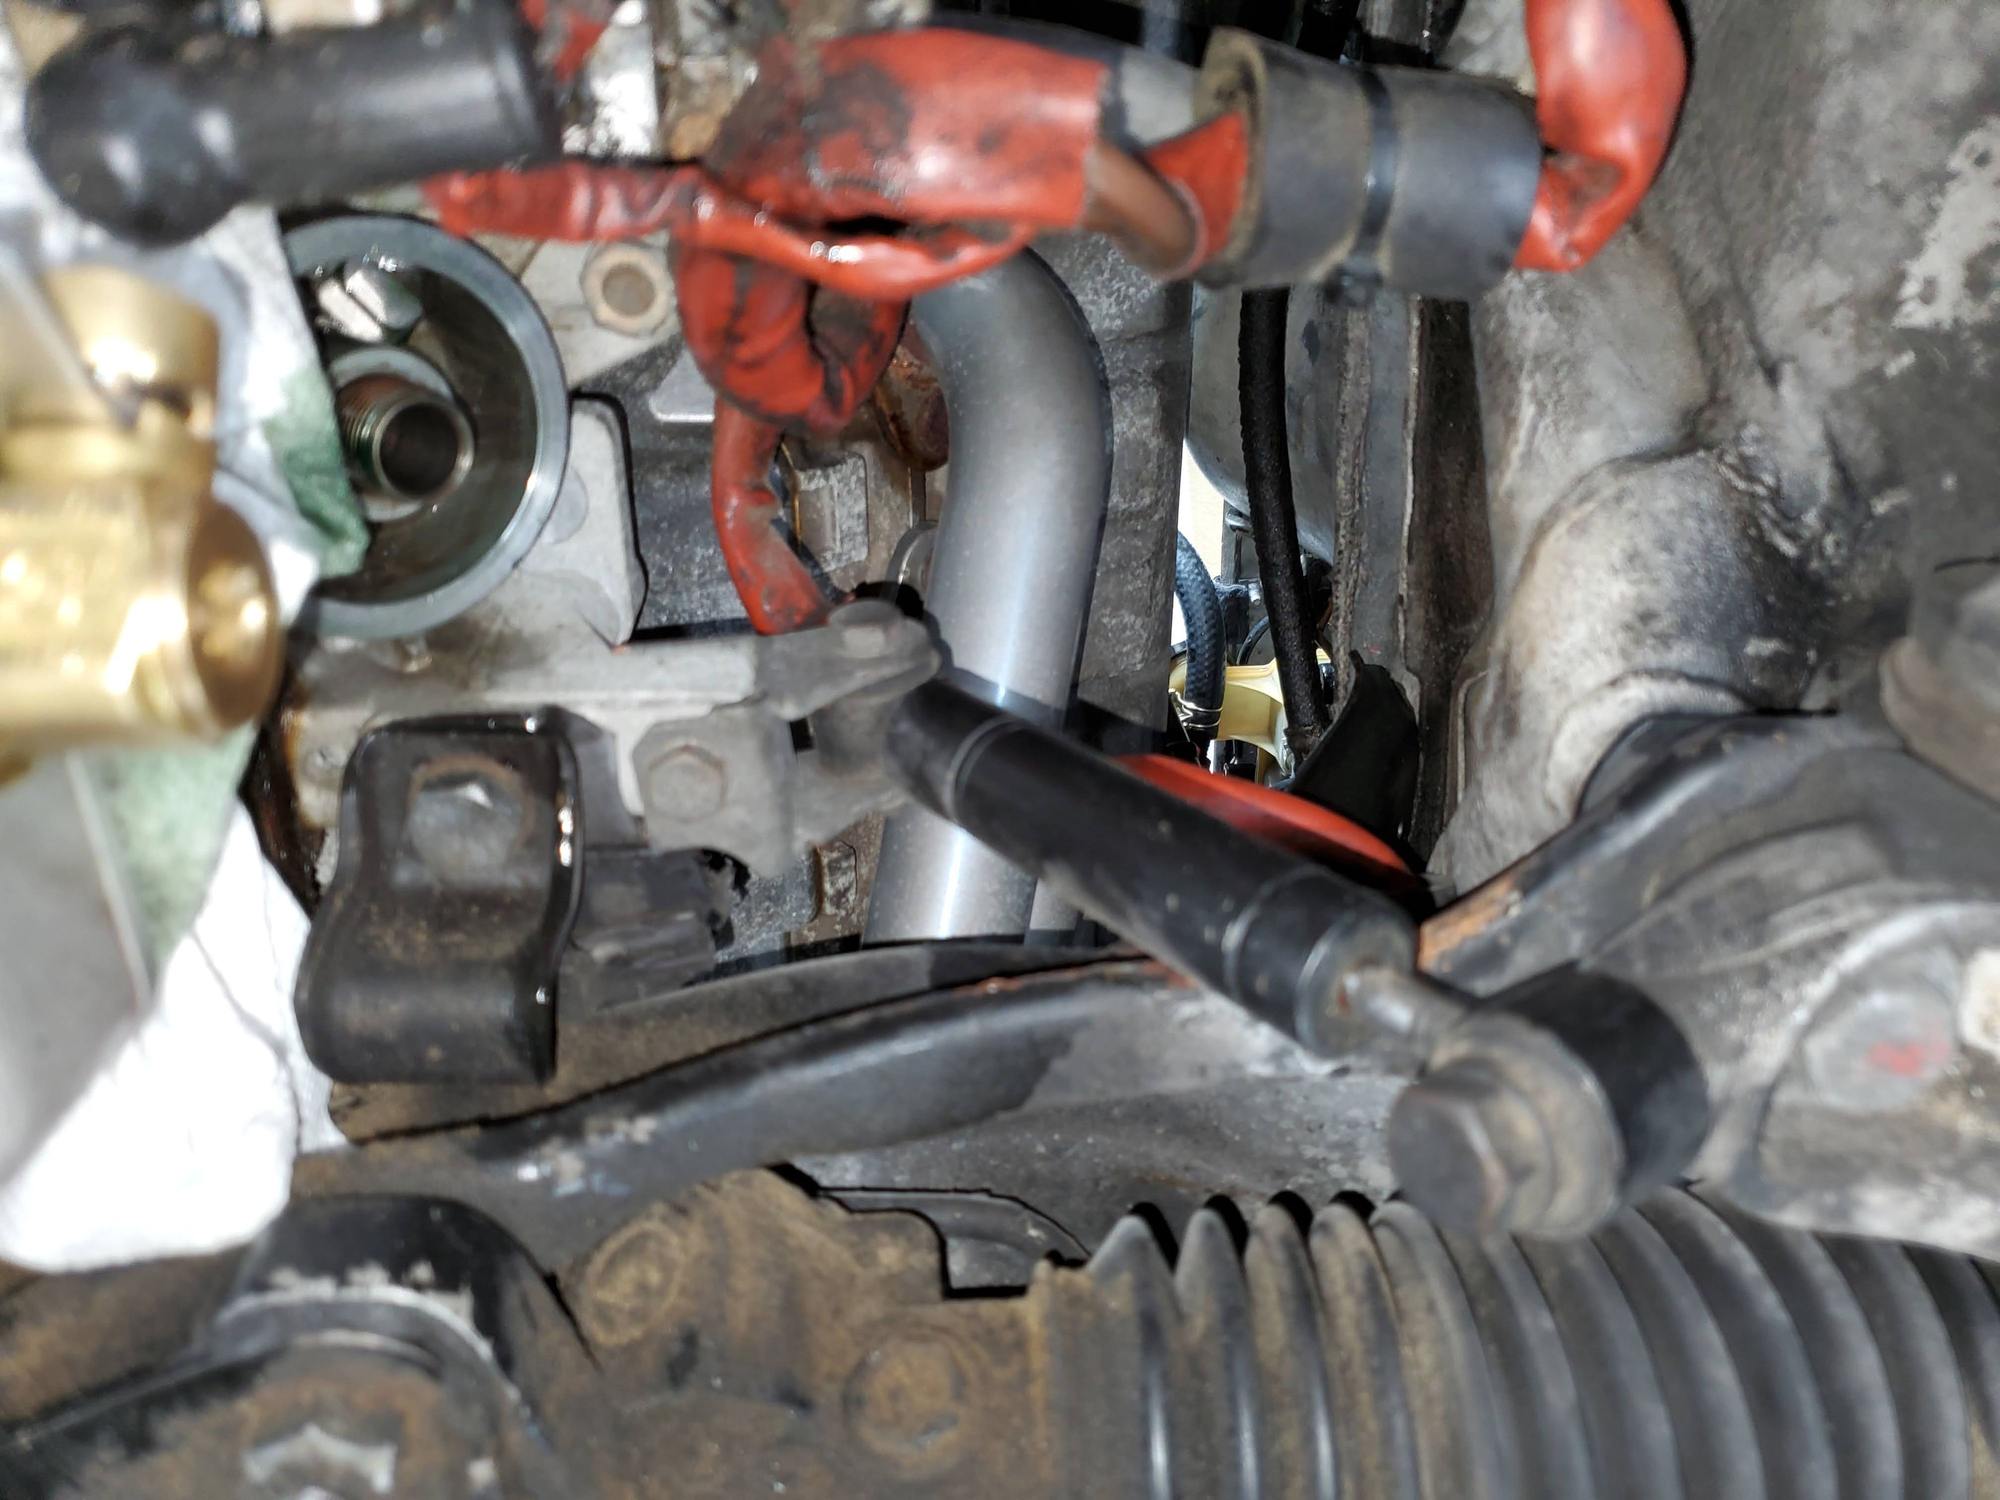
Then onto the brake lines. The brakes in the car were so mediocre, it was impossible to skid the wheels, and why I decided to do the new booster, master, and stainless lines. I cut one of the rubber lines in half to see what I would see, and just as I suspected, they were very constricted inside from the rubber swelling. Look carefully at the old hose and you can see the tiny hole that remained for fluid to pass through compared to the new stainless lines I installed. Old line was probably at 25-30% flow of the new diameter. I install coated, braided stainless lines on all my cars as one of the first projects. Not only does it significantly improve the braking, but also is more resistant to getting shredded by a tire gator or other unavoidable road debris.
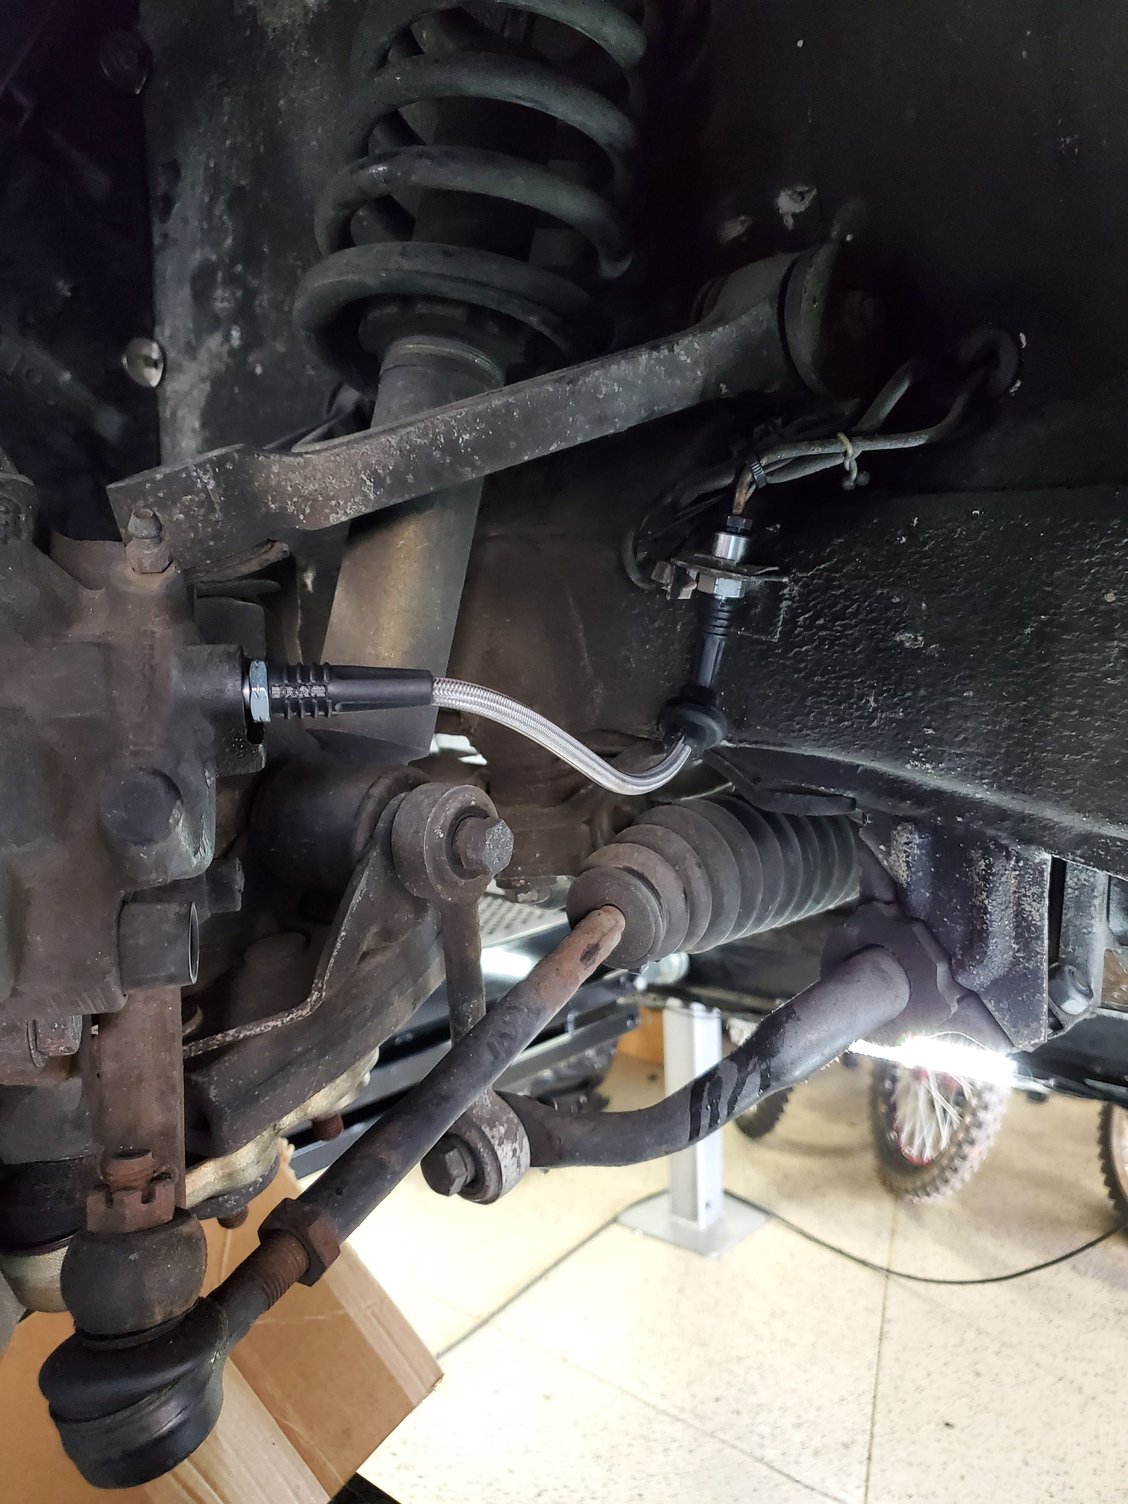
Front done and added a grommet to keep the line off the wall when the wheel is turned that way.
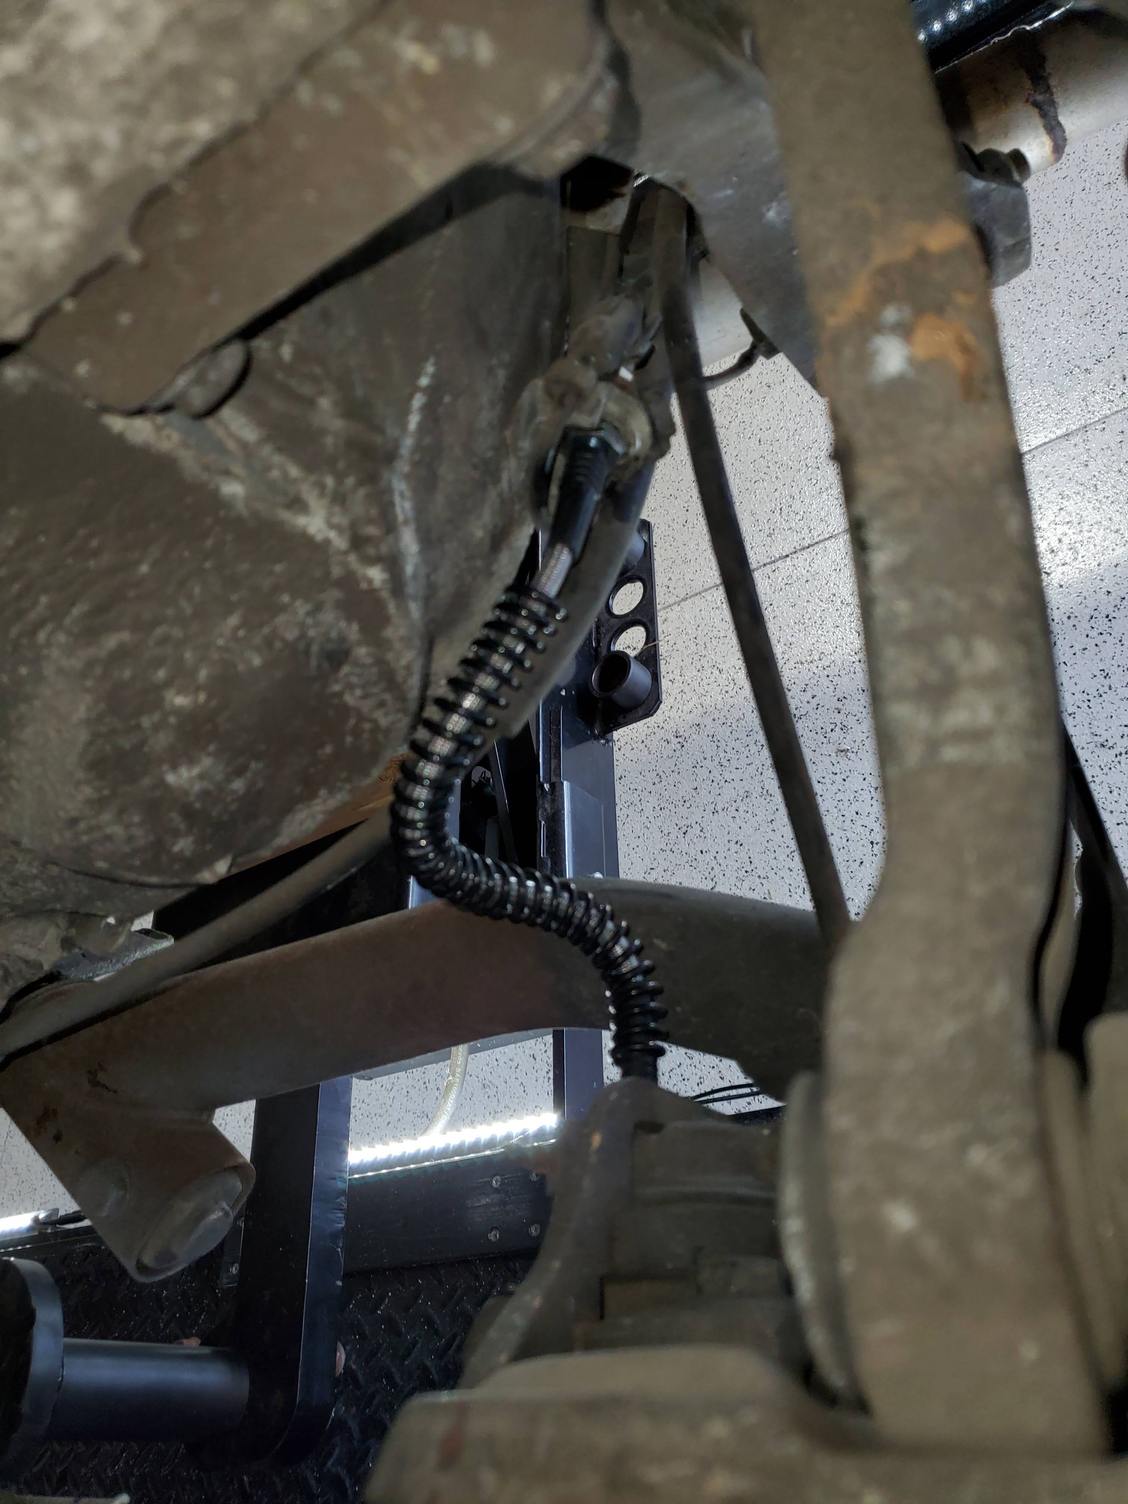
Rear lines installed with the OEM coil protector wrapped around it.
This week I'll bleed everything using the Motive Power Bleeder and hopefully that will go smoothly. I know sometimes the clutch slave doesn't but with the flex line now installed, I can remove it again to make that easier if need be.
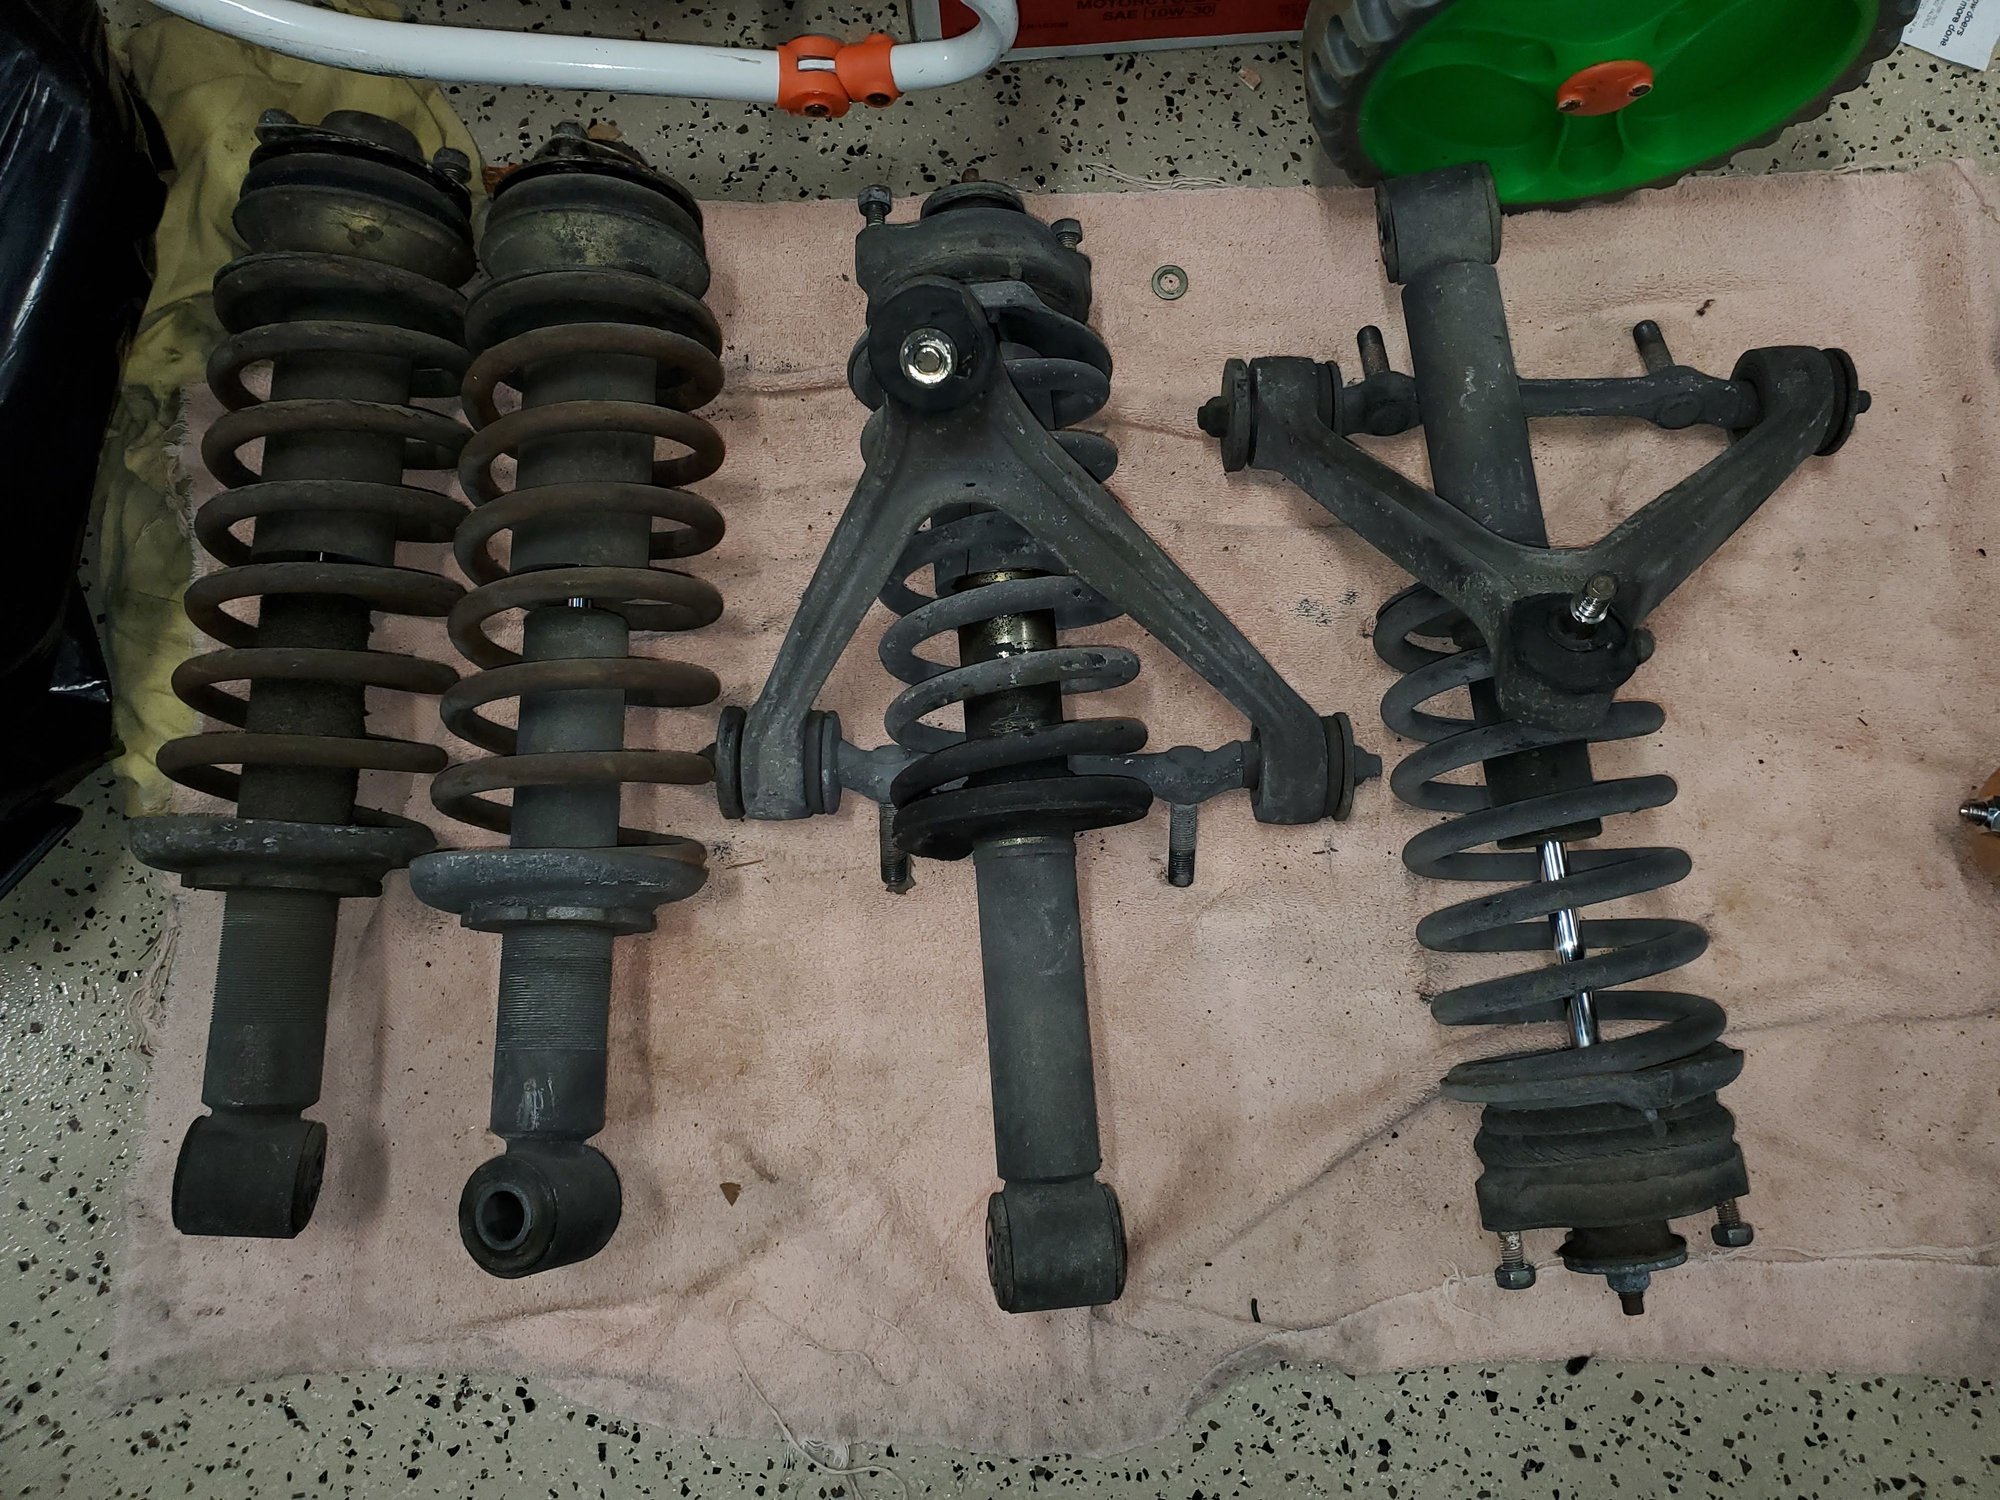
The rebuilt Upper A-arms from 928 Int'l arrive in a couple days so I'll be able to get the front suspension, as well as the rear axles back in this week too.
I may leave it in project mode for the time being and do the interior before installing the new seats. it's getting new leather pod, better (later model) door panels, better center console, new stereo head unit, possibly new speakers, better rear seats, better rear console cover, a wideband dual AFR gauge as the custom exhaust is completely separate per bank so probably want to monitor each bank separately. Needs a new rearview mirror - I'll probably do a self dimming Gentex with Homelink buttons like I used in the Spyder.
Not sure how long I want to leave the Spyder outside under the cover while this one occupies the lift. We'll see how it goes.
one comment Petza , the bore diameter in the thread connection doesn't say anything about the diameter in the flex hose part .
Compare the old rubber lines with the fixed installed copper lines ?
PS stainless lines are forbidden in Belgium... can't pass MOT .
one comment Petza , the bore diameter in the thread connection doesn't say anything about the diameter in the flex hose part .
Compare the old rubber lines with the fixed installed copper lines ?
PS stainless lines are forbidden in Belgium... can't pass MOT .
That's odd and too bad for you. I always buy DOT Approved stainless lines. DOT is our Department of Transportation. I also don't have inspections where I live.
Good point about the hard lines vs rubber lines ID, but I bet the hard line is closer, if not the same, as the stainless ID and not the same as the swollen rubber ones.
What do you think is bad about the old brake booster? Seals inside fail? Also on the AFR sensors in the down pipes. After you get the ratio dialed in I would remove them and plug their install points. With daily use they will fail. If you remove them you can just reinstall when needed. That�s my experience
What do you think is bad about the old brake booster? Seals inside fail? Also on the AFR sensors in the down pipes. After you get the ratio dialed in I would remove them and plug their install points. With daily use they will fail. If you remove them you can just reinstall when needed. That�s my experience
I don't know that the old booster was bad, but in chasing the mediocre brakes issue and a clutch that seemed to lose pressure unless repumped, Stan suggested I just replace all of it, and who am I to question the Wizard, so that's what I did. If there's a way to test the booster, I removed it using the proper hose on the shaft with a clamp method, so if someone wants it cheap for one they know is bad on their car, I'm happy to box it up.
I run a wideband AFR gauge in the Spyder, but that car is supercharged, so much more important and harder to dial in and keep up with there. That one has been installed since 2015 and still seems to work just fine. Maybe it's not needed in this NA one, but sure makes tuning easy. We'll see - maybe the clock goes back into that spot after all.
My inner CV boots are cracked and the grease is a bit clumpy, so I was going to refurb them. The outers were still intact, but showing some wear, so my plan was just to do the inners, which is why I reinstalled the rear shocks, but upon further inspection, it doesn't make sense to do this job 2 separate times, so I pulled the axle shafts tonight and started the disassembly and cleanup. With this custom exhaust that's on the car, I was able to just release the mid and rear hangers, let the pipes move down about 1" and create enough clearance to be able to pull the axles.
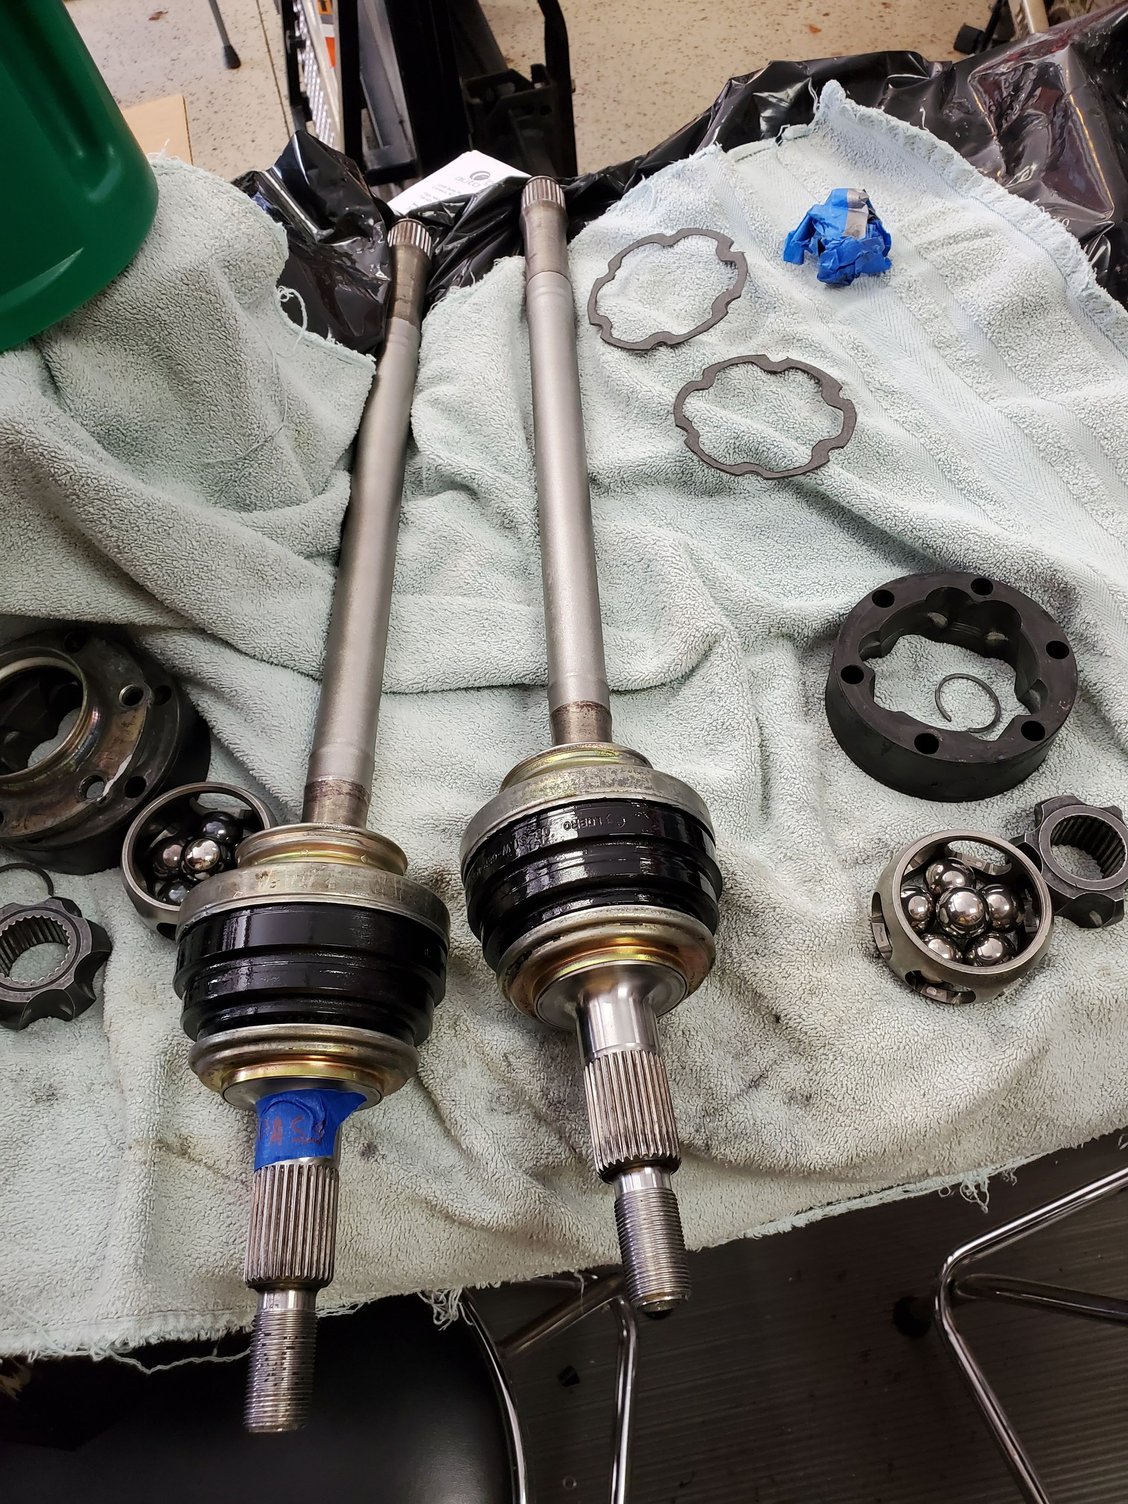
The CV joint components have some shiny spots on them, but nothing where I can feel an indentation with my finger, so should be good to reuse. Also, when putting them back together, do you keep the same parts on the same sides, but flip the CV joints around so the load is on the opposite side or do you swap the axles between sides?
Got the inner ones apart, degreased, and put through the heated, ultrasonic parts washer. I know I need to press the outer ones apart, but don't know from which segment of the assembly I need to support the axle to push on the end to press it apart if someone could provide some direction please.
I ordered 2 new boot kits and they split ship ship the order and only 2 have arrived, so I can get 1 side put back together while I wait, once I get it apart, but since I'm waiting anyway, will probably repaint the axles themselves so they look better when reinstalled.
Hello Pete,
Please start at post #167 in this thread to see how I refurb'd the CV axles in the Red Witch:
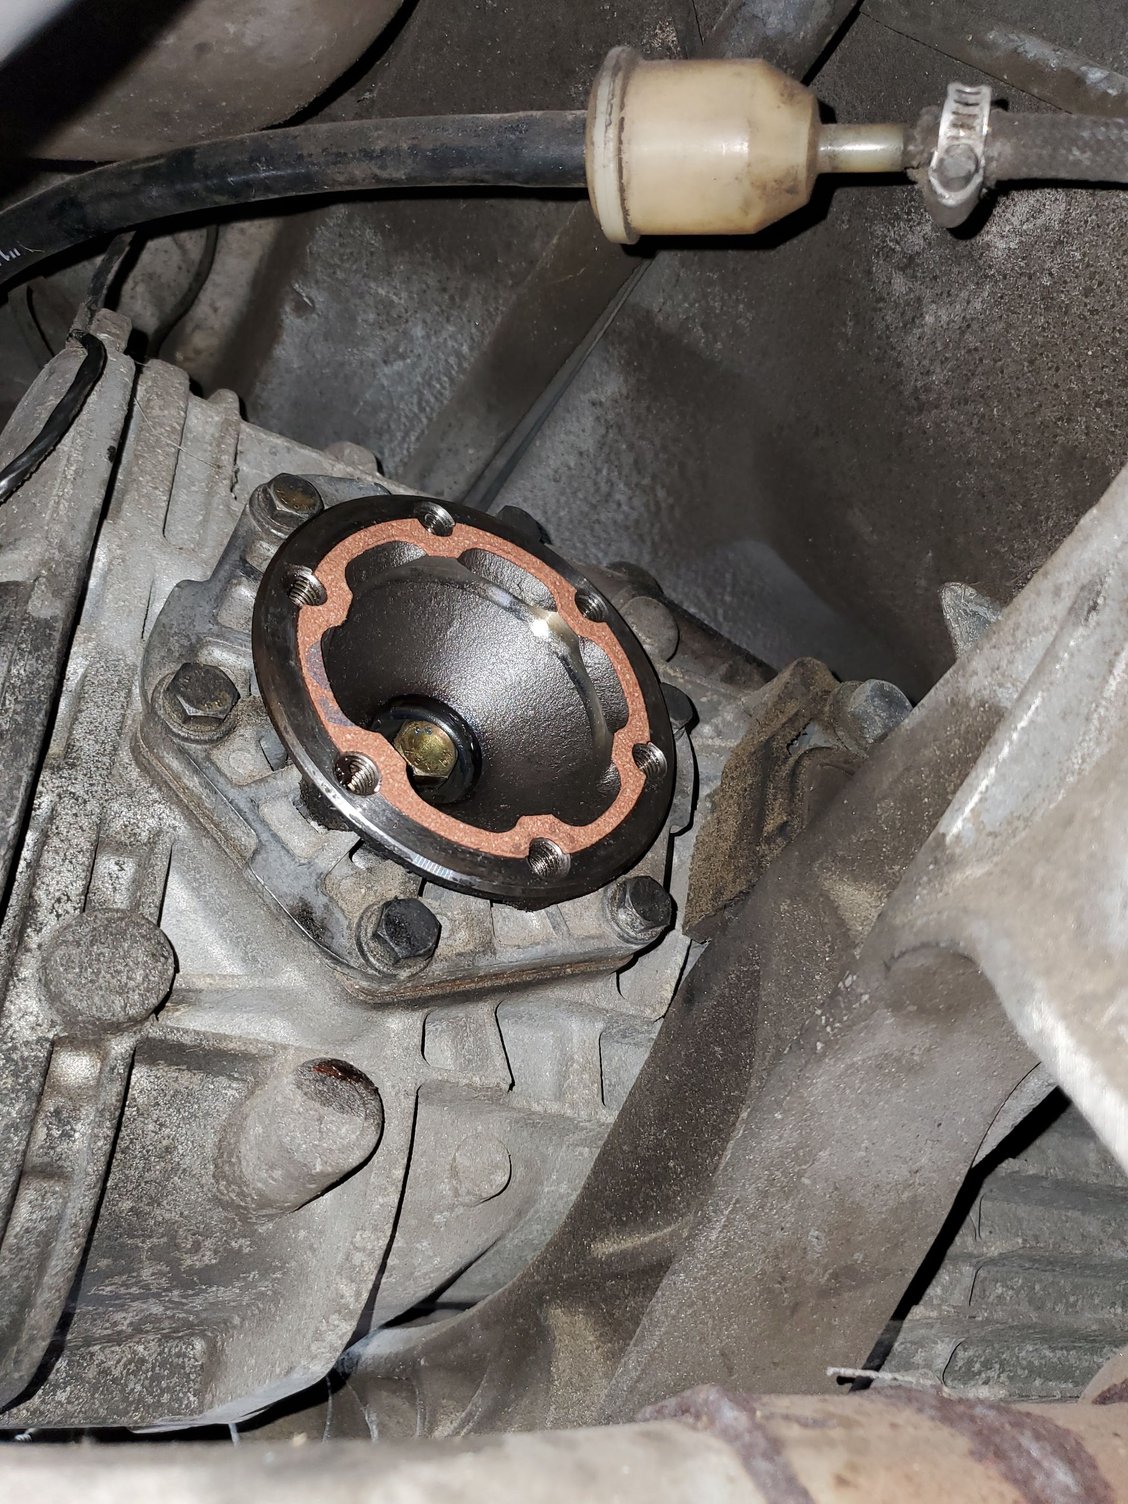
My original plan for the evening was to grease up the CV joints, assemble the axles and install them on the car. I realized that the clamps that came with the GKN boot kits I bought I don't particularly like, as they're almost like a slip clamp that you then fold back onto itself to lock it into position. So I was only able to grease the outer joints and install those boots, waiting for some better clamps to arrive on Wednesday. They are adjustable ones with the clamping ear to tighten around the shaft and boot, which should work nicely. I got the new gaskets installed on the transmission flanges, and inner CV flange, got the 2 outer CV joints put back together (small portion of inner cage aligning with large portion of carrier, and vice versa), 2 bags of the grease into each outer CV joint using the suction method, and installed those boots - just waiting on the clamps so I can do the other end.
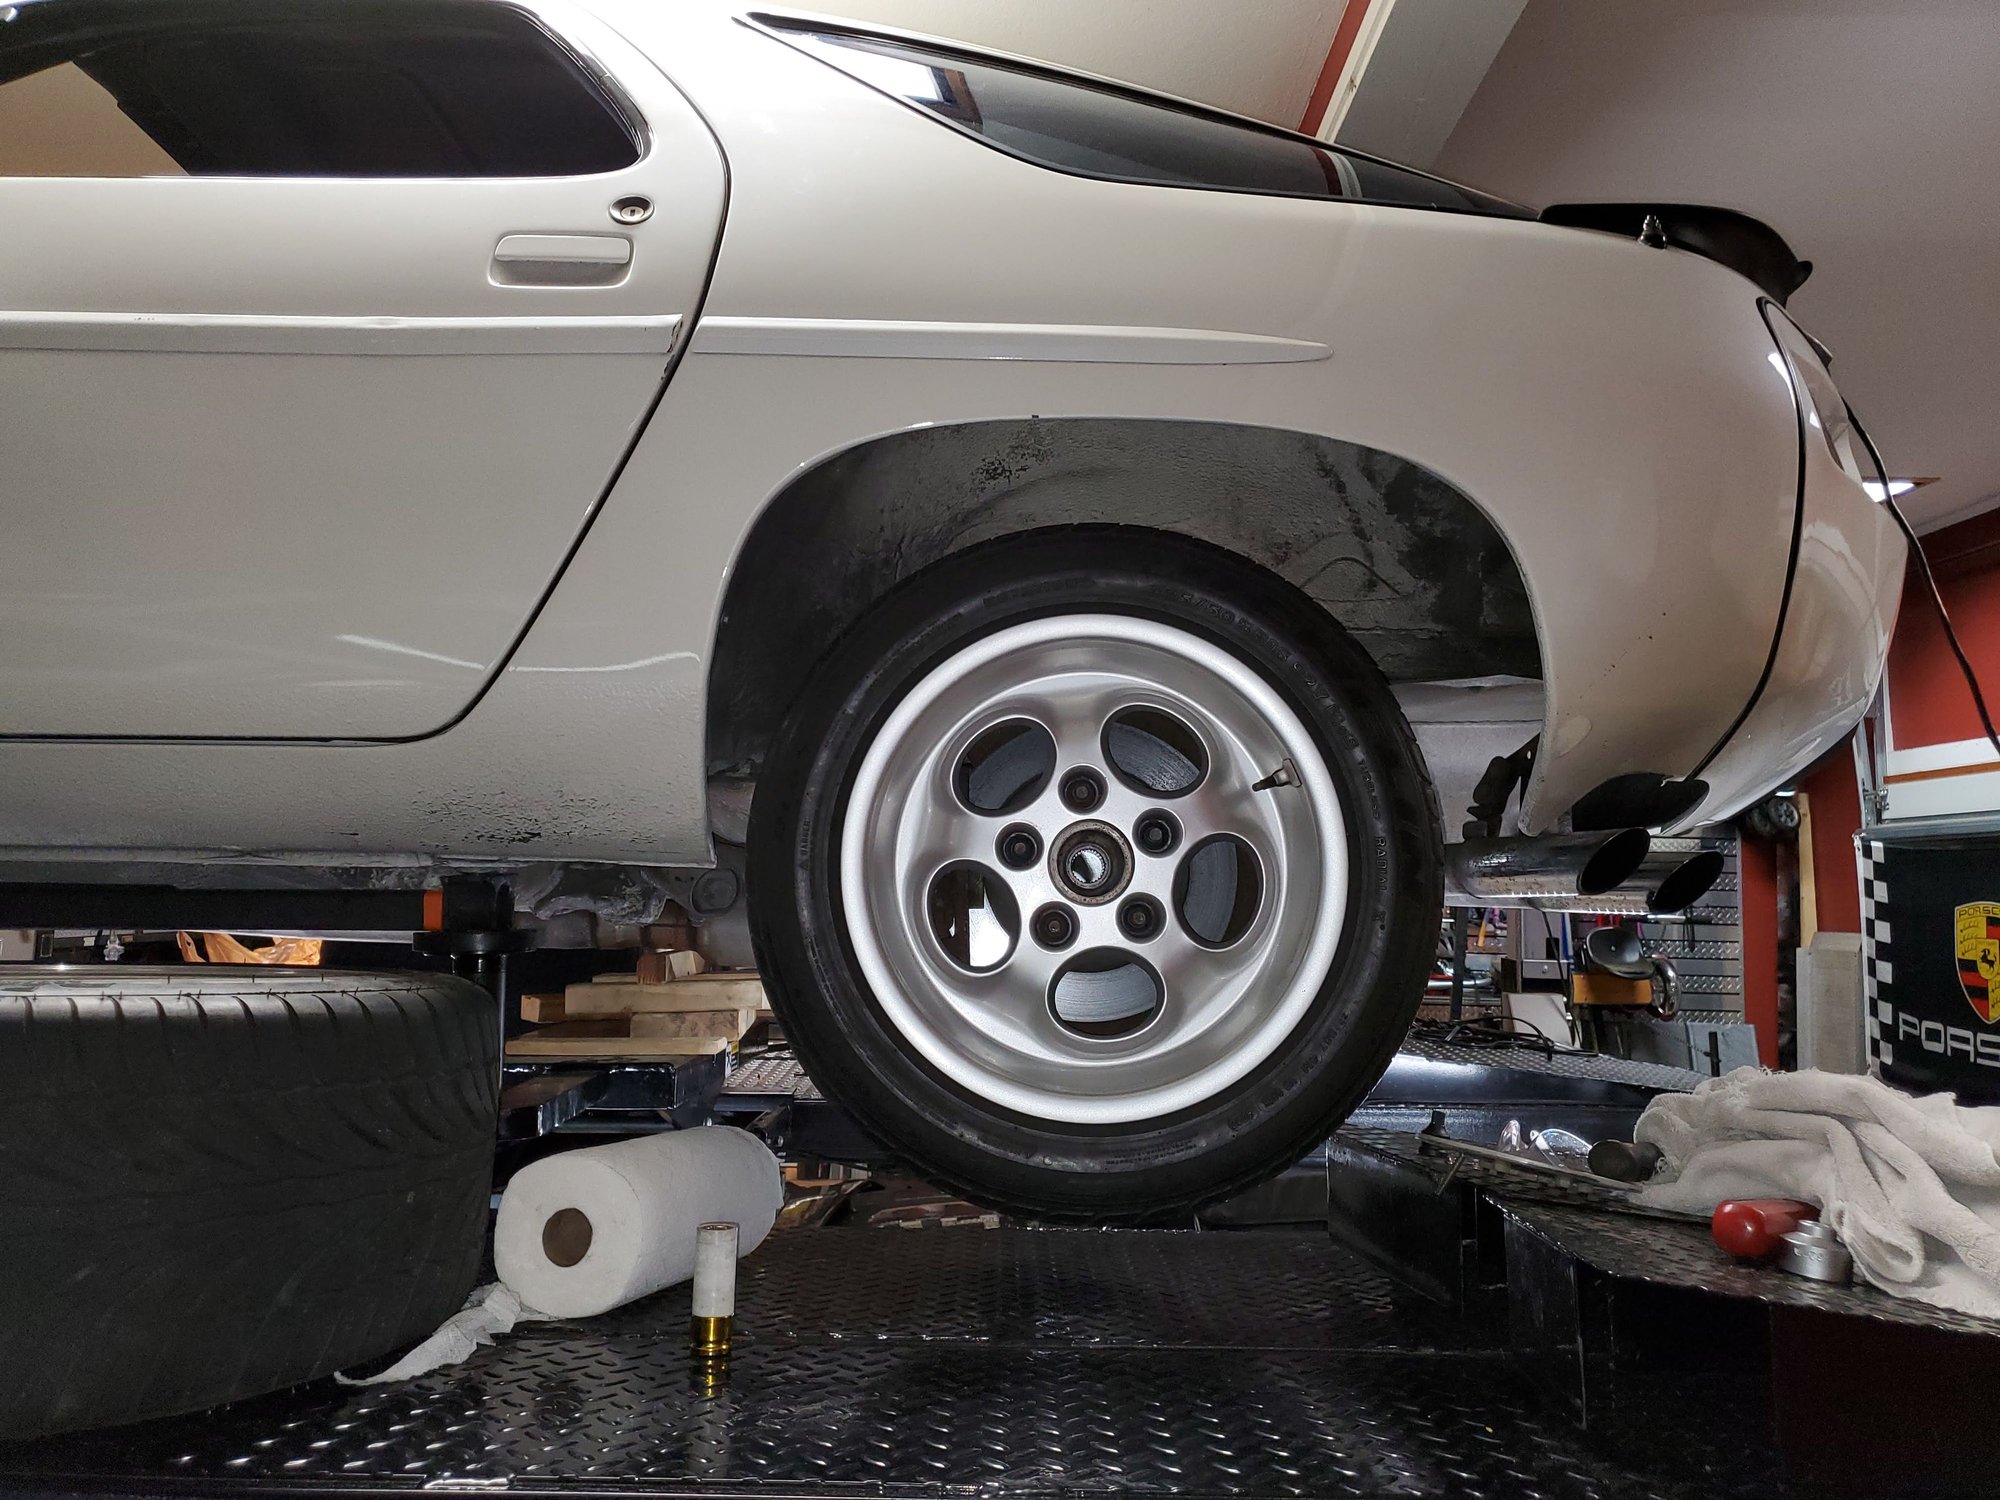
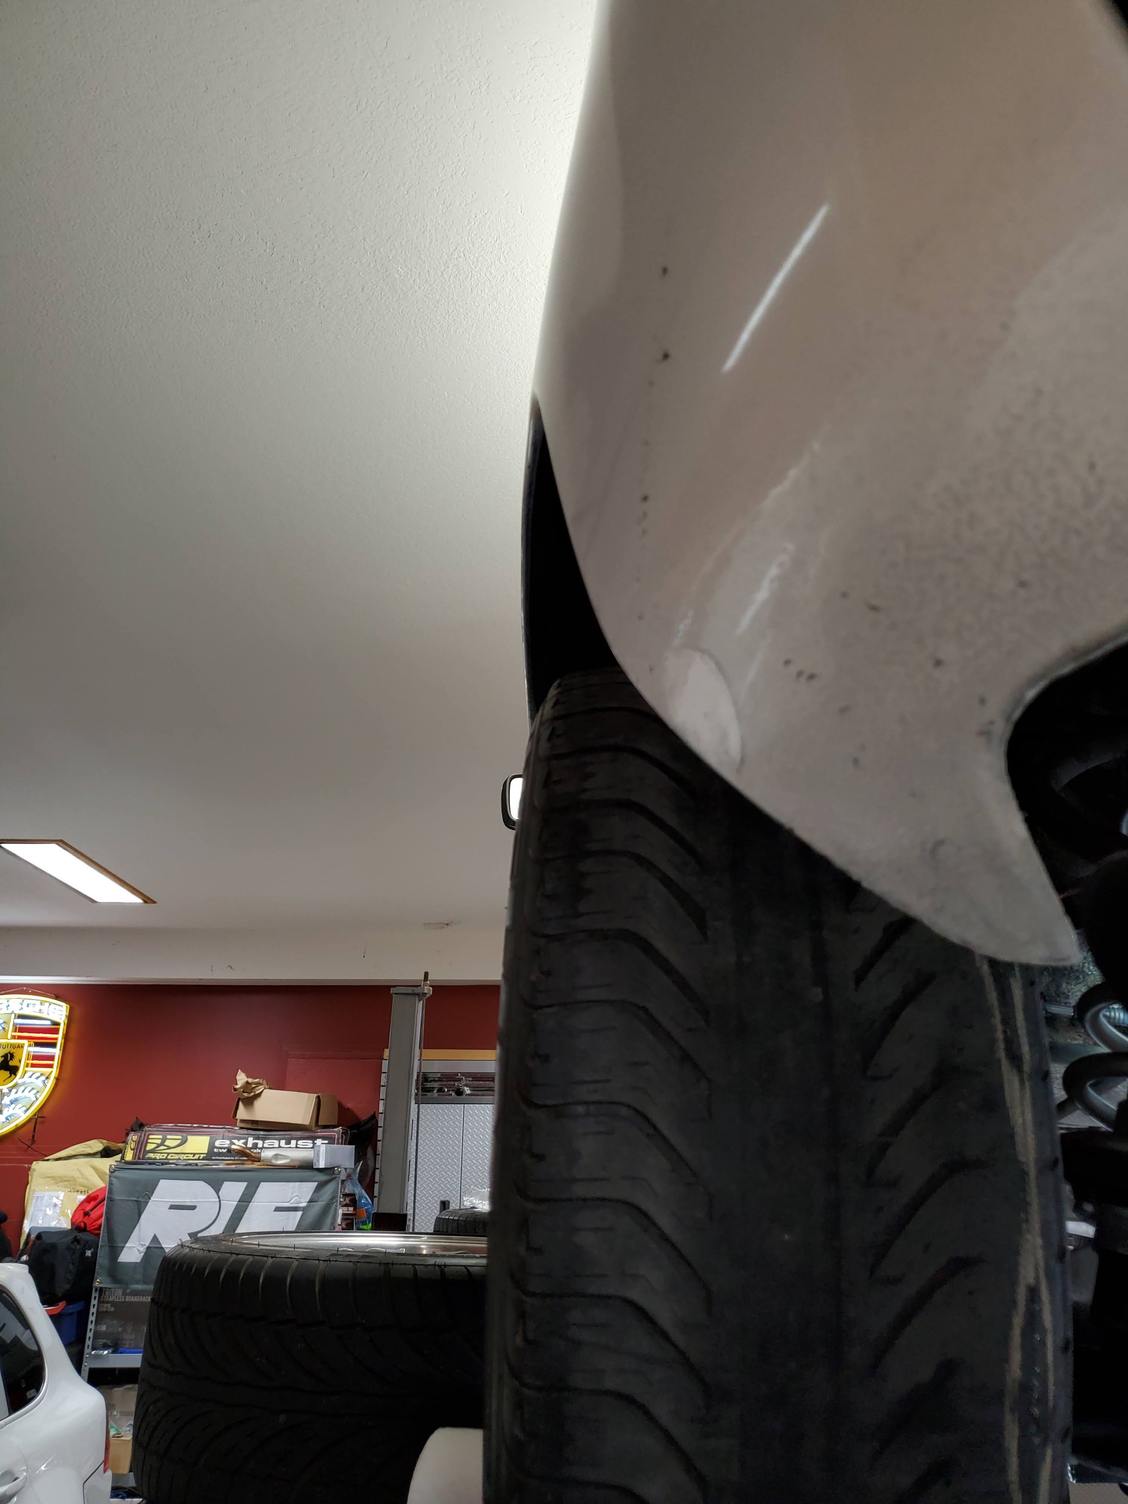
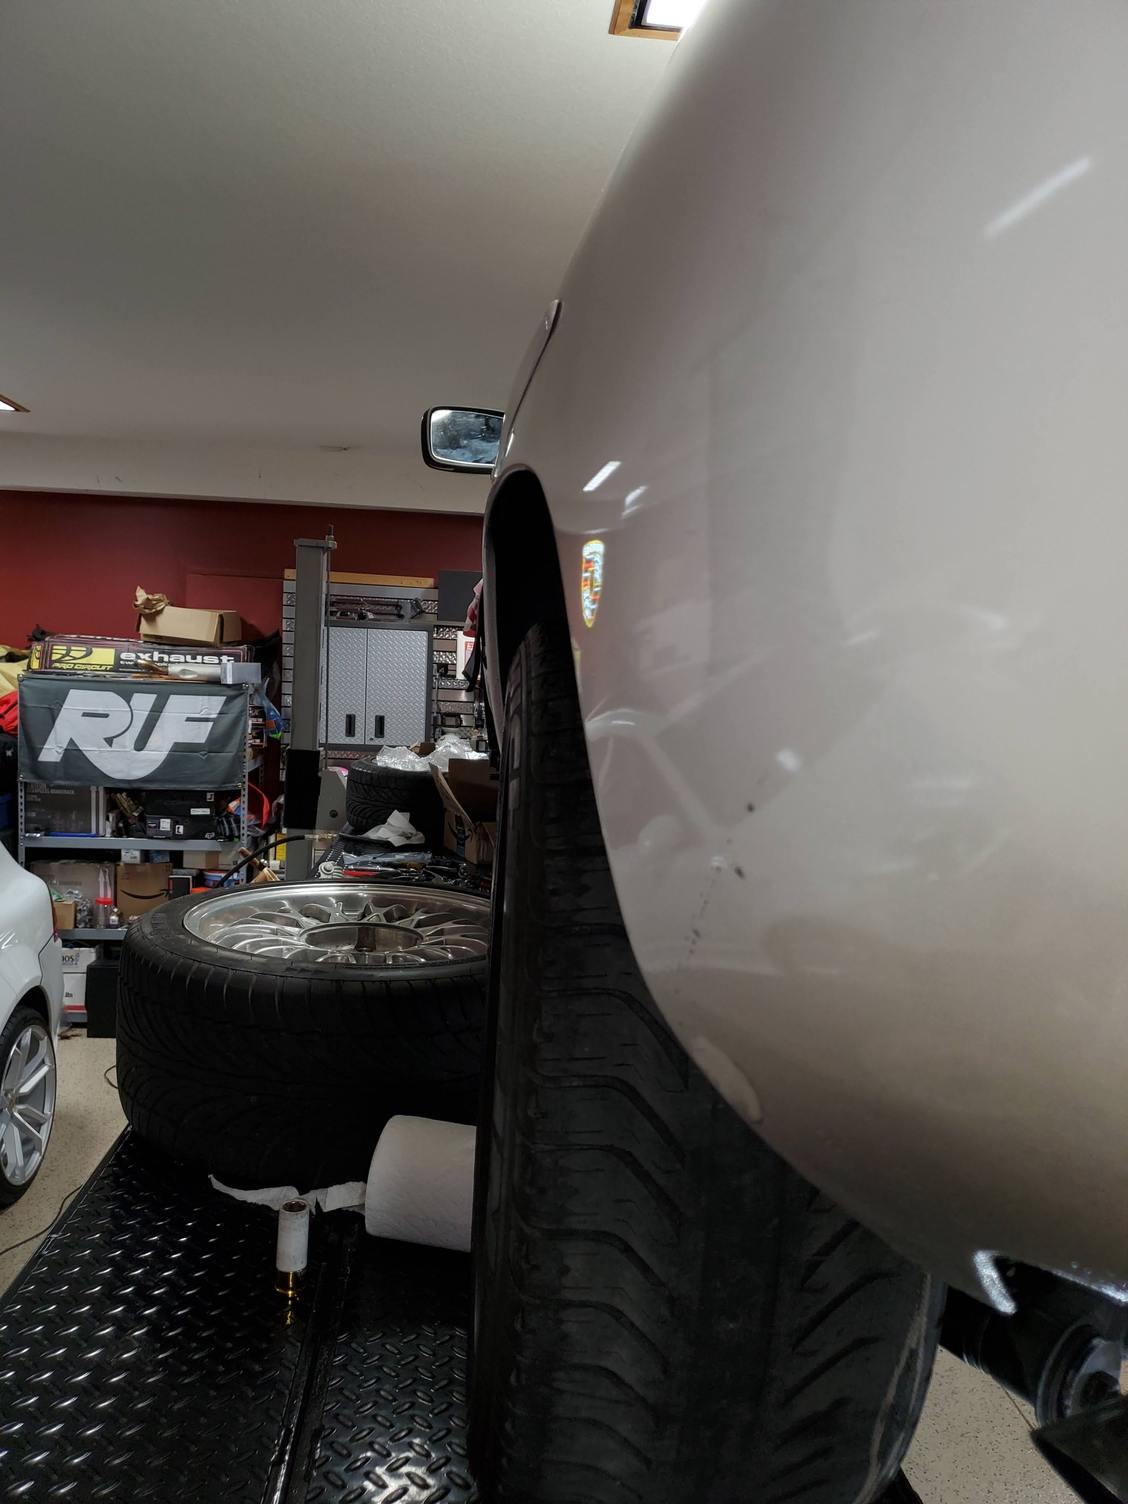
Since I couldn't finish the axles tonight and one of my wider 951 turbo rear Phonedials arrived with a used up tire on it, figured I'd throw that on the rear of the car to check the fitment. This is a semi-rare 16x8 et23.3 wheel that fits the rear of the 928 without spacers. With the suspension currently dropped all the way and no camber, looks like it's going to fit just fine. My tires will be slightly wider (245s vs these 225s) but the wheel and tire will also move in a bit as it travels upwards, so think I'm good. My car also doesn't have the rear spacers so I don't have those crazy long threaded studs that will stick out. The front end will get the normal 928 front Phonedials (7x16 et 65) with 225s on them. I'm going to do a custom finish on these - you'll have to wait a bit to see what I have in store for them, but think it's going to be pretty cool.
That didn't take very long, so figured I'd fill up the Motive Power Bleeder with a couple liters of RBF600 and bleed the new clutch and brake lines. That's when the fun started. Hooked up the cap to the reservoir, pumped up the Motive to about 12 psi, and watched a stream of brake fluid start flowing down the inner fender wall. Quickly released the pressure to stop the bleeding and peeked in to see where the issue was. All the lines and connectors I could see looked dry. Once of the 2 pressure valves had brake fluid on it and I was a spot on the wall behind the reservoir too. Figured it was that one brake line that's behind the master as I couldn't see a good leak source. In retrospect, what I should have done was pressurized the system empty with the Motive and looked for air leaks. Instead, I got to remove the reservoir from the master with the fun that entails, pull the air inlet pipe to the airbox, pull the hose that runs to the brake booster and try to find the source of the leak. I was kind of dumb in that I didn't check the pressure switches in the bottom of the new brake master for tightness, and had assumed since they were pre-installed, that unit was ready to install in the car, so got a 24mm wrench onto them, and they were already tight, so not those. After removing the reservoir, I got a flare wrench onto that one line fitting on the back of the master - it was tight too. So I thought maybe the reservoir itself got cracked when I removed it since it's old plastic. I capped the two brake master ports, the one for the clutch slave with rubber caps and clamps and then emptied the Motive and pressurized the reservoir dry. I could hear some air hissing out - turns out the top port where the fluid level warning sensor is located is not air or brake fluid tight. Under regular use, I guess it doesn't really need to be, but since the Motive pumps fluid into the reservoir under pressure, if it can get out there like the air does, that's probably the source of my leak when I tried to use the Motive in wet mode.
So, I put everything back together, grabbed the ultrasonic sniffer I bought to find the coolant leak in the Spyder, repressurized the master dry again, and checked every brake line connection - the only place the ultrasonic detector would beep is at that fluid level sensor port, so that had to be it. This endeavor make a mess and cost me about an hour. I put a little fluid into the reservoir, pressurized it again, looked for leaks - nothing, so on to the task of bleeding everything. Lesson learned - on the 928 (or at least this one) use the Motive in Dry mode, not wet mode. If I'm only doing one car, I usually do use it dry, but since it's time to renew the fluid in the rest of the fleet, figured I'd do it while the tool is out and dirty, as it's much faster that way to not have to keep releasing the cap from the reservoir, adding fluid, replacing the cap and pumping up the Motive. Anyway, I was able to get good pedal feel on both the clutch and the brake pedal. I used the pressure method of just opening the bleeders with the Motive connected and also had my son help using the traditional method - hold the pedal down, open the bleeder. close the bleeder, bring the pedal back up. After going through 2 liters of fluid and the black juice and bubbles that originally came out, we got nice clean fluid all the way through and solid clutch and brake pedals, and I was getting good travel on the clutch slave rod in the lower bell housing. I may give it a couple days for any bubbles to float up and high the clutch slave and 4 wheels again while it's still on the lift, but think I'm good for now.
I believe the upper A-arms come tomorrow so might be able to get those installed along with the refurbed front shocks tomorrow night. I think front bash plates arrive tomorrow or Wednesday so we'll get those on too. I also need to clean up that inner fender wall further and recoat it with something as the fluid running down peeled the paint off the bottom area.
This is why I'm now a firm believer in only using the Motiv 'dry'. It's more of a pain to go back and fill the reservoir up but you avoid brake fluid disasters. In my last adventure, I found out I had a pinhole leak in the plastic hose and it started spraying everywhere under pressure. That was fun!
Seth, thanks for the thread link - some really good info in there. It is interesting to me how, even though my older car has newer style axles (bolts together on only one side instead of both sides), that there were still some significant differences to the configuration. For example, my inner sides don't have the caps you show - must be because yours is an Auto and mine a Manual. Instead, my transmission flanges have the same recess for a gasket to be installed for a seal. Also, once I removed my snap ring from the axle shaft on the inner CV joint, I could simply slide the splines of the shaft out of the CV joint center hub - no press or really any force needed - came out just like the wheel hub side did.
I used Diesel fuel as my solvent for the outer joint rather than gasoline - works about the same, but safer as it's flammable, buy not combustible. I had a gallon of this from when we rebuilt my son's dirt bike motor and had filtered it and kept it for future use. Now I have half a gallon that's mixed with dissolved axle grease. That will not become lighter fluid for the fire pit
I have magnetic rubber pads for my vise jaws, which makes holding onto things without damaging them or limiting access pretty easy. I was able to hold the splined end in the vise, cover the bottom hole with one finger, cover the top hole with my thumb, and pretty easily pump the shaft to draw the grease into the joint. Cover both holes, pull up to create vacuum, then uncover the bottom hole. Repeat. When I do the other side tomorrow, I'll follow your advice about a smaller hole that can inject the grease in a thinner stream with more pressure.
This is why I'm now a firm believer in only using the Motiv 'dry'. It's more of a pain to go back and fill the reservoir up but you avoid brake fluid disasters. In my last adventure, I found out I had a pinhole leak in the plastic hose and it started spraying everywhere under pressure. That was fun!
Yep, dry is the way I use it much of the time, but being able to dump a number of liters in and hit multiple cars in a row with one attach detach per car is pretty nice - except when it isn't - DOH!
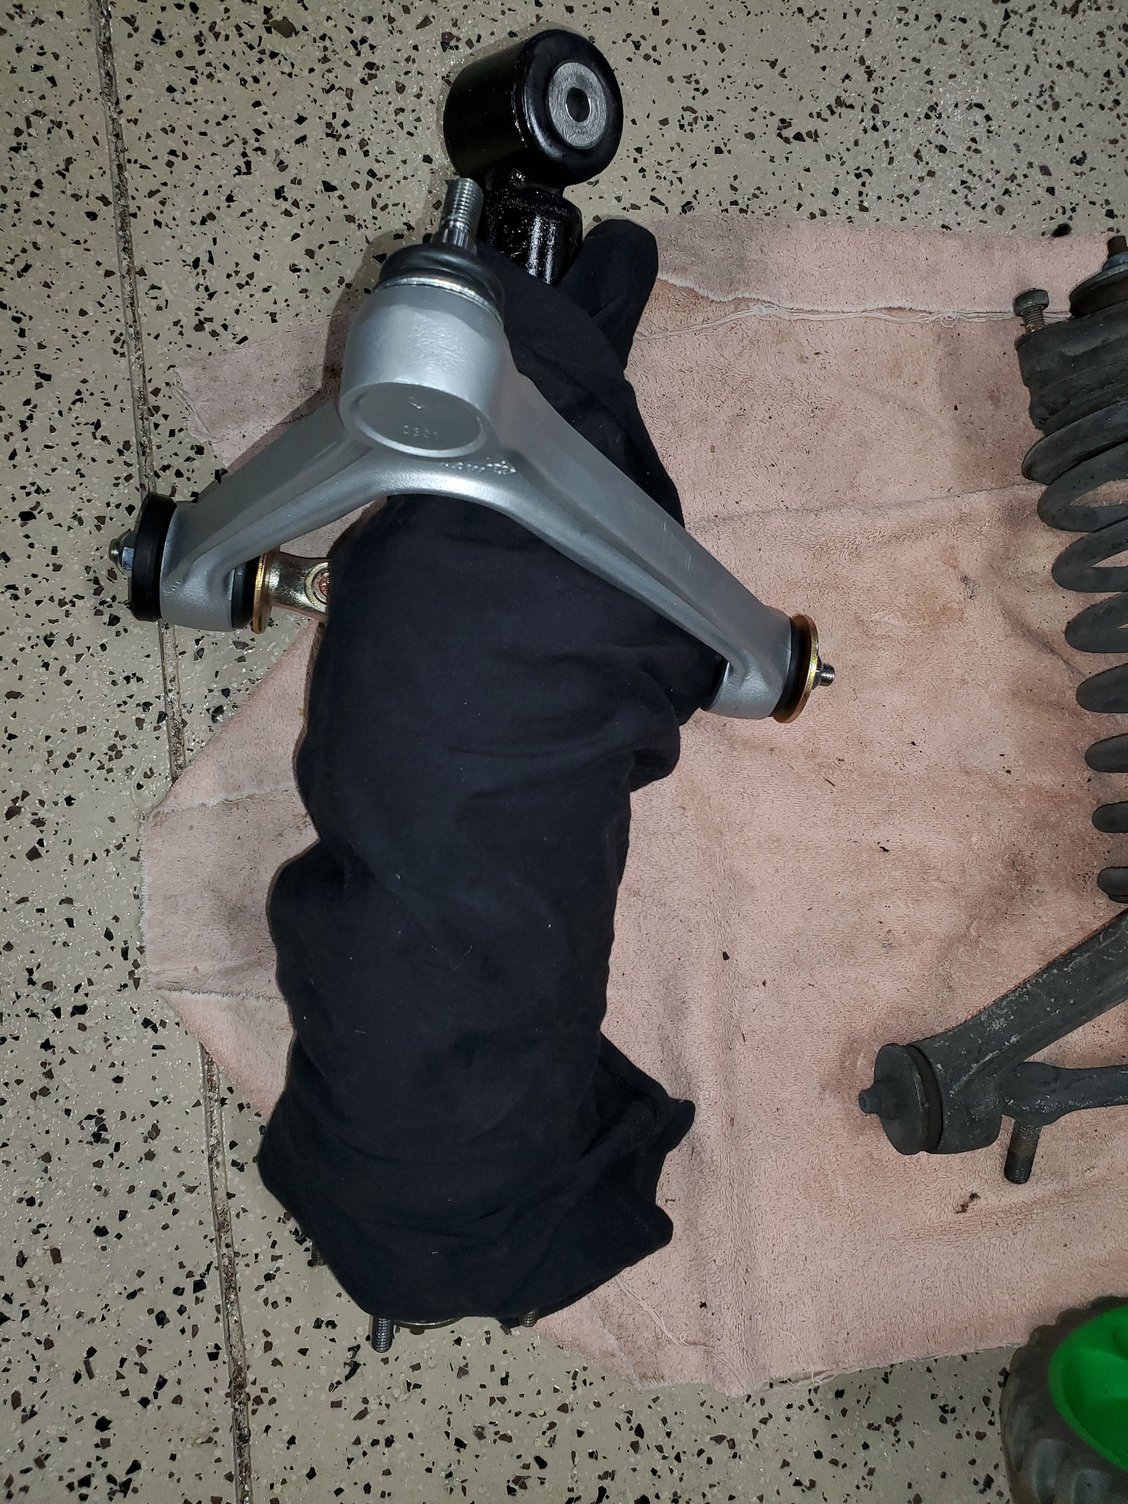
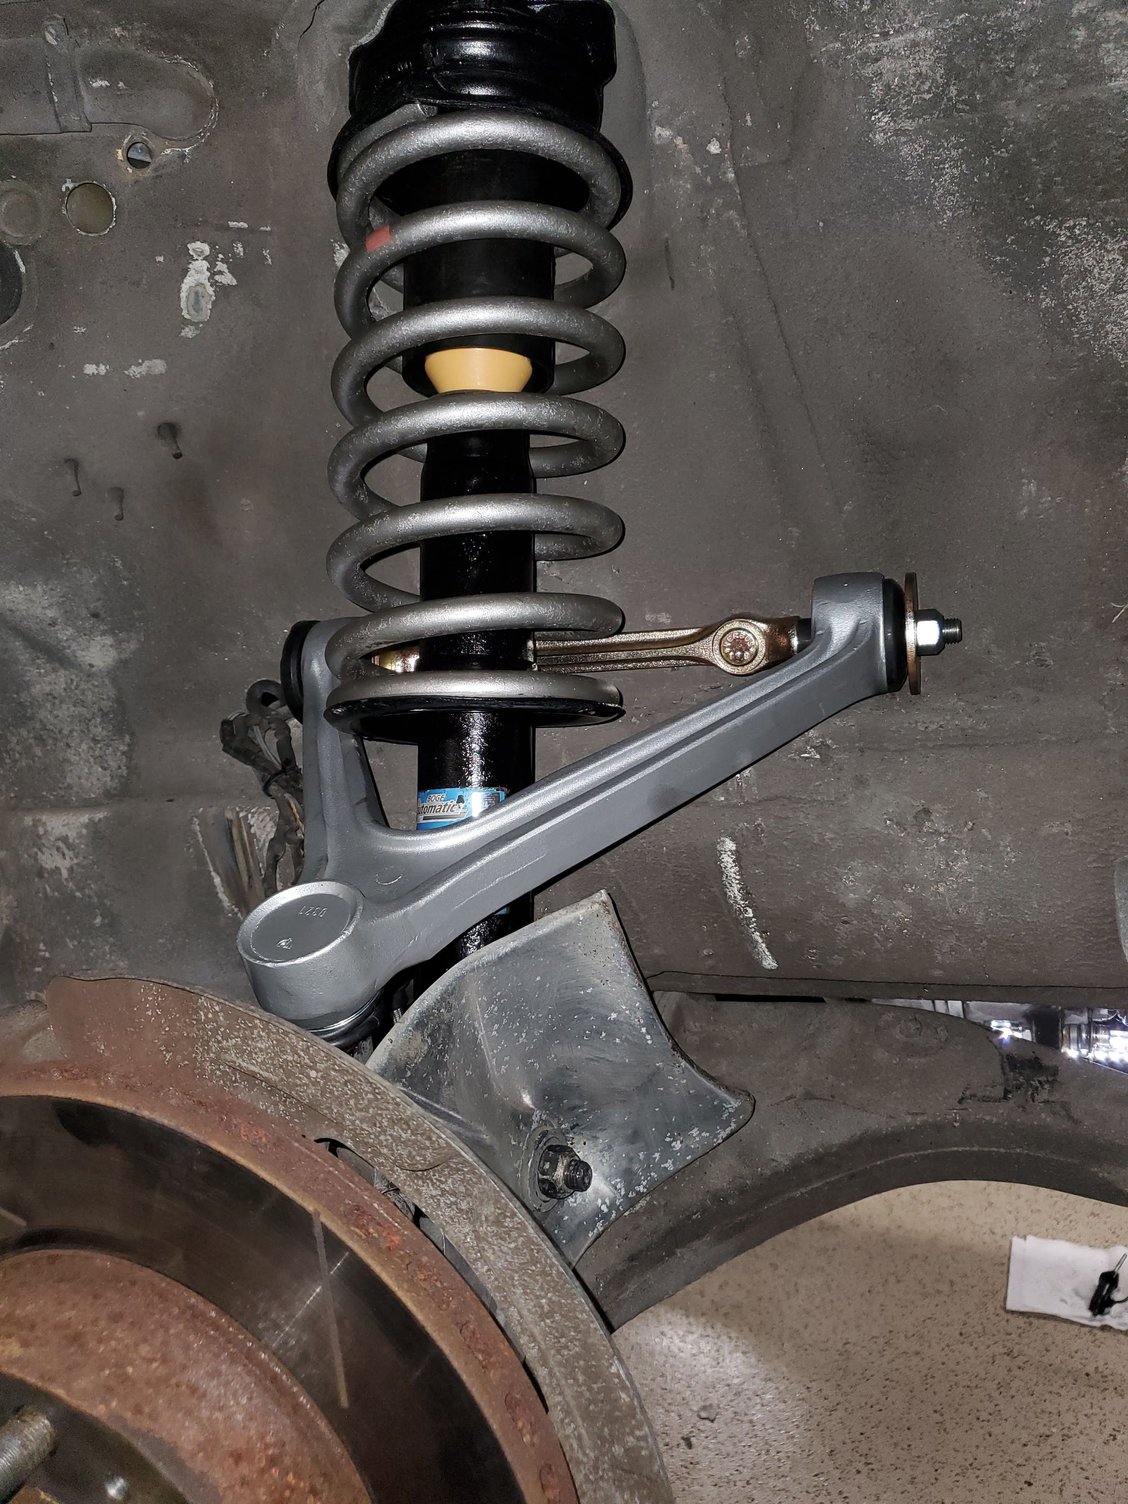
Front upper A-arms arrived today, so started working on those tonight. Got the passenger side done then checked all the front suspension fastener torque. I also got the Driver's side half done, so the old suspension is completely removed from the car now. I'll finish up the Driver's side tomorrow.
Because I just painted the springs and shocks, I wrapped the assembly in a T-shirt for installation so the A-arm wouldn't scratch the paint. On the Driver's side, I removed the oil filter to have better access, put a bag over the top and will reinstall it full as is when I get the DS completed.


 03-04-2021, 10:47 AM