When you click on links to various merchants on this site and make a purchase, this can result in this site earning a commission. Affiliate programs and affiliations include, but are not limited to, the eBay Partner Network.
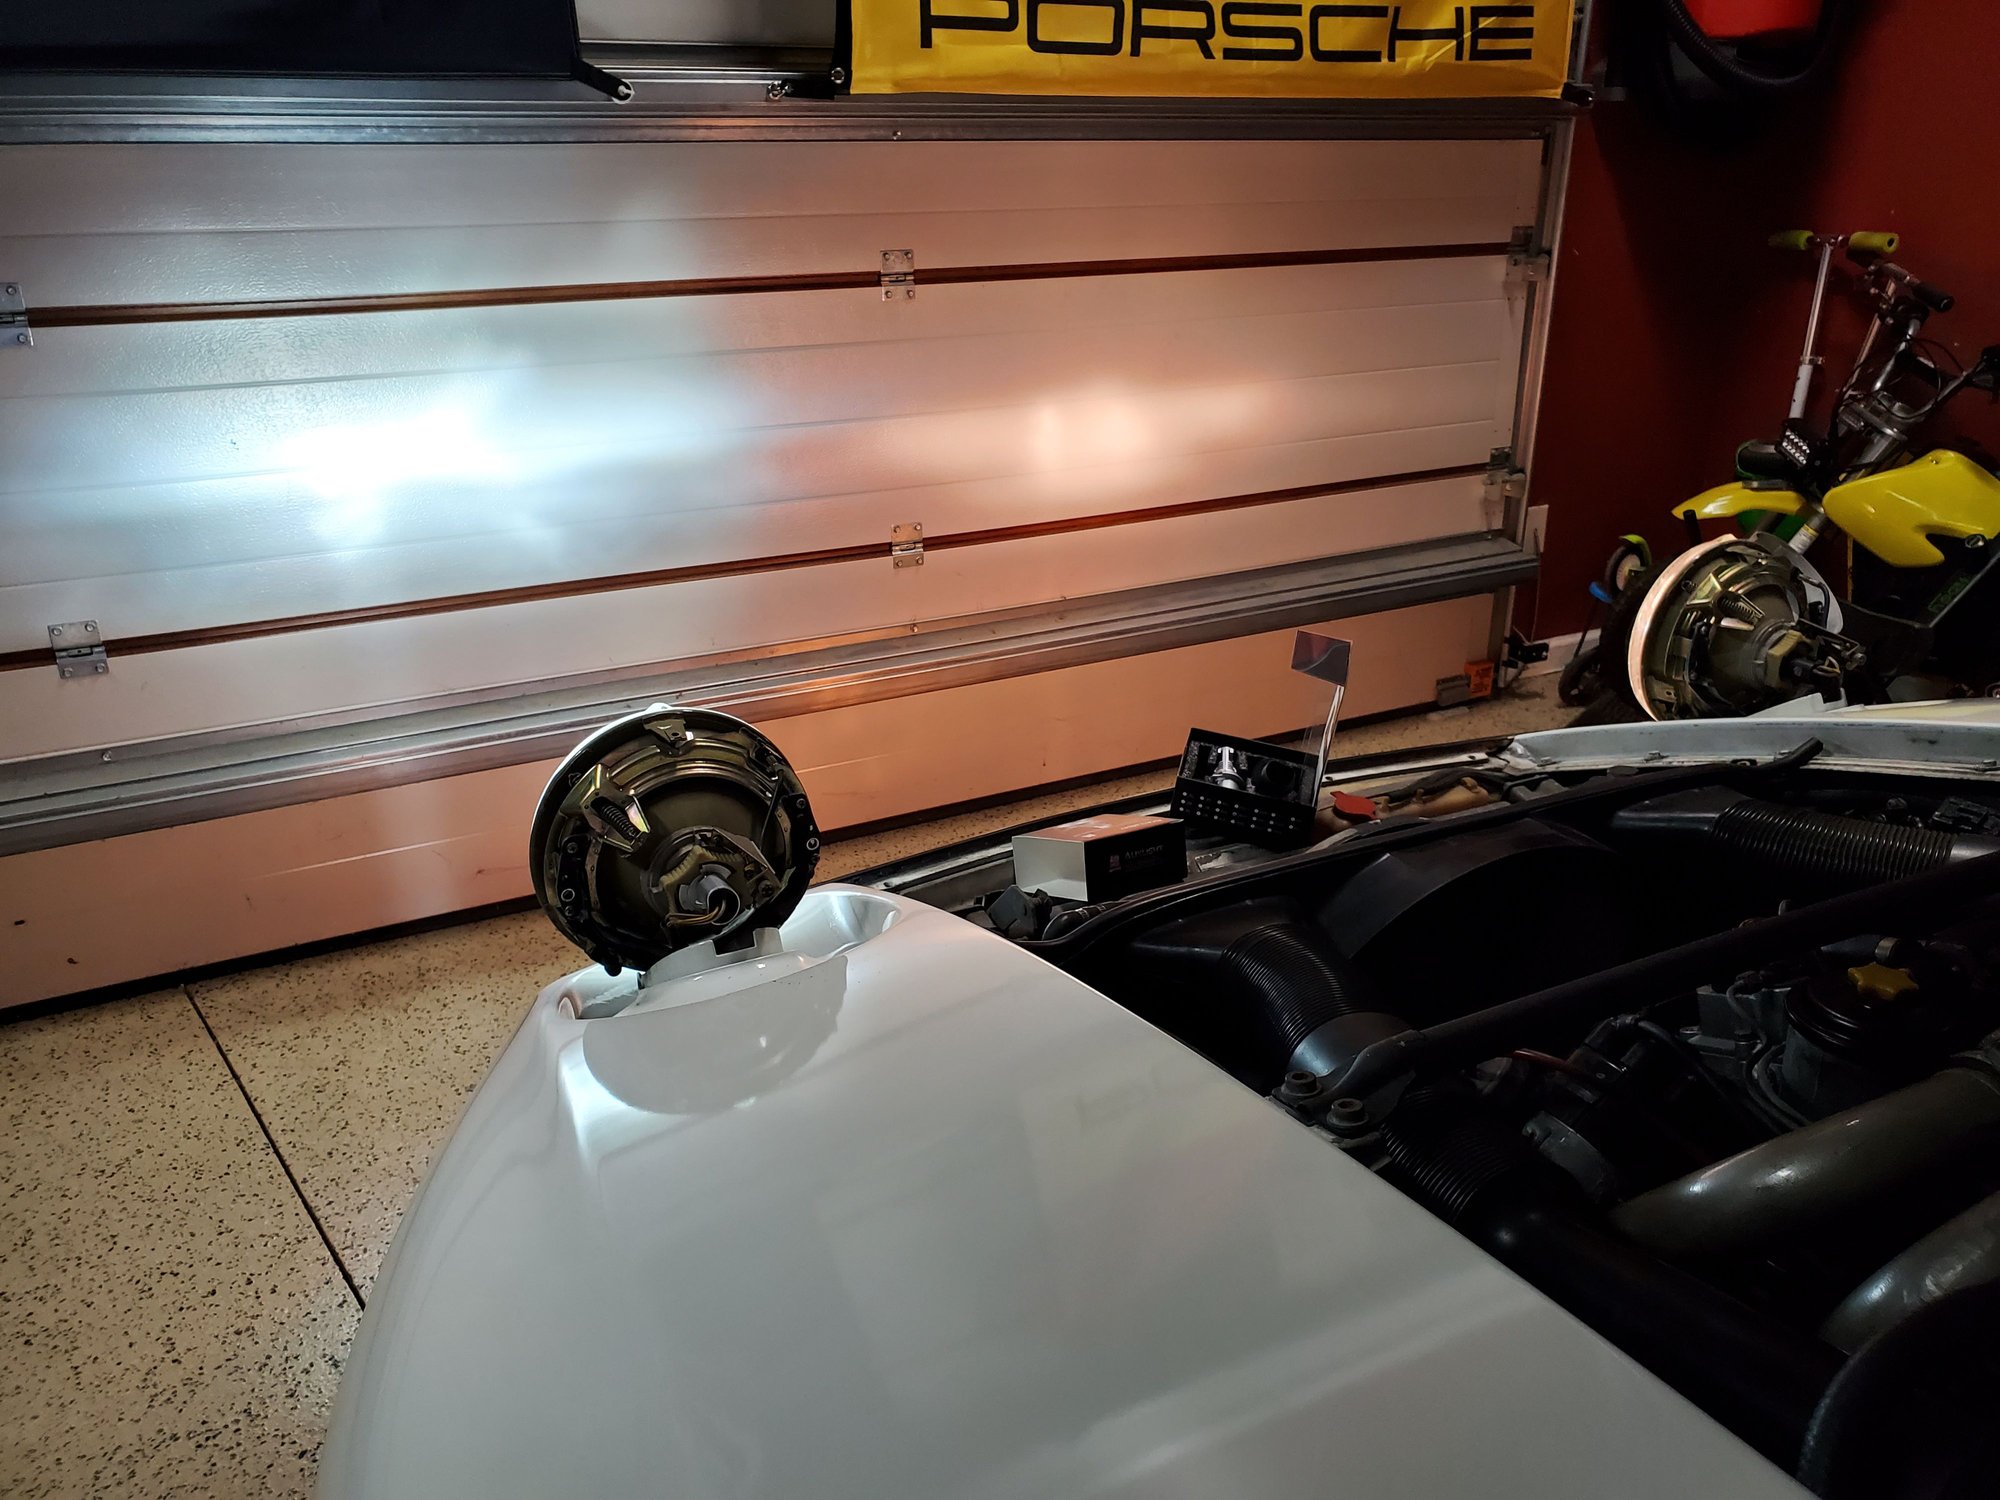
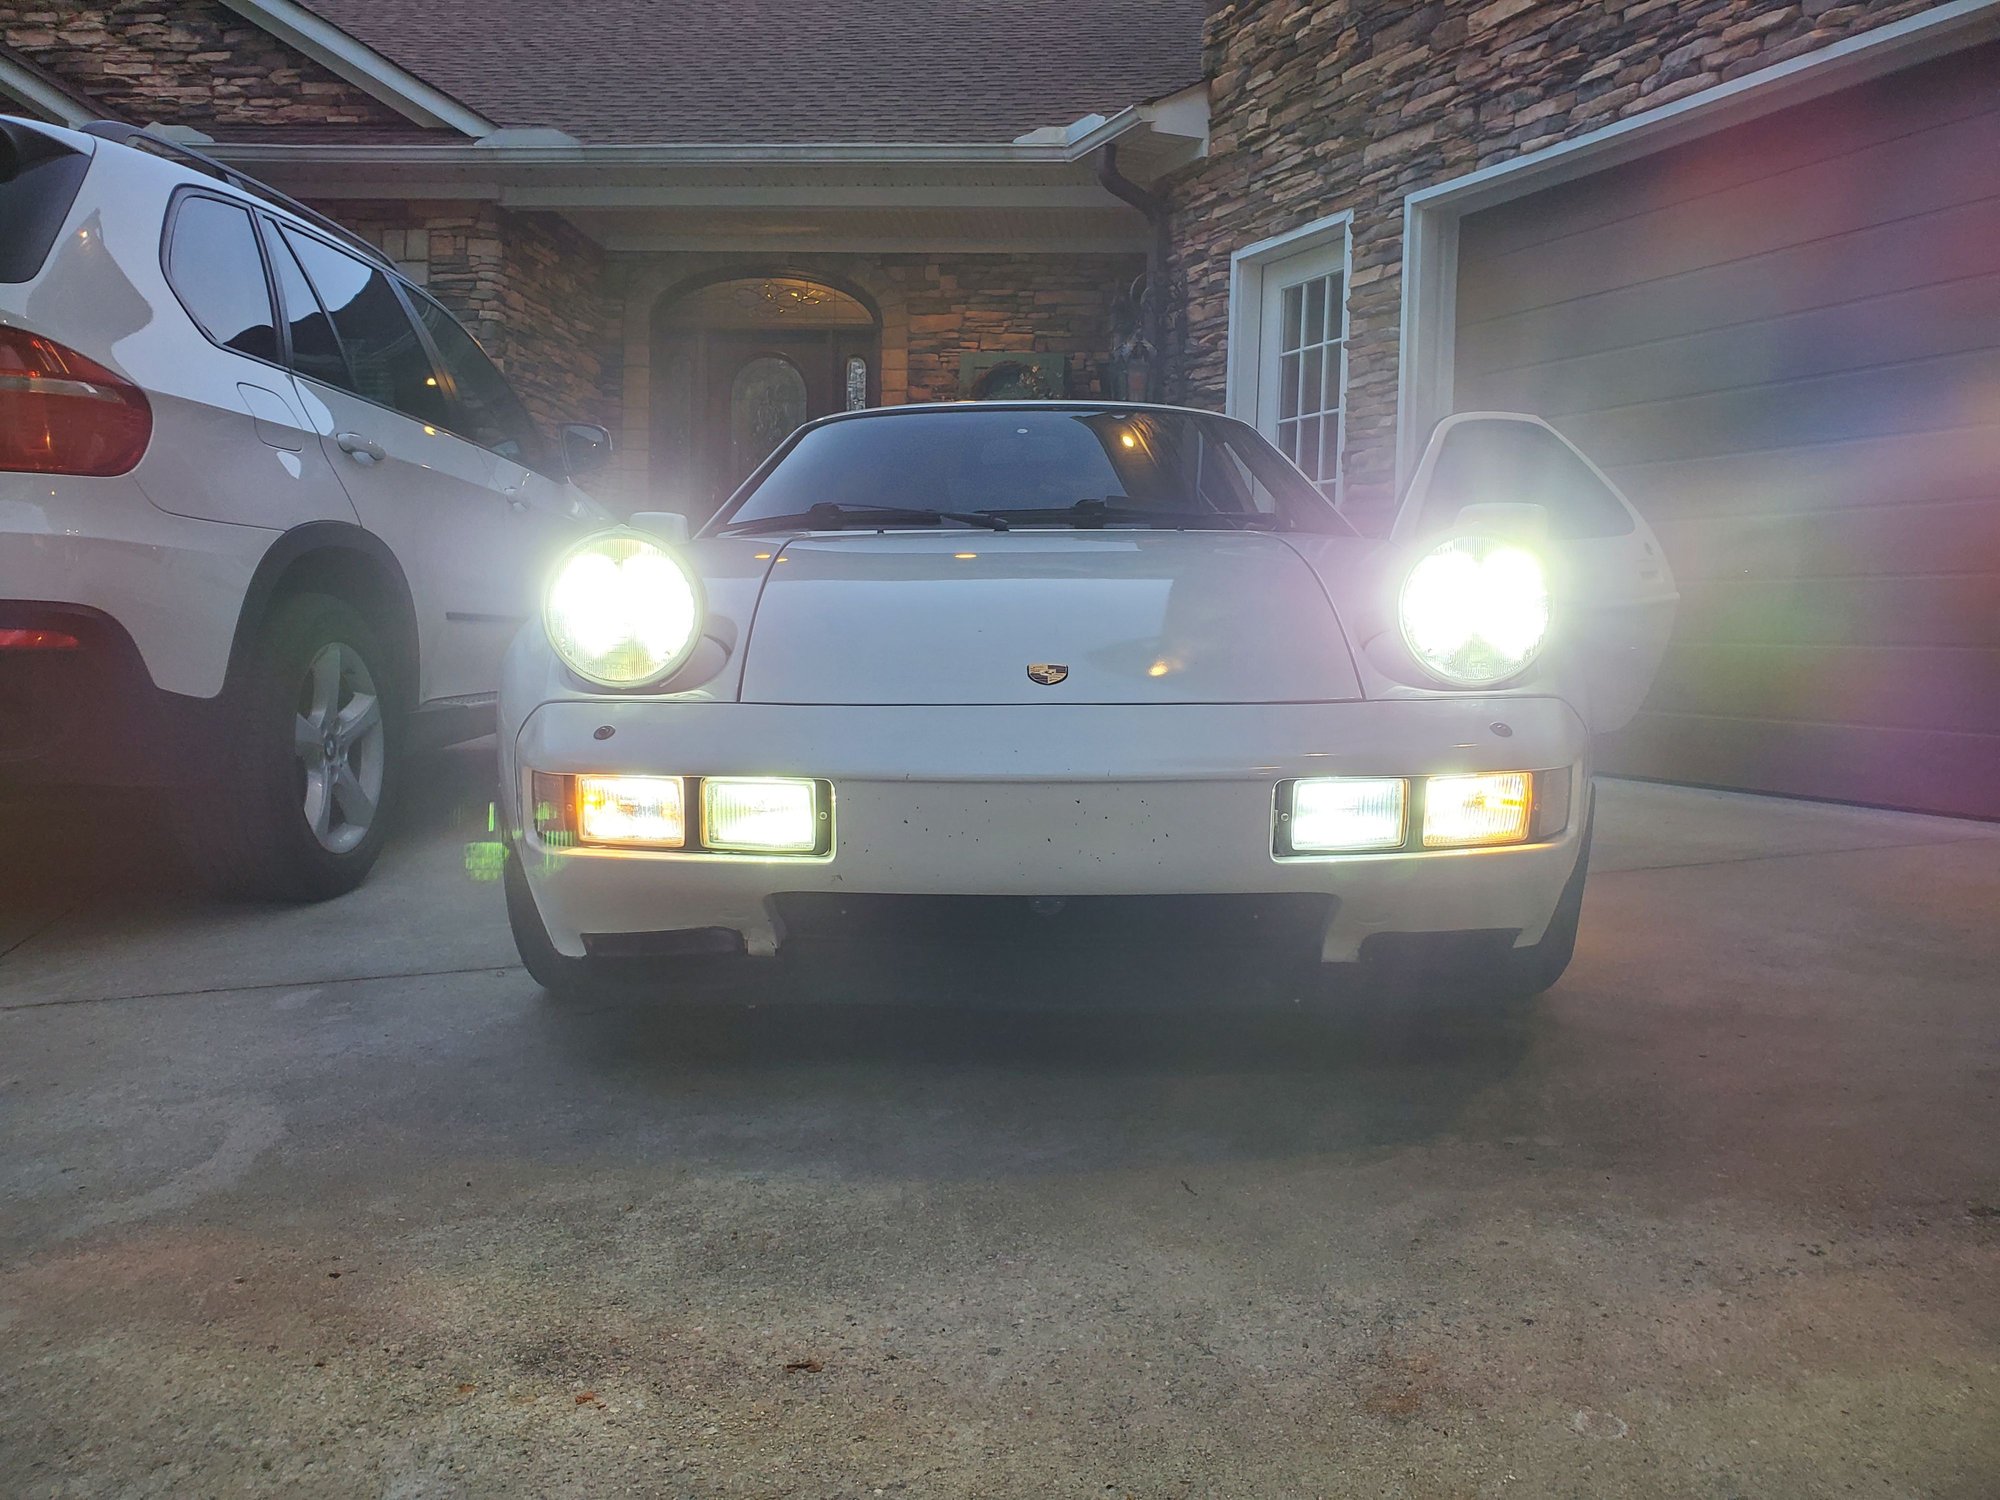
Added 9004 led headlight bulbs, H3 leds into the fog and aux light spots, and amber leds into the Euro fog light slots.
The first pic compares a brand new high output 80/100 Hella halogen bulb on the right to the new led on the left.
Interested to see how they work in the real world in use.
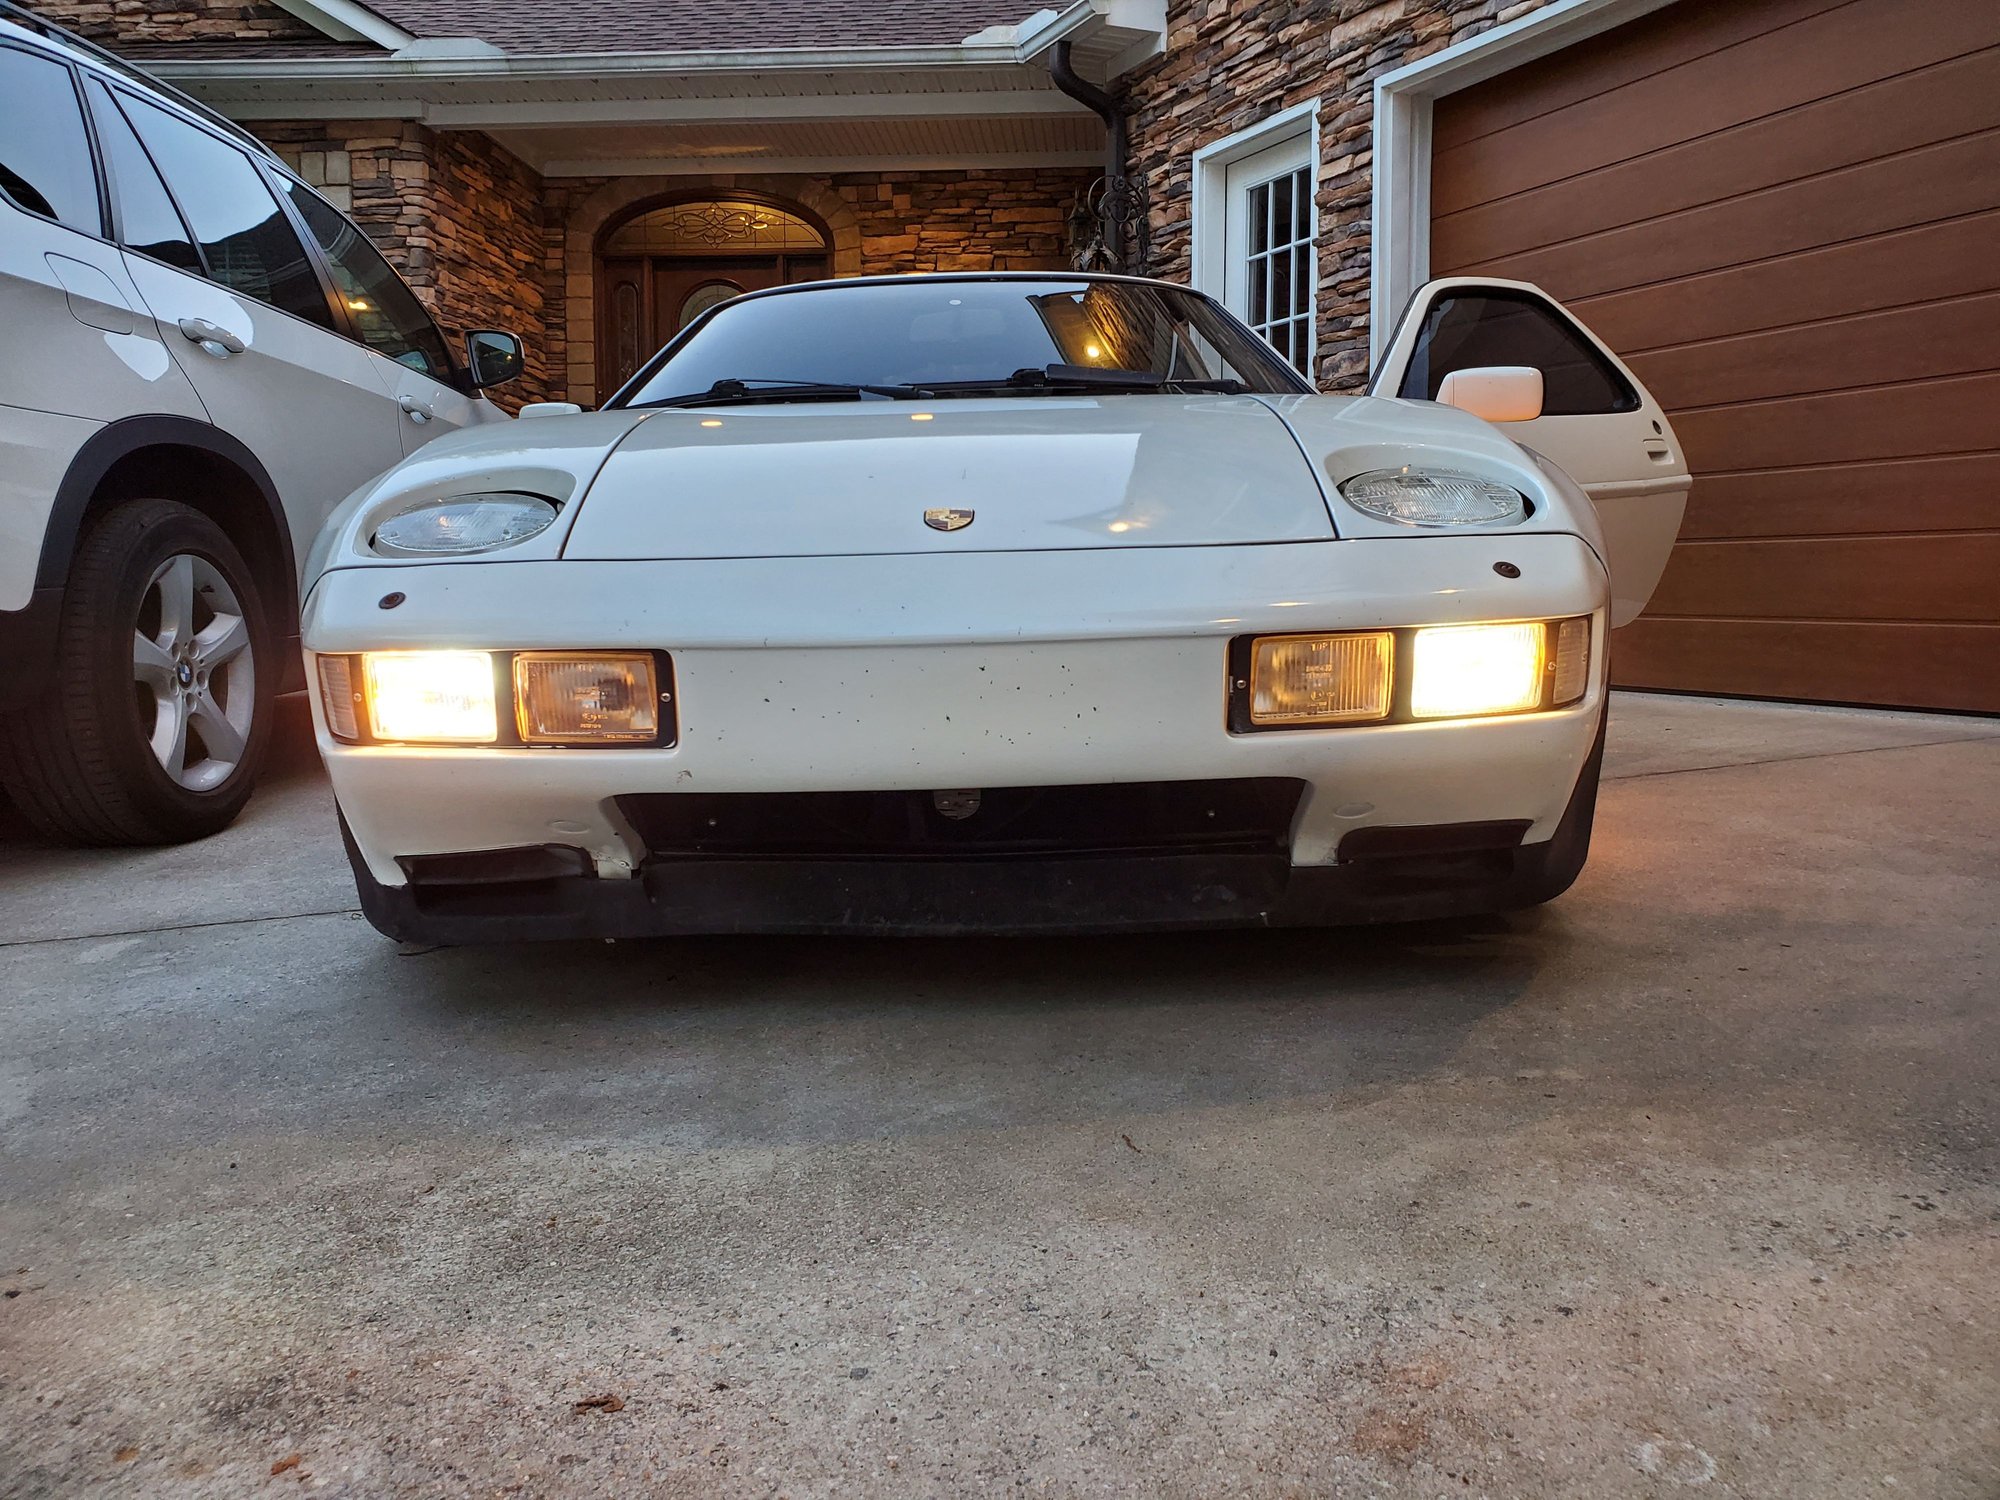
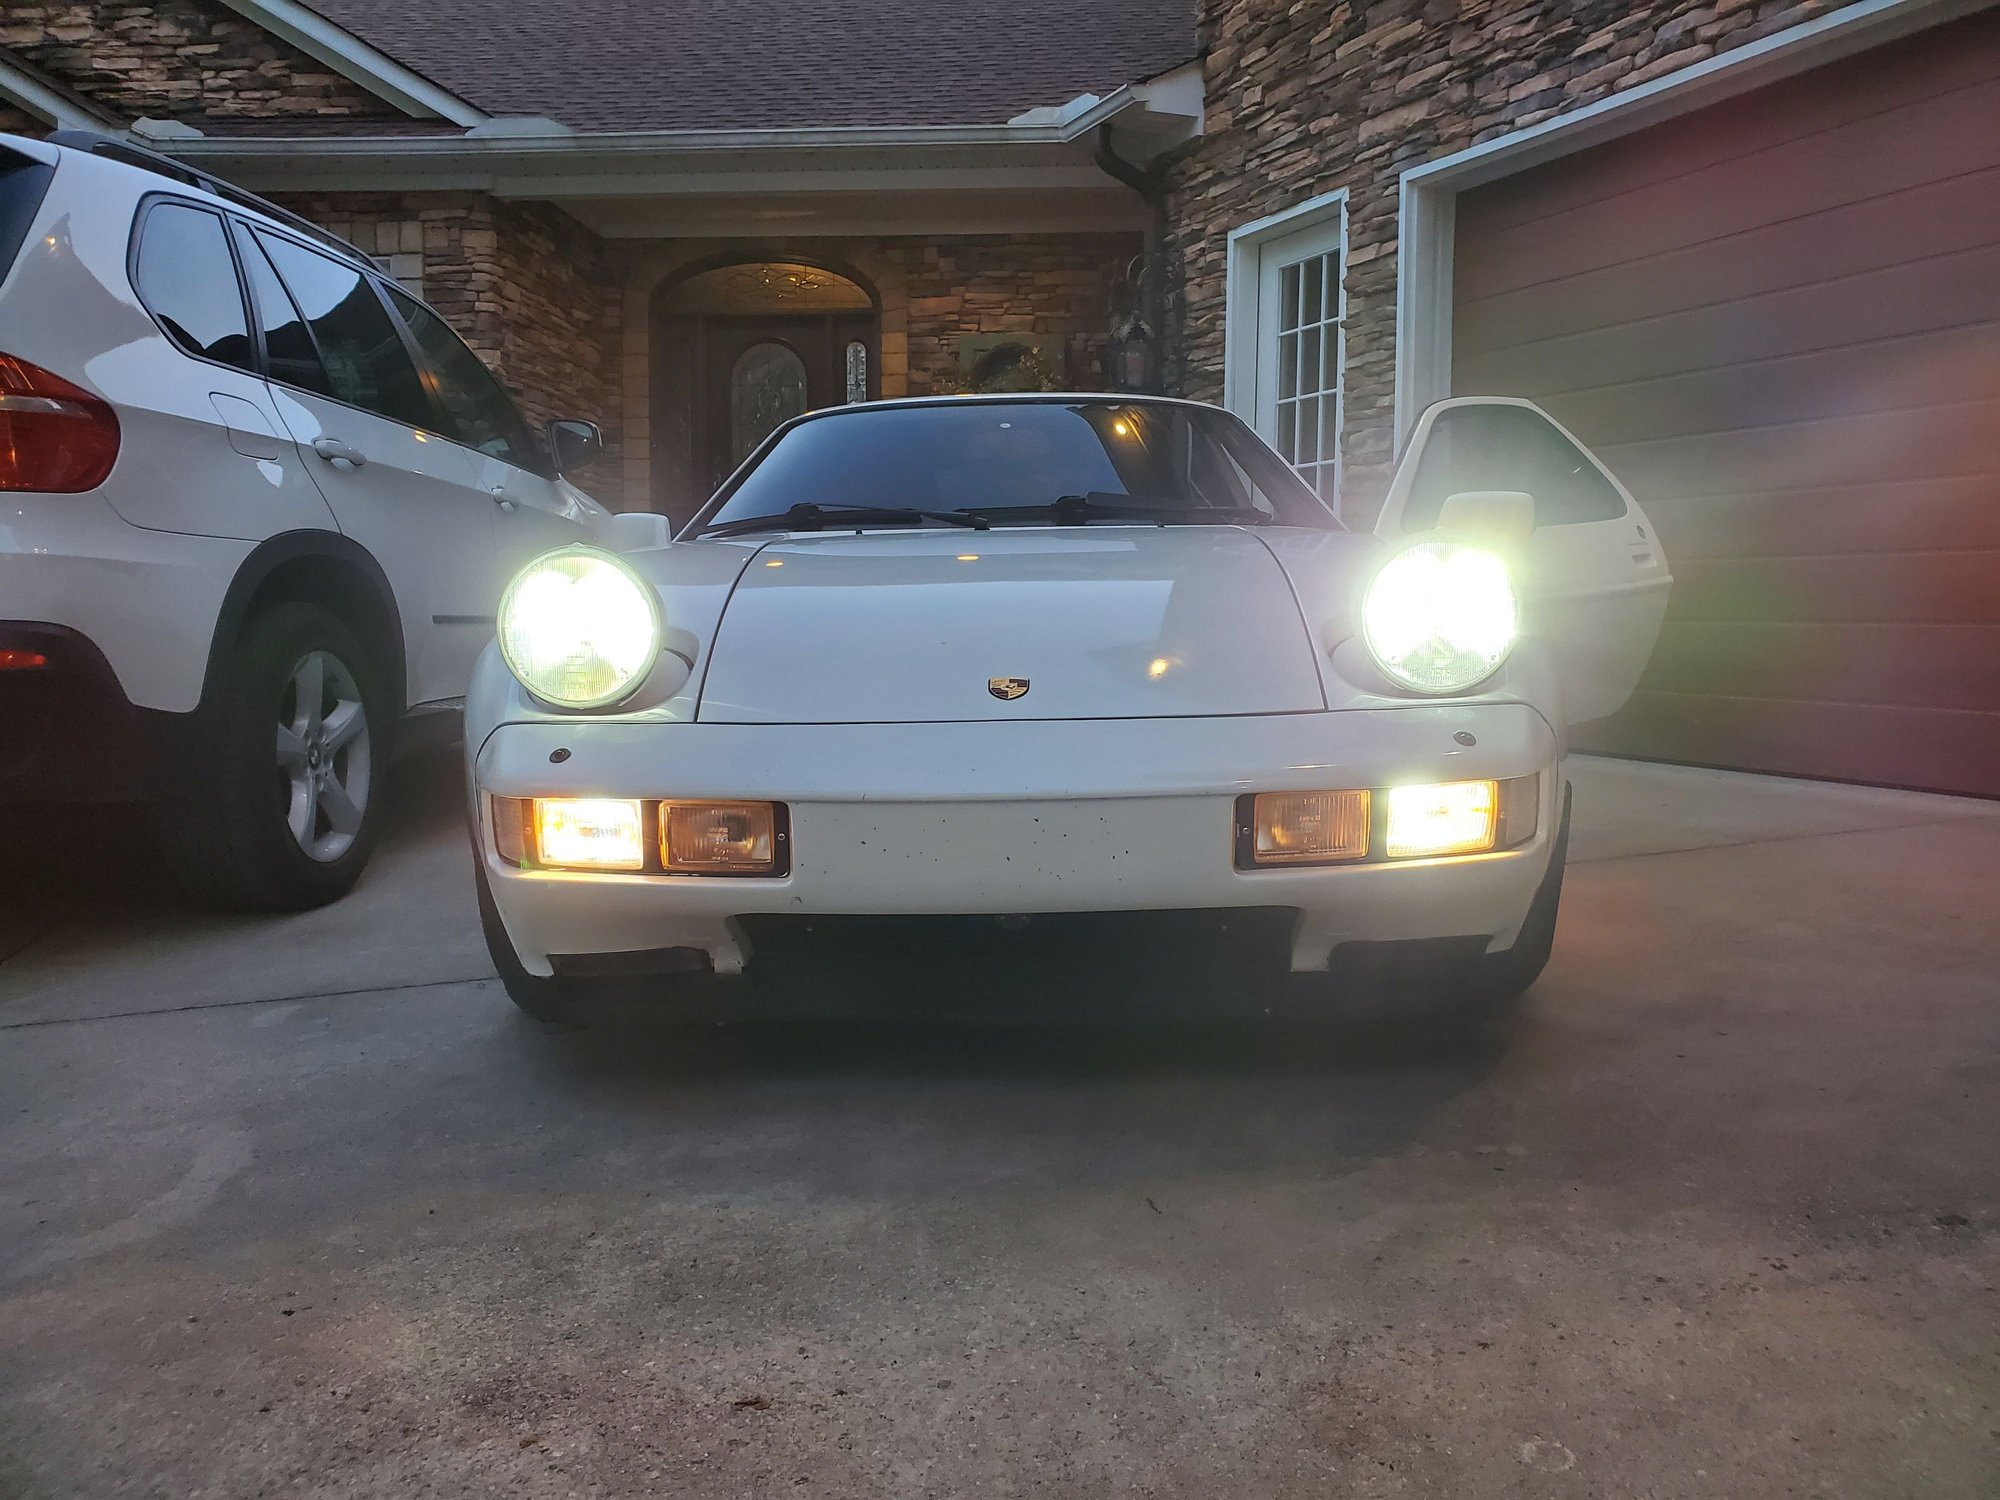
80W Halogen on right / LED on left Amber LED accent lights in the side of the Euro fog light housings. These come on as the parking lights Parking lights with led H3 Fog Light Bulbs Fog Lights with LED headlights All lights on via high beam lever
Do you have any bulb warnings? Can you list the link on each bulb please. Amazon?
No bulb warnings. I only did the Euro side markers, the H4 headlights that take a 9004 bulb, and the front fog and aux lights. For the turn signals I use a black chrome incandescent bulb that is kind of invisible behind the clear corner lens, but flashes amber. I only use stock bulbs from Roger or Mark in the rear as they're very sensitive to the wrong bulbs.
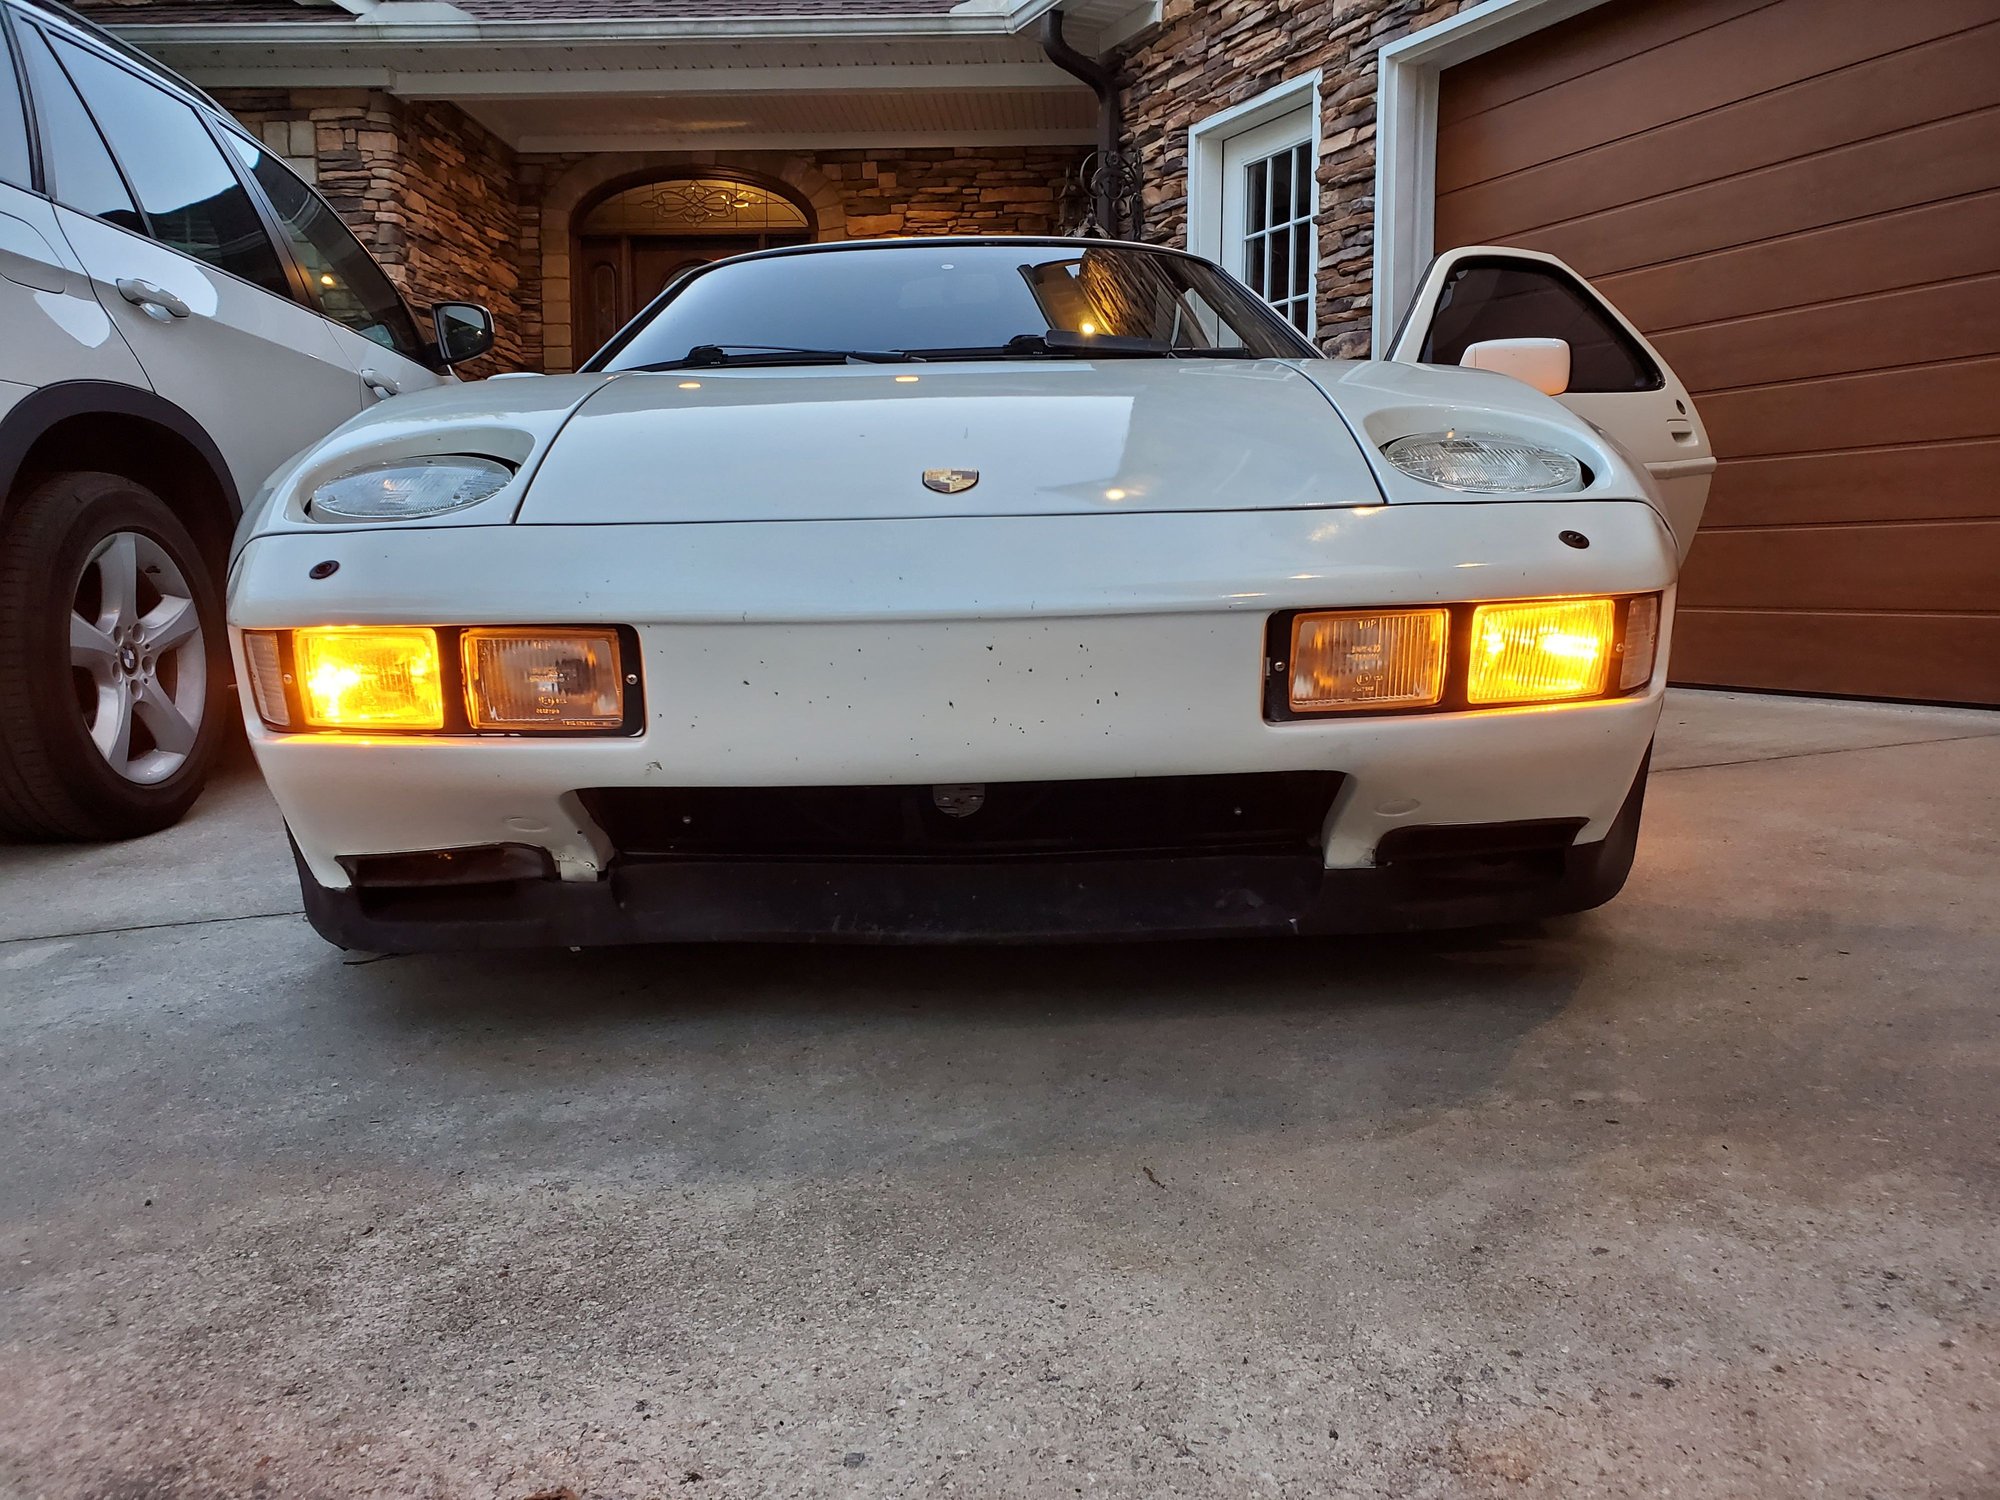
Front lighting upgrade weekend. 80W Halogen on right / LED on left
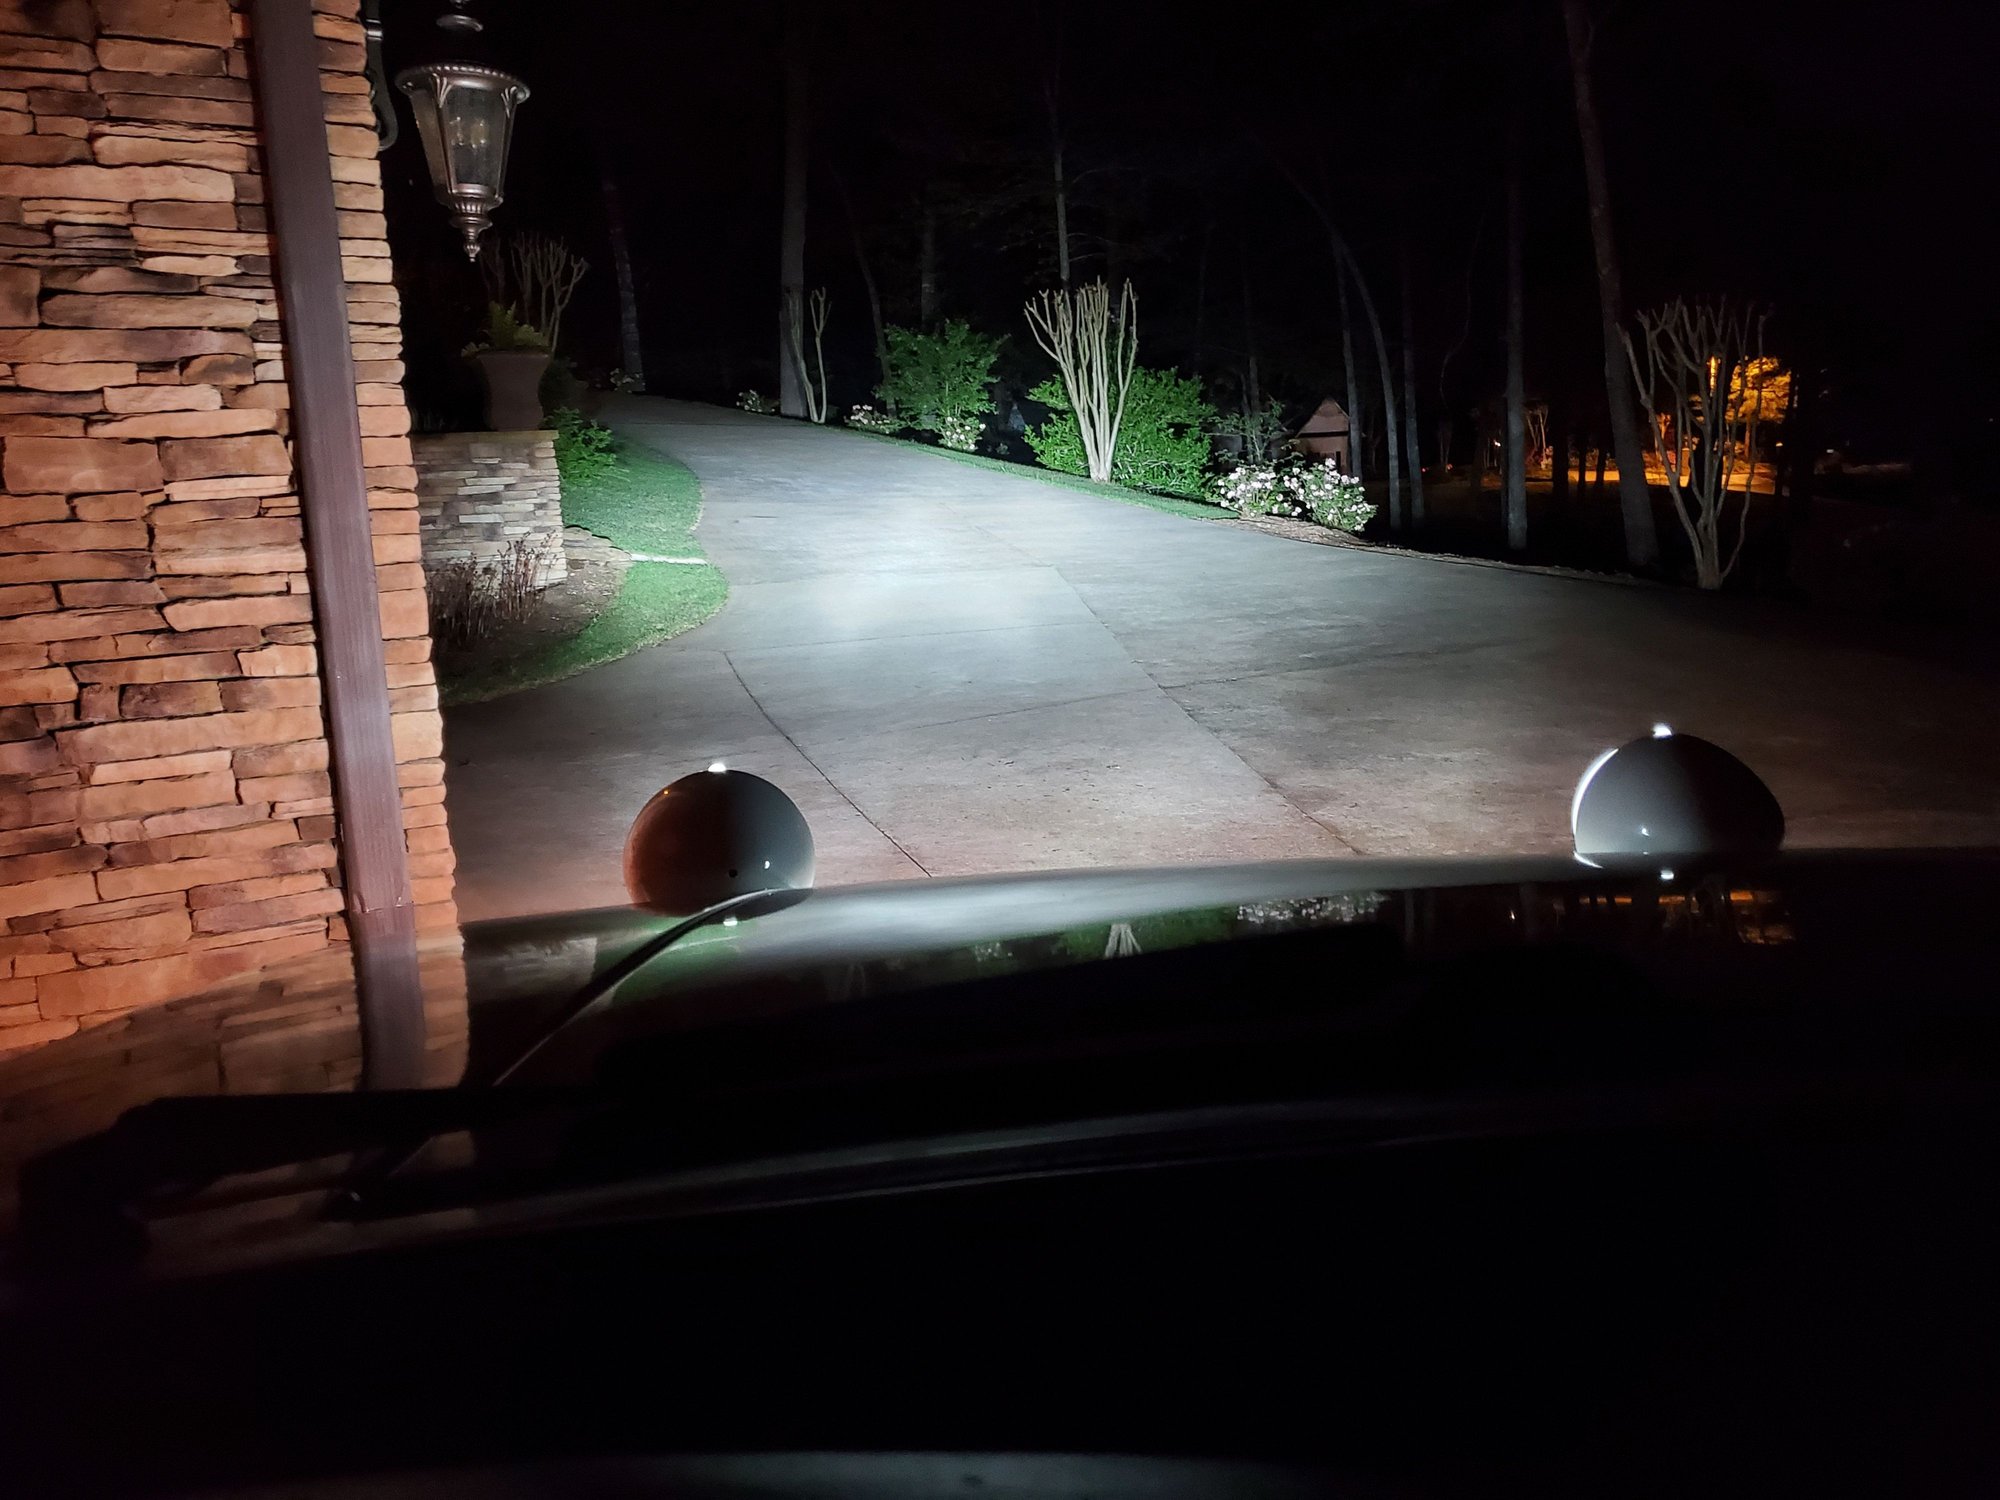
Are you planning to adjust the new LED downward some.
It appears really high compared to the other halogen one.
(judging from where they're both hitting the garage door).
Are you planning to adjust the new LED downward some.
It appears really high compared to the other halogen one.
(judging from where they're both hitting the garage door).
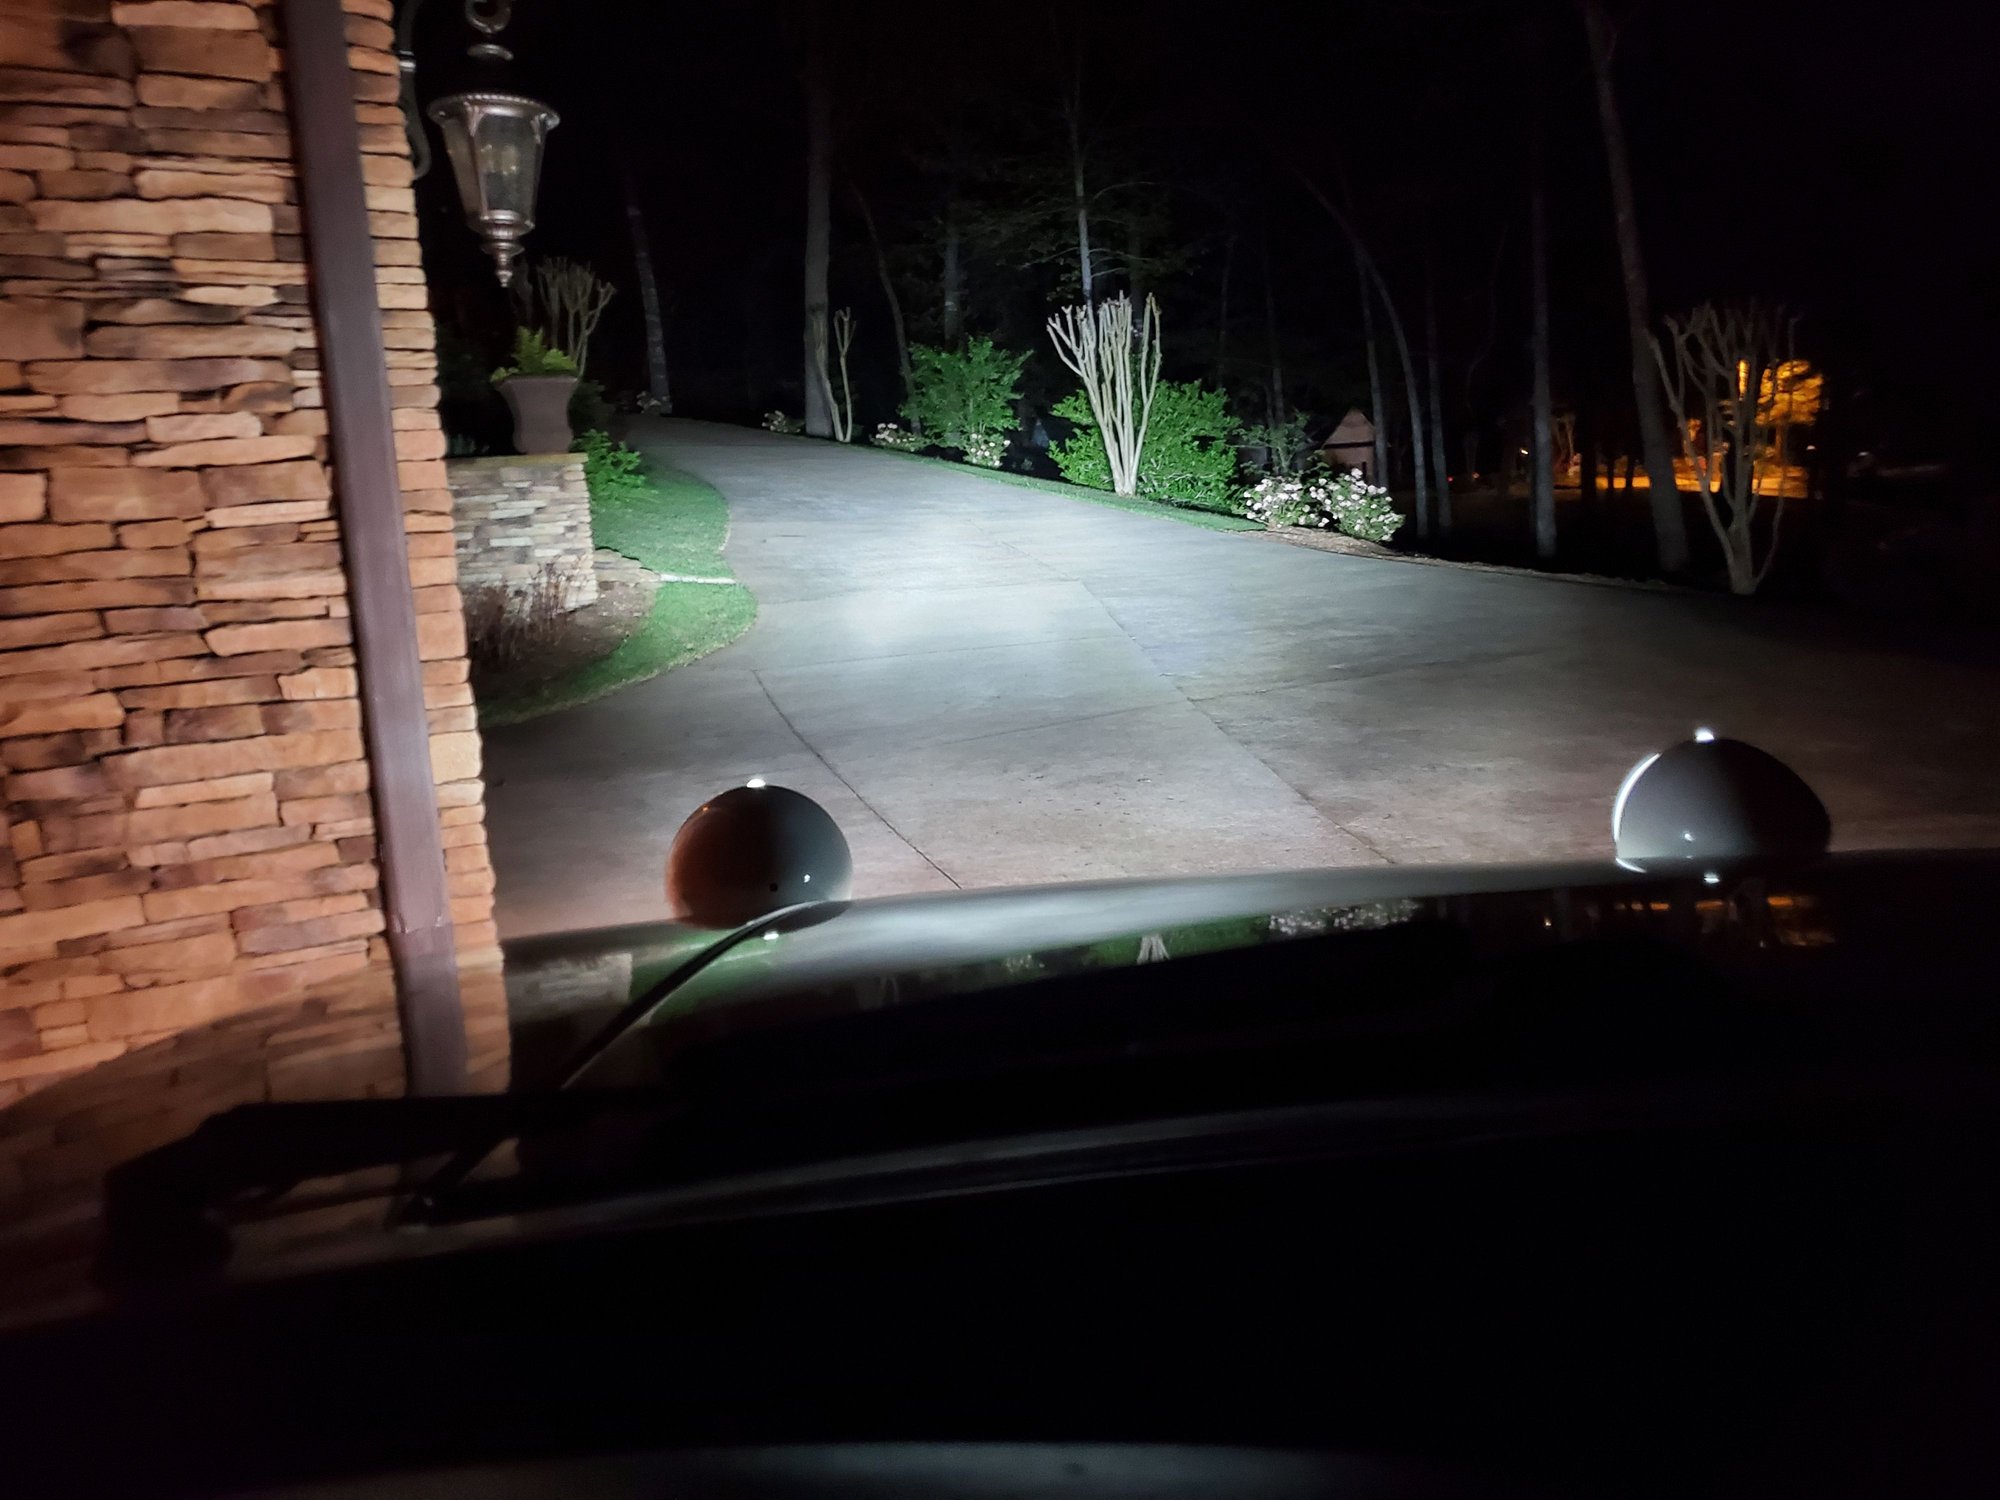
The headlights were really low before and hit the road right in front of the car so I had lifted them up, actually a lot. Driving this morning in the dark, they're way too high, like high beam mode too high, but the visibility is spectacular.
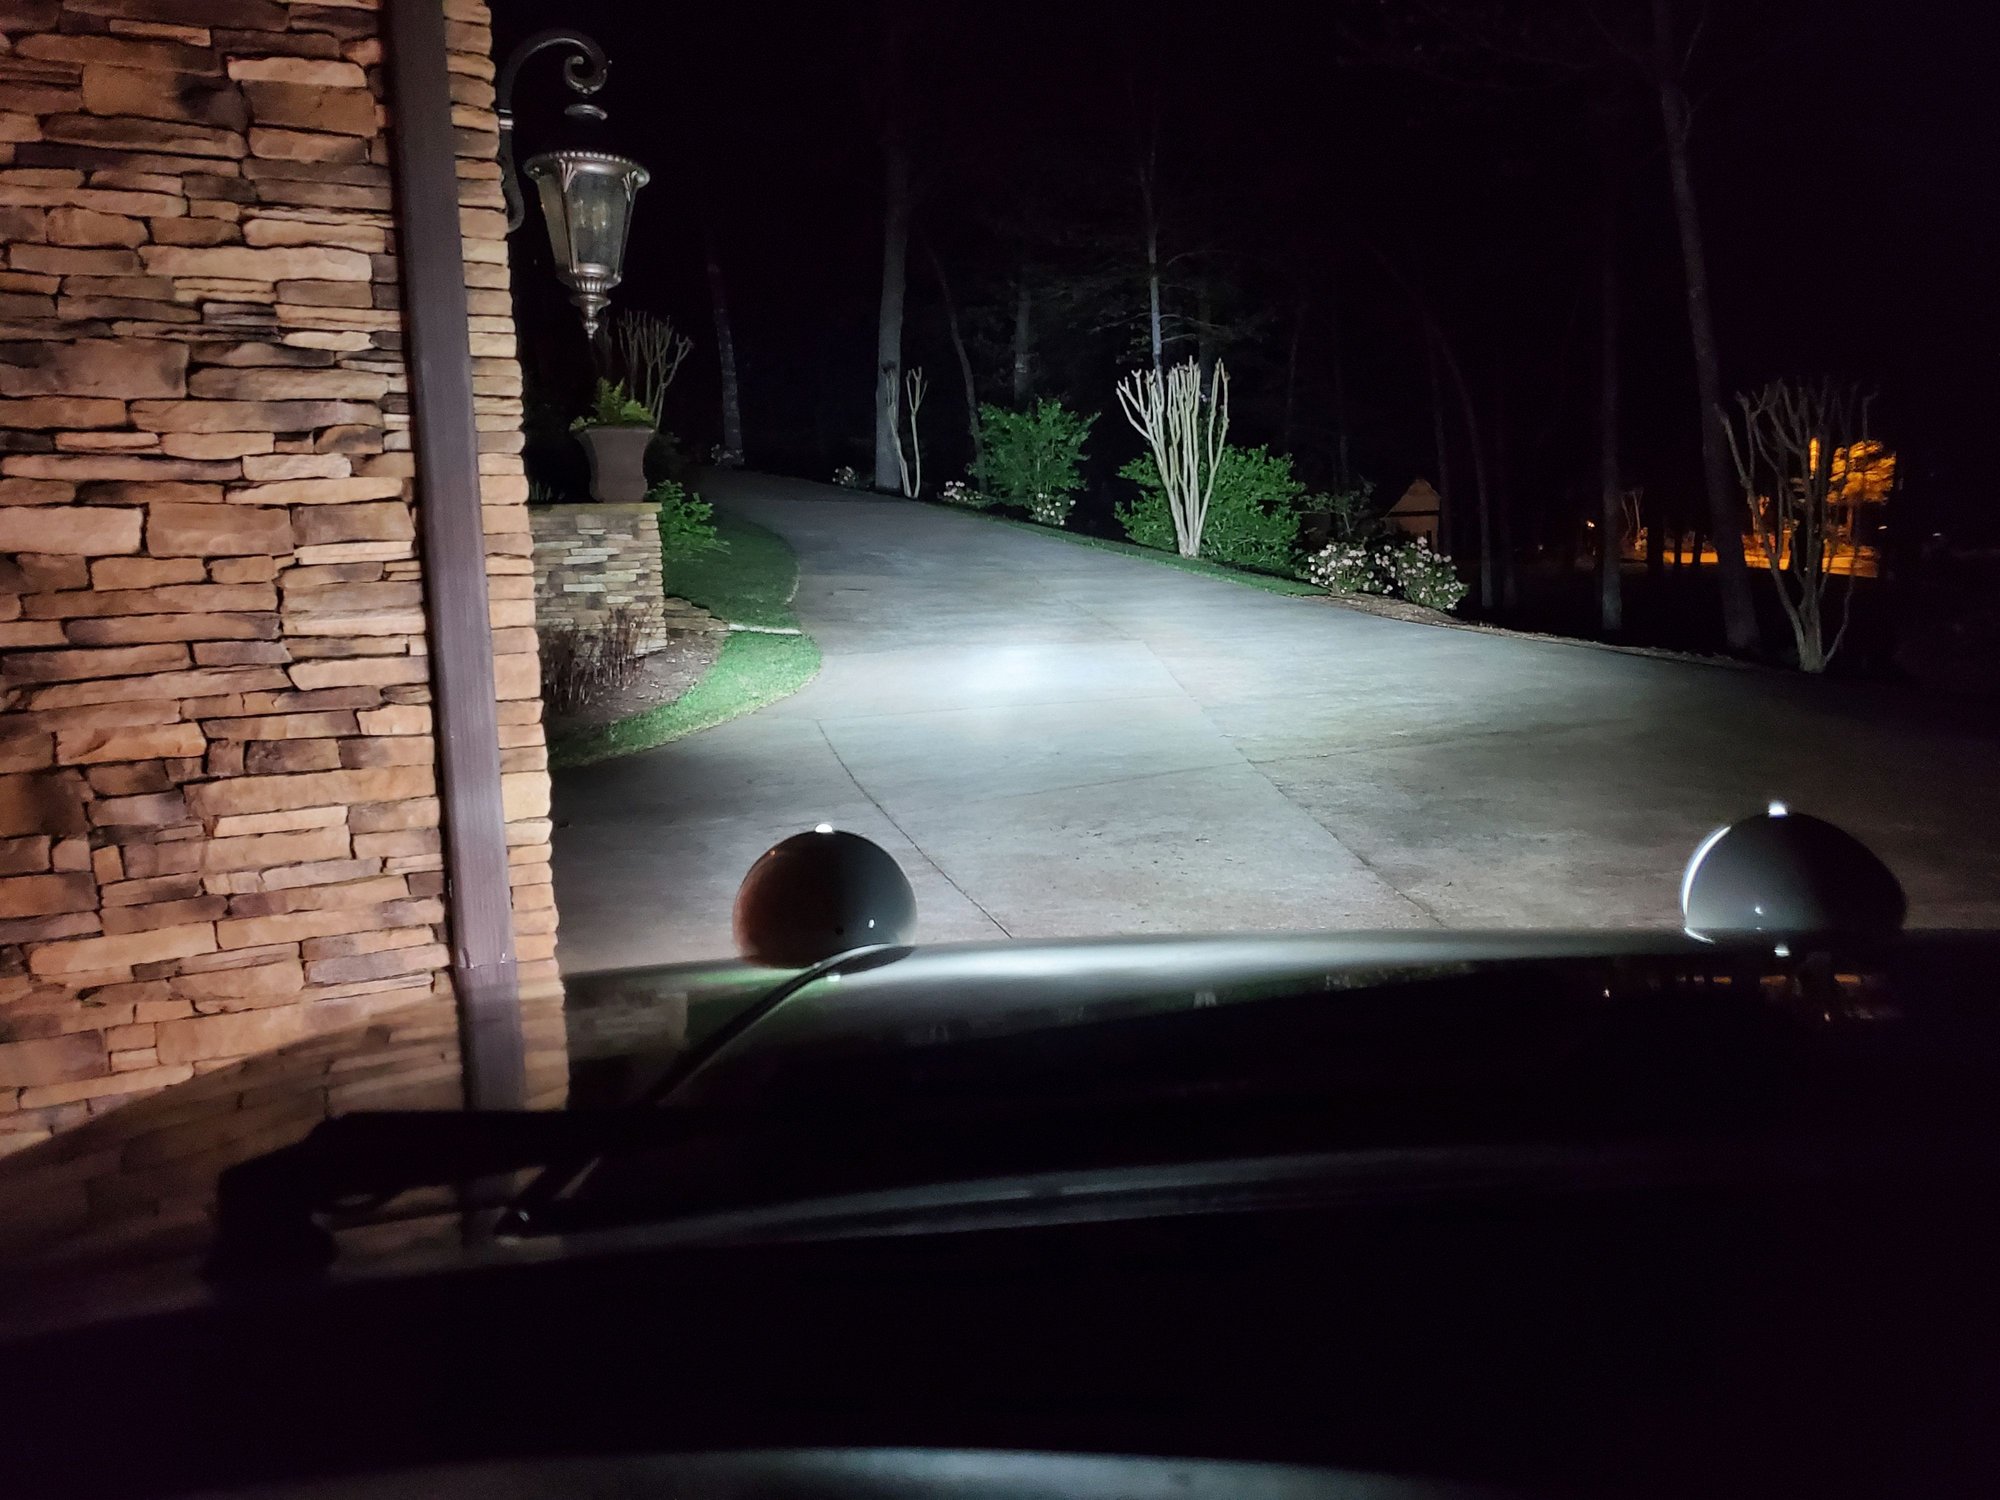
So yes, I need to bring them down a fair amount. The aux high beam lamps are perfect and project down the road very well when engaged.
One negative is that the led headlight bulbs have the high beam indicator lightly glowing when the regular beams are on. Engaging the high beams illuminates the indicator brightly as it should, but then switching them off has it glowing again, so there is some type of current backfeeding happening. I also don't believe they have a high beam function, and stay on the same setting all the time, but it's really not needed anymore because the additional projection of the aux lamps that come on with the high beam switch adds plenty of distance visibility. Maybe I have 2 wires reversed on one side or the other and that's causing the high beam indicator to glow. I hooked them up the same way the old bulbs came off, but maybe the PO had them wrong.
Anyone have a pic of the wires going to the 9004 bulbs under the headlight covers. Mine are white, yellow, and brown going to the three indicidual bulb prongs and the brown one is at one of the edges on both bulbs. Zooming in one on of my pics, and looking at it from behind the headlight where the cover would be with the flat part of the bulb on the top side, mine are white on the right, yellow in the middle, and brown on the left. Both headlights are connected the same way. These led bulbs have to be rotated 90 degrees to properly insert into the headlight socket.
Passenger side old halogen bulb Drivers side new LED bulb
I'll be keeping them though as the improvement in visibility is remarkable.
Pete, I have the same issue with a dim high beam indicator on my 82. I am using the J/K led headlights. No wires to cross, direct plug in. Of course, the indicator is bright on high beam. Don�t know the solution
Pete, I have the same issue with a dim high beam indicator on my 82. I am using the J/K led headlights. No wires to cross, direct plug in. Of course, the indicator is bright on high beam. Don�t know the solution
Thanks Ron. Do you notice a lighting change in the headlights when you switch from low beam to high beam. I don't in the headlights. The lighting difference I see comes from the inside aux bumper lights coming on with the high beams.
Yes I have a distinct difference in my headlights between high and low....remember, my kit is multiple LEDs, so 1/2 light up in low, the other half light up when I switch to high.
Yes I have a distinct difference in my headlights between high and low....remember, my kit is multiple LEDs, so 1/2 light up in low, the other half light up when I switch to high.
Right. I remember seeing those at SITM or Rendezvous, so quite different than the bulb only replacement I just did into the H4 lens.
No bulb warnings. I only did the Euro side markers, the H4 headlights that take a 9004 bulb, and the front fog and aux lights. For the turn signals I use a black chrome incandescent bulb that is kind of invisible behind the clear corner lens, but flashes amber. I only use stock bulbs from Roger or Mark in the rear as they're very sensitive to the wrong bulbs.
I had the amber leds in my bulb box from a previous order with the round bases needed for those fittings. I don't remember the bulb type number. I may have bought them for the side markers and when they didn't fit there I ended up using them in the fog light side socket.
Over the weekend, I added a new ball cup to the clutch torque arm and it made the clutch release much worse to the point where no matter how I adjusted the length of the threaded rod, I could not get thr clutch to fully release and not grind the gears.
Started another thread on Rennlist for some guidance and it turns out the new clutch master cylinders have a longer piston inside than the older car master cylinders and they don't allow for enough piston stroke to move the slave ylinder rod far enough to completely disengage the clutch.
I posted the following into that thread, but am putting it here as well to keep the thread on this car and the work done to it complete and up to date.
It's fixed - Shortening the piston inside the MC did the trick.
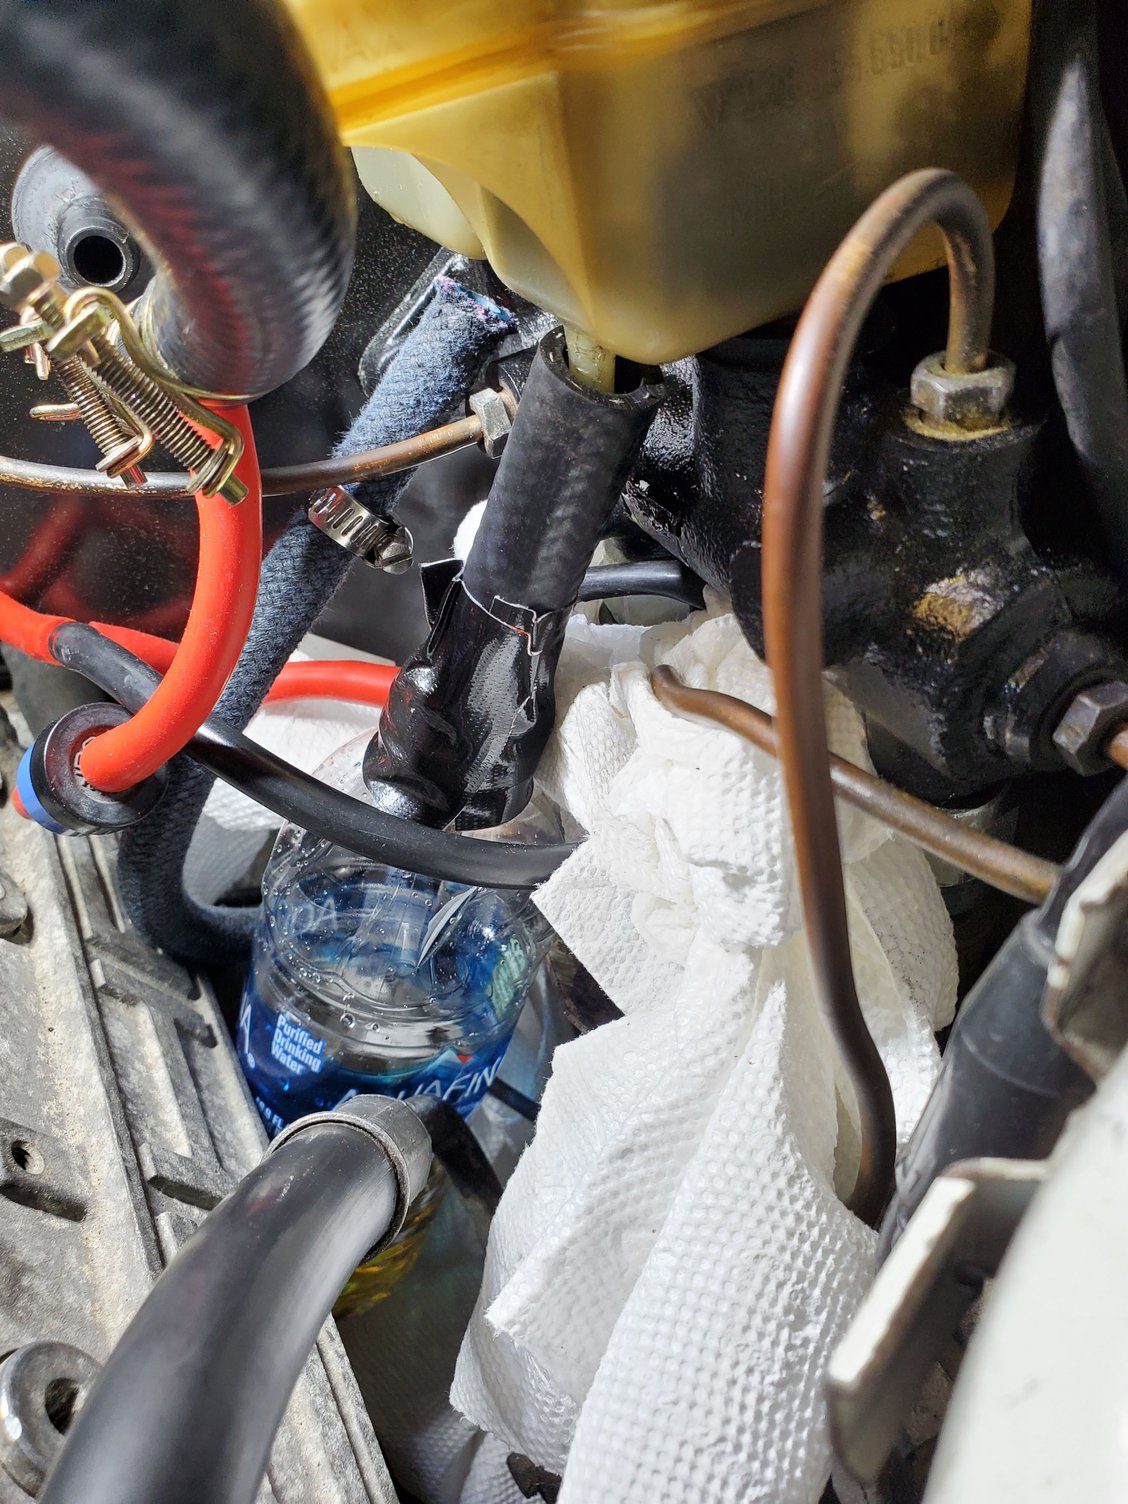
Took the opportunity to replace the nasty, yellowed brake fluid reservoir while I was at it.
Started by rigging up a catch bottle for the fluid when taking the blue hose loose. This worked great and hardly lost any fluid into the paper towels.
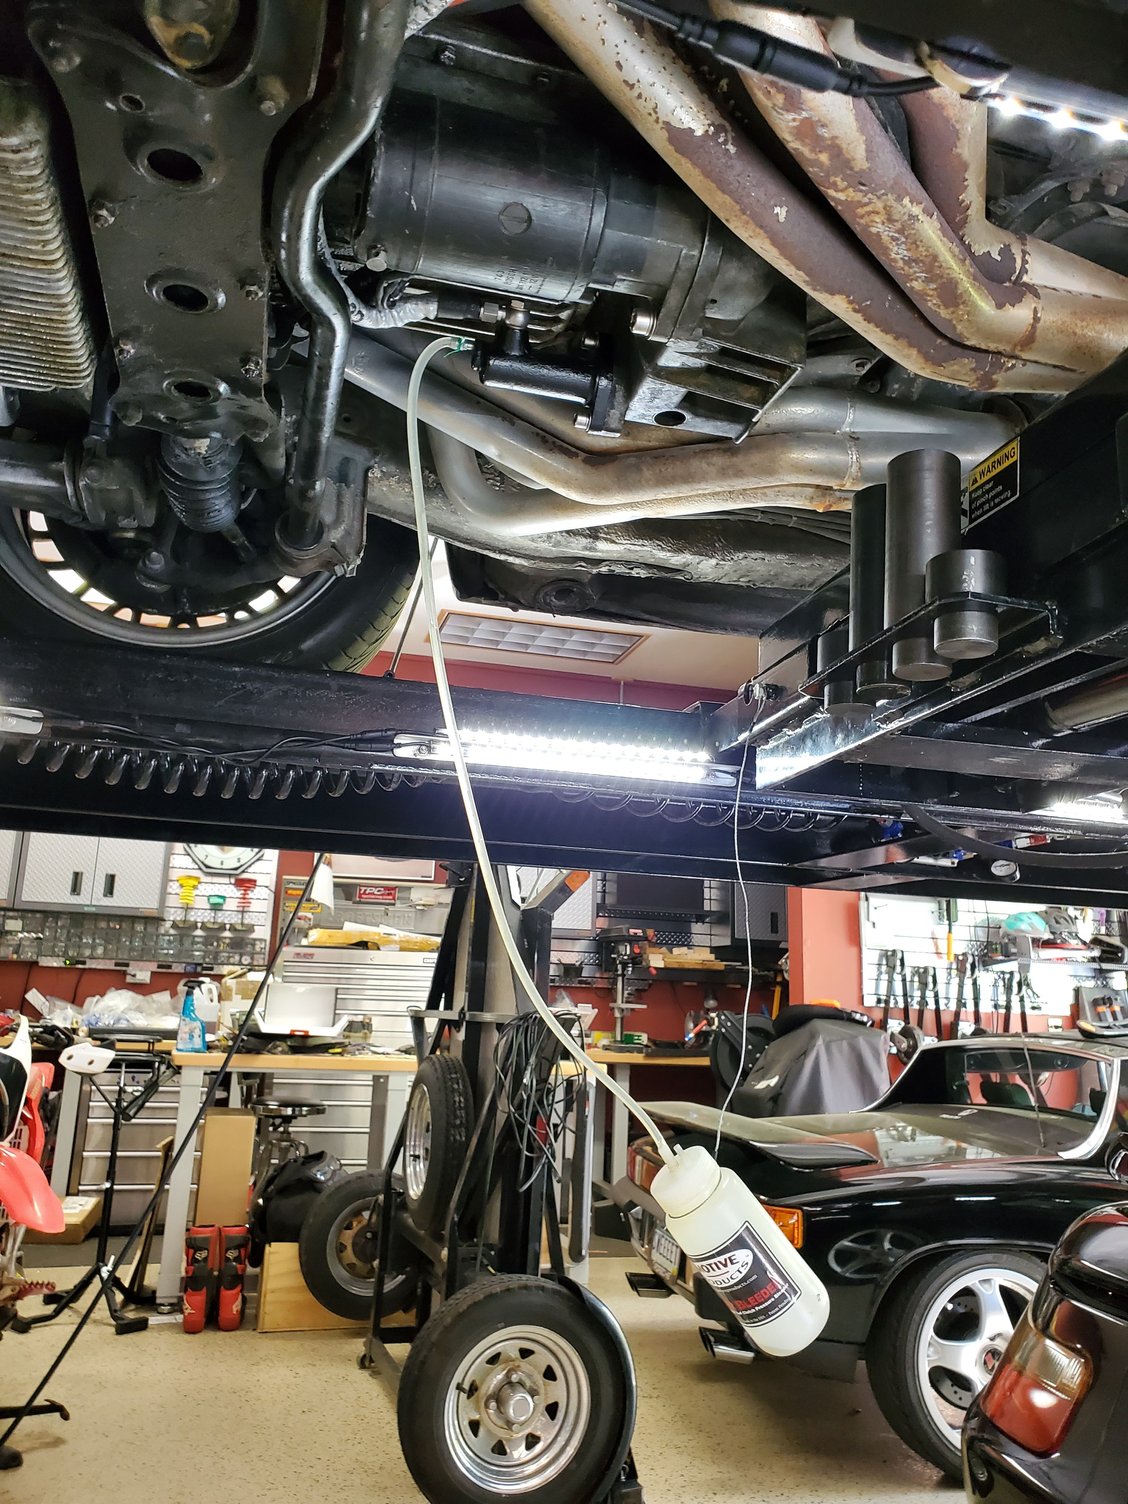
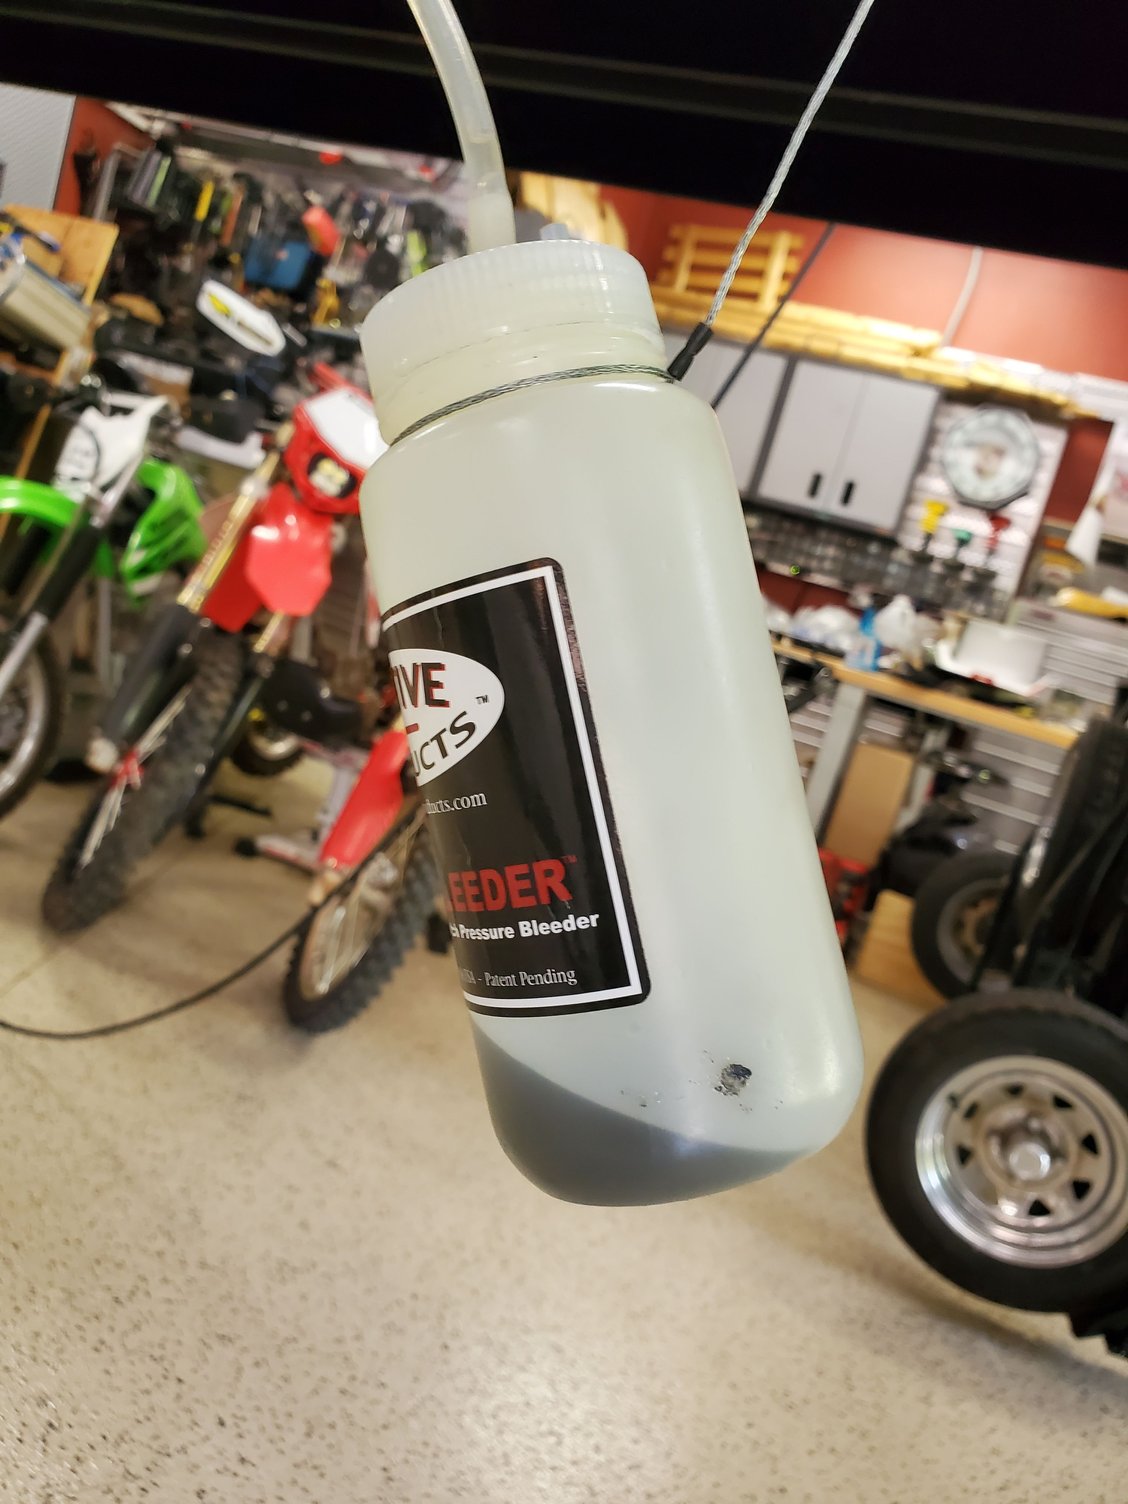
Then I went inside the car and pumped the clutch with the hose and catch bottle attached to the slave and the bleed screw open.
Catch bottle on the slave to empty the clutch circuit of fluid. I don't know where this dark and nasty fluid came from as I had just replaced the clutch master and slave a couple weeks ago. It actually looks darker in the bottle that when I poured it into my catch container.
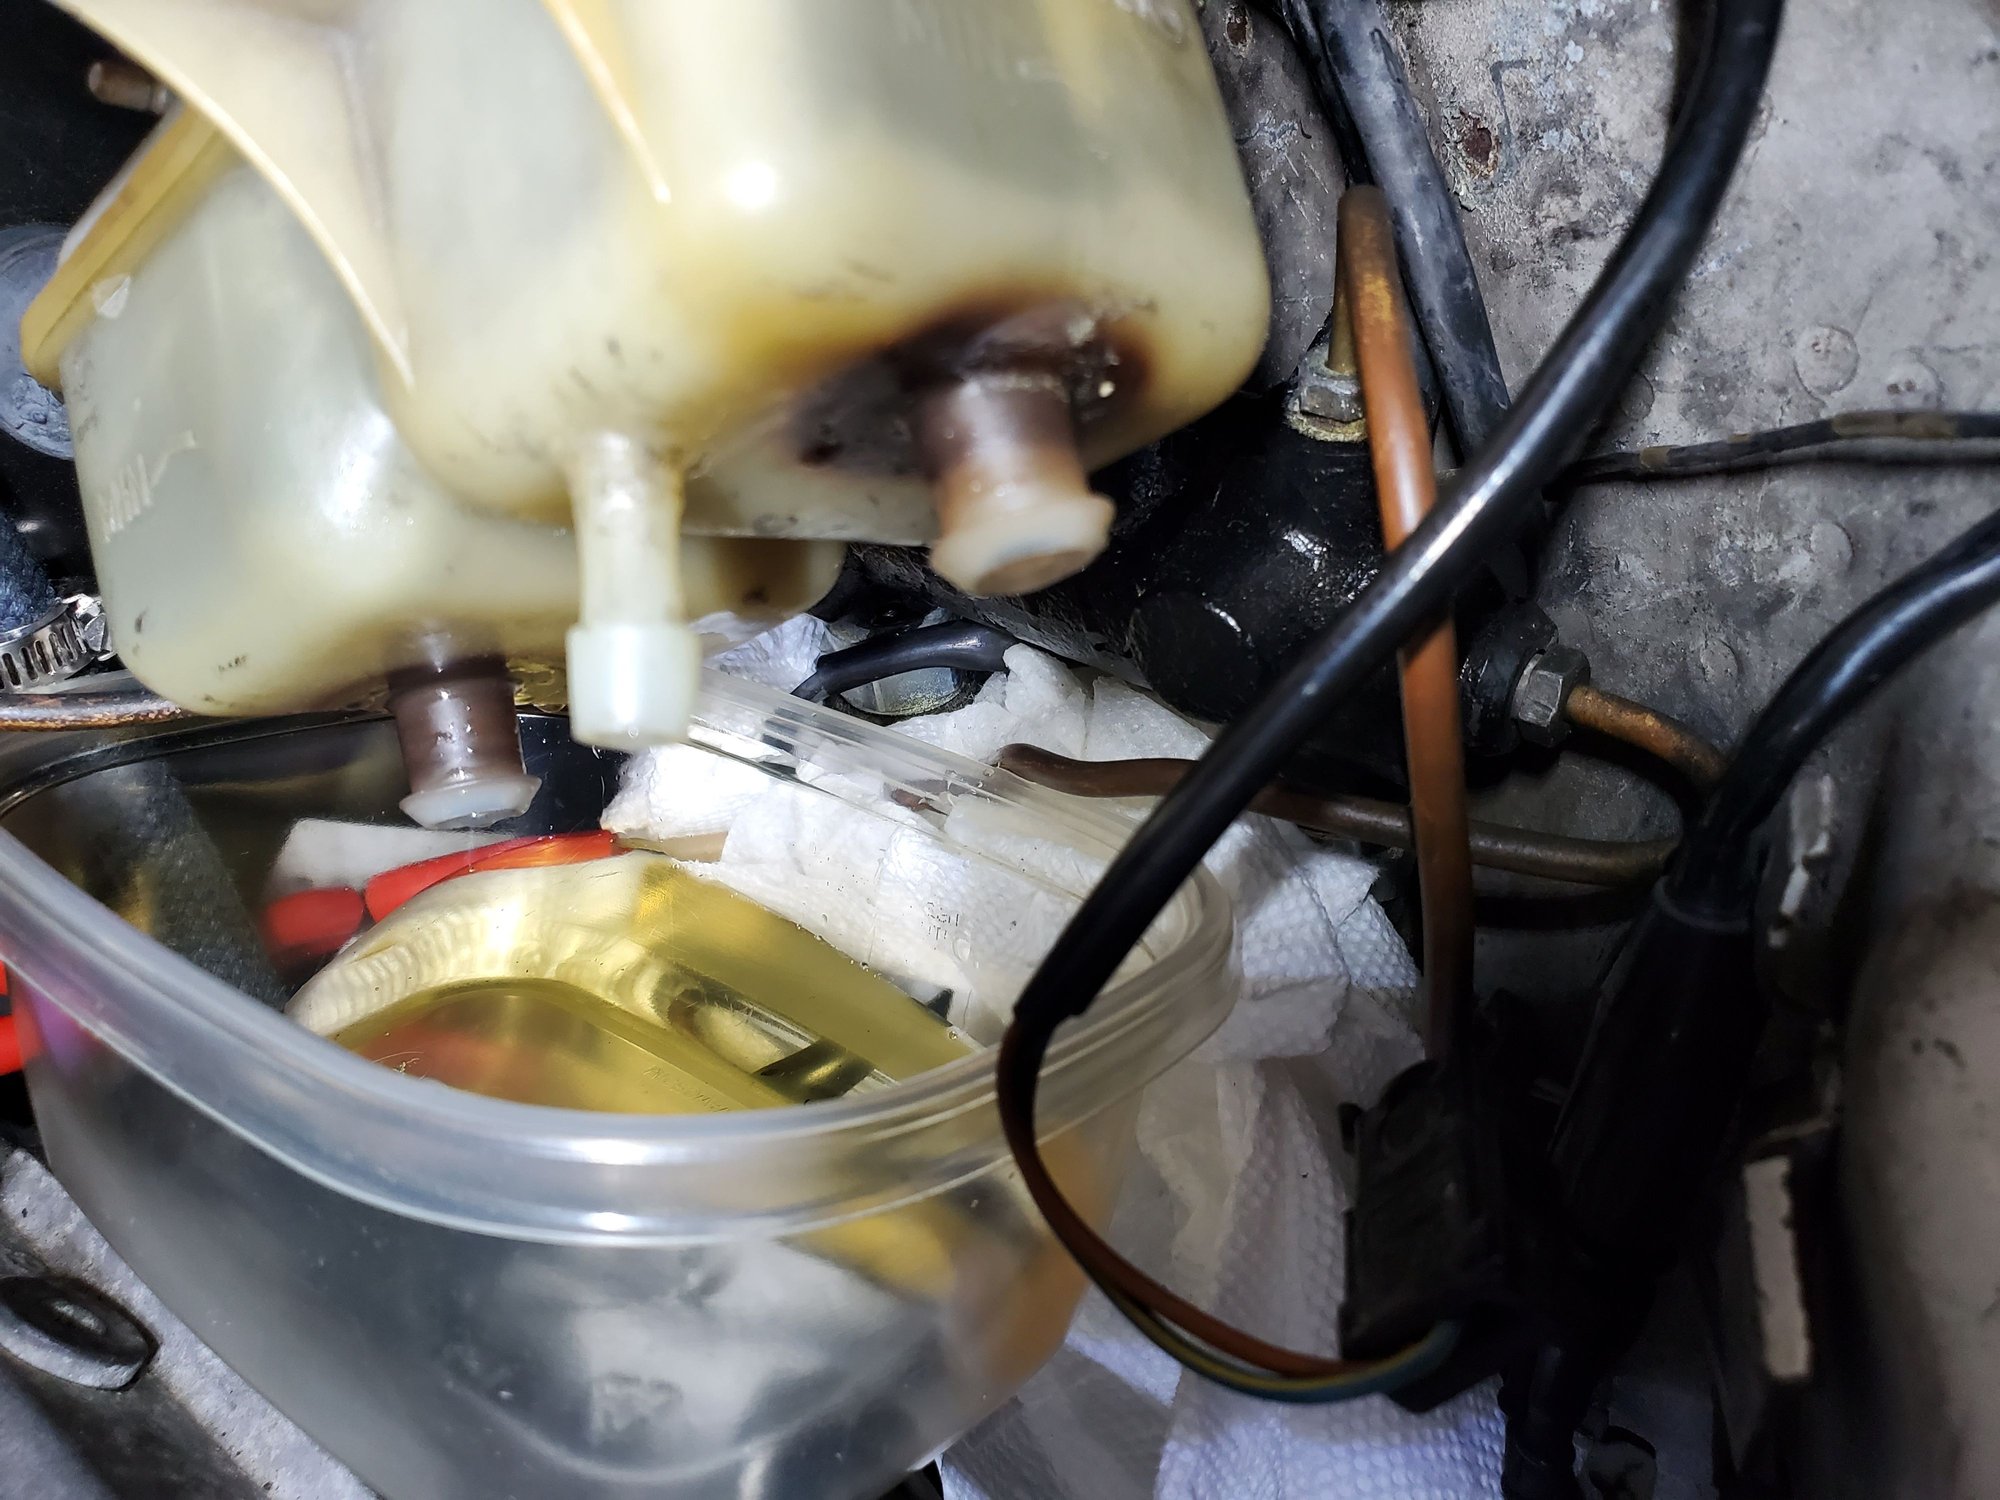
Since I decided to change the fluid reservoir too, I then popped that loose and let it drain into a catch container. This was a little messier, but really not bad compared to my 2 previous rounds - guess practice makes better.
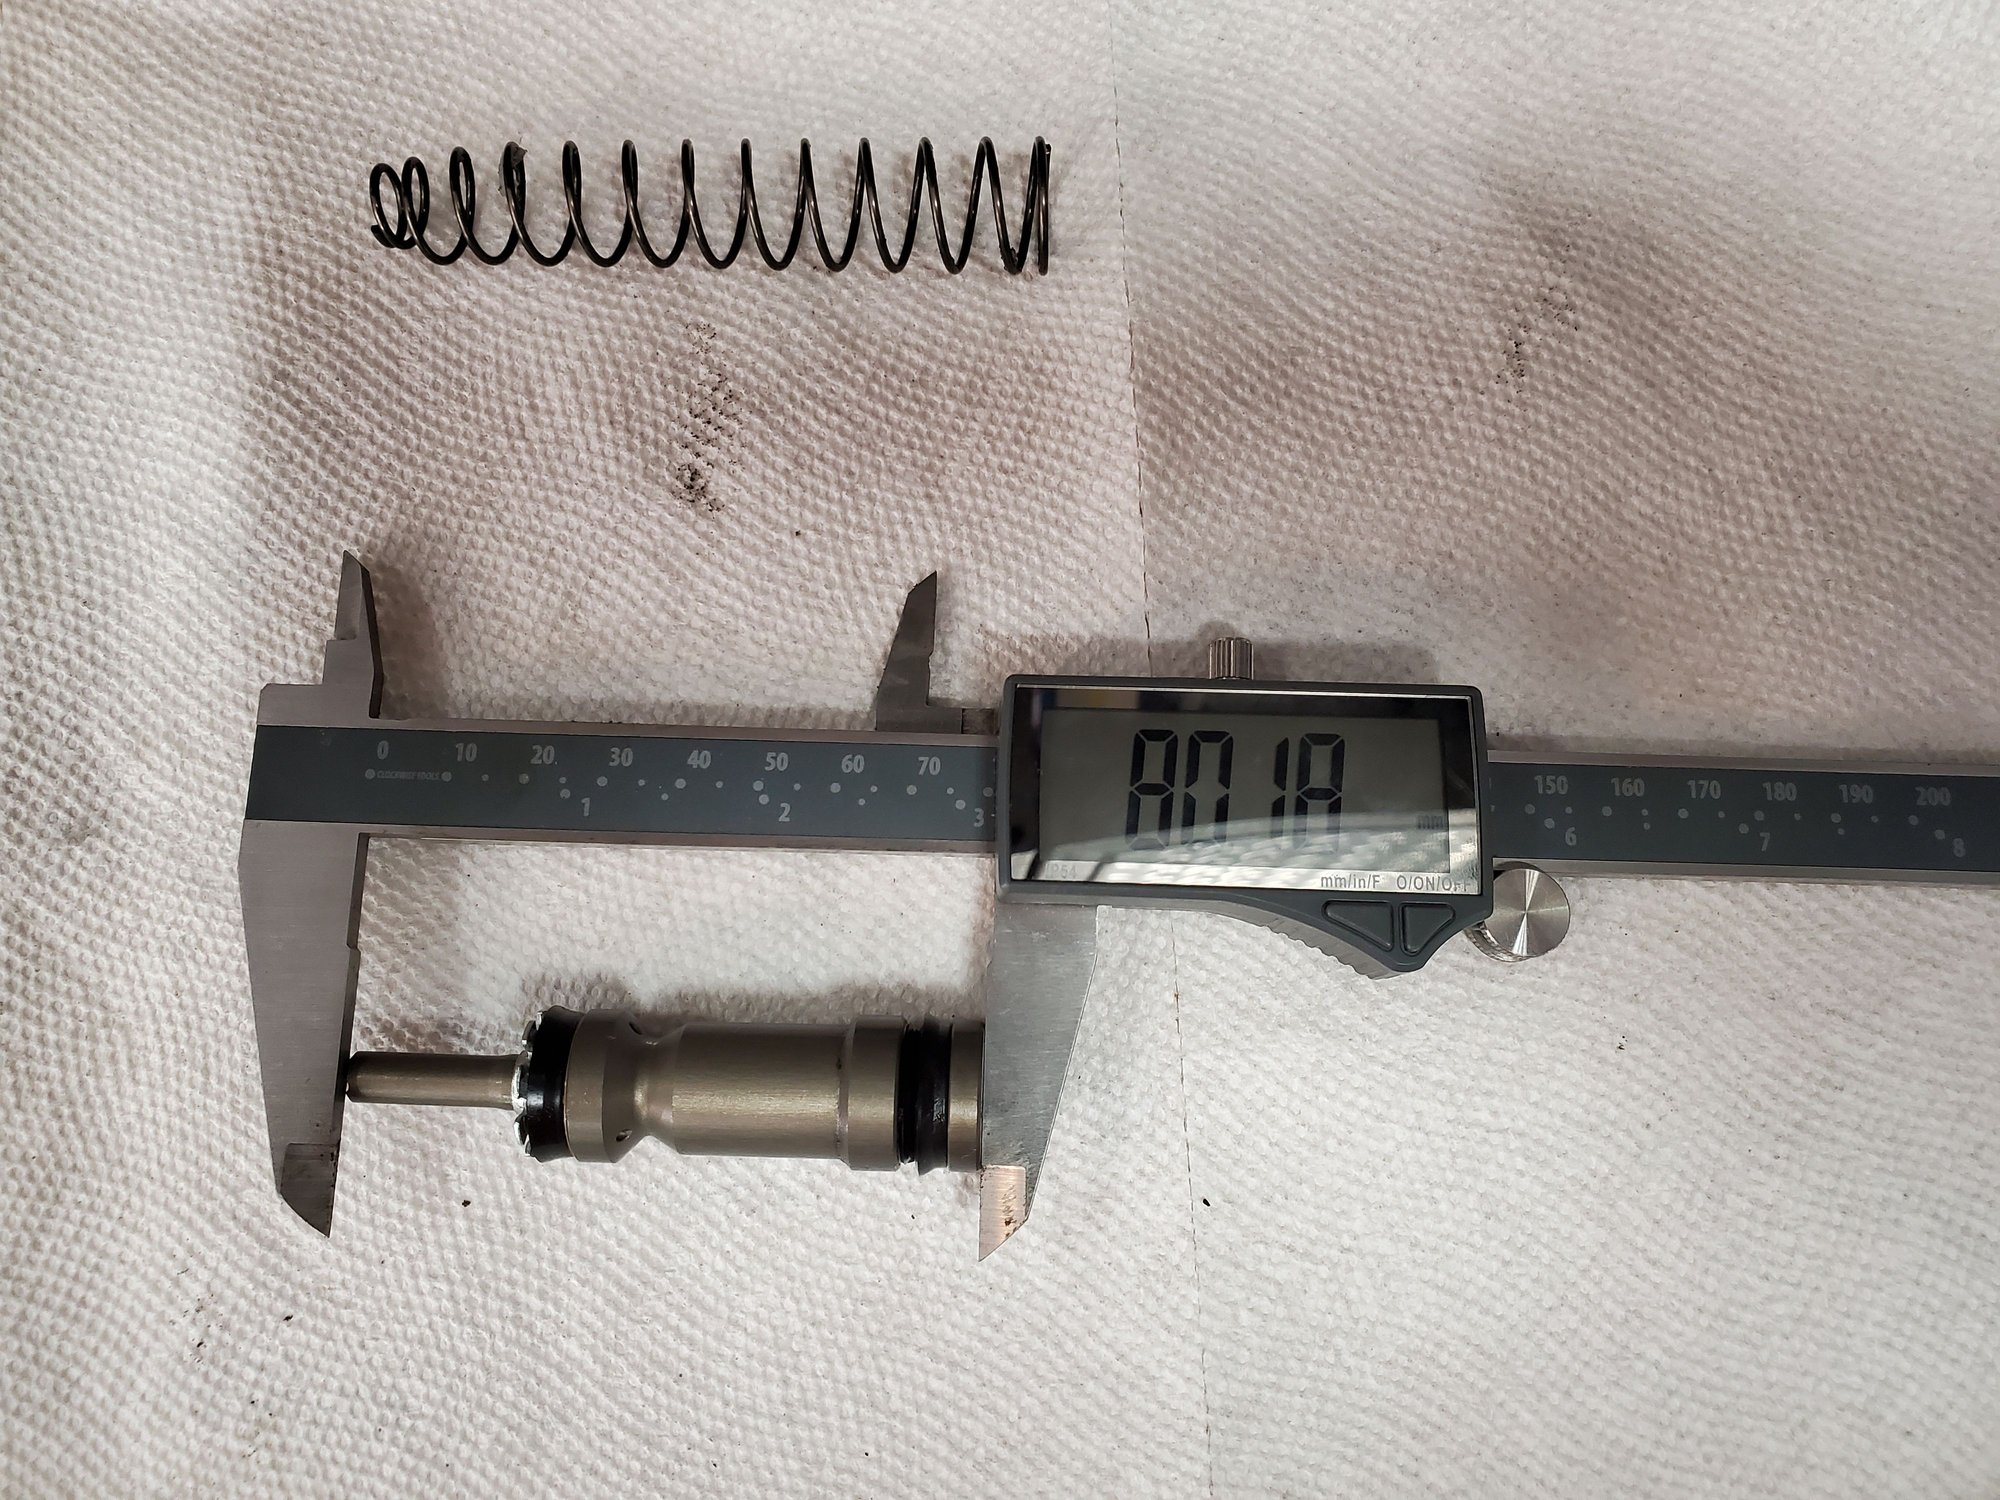
Now onto the real work. Use 45 degree snap ring pliers to get the snap ring out of the master and then slid the piston out. Had paper towels under the assembly and I guess since I had emptied the clutch circuit, not much fluid came out that had to be caught - maybe one water bottle cap, maybe less.
Measured the length of the MC piston that came out 80.18mm
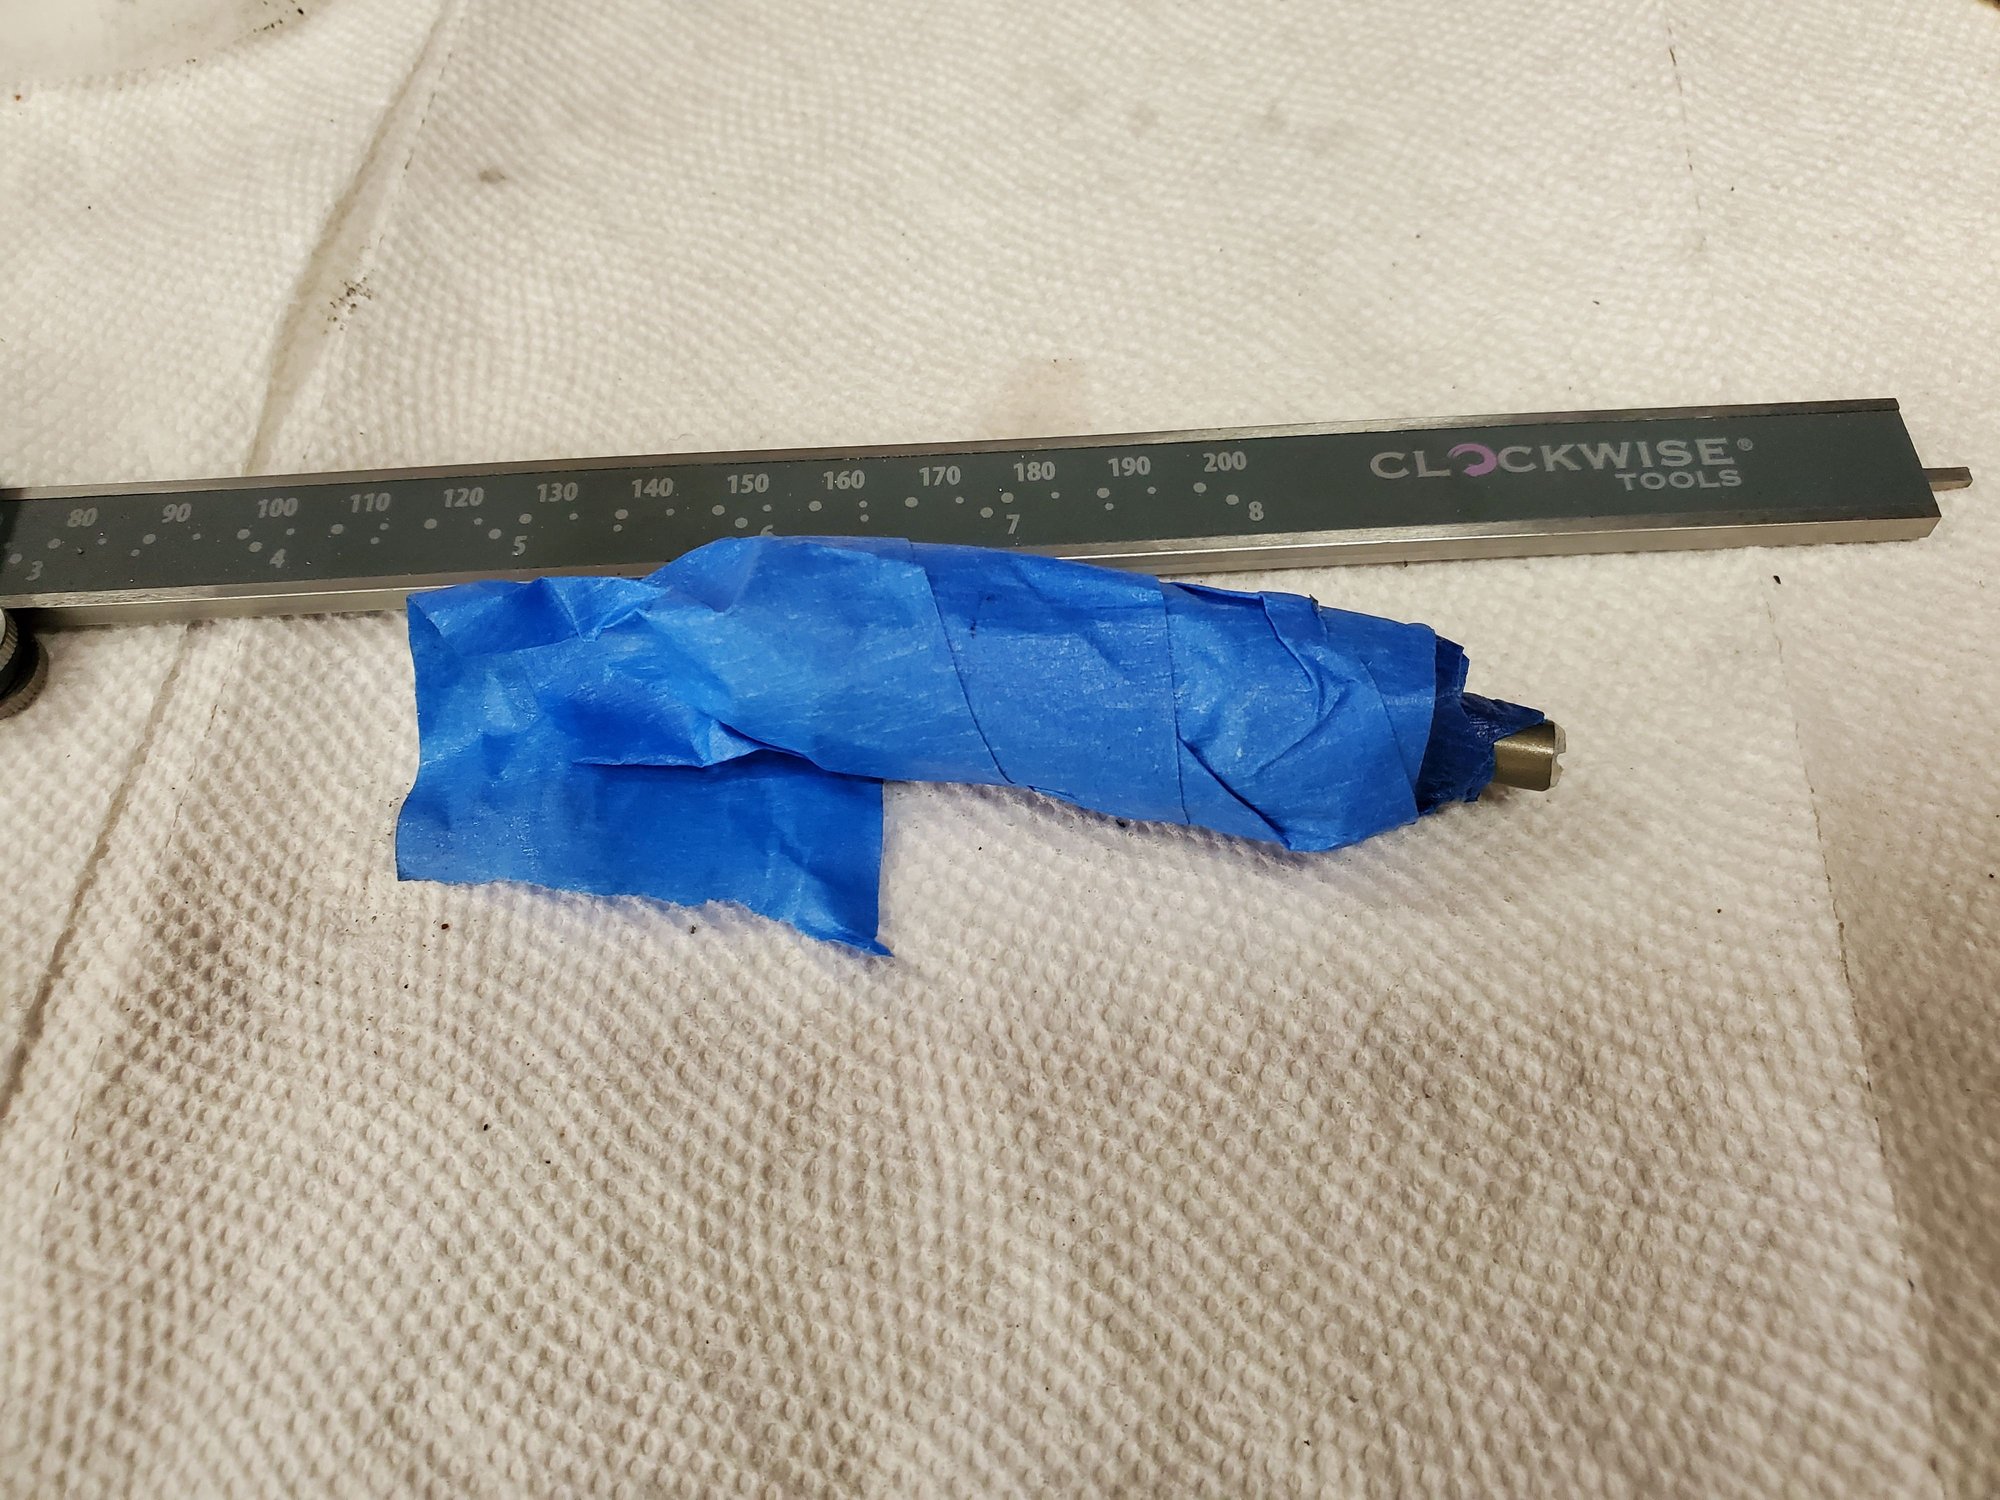
Wrapped the whole thing in blue tape to keep any metal shavings away from it
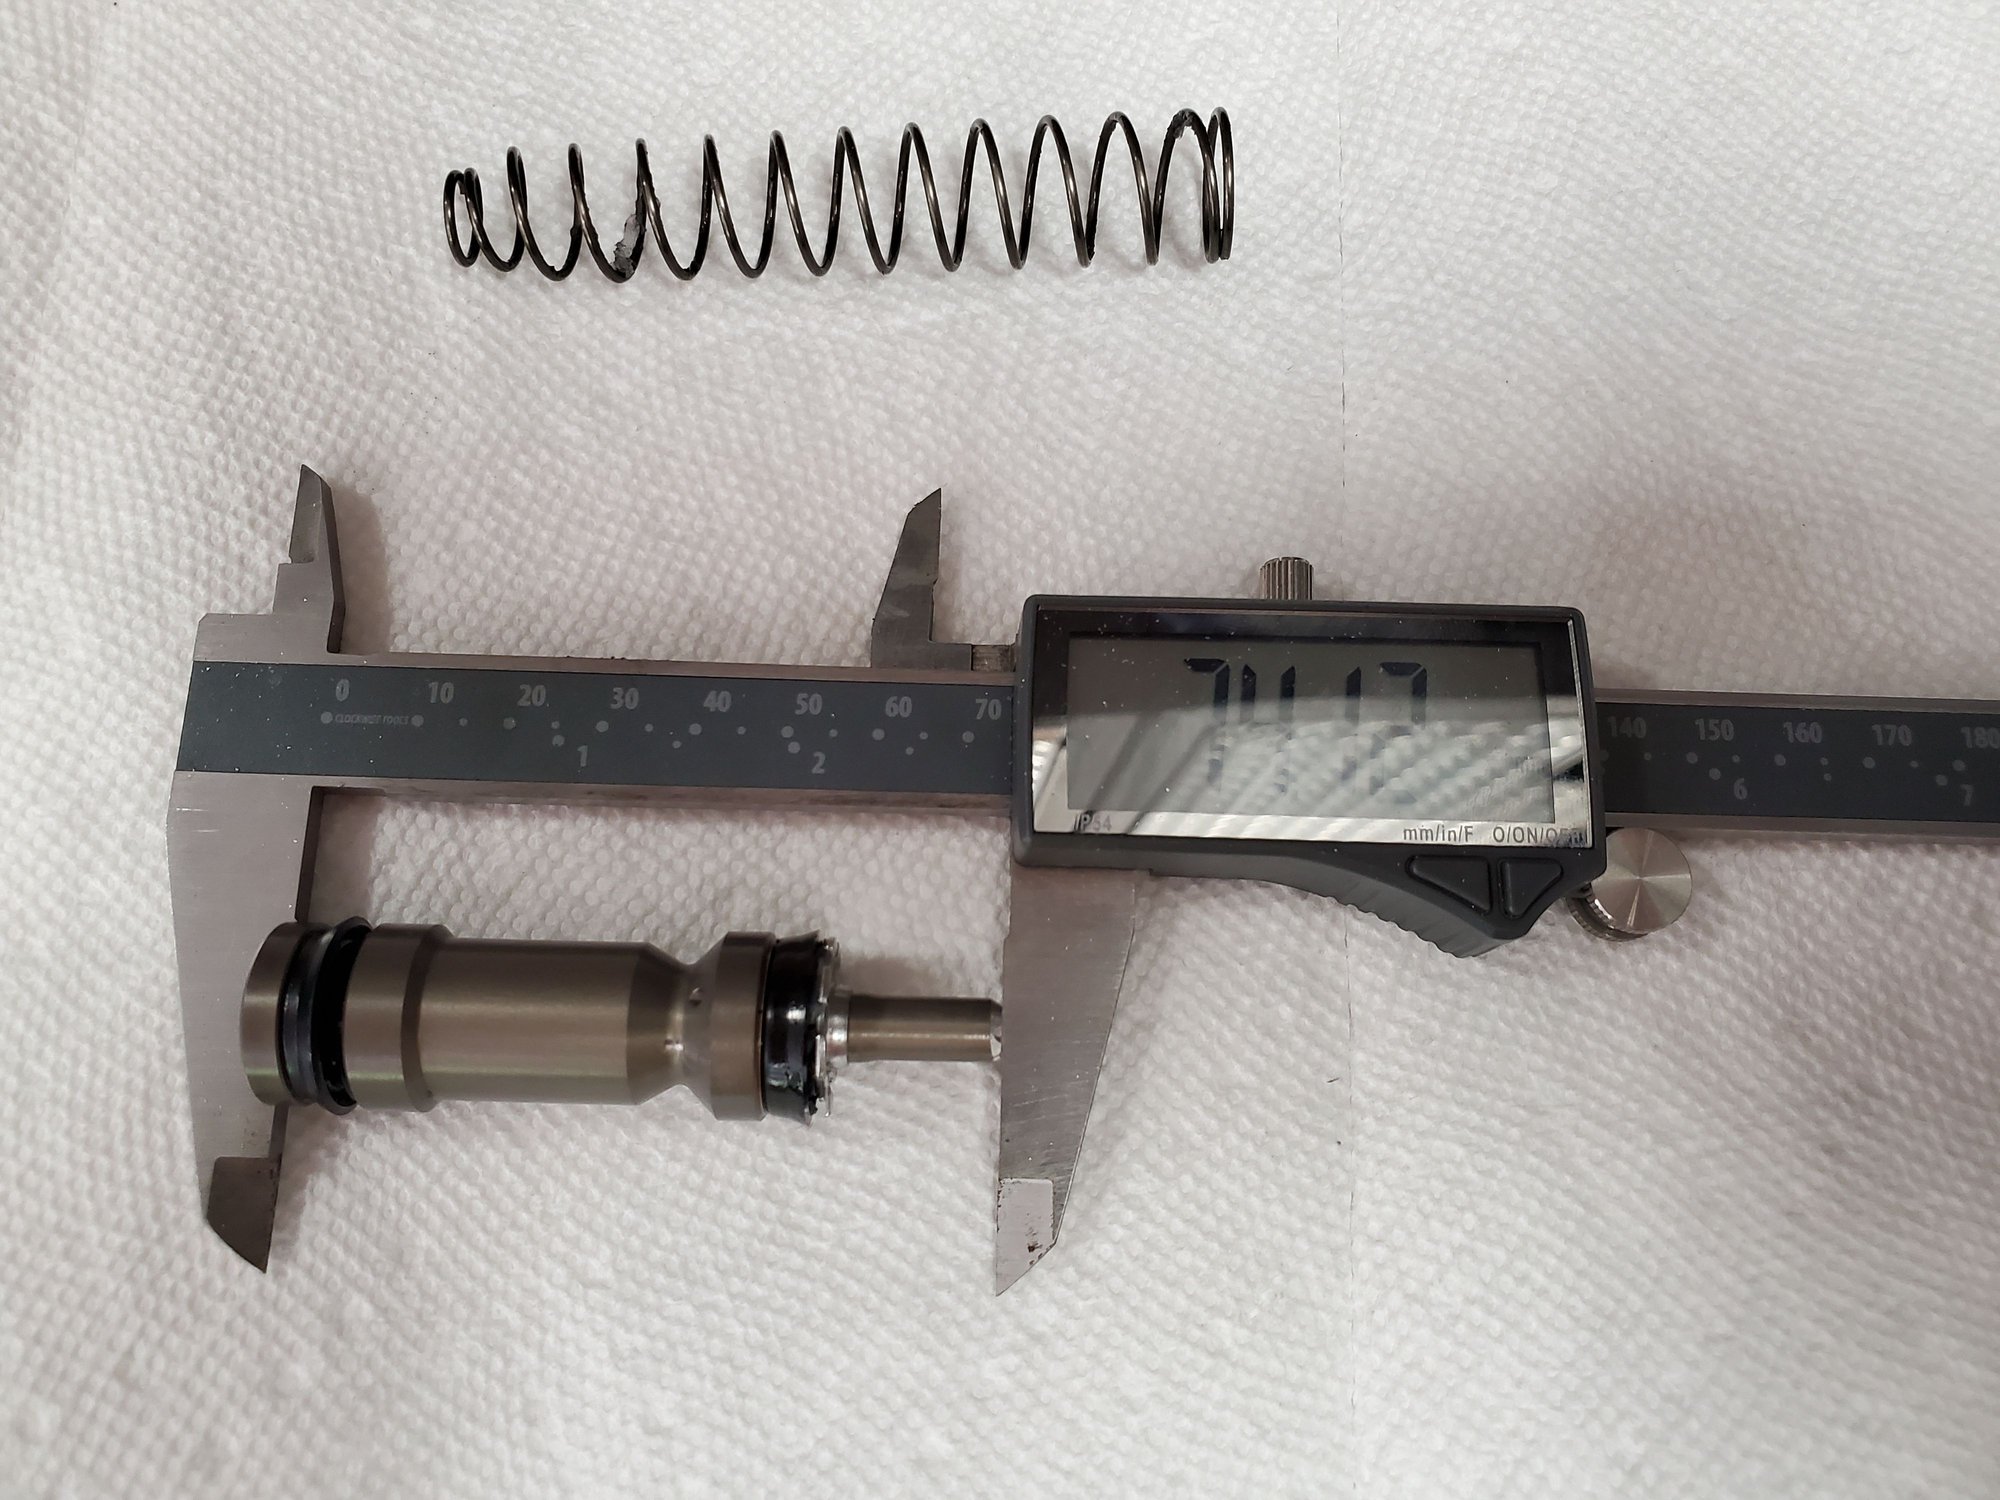
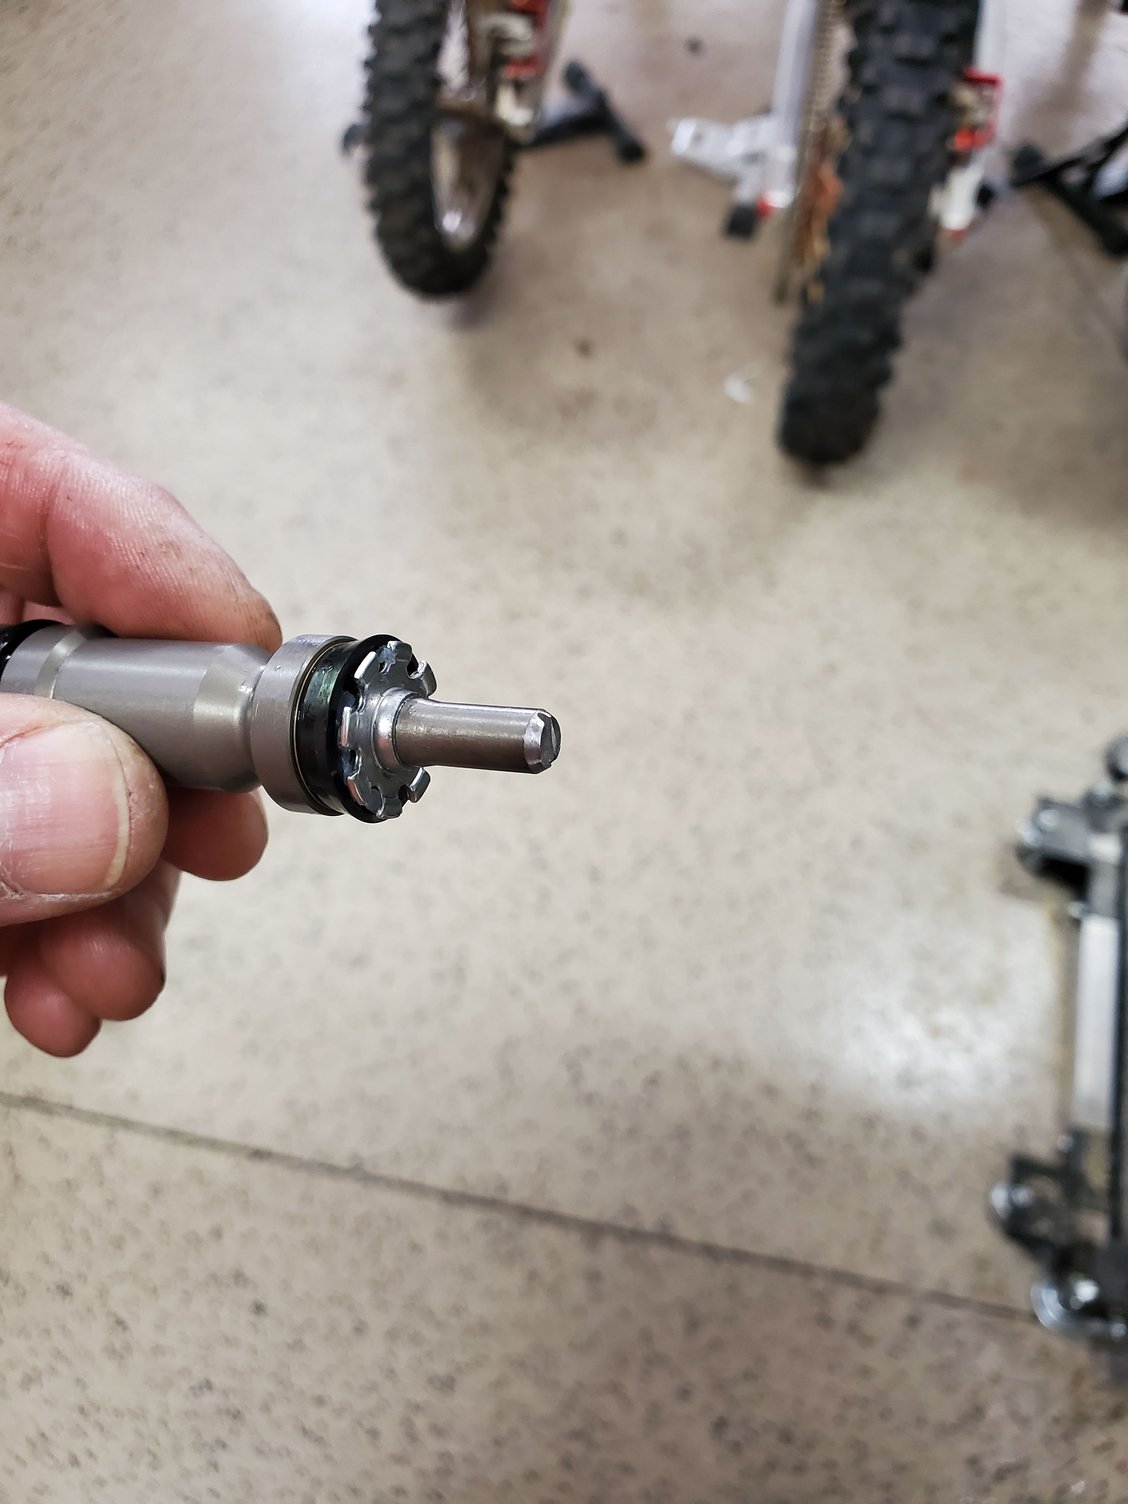
I used a manual hacksaw to cut 5mm off the length. I went with this so I could go nice and slow and get the end good and straight. Then I smoothed the end, chamfered the circumfwre ce, and used a Dremel tool to cut the slot in the middle of the end. After unwrapping the tape, I sprayed all the parts down with alcohol and wiped it with clean paper towels. After the machine work, the piston ended up being almost exactly 6 mm shorter, which was my arbitrary target.
End view with new slot Chamfered circumference
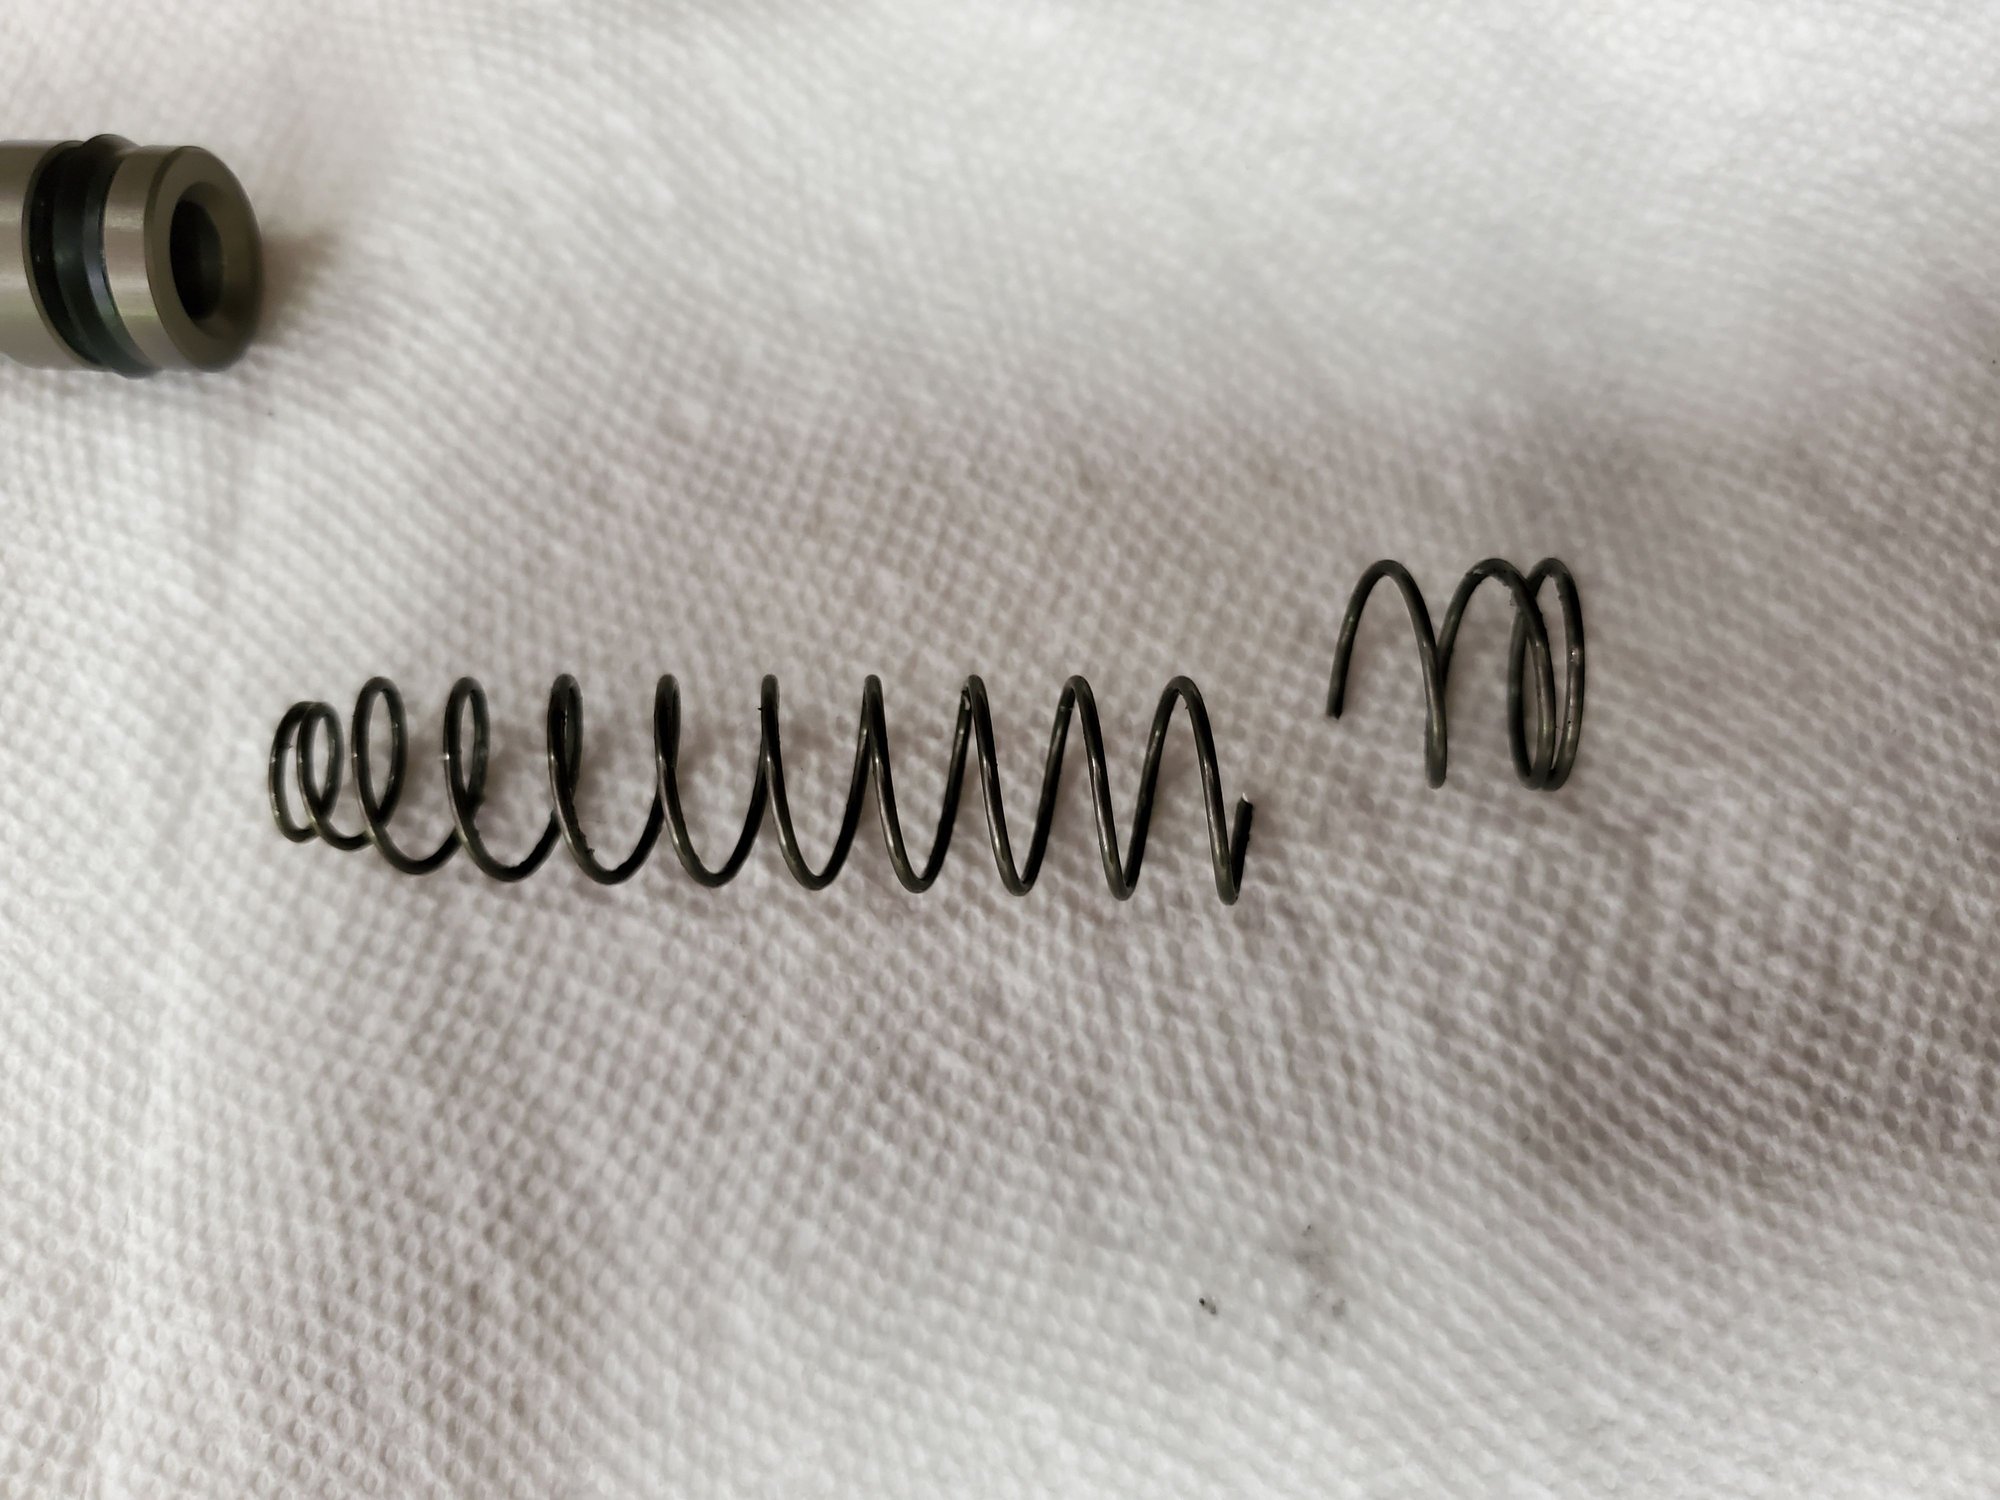
Cut two coils off the spring, smoothed the cut edge, then put a little silicone grease on the seals and spring seat and put it back into the car. I used the clutch push rod in a slightly lengthened position to hold the piston down away from the end while I reinserted the spacwr/washer and spring clip.
Installed the new reservoir, watched as the fluid level dropped as it filled the blue hose to the clutch master, then went under the car and with the slave vertical and in my hand, loosened the bleeder, stroked the piston, then while holding it in this compressed position, tightened the bleeder. That essentially I did this about 5 times and watched air bubbles come out the end the first 2 or 3. By the 5th time, it was harder to push the slave rod in. Then I did the normal alve bleed, still with it vertical so the air could go up, I fully compresses the rod in the slave and held it for about 20 seconds. In this process, I did not open and close the bleeder each time. I did this about 10 times, then reinstalled the slave onto the lower bell housing
Topped up the fluid in the reservoir to the max line and worked the clutch pedal a few times. Feels light, but smooth. Turned the helper spring wingnut out about 2 full turns - now feels proper. Had my wife press it a couple times while I observed how far the slave rod is moving in the lower bell housing inspection hole and determined its moving a lot more than the previous 14mm of travel I had been seeing, but didn't measure it. Previously a mark would move from the edge of the inspection hole to about half way. Now it's moving almost all the way across the hole.
Put the car on the ground and fired it up. Grimaced as I went to shift into reverse - slid right in with no grinding. Tried first - same deal. Tried Reverse again. Perfect. Drove it around the neighborhood and it's the best it has shifted since I bought it. I can still feel a little something sometimes when up shifting into 2nd and 3rd - none of the other gears, but now I can downshift into 3rd and 2nd without any issues, resistance, or noise, so maybe those two synchros are a little worn. I'll drive it a bit and rebleed the slave to see if it cleans up further, but the rod in the master was definitely the issue and now I have a clear reservoir I can actually see the brake fluid level in and a new pivot arm ball cup, and didn't have to remove the header and take out the clutch pack. I have bought a pair of the 85/86 round tube stainless headers for this car and will work on the rest of the exhaust to do at a future time, as not being able to service the clutch because of the headers isn't going to work for me.
Drove it to pick up JP from school since he'll be excited it's fixed and wanted to hit some golf ***** with his new clubs we got yesterday. How could it get better than 928ing and golf?


 04-11-2021, 09:10 PM