When you click on links to various merchants on this site and make a purchase, this can result in this site earning a commission. Affiliate programs and affiliations include, but are not limited to, the eBay Partner Network.
try your paint remover on the back of the wheel if you use acetone it could eat into your PC
maybe better to use paint thinner on an old T shirt wrapped around the tip of your finger,
one pass and let it dry for a few seconds
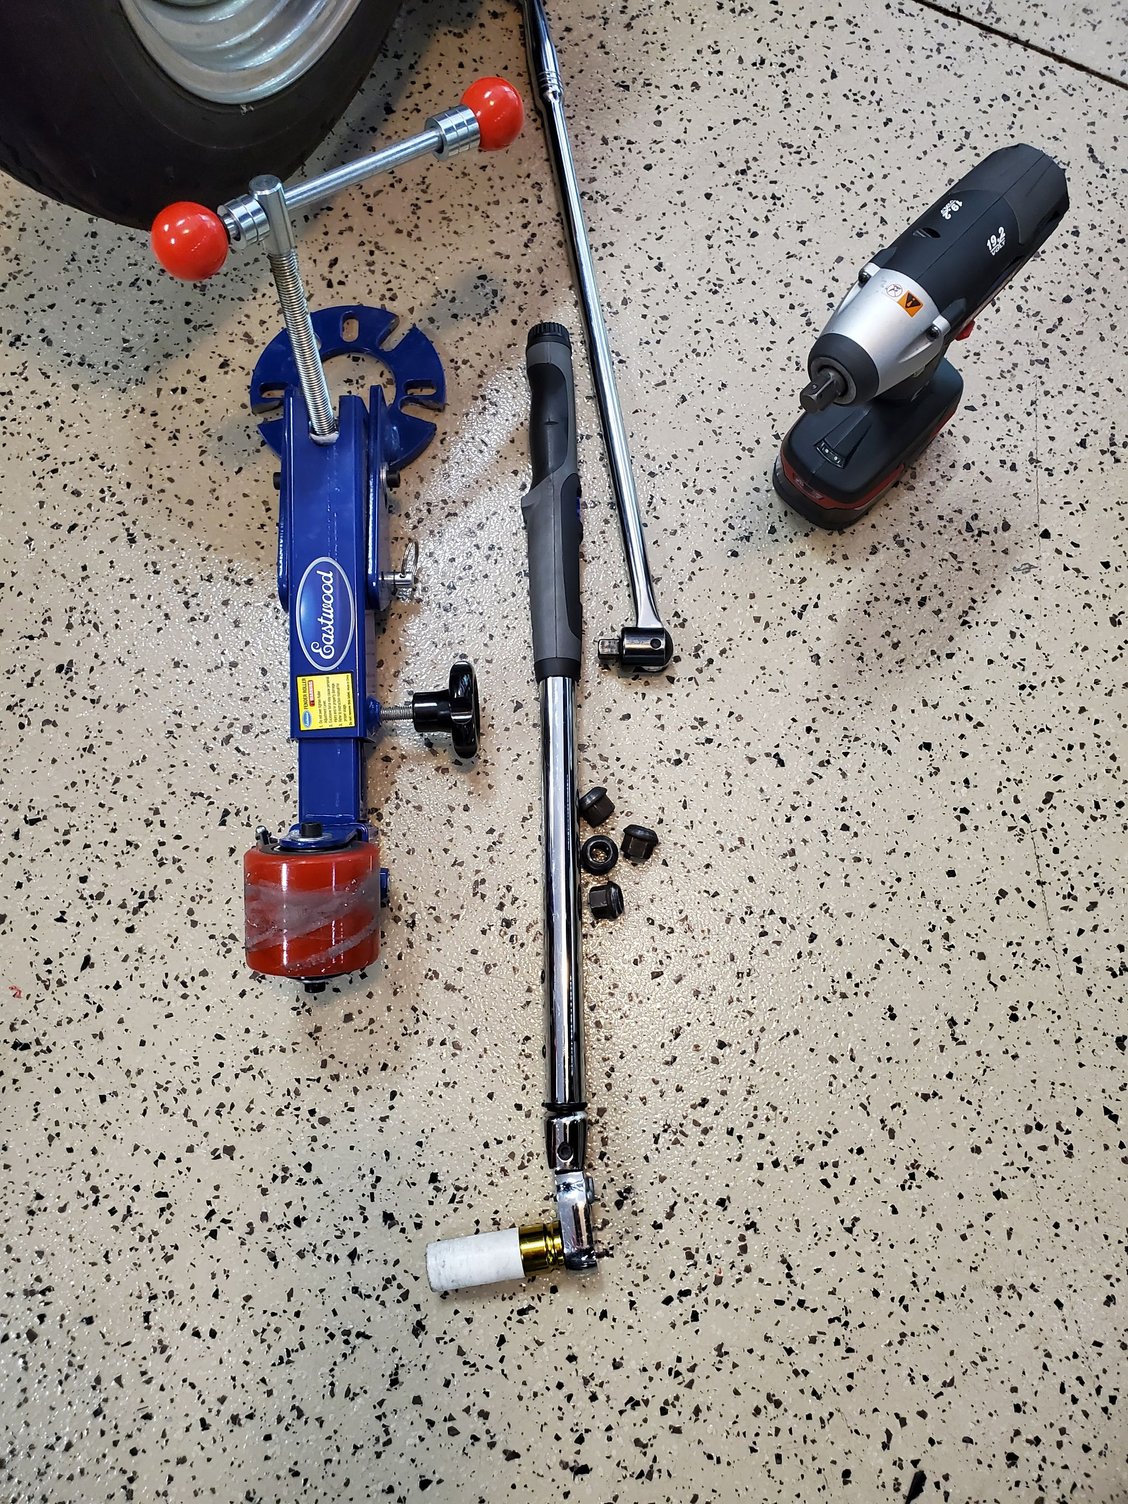
Stan, good tips as usual. I'm going to have to roll the rear fenders a little. Got in the hatch and bounced up and down and I can hear the passenger side tire squeaking. Shouldn't be a big deal as I have an Eastwood Fender Roller.
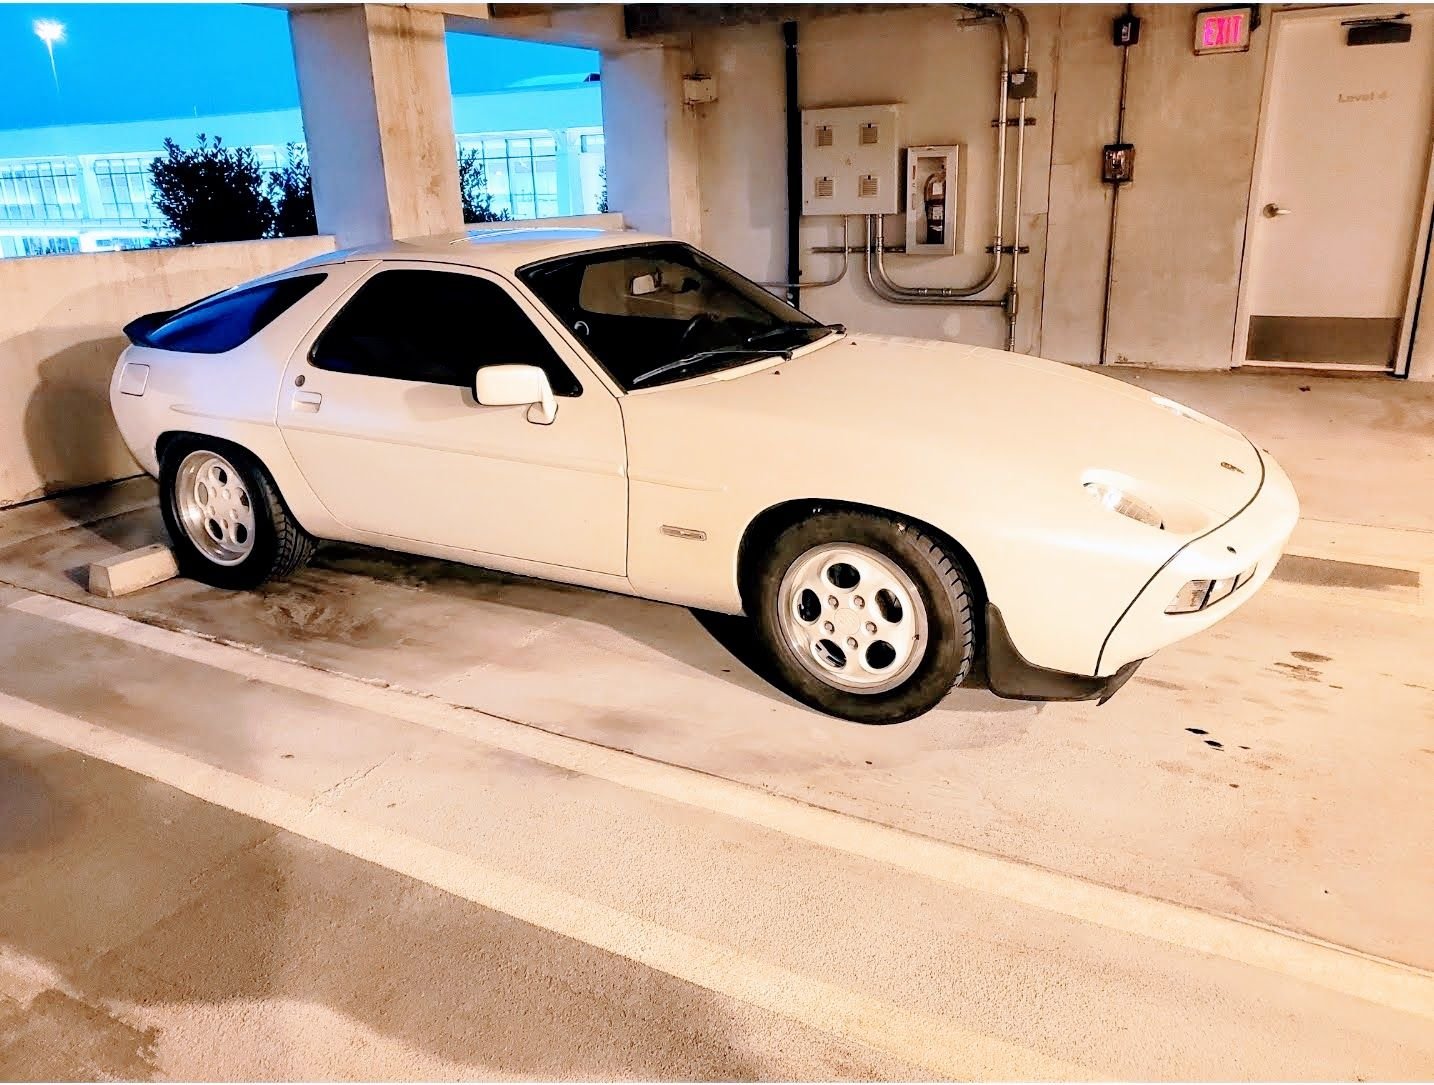
Spent some time on Father's Day with my newest "child" to clean up some outstanding isses.
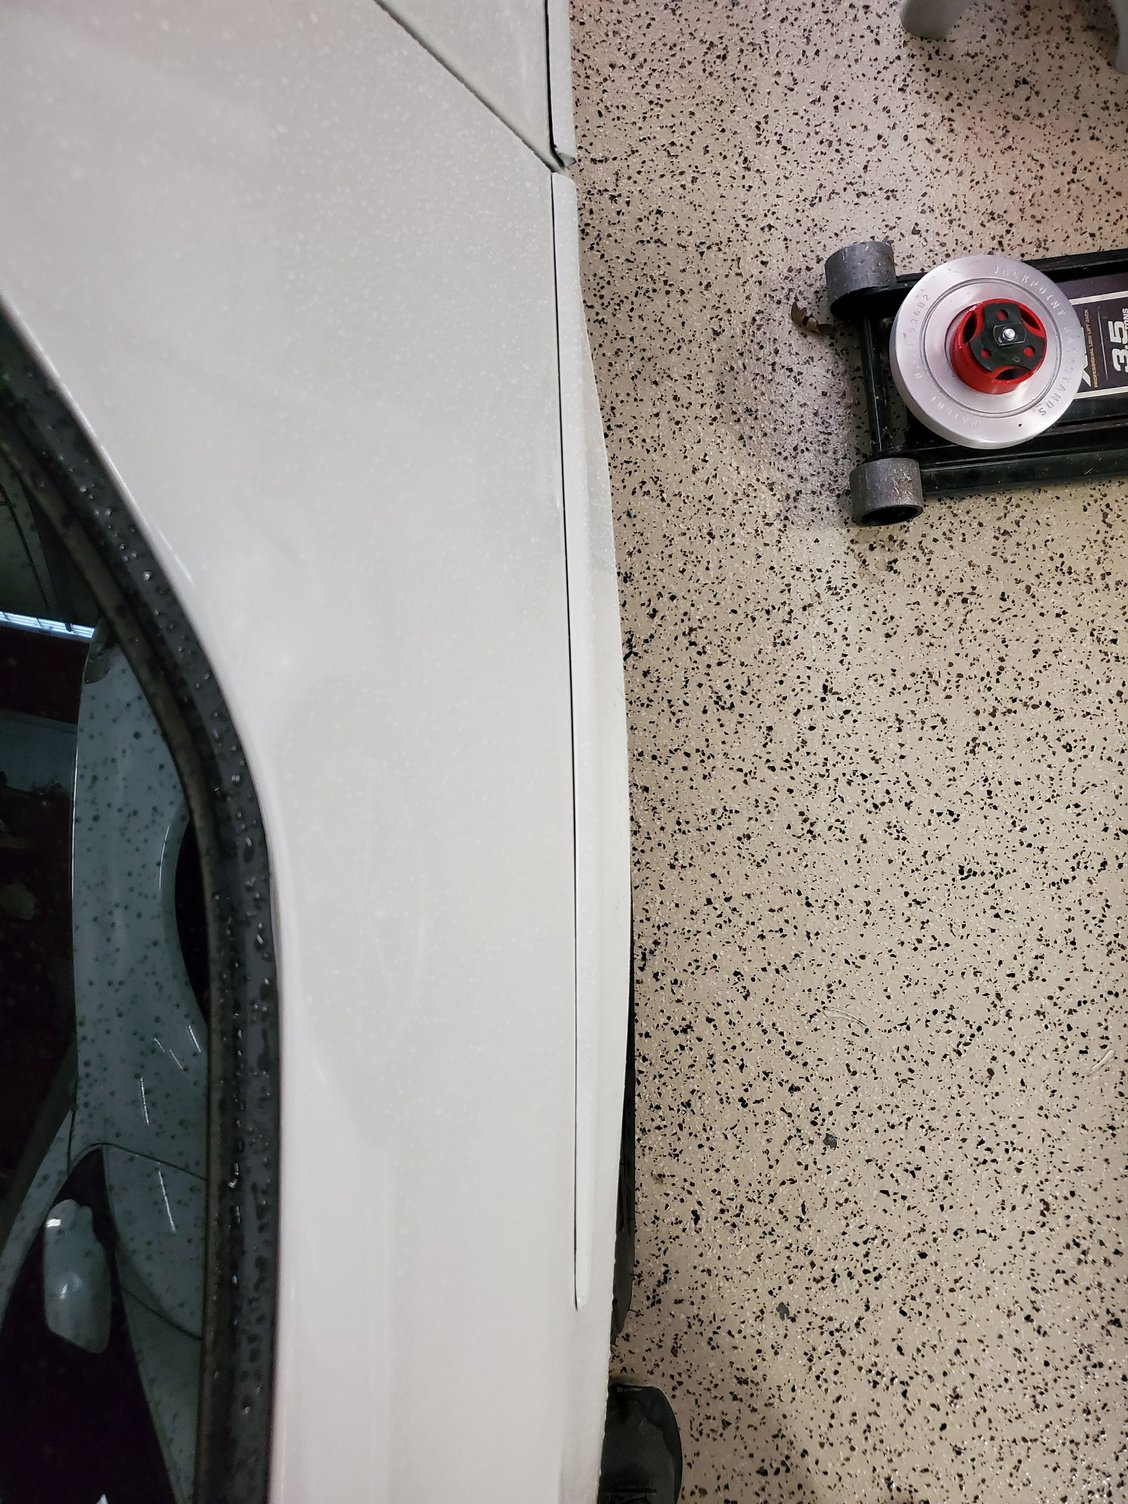
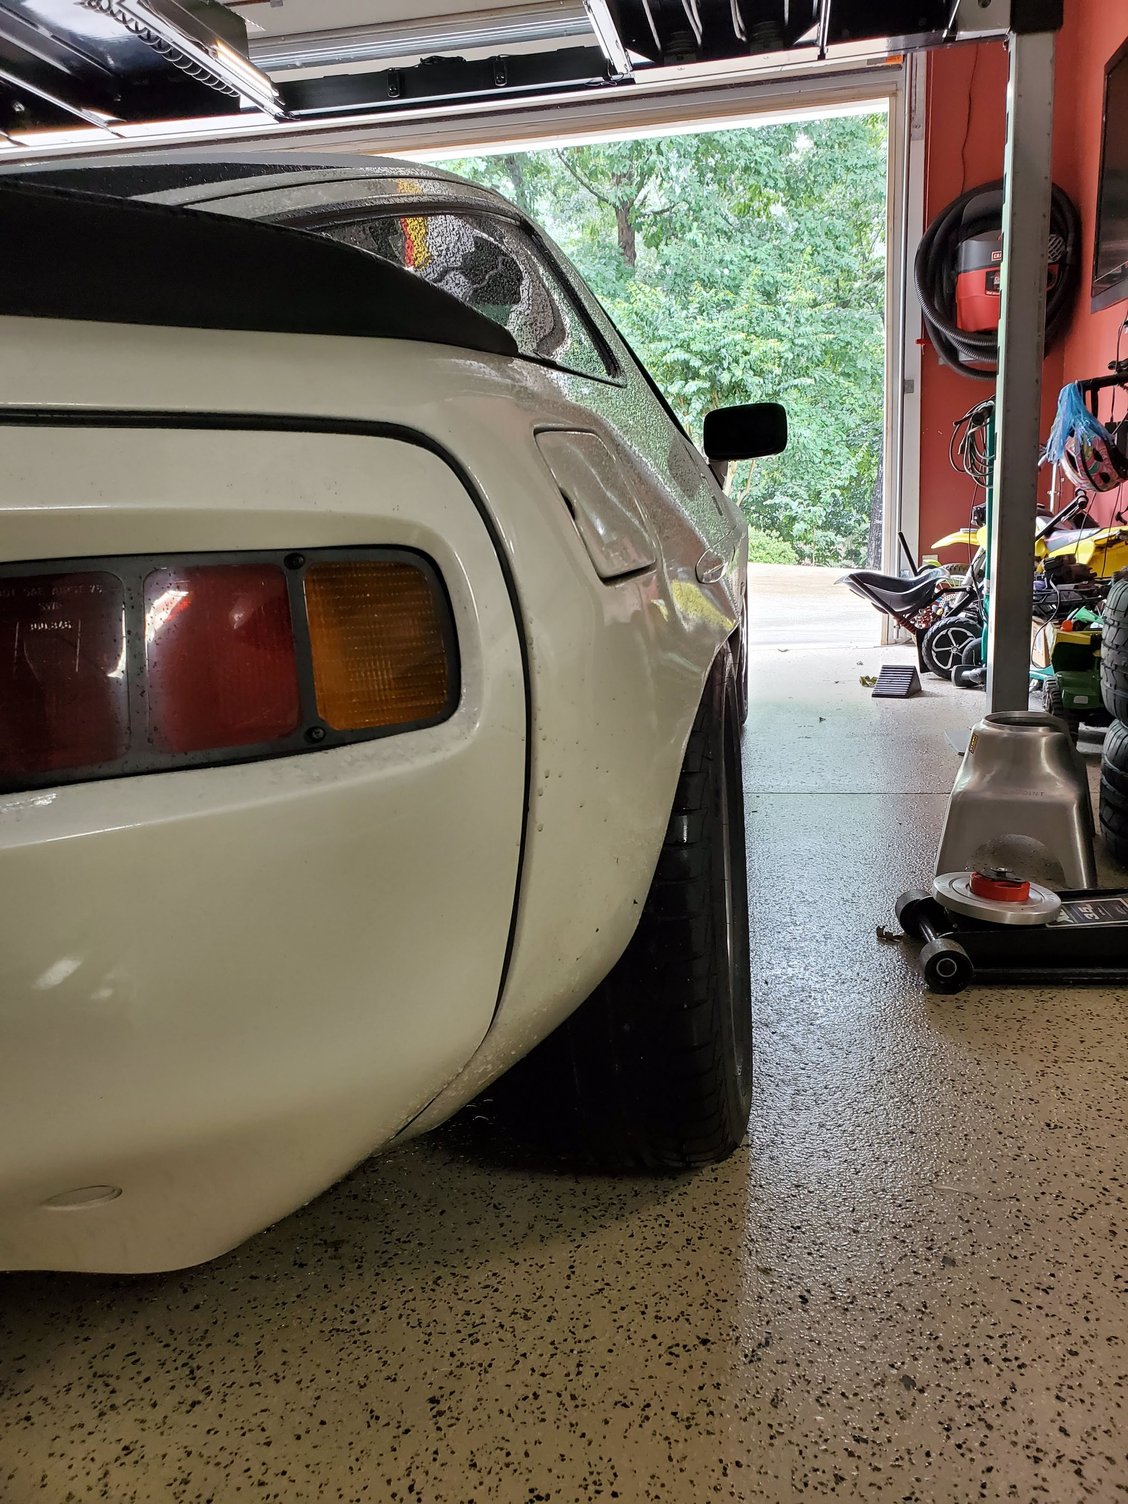
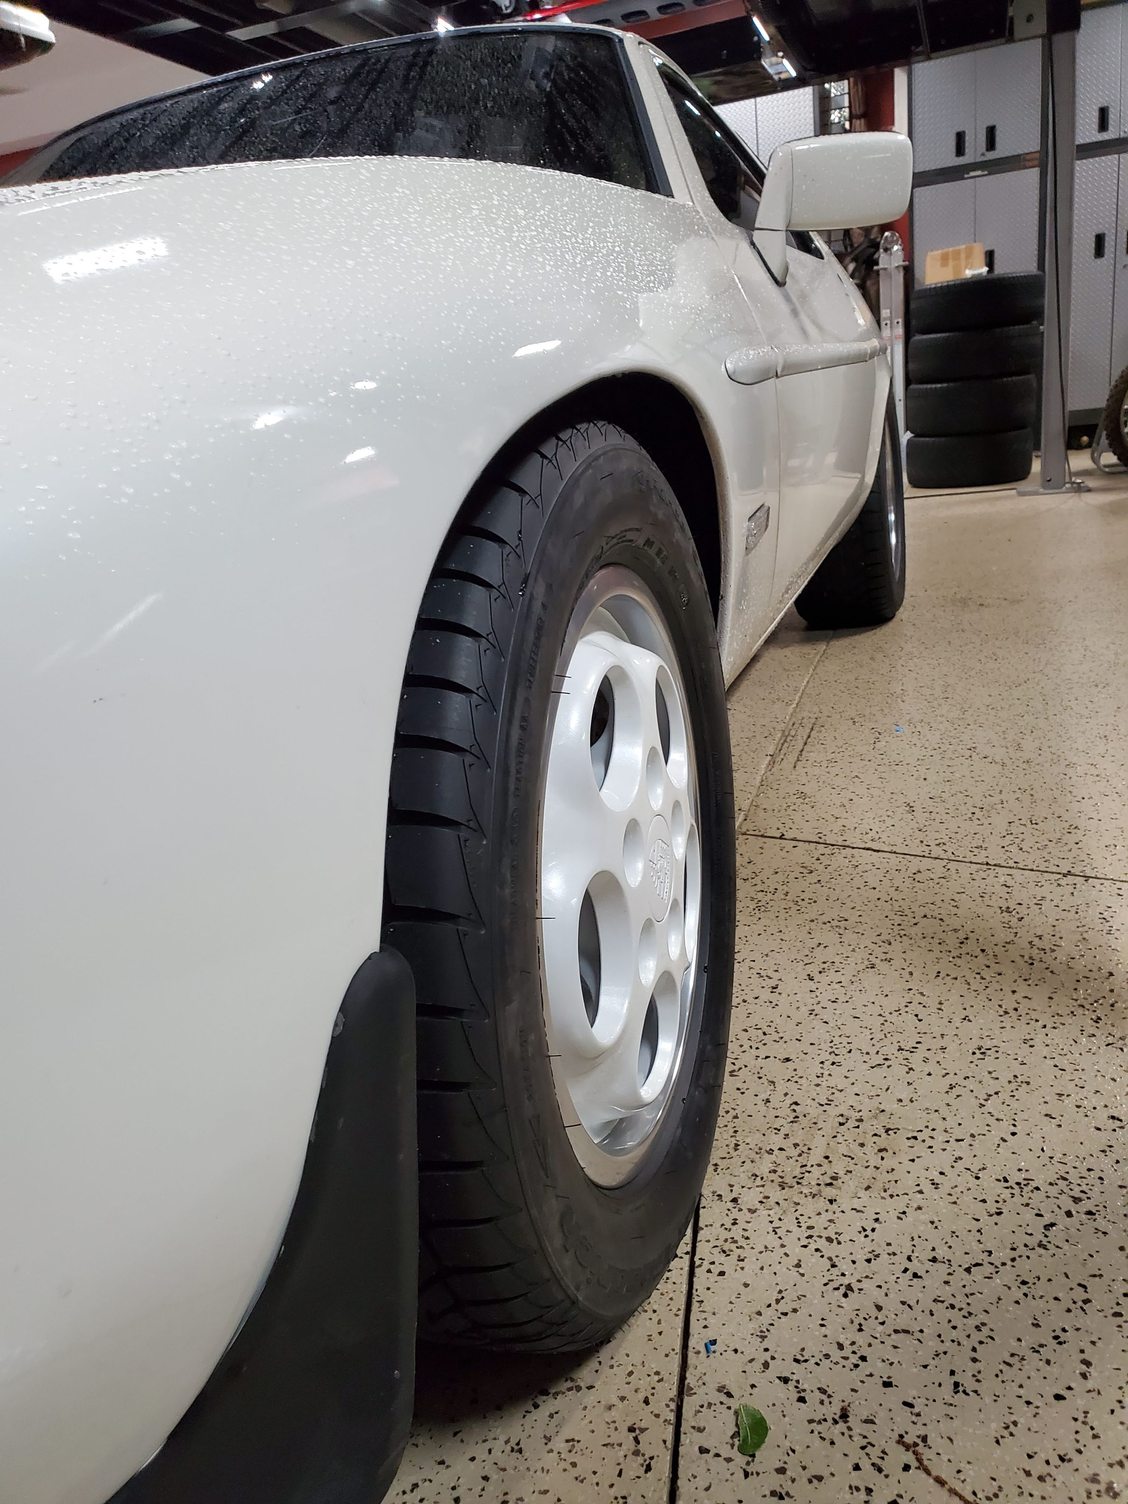
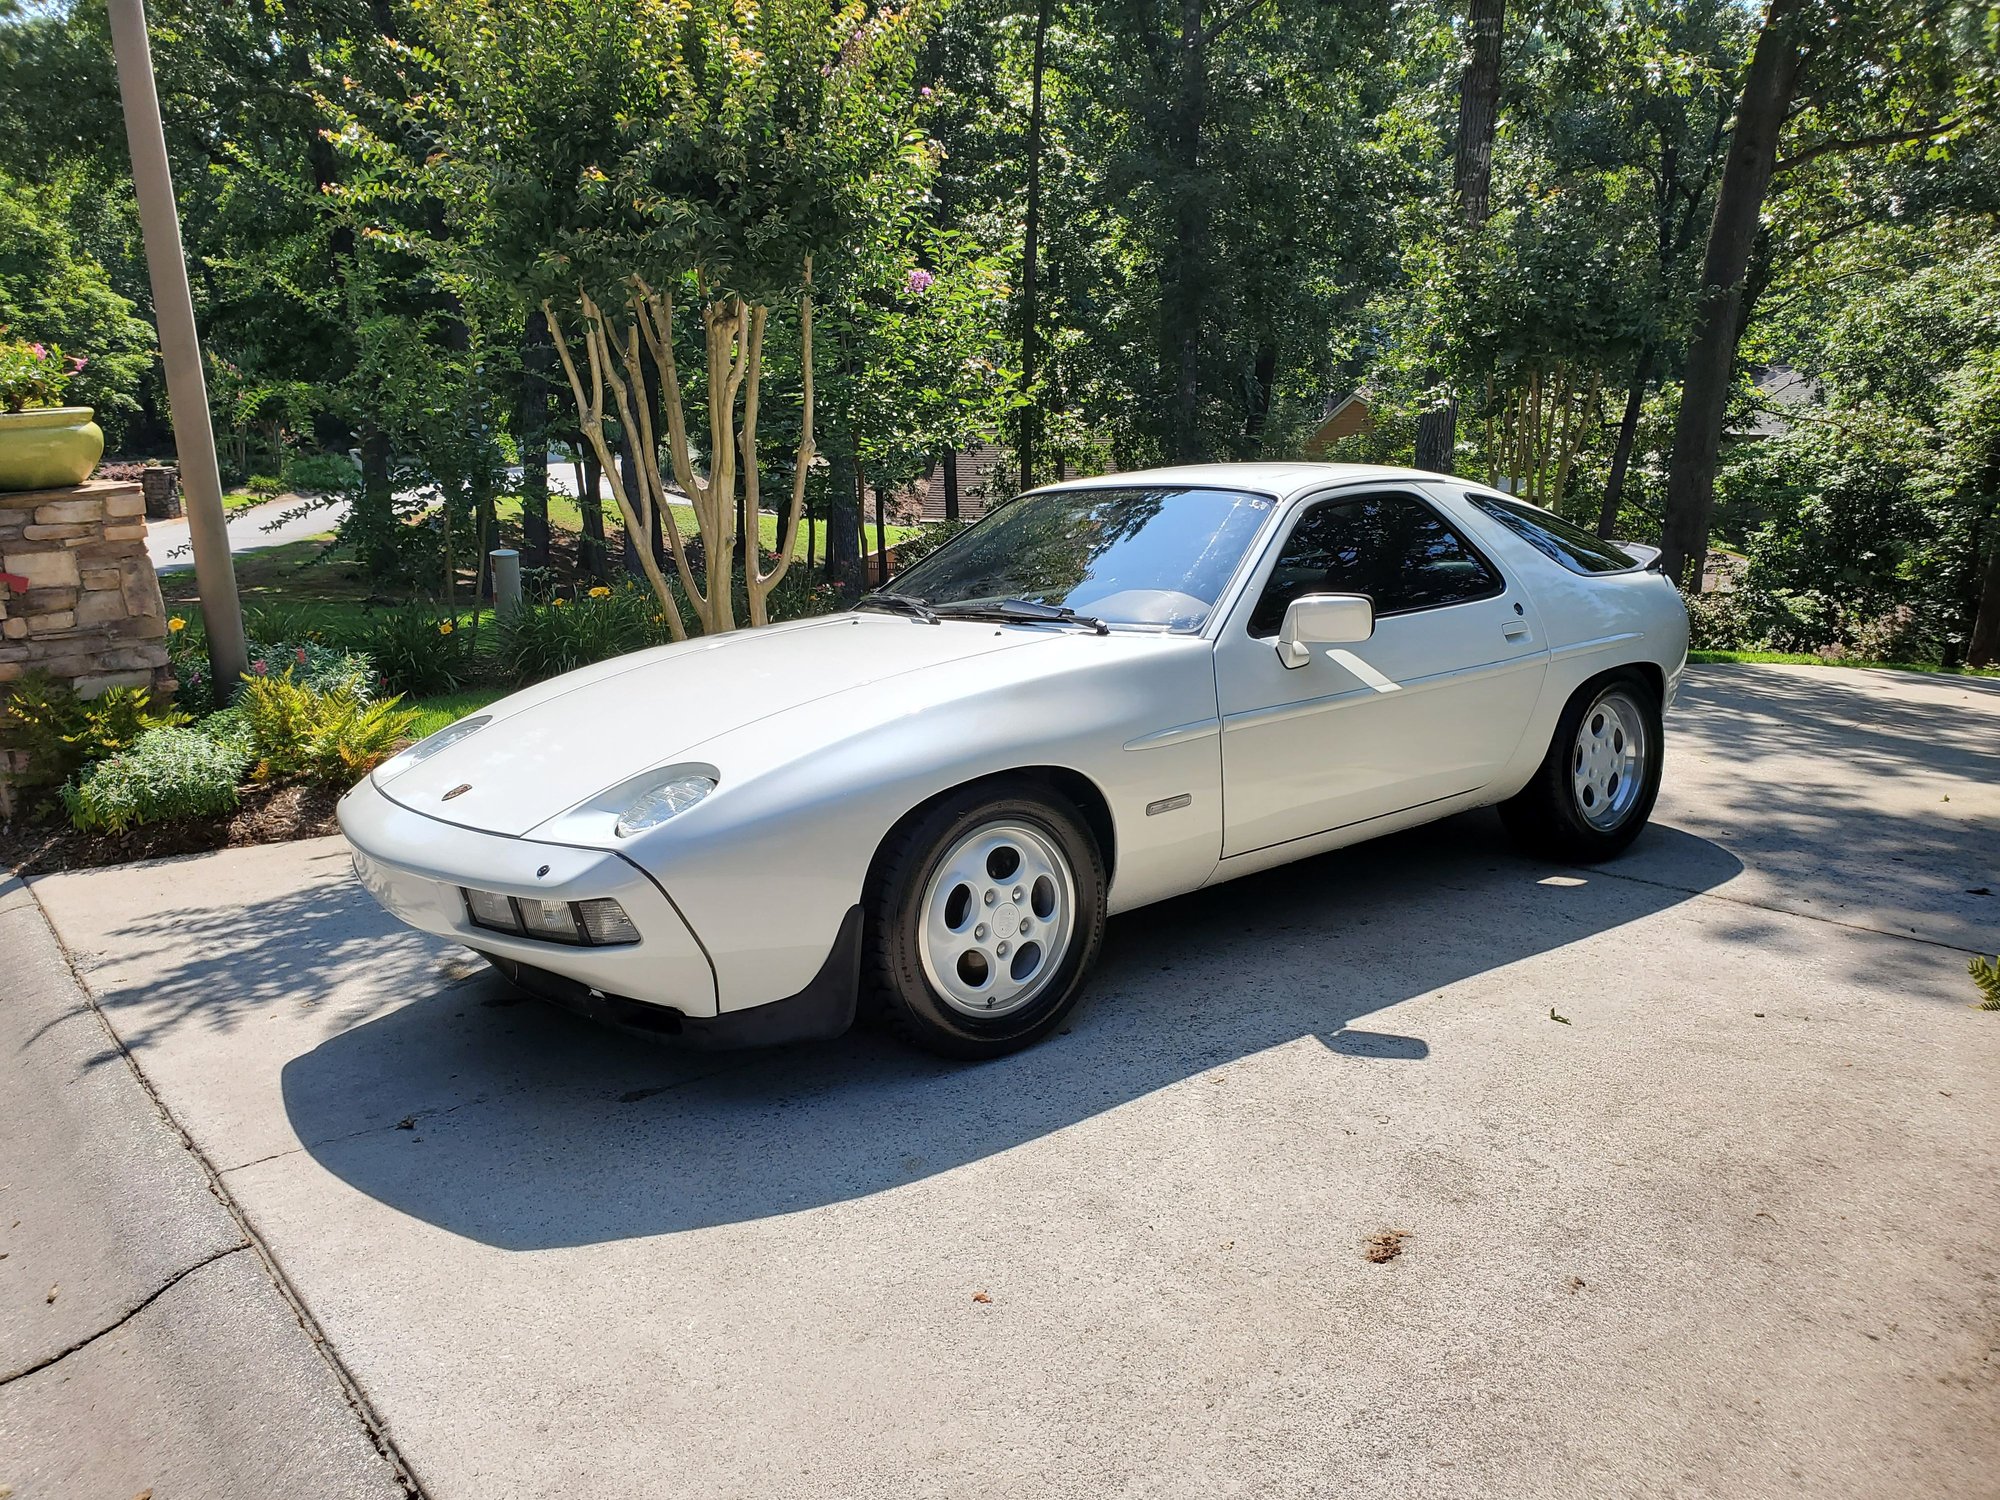
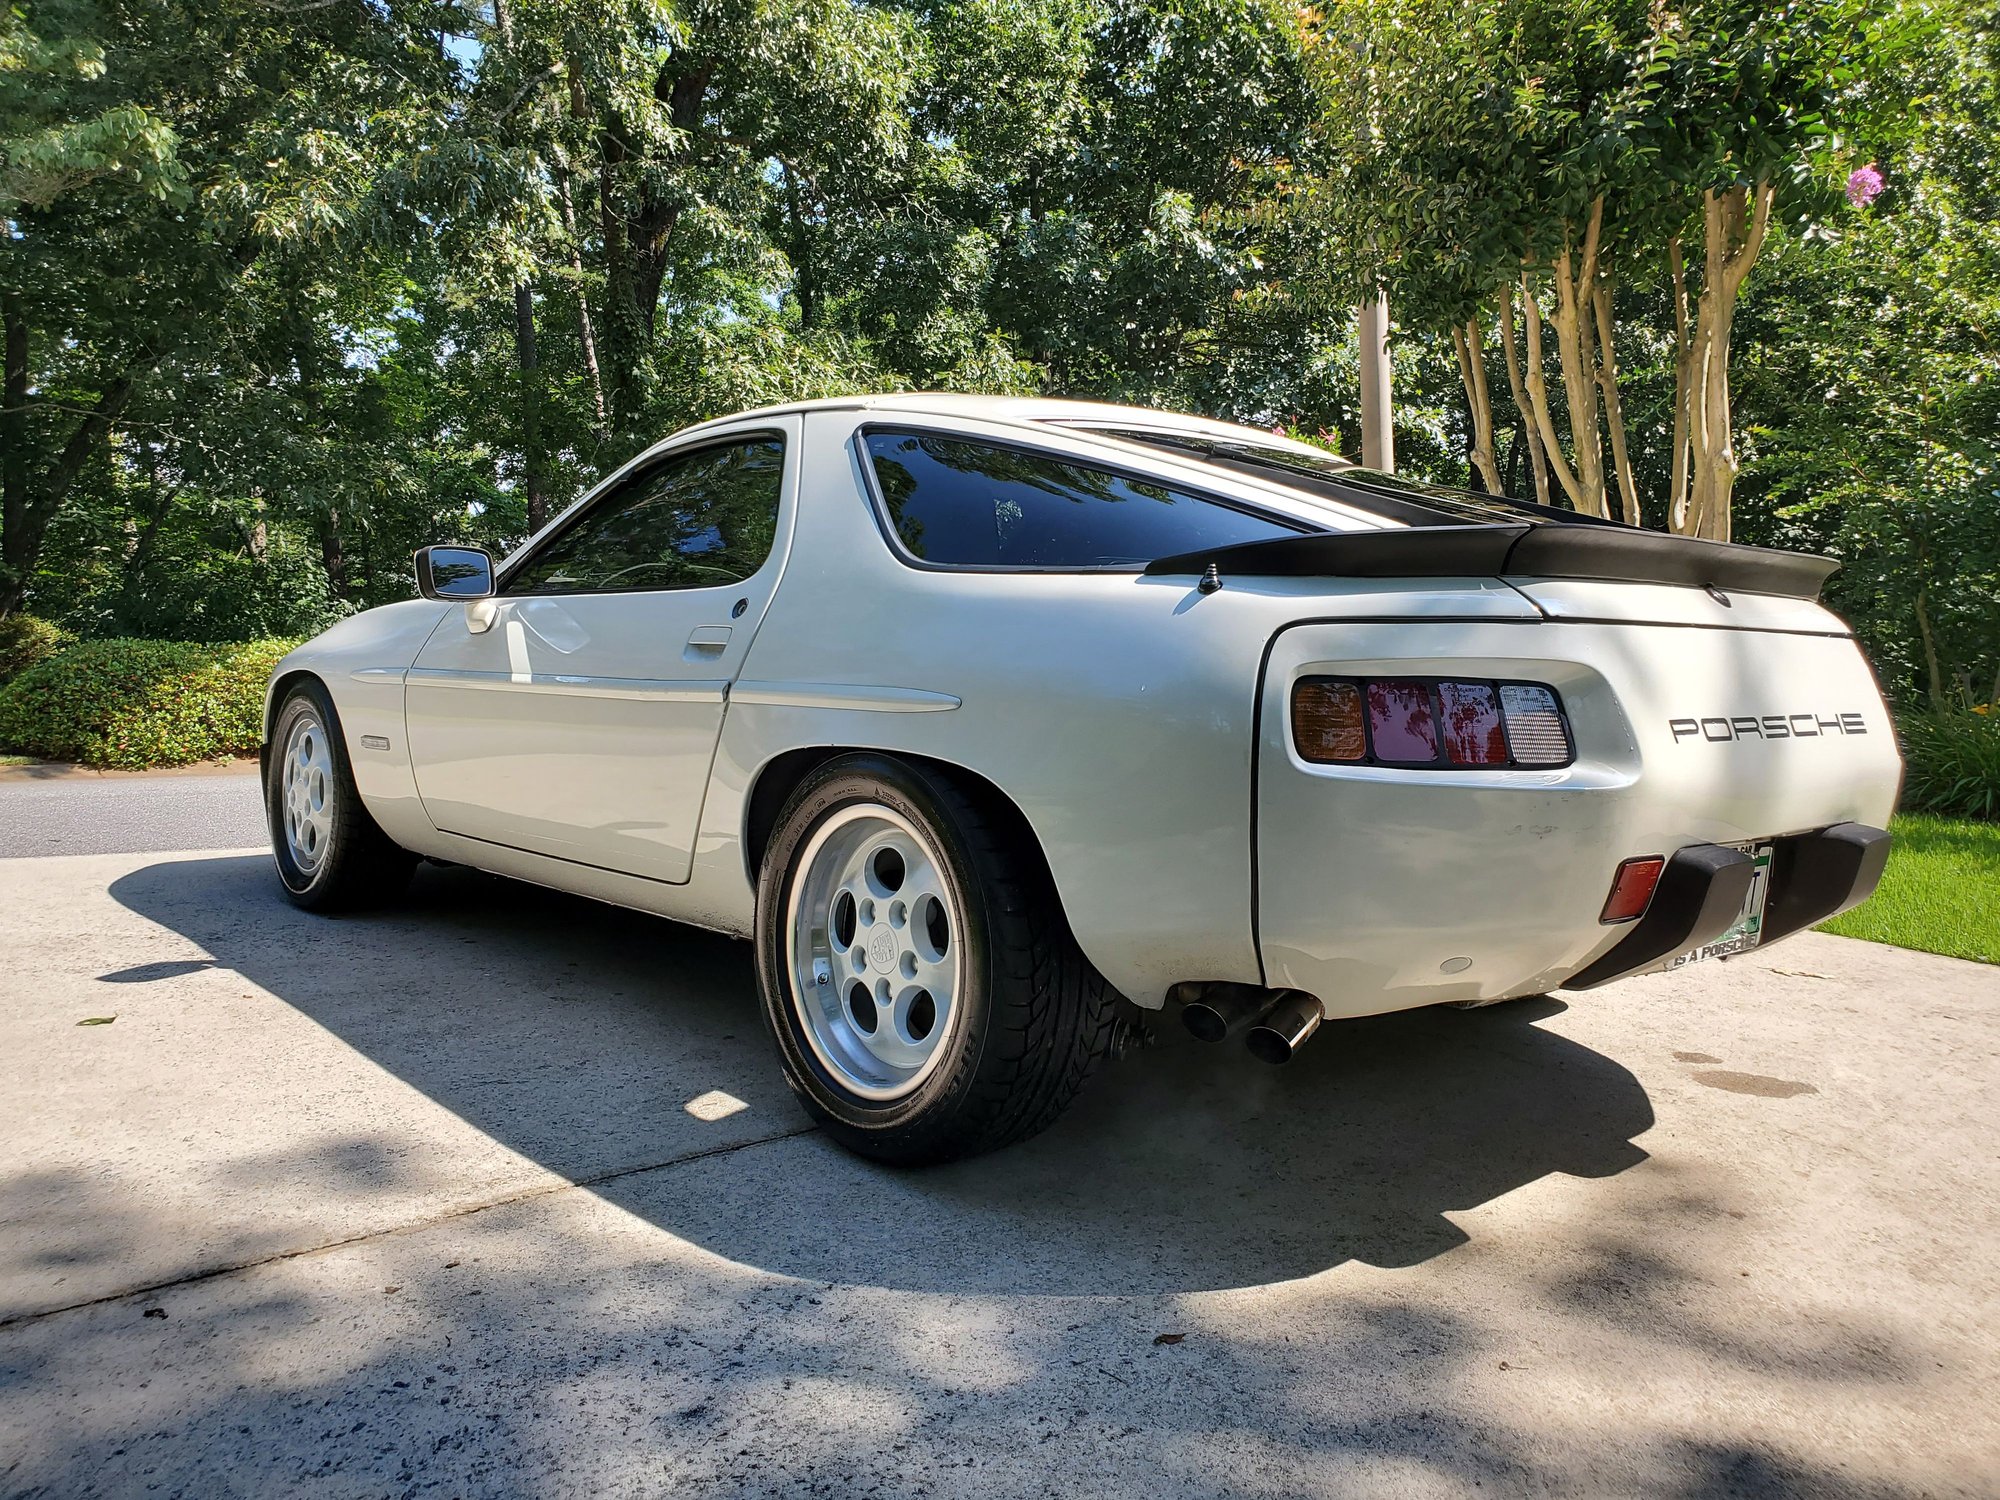
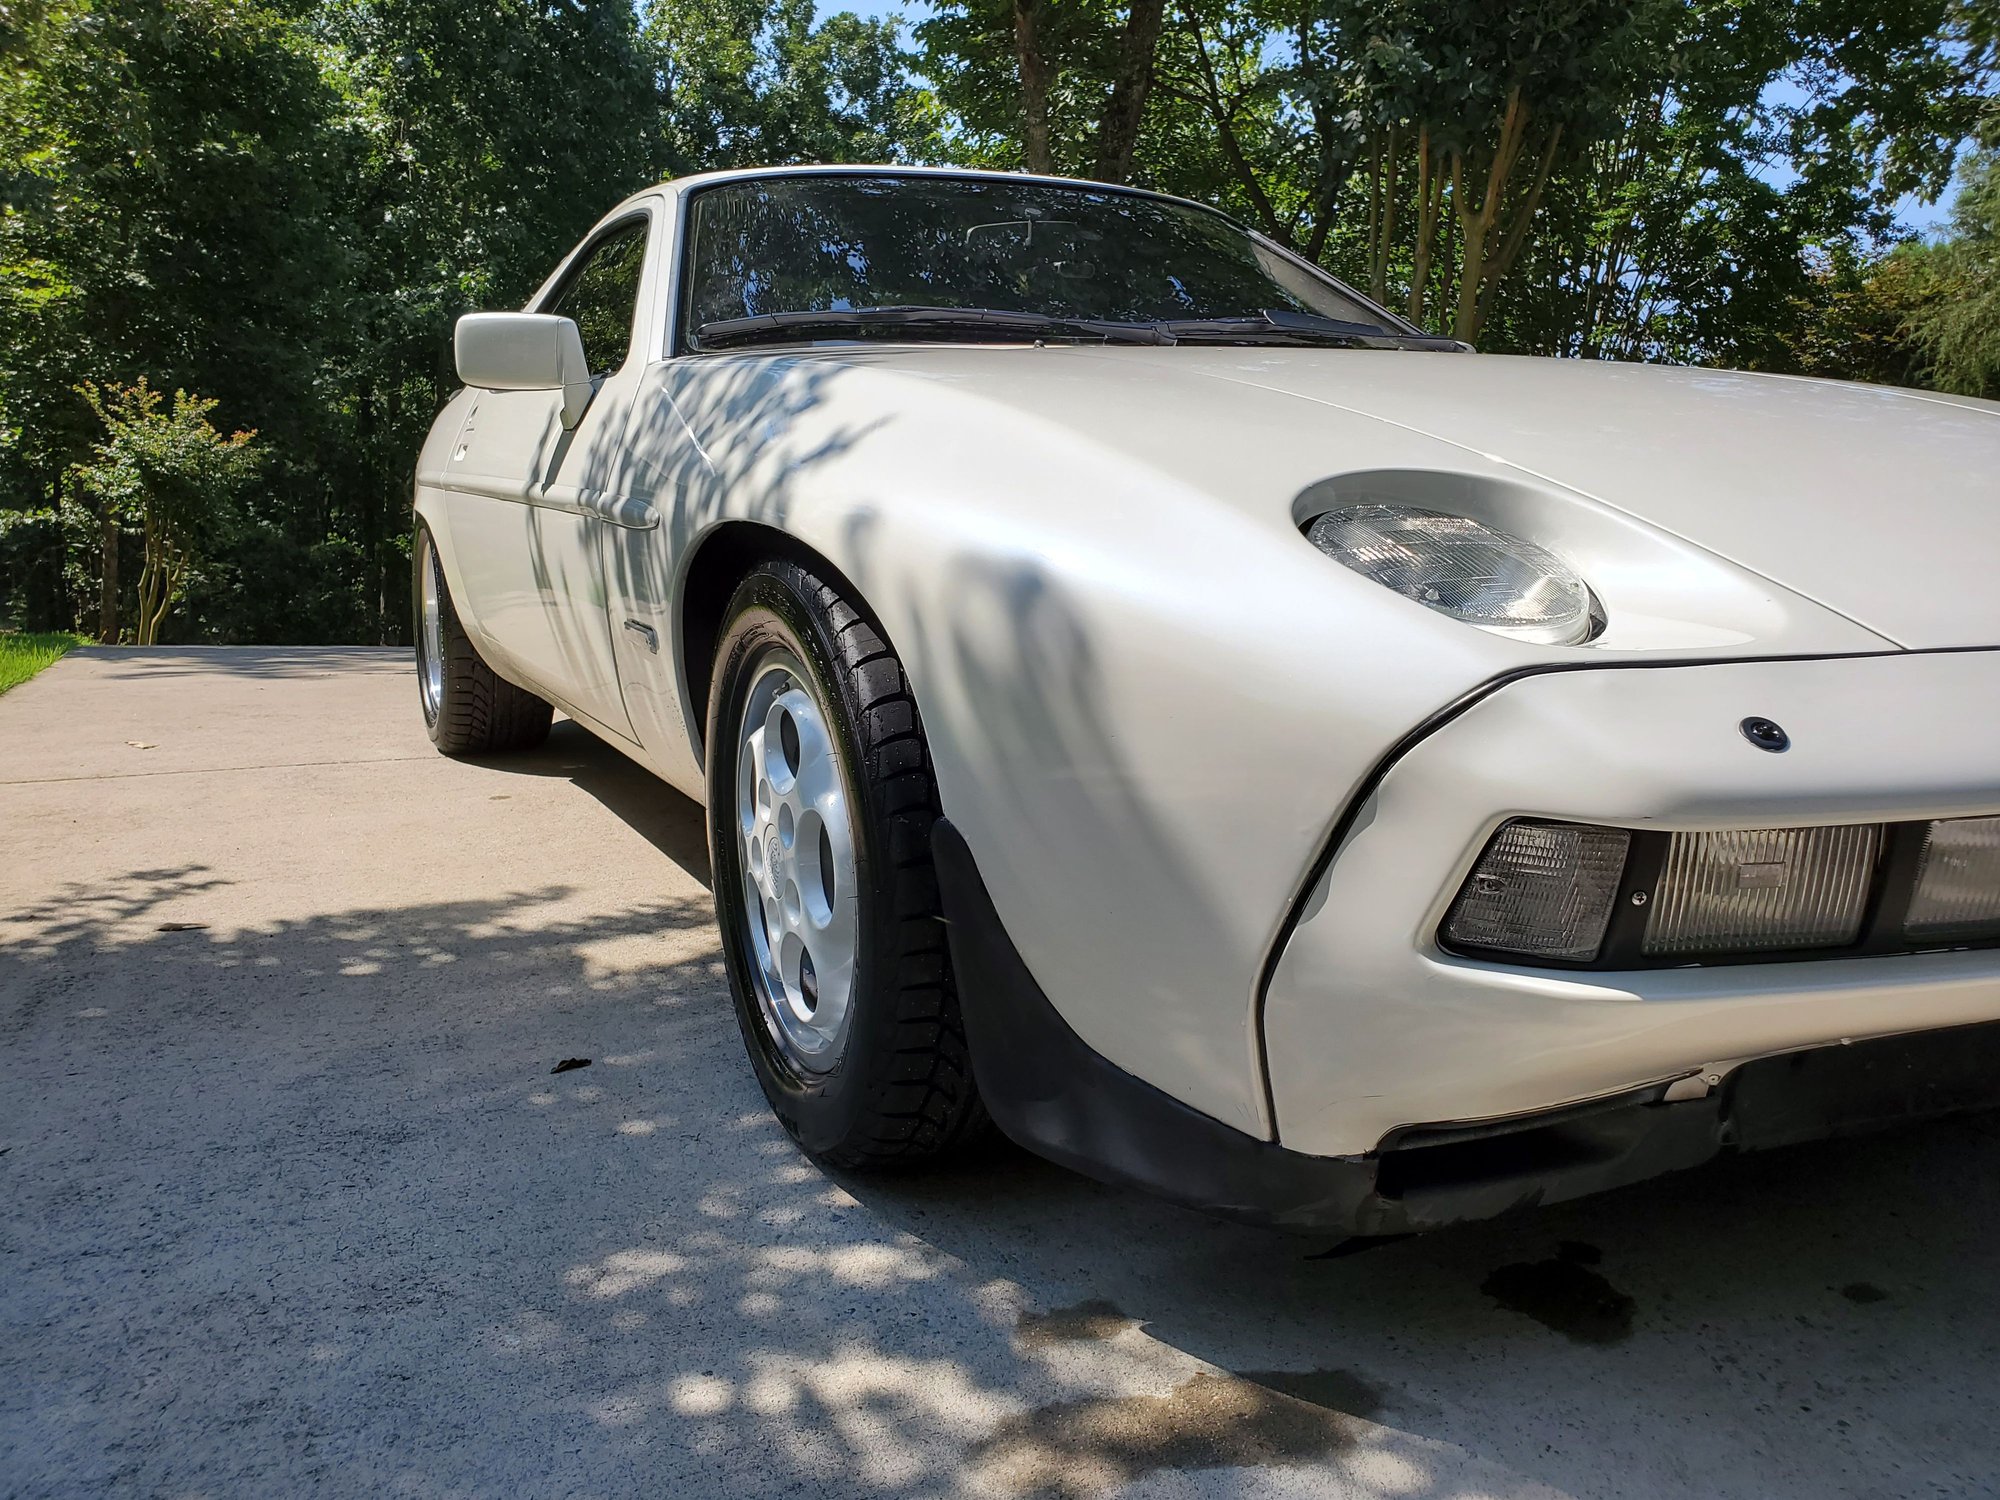
First, I rolled / flared the fenders a bit to achieve the necessary clearance to accept the 944 turbo 16x8 phonedial wheels. Test drive afterward has no rubbing even though the fitment is "snug" and have now done about 60 miles on the new setup - car drives great. Excuse the filth - I've made it my DD and did the test drive in the rain before the pics.
Eastwood Fender Roller and other necessary tools
Right side - Now it's a GTS - LOL
Left side
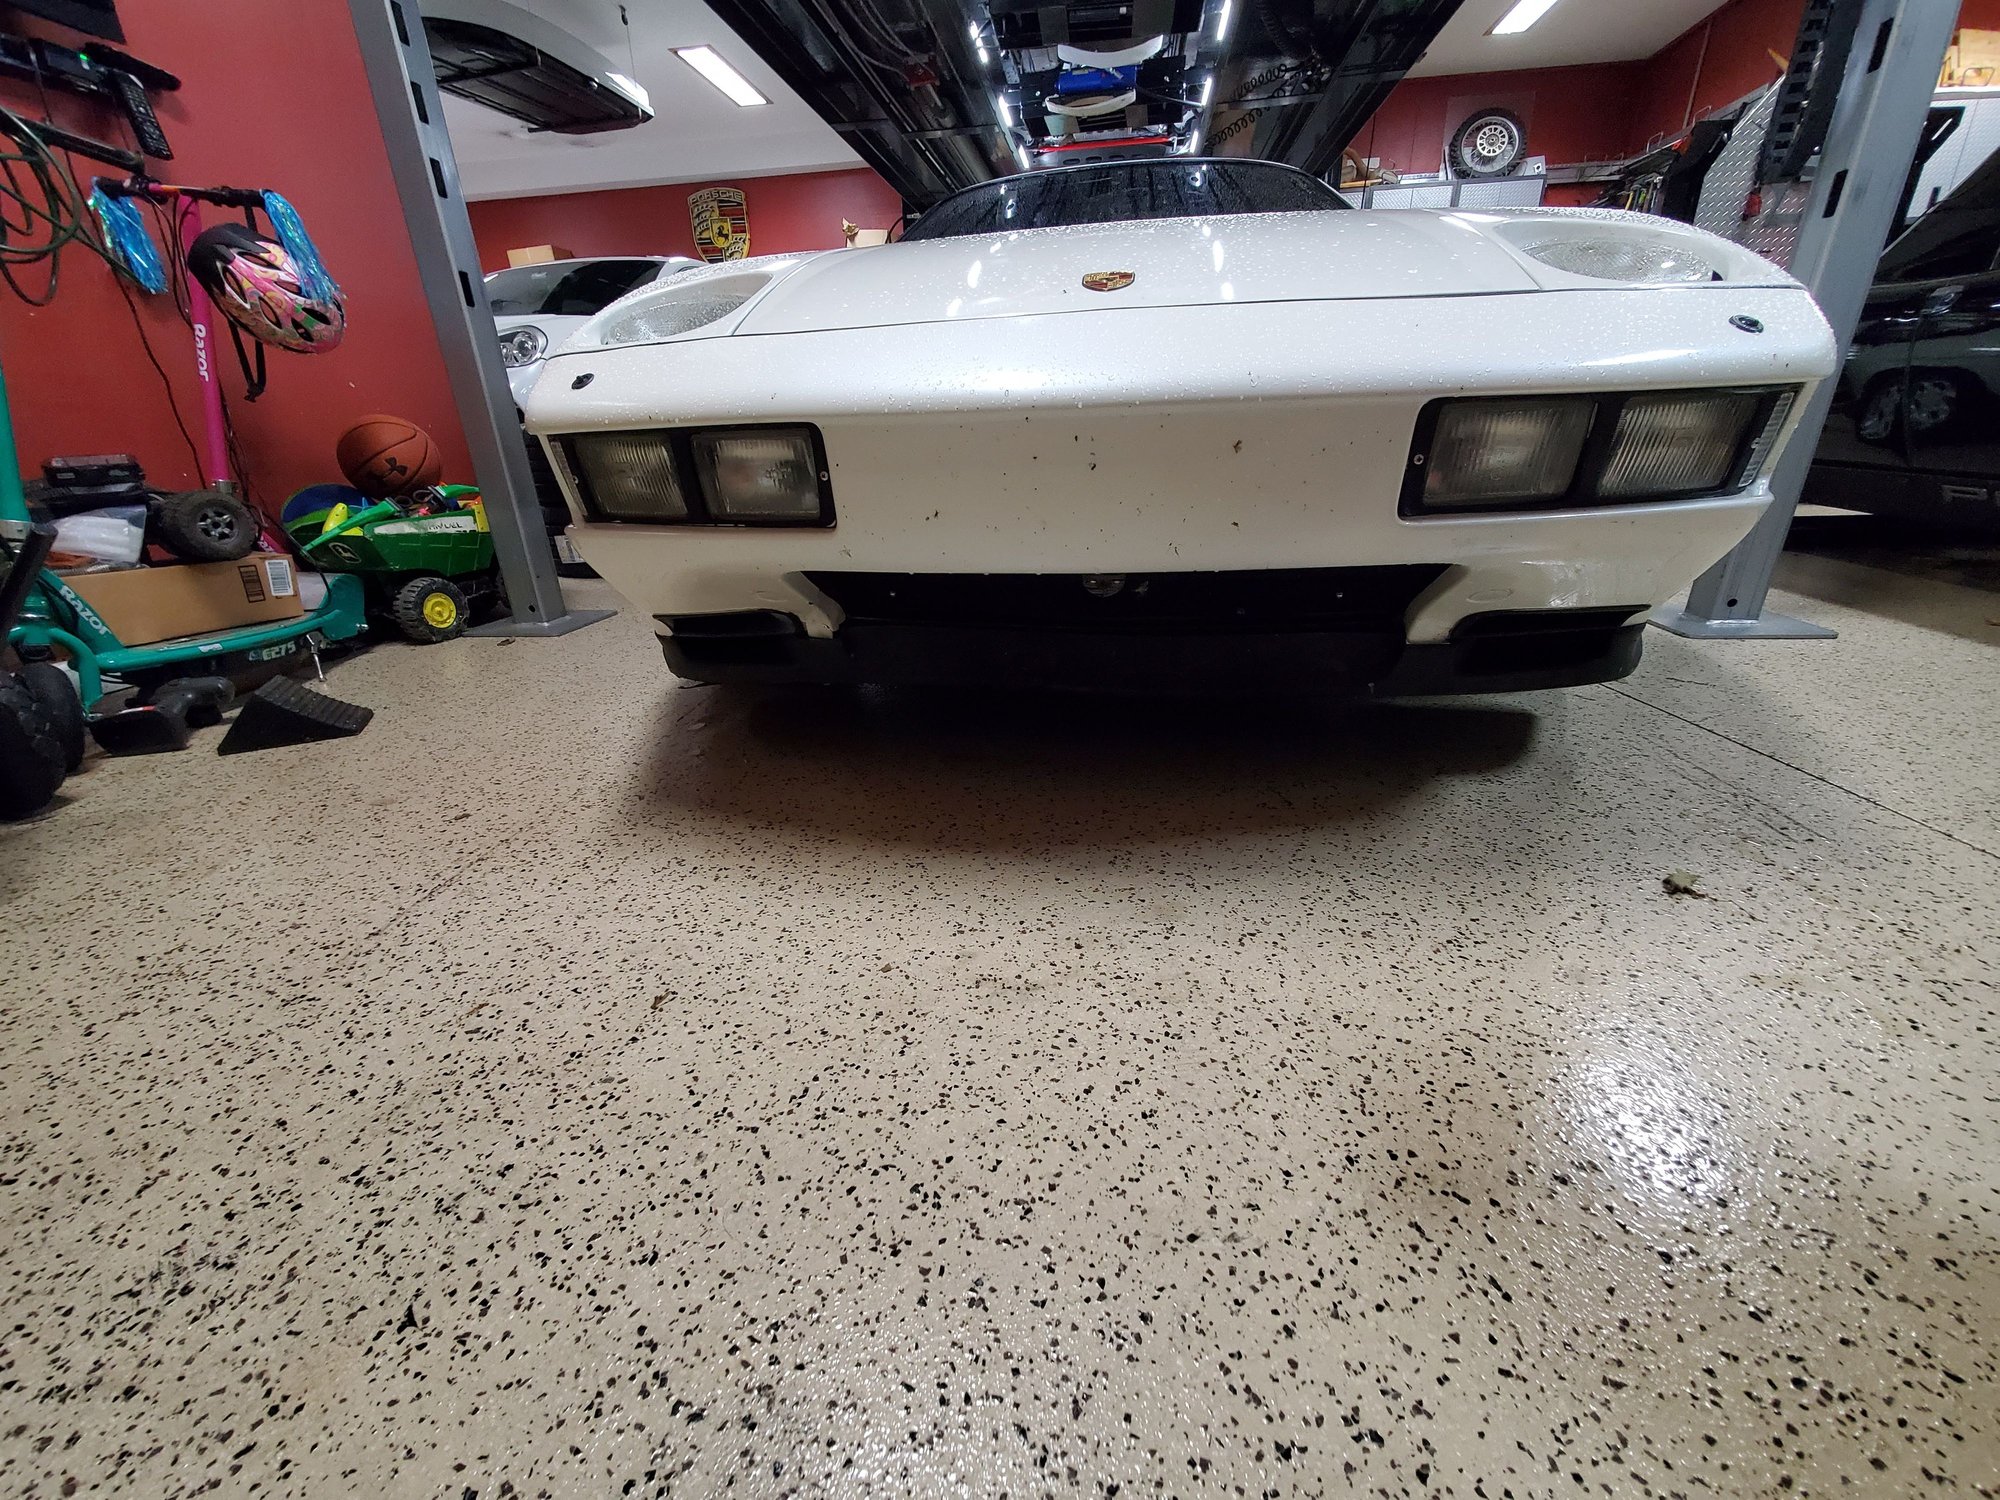
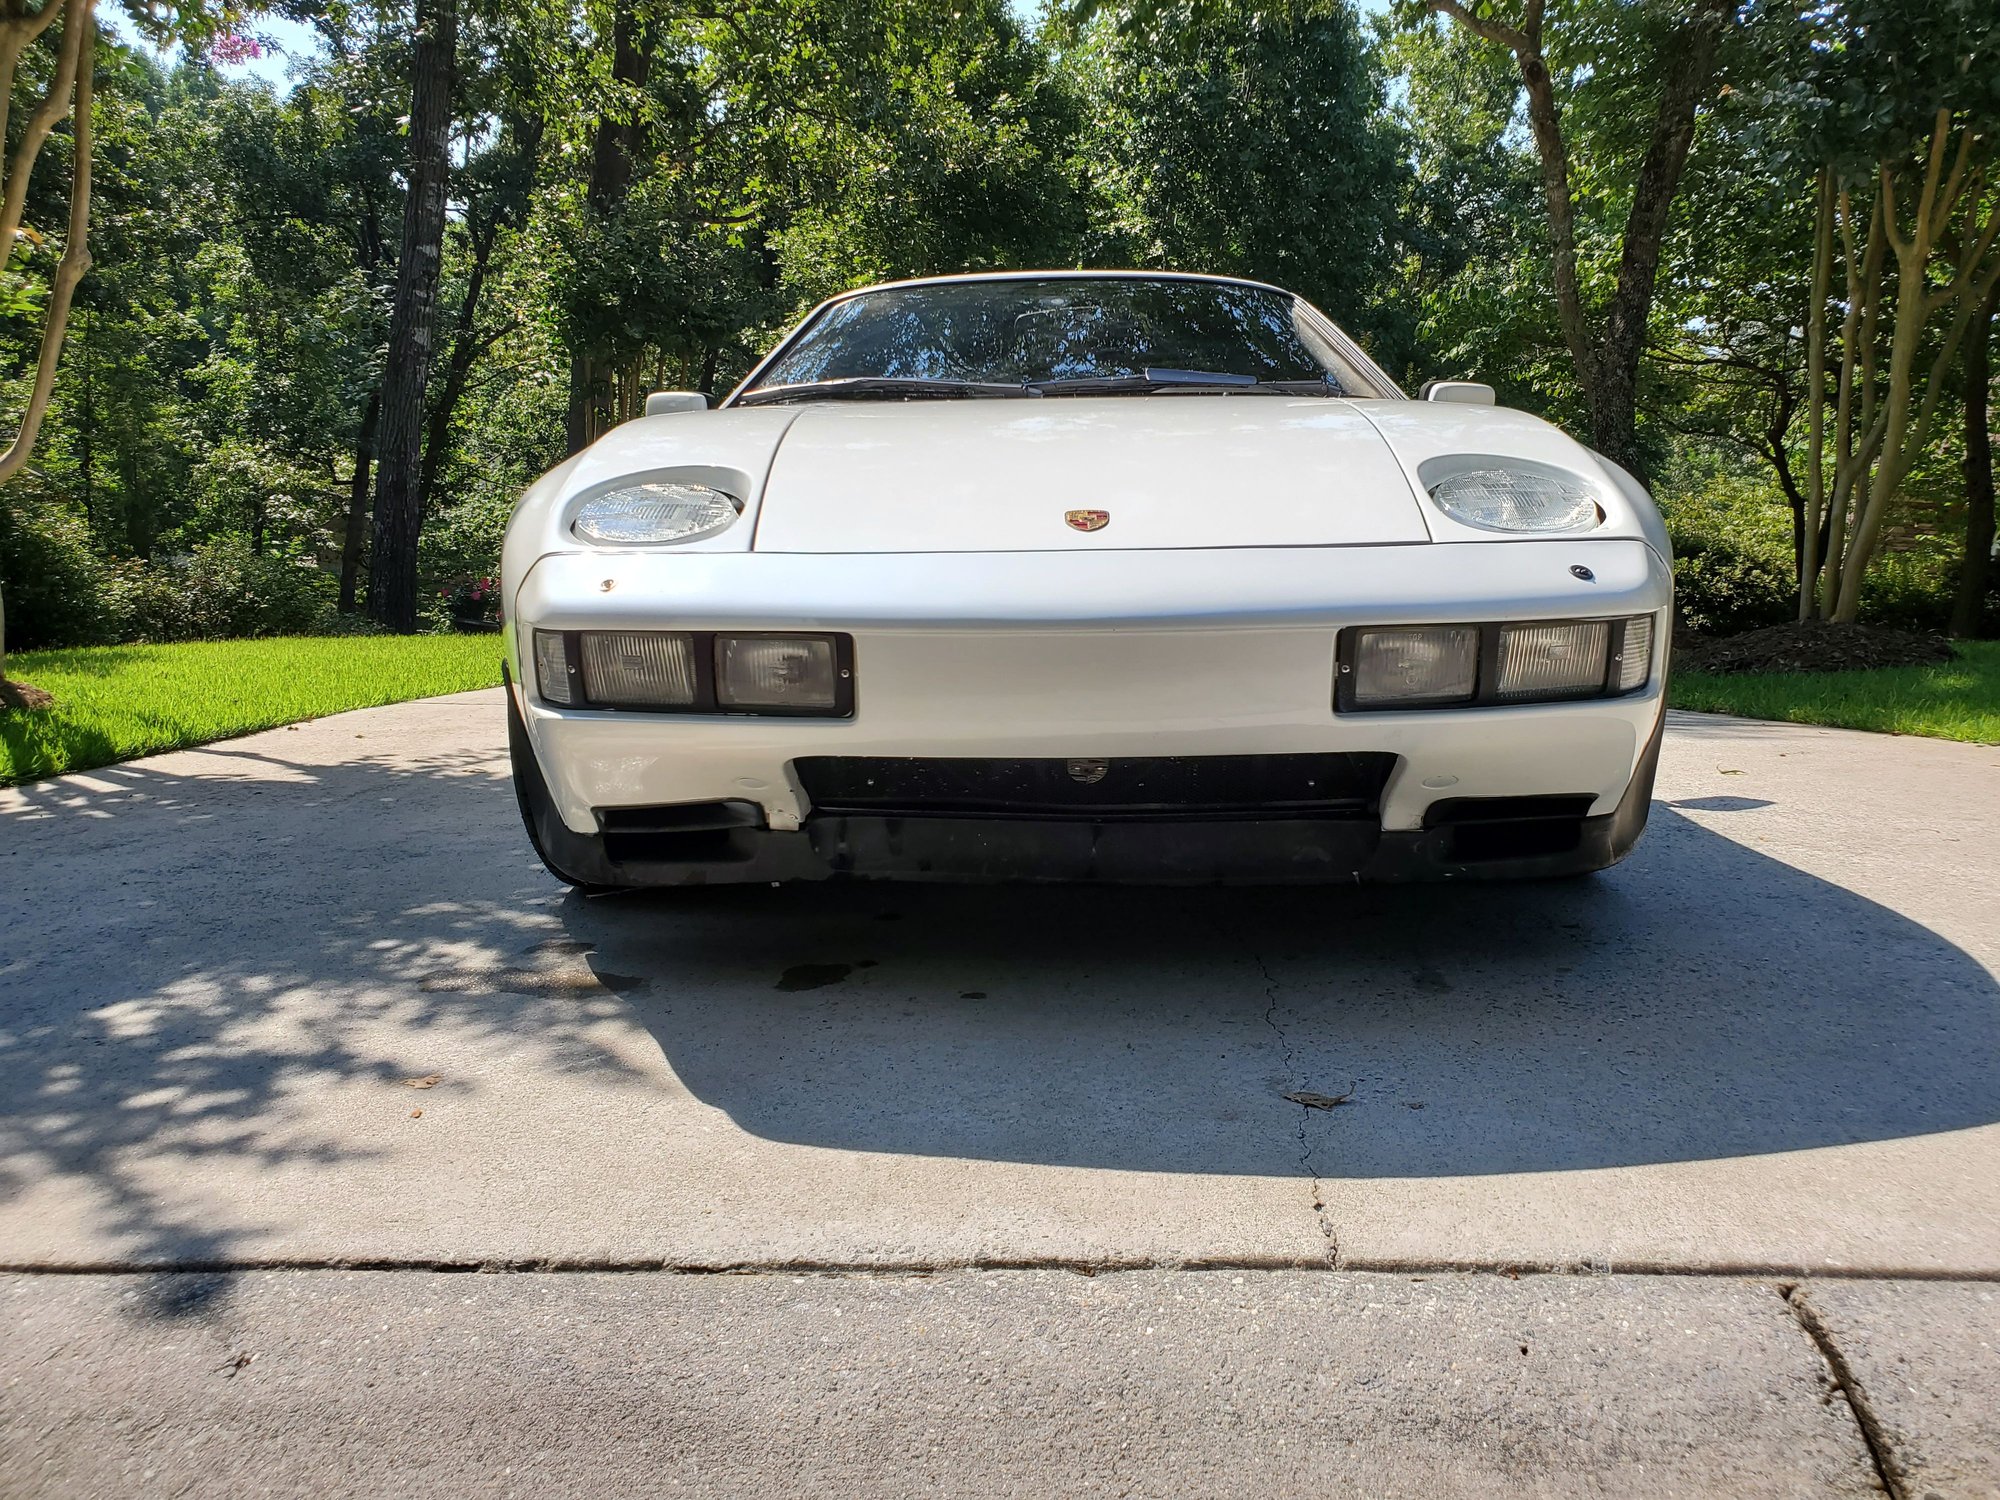
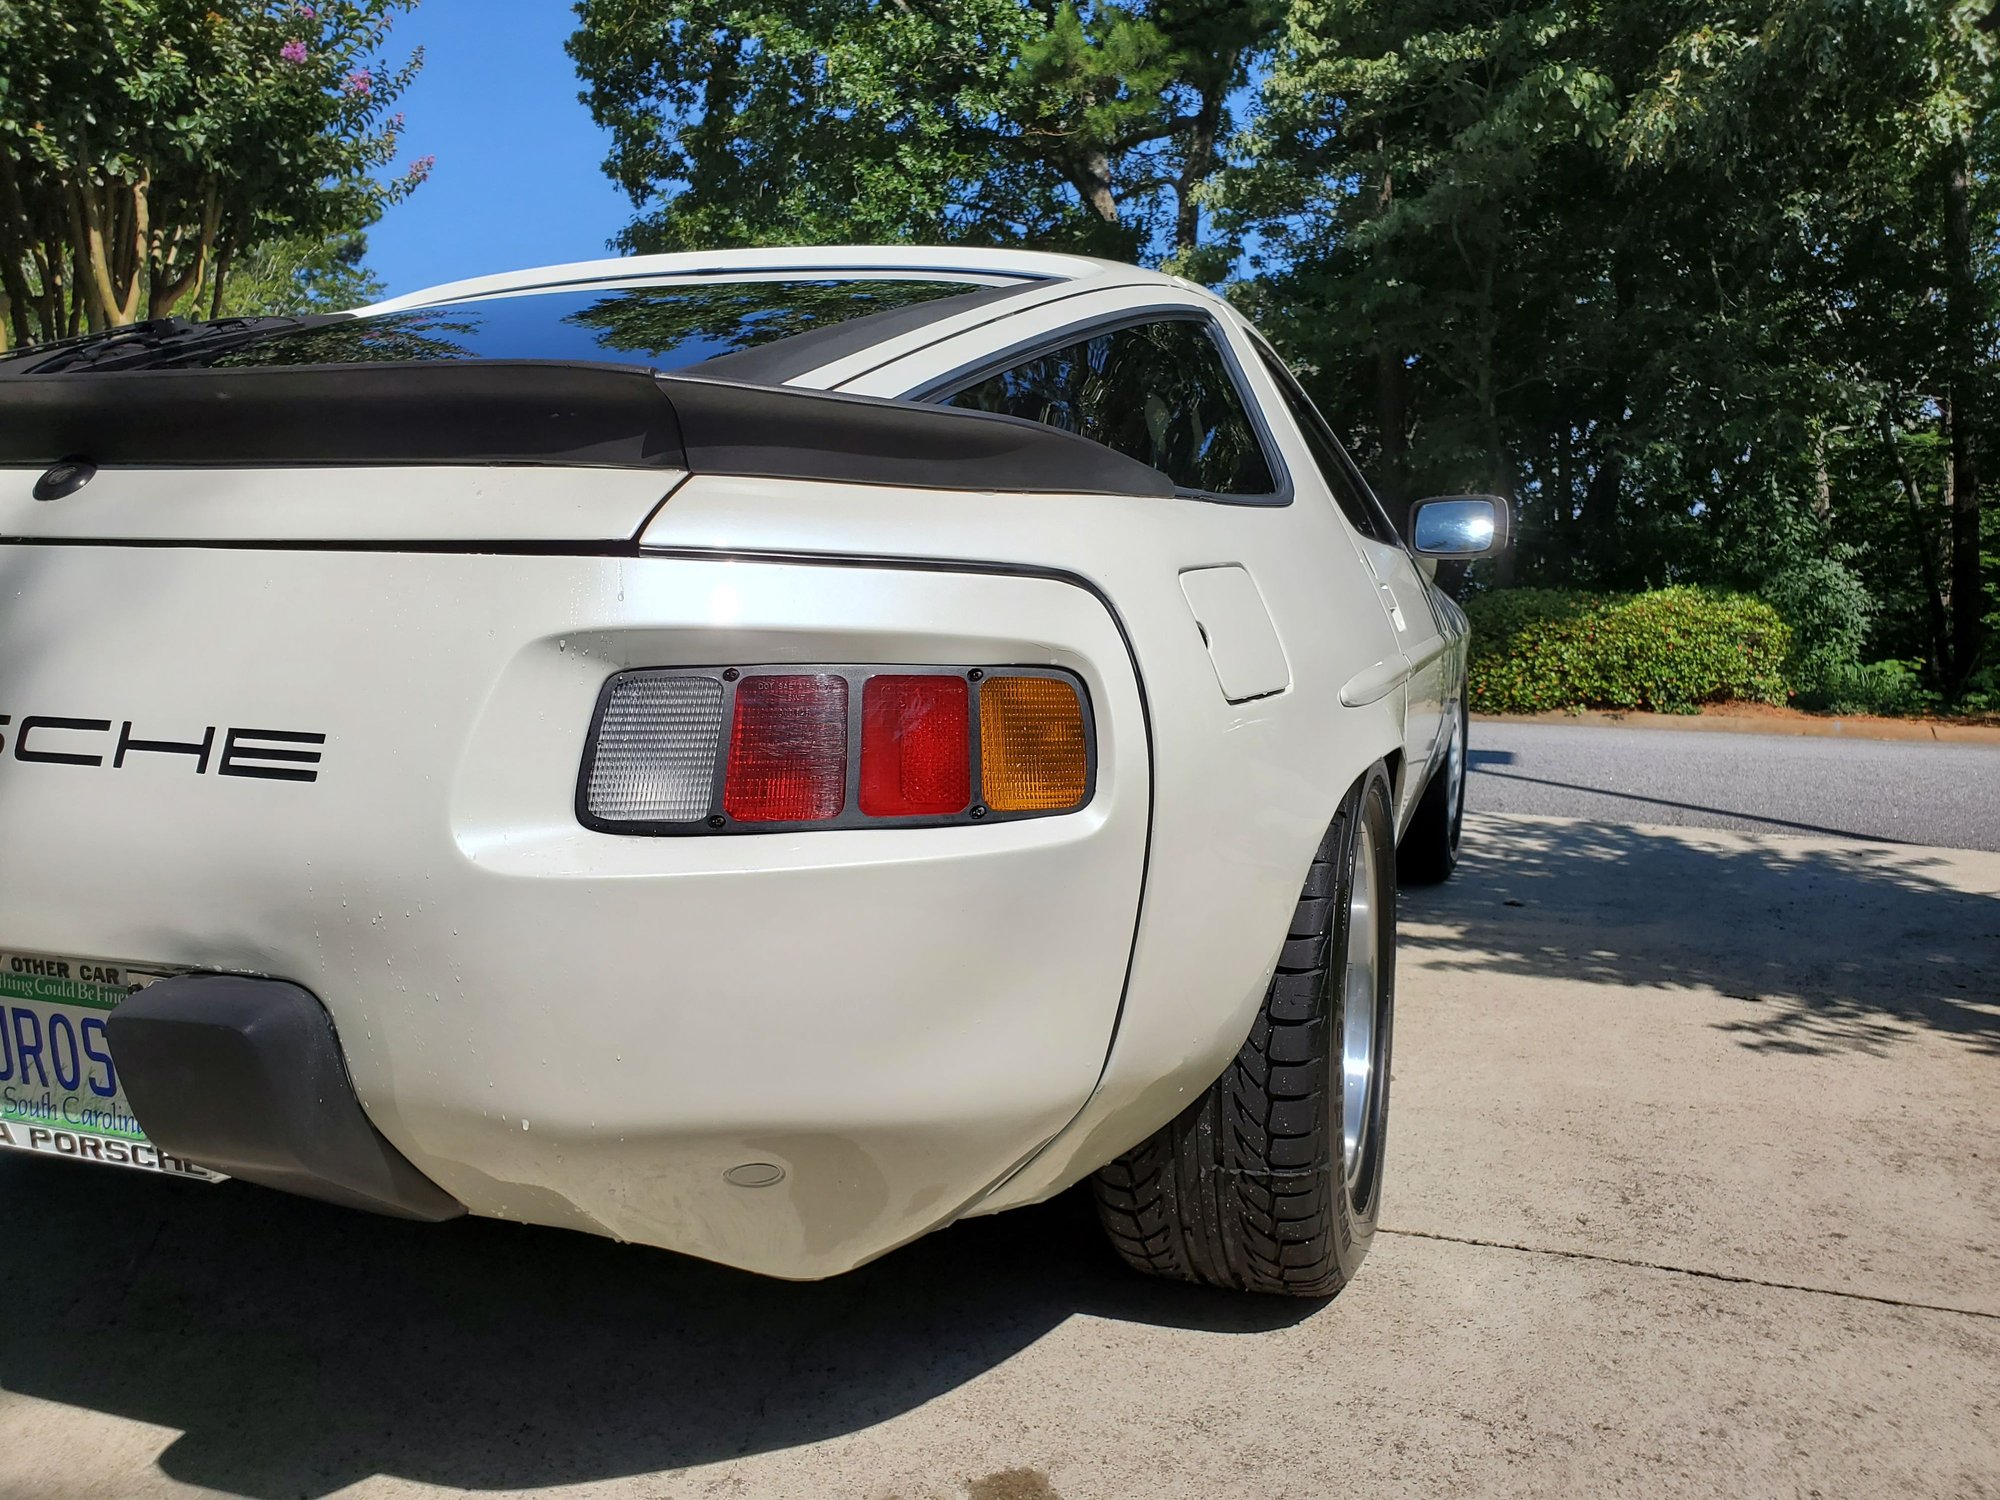
Next I replaced the mismatched fog light lens on the passenger side so now all the front lights match
Garage door was shut so had to take the pic in pano mode
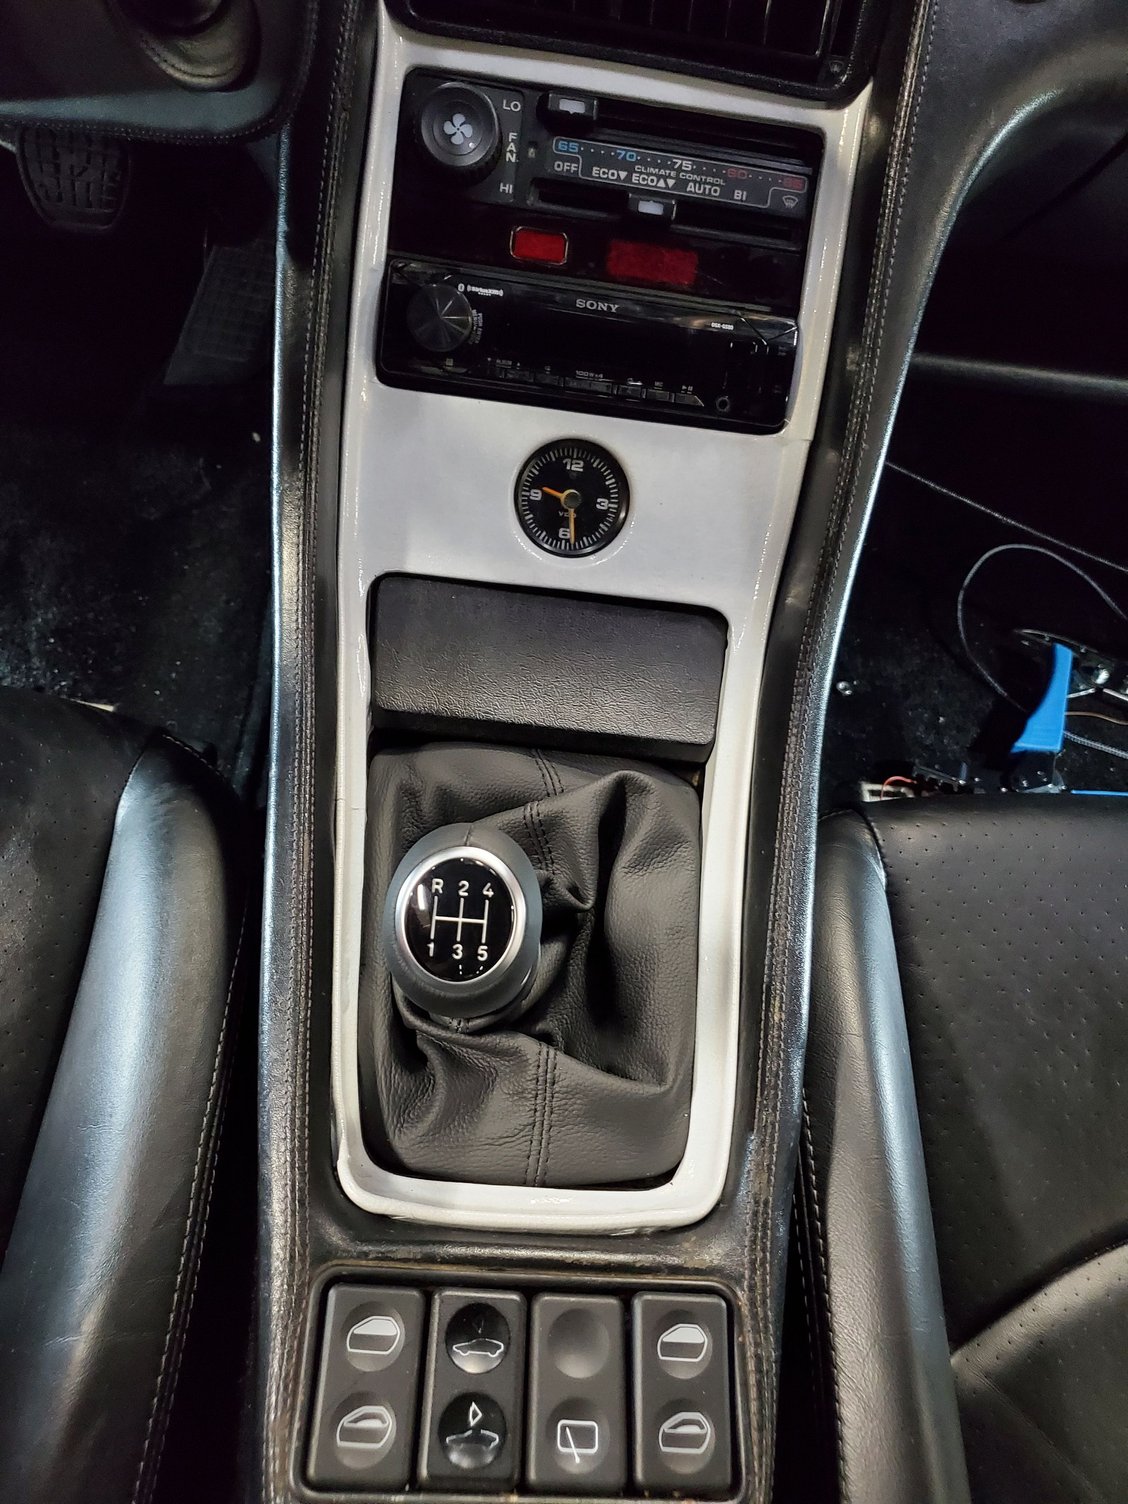
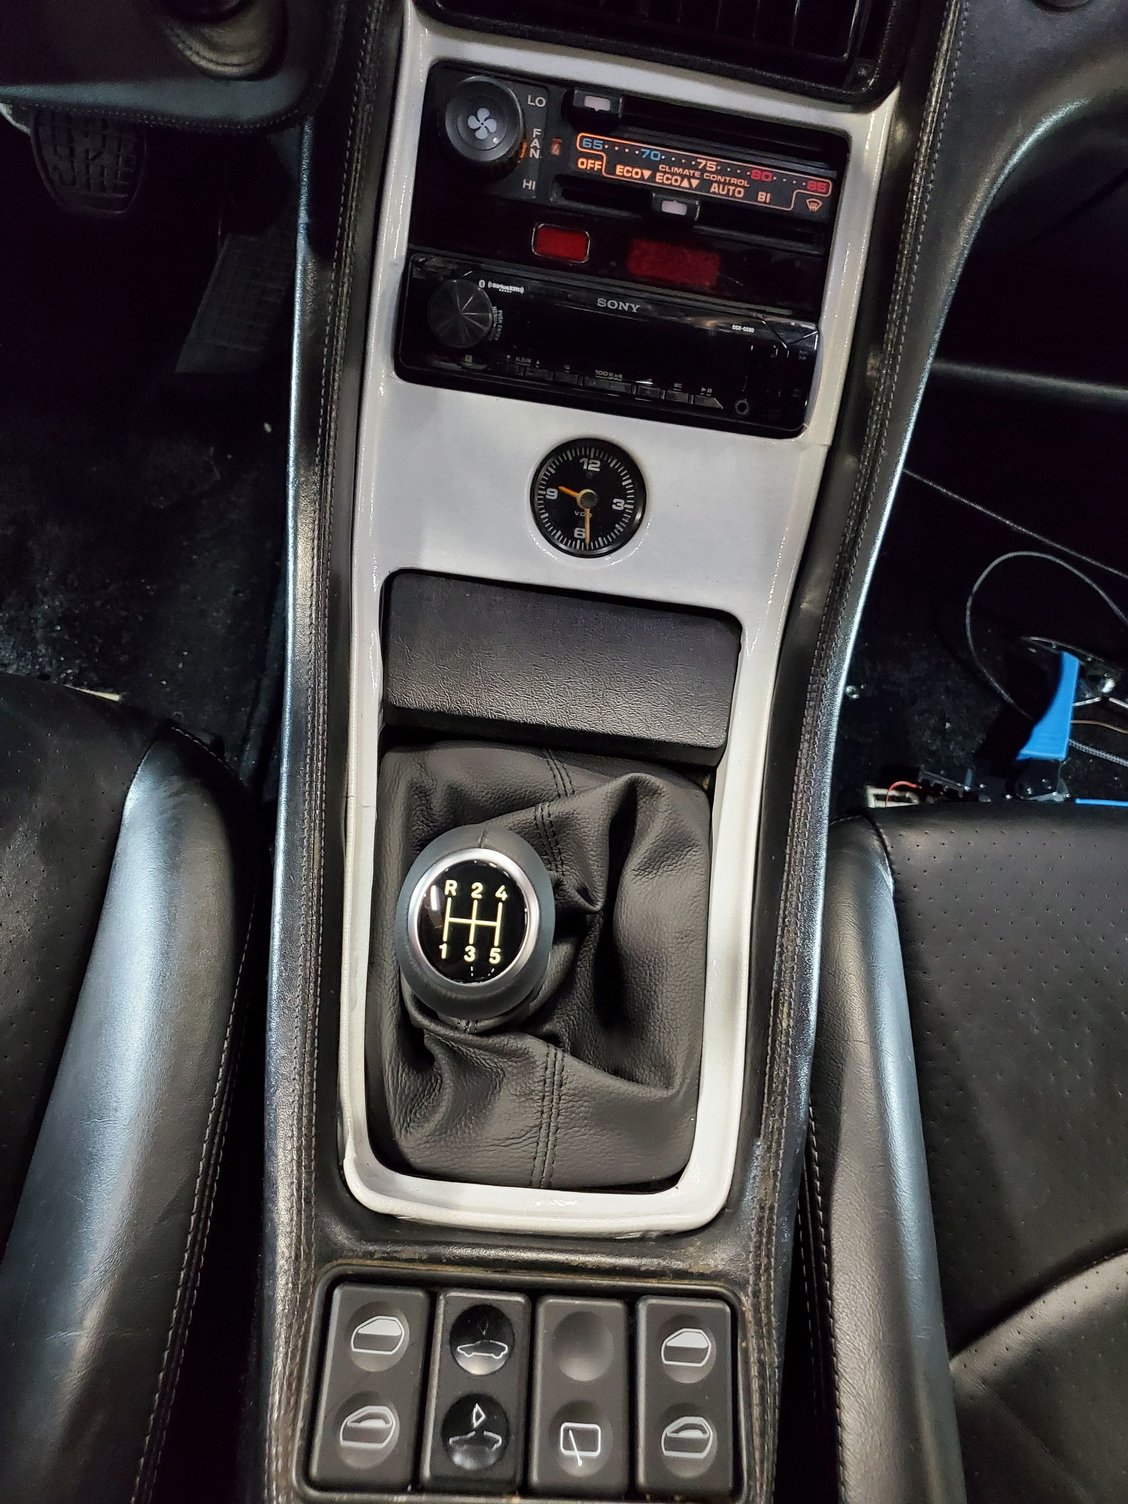
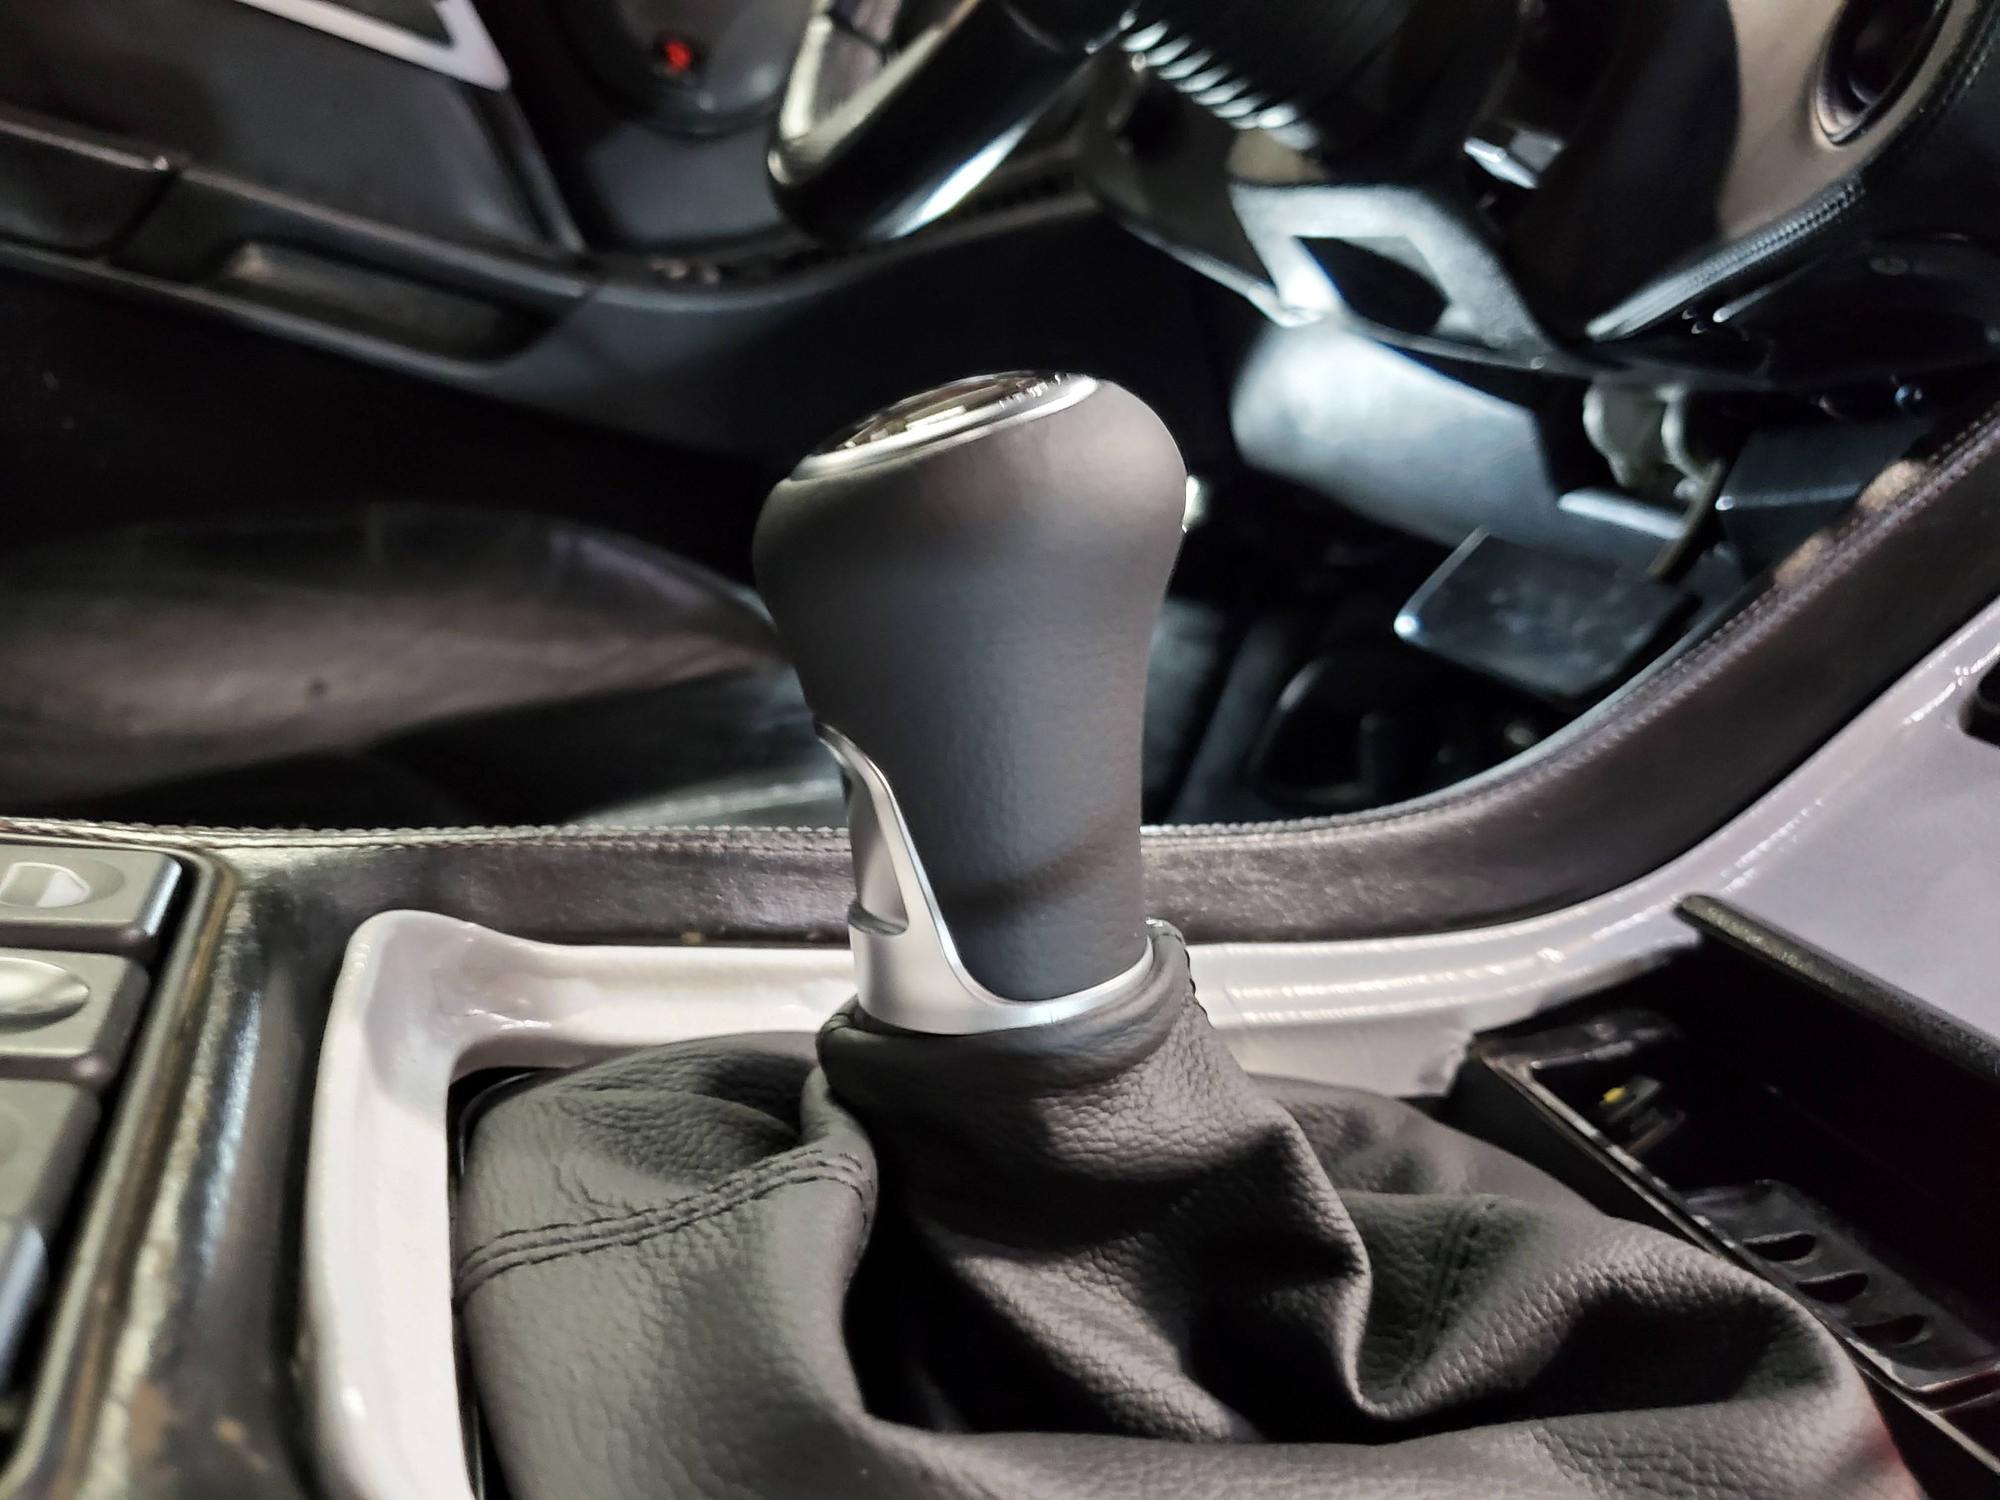
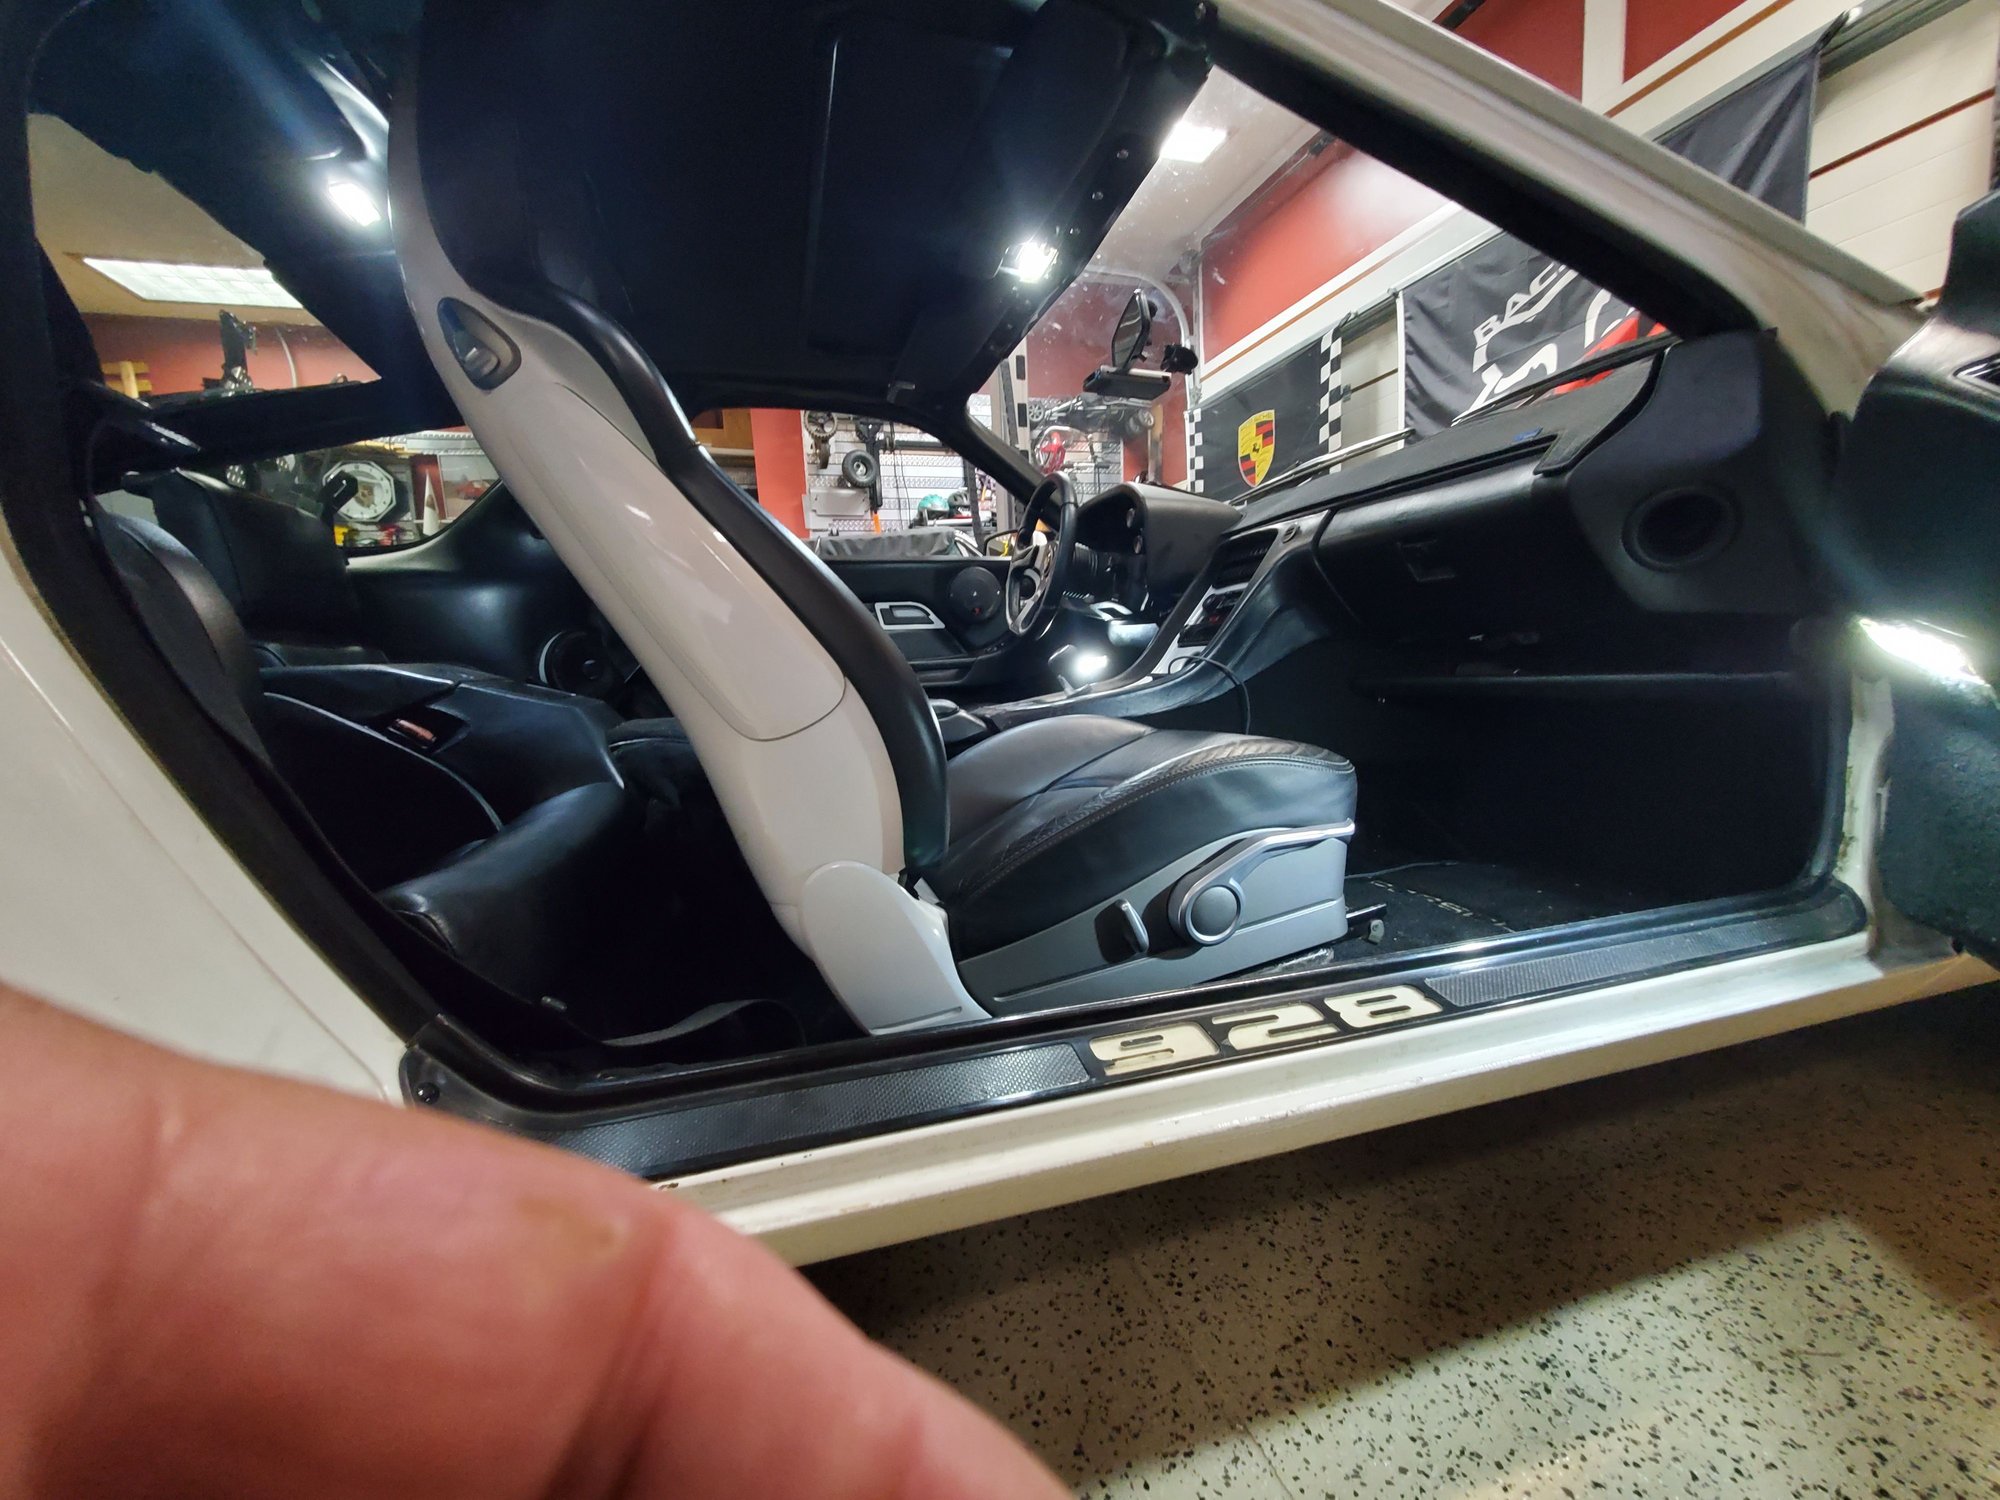
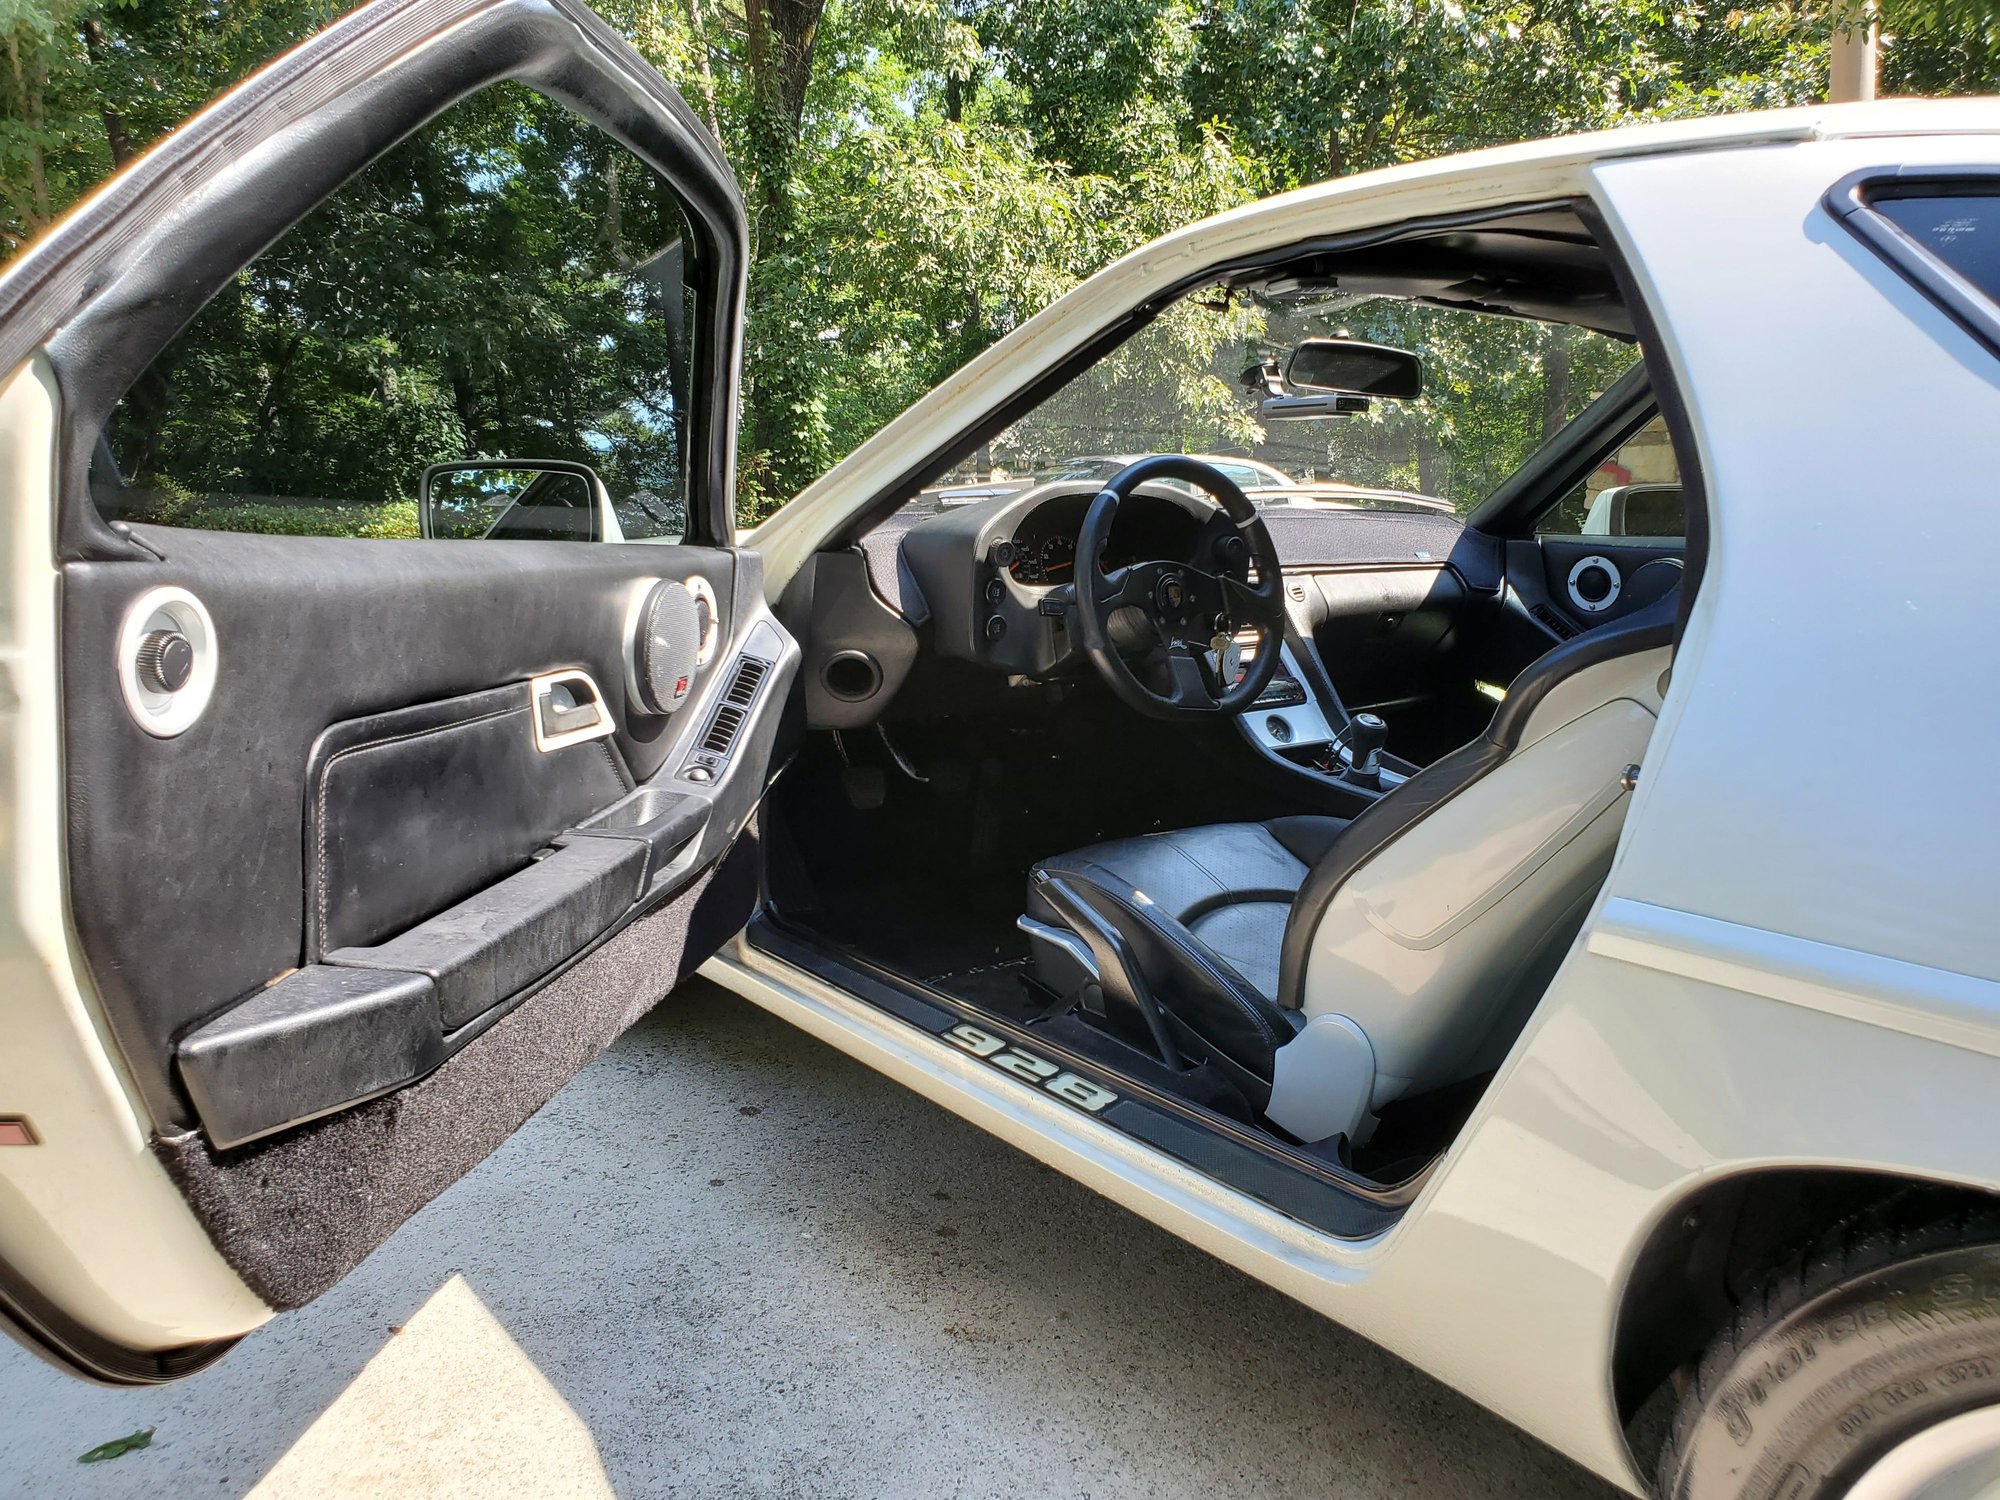
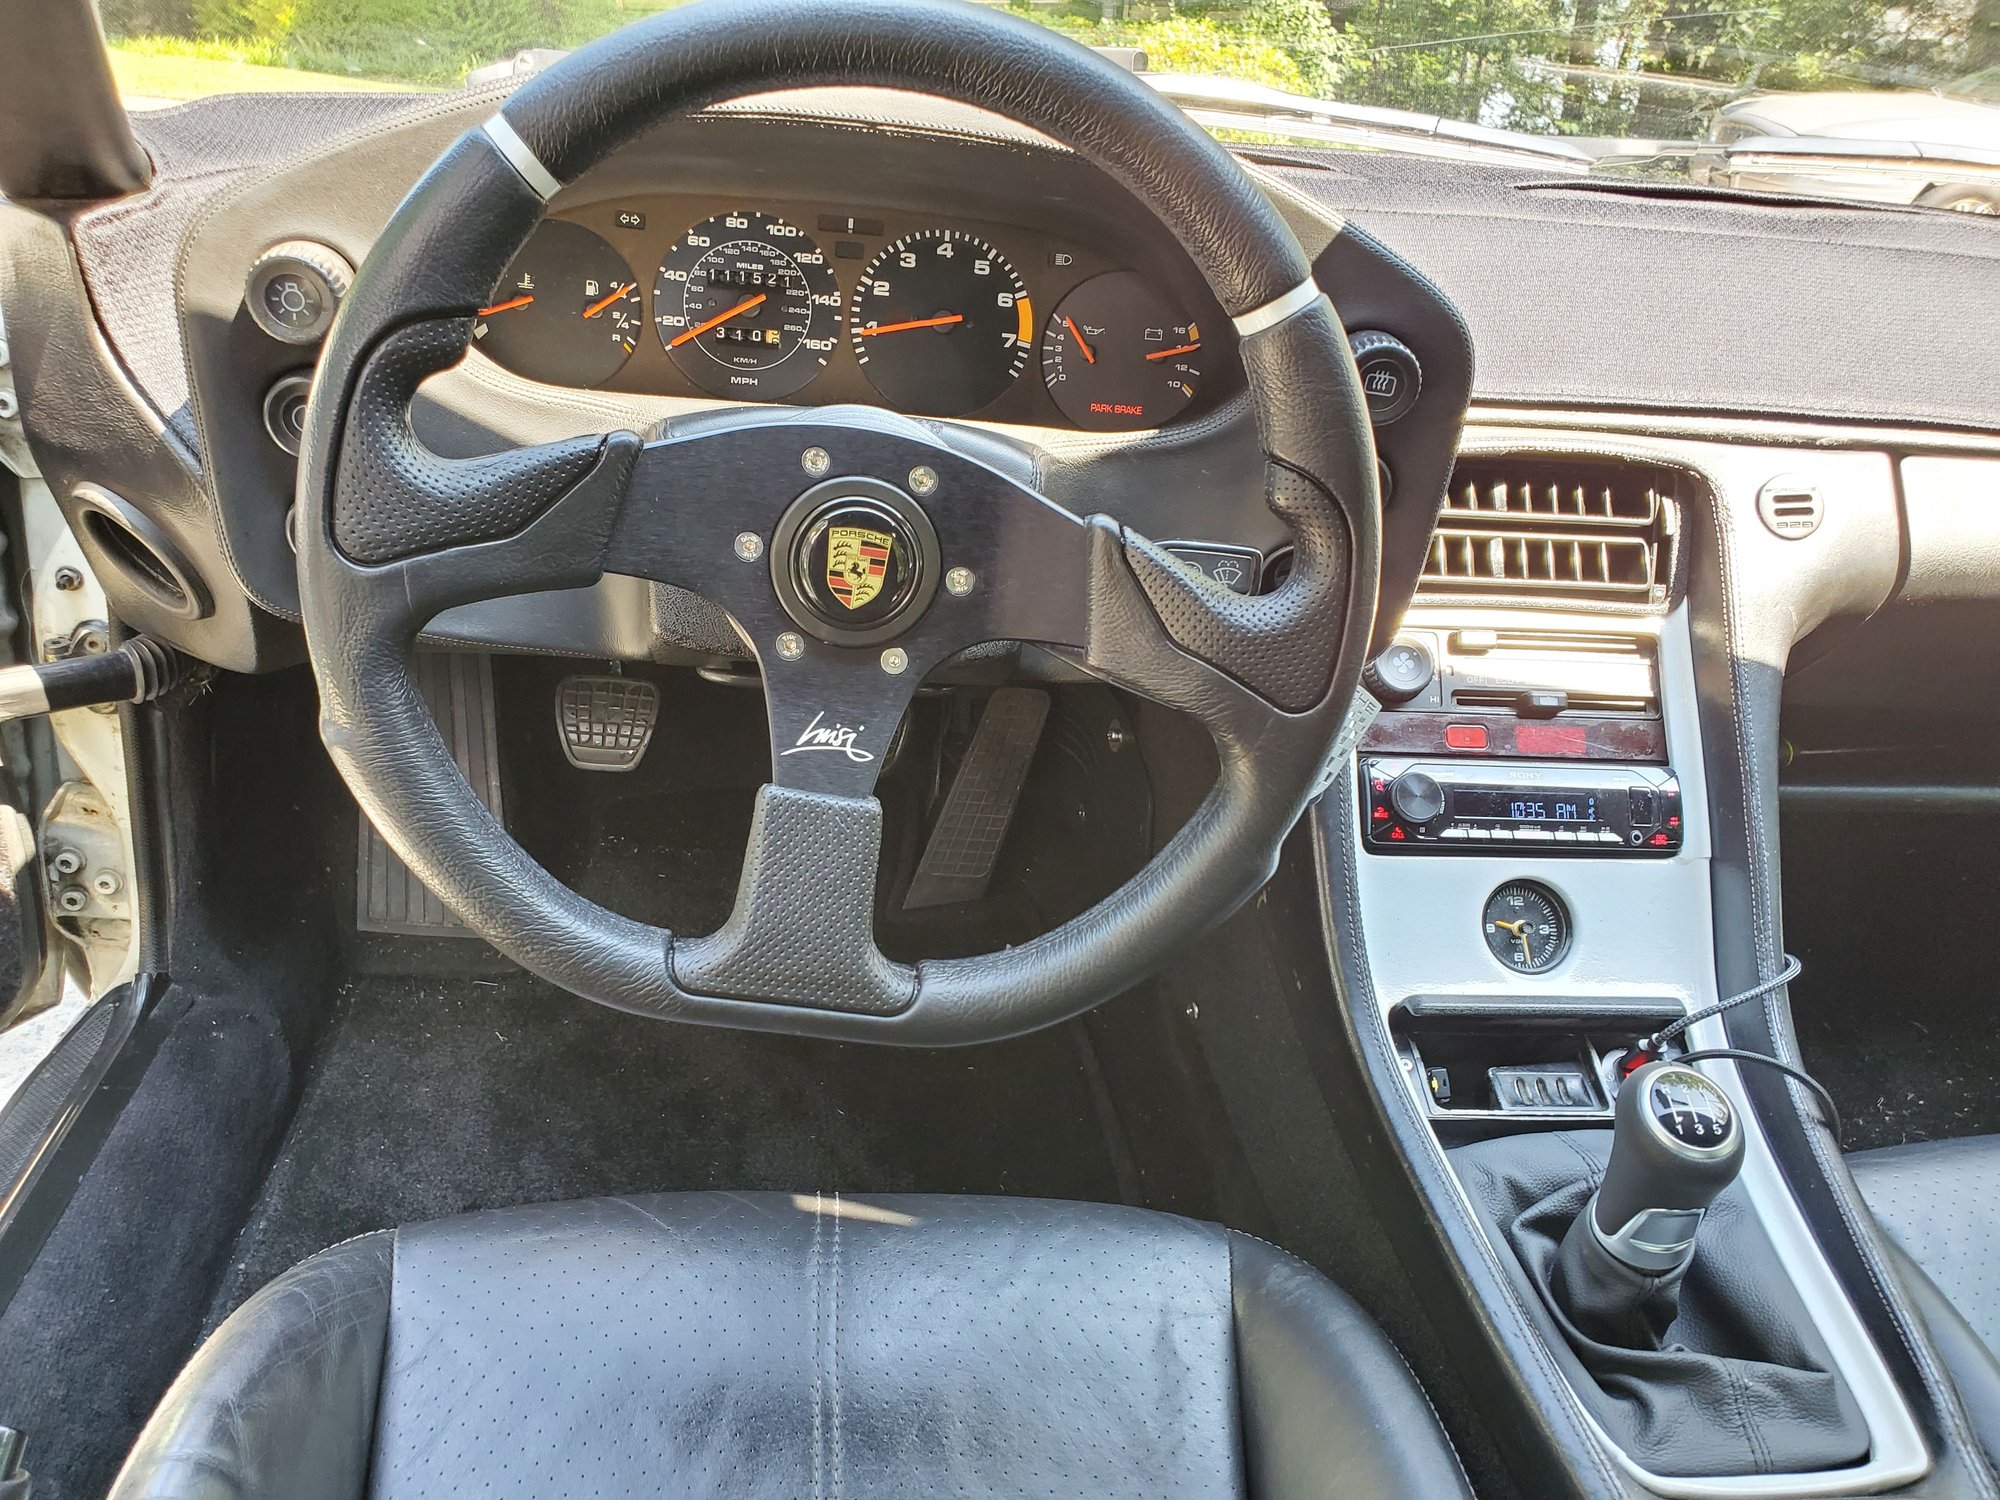
My shifter was bugging me - the **** was flexy and the pattern insert kept coming loose. Found this replacement out of Germany with the correct pattern, a nice ergonomic shape, and the pattern even illuminates when the lights are on. It also comes with the adapters needed for compatibility with the flat 928 shift rod. Drove it today and it's super solid - love it.
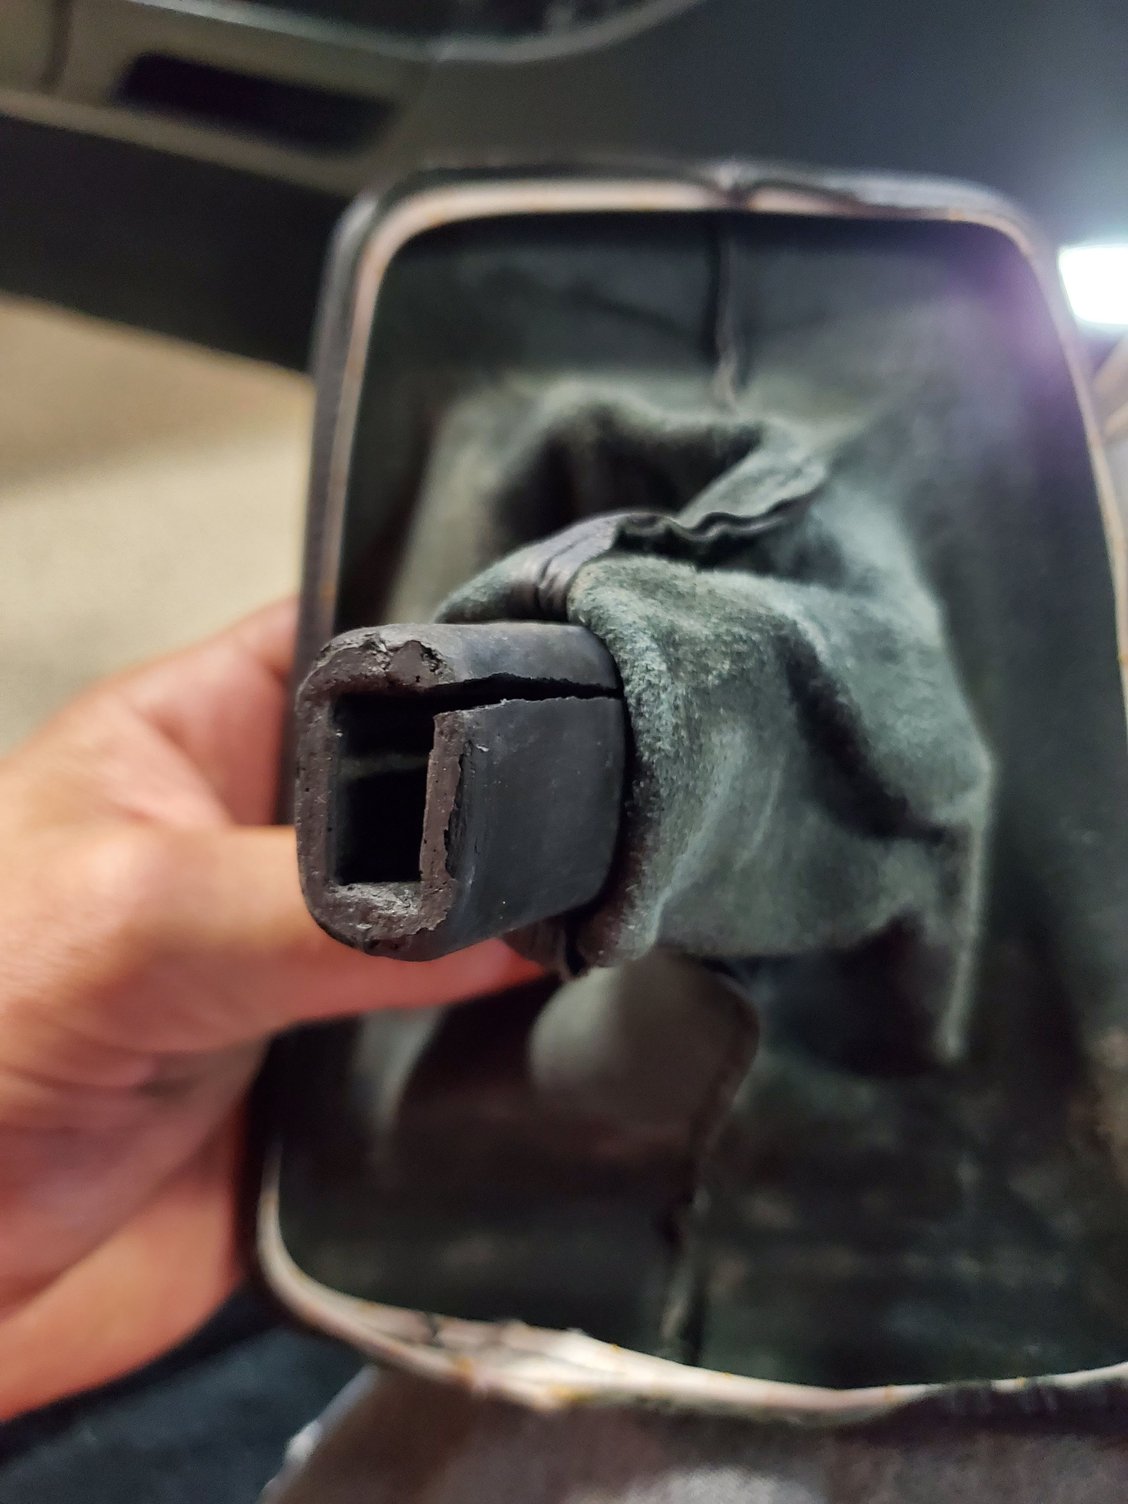
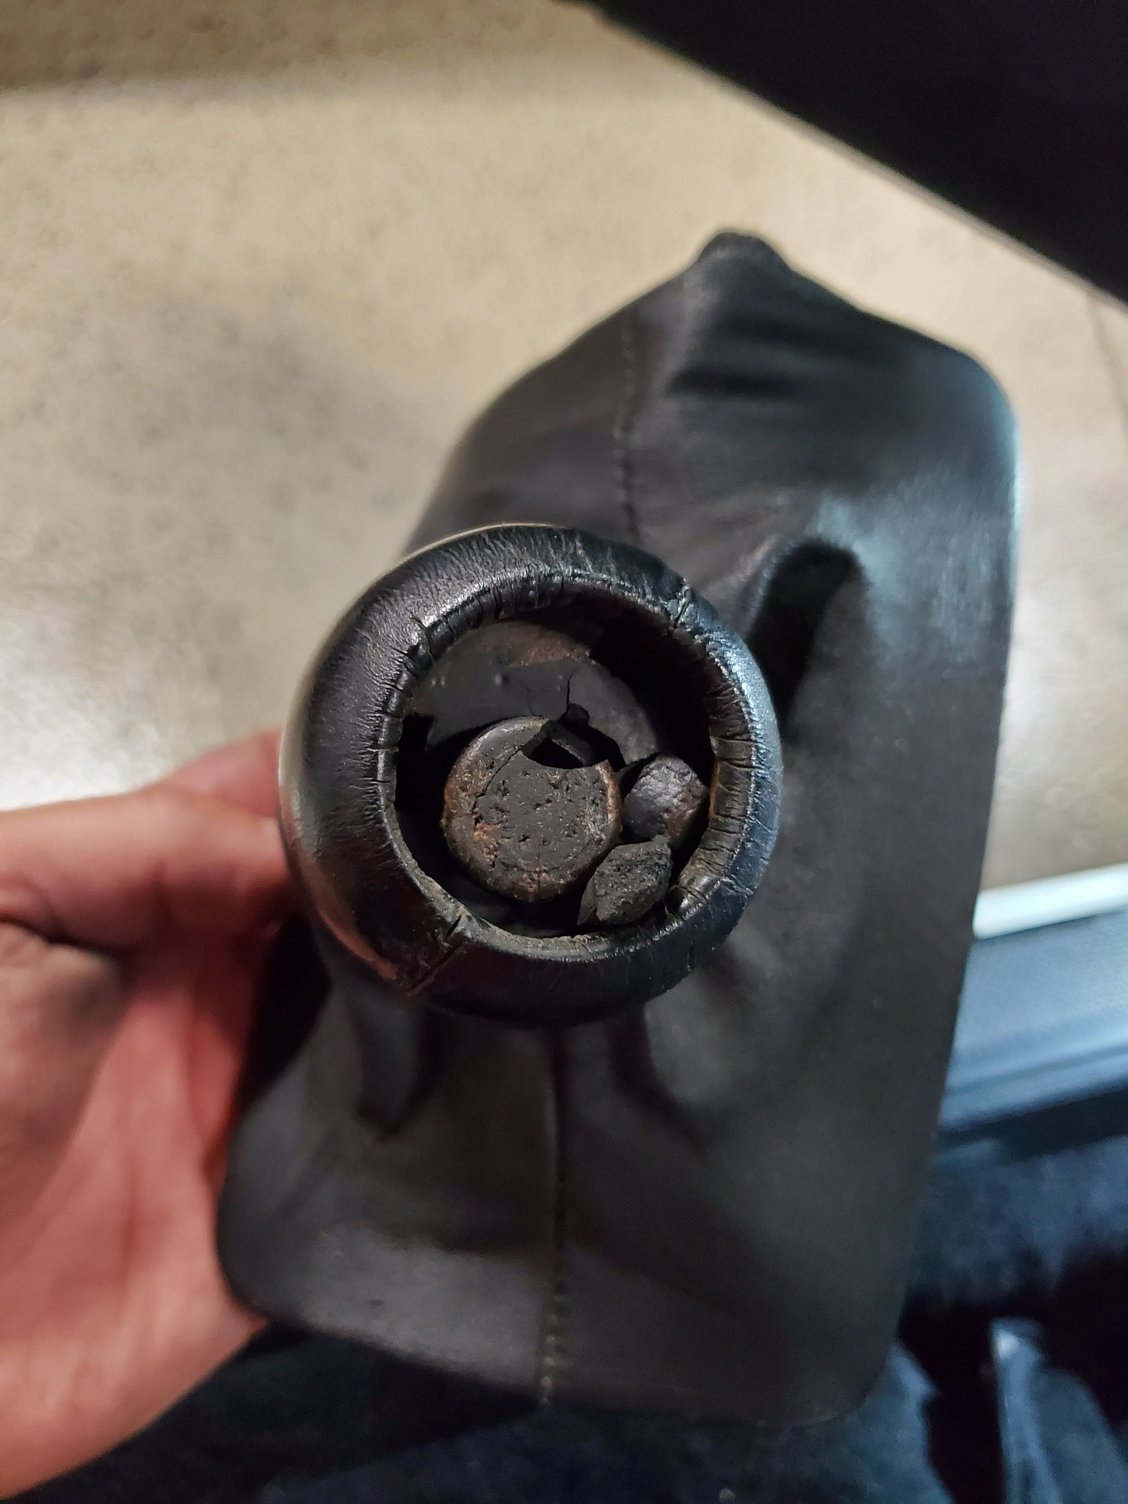
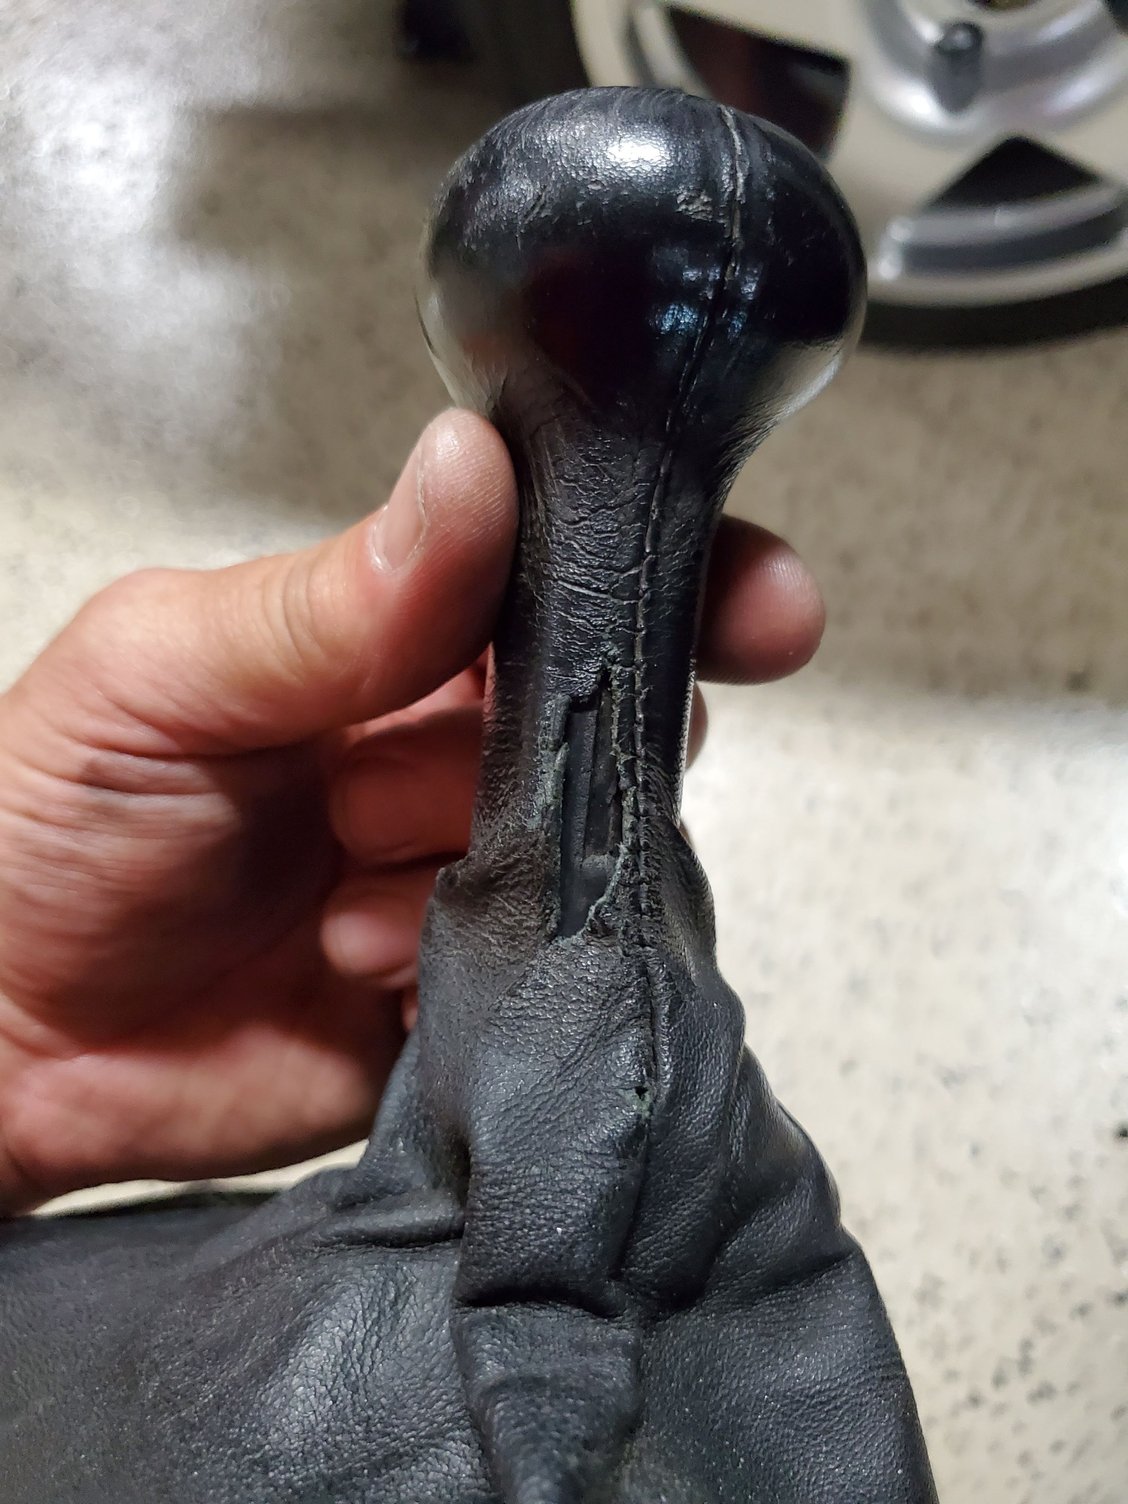
**** base was split
**** top was broken
Boot was torn
New shift **** and boot. Boot is designed with the same type of elastic and fits around the trim plate, just like OEM
Illuminated pattern with lights on. Ran the two thin wires in a protective silicone hose. Connected the one to the black and blue illumination wire and the other to ground - presto.
Nice ergonomic shape and combo of metal and black leather
Just got back from a week away where I left the car at the Airport while I was gone. Previous longest parked stay without being on a Battery Tender was a Monday morning to Wednesday night. This week was Monday morning to Sunday midnight, so essentially a full week. Was worried I might have some type of parasitic drain from the 40 year old wiring, newly installed electrics etc, so took a fully charged spare car battery and jumper cables in the hatch so I wouldn't be stranded when I got back. Because I had the foresight to bring them, I didn't need them.
Hit the unlock button, lights blinked nice and bright. Opened the door, door lights nice and bright. Put all the luggage in the hatch, got in and it turned over nice and strong and fired right up, so looks like both my battery and electrical system are in decent shape since it was parked there for a week with no issues.
you won't thank me .... as i don't.
I would prefer a darker color , more matching the windows.
I will thank you anyway!
I have a vision for my cars when I acquire them. The Spyder was a shell with no interior and I knew I wanted it to look exactly the way it turned out. This one is the same - wanted kind of an updated older-school look and the phone dial wheels do that but with the more aggressive offsets and polished lip making them a bit more resto-mod.
One of the things I don't like at all on pretty much any car is dark wheels where the detail of the wheel gets lost in the dark wheelwell. About as dark as I'd ever go is something called a brushed titanium, which is kind of a smoky grey with brush strokes in it and then some exposed machined areas to contrast the darker color. A brown (not gold) bronze is another wheel color I've come to appreciate - looks great on white and black and can work on silver too, but this car is now looking exactly like my vision for it and I'm happy with it.
At the end of the day, I build my cars for me. If others happen to like the same things I've done, that's awesome. If not, it likely won't matter to me since I never sell them once they come through the garage door. I'll let my son worry about my aesthetic choices or he can make them to his taste later on.
Small victories - 5 working interior led door, dome, and glove box lights that all come on when any door is openend or individually come on with the switch on each.
Pete before you go after the ex valve its a whole lot easier to remove the hood first.
its pretty easy to the get it back on too.
If you want directions on a how too, just ask
this thread shows what happens when the B nuts dont come loose.
go to post 40 , 42,
I made a up a big flanged nut and bolt to heat cherry red,
then place it onto the EX valve to expand it so the nuts would come loose,
one had to be cut out of the valve.
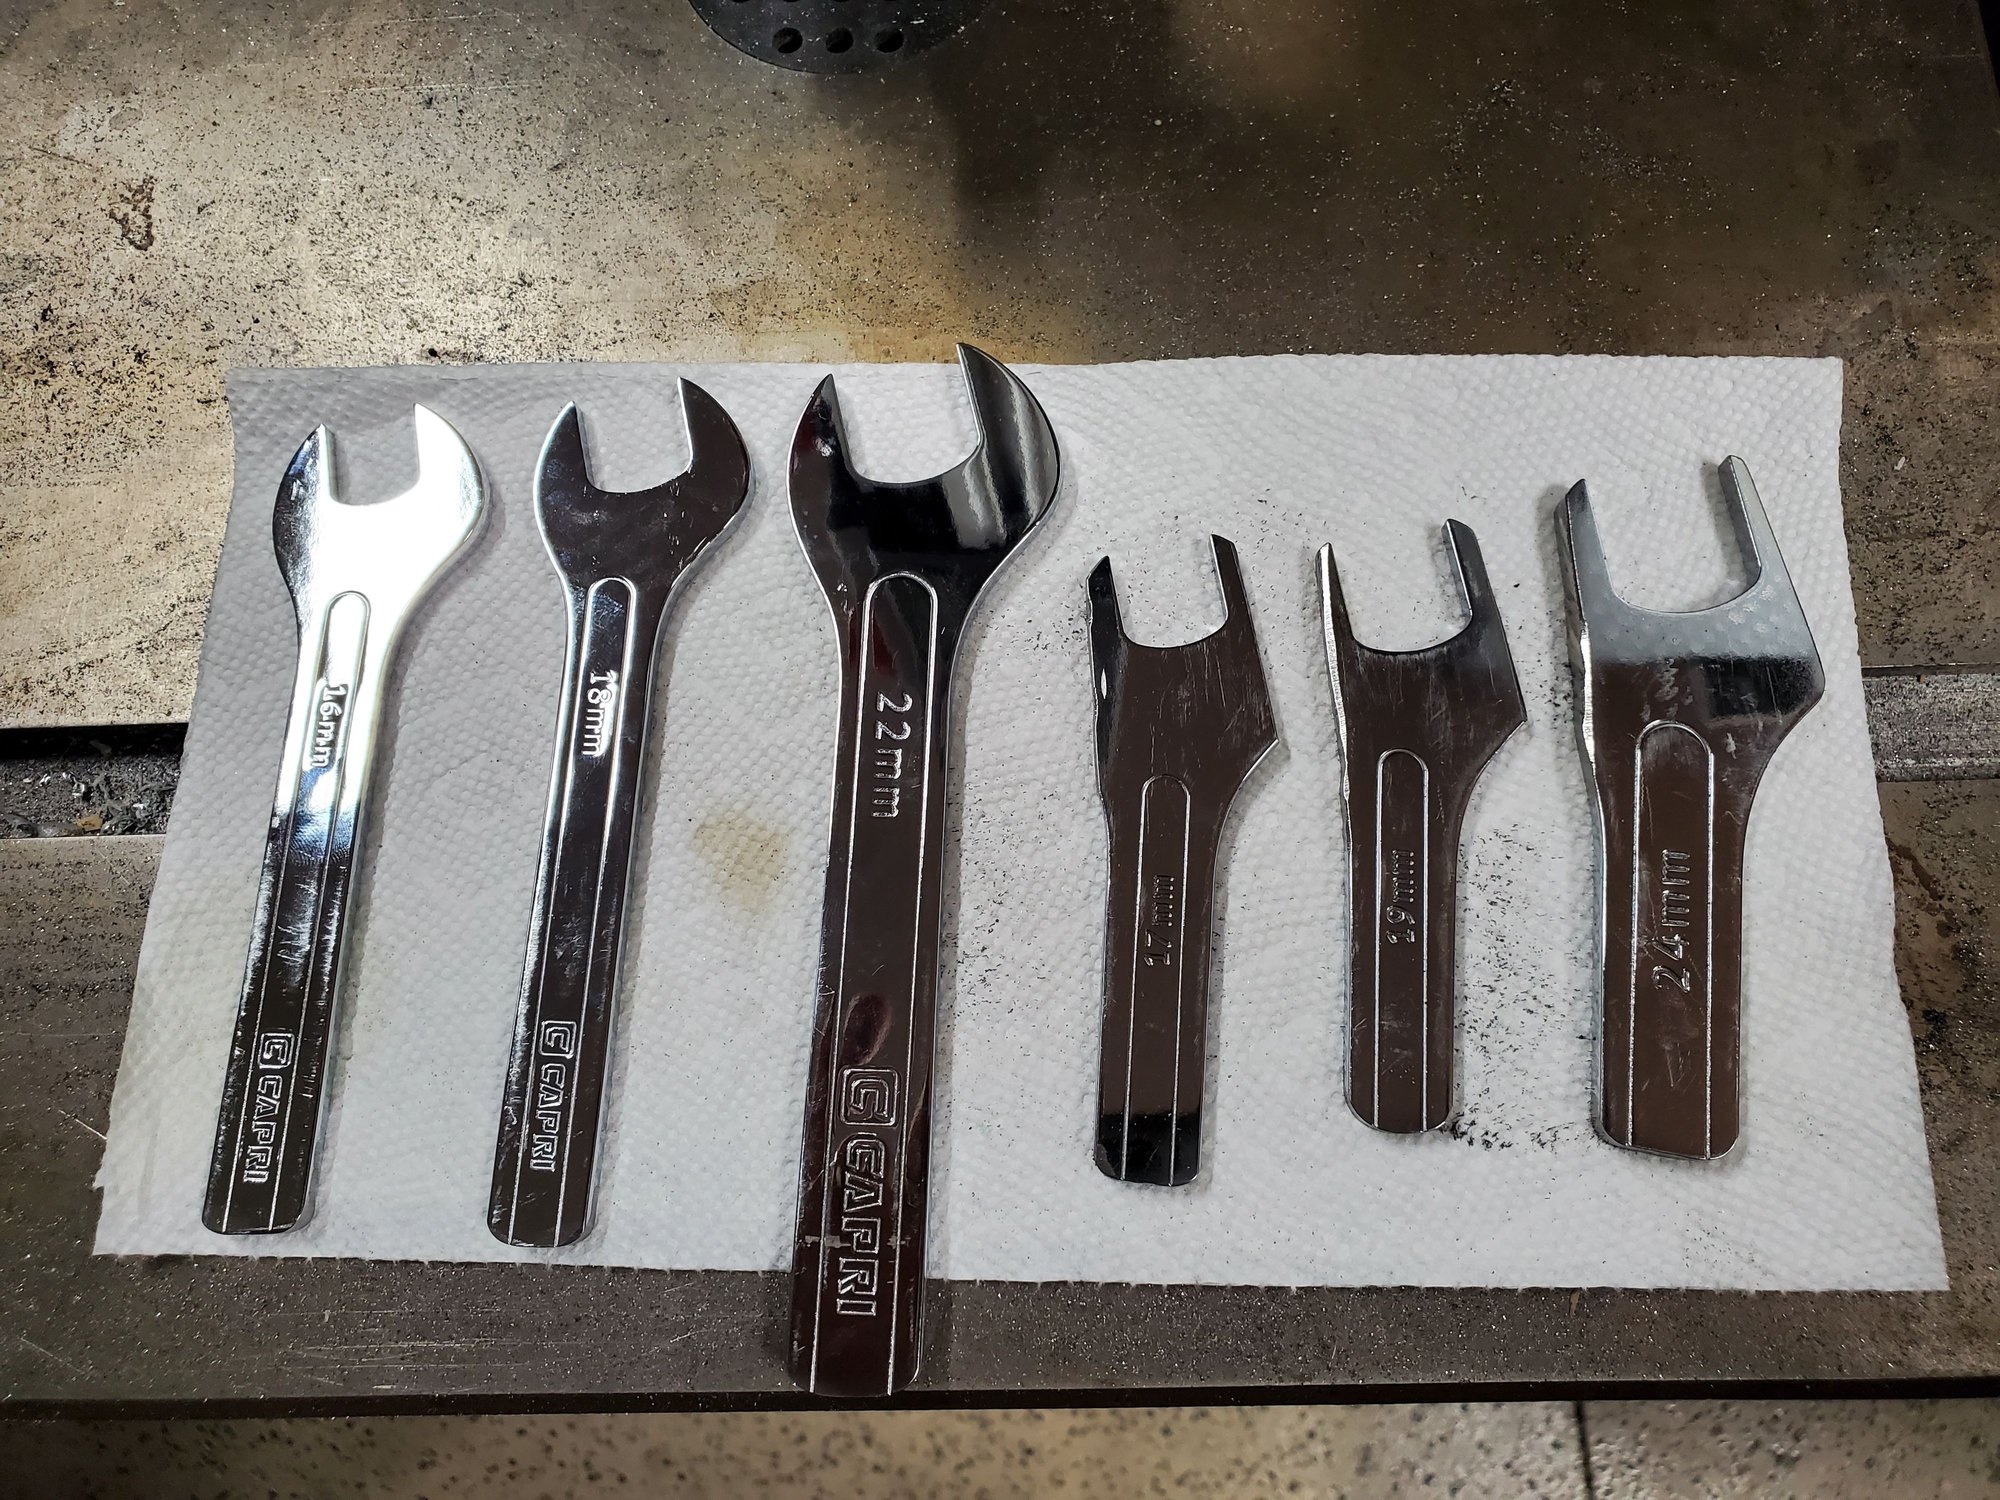
I was using the crows foot tools on my ratchet to loosen the B nuts
note the hood has been removed.
Pete before you go after the ex valve its a whole lot easier to remove the hood first.
its pretty easy to the get it back on too.
If you want directions on a how too, just ask
this thread shows what happens when the B nuts dont come loose.
go to post 40 , 42,
I made a up a big flanged nut and bolt to heat cherry red,
then place it onto the EX valve to expand it so the nuts would come loose,
one had to be cut out of the valve.
I was using the crows foot tools on my ratchet to loosen the B nuts
note the hood has been removed.
Thanks Stan. I had the hood off the Spyder when I did the engine replacement in it so not particularly worried about removing the hood if that's the best way to go. Maybe I'll see how stubborn they're going to be, and if not cooperating, pull the hood before I continue.
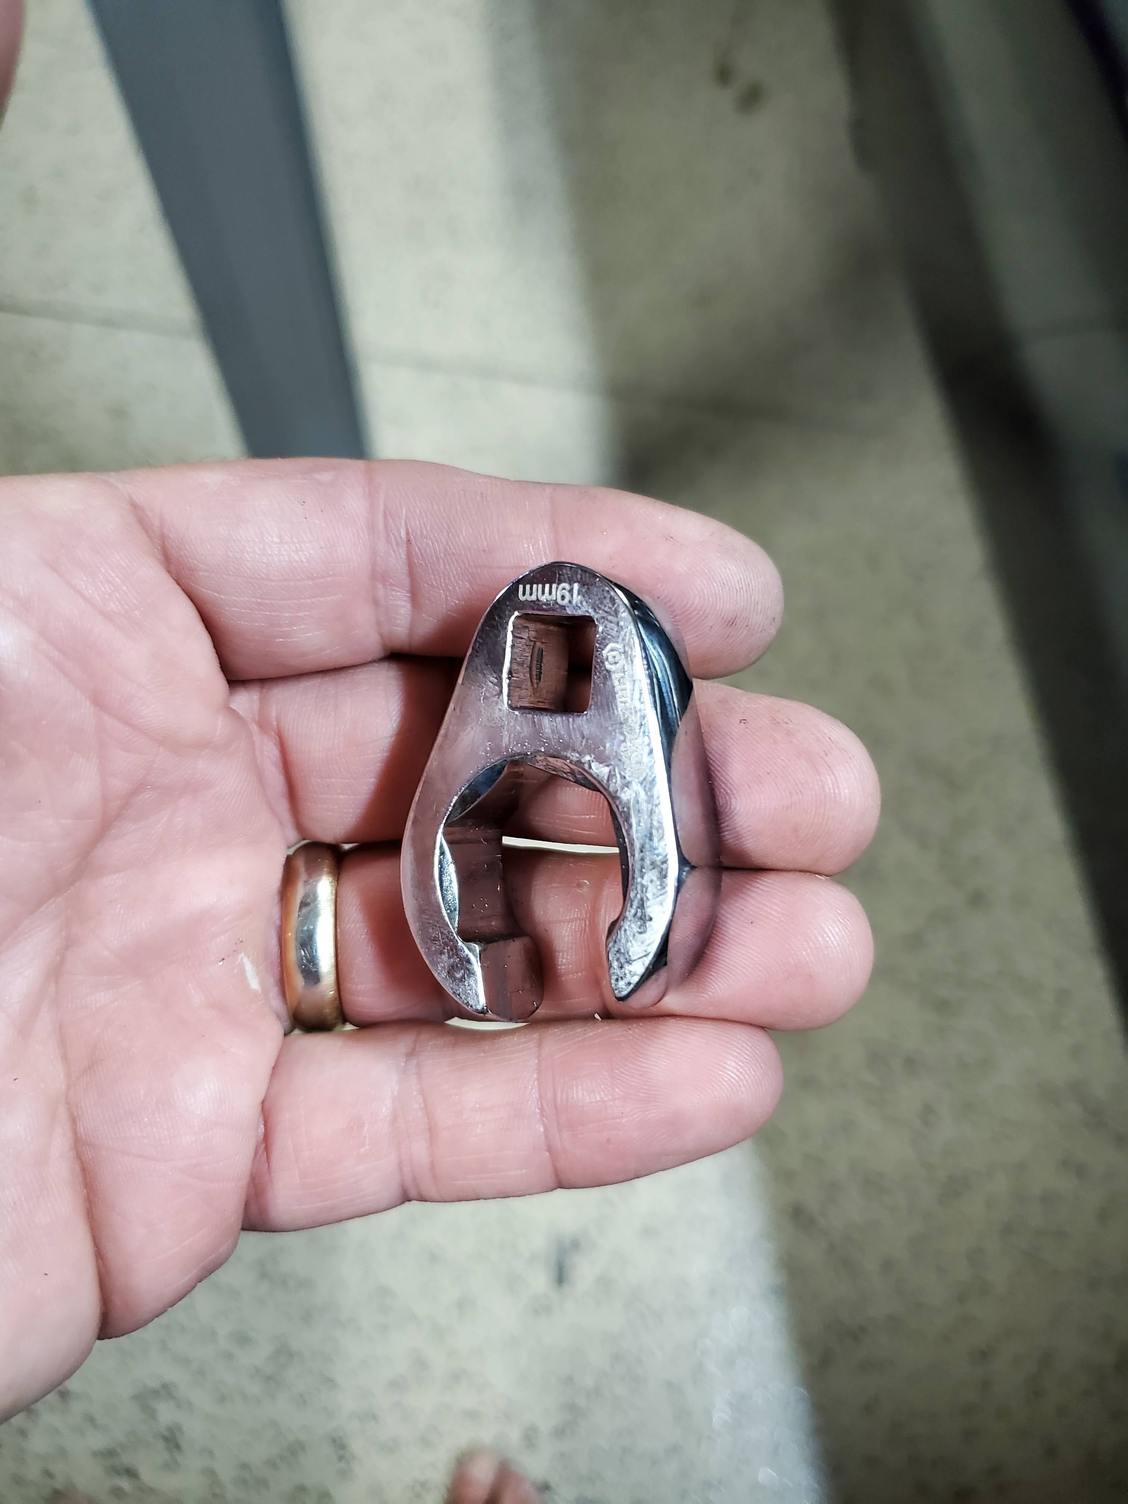
Finished the Expansion Valve replacement. The back 19mm and front 17mm nuts came loose pretty easily. On the front 24mm nut, I couldn't get enough leverage with my cut-down wrench but was able to angle in a normal 24mm to break it loose, then use my thin cut-down 24mm to turn the nut the rest of the way. The worst one was the back 19mm nut closest to the wiper motor. No room for a longer 19mm wrench and not enough leverage on the cut-down one to break it free even after spraying all off them with SeaFoam DeepCreep for a couple days prior. What did the trick was a 19mm flange crowsfoot wrench. The opening is just large enough to pass over the rubber insulator on the backside pipe, then you can gently work it onto the nut, and using a short wobble extension break it loose. Then the rest of the turns were done using my 19mm cut-down wrench.
New one went in fairly easy with new o-rings on the pipes and I used some anti-seize on the threads to make it easier for the next guy if it needs to be replaced again in the future.
Having these cut-down wrenches came in handy, though slightly longer for a bit more leverage might have been beneficial and also still cleared the things in the way.
This 19mm flare crowsfoot wrench was the secret to breaking loose the last stubborn nut
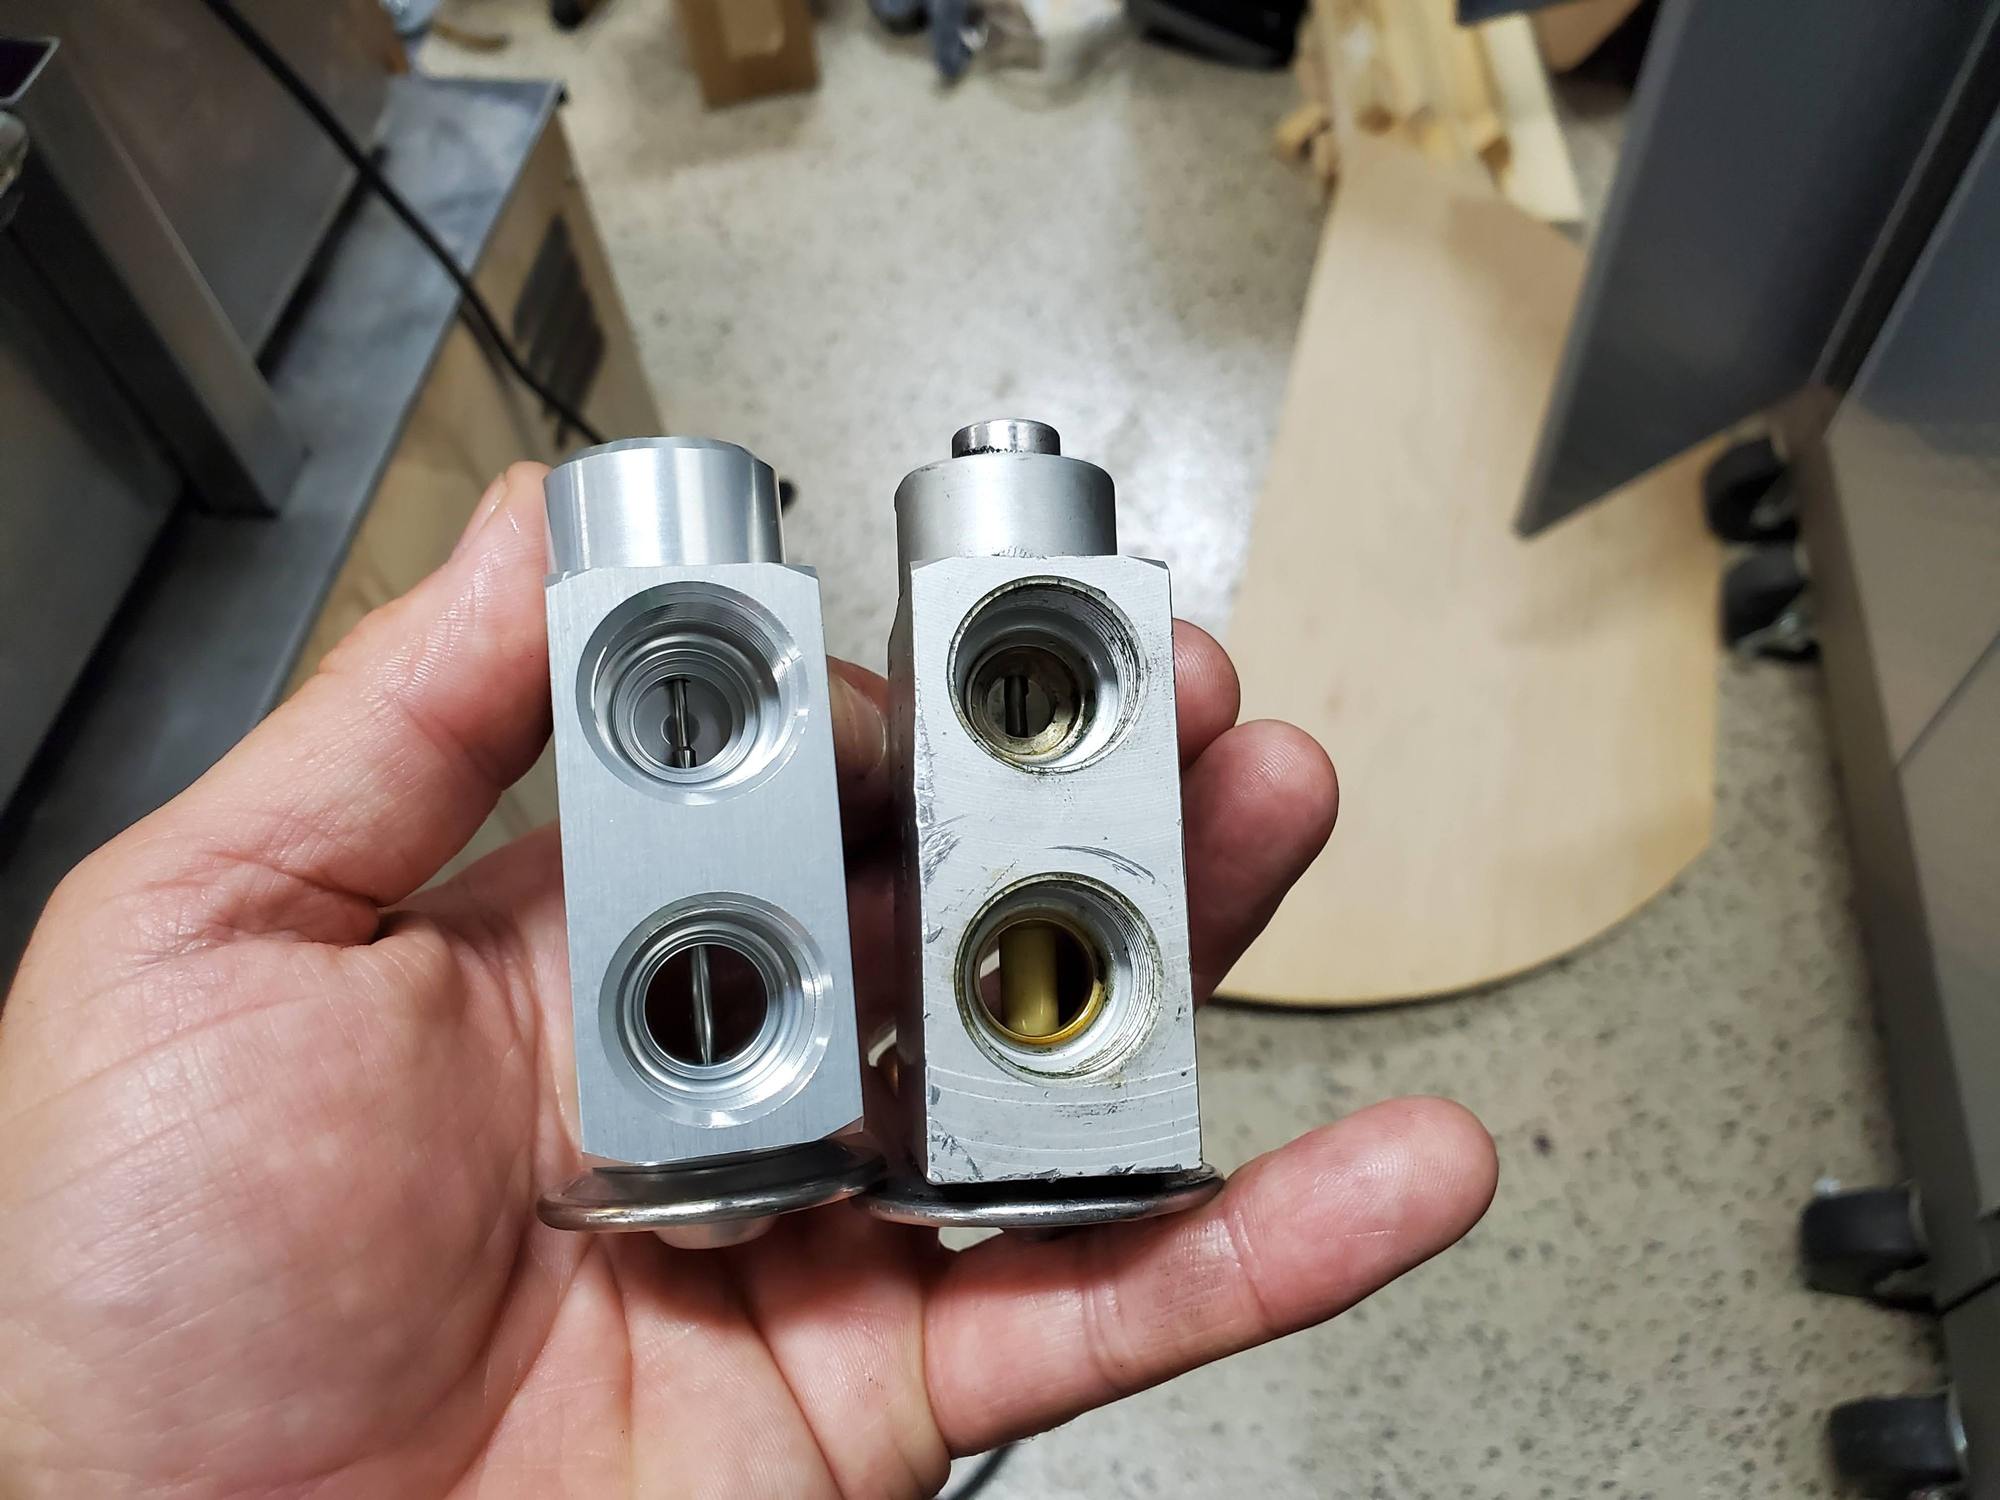
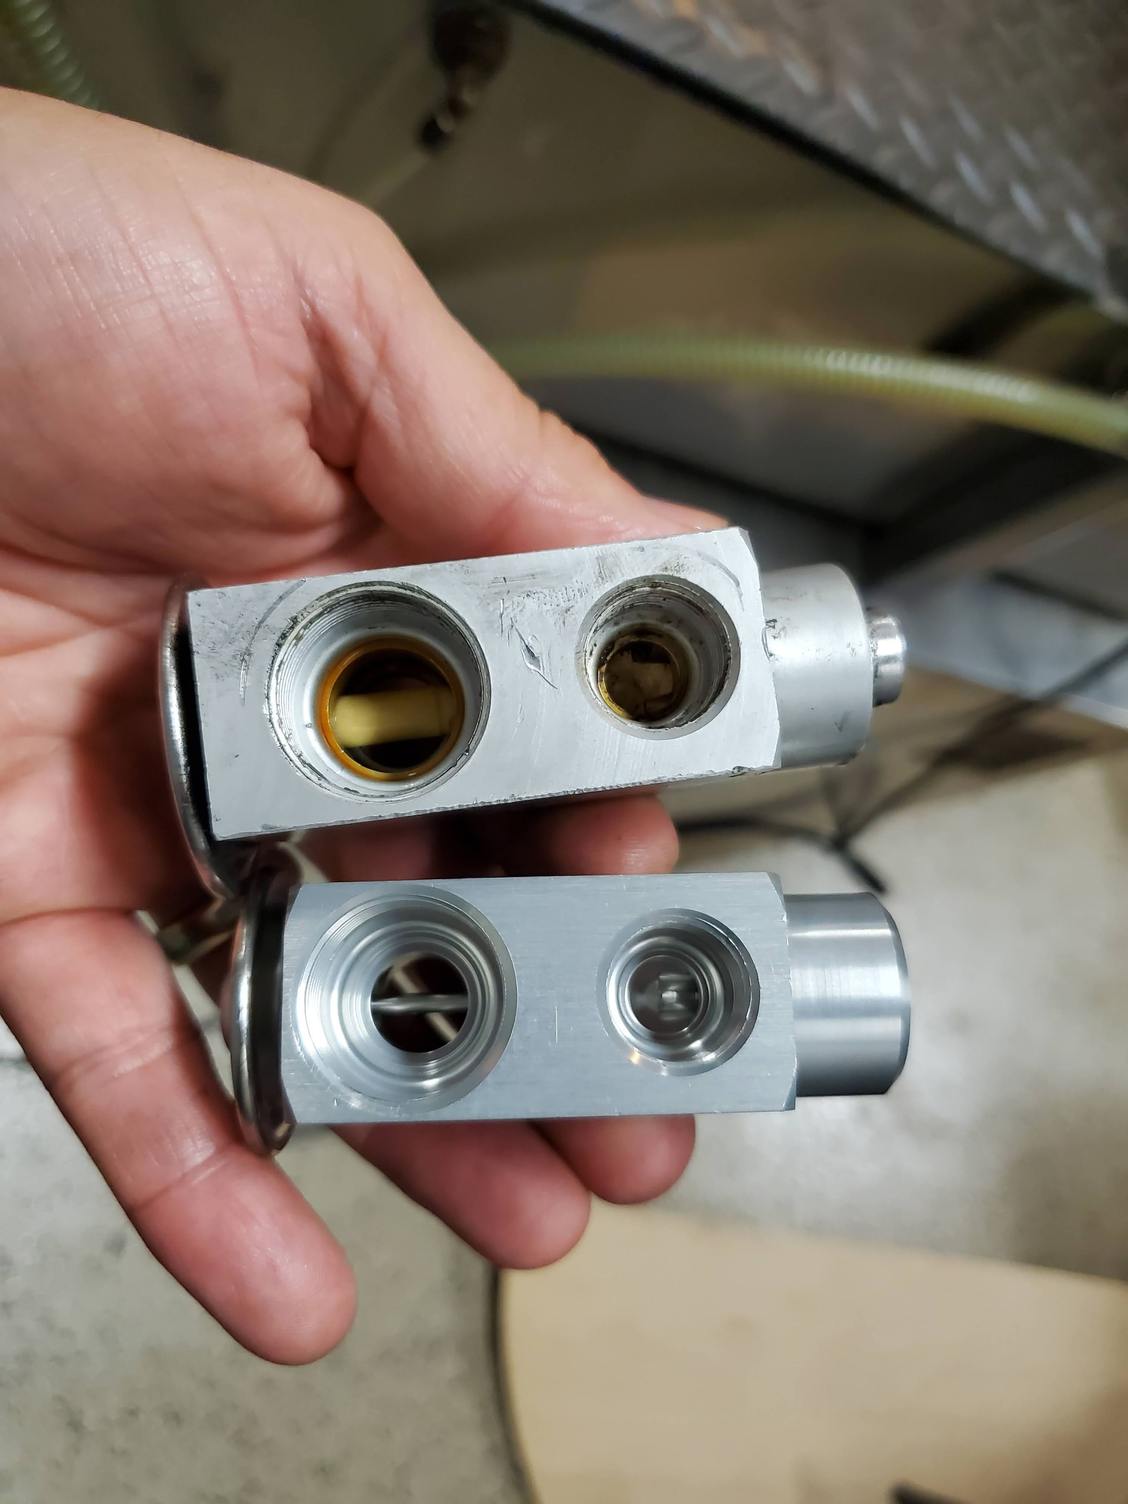
New on the left old on the right. Note the plastic thing in the bottom port of the right one that looks like is has slid over the shaft and how the end cap on that one is protruding vs the other one. (I don't know what an EV actually does or how it works).
Old on the top, new on the bottom
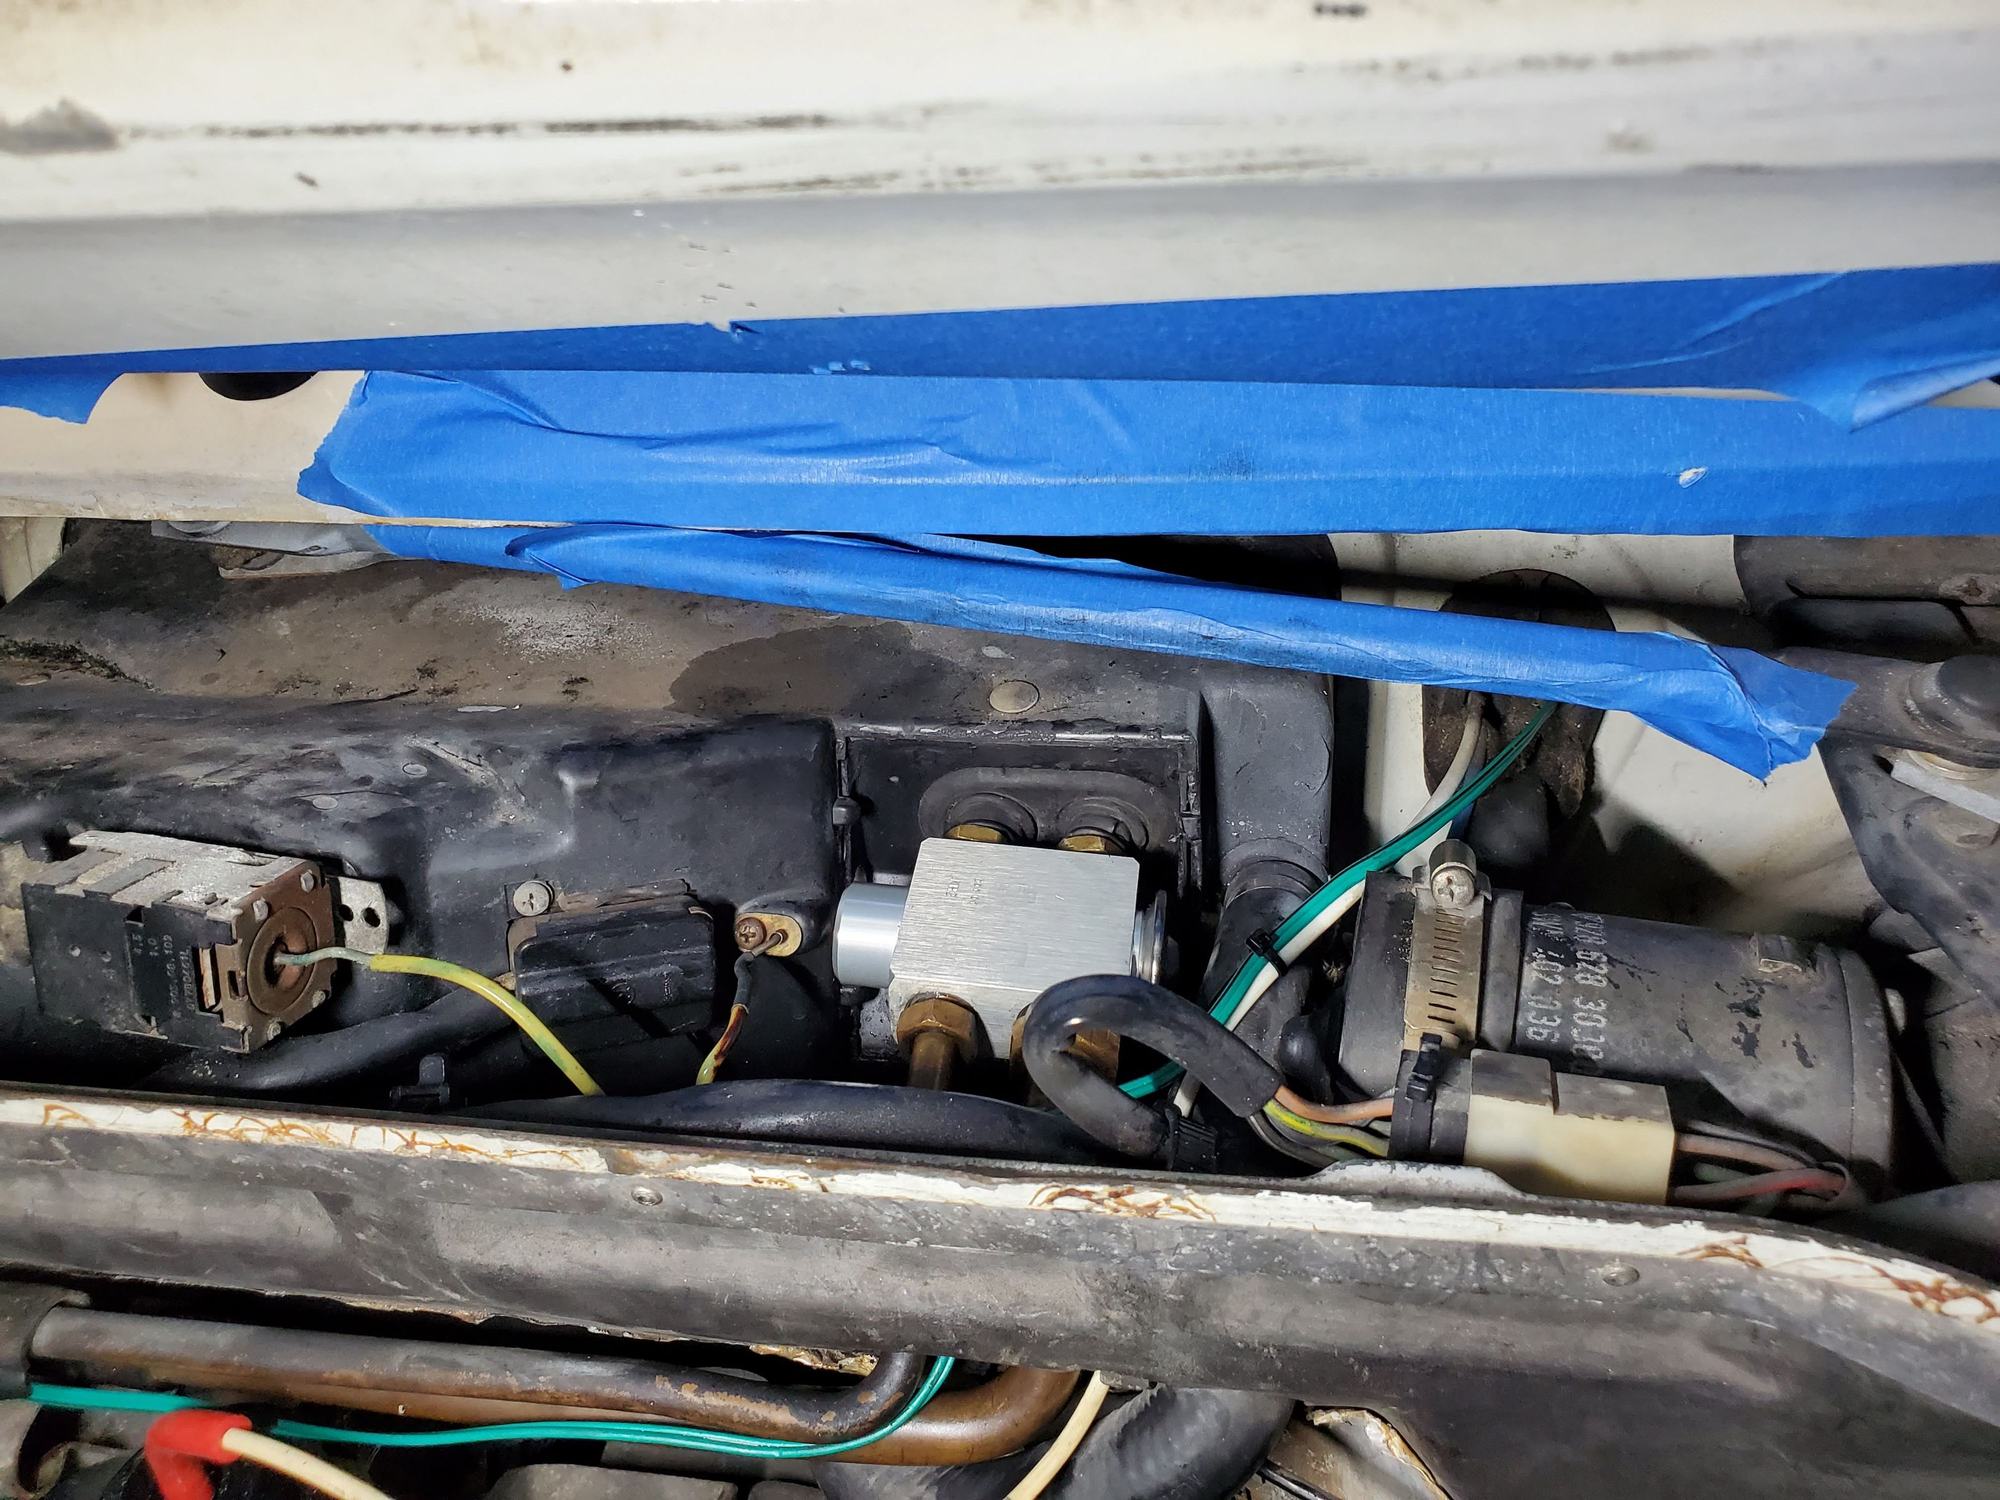
New EV installed. Taped up things in the way and cycled the wipers to vertical to move that arm into a workable position.
Comparing the new EV with the one I removed, the larger port on the old one has a sleeve that looks like it has passed over the shaft, maybe this is how it closes whereas the new one at room temperature just shows the shaft. Looking at the end, the old one also has the button sticking out of the end where the new one is flush. Maybe this is what it's supposed to do when it's working and the old one is jammed in that position. While the system is empty, I'm also going to replace the dryer which arrives tomorrow, then I'll watch some YouTube videos on how to pull a vacuum on the system, test it for leaks, then refill it with the manifold gauges I've acquired, but I think the hard part of the job is now done.
I ended up not removing the hood and just taping up anything I might scratch with a wrench. Seemed to work fine with the cut-down wrenches.


 06-12-2021, 11:38 PM