When you click on links to various merchants on this site and make a purchase, this can result in this site earning a commission. Affiliate programs and affiliations include, but are not limited to, the eBay Partner Network.
if you keep them for now , also clean and grease the sliding pins. As far i know those can give problems ( rusted/stick ? ) .
As you can see the caliper housing pulls on the outer pad , the piston pushes the inner pad. Those are sliding on 2 "pins" .
Will smooth them out and grease the pins while I have them off. Maybe that's all I'll need to do in the short term to create decent braking. This car had very little maintenance done to it over the last decade - just whatever would keep it running.
I need to inspect the timing belt too in order to see how much I should be driving it while working on it.
you would be smart to buy a new ATE booster and ATE MC and new clutch MC and slave, NOW ,
upgrade the whole system I will bet the MC is all rusty and has probably leaked into the booster.
The prices for these parts will never be less than they are now
you would be smart to buy a new ATE booster and ATE MC and new clutch MC and slave, NOW ,
upgrade the whole system I will bet the MC is all rusty and has probably leaked into the booster.
The prices for these parts will never be less than they are now
Sound advice as usual Stan. I already have the new clutch slave. Going to start simpler and less expensive and go from there. Not planning to do this car to the same level as my other, as it's not in as nice condition to start with and may be my son's car at some point, so mechanically sound and fun, but not show-level, and not so much $ at risk if in an accident.
i understand that Petza... but of course a potential leaking MC is sure not mechanically sound.... and could just be a accident source. Sure not show-level, those are costs nobody sees......
O well , it's always the same with oldtimers.... the list is endless to better renew/repair.
You guys are right. I'll get the 2 MCs and booster and only take all those hydraulics apart once. I'm swapping the seats out anyway, so the time to do it is when the drivers seat is already removed from the car.
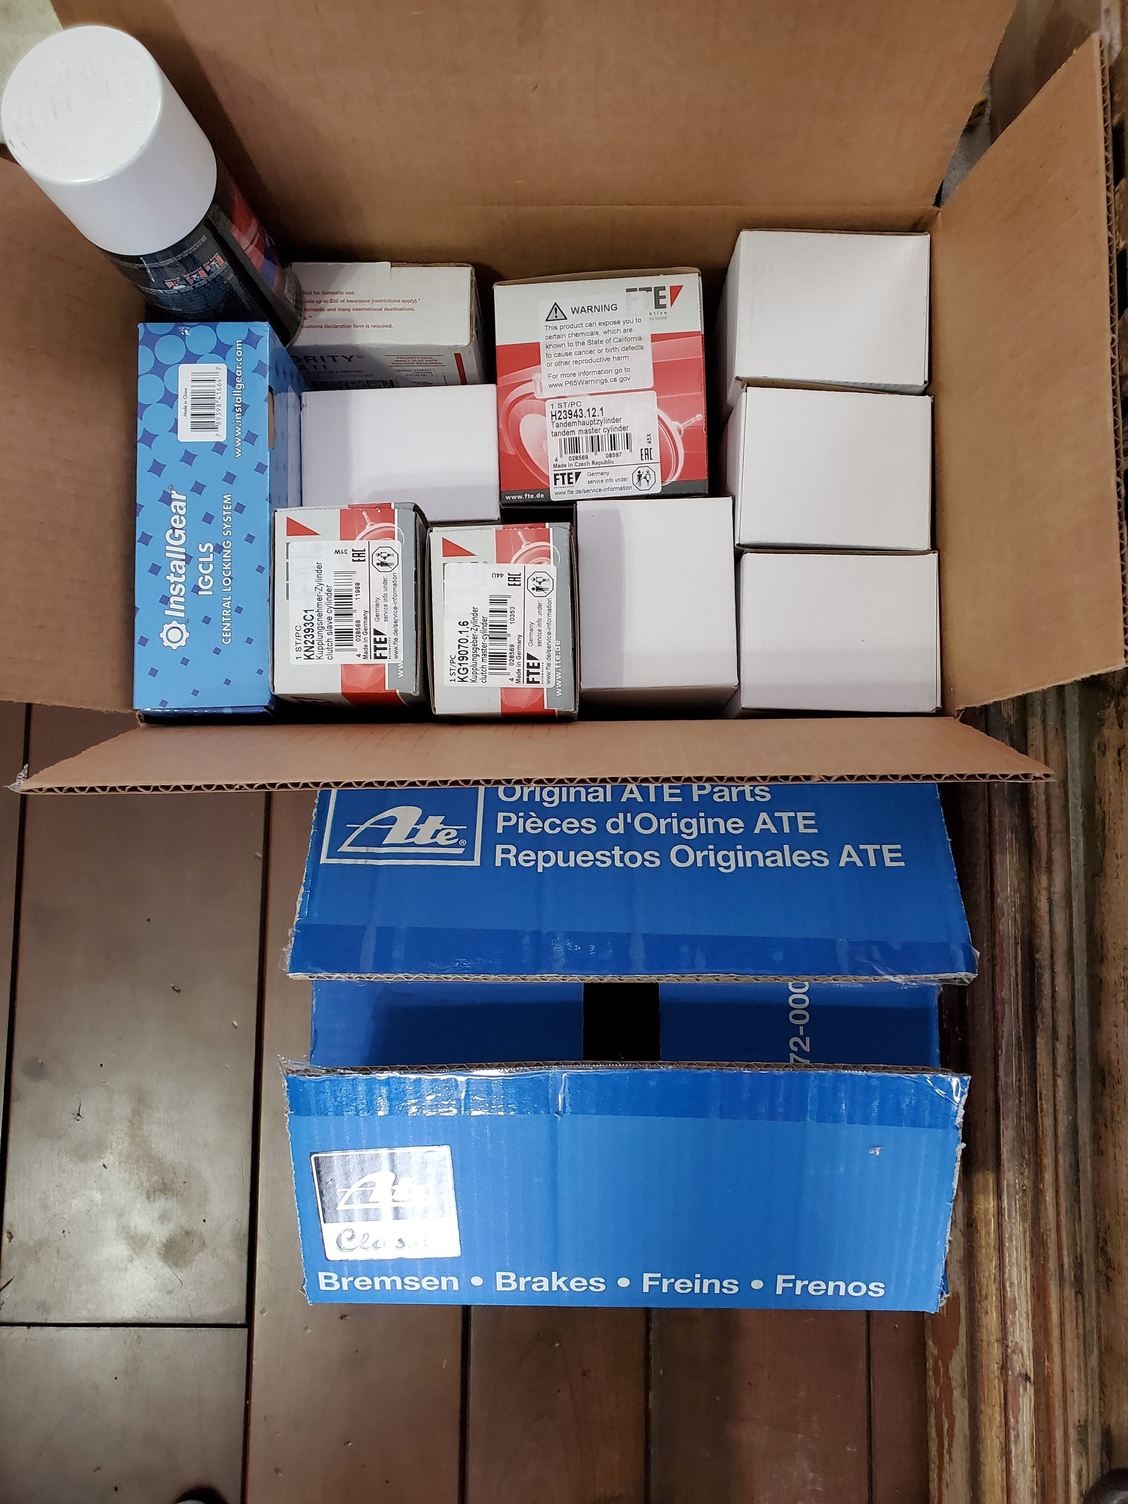
I posted this advice as the master cylinders are running out and the prices for any left are doubling the boosters are still reasonable just under 300.00 for a brand new ATE booster that�s a win
good luck
Note the last S4 MC I got was 550.00 and not many left
virtually every early car I see needs all the hydraulic systems replaced
This has nothing to do with show quality looking components just old age catching up with an otherwise indestructible chassis
Note use DC 111 on the grommets and base seals it prevent corrosion in the inlet bores and base mating surfaces
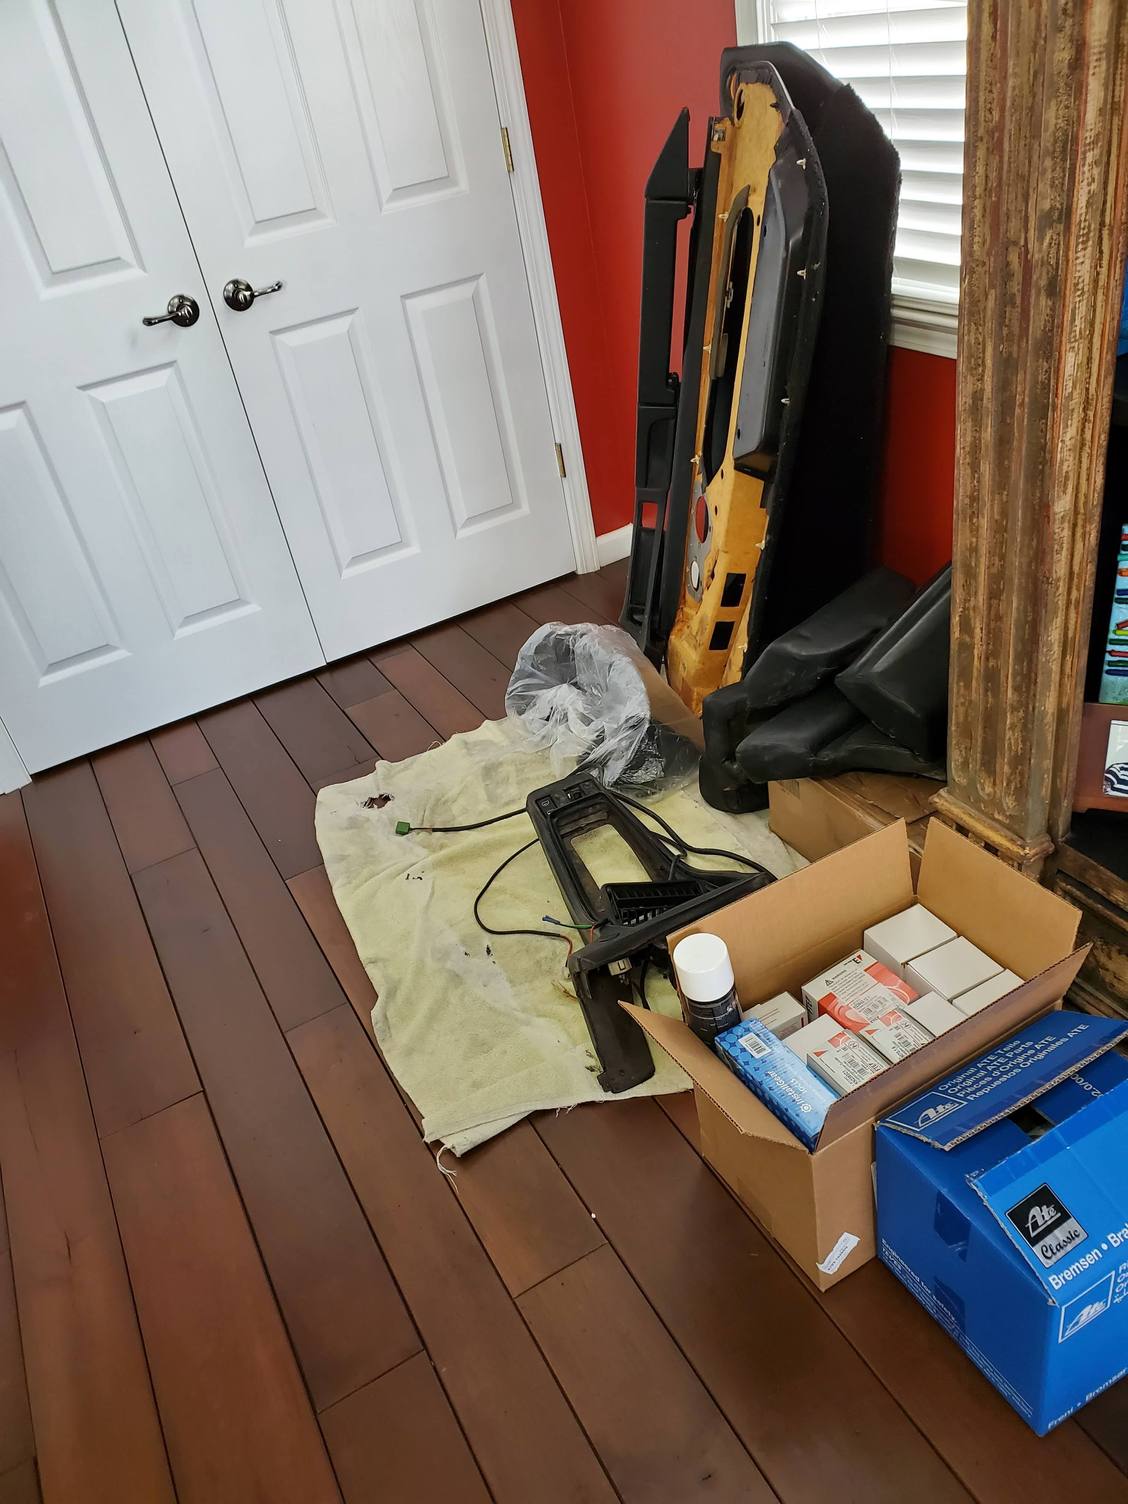
I now have a bunch more parts than I have time including all the brake and hydralic parts mentioned in the previous messages, so will need to find a day to tackle that system.
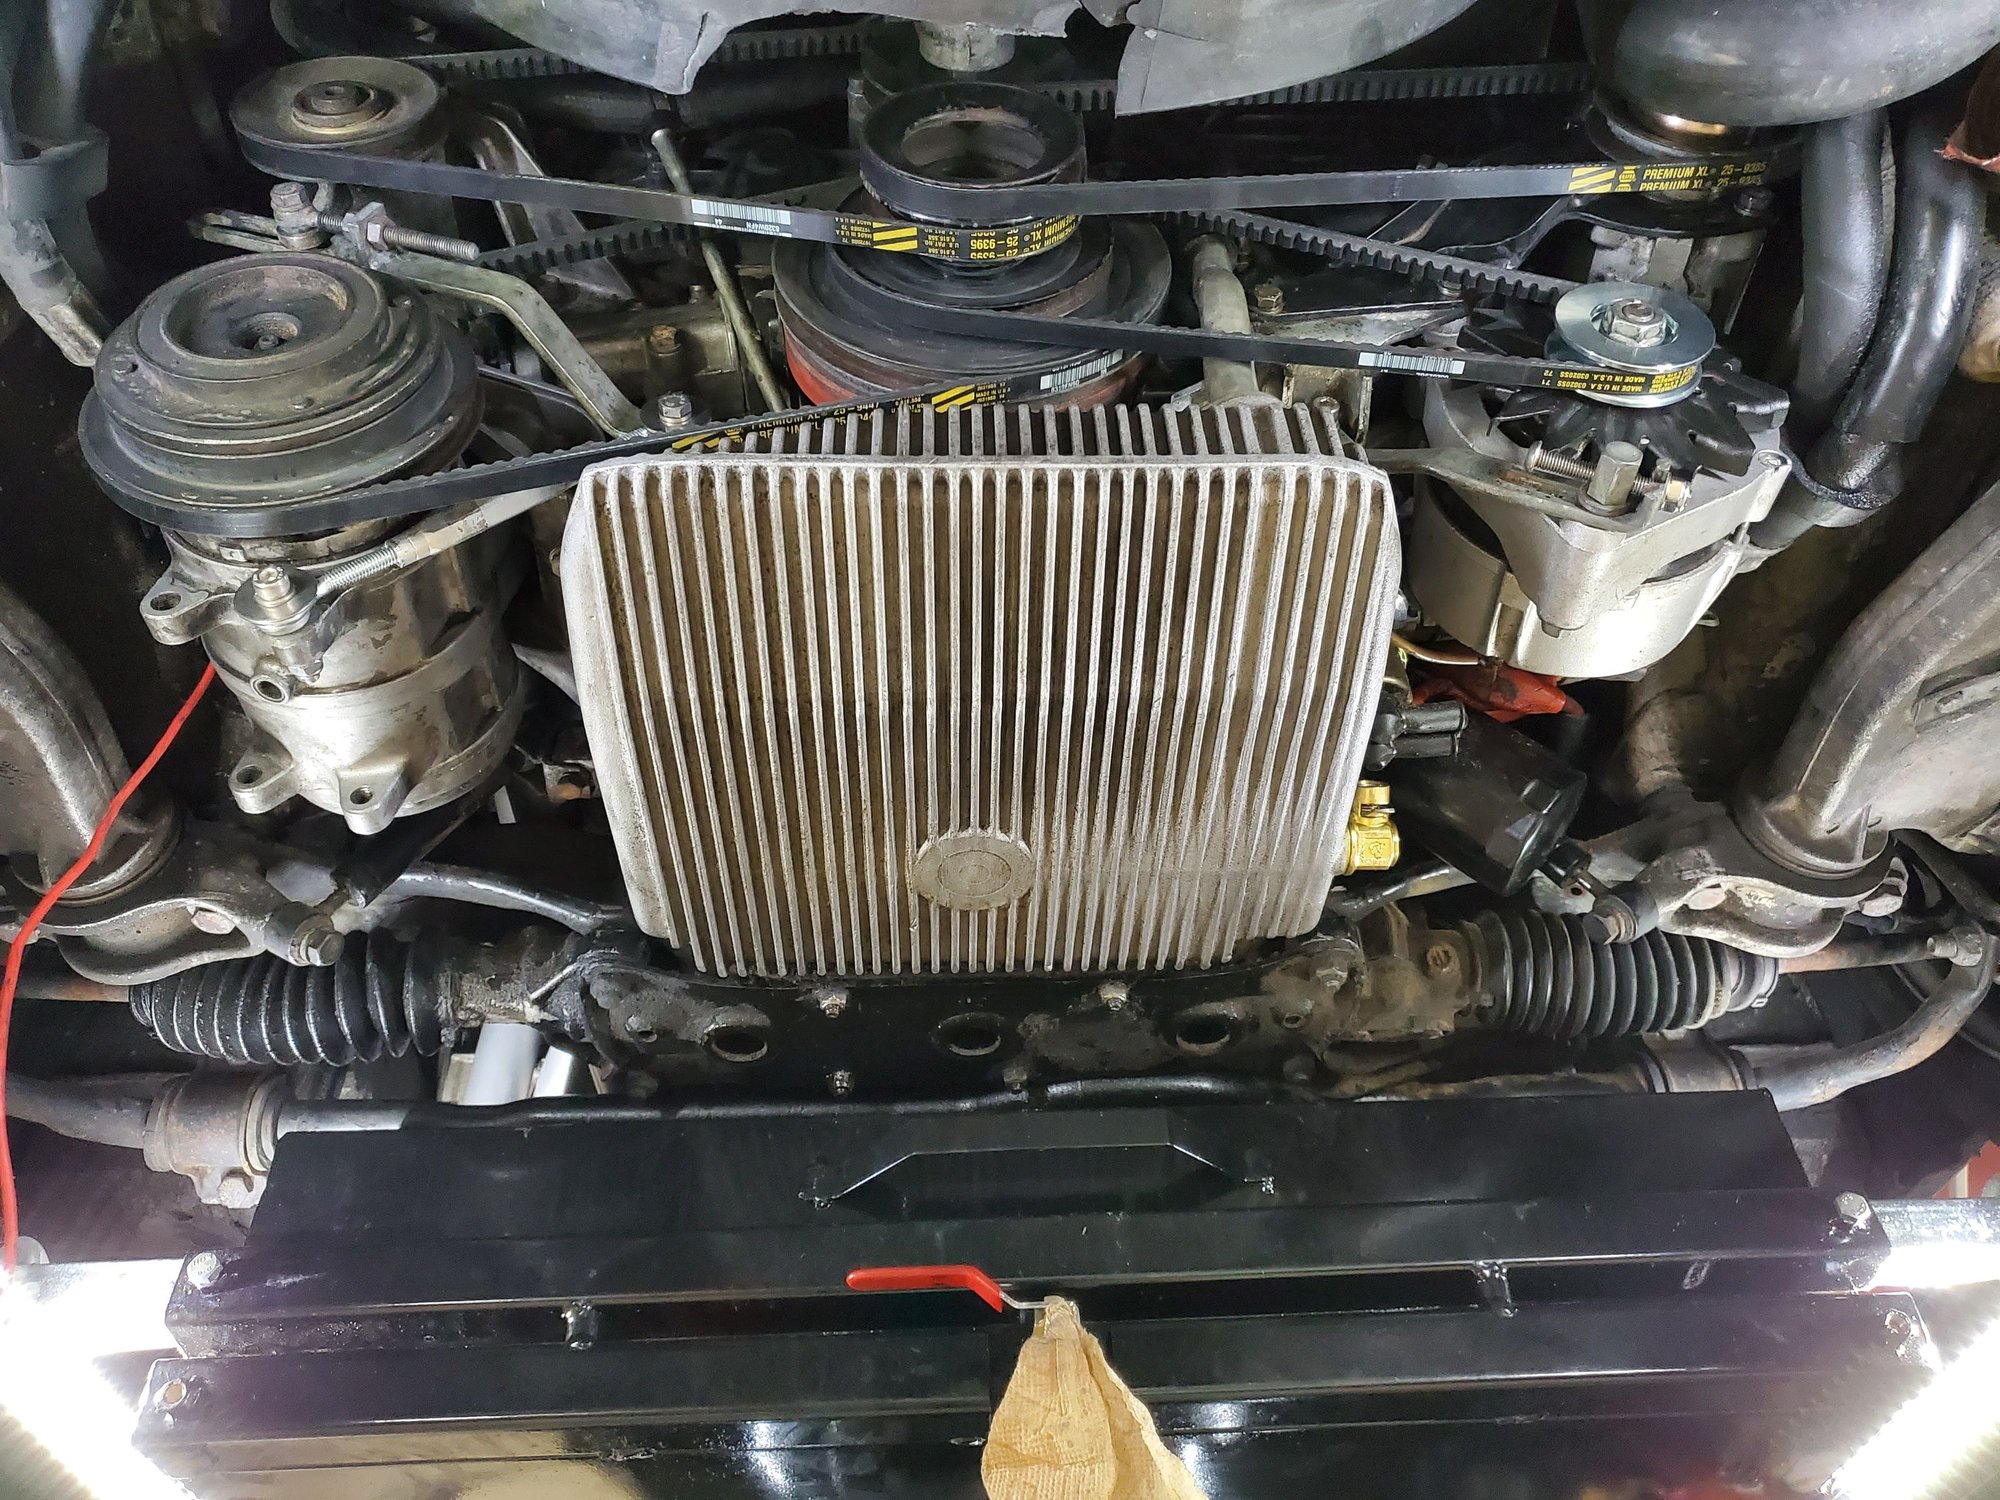
In the meantime, I finished all the belts and installed a new alternator pulley that is keyed to the alternator shaft and fits the belt, so hope we're done with belts and can move onto other things. Haven't started or driven it since getting it all together here, but maybe tomorrow. Need to swap it with the Spyder to get it on the ground so I can drive it around some.
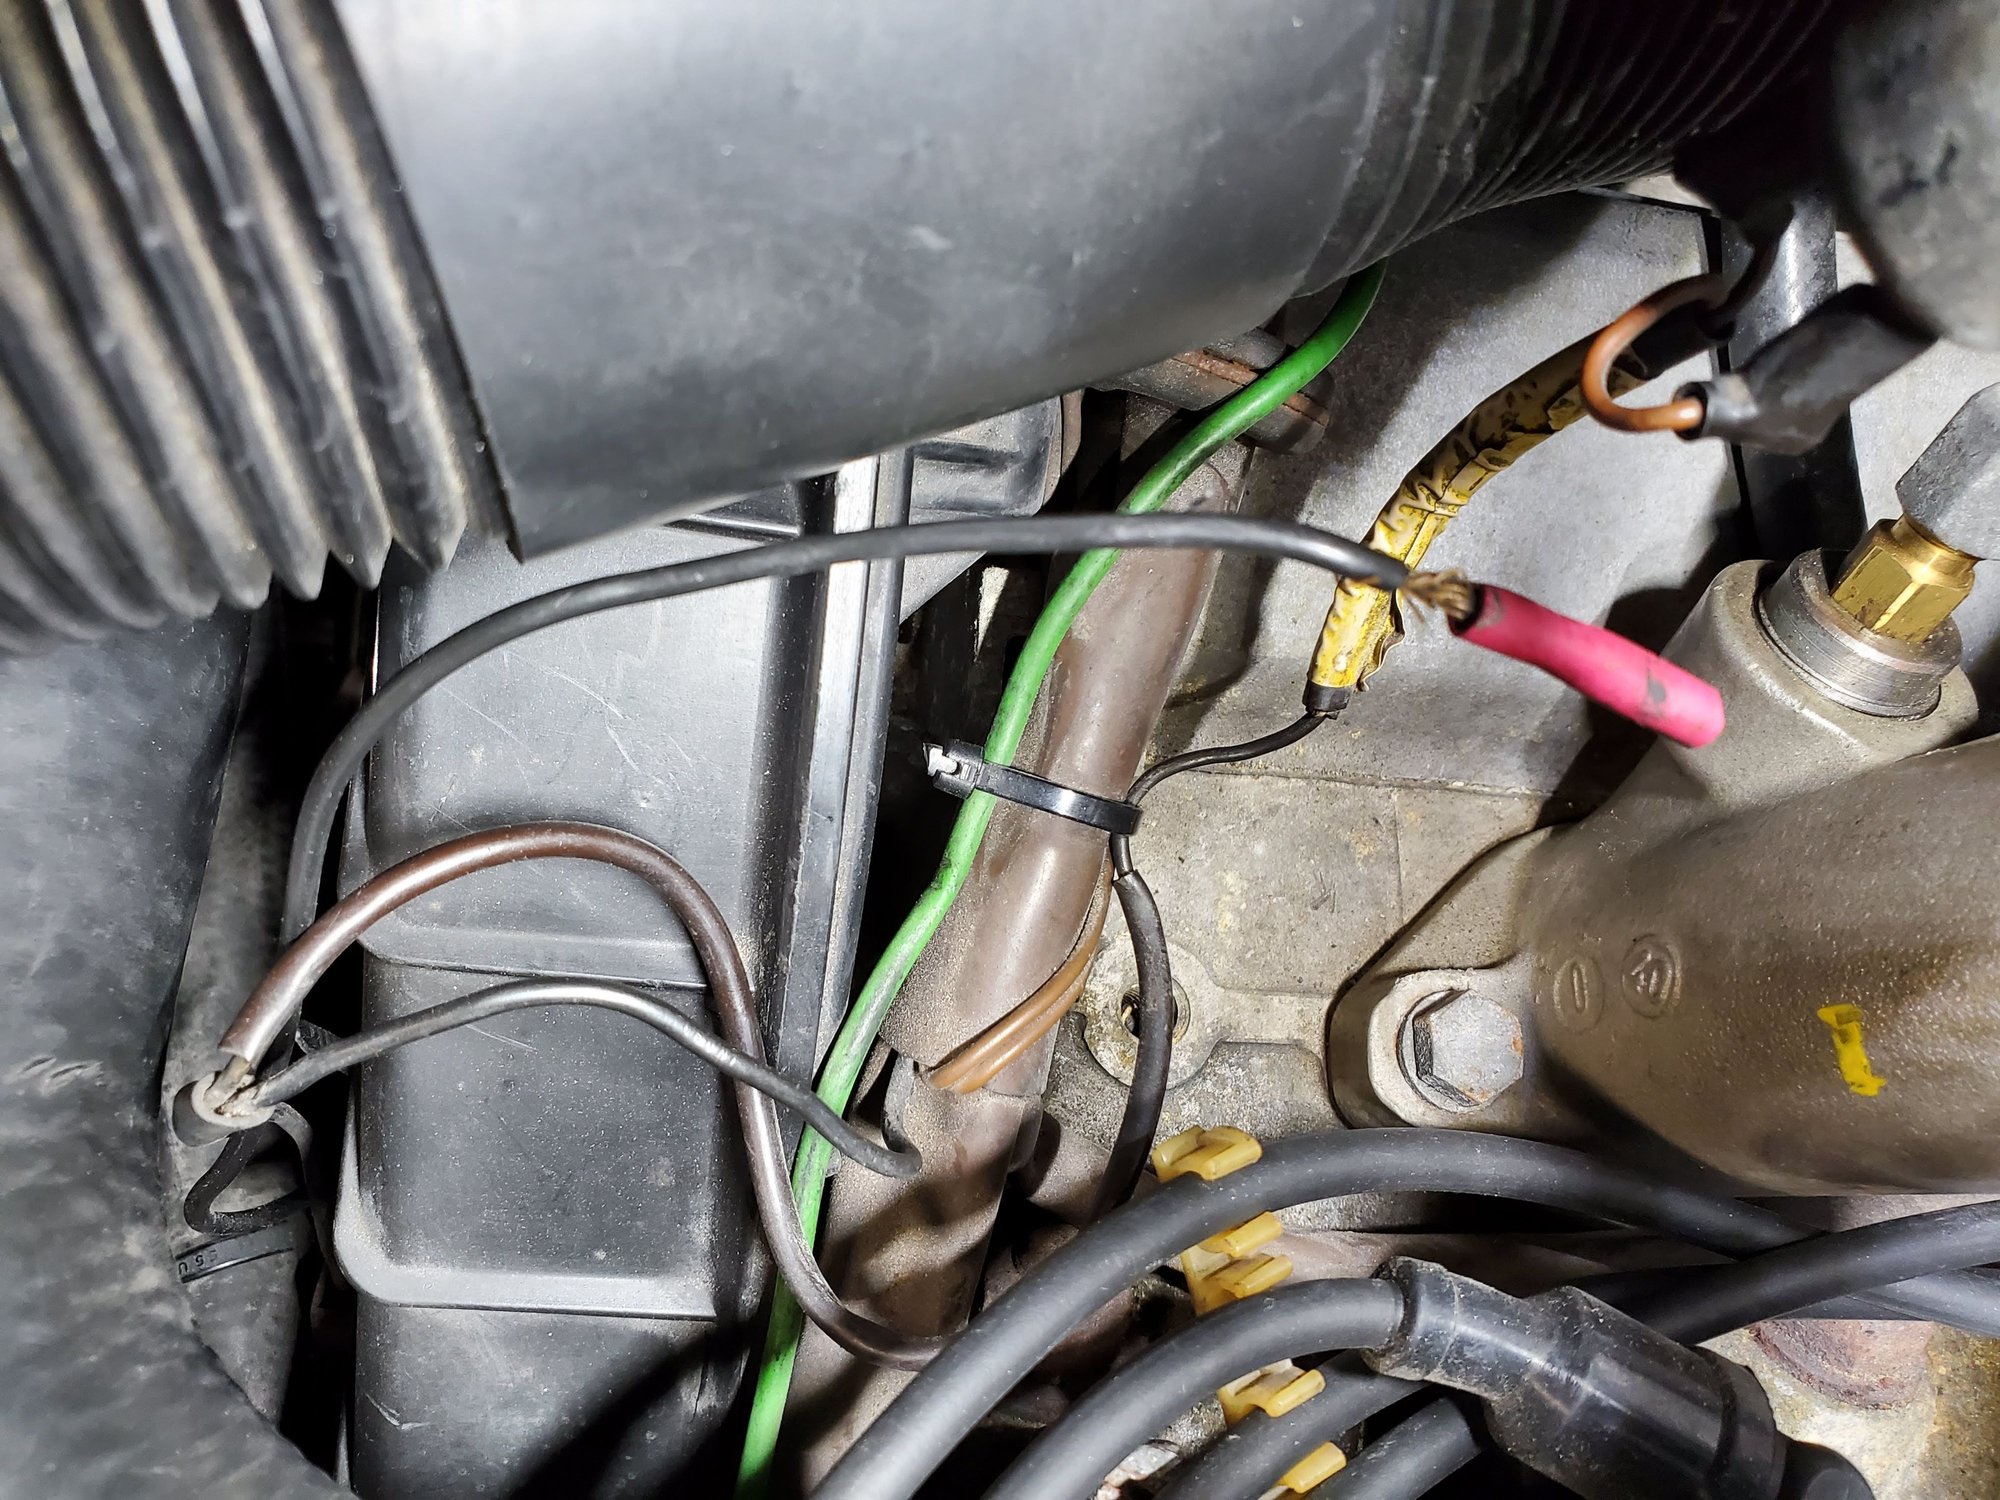
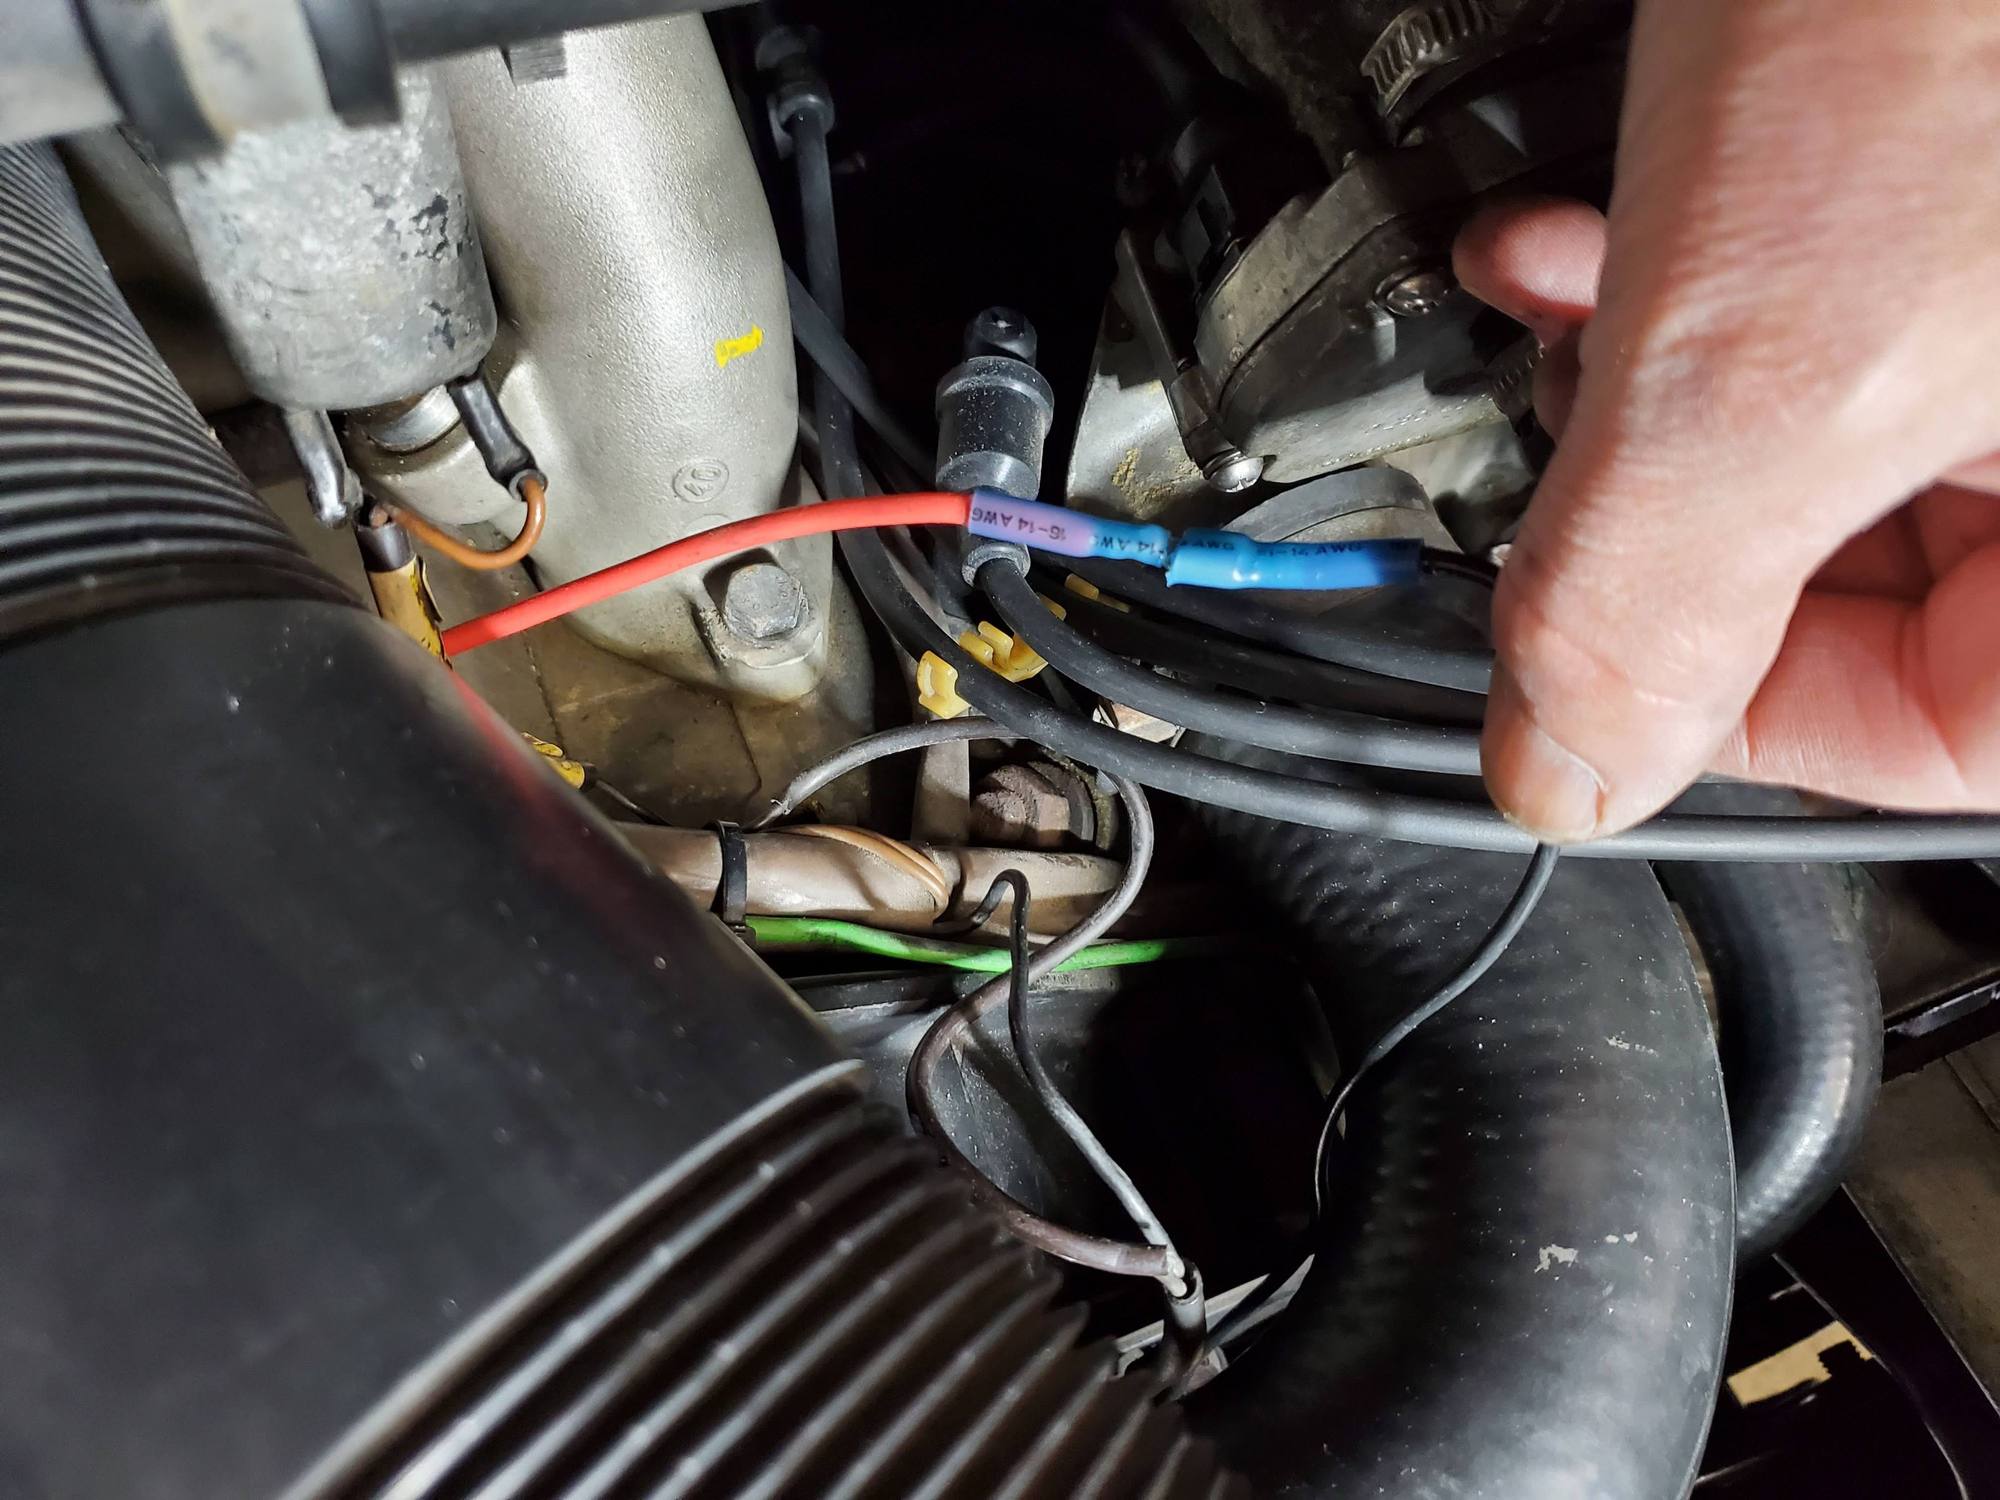
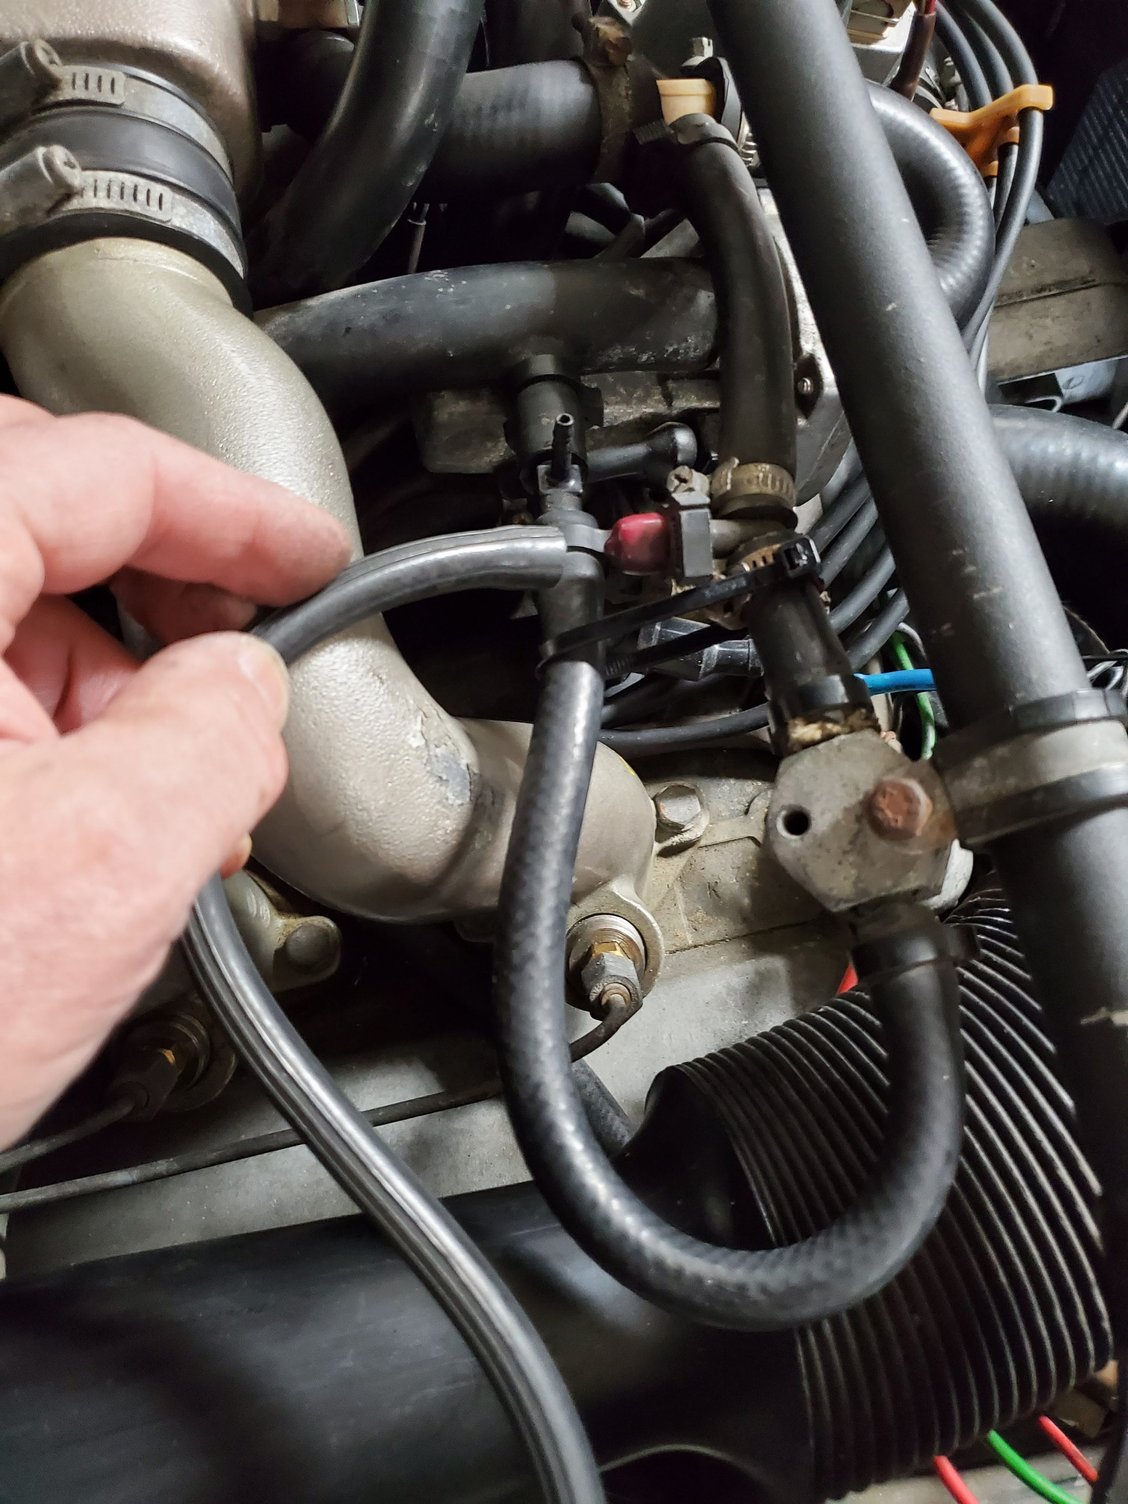
Also repaired the severed wire that was on the A/C compressor, extended it, and believe it needs to connect to a unsecured wire with a crappy crimp on connector on the top side of the motor. I think someone routed in incorrectly and one of the belts grabbed it at some point. The red wire is the one I added from the compressor. The black wire is the unconnected one. That black wire goes down along the front of the timing belt cover, through a little loop and comes back up as 2 wires. One of them goes into the loom and the other connects to the device on the crossbrace bar. Is this in-fact the wire that should connect to the A/C compressor like I've done. I'm going to leave them disconnected until I can run the car, take some meter readings, move the A/C switch then connect them while I'm monitoring what happens.
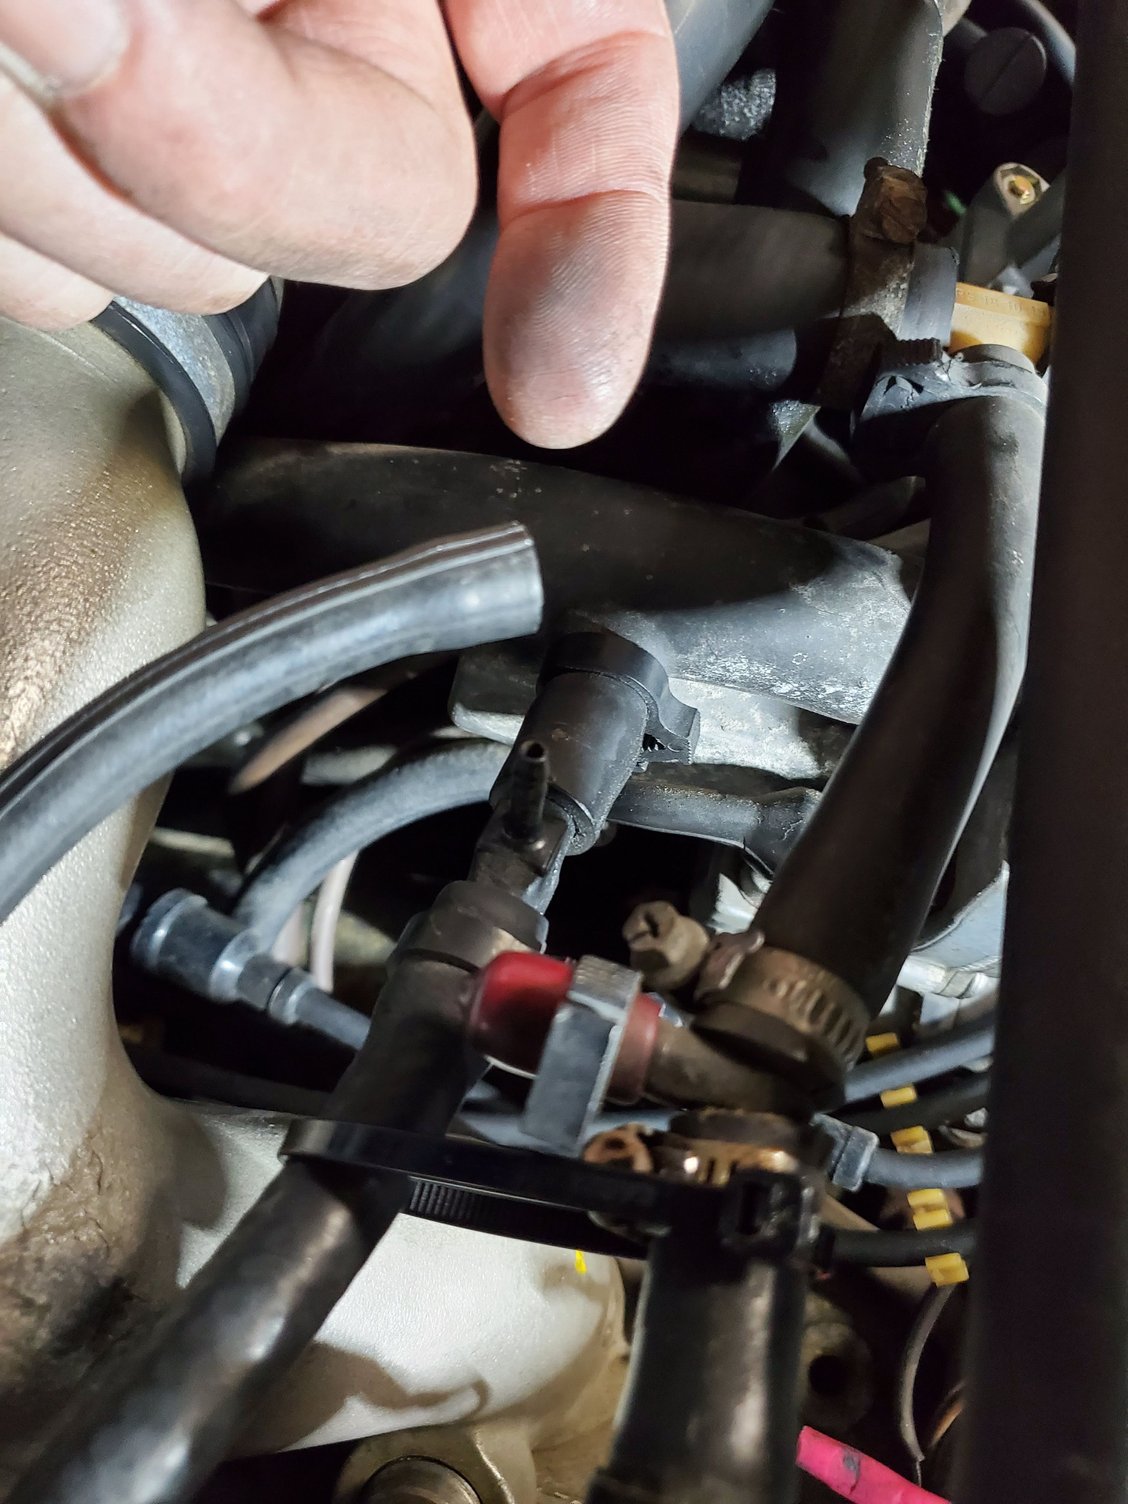
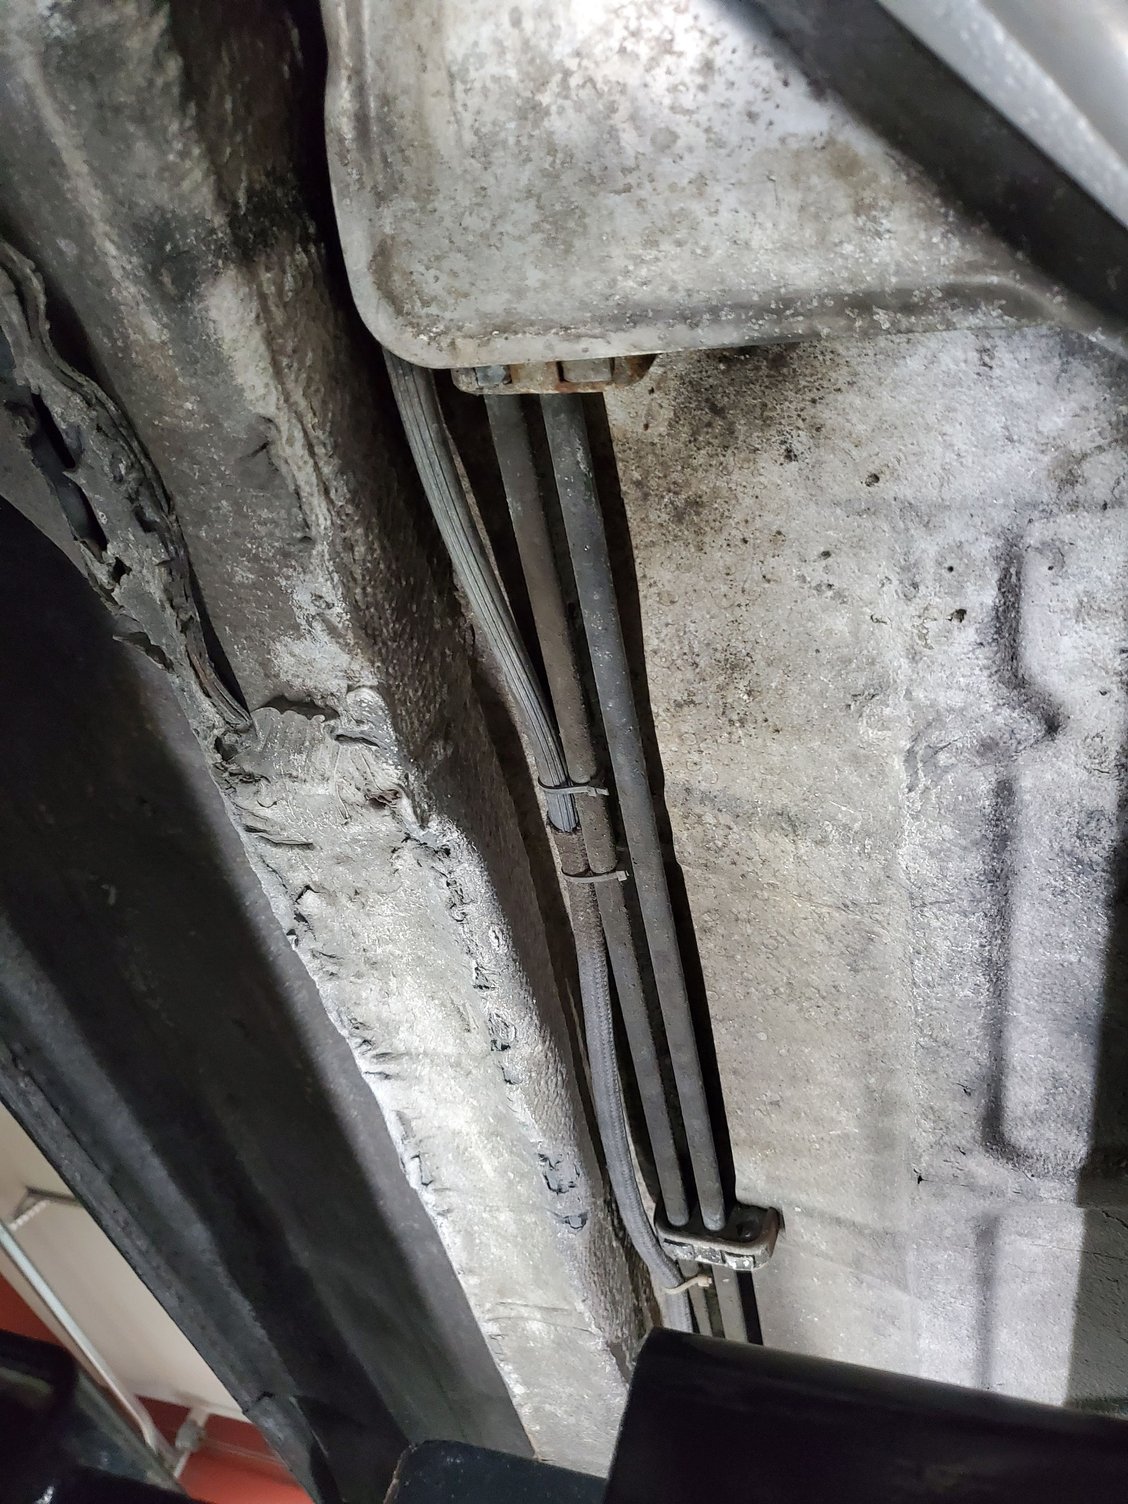
Here's the next question. I have a rubber line with about 1/4" opening on it that's not connected to anything. Tracing it, it runs down along the fire wall all the way to the rear of the car on the passenger side and is wire tied to the other two factory lines that run in this same area. It may go to the fuel tank. Is it a vent line? I notice there is a port capped off with a red cap and wire tie that looks like it's the right size to have this unconnected rubber hose connect to that port. What is is and why would someone cap it off. BTW, this car still has the air pump.
This larger unconnected line.... runs down along the side then down the firewall.... and is tied to these other two lines all the way to the back of the car. This red cap looks to be on a port that would be the right size and the hose has the correct bends where it could connect here.
In that first picture above, you'll also notice a really small vacuum port that has nothing on it. What should be there and where does the other end go?
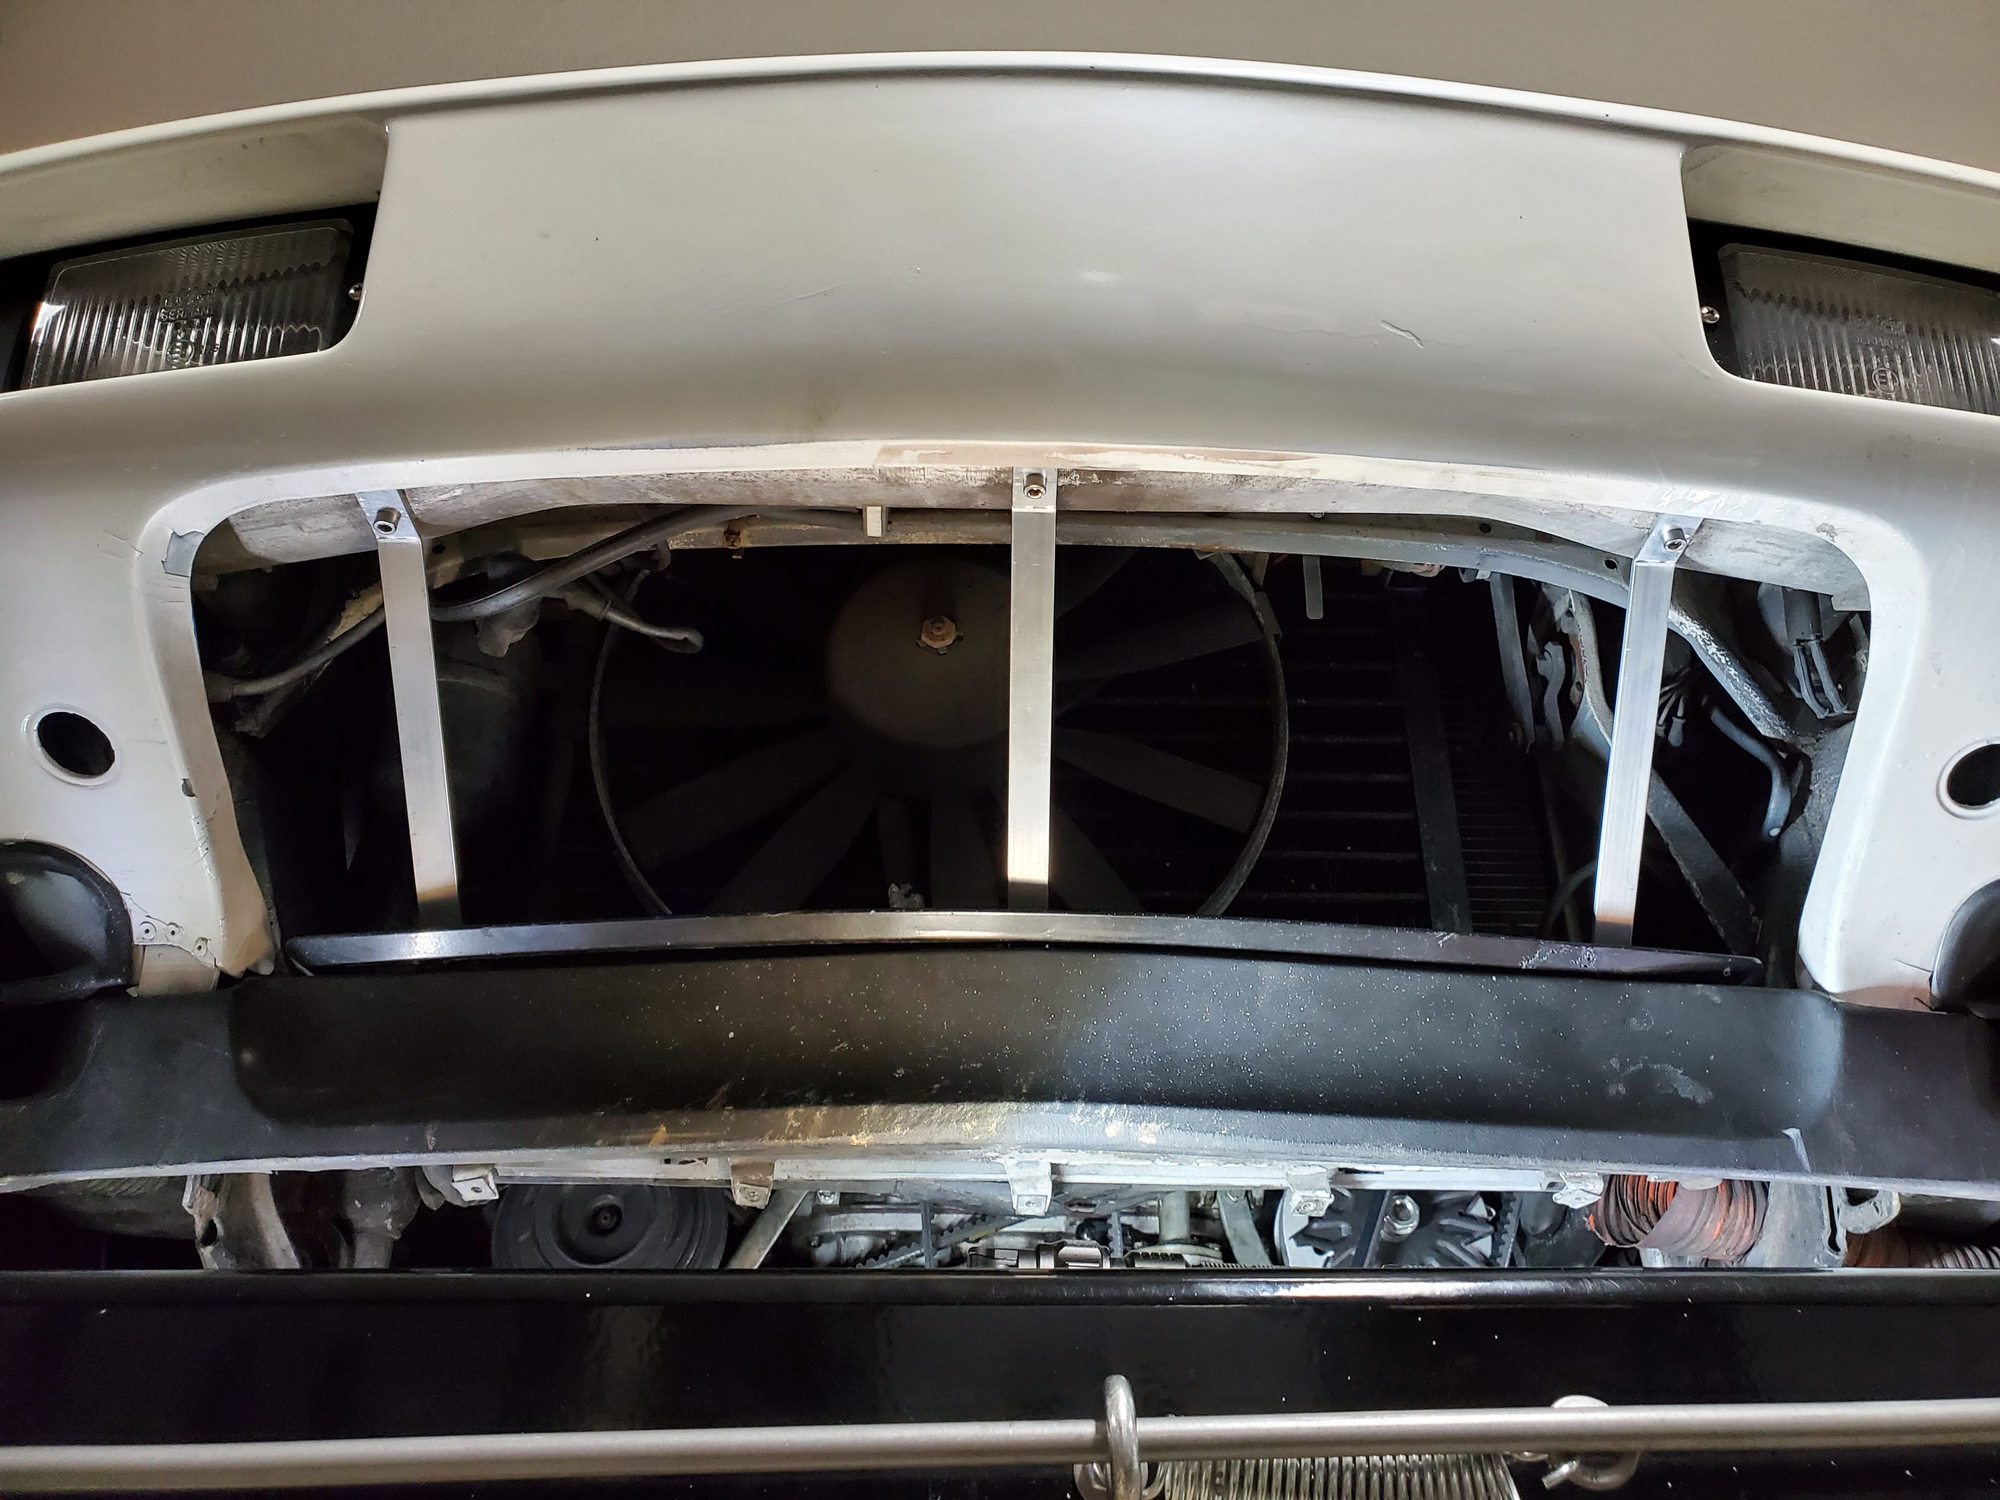
I've been working on a replacement front grill with custom mesh screen. I'll make a separate post on that once it's completed, but it's going to support the front spoiler very well and protect the fan and A/C Condenser, and Radiator nicely.
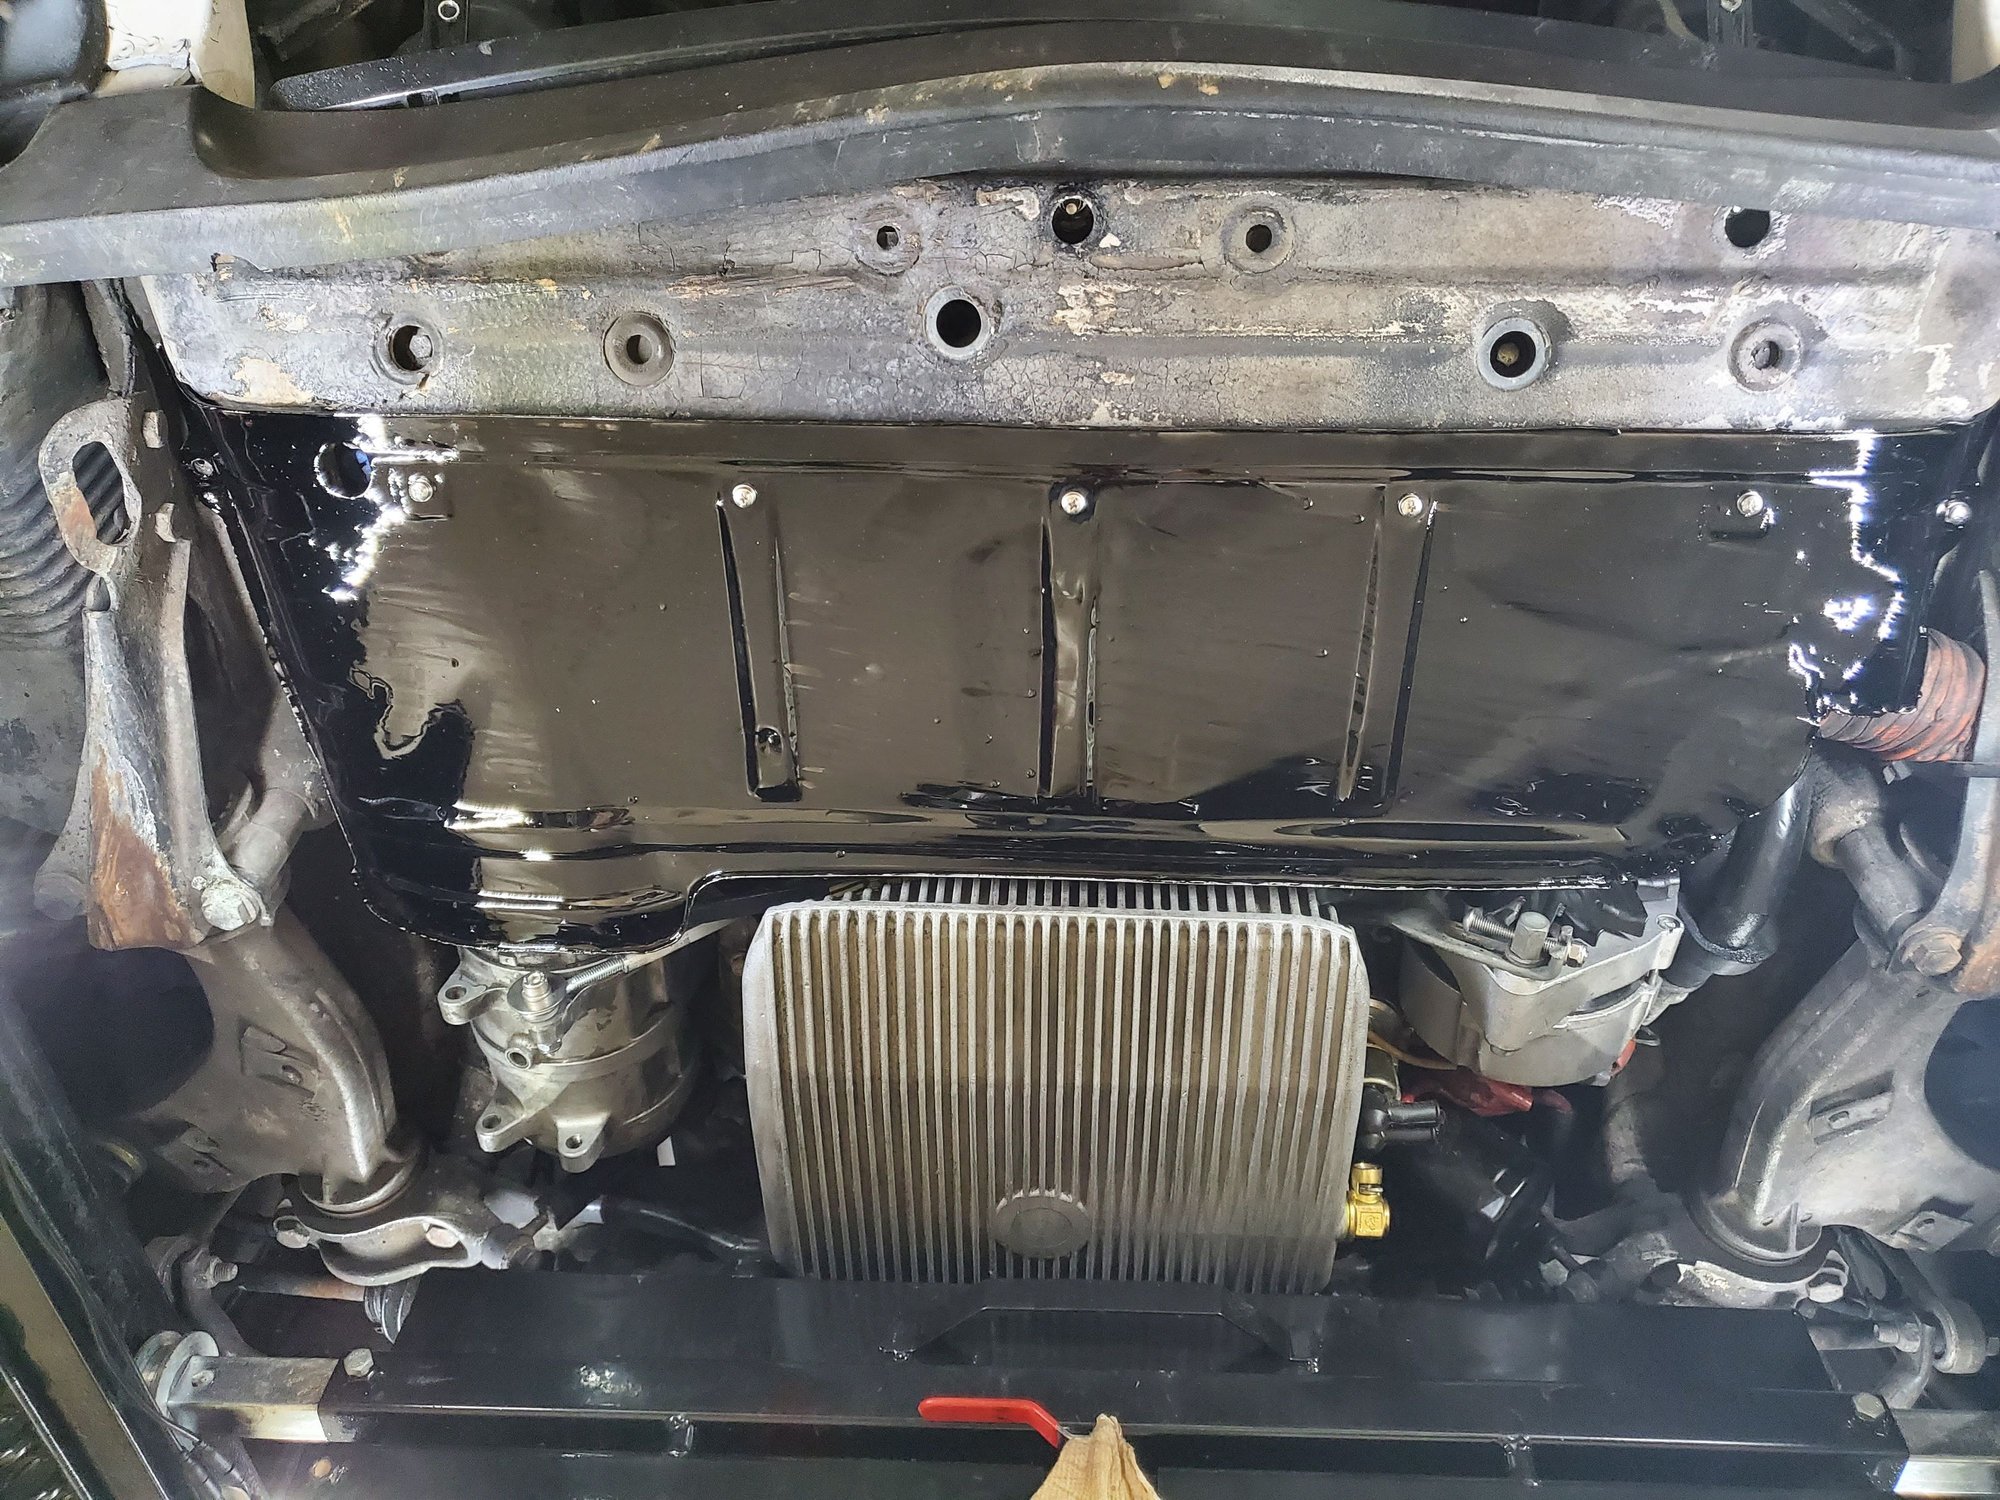
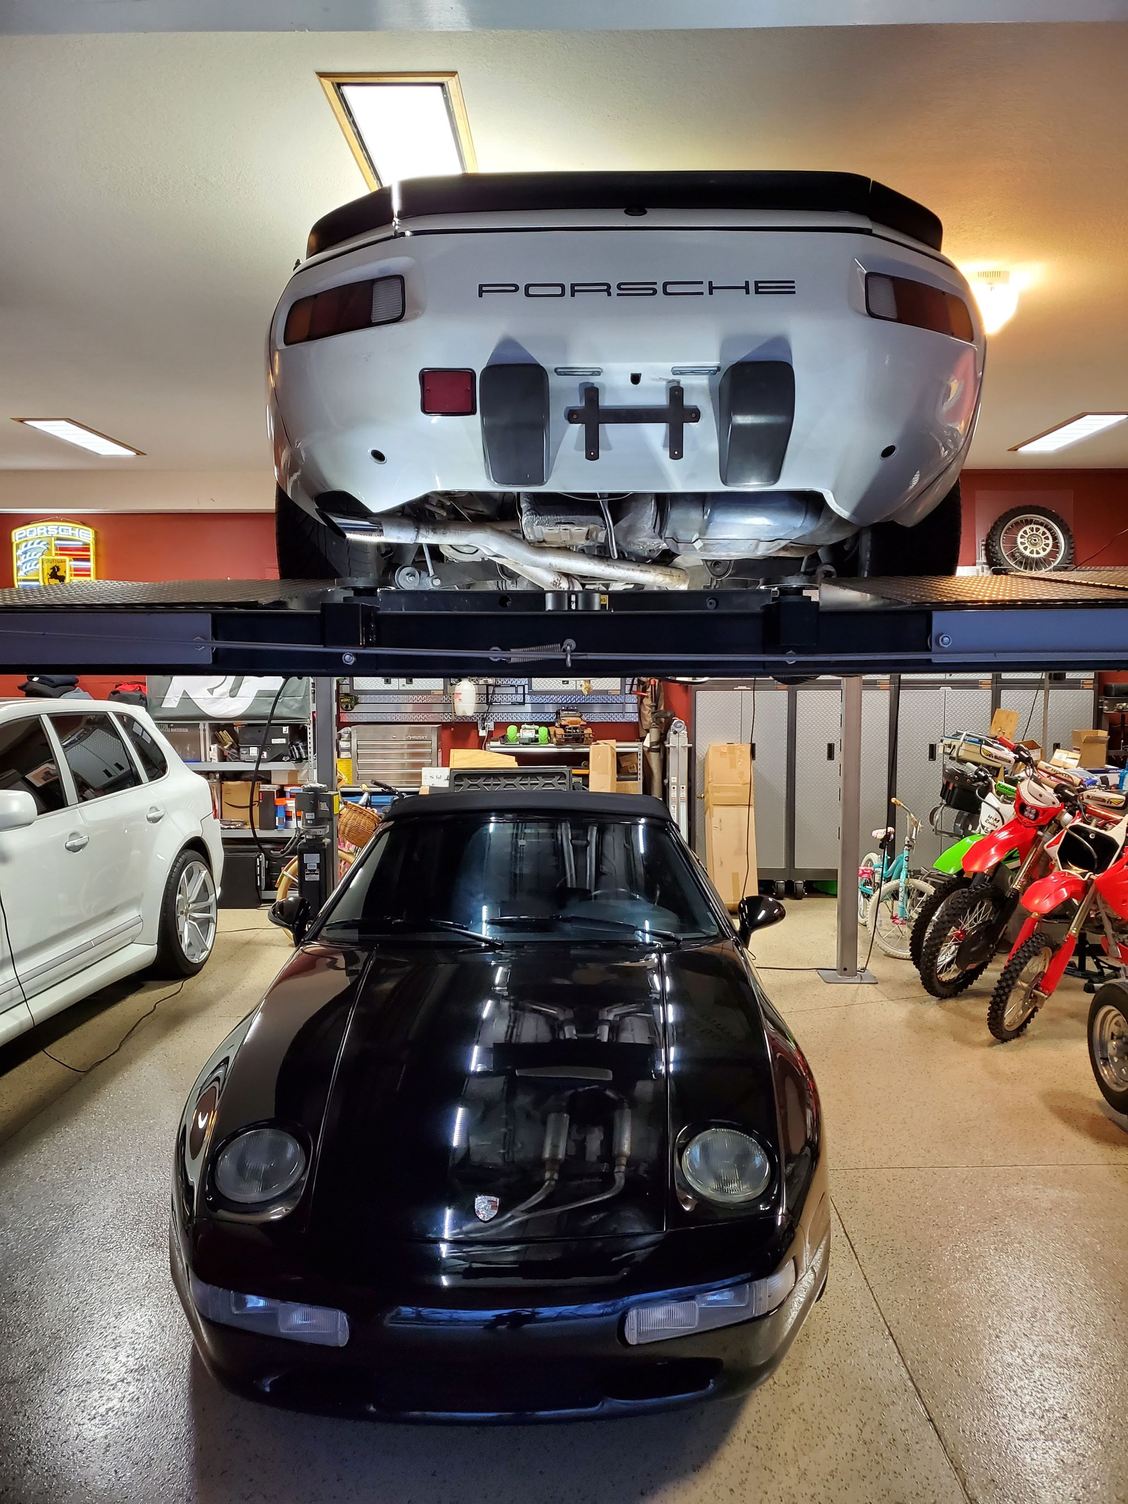
Reinstalled the mediocre, but repainted belly pan and took her down off the lift to run some errands. Car runs great. New alternator pulley is working fine and voltage on the gauge is at or just below 14v all the time, even with all the lights on at idle.
Need to test the cooling fan and if it comes on automatically and a reasonable temperature. Was waiting in line at the drive-thru for about 10 minutes and the temp gauge went to just a hair above the last white line. Previously, the wires going to the thermo switch in the radiator were jumpered so the fan would run all the time - maybe because the thermo switch is bad or doesn't kick the fans on until too high, so will investigate that.
Suspension is tired so will probably need new shocks too. Seems like not all components are compatible with Bilsteins unless that's what was already on the car. They'd be my first choice, but not if I have to change a bunch of stuff and will just go with the red Koni's on my Spyder if that's the case as they ride and handle just fine too. How do I know if I'm compatible for a Bilstein swap or if I have to use something else?
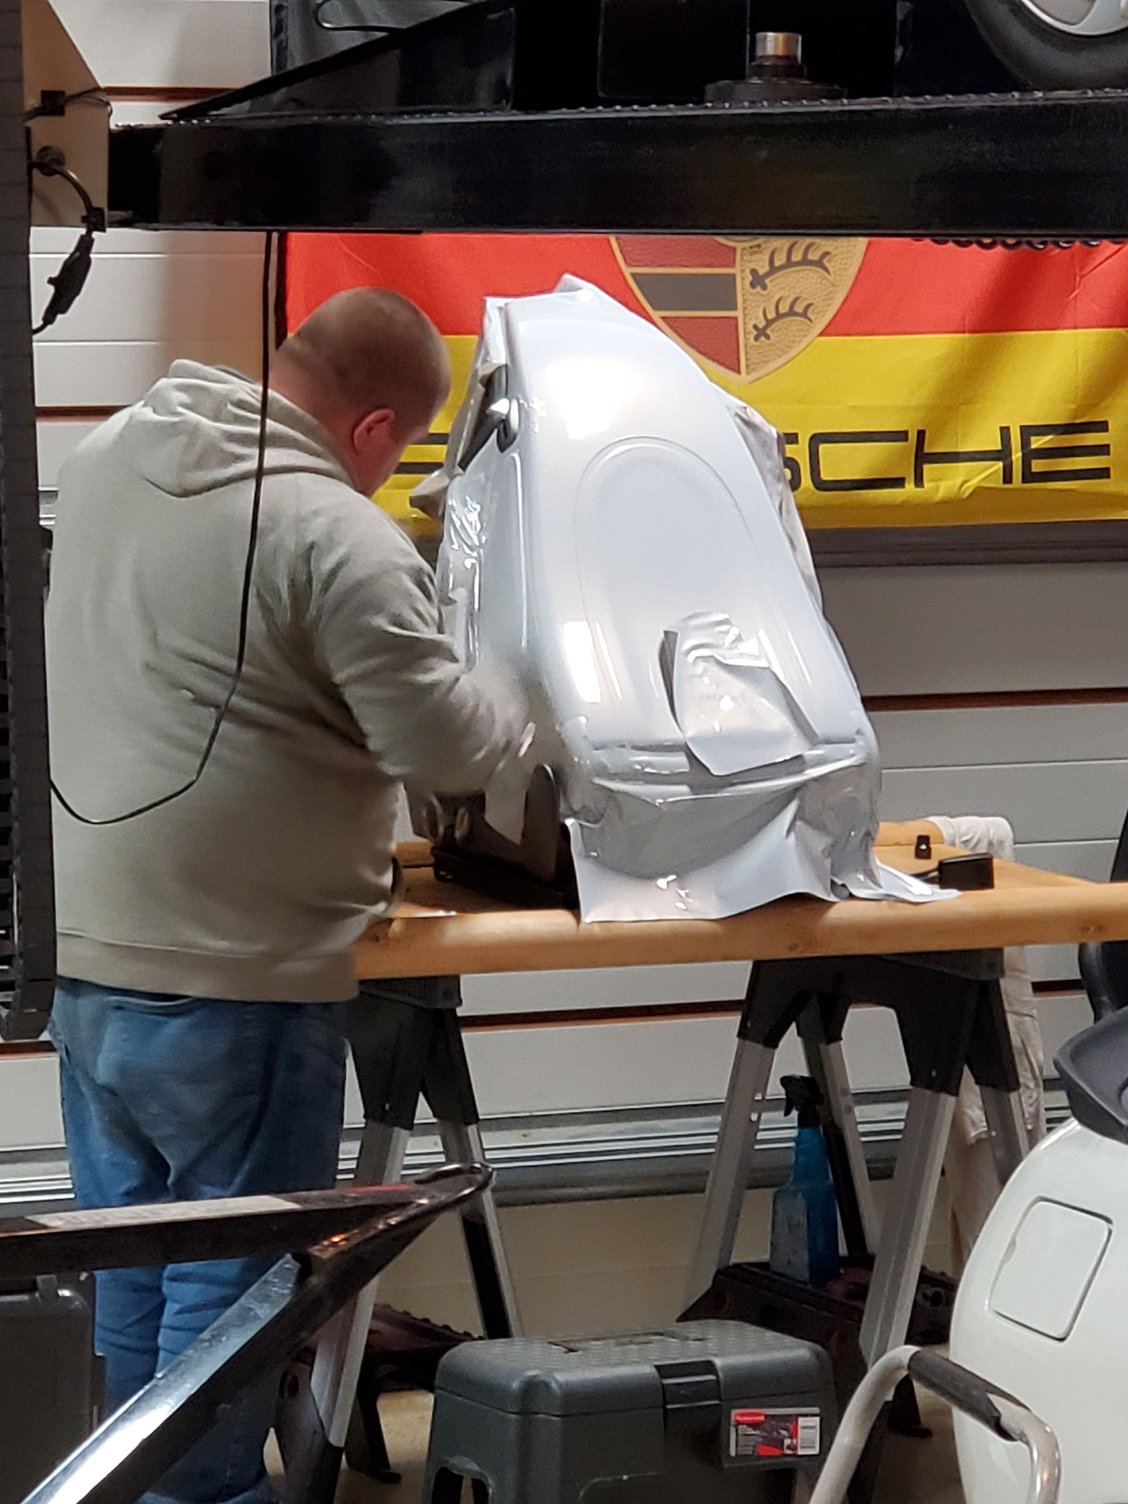
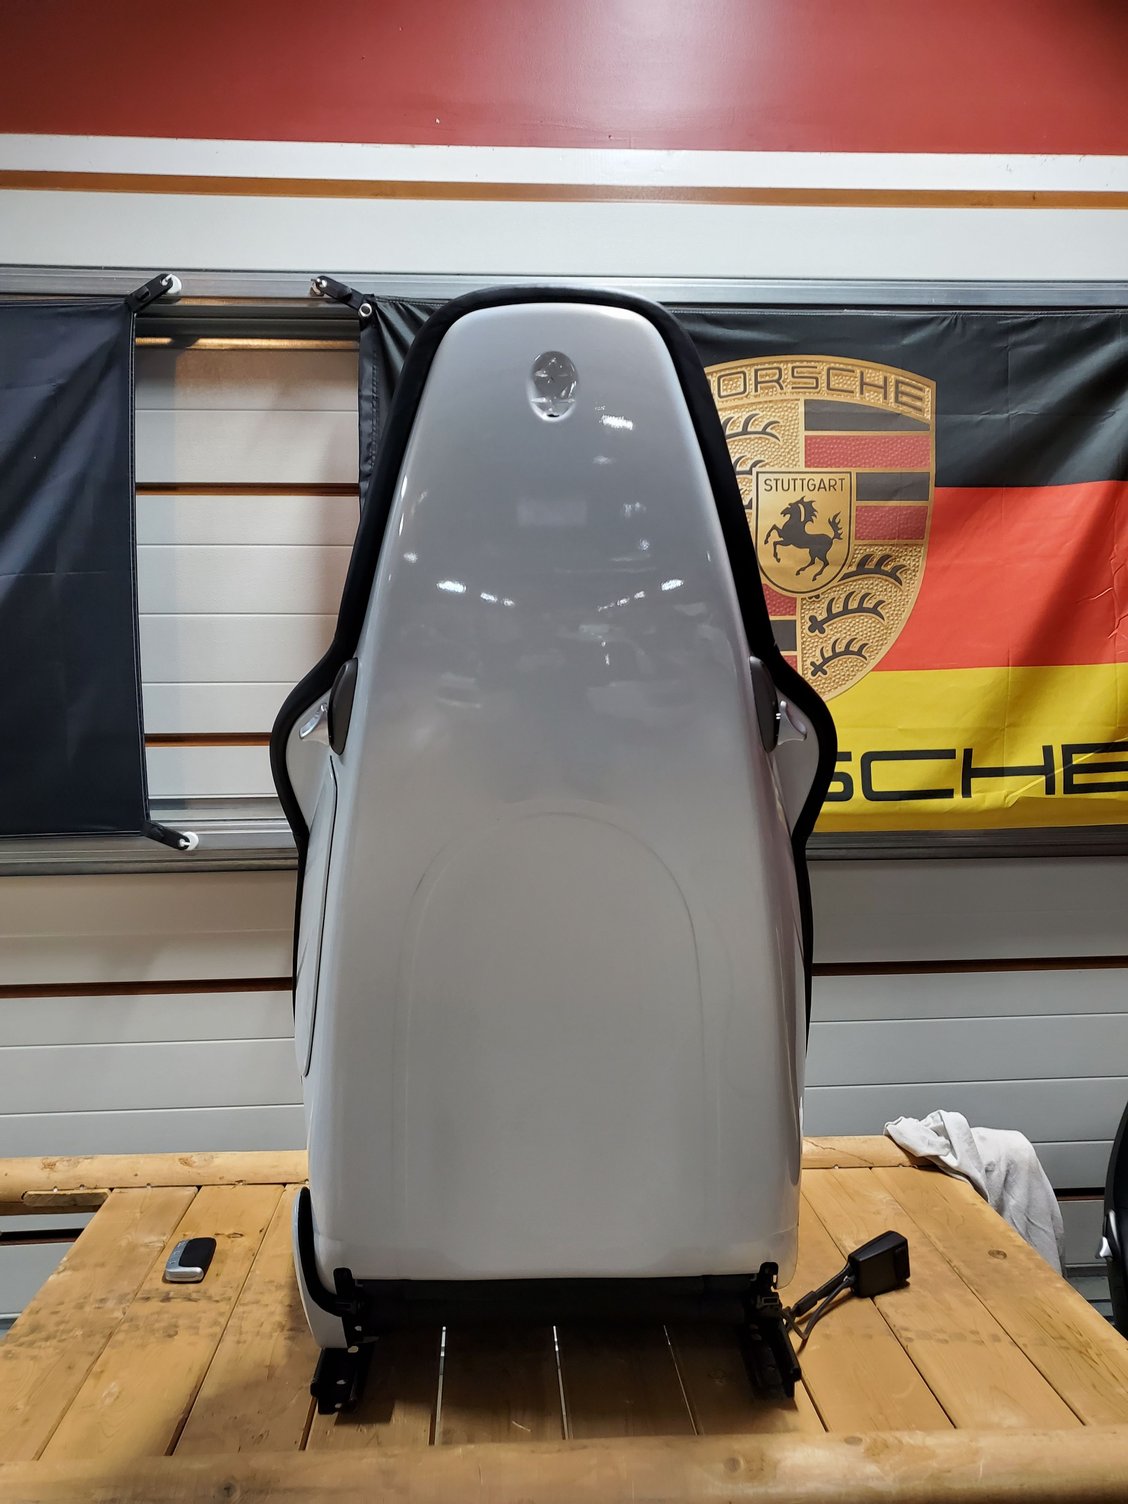
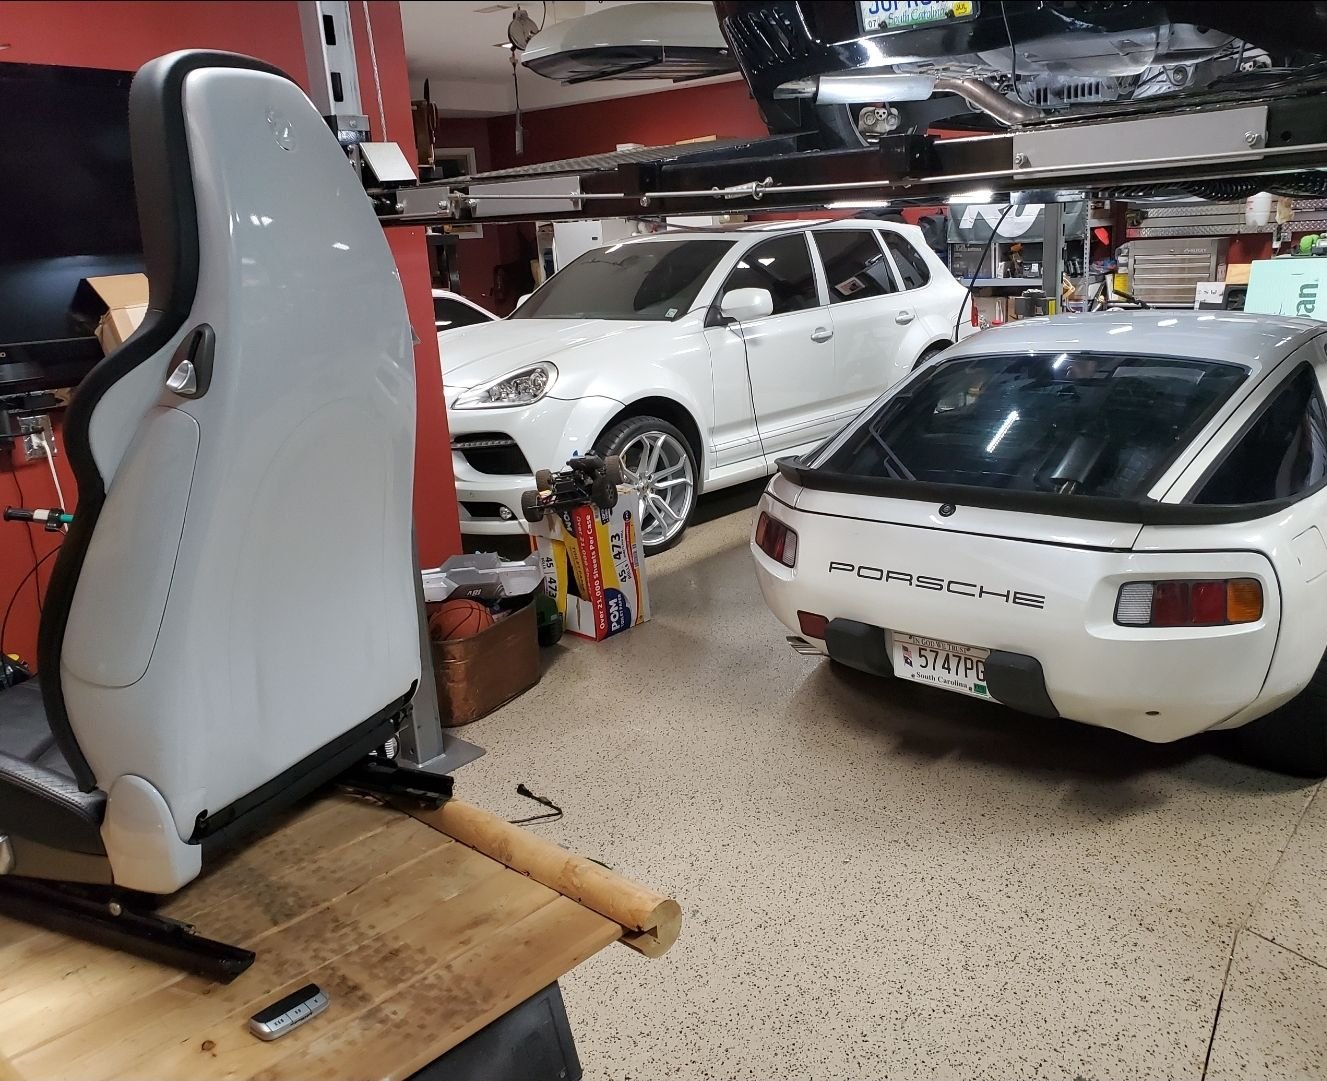
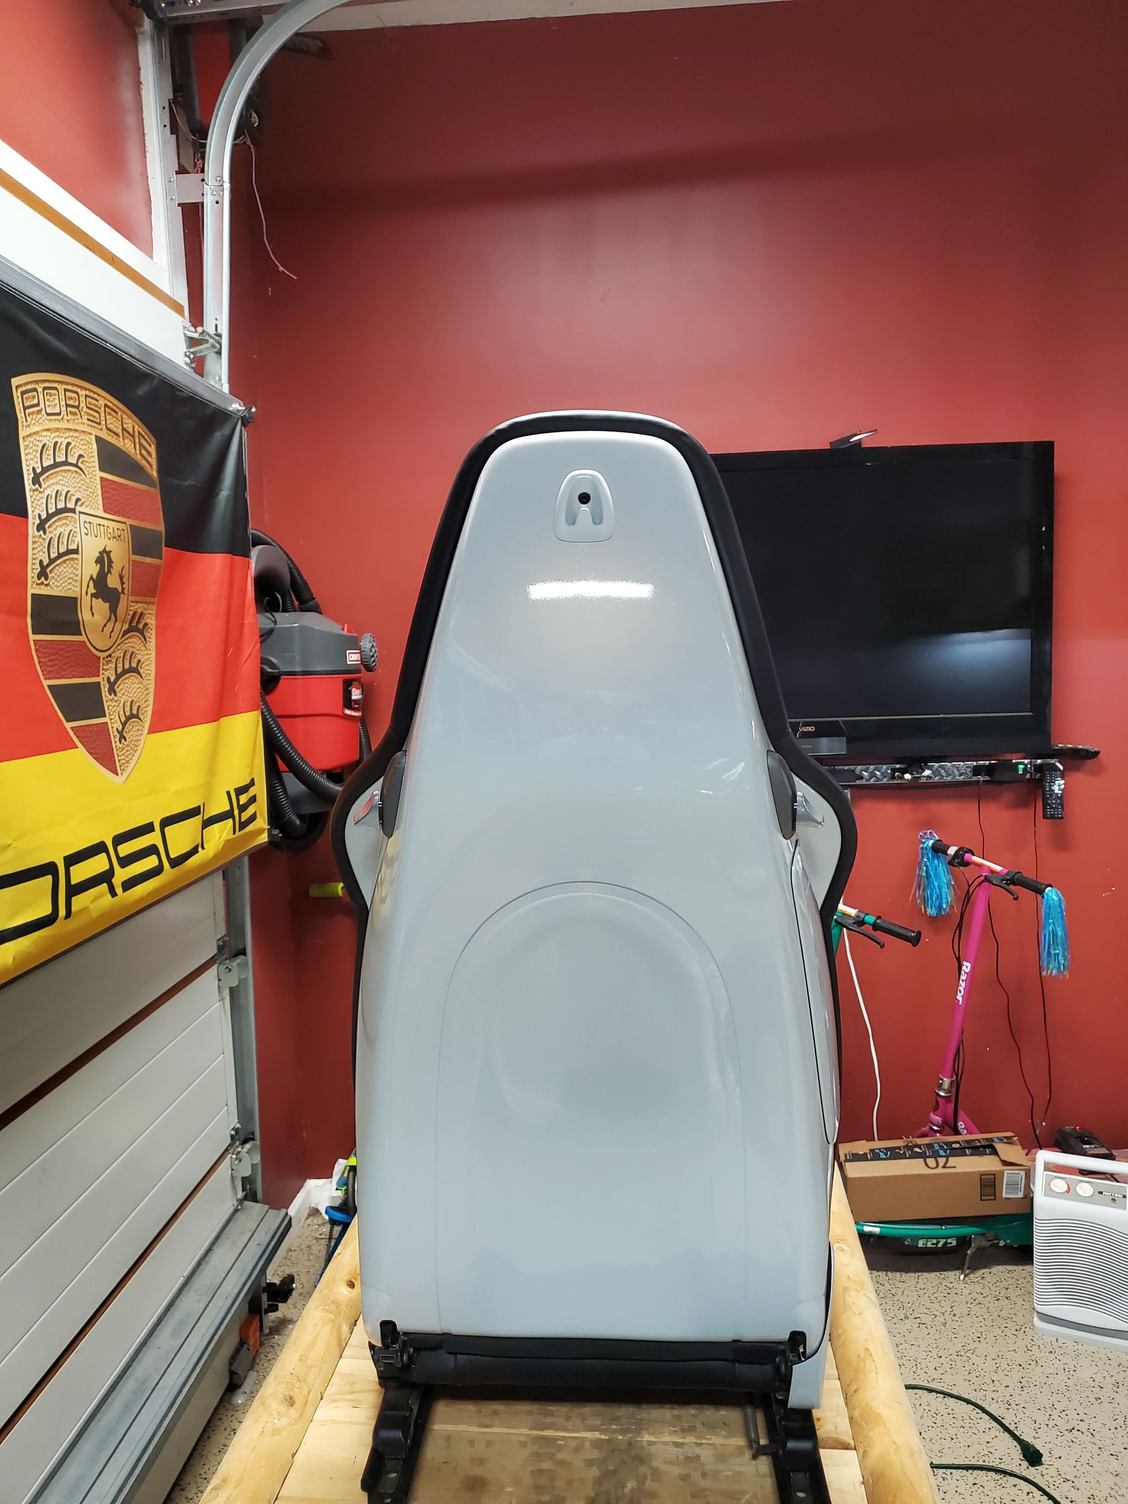
Tonight I had my vinyl guy come over to start wrapping the 987 adaptive seatbacks in pearl white vinyl that matches the exterior of the car. Porsche offers this option (seat backs in exterior body color) when you order a new car wans I think it looks cool. Whereas I wrapped the Spyder's in CF to go with the interior theme of that car, went with body color on these for the Euro.
One done and will do the other tomorrow. Need to paint the hanger hook pearl white along with the car's bumper plugs before reinstalling the seat hooks.
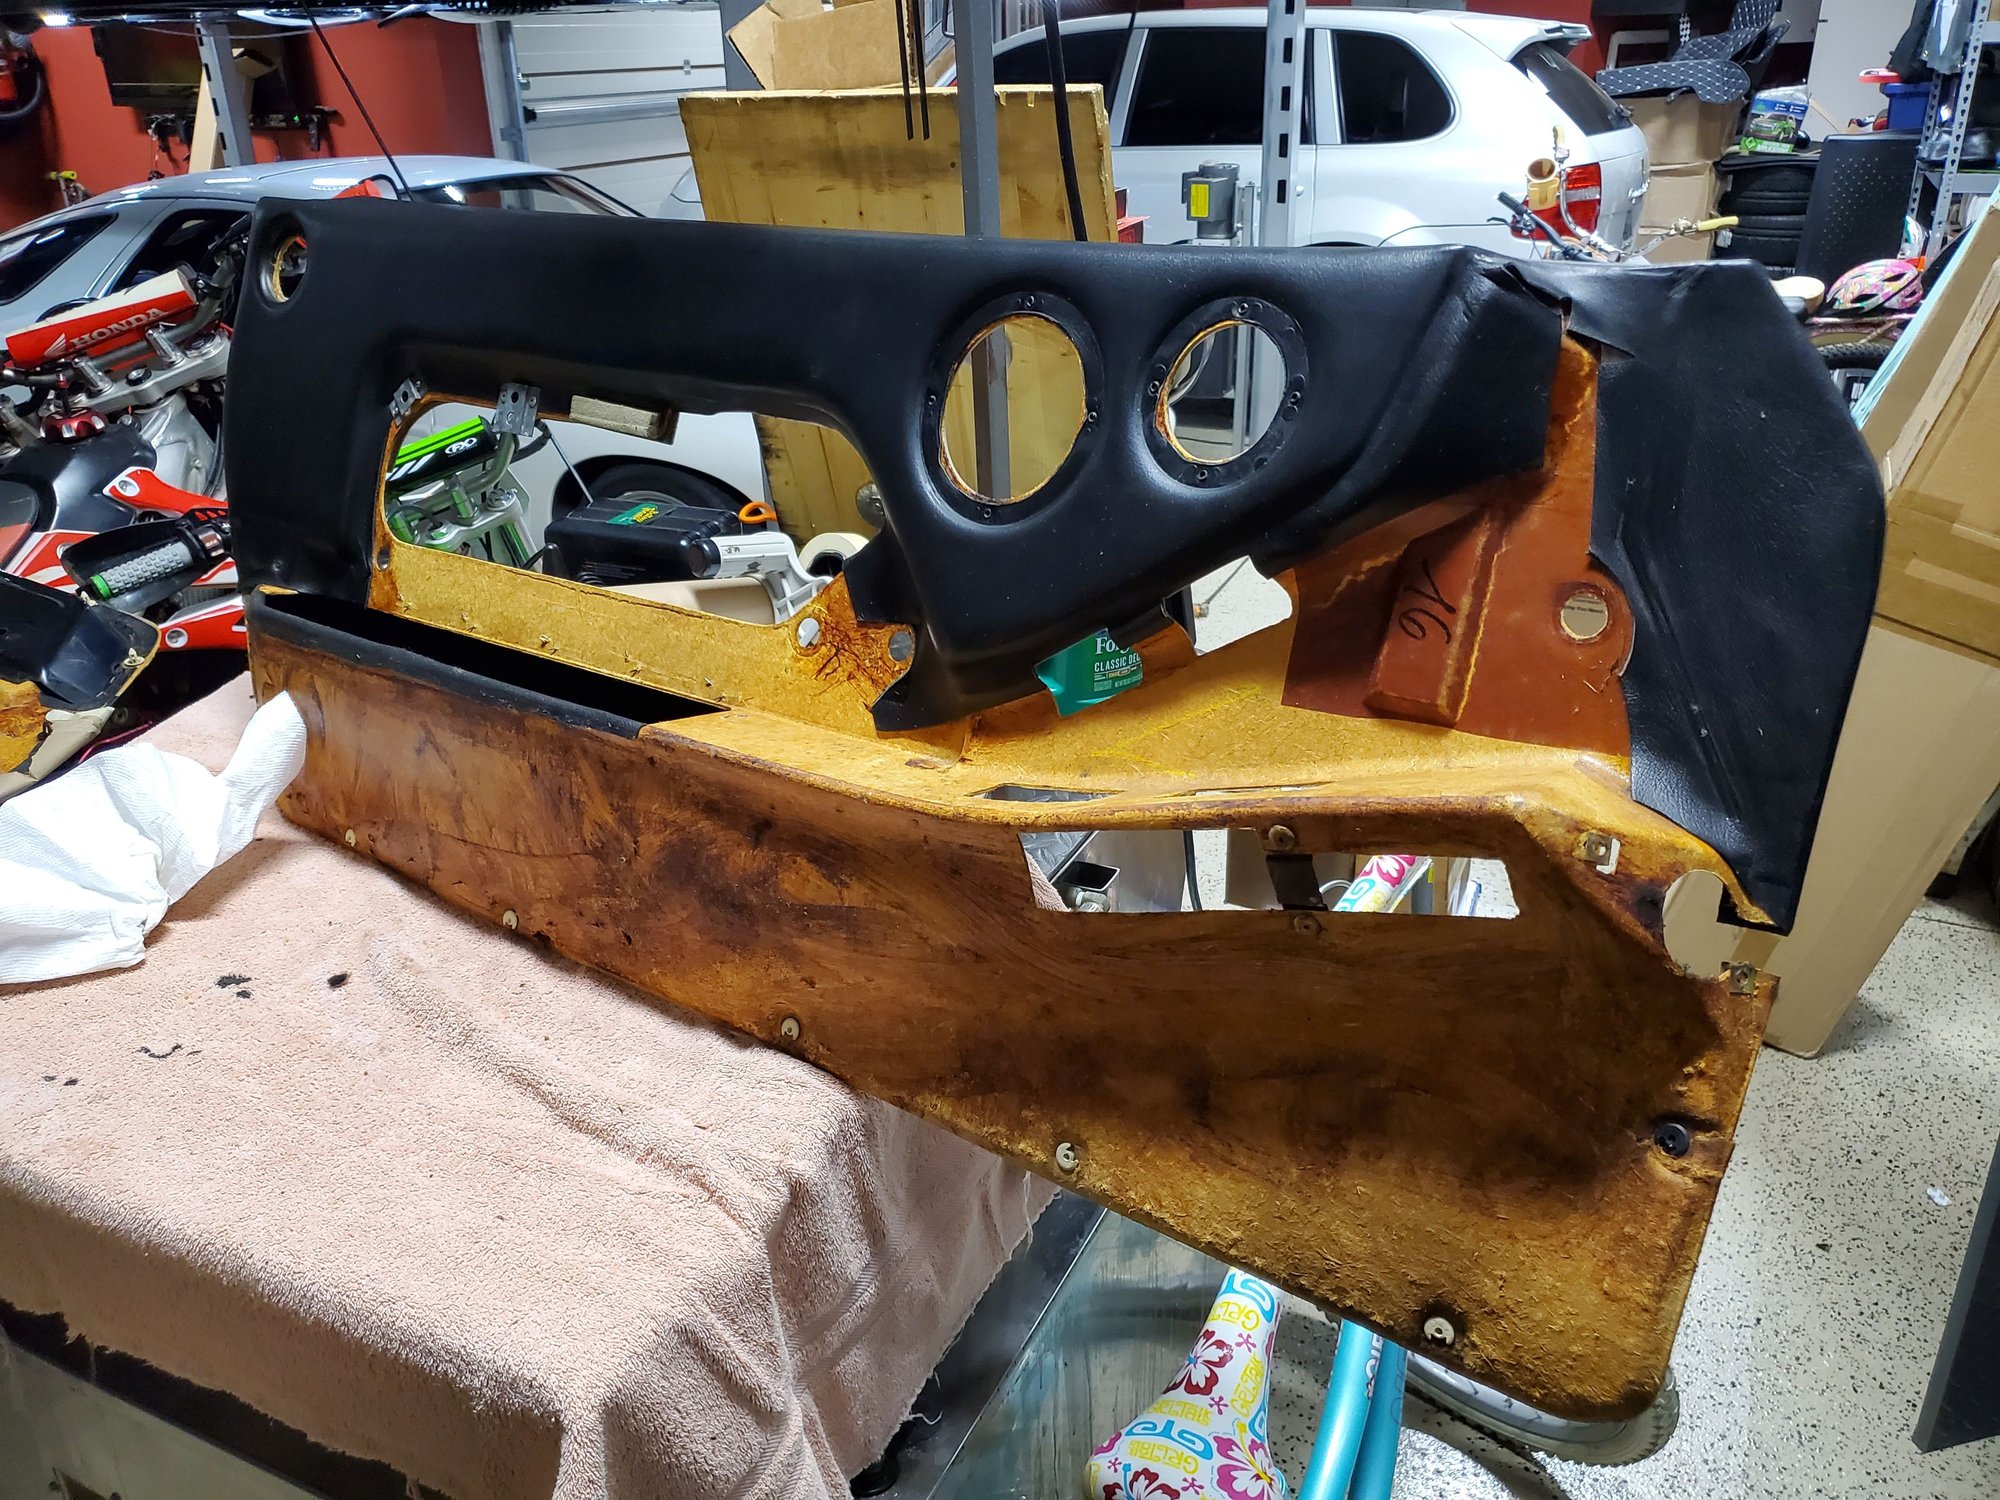
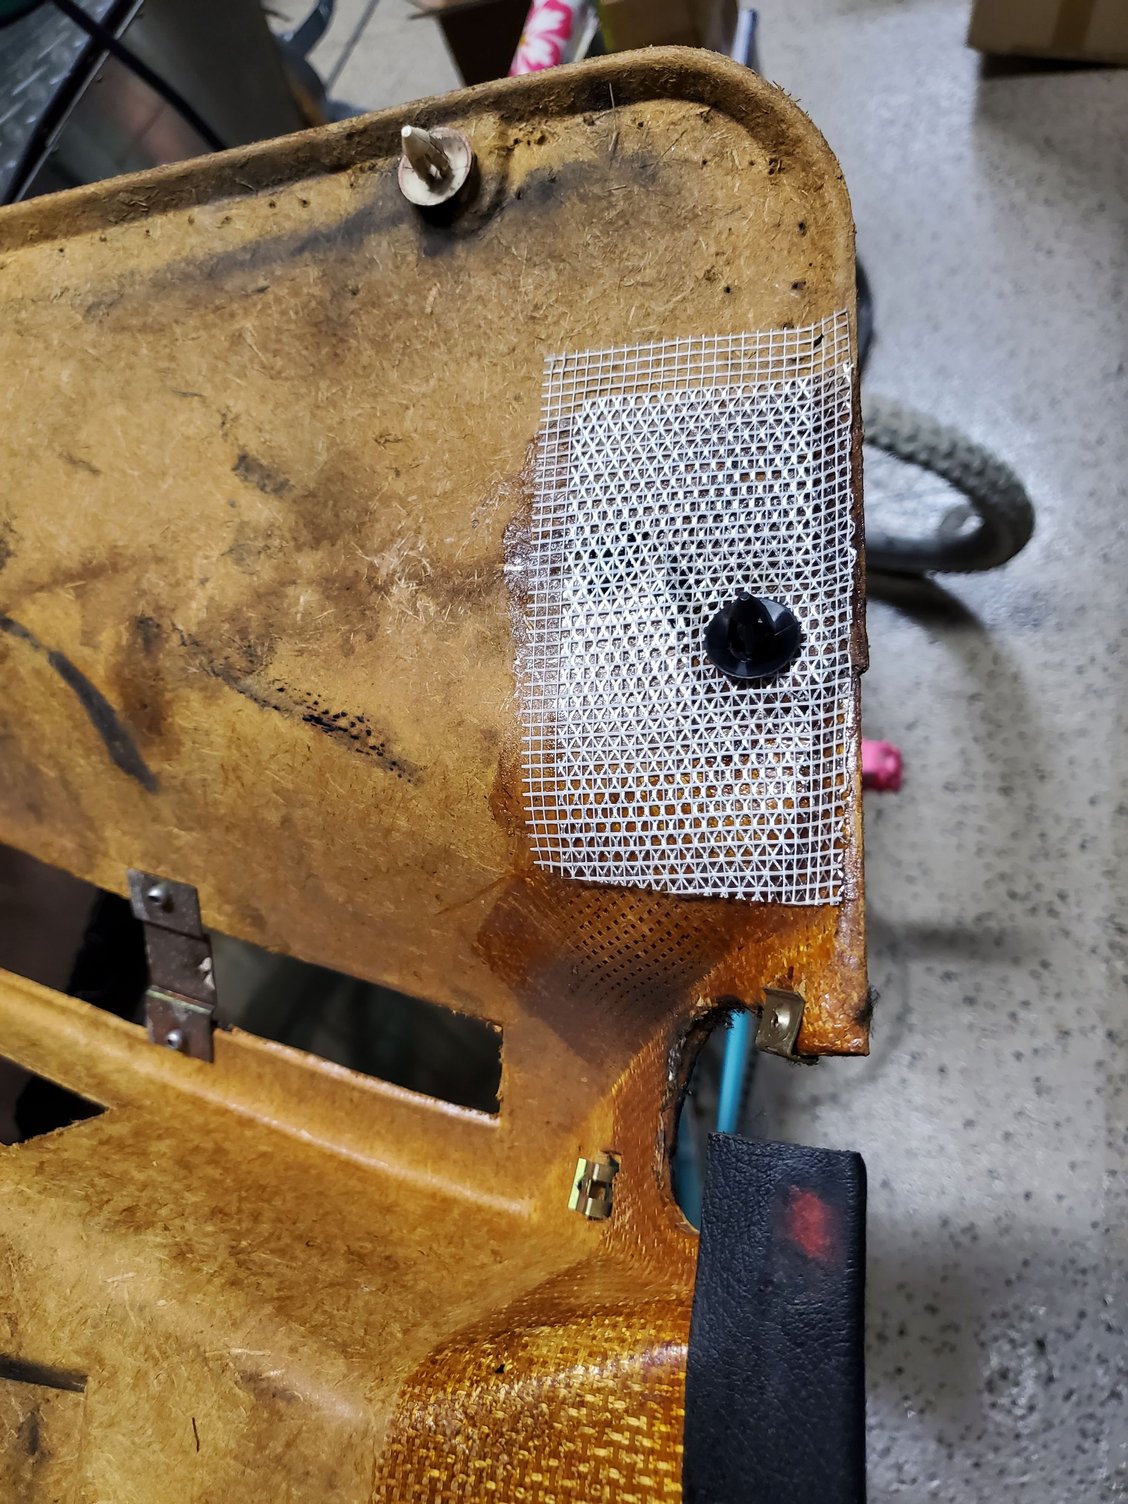
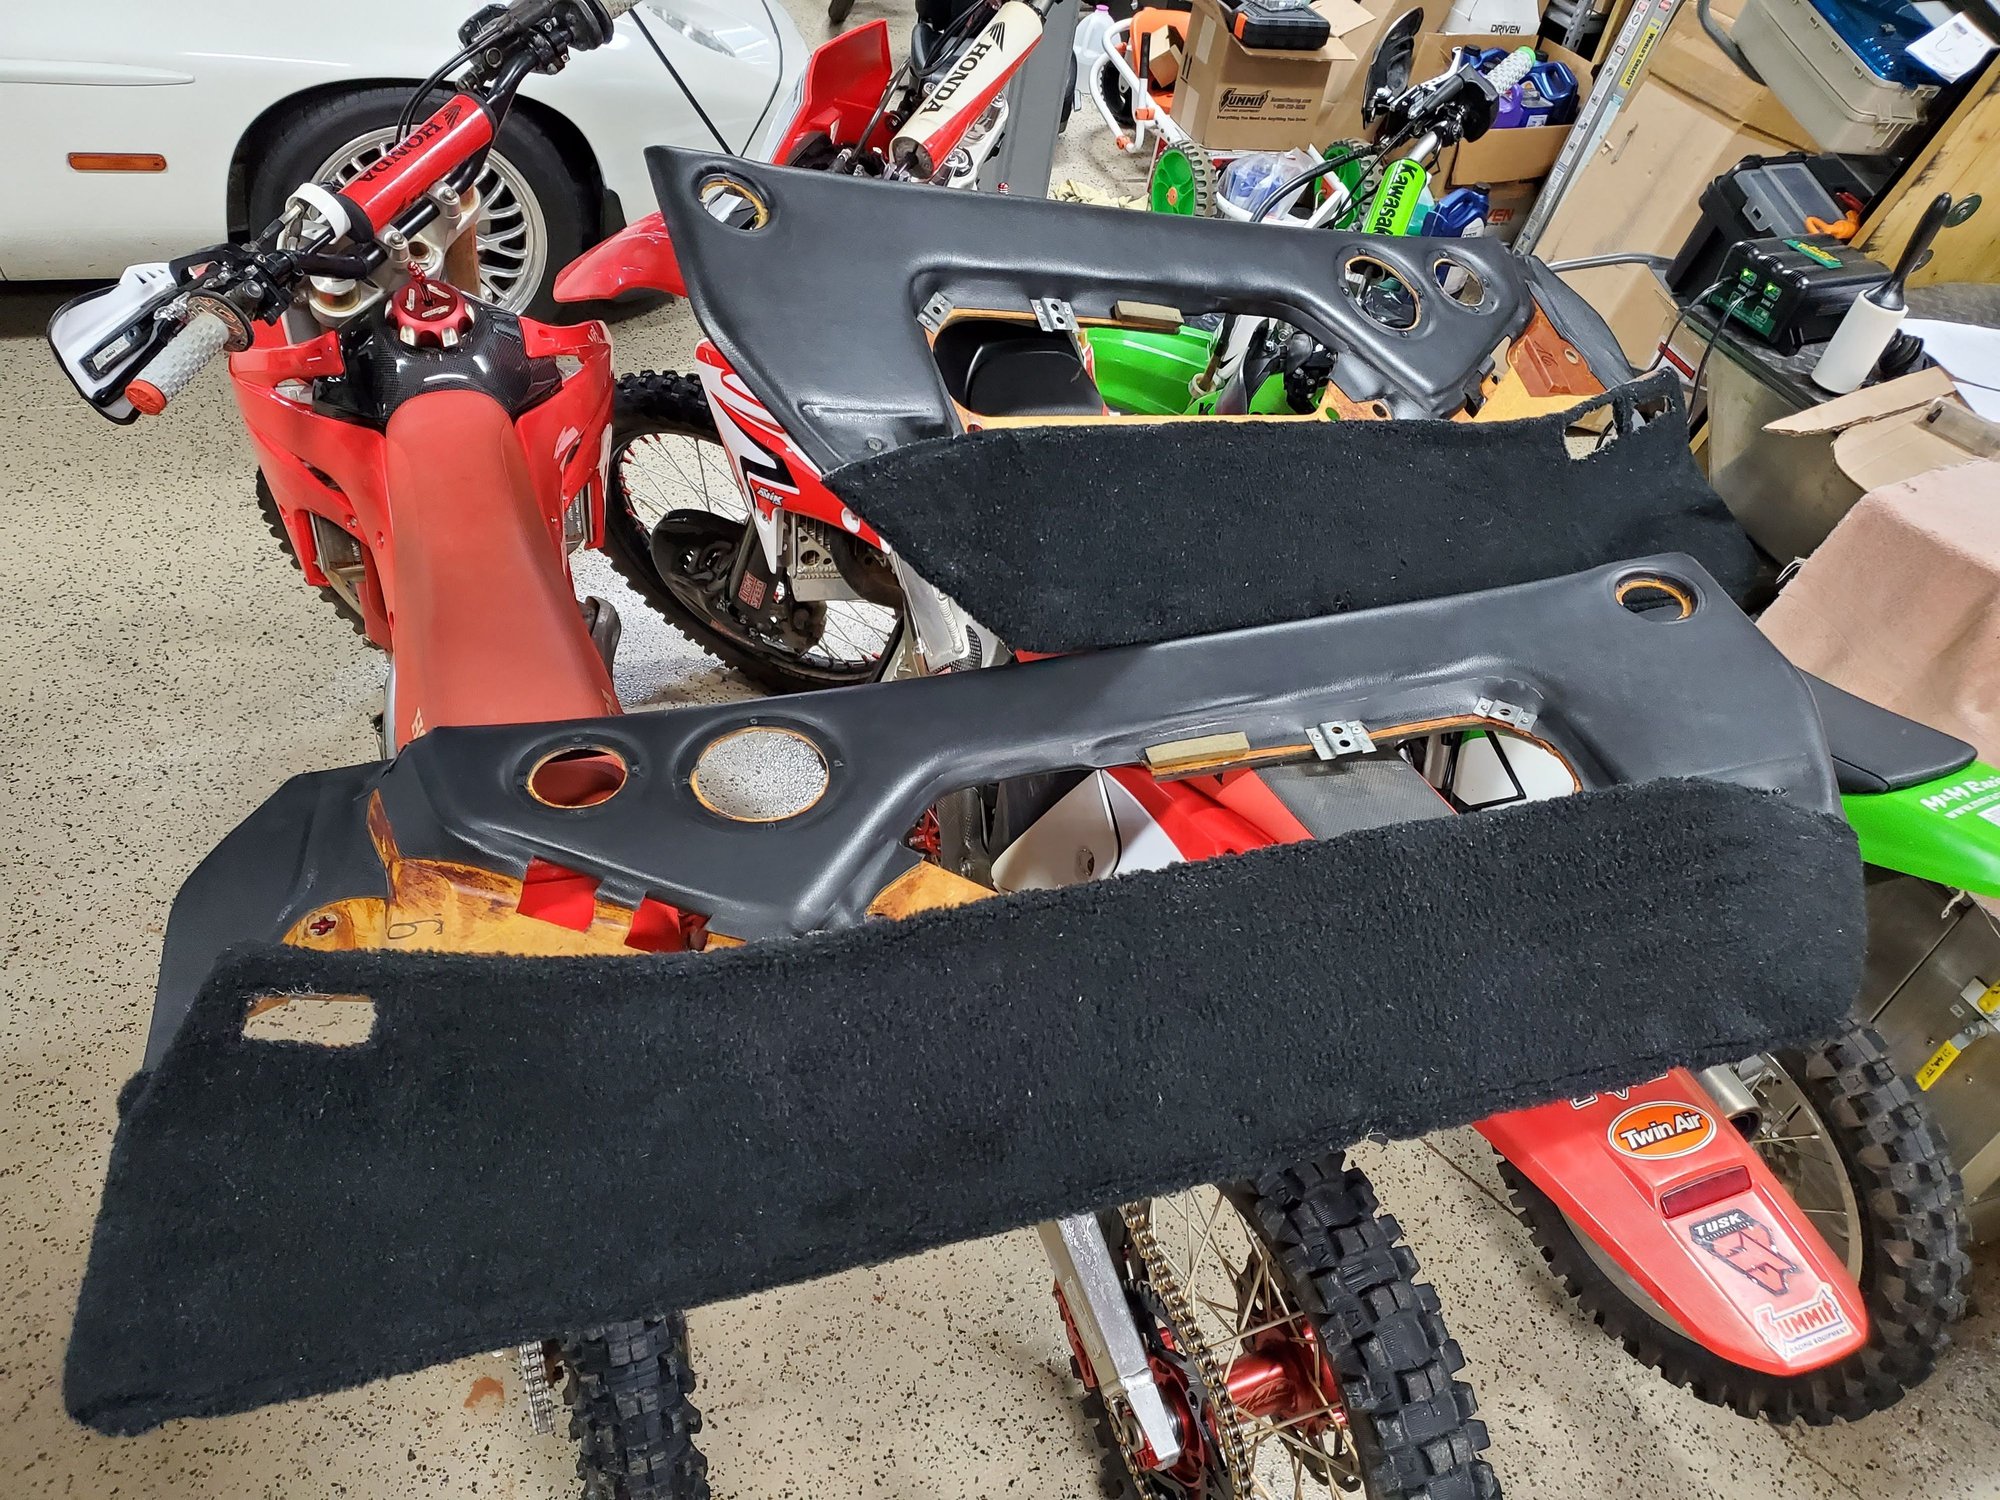
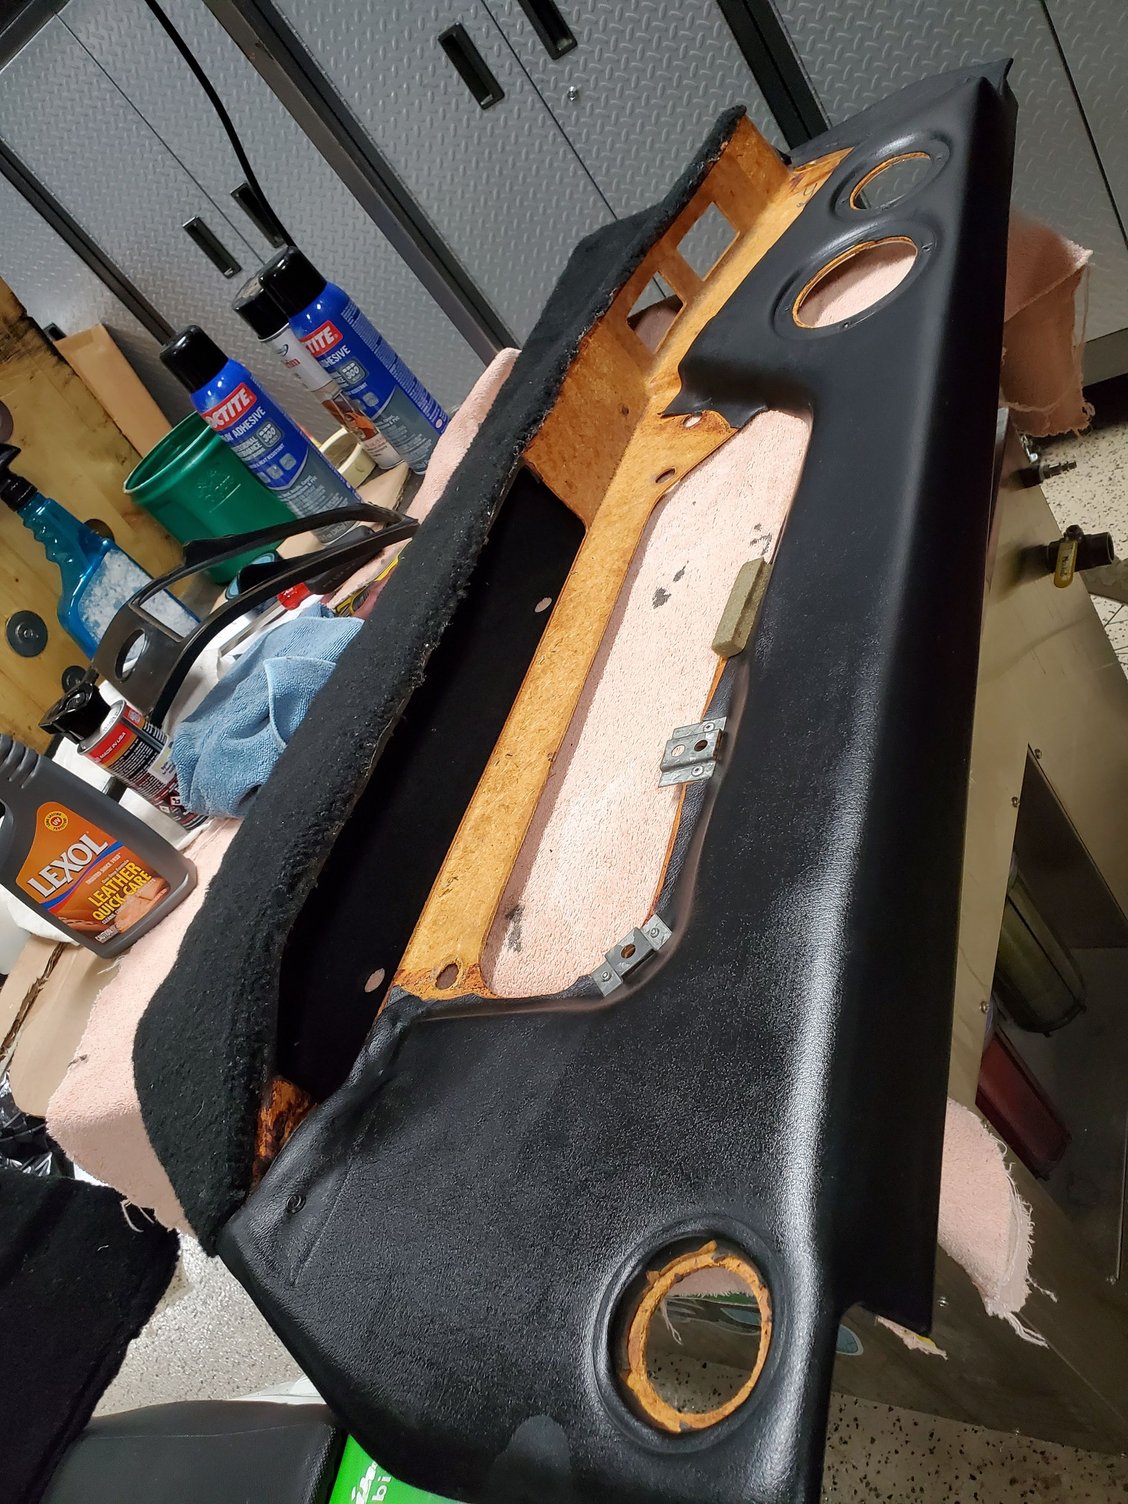
Also started the door panel refurb tonight as well. Stocking down the leather areas that have become unglued, reinforced a cracked section at the edge of the driver's door, pulled the already loose carpet to be able to wash it and then will reattach that with some good spray adhesive.
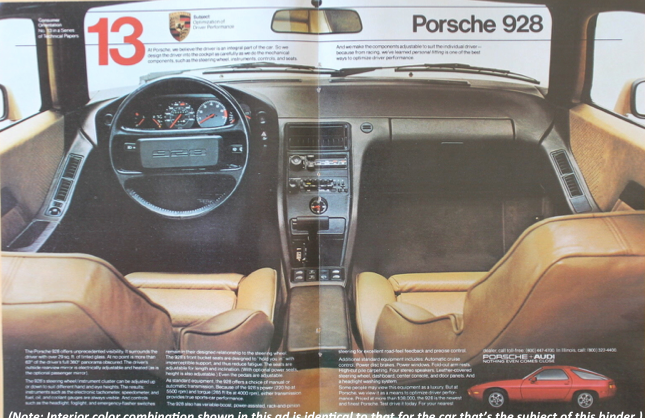
I can't be any much help on mechanical stuff, but since you asked about various brown interior color combinations on a 928, here's an old Porsche ad from the "number series" showing the interior combination that's identical to what's on my '80 car (except mine's a 5-speed):
I can't be any much help on mechanical stuff, but since you asked about various brown interior color combinations on a 928, here's an old Porsche ad from the "number series" showing the interior combination that's identical to what's on my '80 car (except mine's a 5-speed):
Here's how it looks on my car:
That's really nice and I like those 2-tone interiors. In my case, I have enough good black parts remaining that it doesn't make cost sense to try and do a full color change, so I'm staying with black and now have pretty much everything I need (except time) to put it back together.
I found 2 or 3 full interiors in sea blue had I wanted to go that route, but it was either going to be black or the really dark brown.
Finished wrapping the other seat this evening and painted the hooks for the back pearl white, as well as some plugs I got for the holes in the front and rear bumpers. Seats are now ready for install once I get to that point.
Also finished the restoration of the door panels. Washed the lower carpet sections, air dried them in the dryer so they wouldn't shrink, then laid them out for spray adhesive application onto the back of the carpet and lower door panels, then dry bonded them, folded the backs around and restapled. Also treated the leather panels with leather cleaner and conditioner. Door panels are now ready when I get to that point too.
Was able to get some more things checked off the list today.
Adjusted the way the rear hatch closes. It used to have a large gap on the left and small gap on the right, the edge of hatch used to protrude past the bumper, and the right side was higher than the left when closed. It also rattled when hitting bumps. I loosened the 4 adjustment bolts, inserted some centering tools into the 2 sides, shoved it forward a couple times, and retightened the 4 bolts. Then I took the rear latch out to figure out how to get the door to close more tightly. There were 2 metal shims between the body and bottom of the latch. Removed one, reinstalled the latch and tested the closing & latching. Better, but not good enough. Removed the latch again, pulled out the other shim, reinstalled and aligned it with the hatch portion, and now it closes securely and doesn't rattle. The gaps are also now even on both sides.
BEFORE realignment & adjustment
AFTER (looks better in person than in the photo)
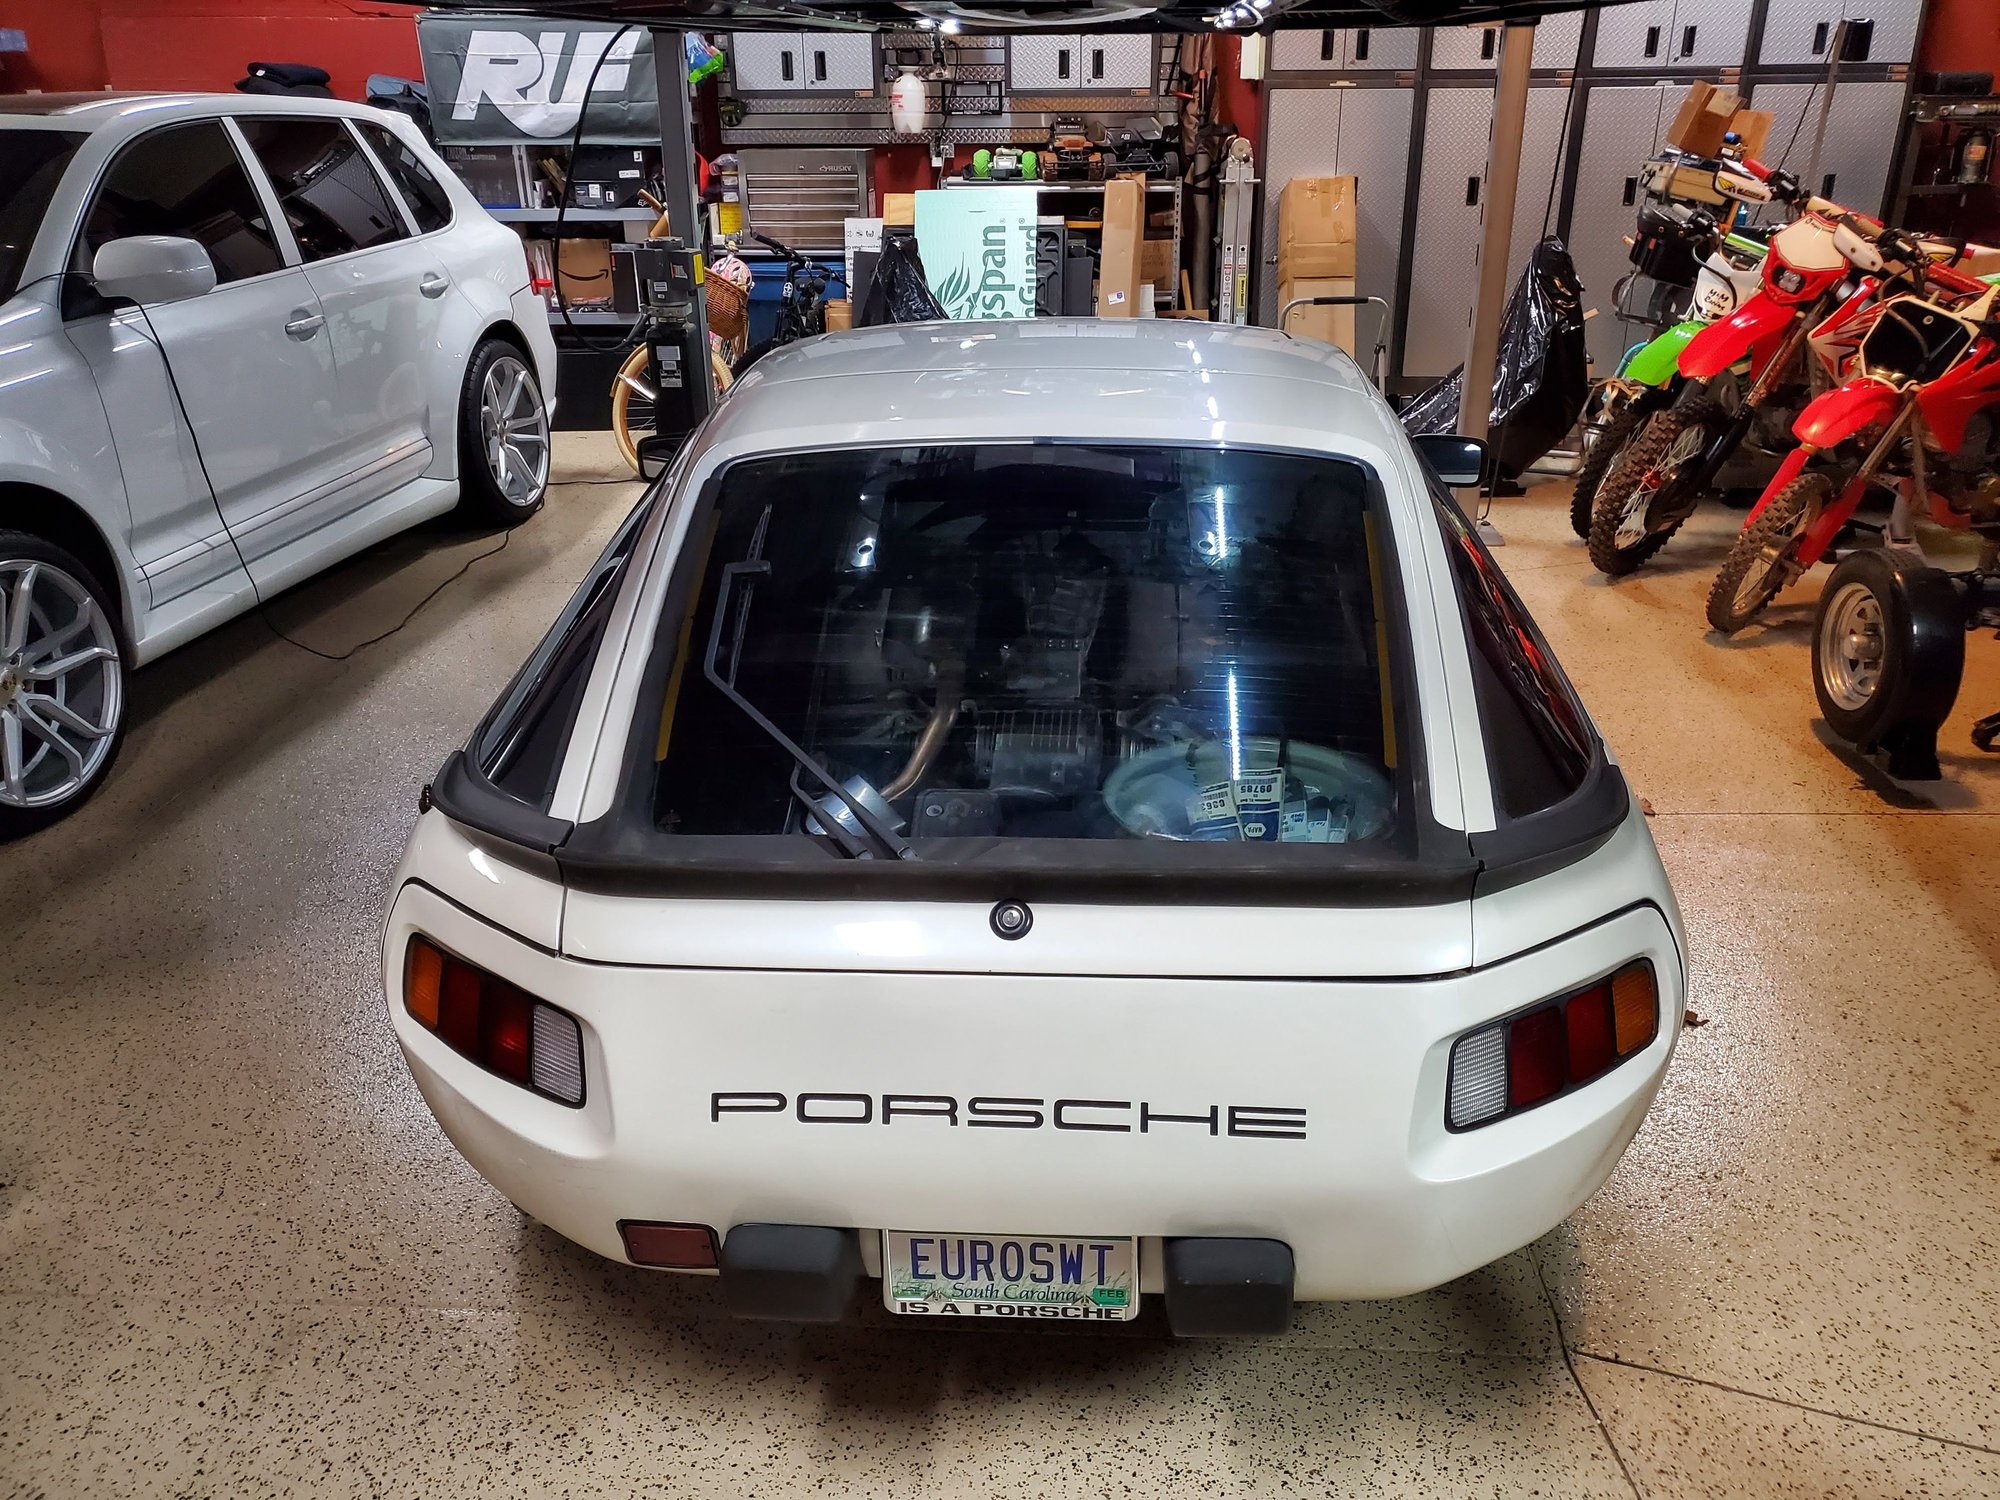
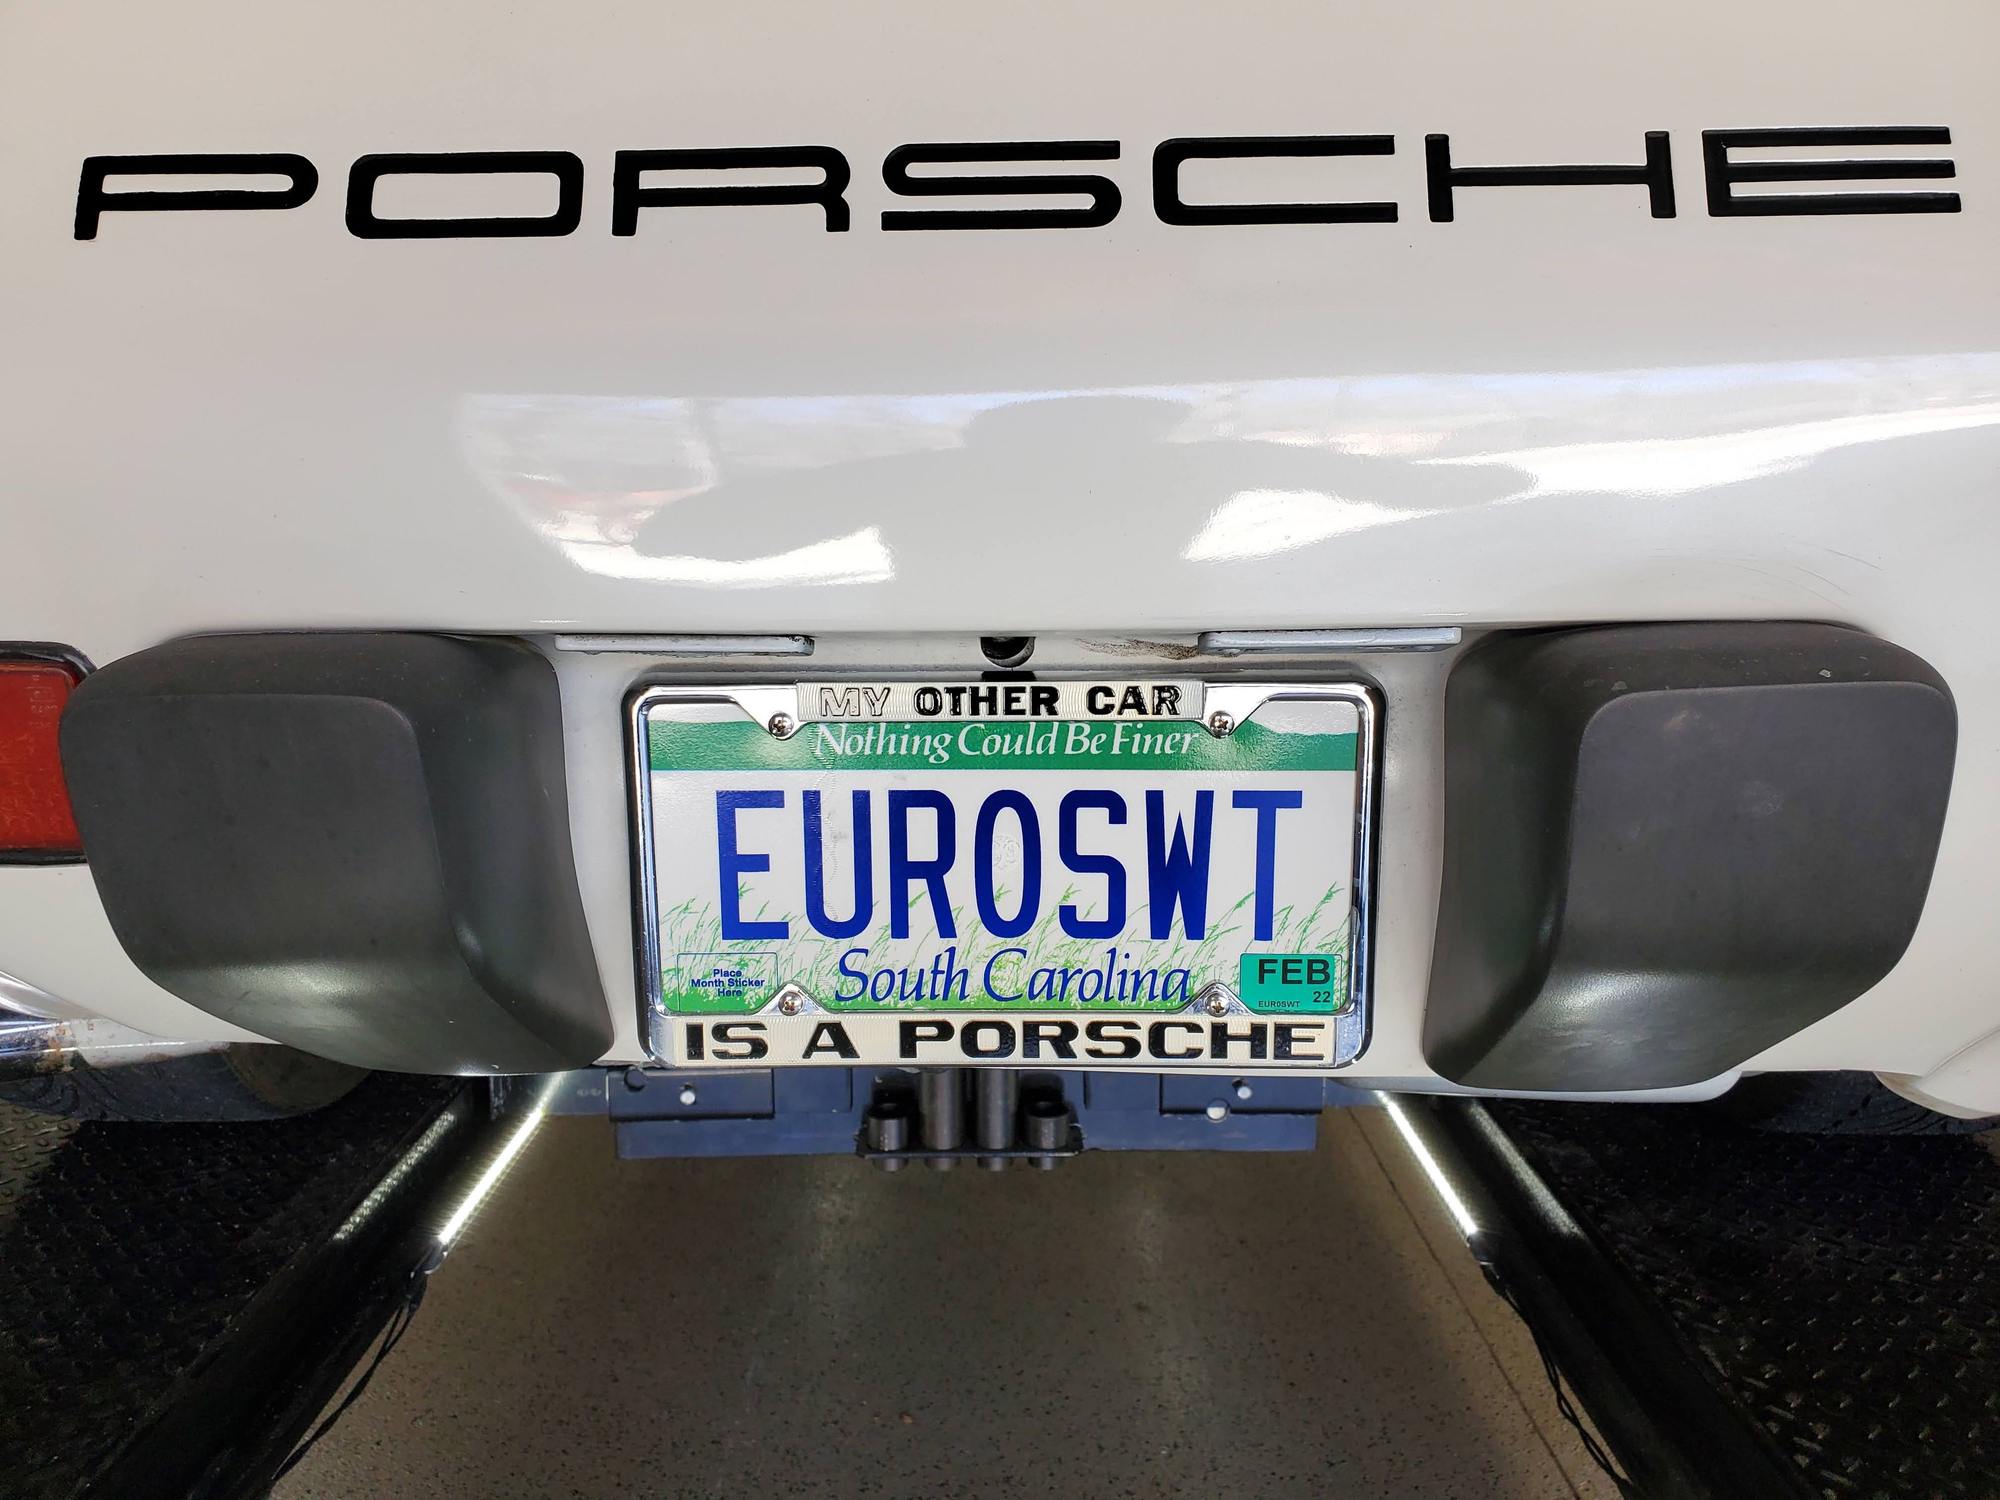
Also, got the new license plate (continuing the "sweet" theme I have going on all my vehicles. Since this one is an '81 Euro S, it's Euro-sweet. Thought the plate frame as cute too, if a bit tongue-in-cheek since 6 of my 8 vehicles are now Porsches.
Next, replaced the 5-speed manual transmission and differential fluid. Shifts a bit smoother now, but what came out was pretty clean, so may have been done fairly recently. Not knowing the service history on this car, I'm going through most of the items myself. Already did the engine oil.
Also, locked down the battery in the compartment that the PO installed and covered the terminals with appropriate coversI had from another that should have been on the battery to prevent them from touching the box lid.
Next is probably refreshing all the hydraulics in the clutch and braking system. If the forecast holds and it rains all next weekend, that might be what gets done.


 02-08-2021, 05:15 PM


 including all the brake and hydralic parts mentioned in the previous messages, so will need to find a day to tackle that system.