When you click on links to various merchants on this site and make a purchase, this can result in this site earning a commission. Affiliate programs and affiliations include, but are not limited to, the eBay Partner Network.
elbow pipe connects the AOS hose to the J boot on the left side of the throttle body
"Y" plugs into the bottom of the J boot after the AFM, one leg goes to the idle air valve under the intake manifold, the other leg goes to the "Y" venturi pipe the brake booster hose connects to
Decided to JUST MAKE DAMN SURE the factory crank case like is CLEAR. It is & I can see clearly that it is not squished like it was before. Also ran the idle air solenoid properly this time.
I have learned to respect the air management system.
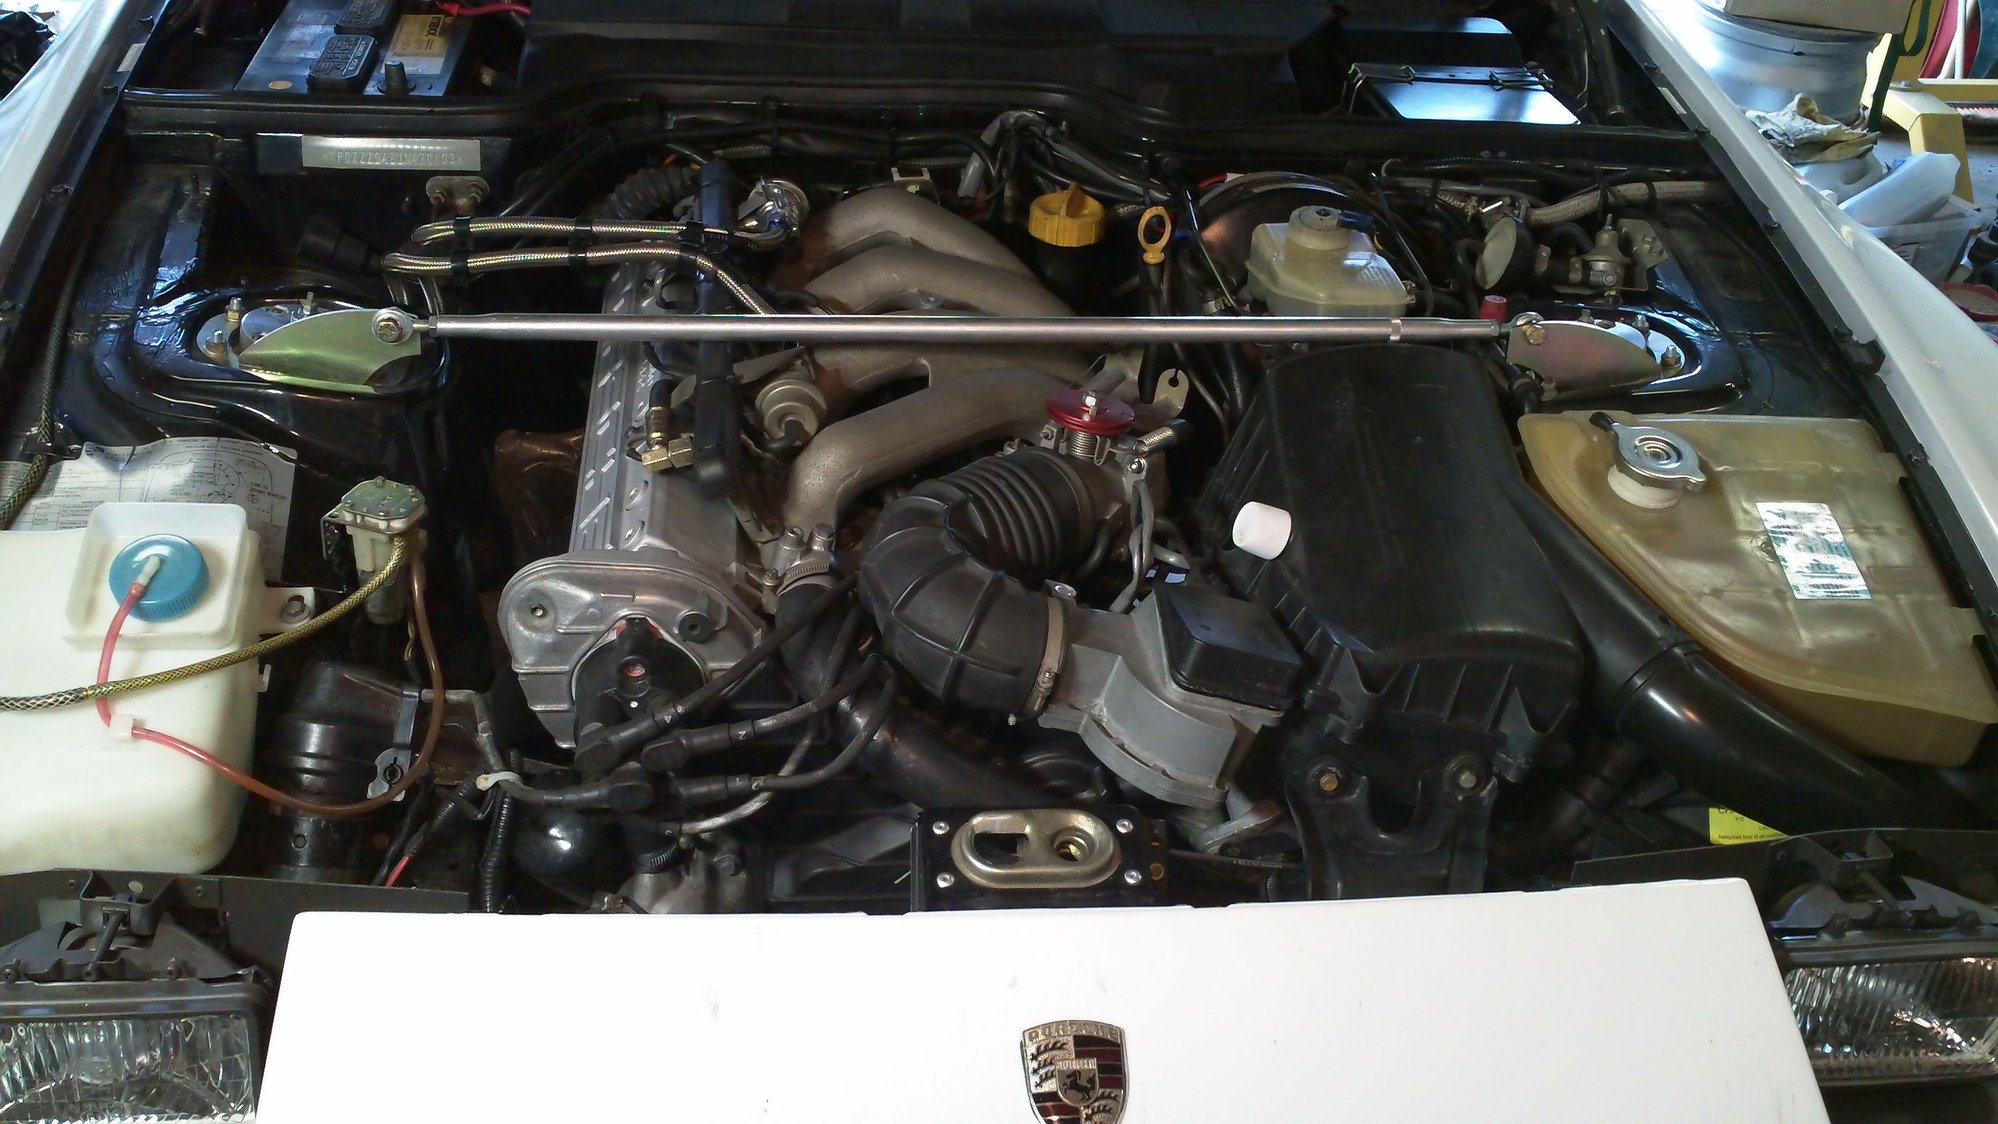
So far today:
-Installed brand new timing belt, set the timing
-sorted the vacuum lines
-installed the timing cover I bought from Van the man Svenson
-Distributor & wires are in place
Left to do:
-AFM/air box install
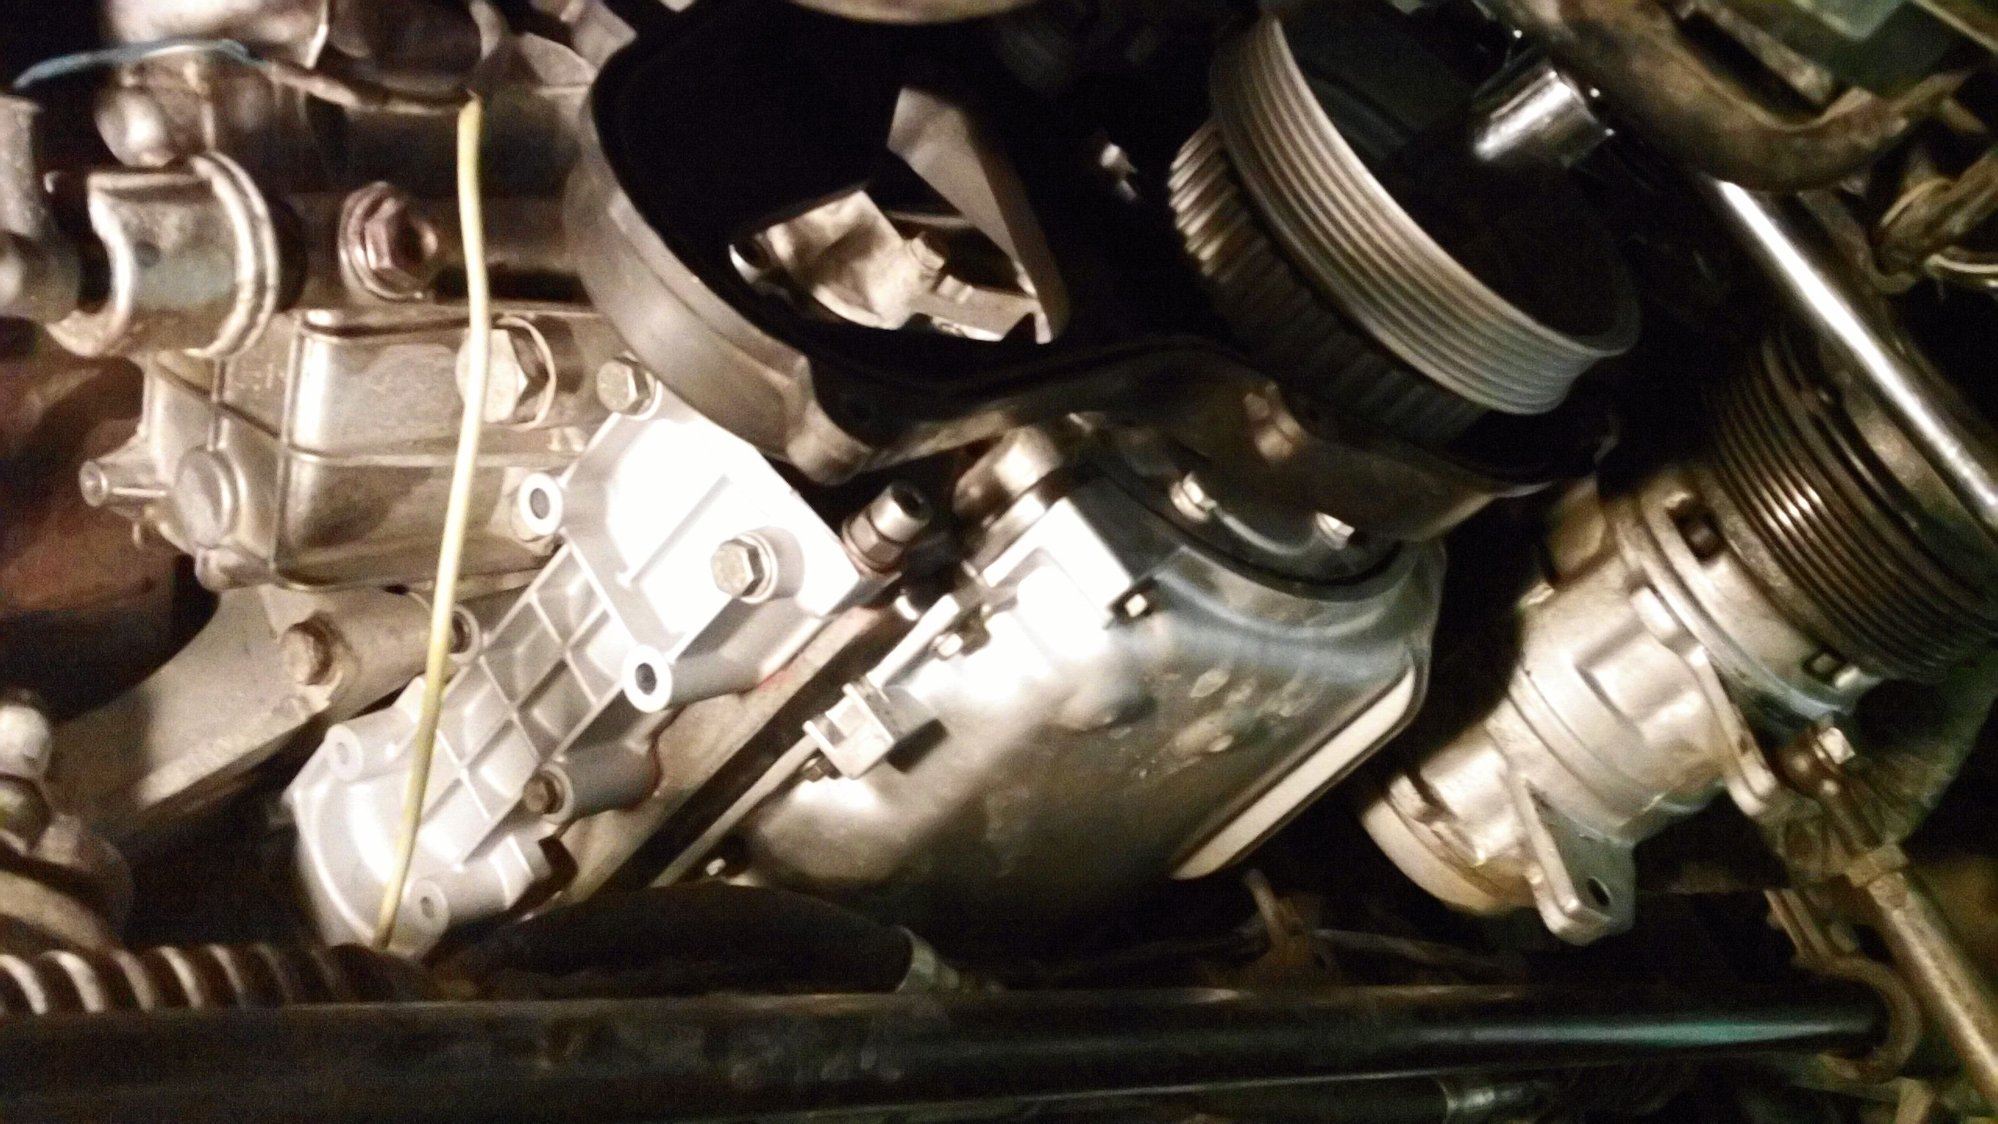
-fabricate an anchor point for the alternator belt tensioner (I just noticed the oem one in no more since I deleted the lower balance shaft)
-tighten & torque lugnuts/check air pressure
-add some extra mounts to the exhaust
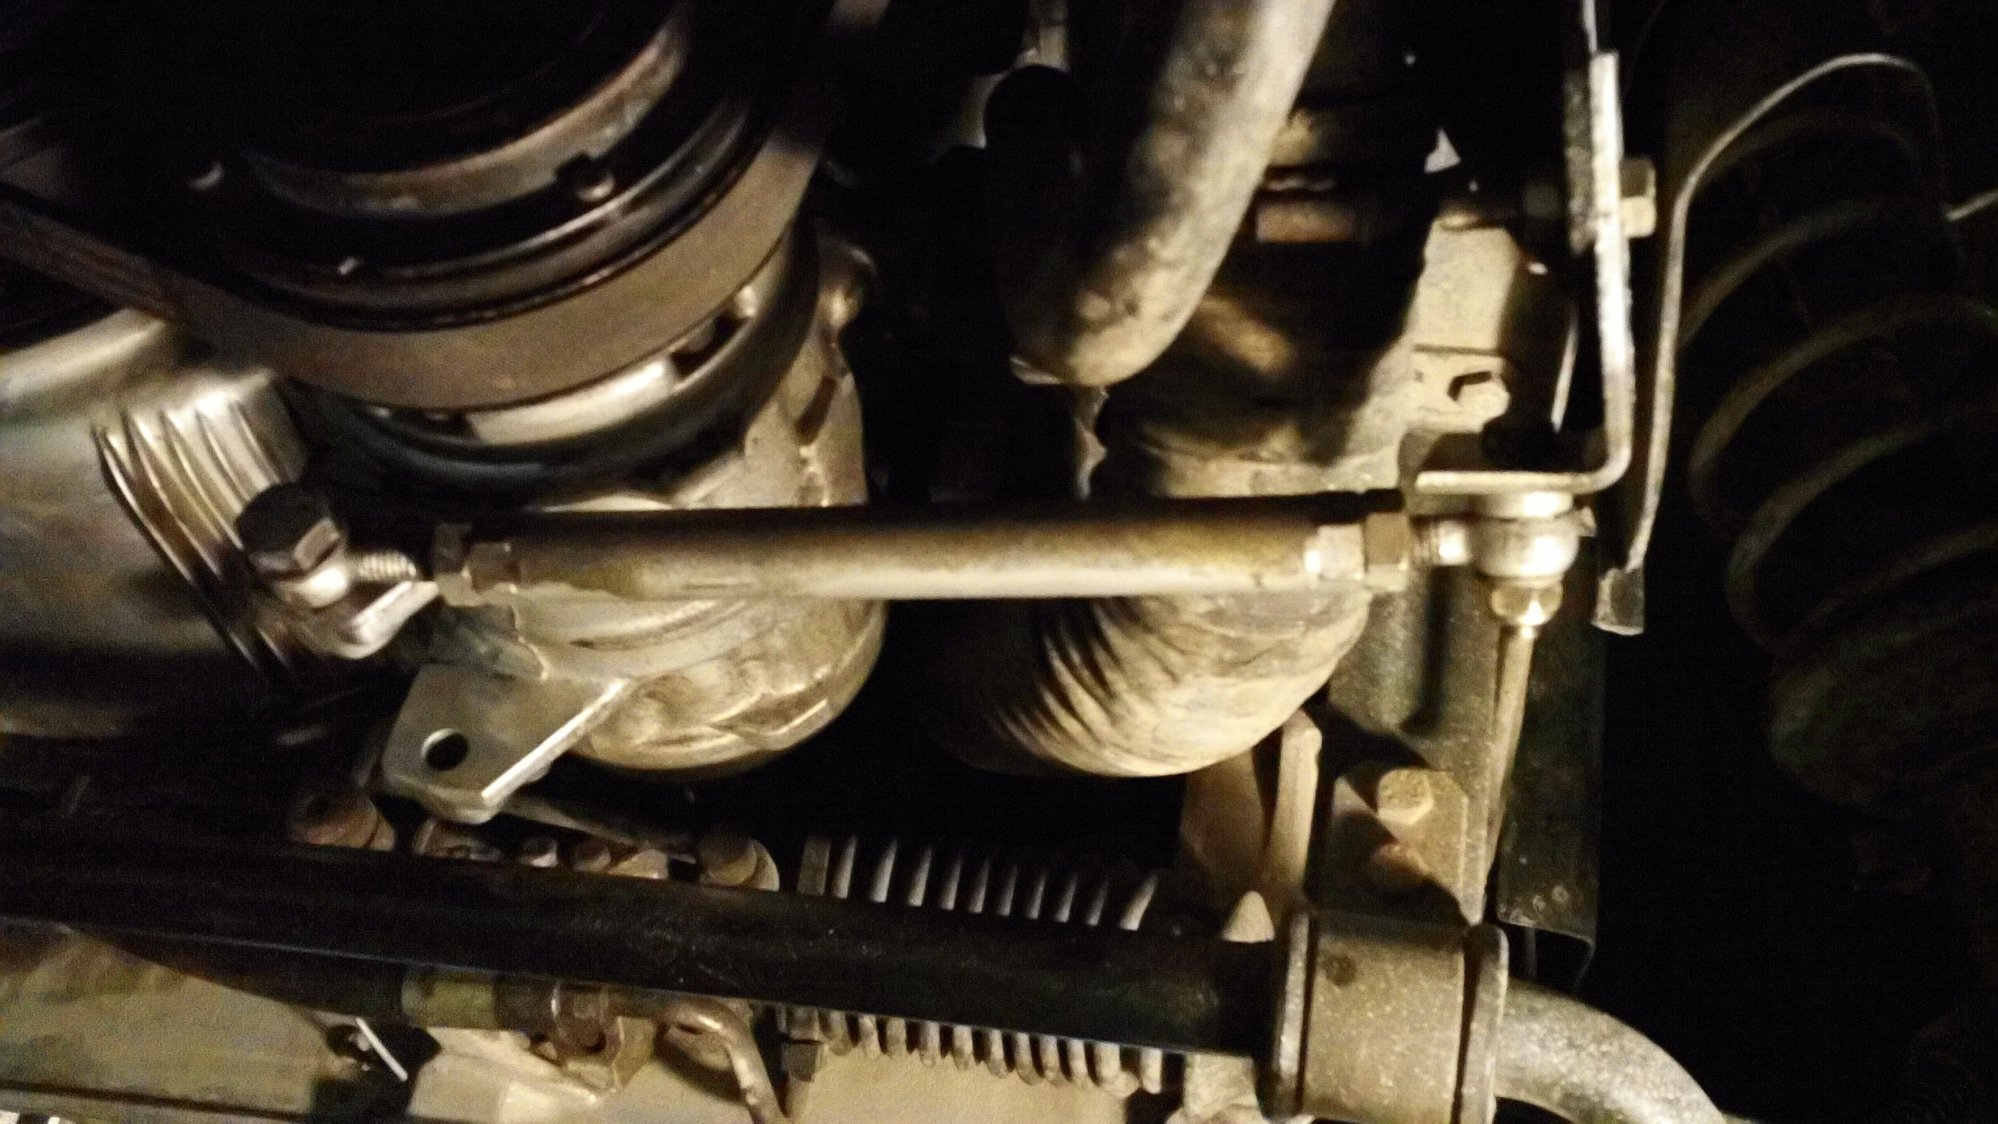
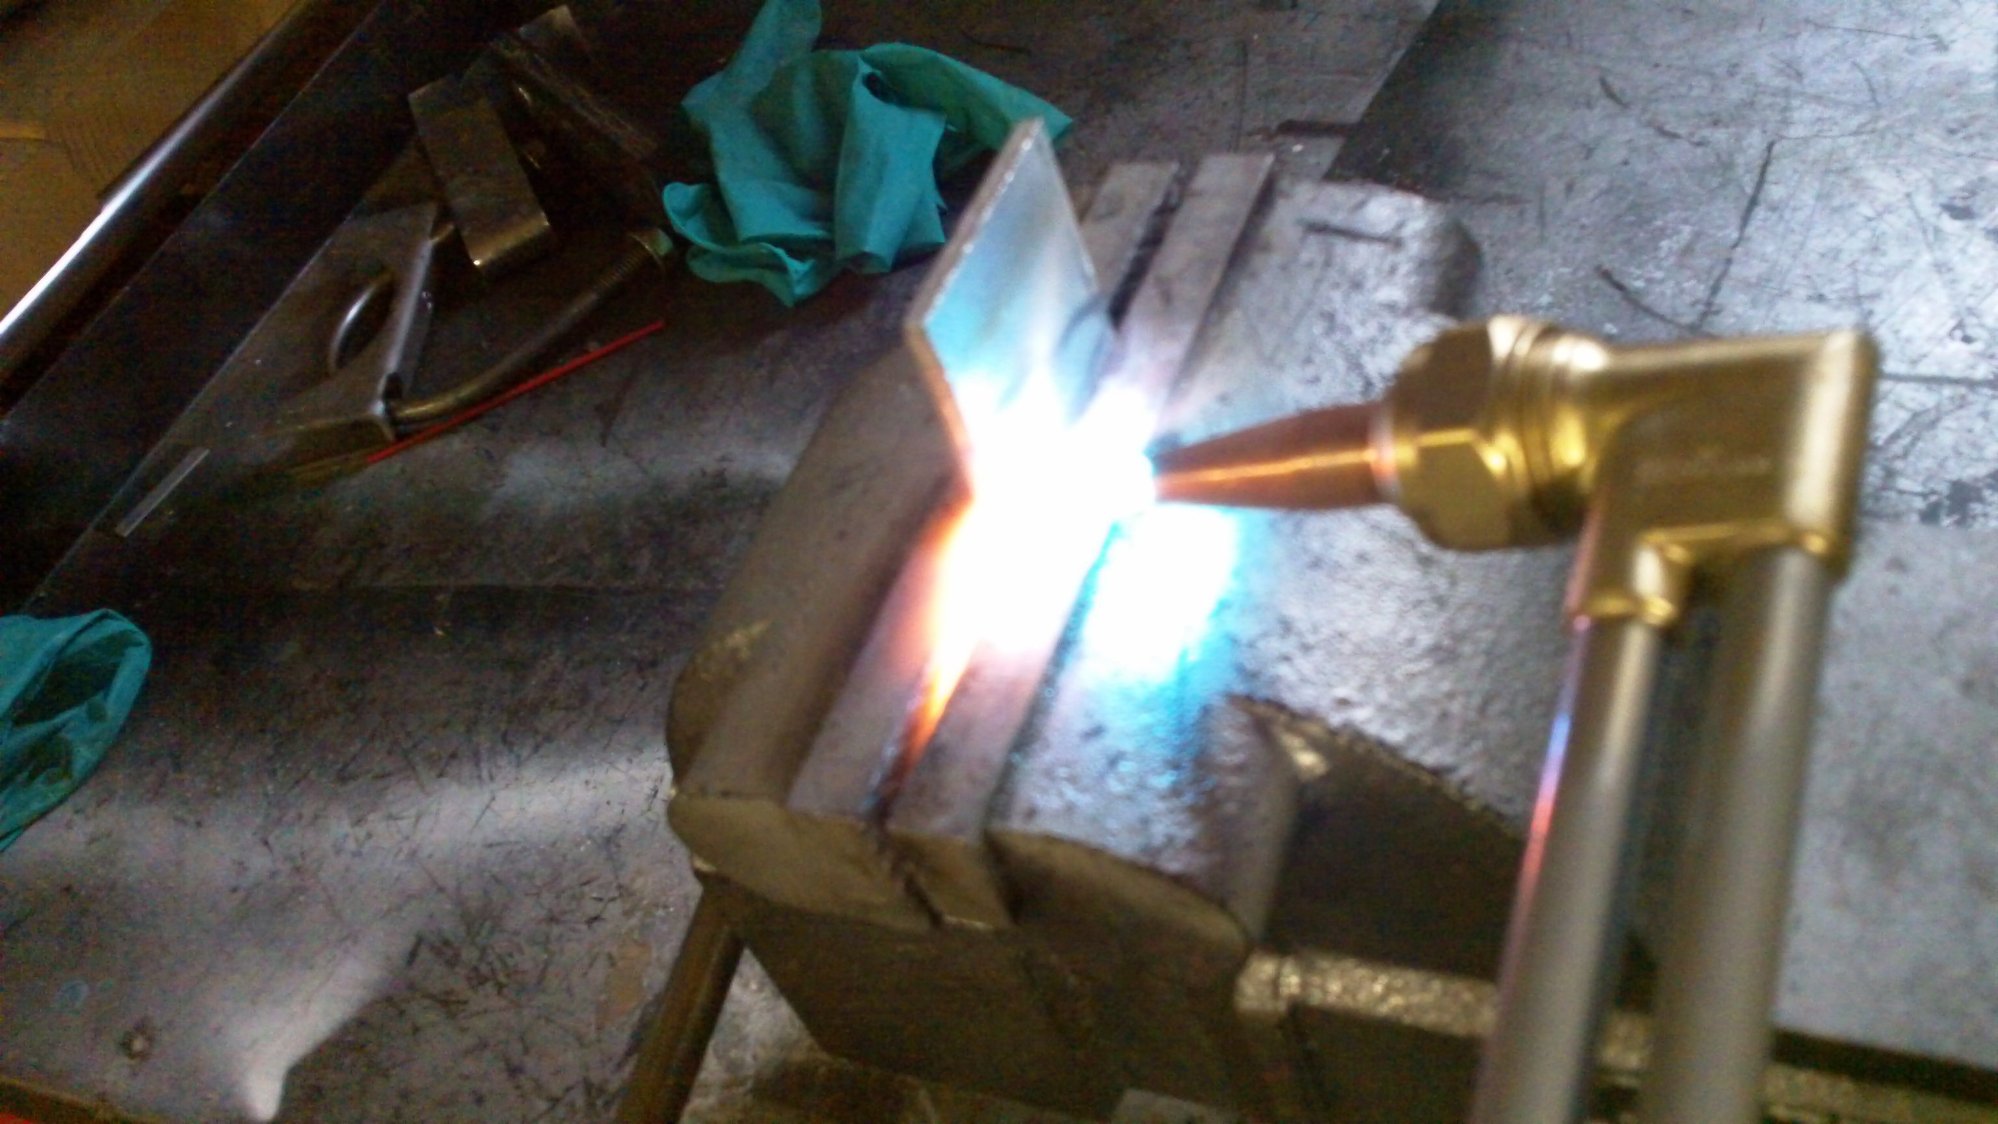
Here's the custom belt tensioner, simply swung the rod the opposite direction & noticed a robust chassis mount. Took a chunk of steel, drilled a couple of holes after bending it the torch & a hammer. shortened the rod length maybe 6 rotations. Solid.
After patting myself on the back for doing an honest days work I realized I forgot to install the stainless timing belt skid plate thing. Darn.
Well the under side has never been so clean:
Here's the custom belt tensioner, simply swung the rod the opposite direction & noticed a robust chassis mount. Took a chunk of steel, drilled a couple of holes after bending it the torch & a hammer. shortened the rod length maybe 6 rotations. Solid.
no no no!
not unless you have solid metal motor mounts.
the engine moves around a lot and the tensioner needs to be attached to the engine assembly somewhere...mounted to the chassis with non-solid mounts, the first good torque will break something!
easier/better would be to make a strong tab stick down from your lower front-balance-shaft-delete plate for the tensioner rod to be positioned like originally.


 09-01-2015, 12:42 PM