Notices
924/931/944/951/968 Forum Porsche 924, 924S, 931, 944, 944S, 944S2, 951, and 968 discussion, how-to guides, and technical help. (1976-1995)
Sponsored by:
Sponsored by:

Wilson's thread

Thread Tools
 
Search this Thread
 
Old 05-09-2015, 12:25 PM
  #181  
Noahs944
Race Car
Thread Starter
 
Noahs944's Avatar
 
Join Date: May 2013
Location: Calgary, Alberta, Canada
Posts: 4,015
Received 229 Likes on 168 Posts
Default


Not much to report. Using Wilson as daily transportation. No "fun runs". Keeping expenses low so I can take a 2 day Autocross course at the end of the month from these guys: http://www.soloprodrivingschool.com/
Old 05-24-2015, 10:36 PM
  #182  
Noahs944
Race Car
Thread Starter
 
Noahs944's Avatar
 
Join Date: May 2013
Location: Calgary, Alberta, Canada
Posts: 4,015
Received 229 Likes on 168 Posts
Default


"here we are again". This all started because I over filled the oil sump & blew my cam housing gasket. Lesson learned. Upon repairing said gasket One of the last bolts I went to torque stripped. Tried repairing with a Heli-coil but it didn't take. I just cancelled the weekend driving course. Hopefully they'll refund me my $330. Bugger.

Last edited by Noahs944; 06-28-2015 at 01:07 PM.
Old 06-28-2015, 01:12 PM
  #183  
Noahs944
Race Car
Thread Starter
 
Noahs944's Avatar
 
Join Date: May 2013
Location: Calgary, Alberta, Canada
Posts: 4,015
Received 229 Likes on 168 Posts
Default

Wilson's Thread as he arises from the dead.

Got my rebuilt head from the machine shop. Took some comparison photos of my other 8 valve head.

The most important improvement is the turbo valve springs.


Old 06-28-2015, 01:16 PM
  #184  
Noahs944
Race Car
Thread Starter
 
Noahs944's Avatar
 
Join Date: May 2013
Location: Calgary, Alberta, Canada
Posts: 4,015
Received 229 Likes on 168 Posts
Default

.030" shaved from the bottom. Like Ohio Tom says "improvement across all rpm range".


Old 06-28-2015, 01:23 PM
  #185  
Noahs944
Race Car
Thread Starter
 
Noahs944's Avatar
 
Join Date: May 2013
Location: Calgary, Alberta, Canada
Posts: 4,015
Received 229 Likes on 168 Posts
Default


This is a factory Porsche intake. Notice the lumps on the interior wall from the casting.
Old 06-28-2015, 01:25 PM
  #186  
Noahs944
Race Car
Thread Starter
 
Noahs944's Avatar
 
Join Date: May 2013
Location: Calgary, Alberta, Canada
Posts: 4,015
Received 229 Likes on 168 Posts
Default


Here is the ported intake.
Old 06-28-2015, 01:28 PM
  #187  
Noahs944
Race Car
Thread Starter
 
Noahs944's Avatar
 
Join Date: May 2013
Location: Calgary, Alberta, Canada
Posts: 4,015
Received 229 Likes on 168 Posts
Default


View of the "street port" head. Exhaust angle.
Old 06-28-2015, 01:31 PM
  #188  
Noahs944
Race Car
Thread Starter
 
Noahs944's Avatar
 
Join Date: May 2013
Location: Calgary, Alberta, Canada
Posts: 4,015
Received 229 Likes on 168 Posts
Default


As seen with exhaust manifold gasket.
Old 06-28-2015, 01:40 PM
  #189  
Noahs944
Race Car
Thread Starter
 
Noahs944's Avatar
 
Join Date: May 2013
Location: Calgary, Alberta, Canada
Posts: 4,015
Received 229 Likes on 168 Posts
Default

So it is what is it. I had given them a budget & said do what you can. I was hoping for more extreme measures... and wanted to have the valves undercut. Not sure why they didn't do that... but they also came in under budget. I *think I should be sitting at 190 flywheel horse power after all is said. Perhaps I can find a dyno place this fall or winter to end my curiosity.

The plan is to clean up my messy garage. Then clean out my cam housing/camshaft. Advance the cam 1 tooth of the belt & retard 2 degrees with an offset woodruff key. Set the cam on the new standard thickness gasket & check for valve to piston clearance.
Old 06-28-2015, 02:32 PM
  #190  
Noahs944
Race Car
Thread Starter
 
Noahs944's Avatar
 
Join Date: May 2013
Location: Calgary, Alberta, Canada
Posts: 4,015
Received 229 Likes on 168 Posts
Default


Looking forward to driving a car again.
Old 07-04-2015, 01:50 PM
  #191  
Noahs944
Race Car
Thread Starter
 
Noahs944's Avatar
 
Join Date: May 2013
Location: Calgary, Alberta, Canada
Posts: 4,015
Received 229 Likes on 168 Posts
Default

Cleaned out valve reliefs... not cleaning out carbon otherwise, what's the point? Modelling clay in full effect.


Old 07-04-2015, 01:57 PM
  #192  
Noahs944
Race Car
Thread Starter
 
Noahs944's Avatar
 
Join Date: May 2013
Location: Calgary, Alberta, Canada
Posts: 4,015
Received 229 Likes on 168 Posts
Default


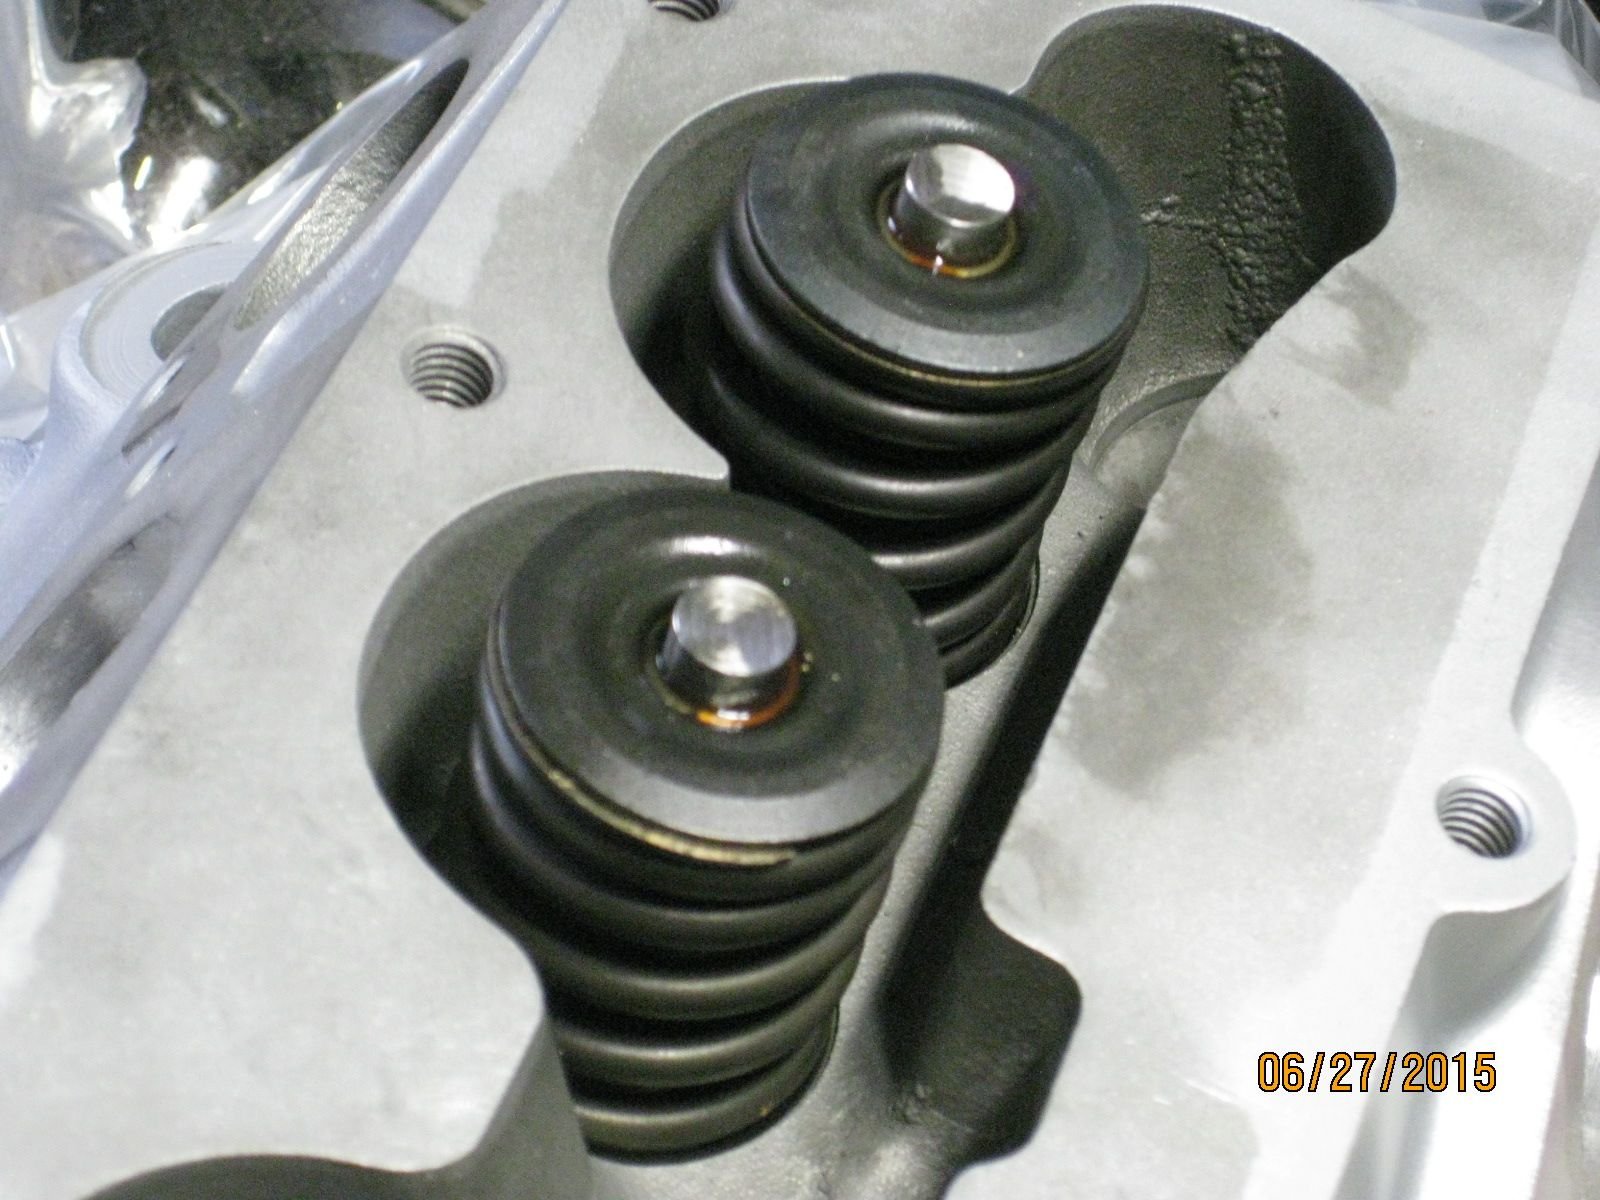
These aren't easy to find. Valve train checking springs. Never even heard of them before. When checking for valve to piston clearance, the hydraulic lifters aren't charged full of pressurized engine oil as they would be under running conditions. And when you crank the engine over by hand to check for clearance, you'll get a FALSE reading because the lifters will bleed out against the very stiff valve springs. So you pop the super light duty test springs in & not compress the hydraulic lifter as much, resulting in a much more accurate reading of the modelling clay.
Old 07-04-2015, 02:02 PM
  #193  
Noahs944
Race Car
Thread Starter
 
Noahs944's Avatar
 
Join Date: May 2013
Location: Calgary, Alberta, Canada
Posts: 4,015
Received 229 Likes on 168 Posts
Default

Sorry for the out of focus shots. Camera is acting weird. This is my first time removing installing engine valve springs. I'm wearing a face shield. Did you know 10% of loss of vision incidents are caused by self?


Sorry for the out of focus shots. Camera is acting weird. This is my first time removing installing engine valve springs. I'm wearing a face shield. Did you know 10% of loss of vision incidents are caused by self?

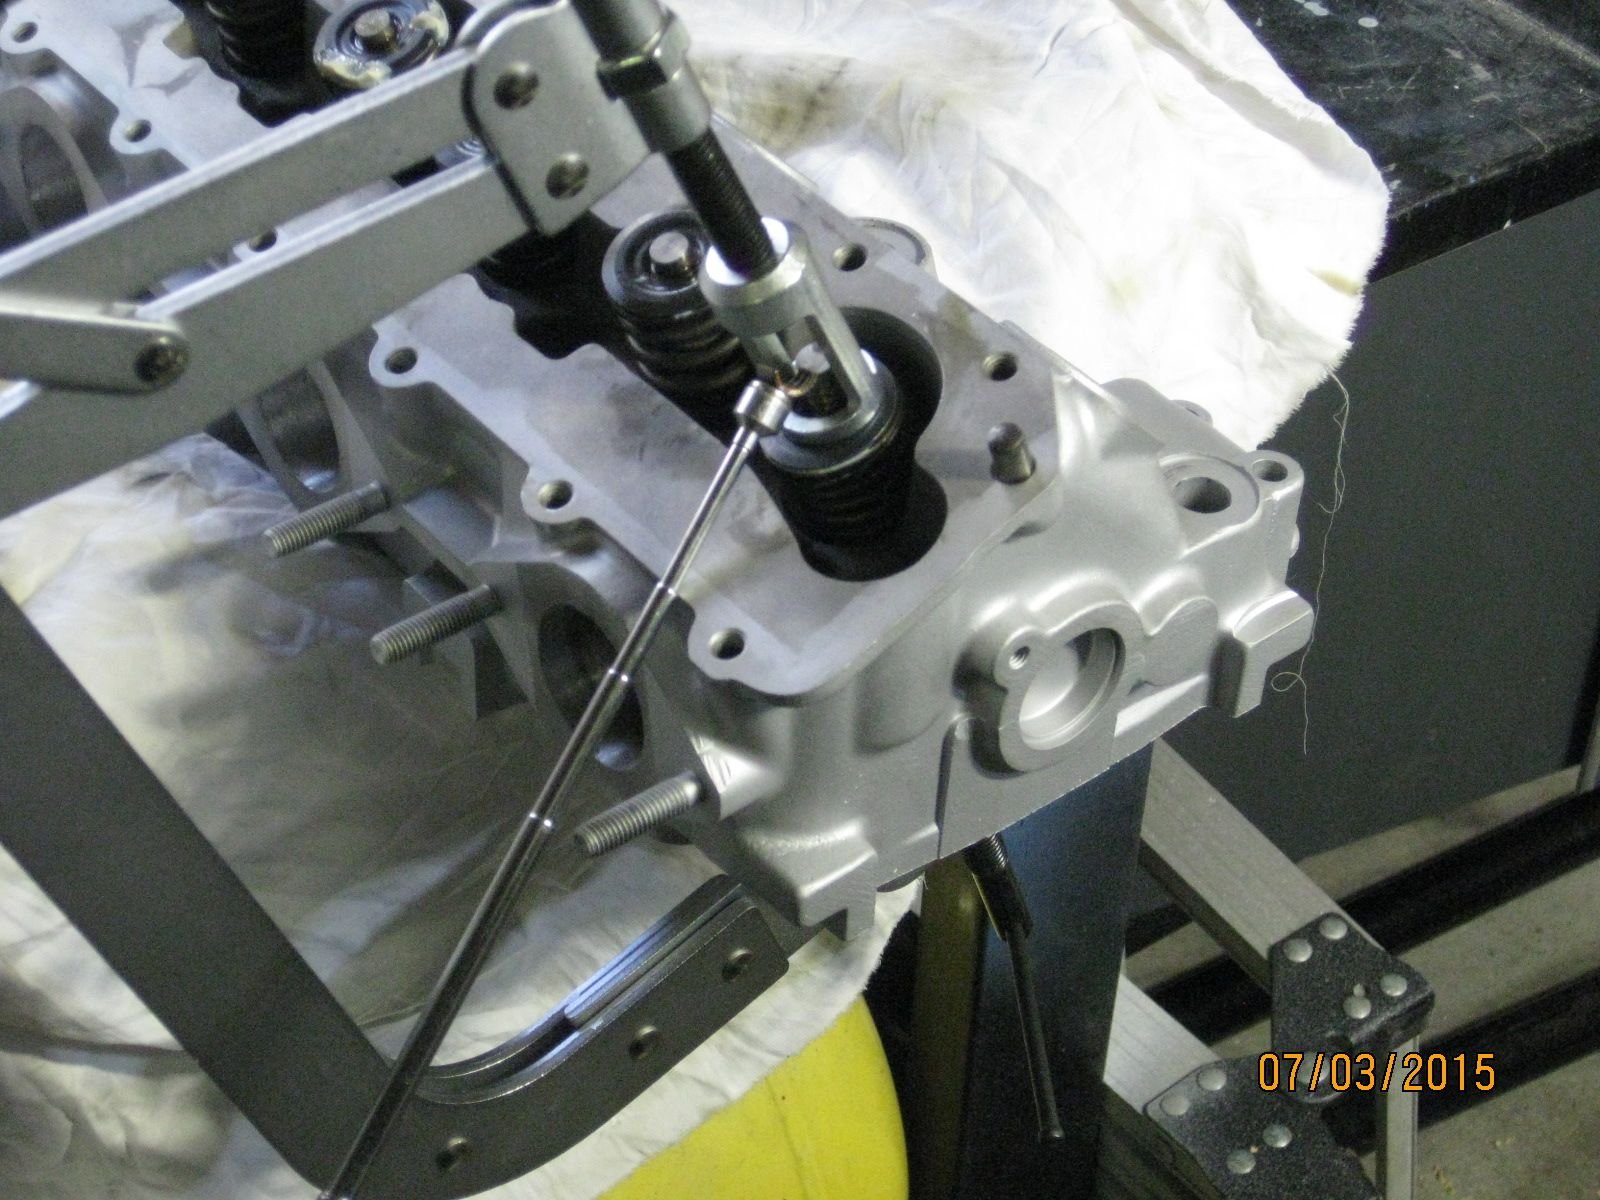
In photo: I have compressed the springs & with the help of a magnet & small flathead screwdriver & pick out the retaining wedges.
Old 07-04-2015, 02:07 PM
  #194  
Noahs944
Race Car
Thread Starter
 
Noahs944's Avatar
 
Join Date: May 2013
Location: Calgary, Alberta, Canada
Posts: 4,015
Received 229 Likes on 168 Posts
Default


I am only checking clearance on number 1 cylinder, so only 2 checking springs are used & 4 head stud nuts are used, with very little torque. No gasket is applied for testing, as I will add the compressed gasket thickness of 1.1mm (0.043") to the equation later.
Old 07-04-2015, 02:11 PM
  #195  
Noahs944
Race Car
Thread Starter
 
Noahs944's Avatar
 
Join Date: May 2013
Location: Calgary, Alberta, Canada
Posts: 4,015
Received 229 Likes on 168 Posts
Default

Internet wisdom suggests compression ratio will be about 10.9:1 give or take.


Quick Reply: Wilson's thread


All times are GMT -3. The time now is 07:29 AM.