When you click on links to various merchants on this site and make a purchase, this can result in this site earning a commission. Affiliate programs and affiliations include, but are not limited to, the eBay Partner Network.
Got a call from Andy my sheet metal guy. Wanted me to come to the shop for good and bad news. Good news was that there was good progress on the car - bad news was that there was more rust discovered on the passenger side bottom windshield channel area. It wasn�t noticeable until they removed paint in that area to weld in the piece they made to repair the rust spot under the dash. Before the fancy red paint job someone had filled the area with aluminum bondo. Well another area to cut out and replace. Also found small rust spot in lower front driver door. That�s not all the bad news - the S bumper I had purchased fits like garbage. It is too wide and twists down on the passenger side. So it has to be cut and modified to fit the car correct. I keep hearing the aftermarket panels pretty much all need to be modified to fit correctly. Still pushing to get the car to paint in a week.
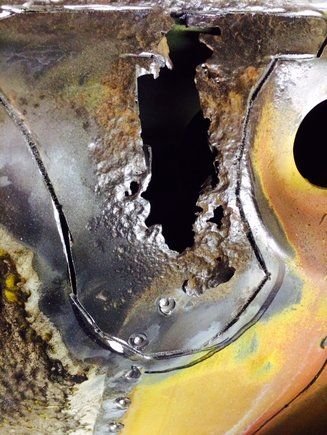
Here is the before and after if the rust spot under driver front fender.
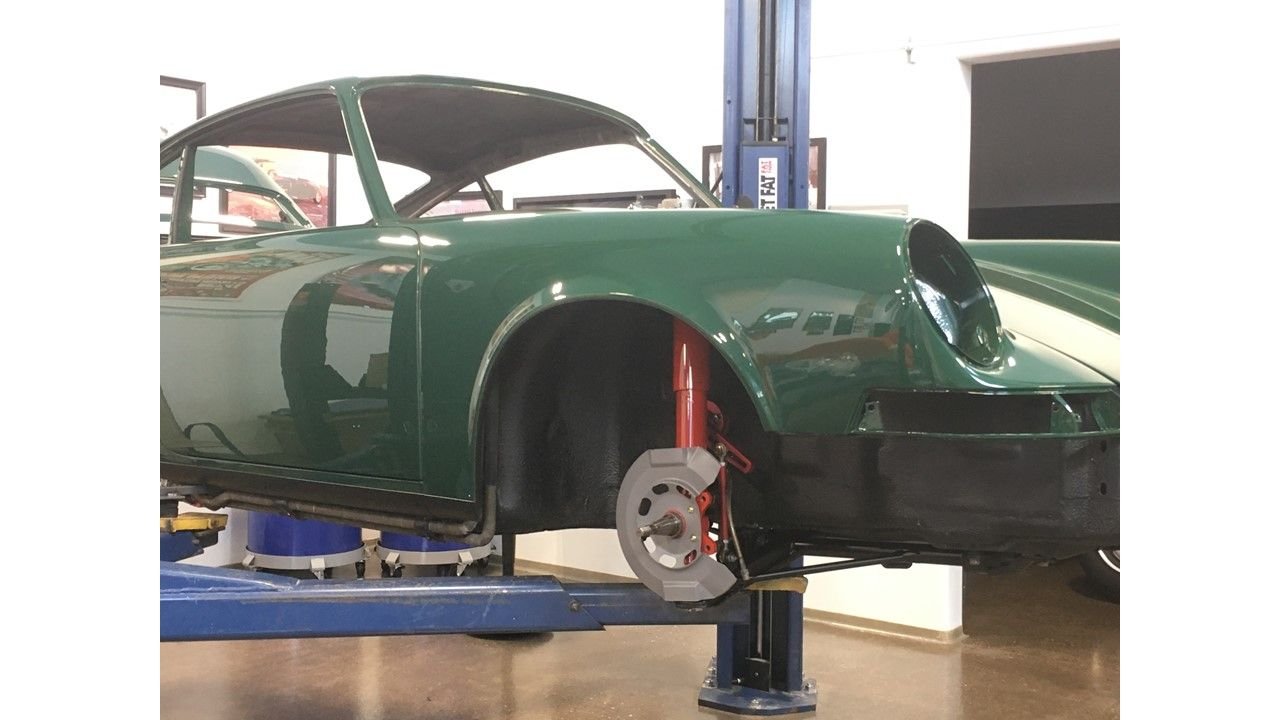
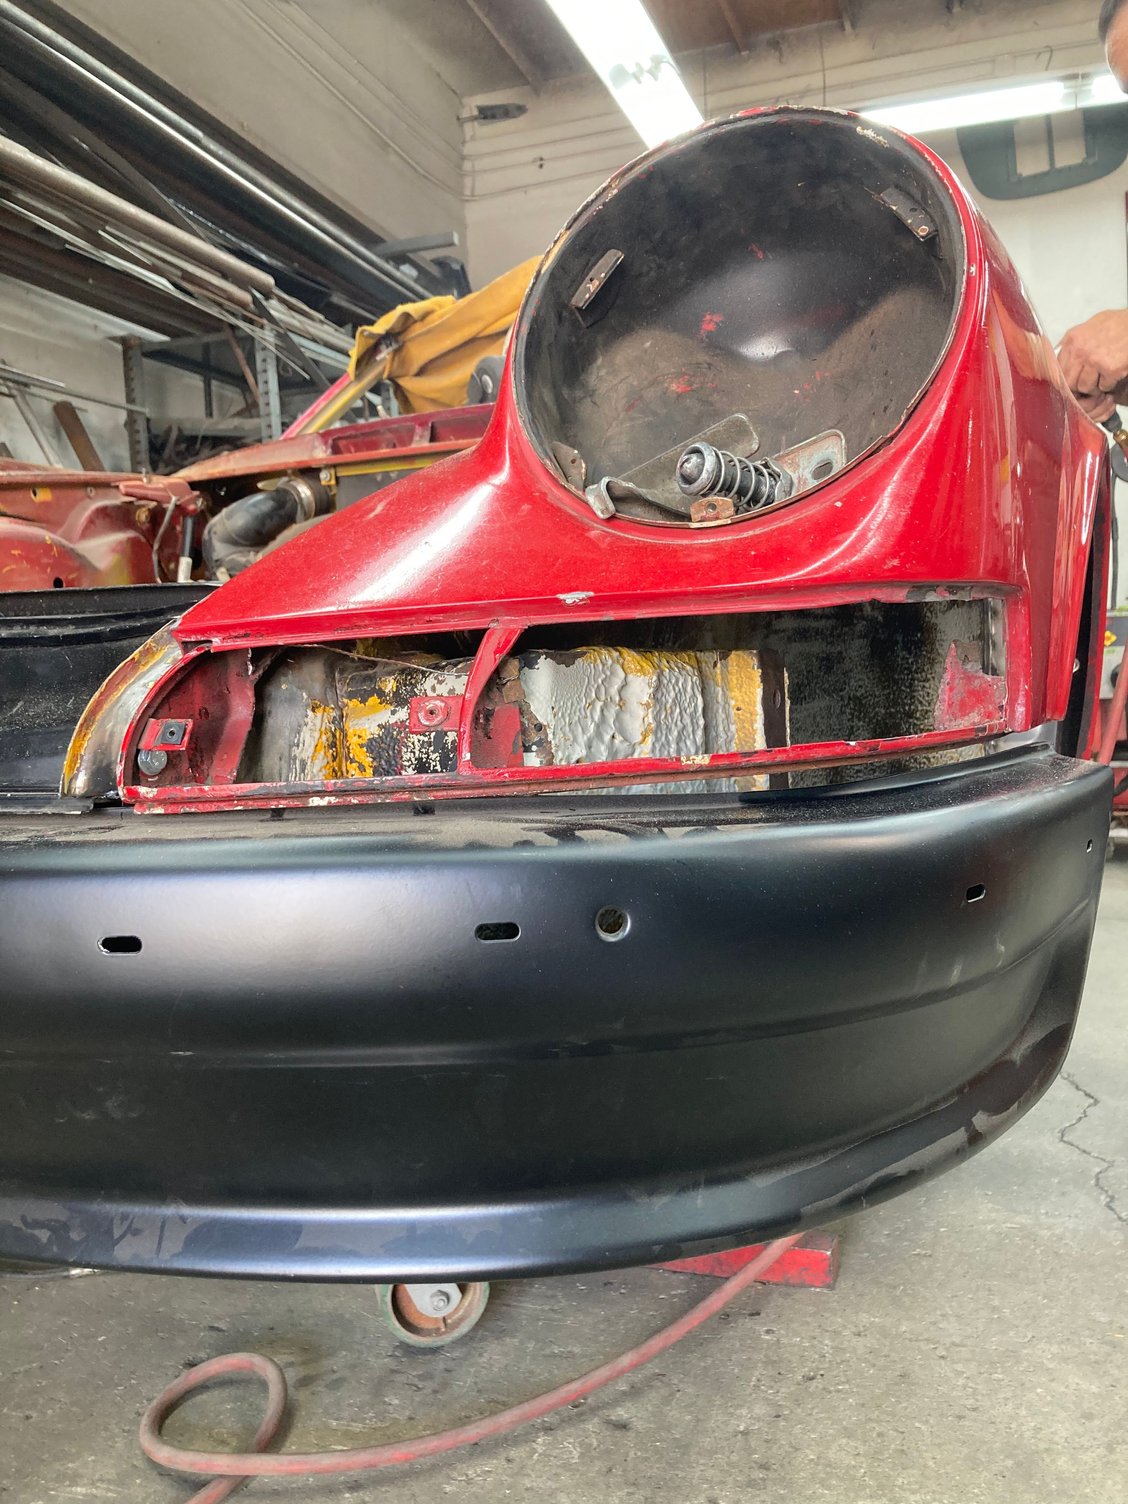
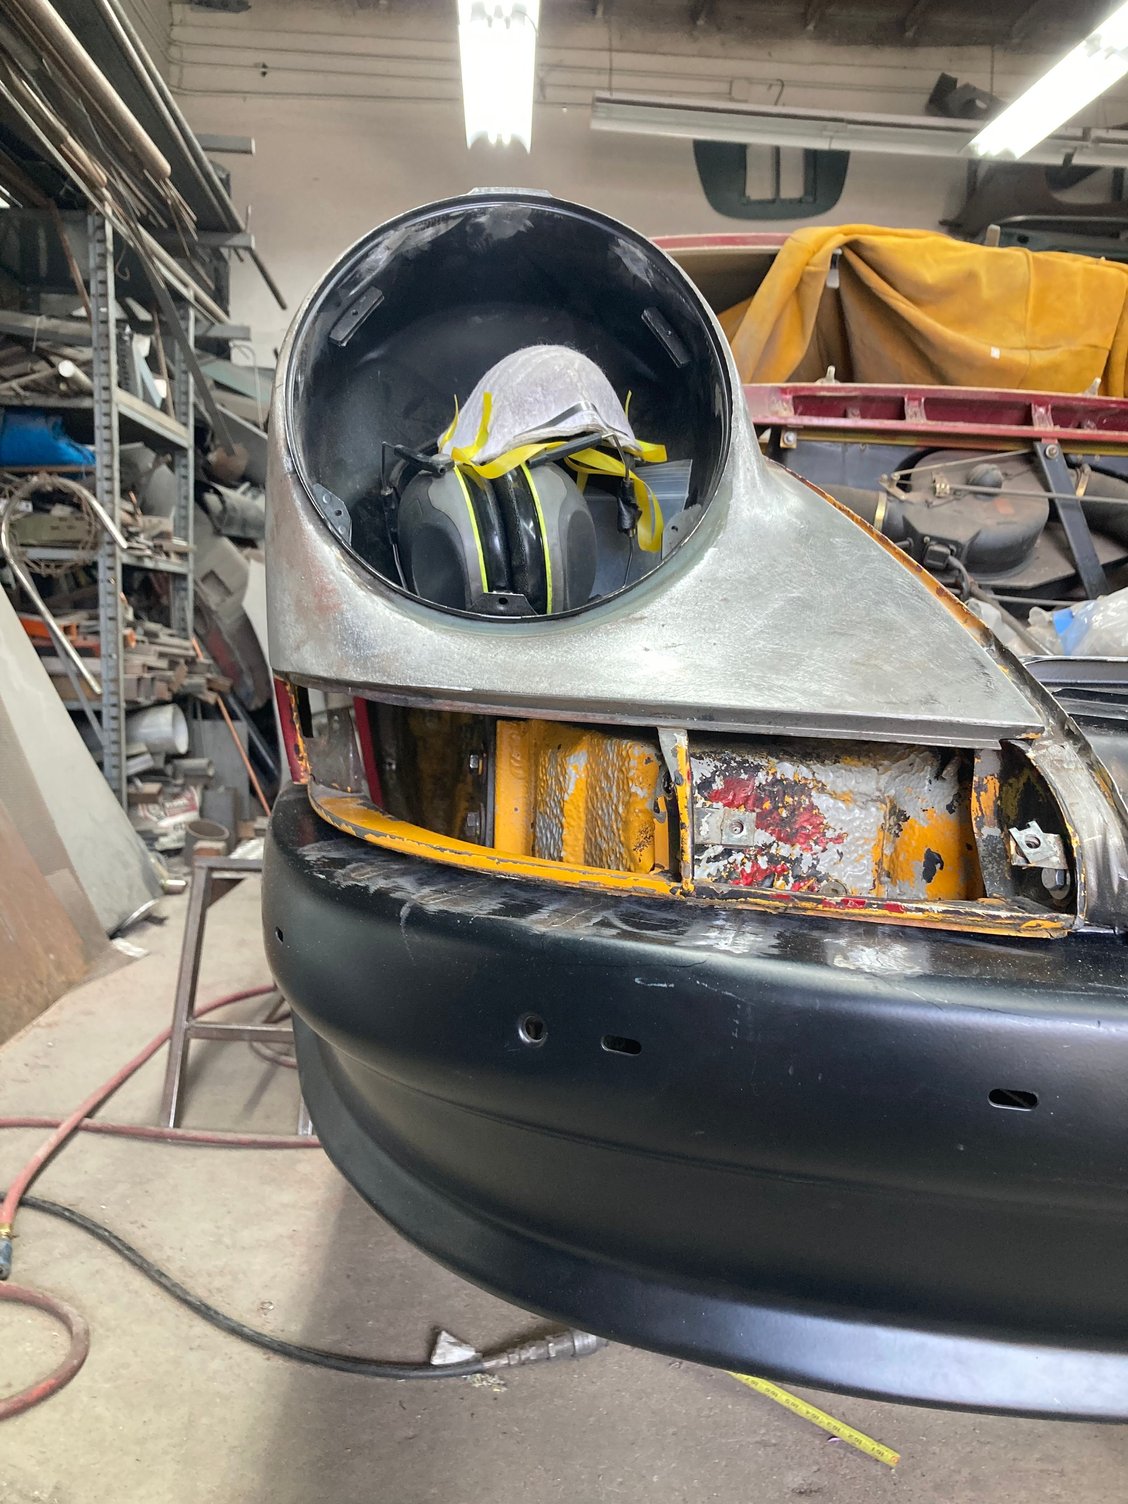
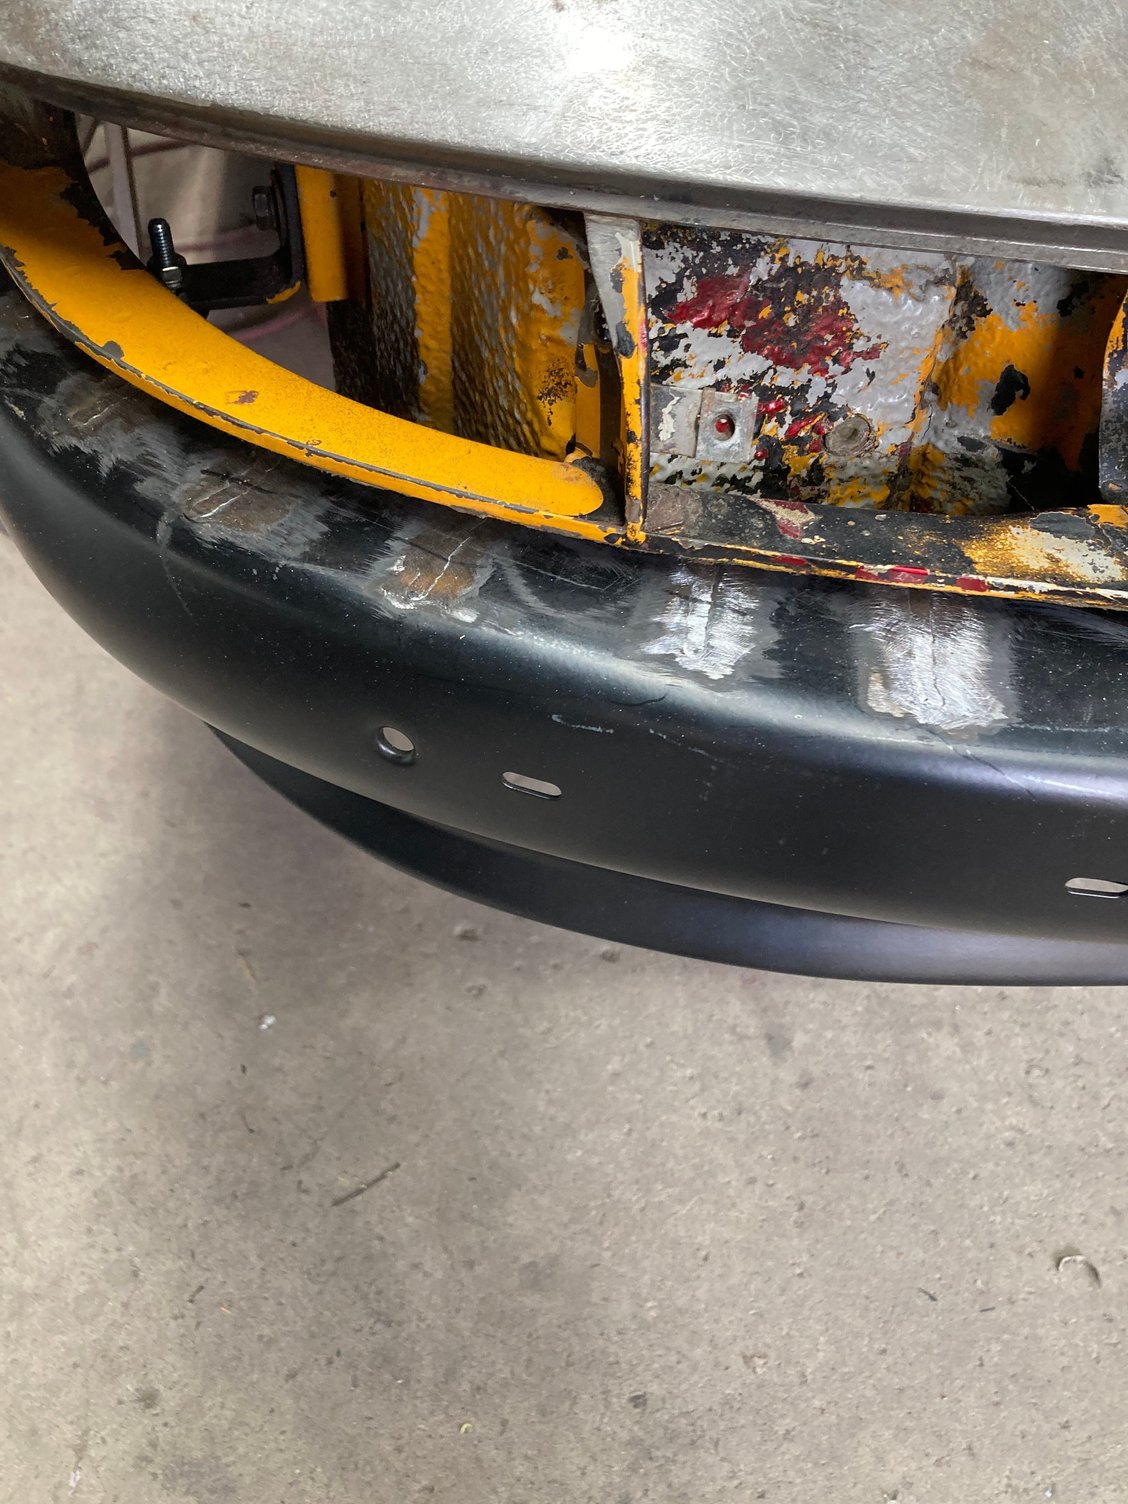
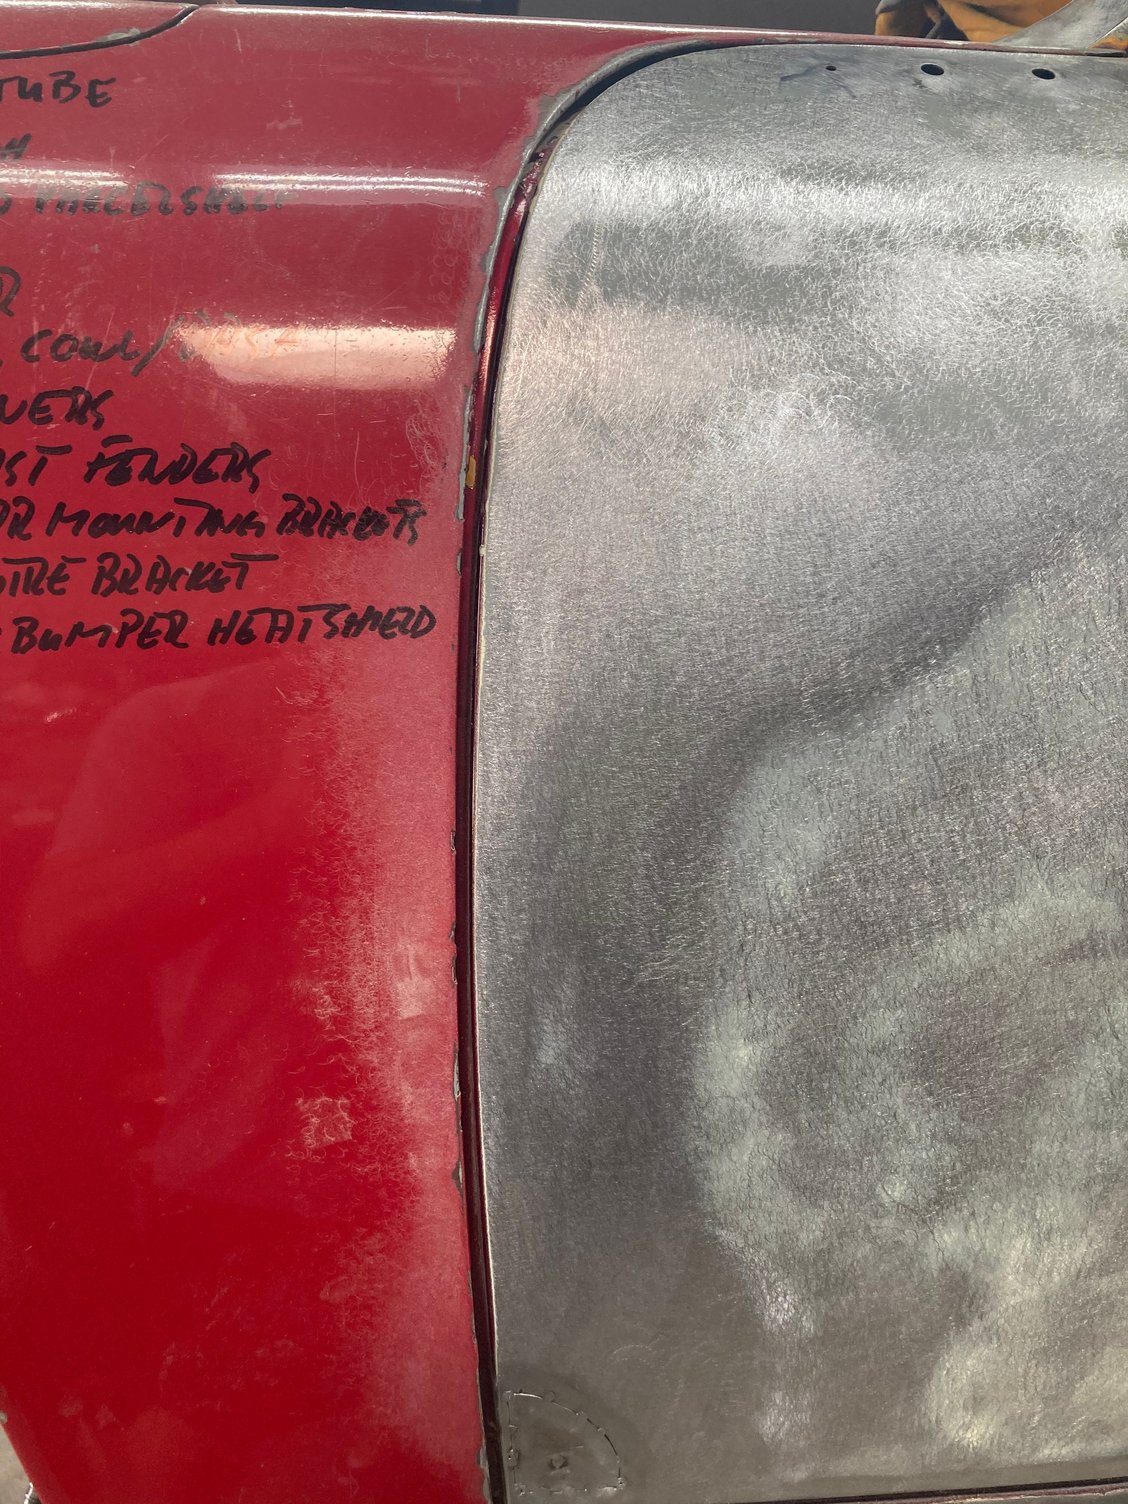
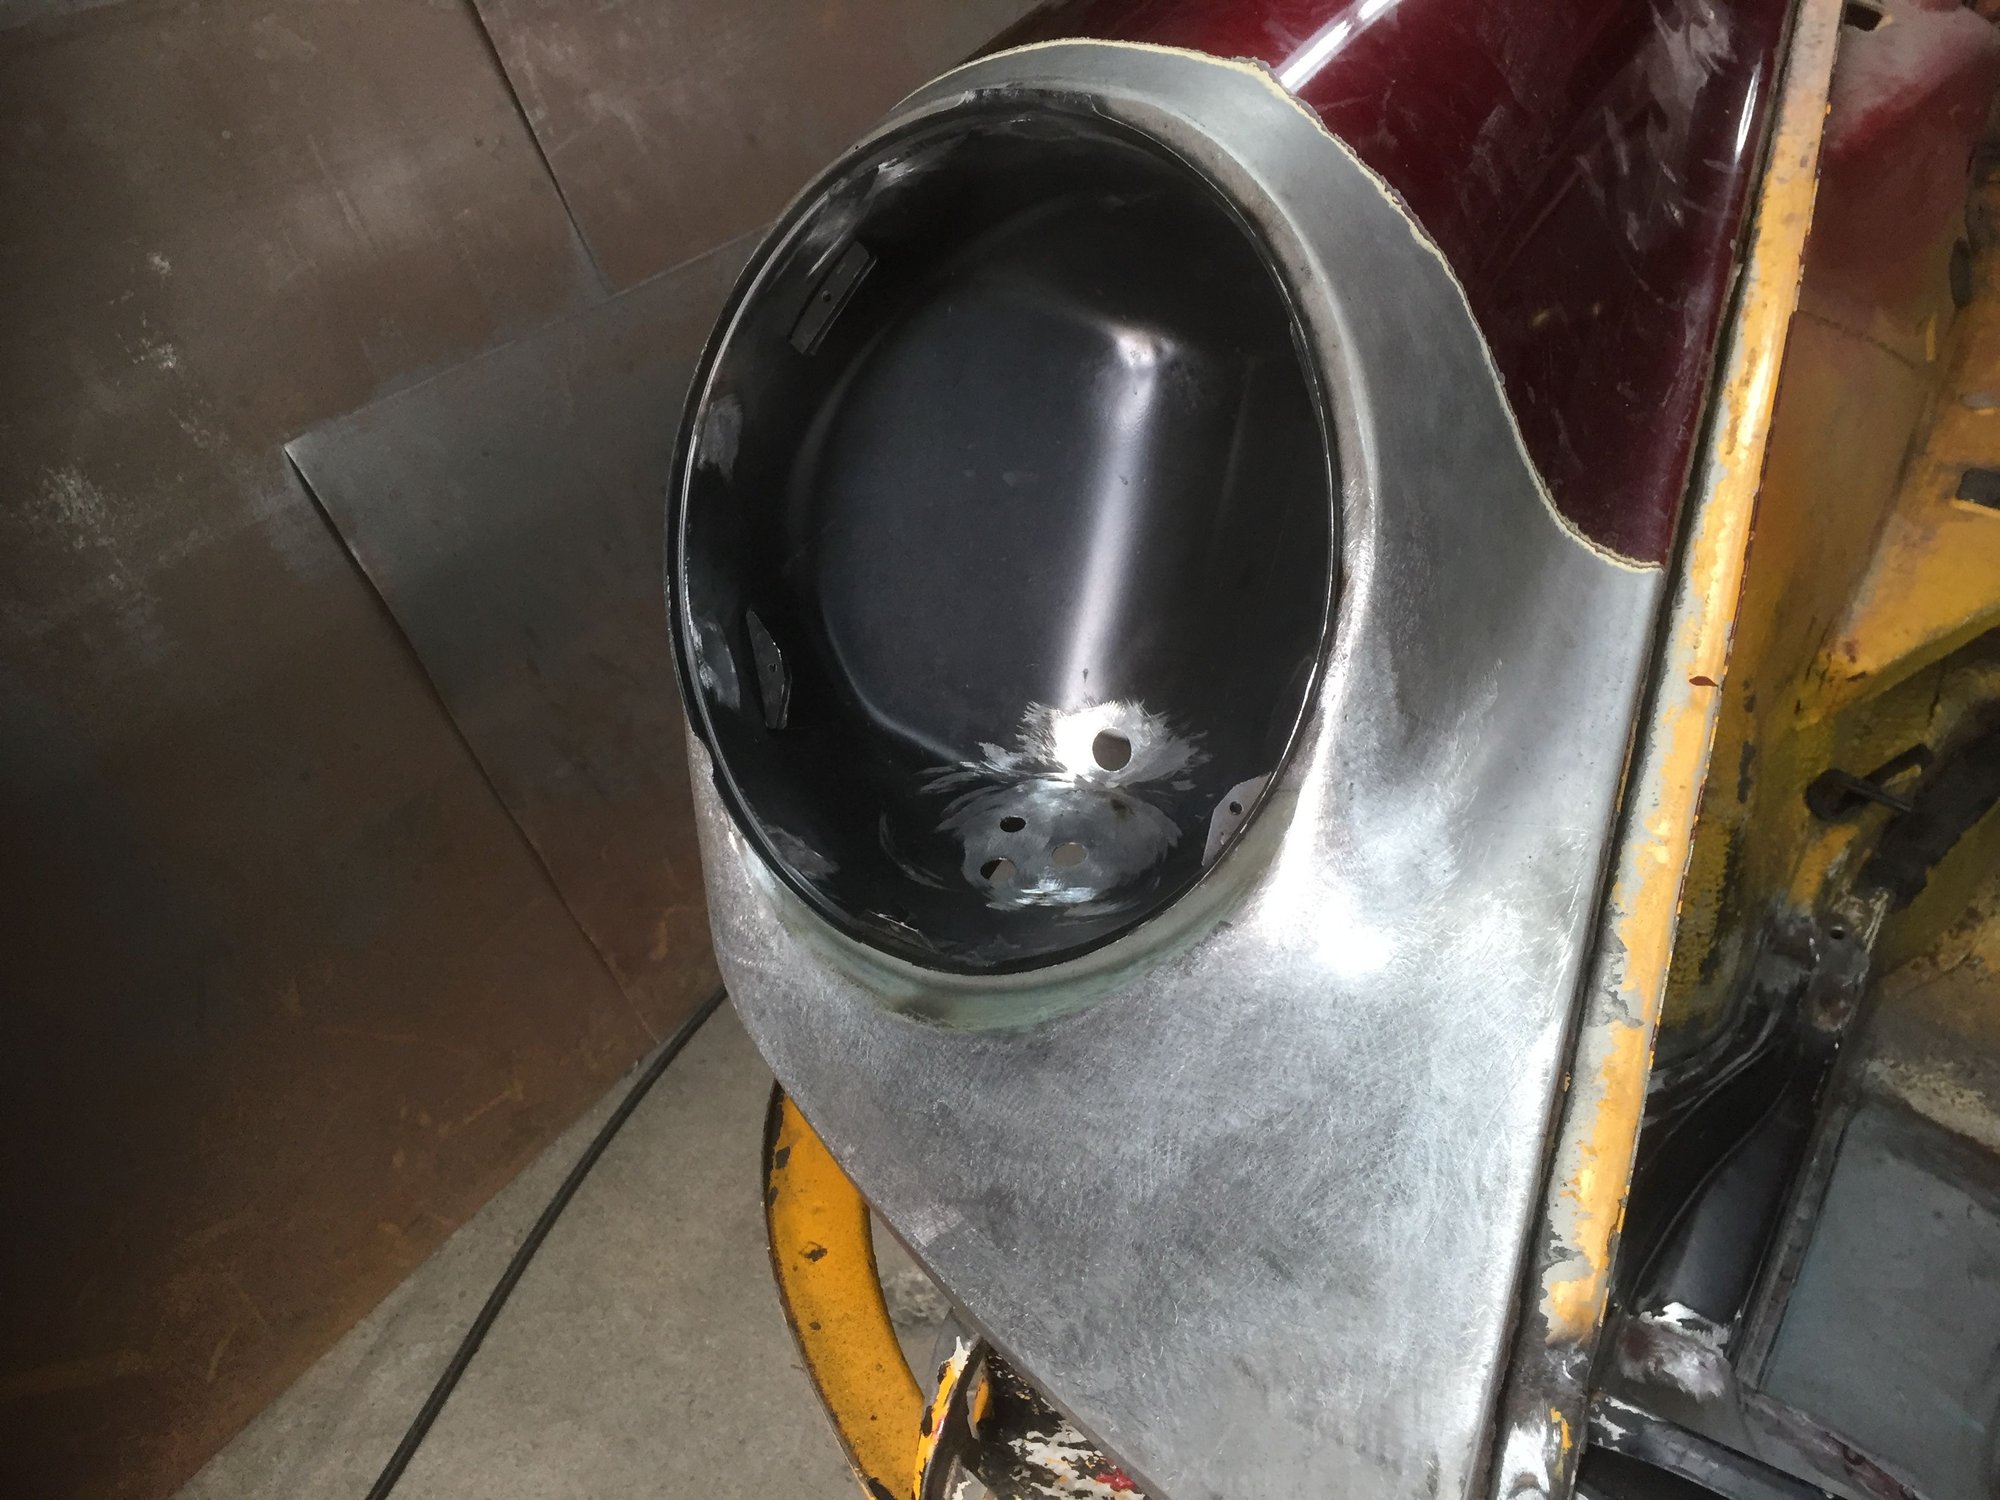
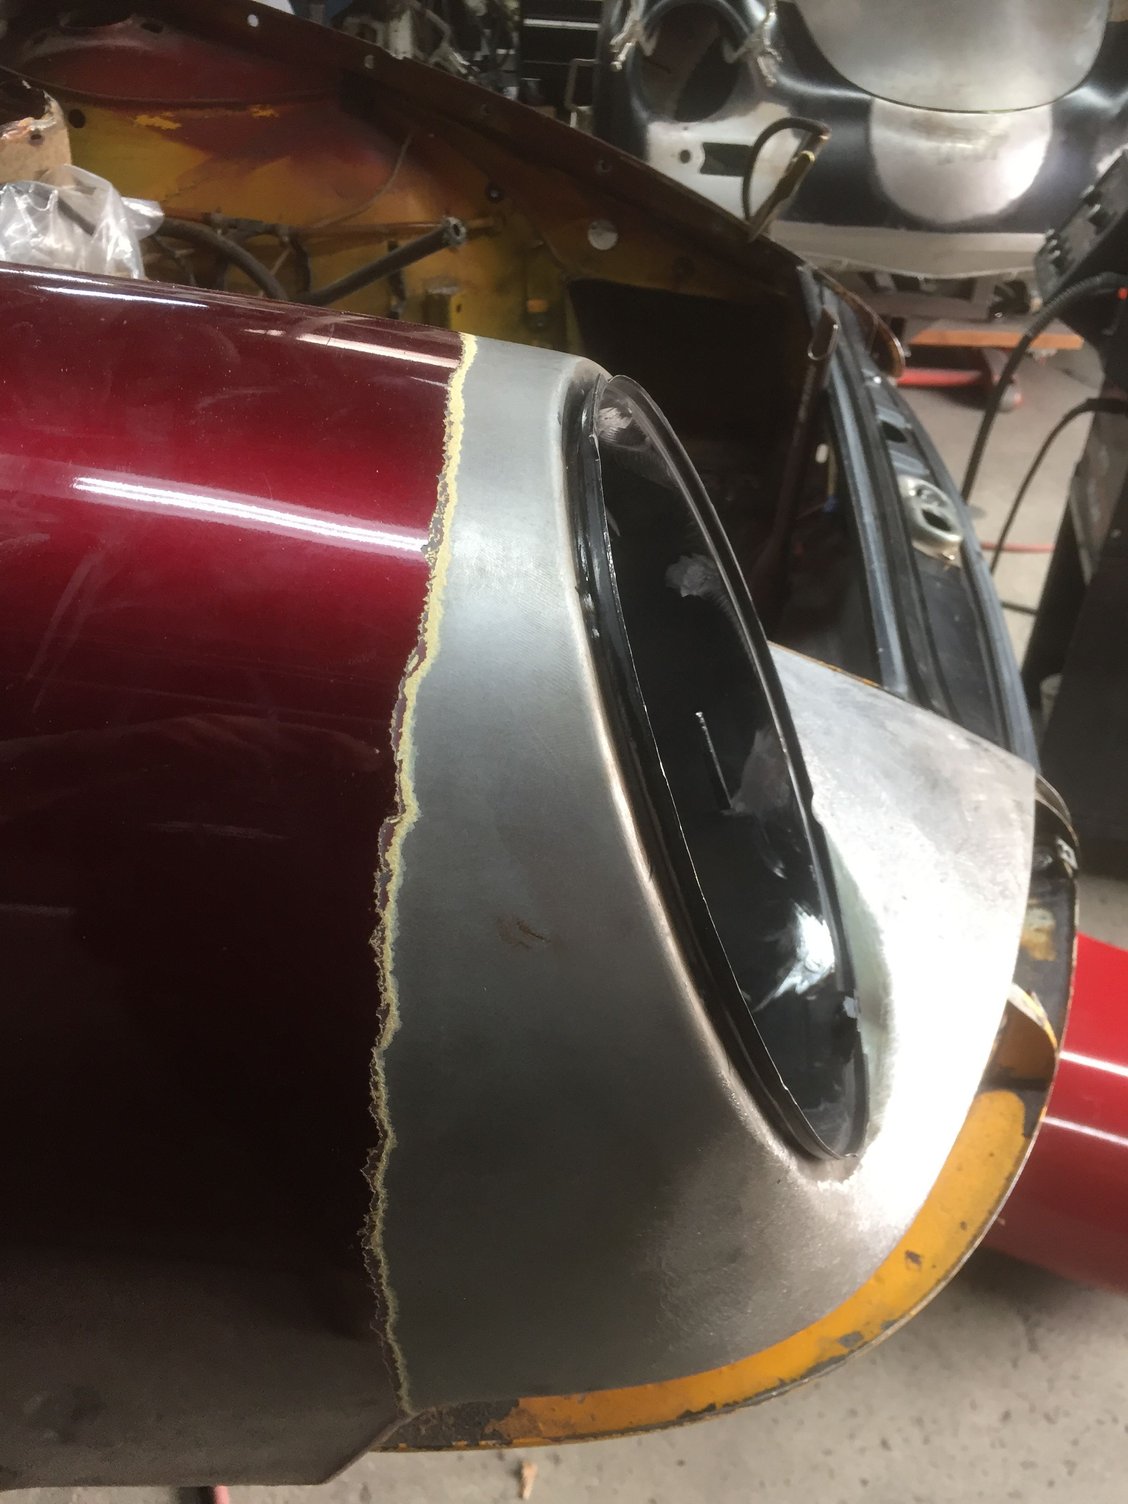
Headlight bucket in and grafted area all finished clean but look at the third photo for the super crappy fitment of the bumper.
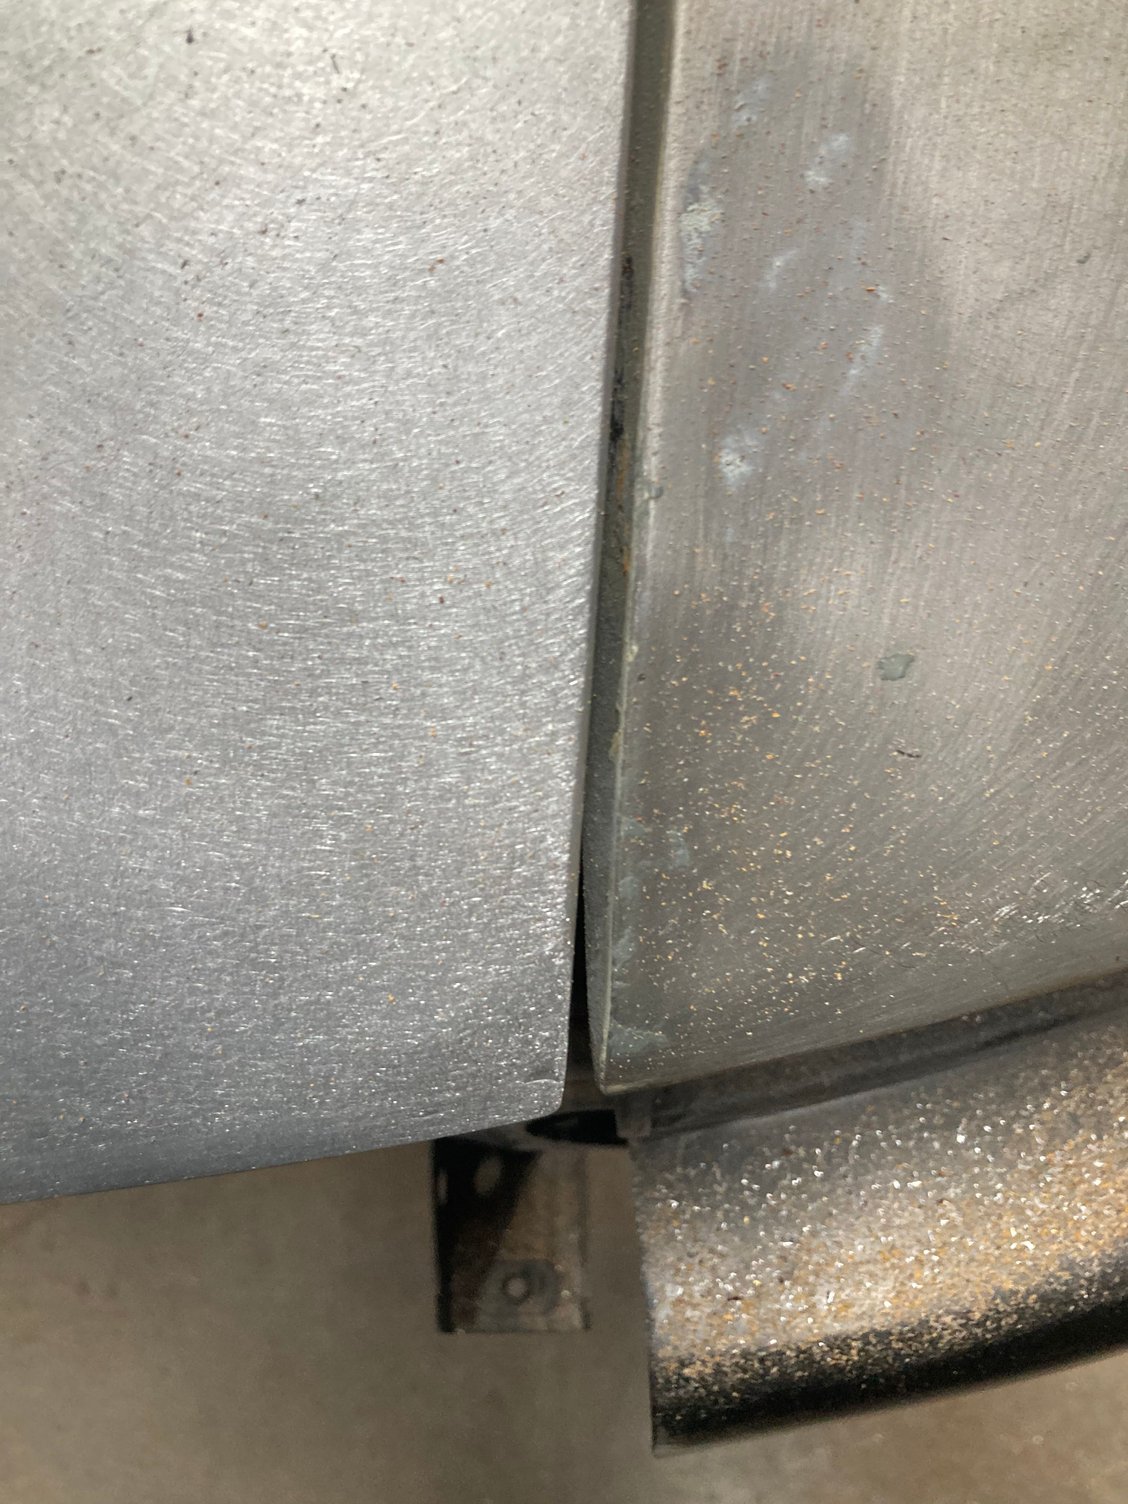
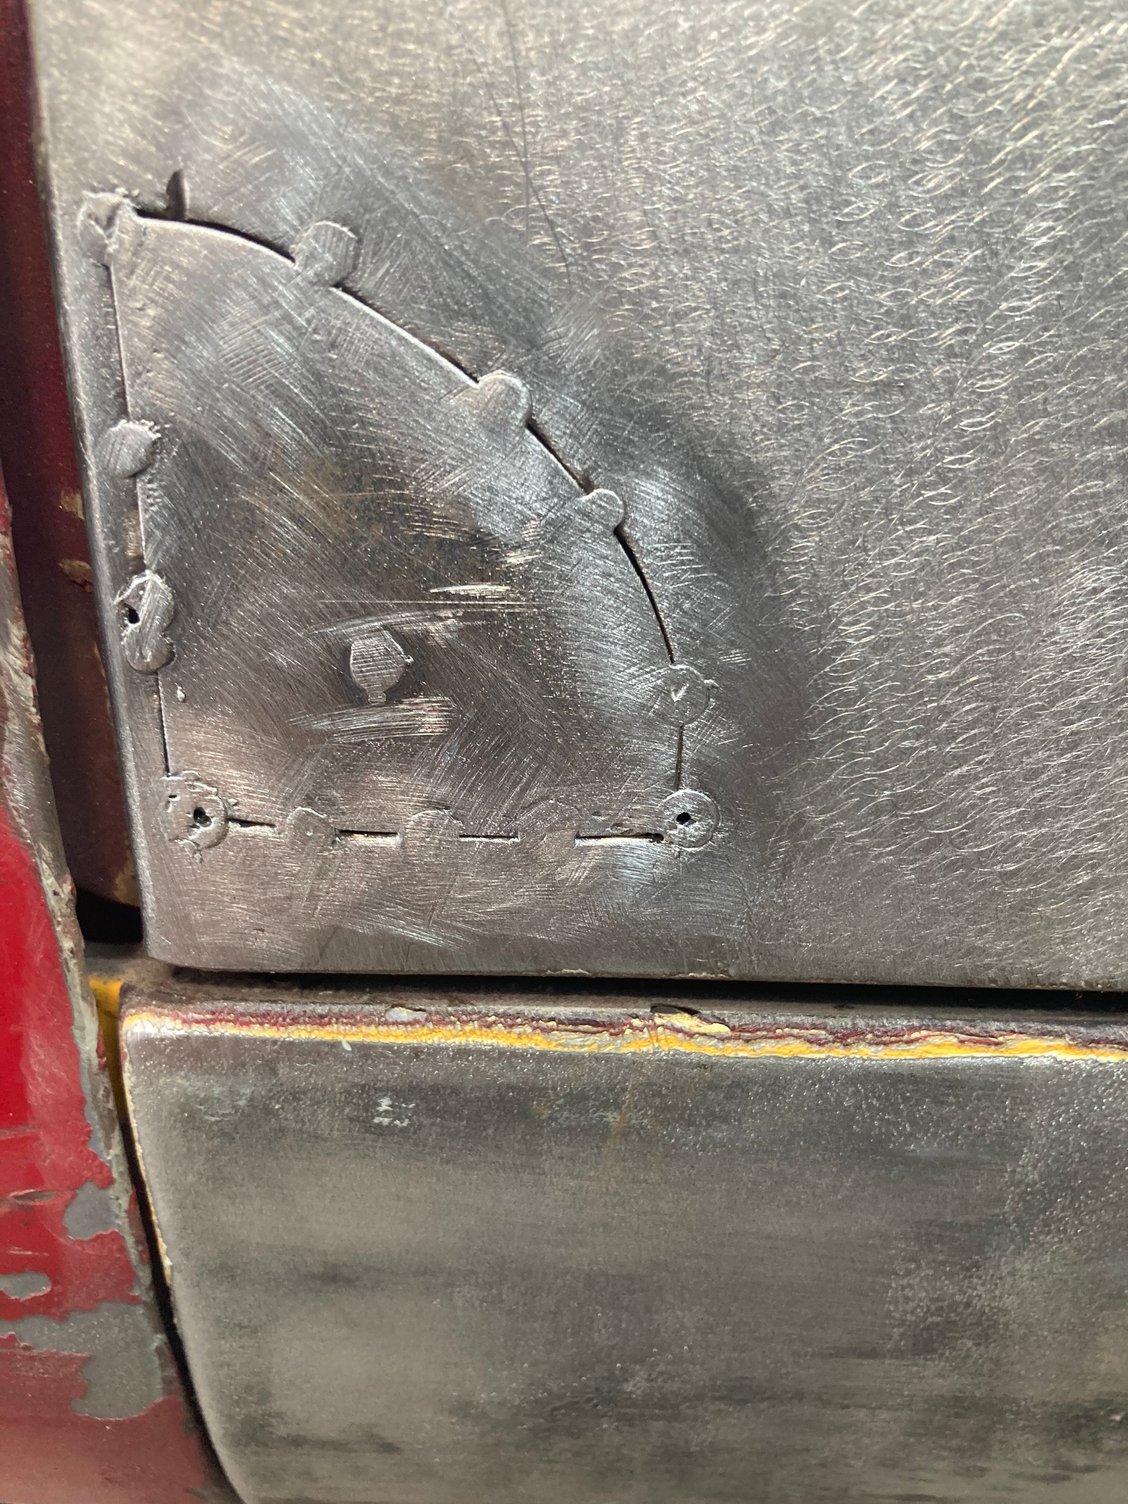
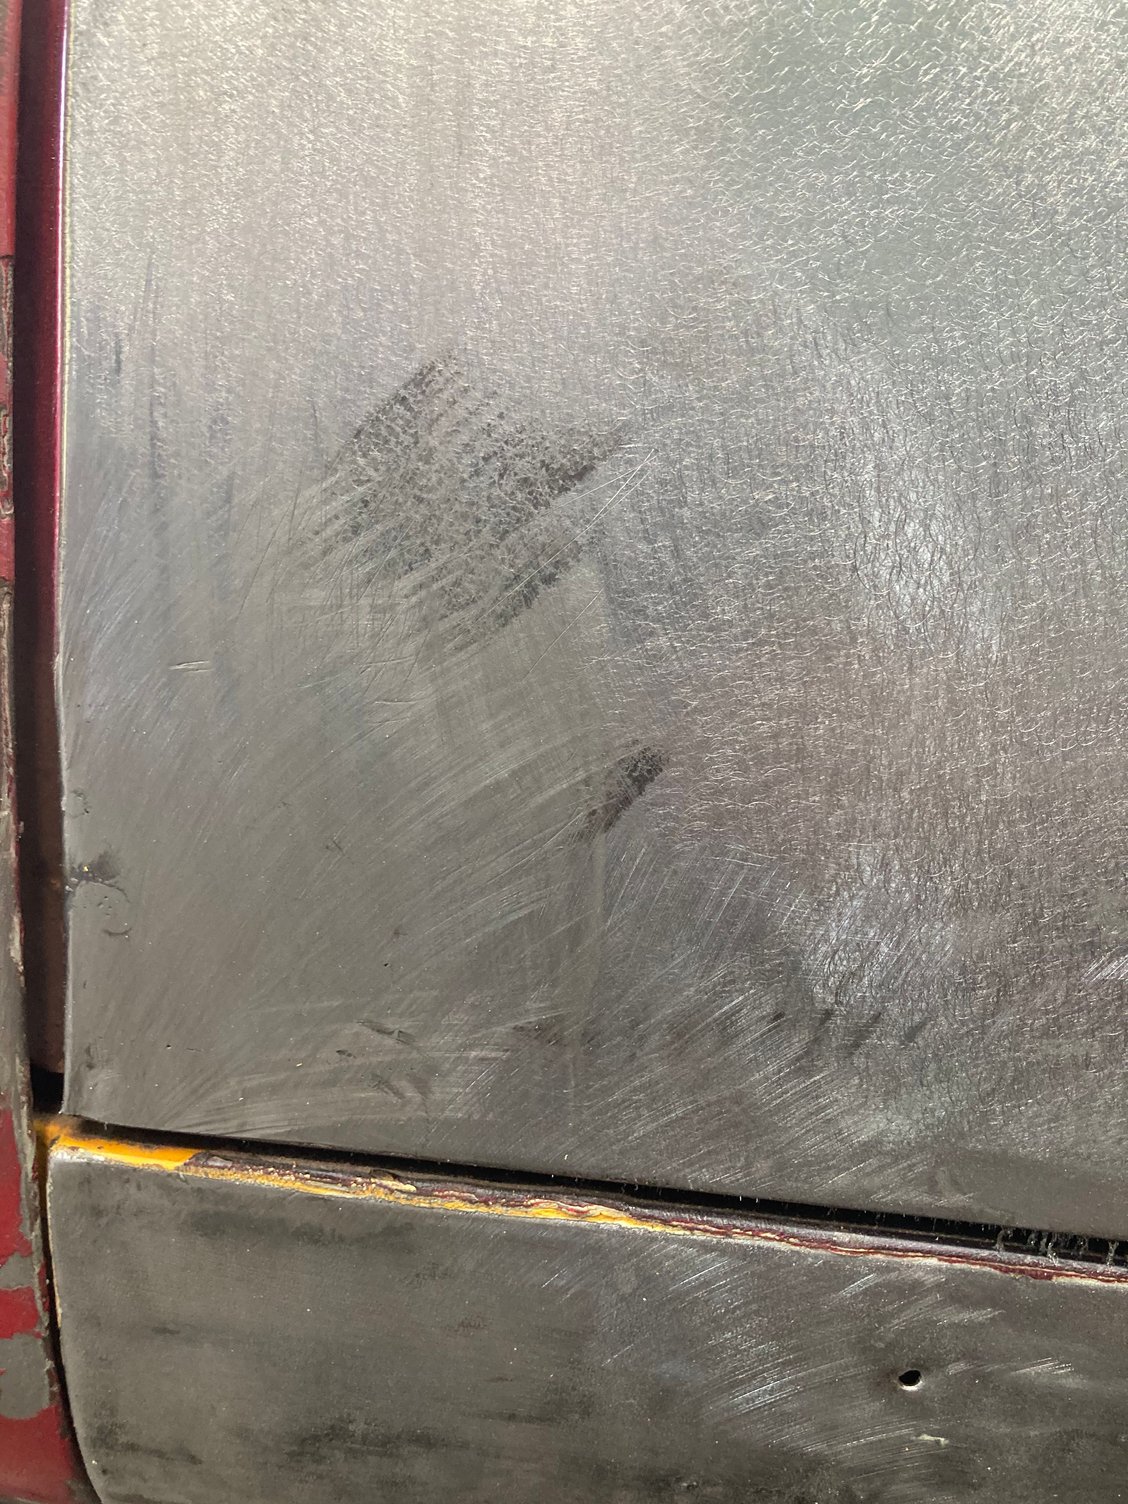
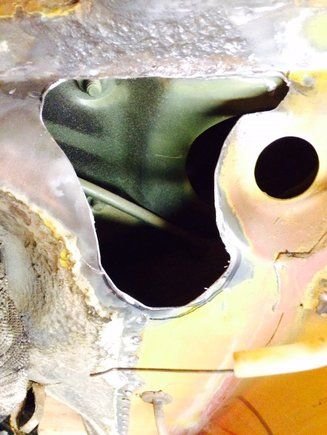
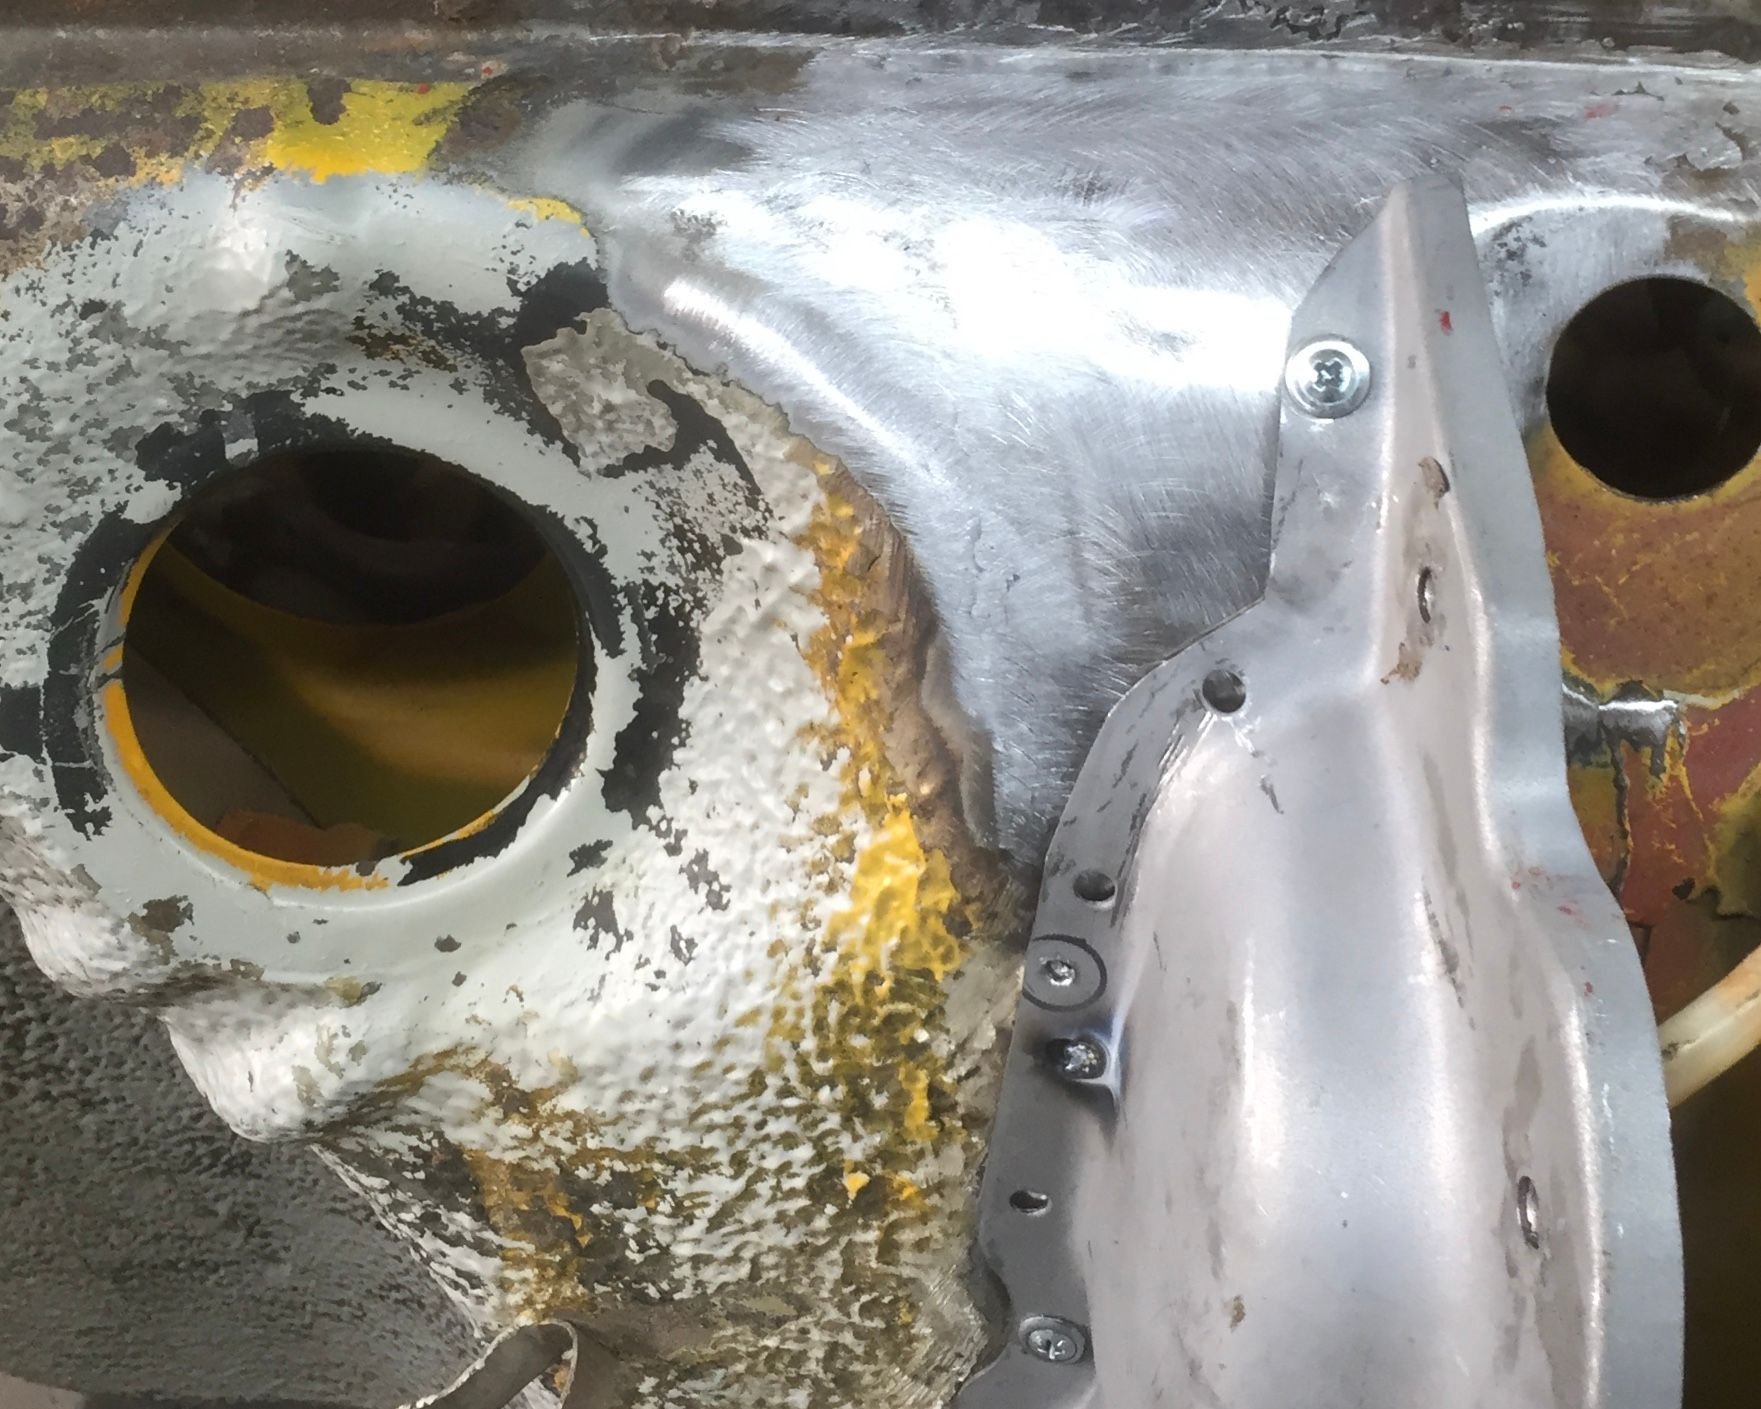
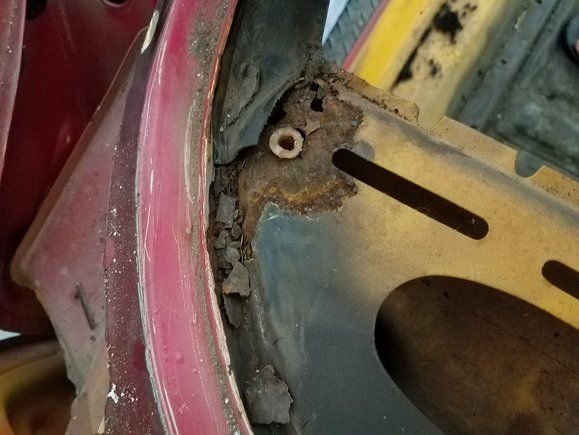
Here is the rust spot I found when I removed the dash cover. They cut the spot out and made a piece to patch it. However you can see the rusted window channel that needs repair now. That area was filled with aluminum bondo. They removed paint from the cowl and the other side of the window channel and everything else looked good.
^haha right. Would have been fewer surprises if I had stripped all the paint first as Igooz had mentioned. Oh well, the project has had twists and turns but is now full speed ahead!
You are doing the right way! This car is going to be perfect at the end and no short cuts taken!
I am doing my 6th. bare metal car project (~dozen motorcycles) and my last one! I have dipped, bead blast, peanut shell, media blast, sand blasted, DA, (industrial grade) paint stripper, etc. There are trade-offs on all of them. The BEST experience for me was Chemical strip although it was slow, smelly, and dangerous chemicals involved. And the worst was chemical dip because the chemistry in the tank went wrong/or dipper went to lunch as he dipped my rare motorcycle tank and when he pulled the tank everything was basically dissolved!
I am just happy that my "last" build is on my own time! I am in NO RUSH, and I am modifying the car as I please even though this is an "S" car. Yes, I have already been flamed here before.
Bill, I am sorry and don't mean to OT your thread, but it is either you or Spyrex! ...So I have stored my trombone cooler and found my Carrera cooler that has been boxed up for 12 years!! Just had it powdercoated and ready to install. Anyone remembers the damn lower/upper brackets? I cannot find them and hate to spend $150 for a piece of angle iron!
*Please don't flame me because of my fasteners in the photo they are for mockup only!**
Thanks for words of encouragement! I have no issues with modding an S - have fun with it. Also sounds like you are doing things easily reversed, which is the approach I have been taking. As far as the Carrera cooler bracket goes, I have just seen the one Elephant offers. I haven't gotten this far ahead in my project so I am not much help. Car looks great - sounds like you have been down this restoration road many times!
Bill, I am sorry and don't mean to OT your thread, but it is either you or Spyrex! ...So I have stored my trombone cooler and found my Carrera cooler that has been boxed up for 12 years!! Just had it powdercoated and ready to install. Anyone remembers the damn lower/upper brackets? I cannot find them and hate to spend $150 for a piece of angle iron!
*Please don't flame me because of my fasteners in the photo they are for mockup only!**
are you looking for pictures of the brackets that mount to the car and/or their measurements? I should be able to get those for you from my car if you can confirm what you're looking for. feel free to msg me directly so we don't add too much unrelated content to this thread.
looks really far off--can you share which brand it is?
Yes, it is definitely far off. I bought it from another guy new but not being used. Believe it is Dansk. I have used a few different brands (Restoration Design, Dansk, Porsche and AASE) for the various sheet metal parts and they all needed modifications to fit better. Even the pricey aluminum decklid needed modifications. Anyway, this might be the worst fitting part I bought.
In order to not lose the window I was able to negotiate with my painter (normally a 1 year wait) I need to get my car to his shop next week. I have been spending some time at my sheetmetal guy’s shop to help get my car ready. Both to help with time and also expenses. My bill is about 50% higher than the original estimate. Ugh.
I now have the most expensive aftermarket front bumper and rear decklid ever.
One guy spent all day on my front bumper while another guy spent all day on the aluminum decklid. I could hear the cash register ringing. Ugh.
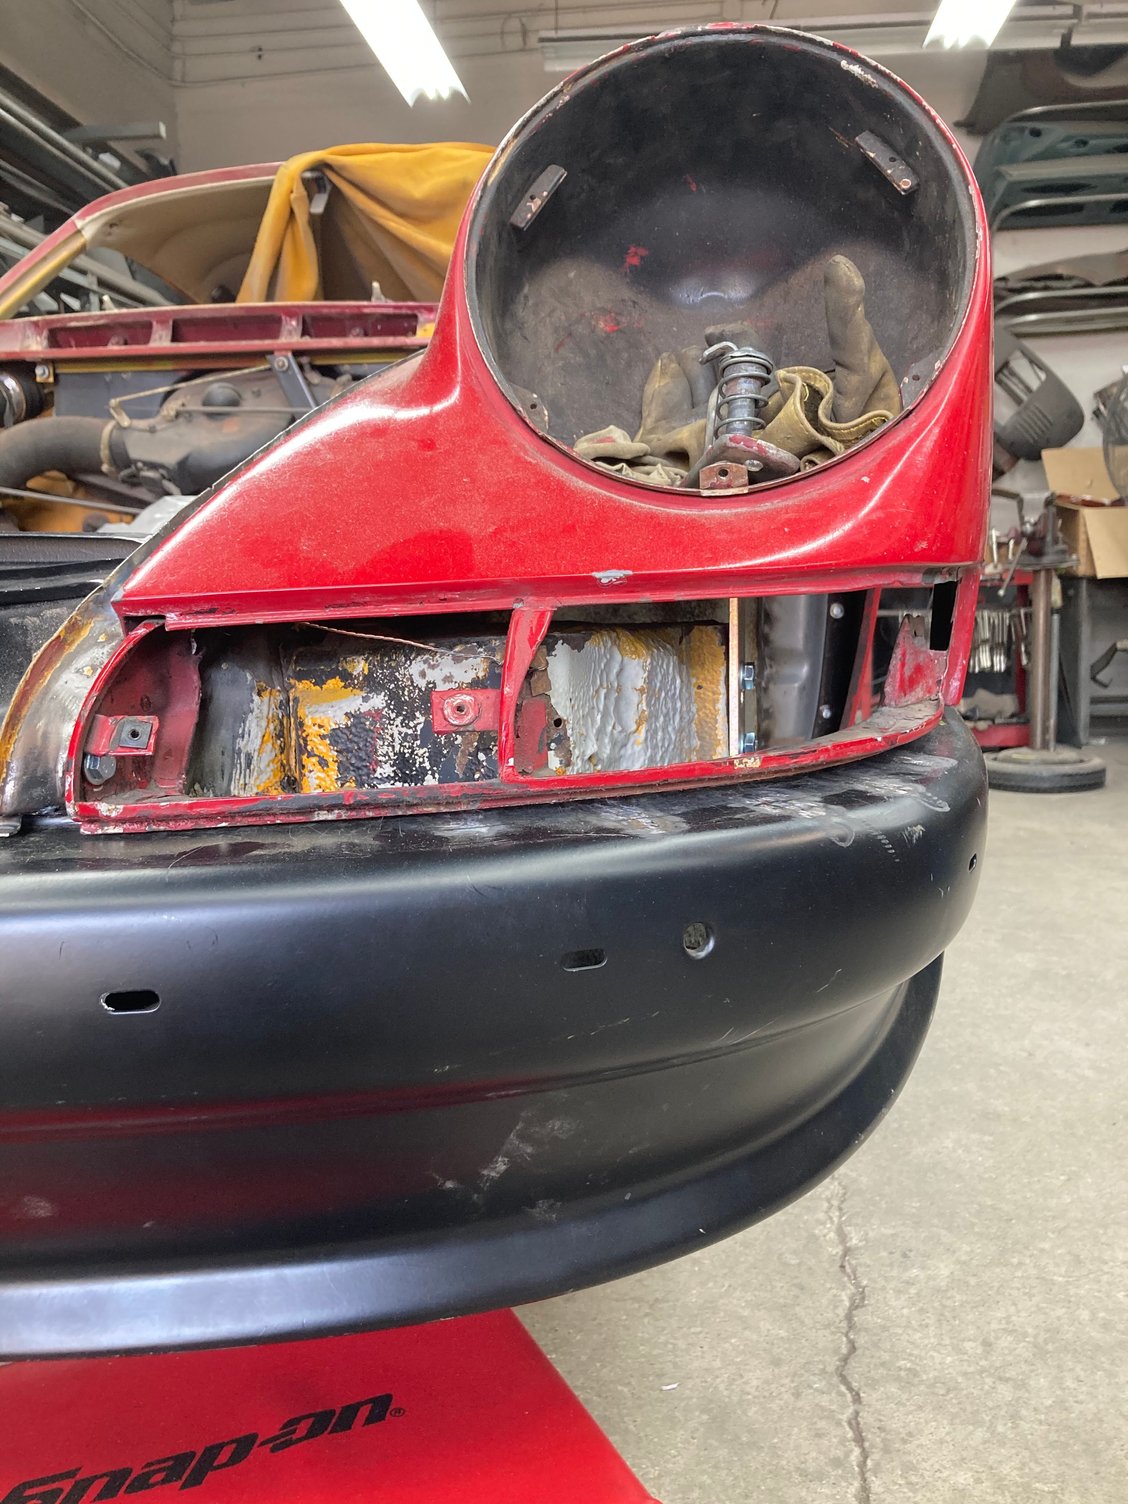
Here are some before and after photos of the front bumper. Should have just spent the $$ to get an original S bumper.
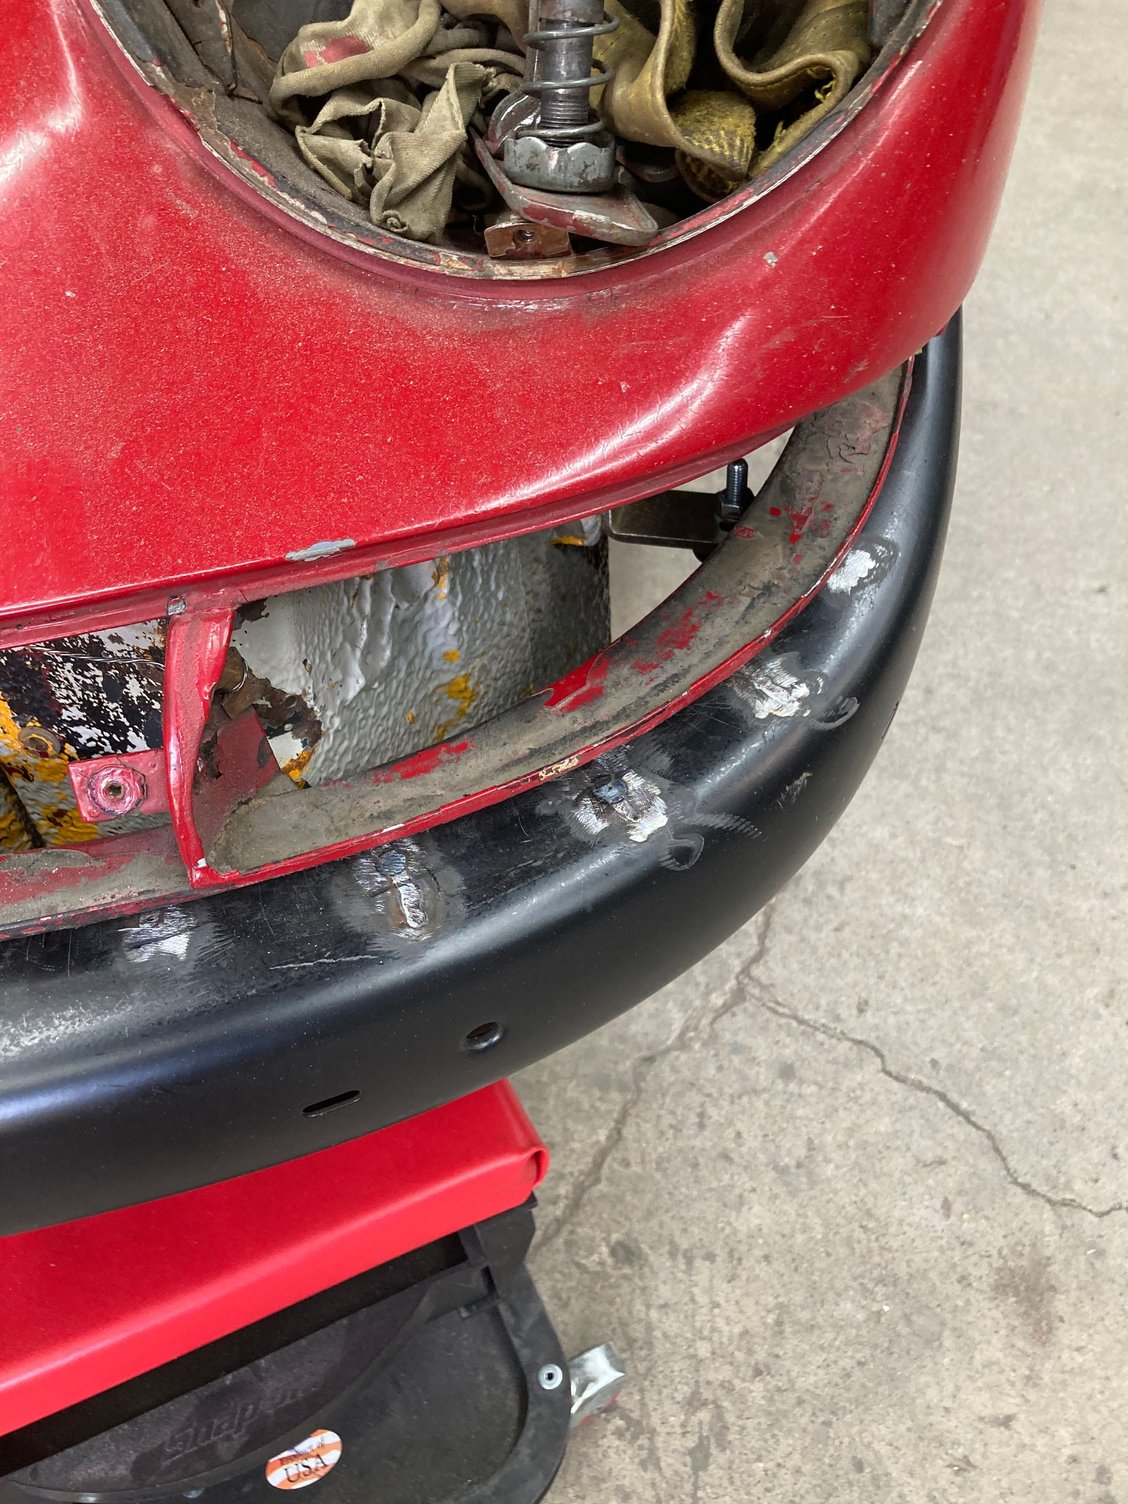
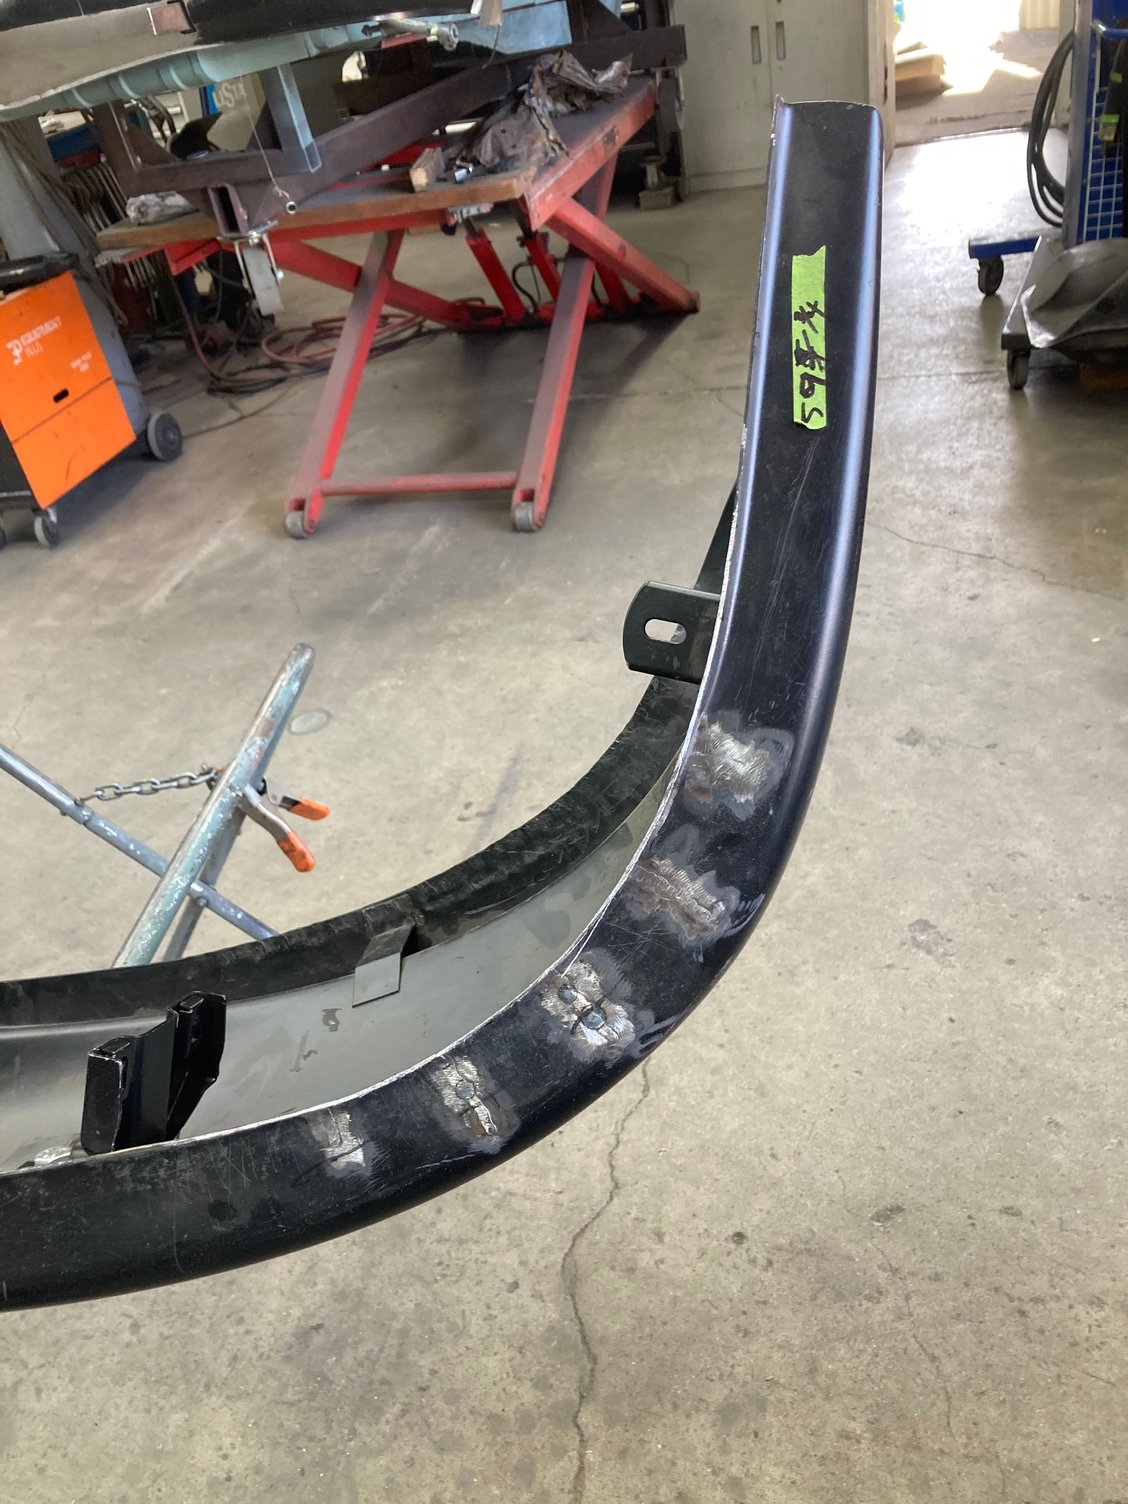
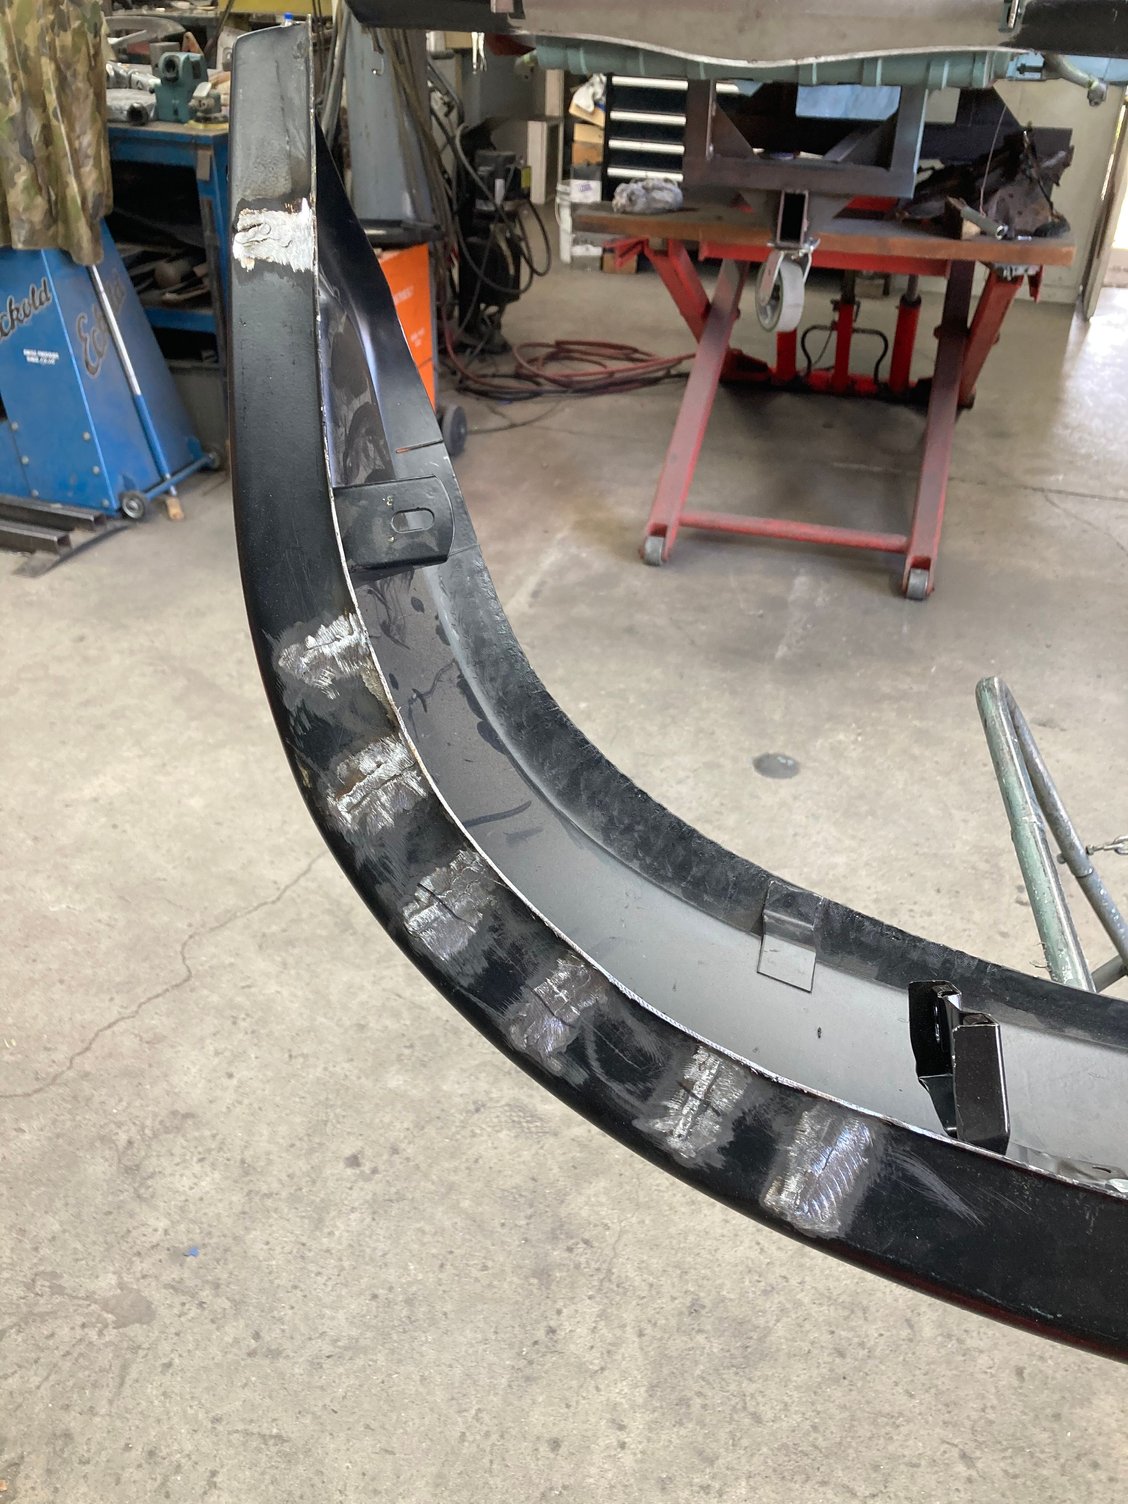
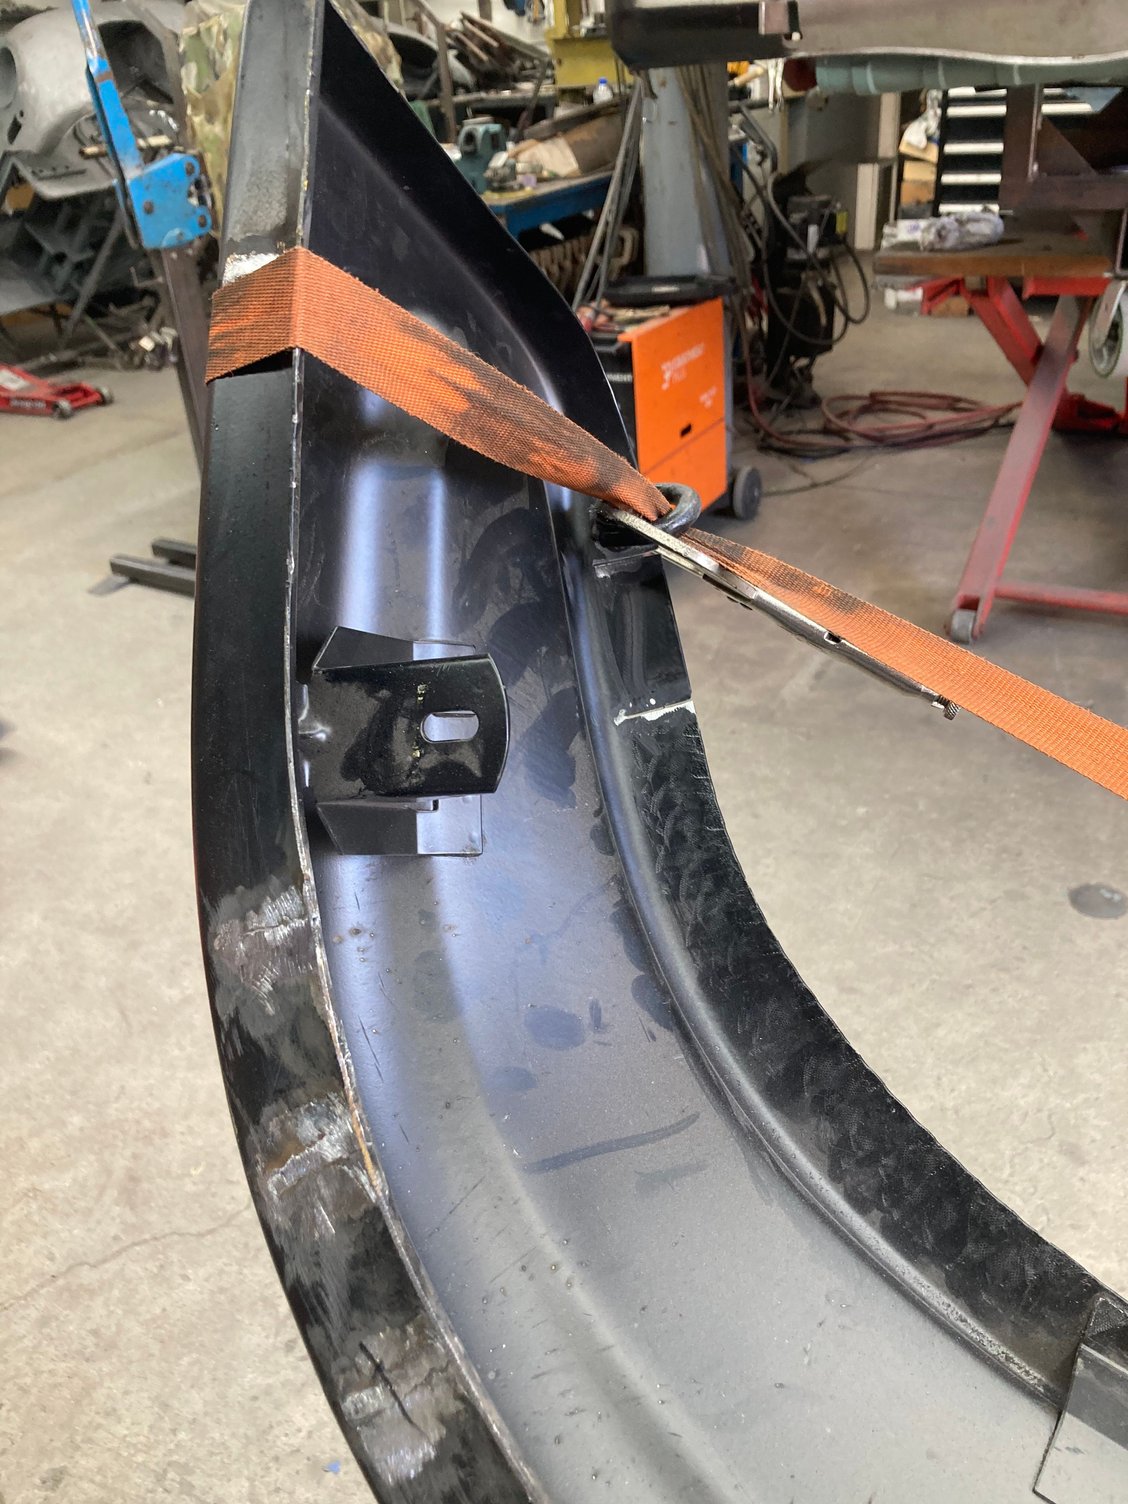
Couple shots of the modifications of the bumper. In the last shot you can see some relief cuts on the backside near the tie down strap. This was the passenger side where the bumper not only stuck out too much (wide) but also twisted down. I watched them weld this relief cut while the tie down held the shape.
They still need to spend several more hours doing more fitment work and to clean up the welds.
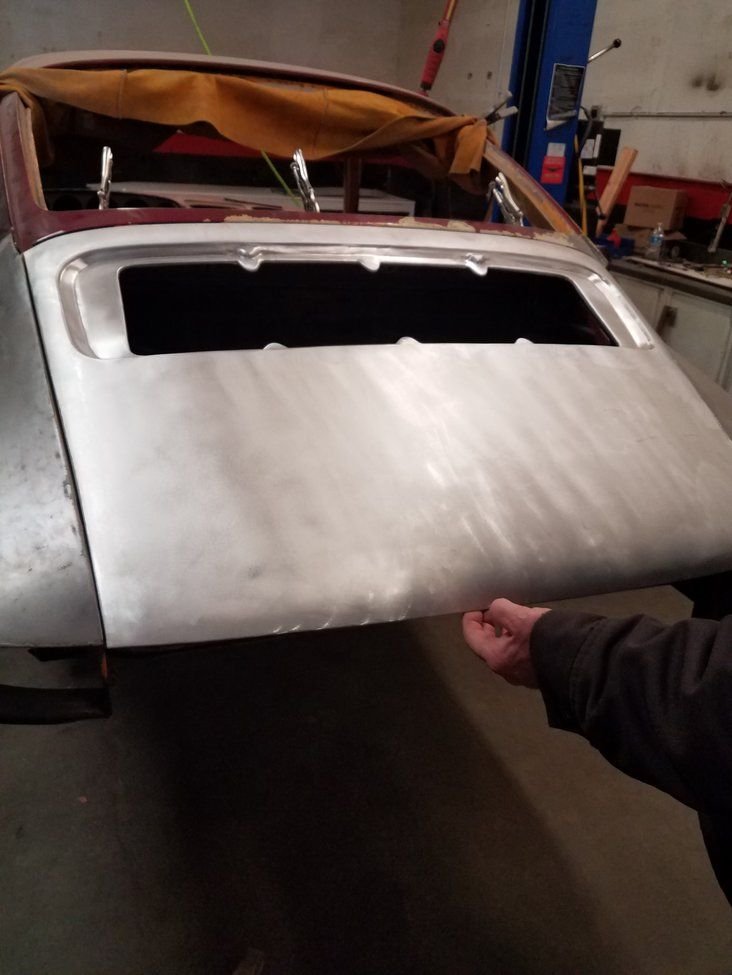
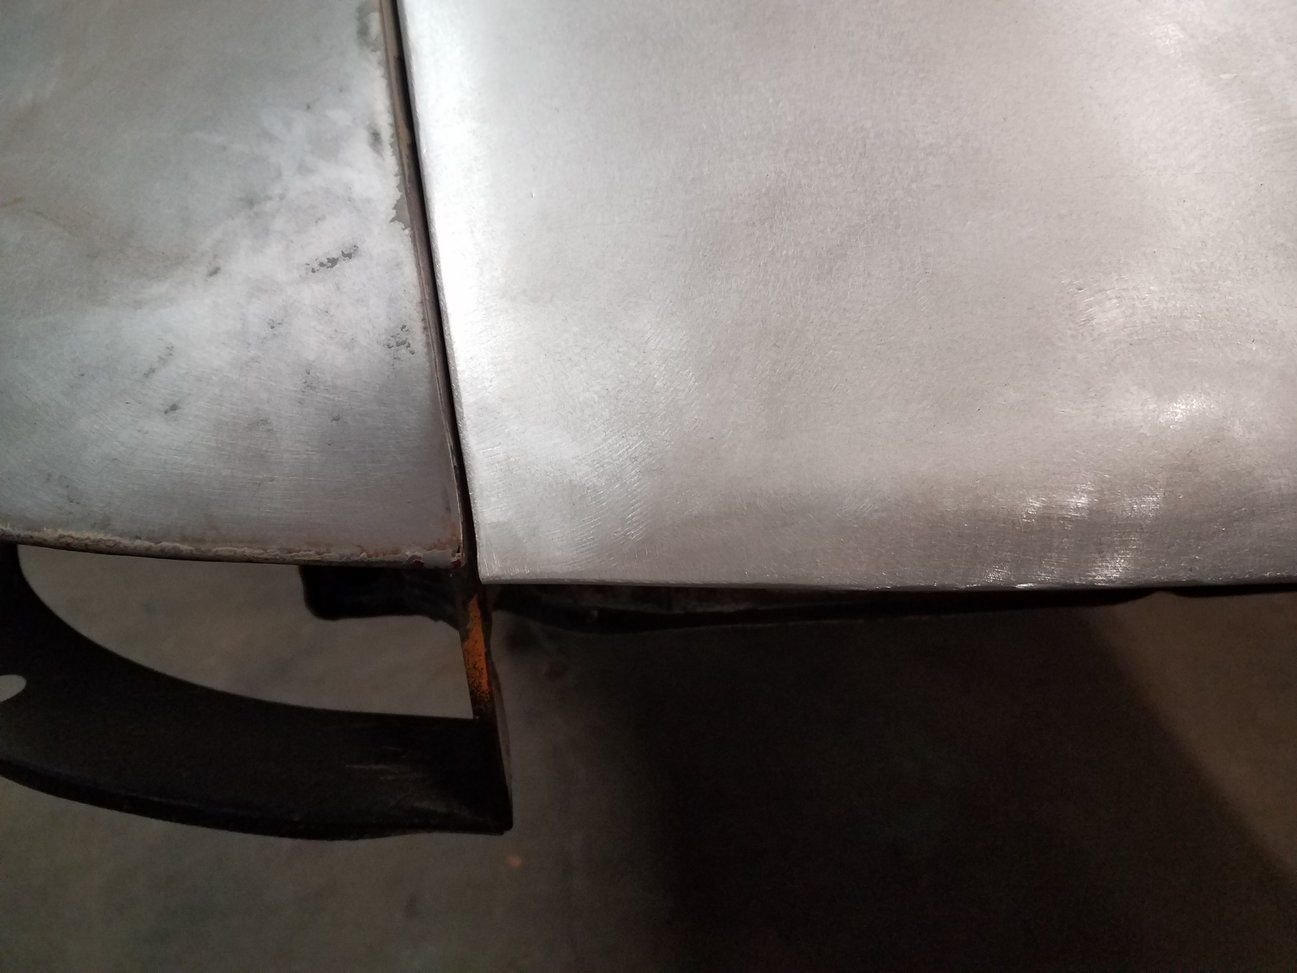
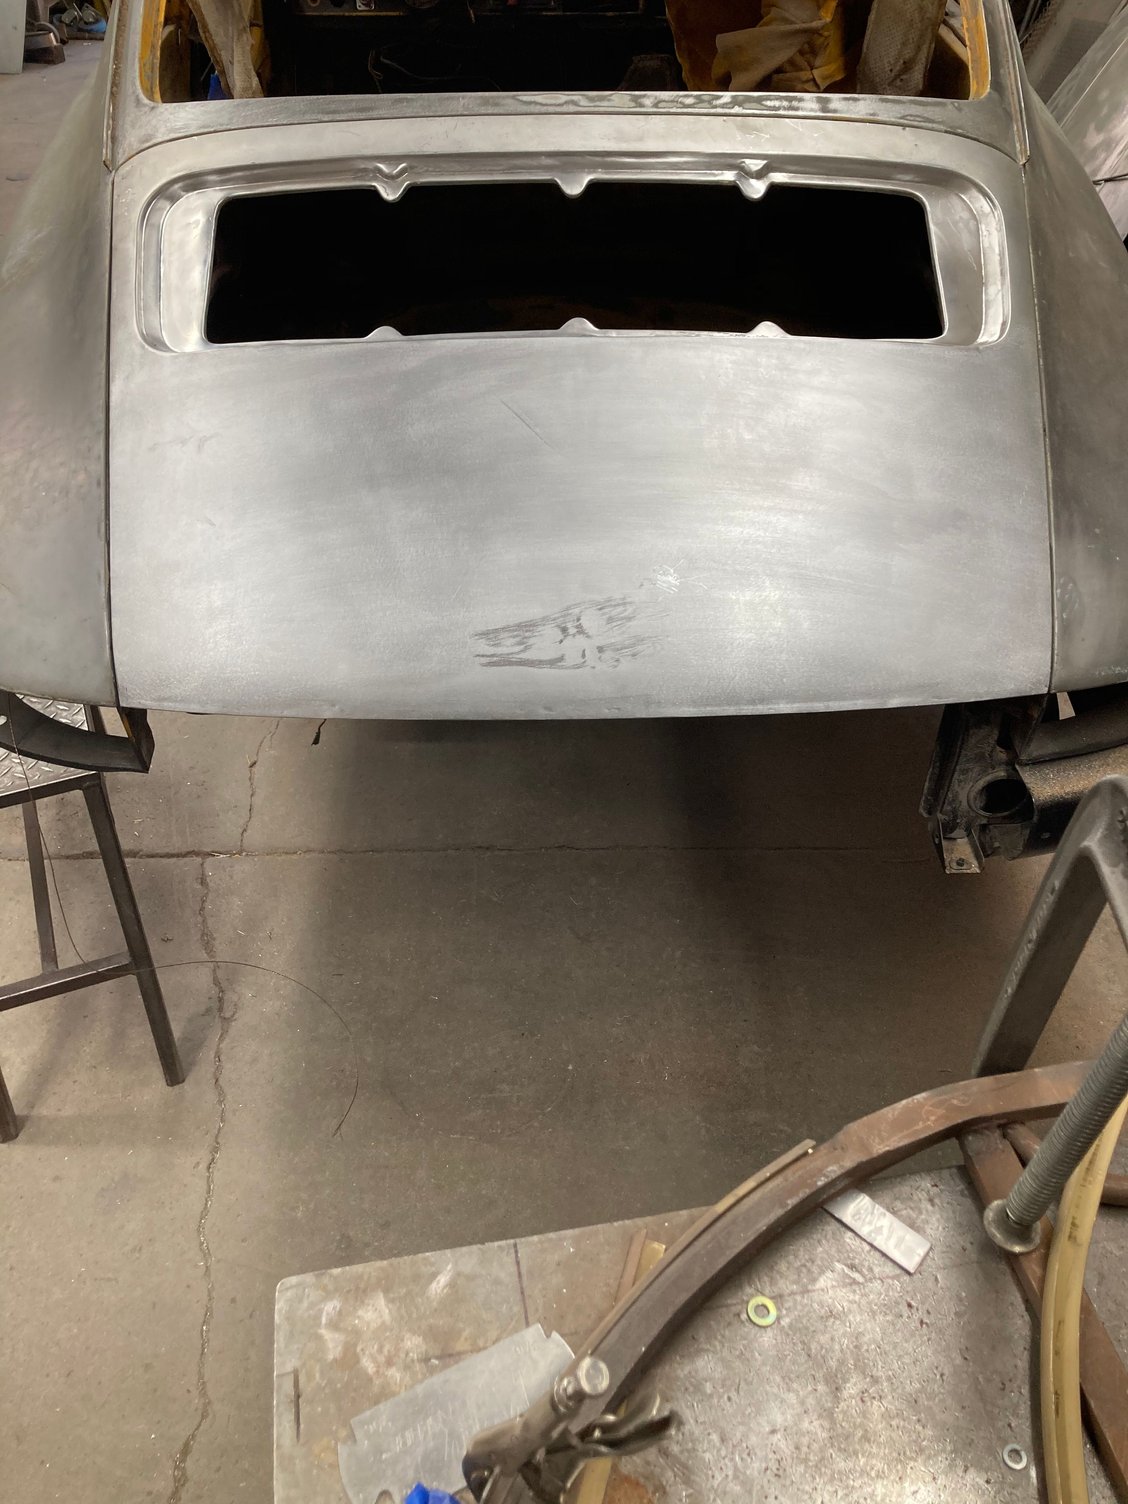
Decklid was also a disaster and I spent close to $2k to purchase and have it shipped to me. One of the guys spent hours yesterday opening the seam at the end (separating the layers) and cleaning glue out of the seam so it could be re-welded. They also had to completely remove the piece that the latch bolts onto as it was almost a half inch off. Removed it, re-drilled and re-welded. Because it is aluminum they also had to take extra care and removed some denting by hand afterwards.
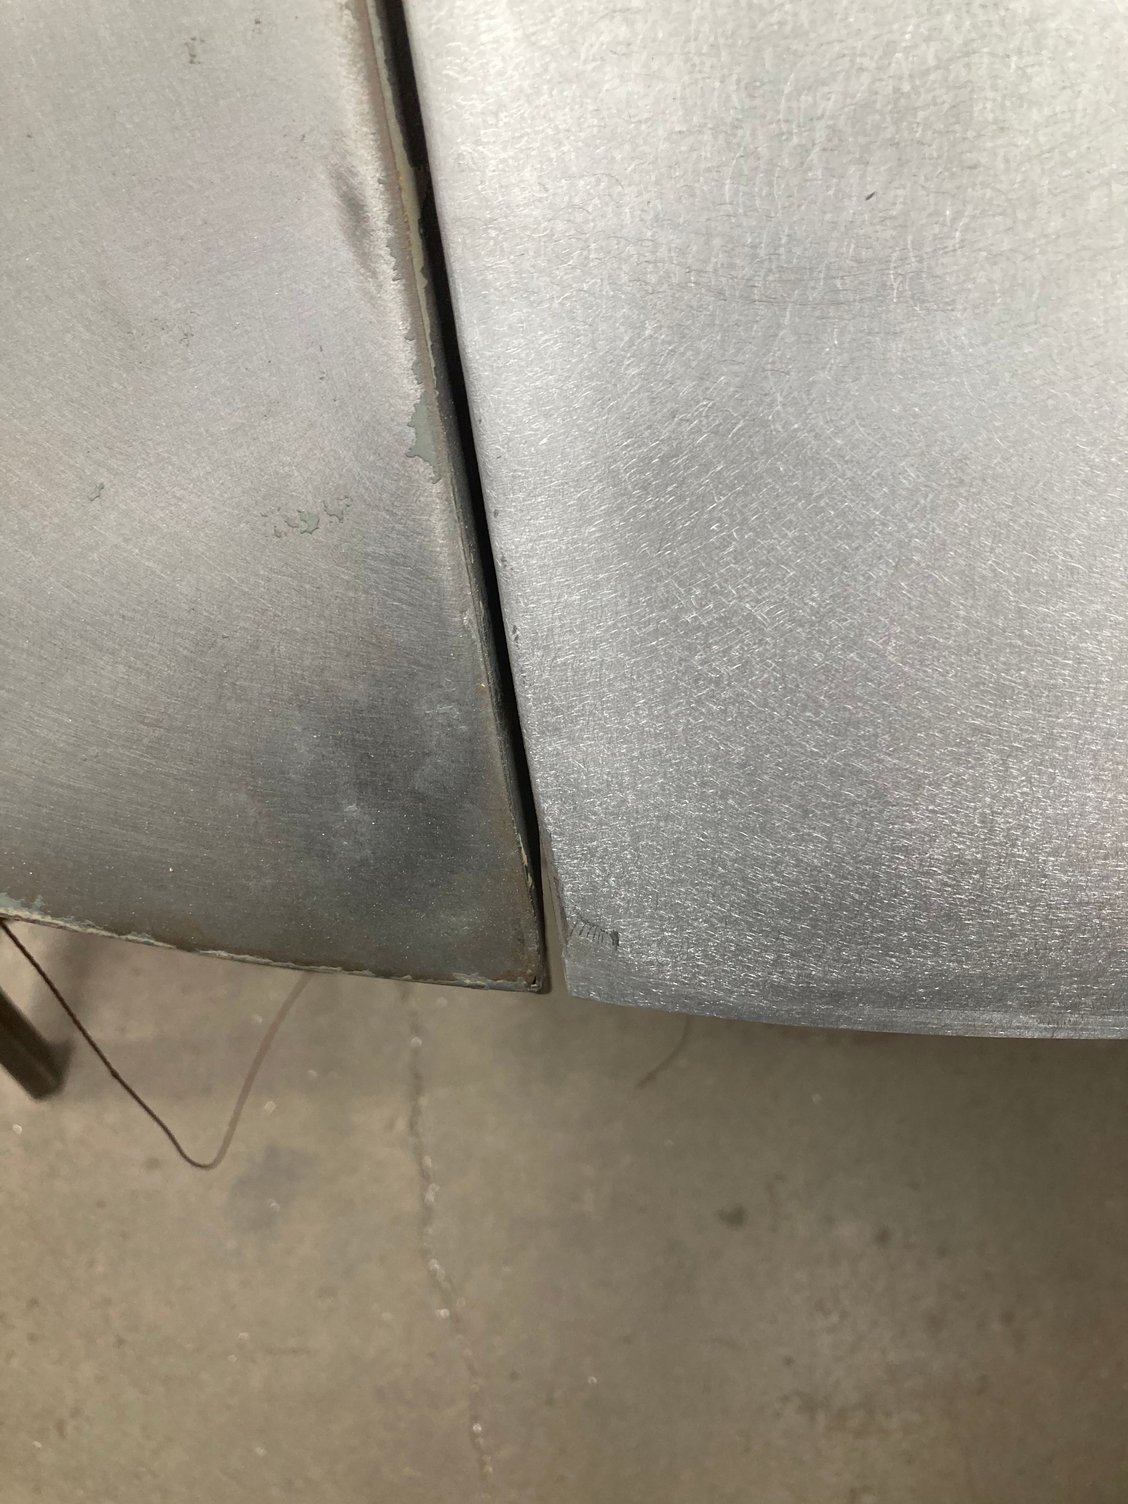
Here are some before and after shots but they need to dial in the gaps more tomorrow. Stupid how many hours have been put into an expensive part. Oh well.
Hard to see in before pics - but the decklid was way too long. The end alignment is now dialed in- need to work perimeter gaps.
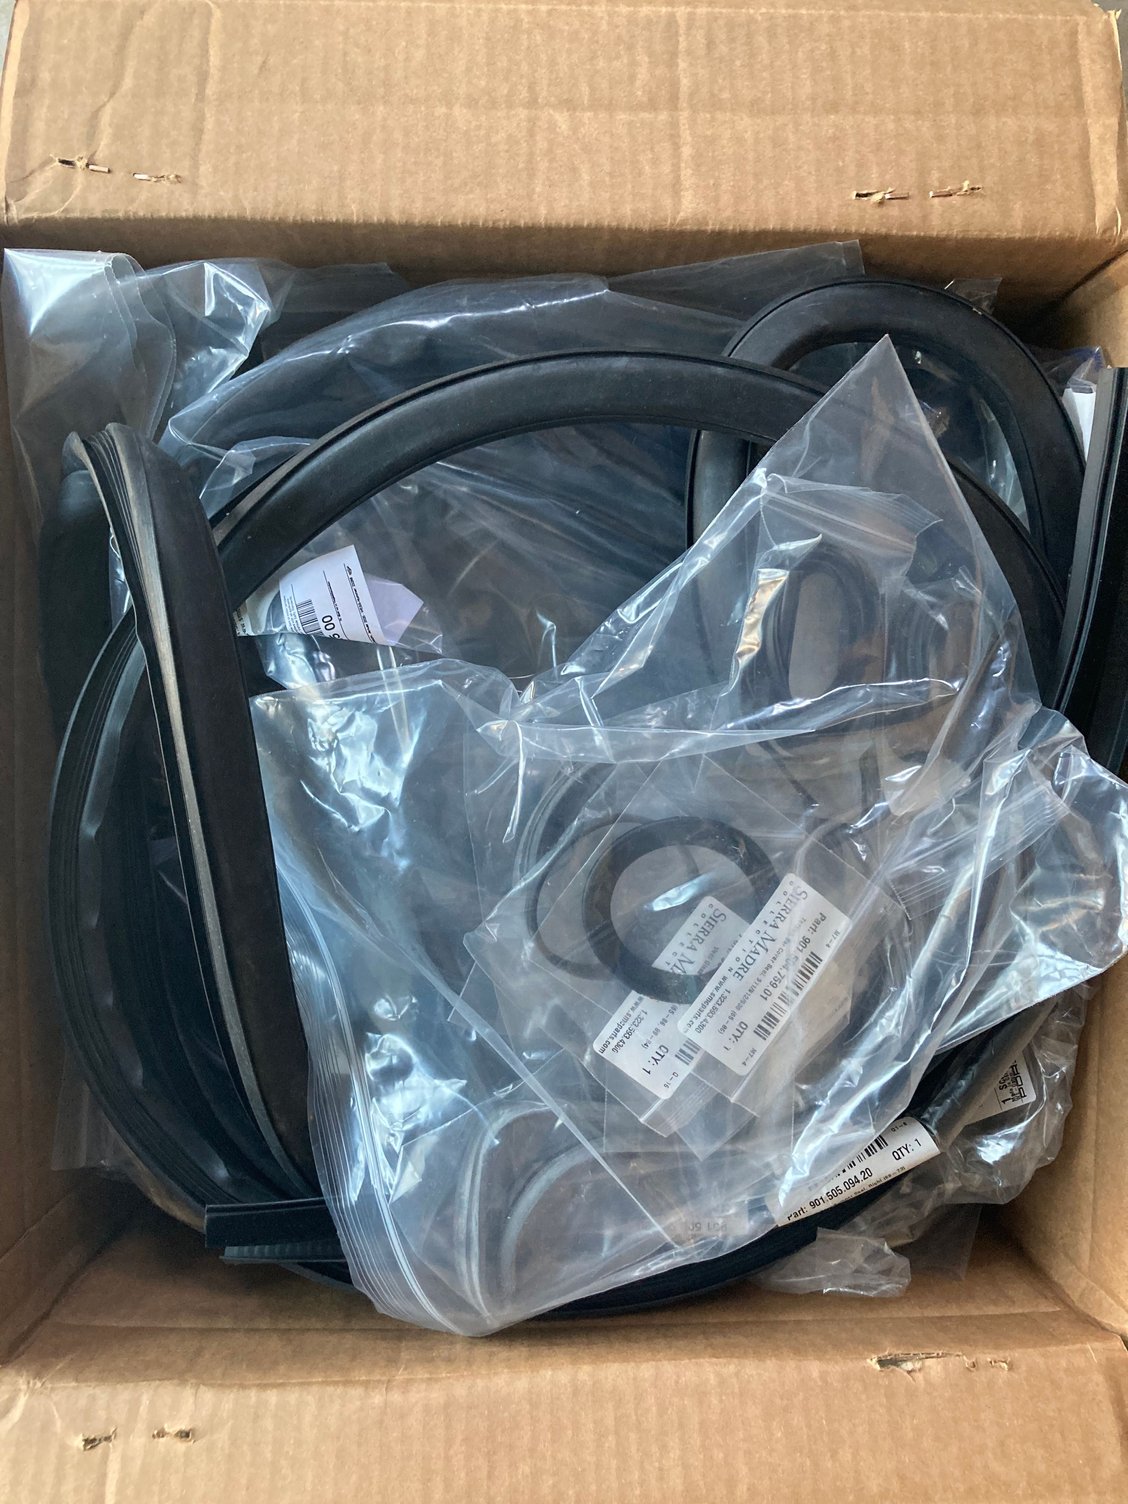
Andy my sheetmetal guy needed some seals to finalize fitment of the rear bumpers. So I ordered the complete seal kit for the car - getting closer to needing all of these anyway.
Giant box of seals:
Here is the kicker, both rear bumpers needed modifications to fit right. And on top of that, the aluminum bumper guards I purchased need to be modified as well to move the mounting plates which are way off.
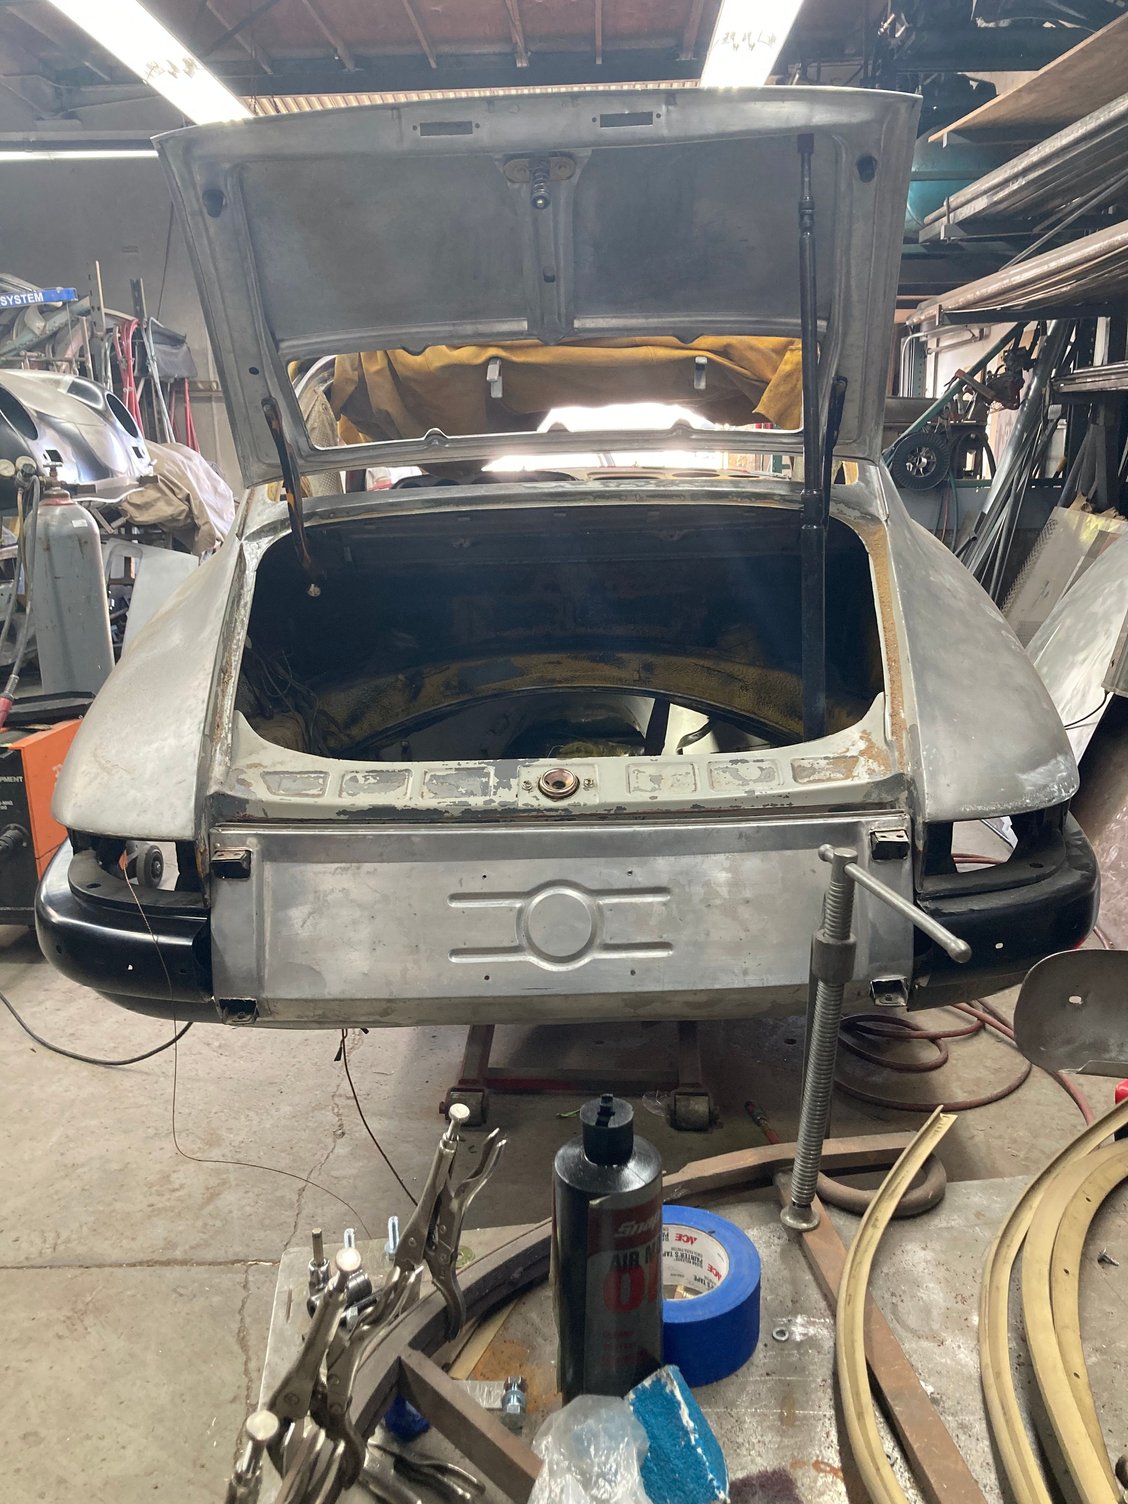
Here is a shot of the rear coming together. Driver side still needs more modifying to fit right and bumper guards need work before they are placed on the car. Aluminum license panel.
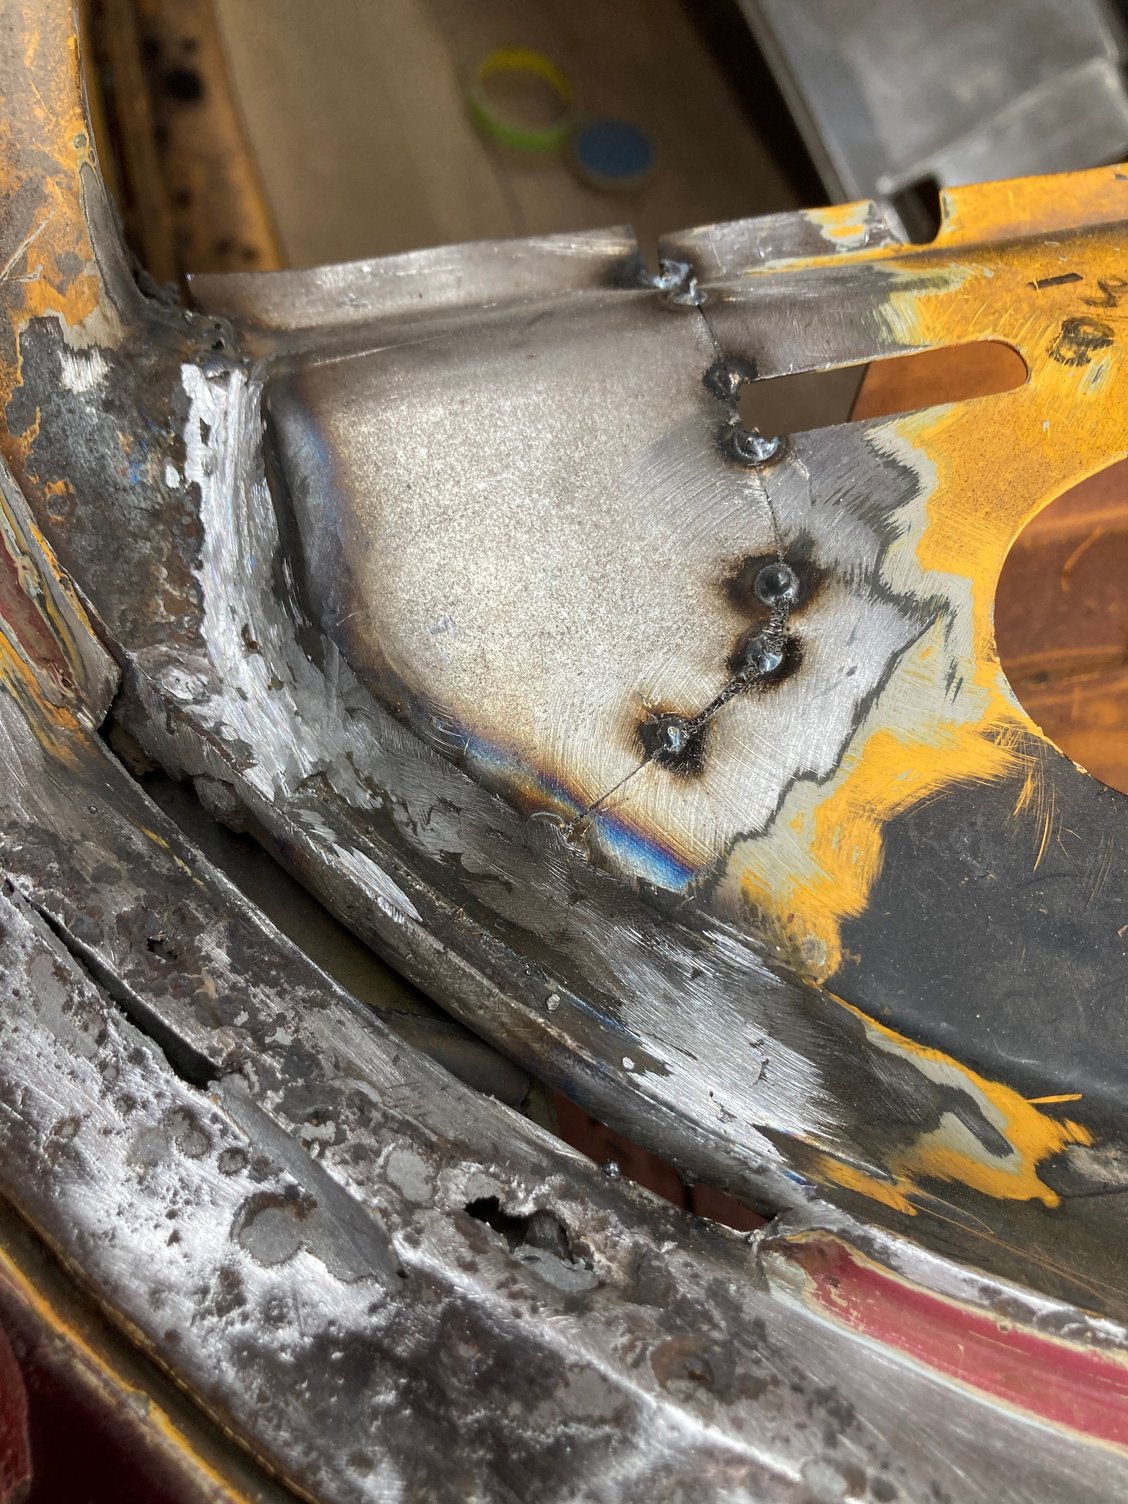
While I was there today I watched them weld on the rear sway bar mounts, patch the rust in the door and start making the replacement piece for the window channel.
Door repair:
The door gap on this side (driver) needs tightening. Andy is going to apply lead along that gap (between front of door and fender). The fender on that side was not original to my car. It is a factory Porsche fender I bought used to replace my rusted out fender but as you know these cars were hand made and varied quite a bit. Since this wasn�t original to my car, the gap isn�t as good as I want it to be.
Beginning to make the window channel repair piece:
BTW, did you get any details from Ollies on how to treat the mag case? My shop talked to Ollies and Bill Rader (transmissions) and my case and yours look very similar, meaning the plating is still in tact and not corroding. They said, nothing, unless you want to coat with a protectant spray...
Given the $ I'm spending, I'm a little worried of this idea of mag corrosion.
^great question. I should research this myself. I didn't see any corrosion on my case but I did have small areas of corrosion on my Mag trans. After I cleaned up my trans I did spray it with a clear sealant made for metal.


 06-06-2020, 03:51 PM


 ...So I have stored my trombone cooler and found my Carrera cooler that has been boxed up for 12 years!! Just had it powdercoated and ready to install. Anyone remembers the damn lower/upper brackets? I cannot find them and hate to spend $150 for a piece of angle iron!