When you click on links to various merchants on this site and make a purchase, this can result in this site earning a commission. Affiliate programs and affiliations include, but are not limited to, the eBay Partner Network.
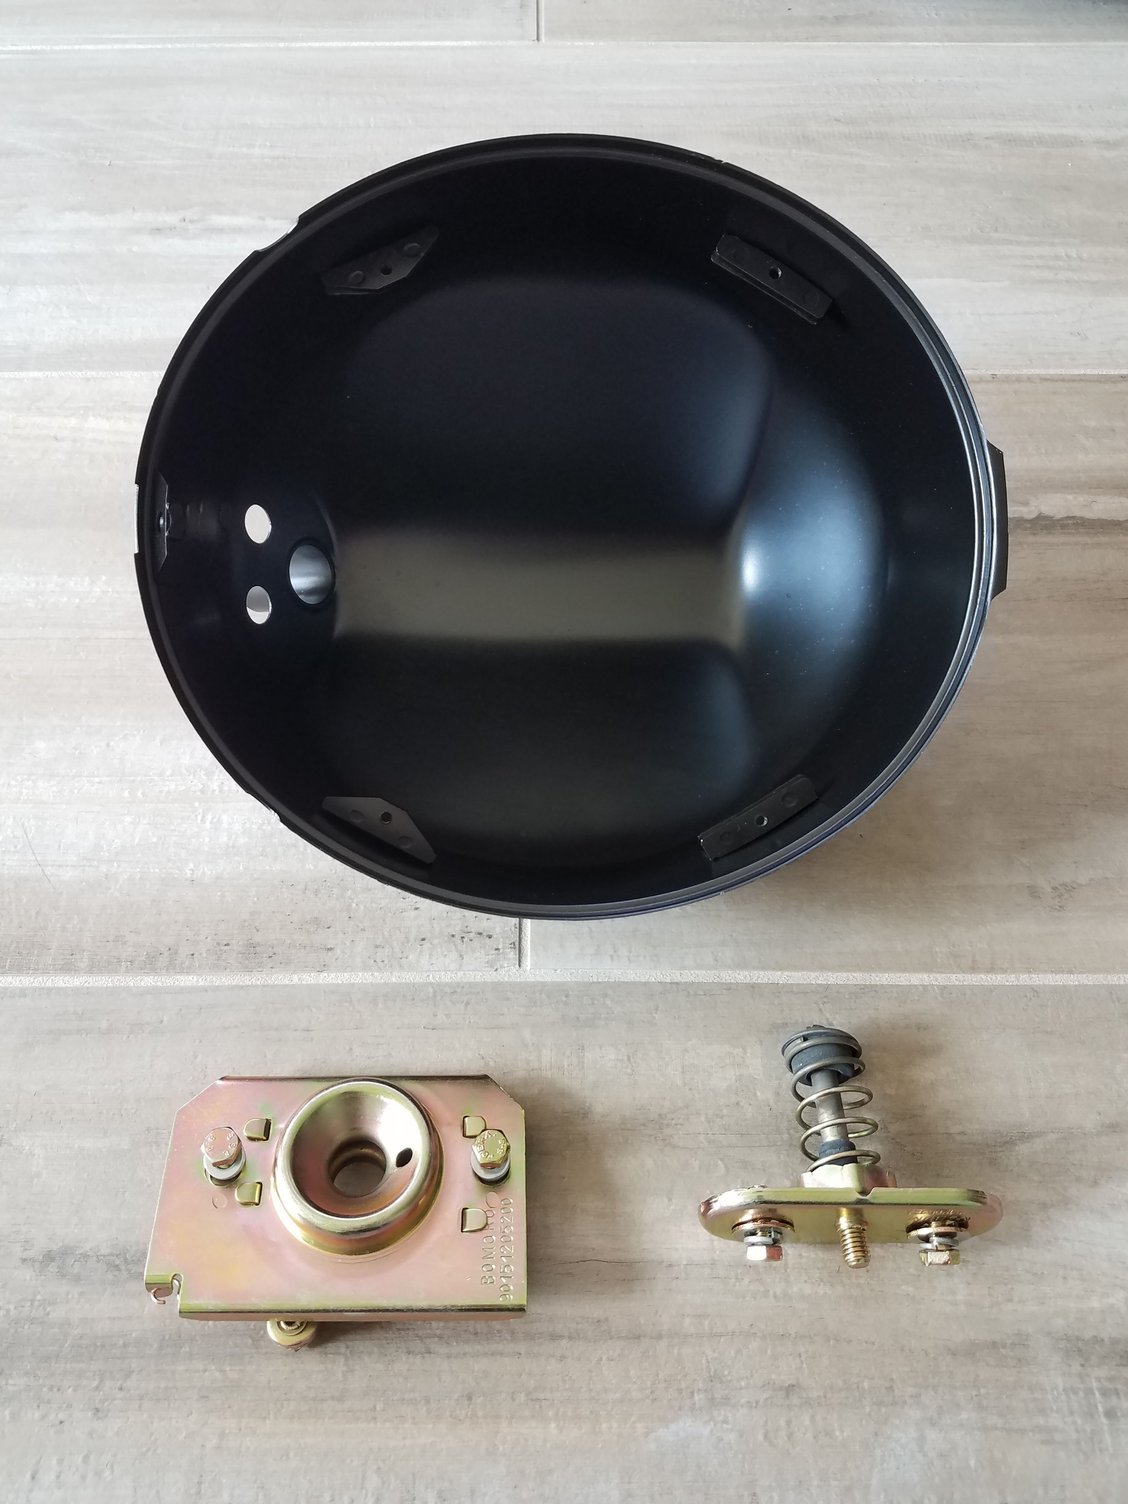
Will be dropping a few more parts off at Andy's. There is rust in the passenger side headlight bucket. I sourced the replacement part. He also needs the decklid latch and hardware for final alignment of the decklid before everything is welded and finalized.
The decklid latch and hardware had already been replated.
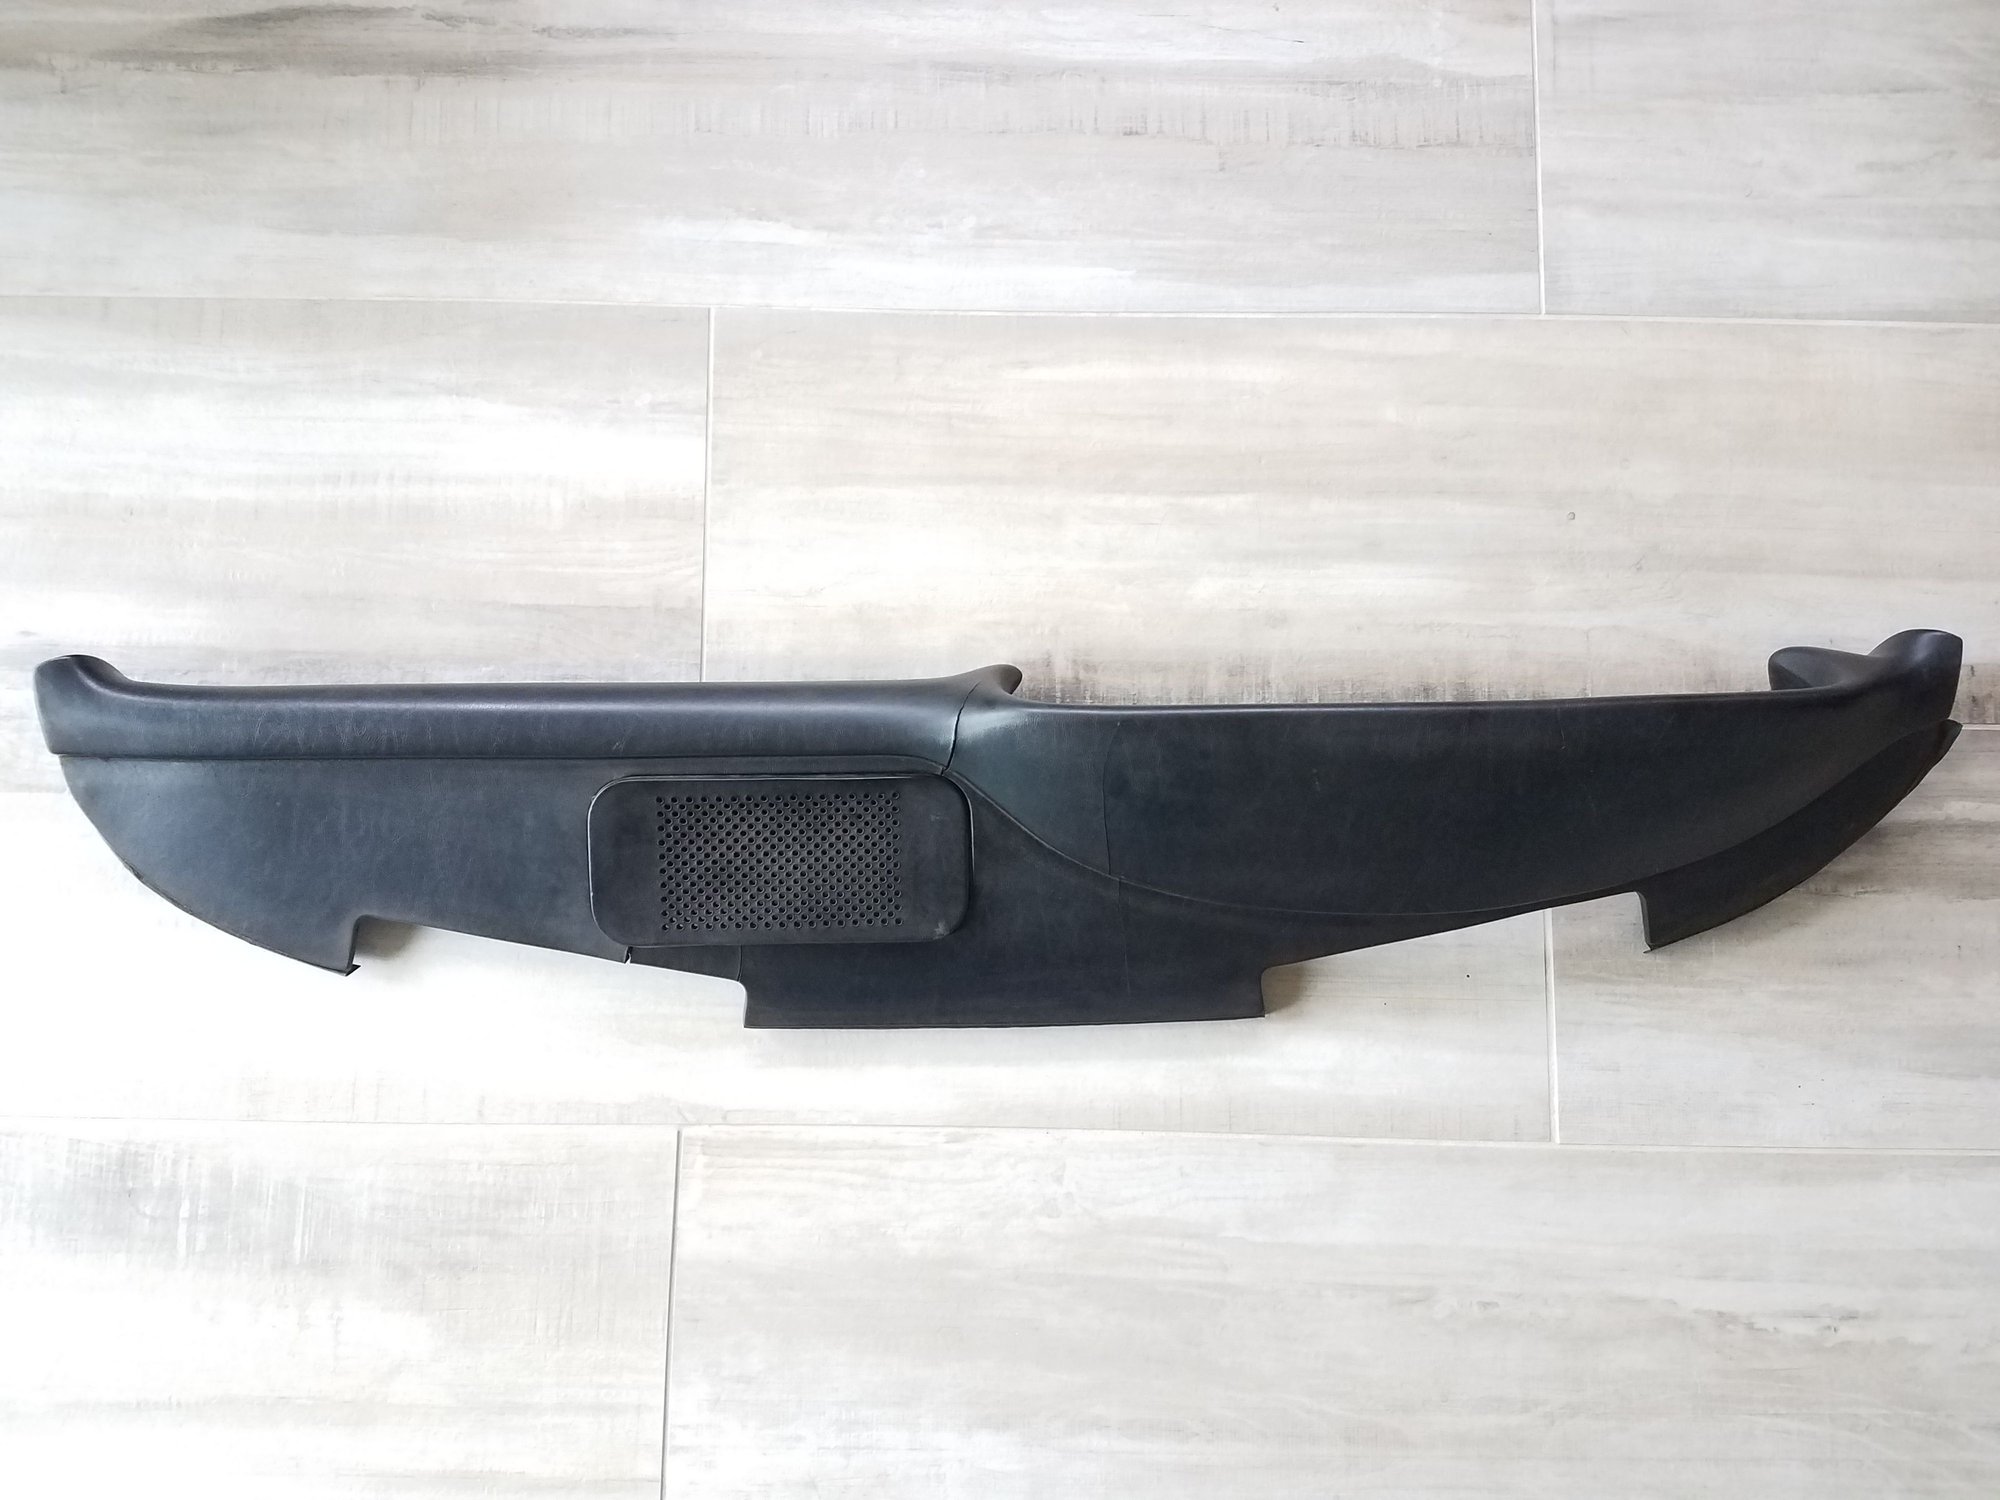
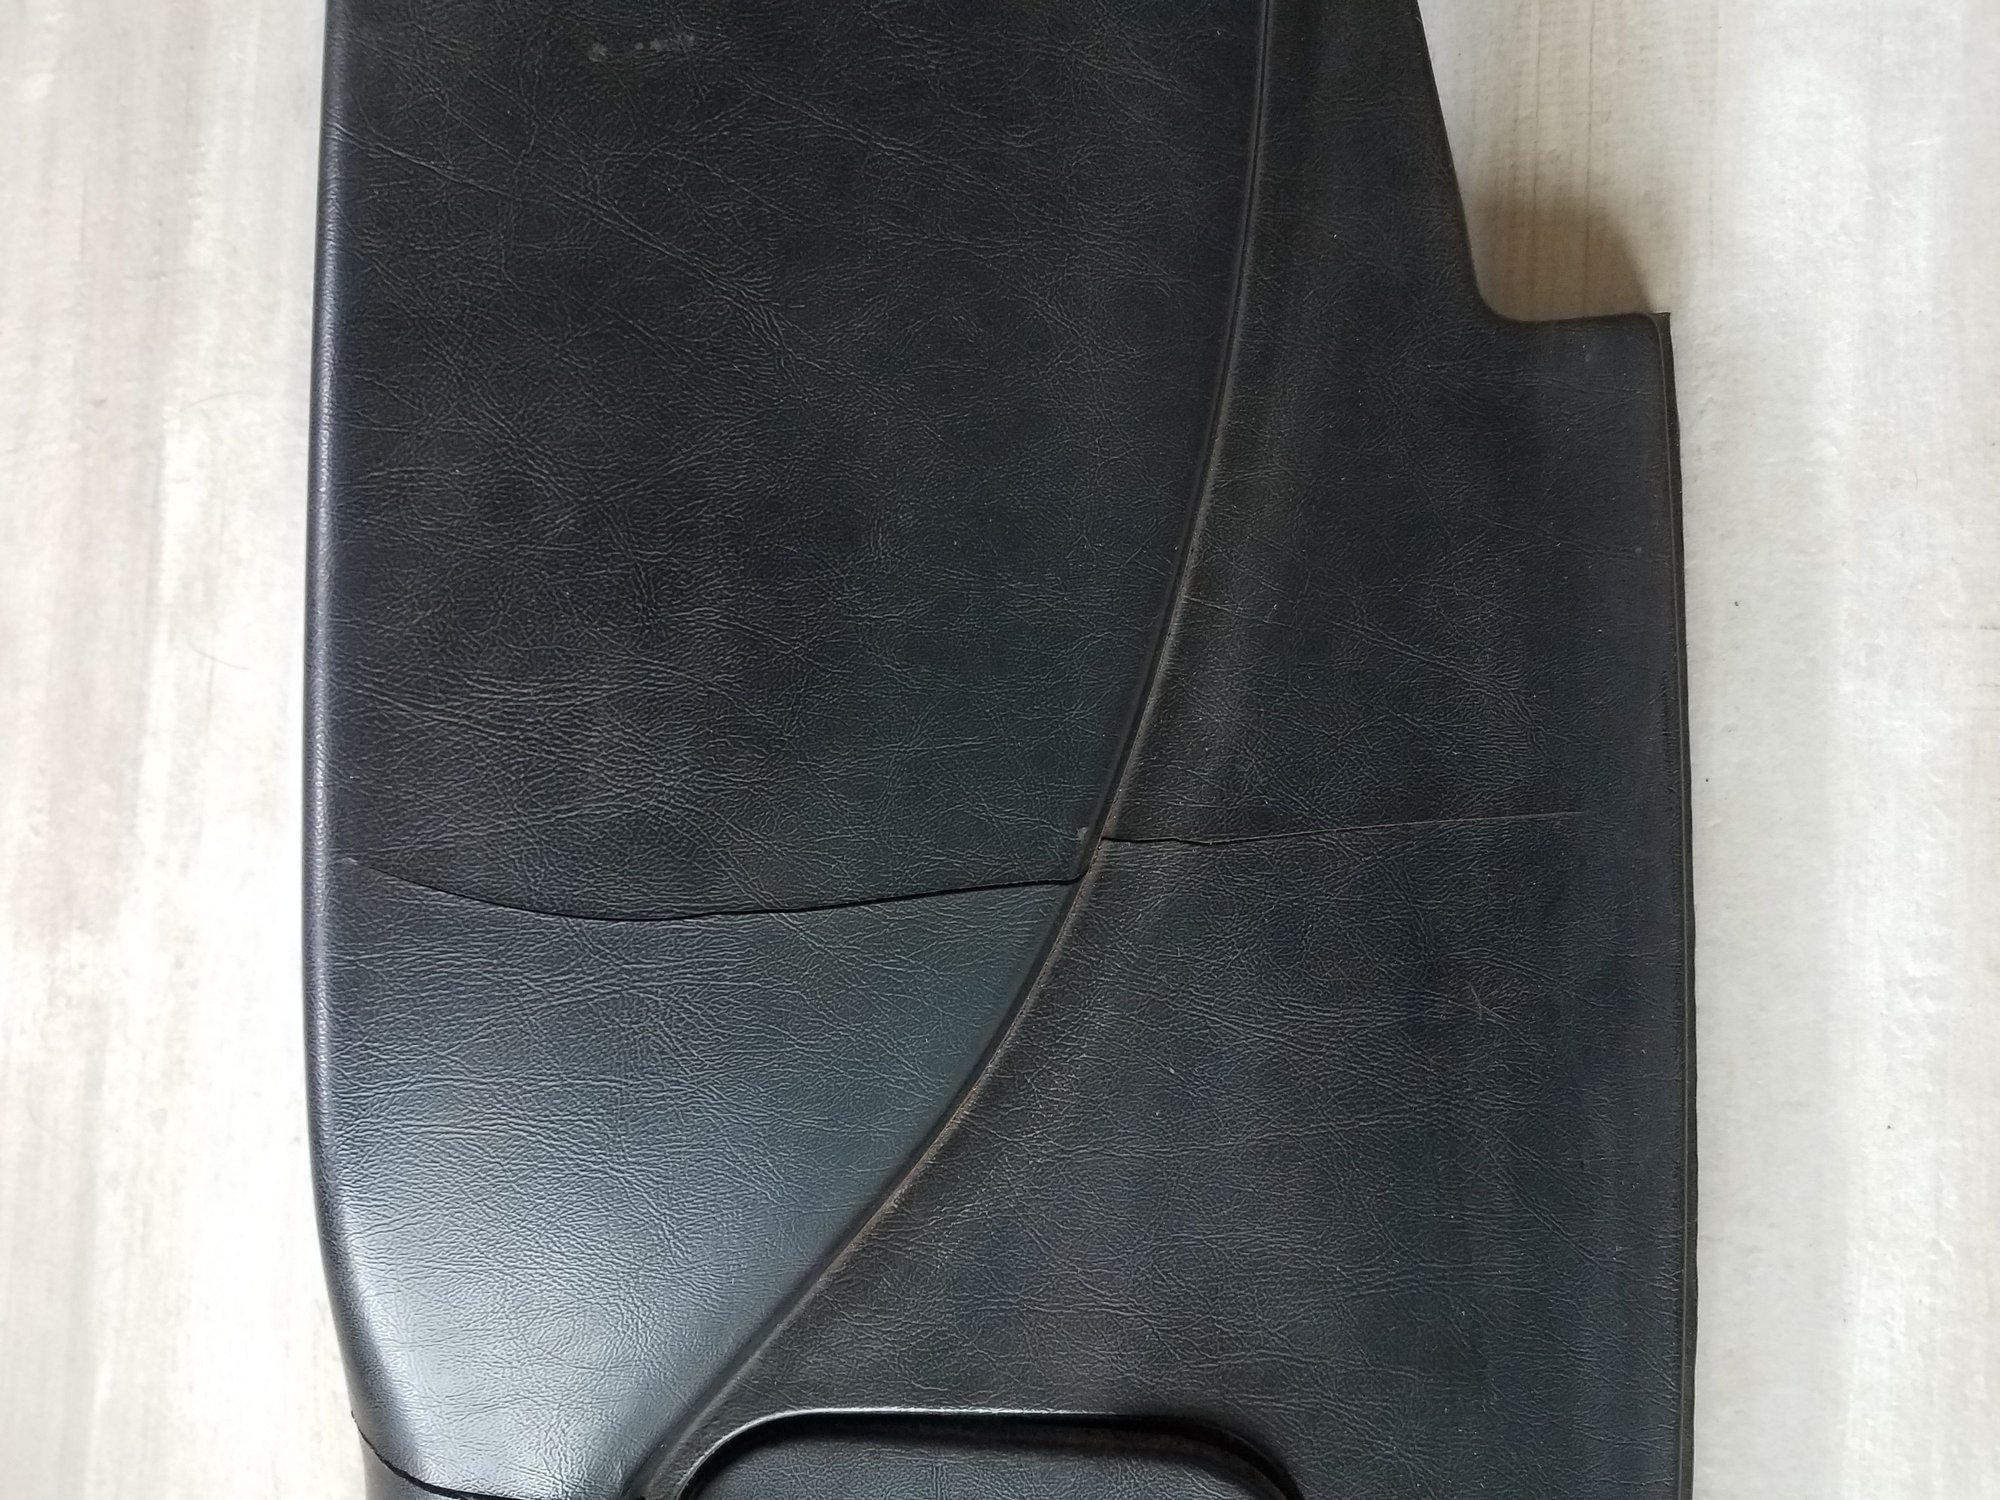
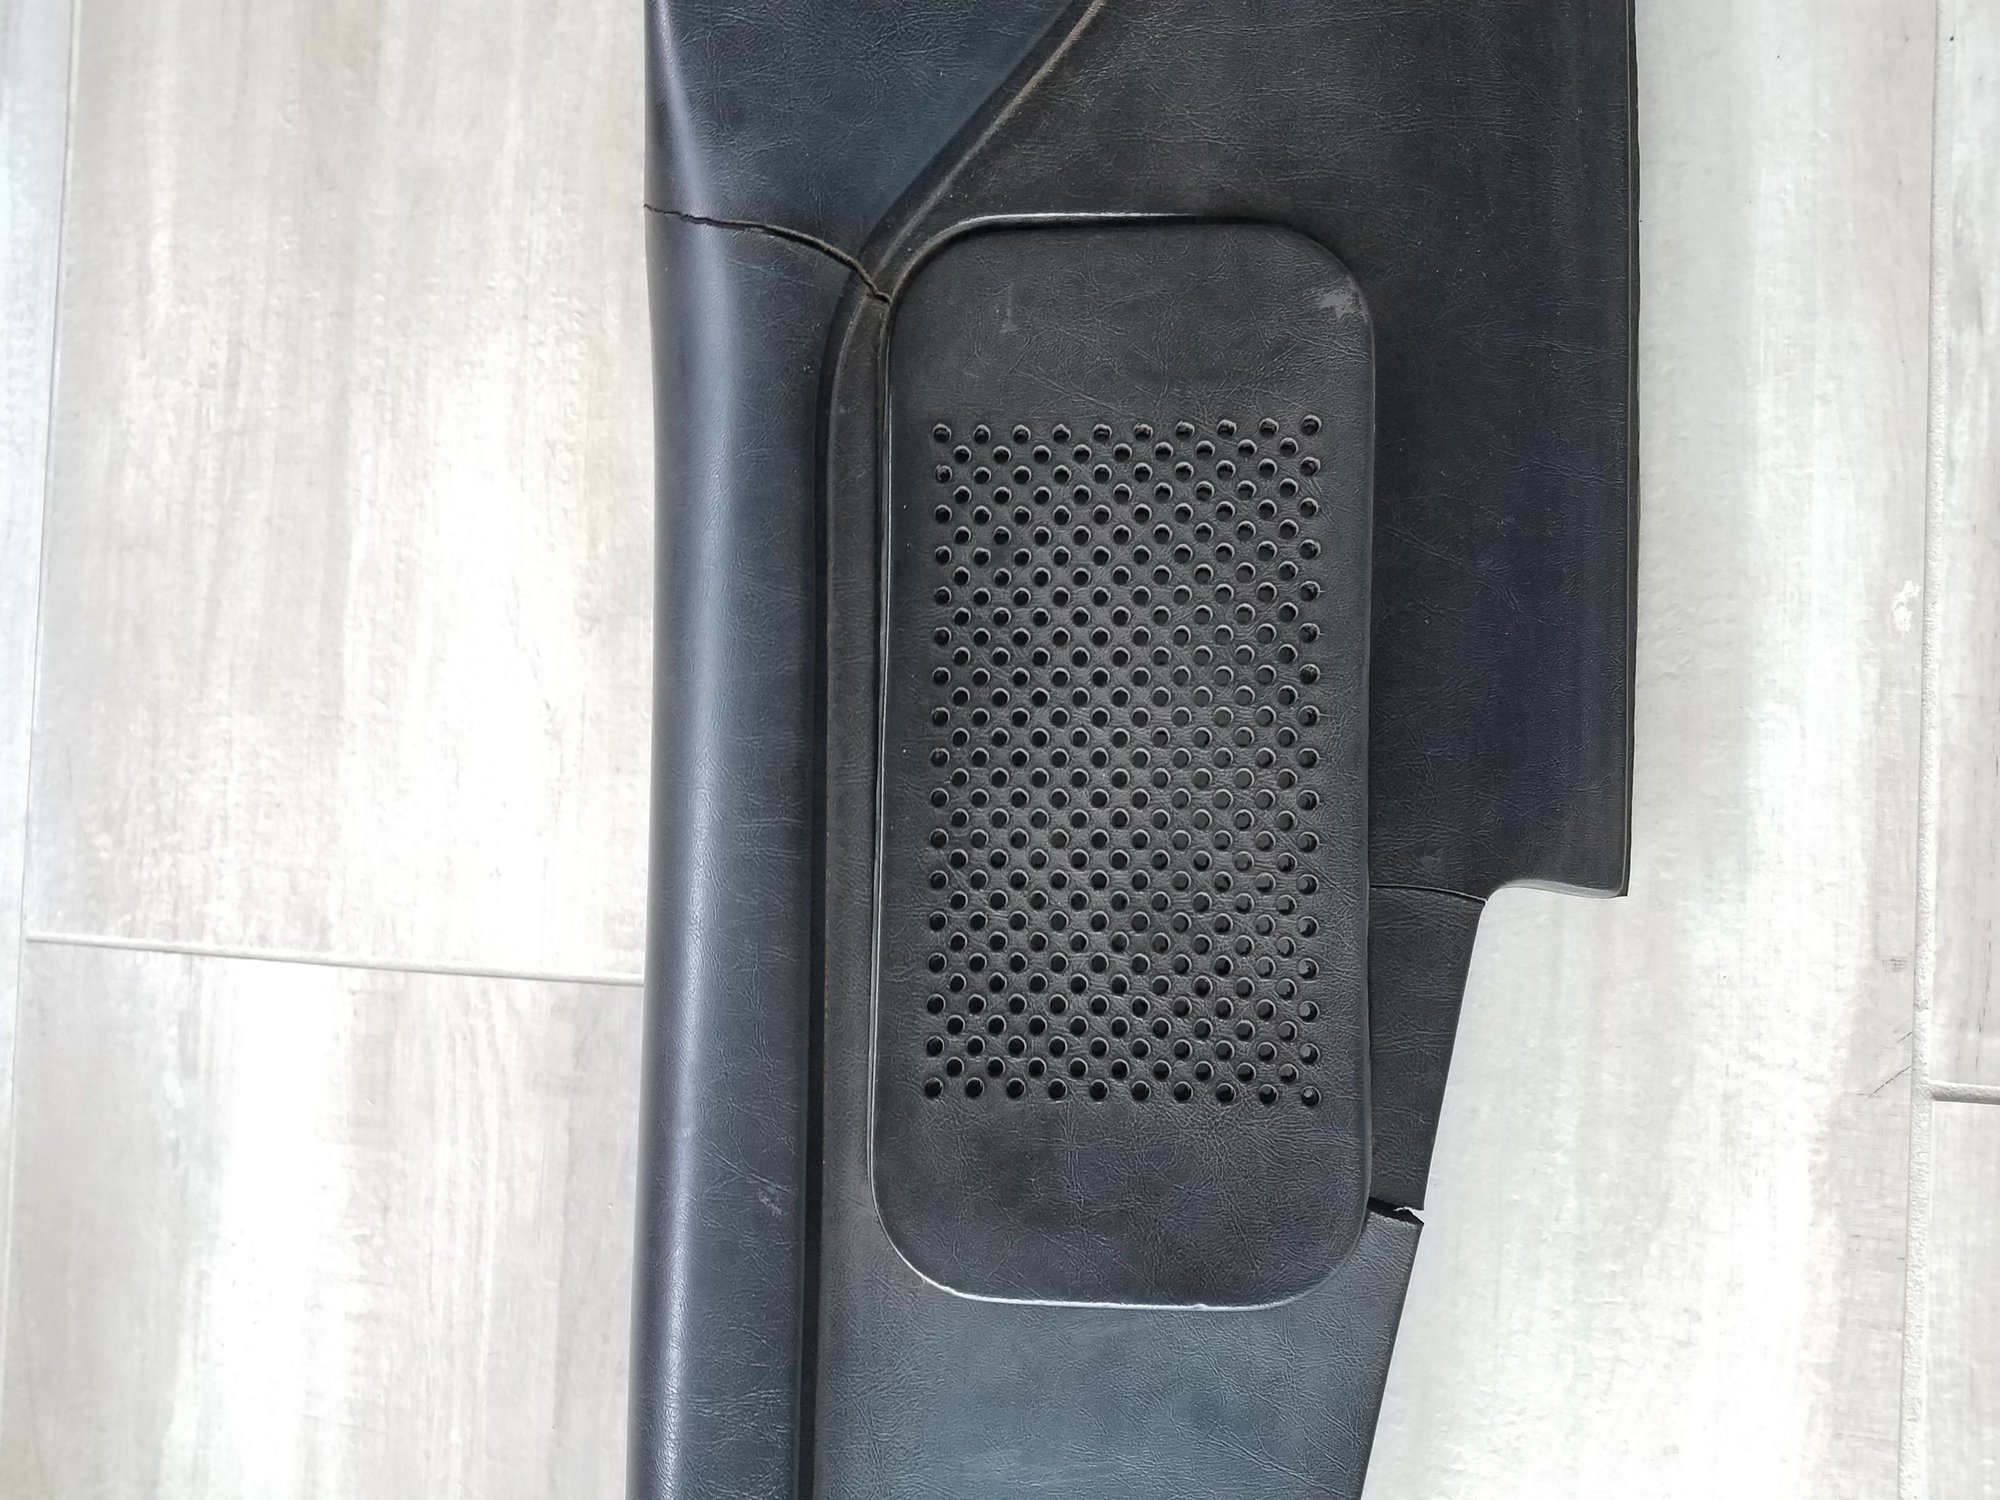
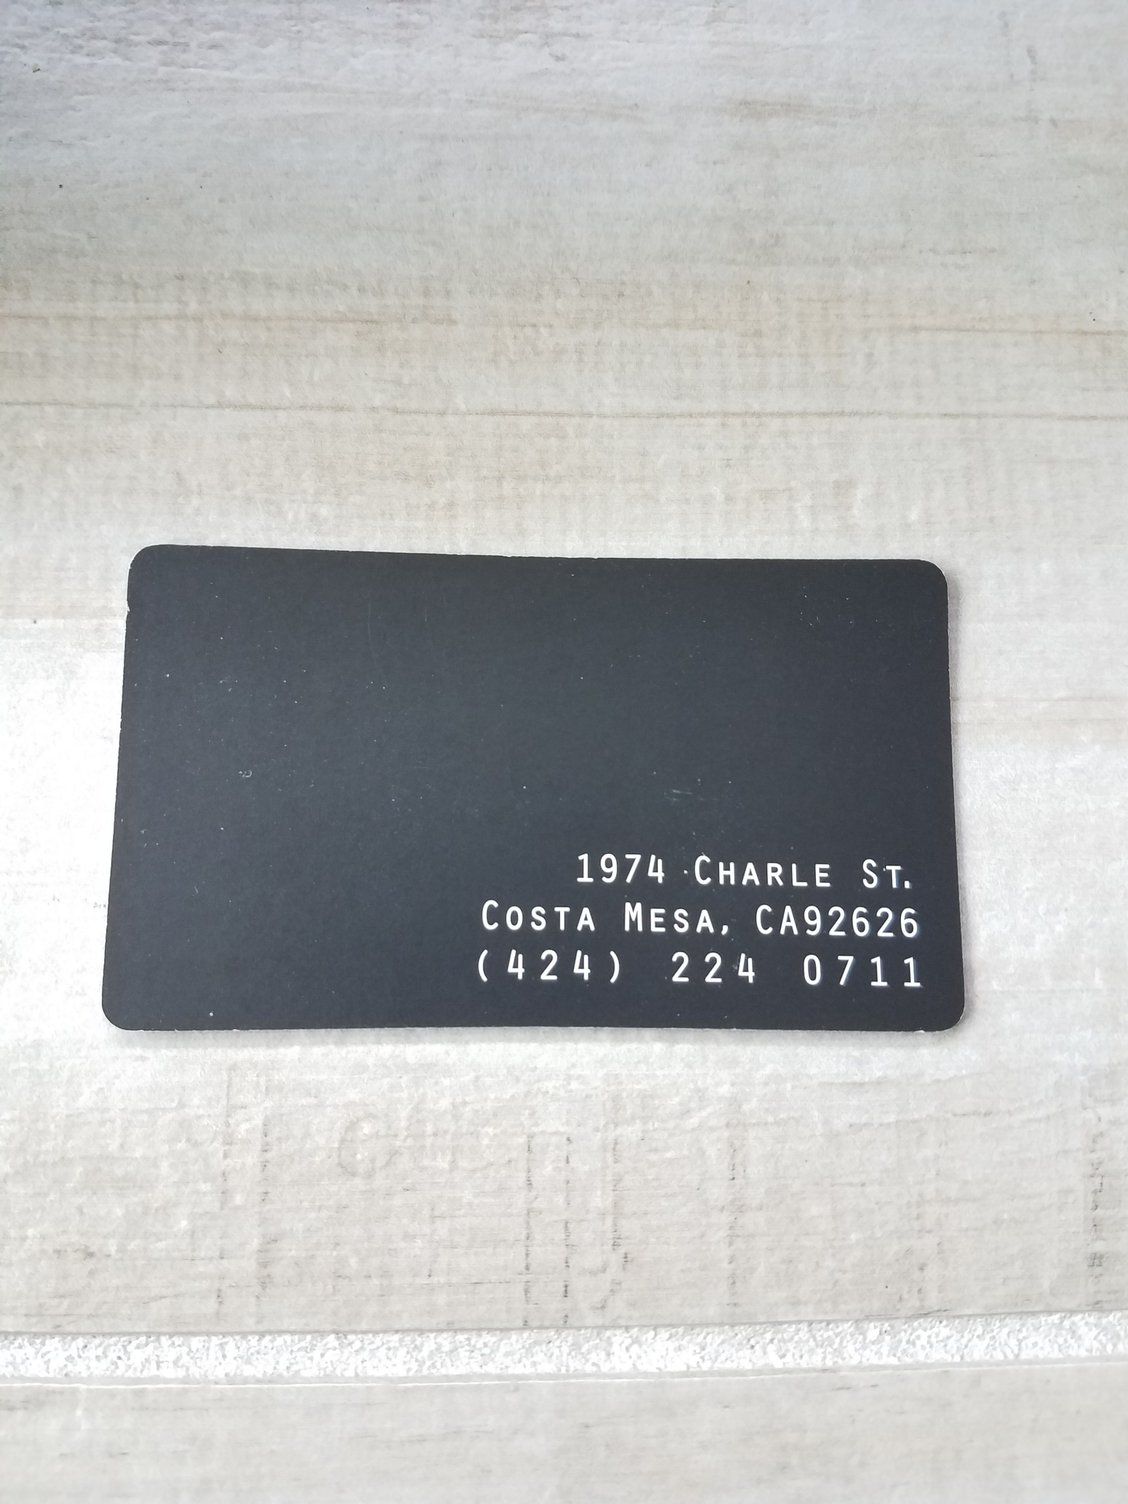
Dropping off my dash cover today for restoration. I had done quite a bit of research on this - both researching restoration of the original dash pad and the new reproductions. Most of the feedback on the reproductions wasn't very good and they aren't cheap. I also started looking at restored examples. I found that some of the shops were restoring the pads by using 2 pieces of vinyl instead of one. With this approach you will see a seam that runs behind the hump over the instrument cluster across to the other end. It isn't really noticeable but I am concerned that over time that seam may separate. I decided to go to Juan Ortiz in Costa Mesa (see his contact info below) for this work. He is considered one of the best. His wait time is long but worth it.
Thx for posting that - I got the same feedback. My dash is an aftermarket one with no radio grill, and a tiny crack at the RH vent. So I'm keeping it for now.
Have you decided whether or not to use, or ask about, a bedding compound for the windshield when it is re-installed?
Thx for posting that - I got the same feedback. My dash is an aftermarket one with no radio grill, and a tiny crack at the RH vent. So I'm keeping it for now.
Have you decided whether or not to use, or ask about, a bedding compound for the windshield when it is re-installed?
I haven't researched anything about the windshield re-install yet - sounds like I have some homework to do
He does amazing work, very fairly priced. He's a 1 man show. He does not take on multiple jobs stacked up at the same time. He's very clear on when he can take a job, and then he works on that job, then off to the next. The exception might be a larger job and doing a smaller piece or some touch up work.
Haha right! I know you and others had good things to say about him. I would chat with him when I was visiting AutoKennel but hadn't considered him for the work. I was there last month and saw his work on an early 911 he had in his shop that day and talked to him about what another very reputable shop had told me about this 'seam' approach and it was then I was convinced that he was the guy for me. Little pricier than others but that's ok if it comes out the way I want it.
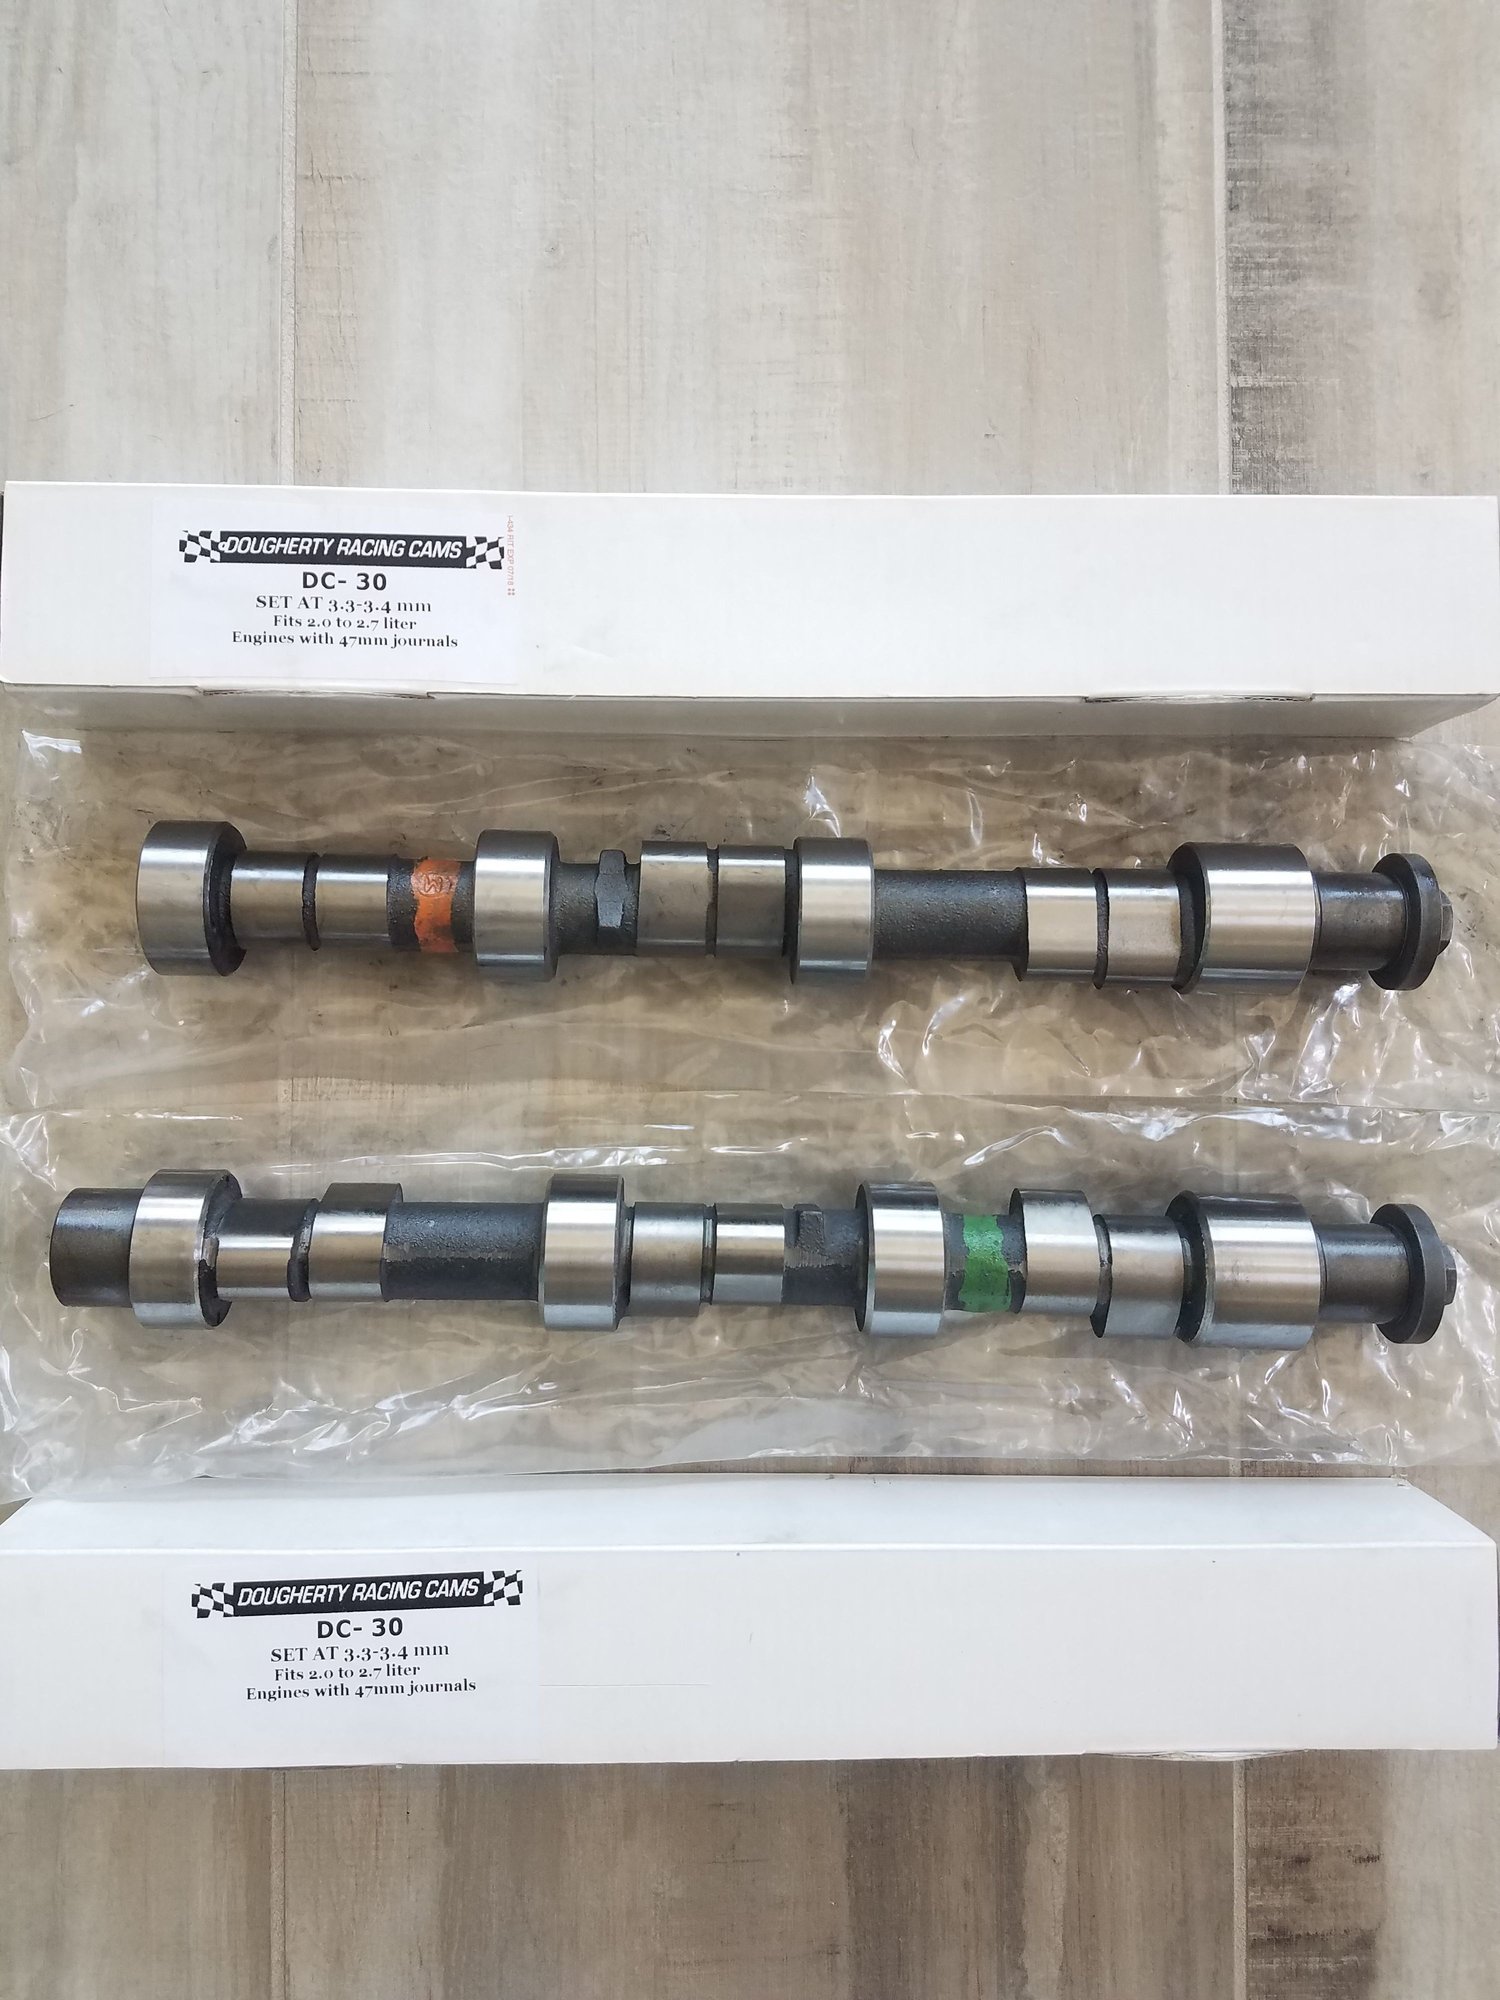
Finally received my camshafts from John Dougherty (Dougherty Racing Camshafts http://www.drcamshafts.com/). As mentioned previously, I decided on his DC-30 MFI cam. I spoke with John quite a bit to arrive at this decision. I am building a motor with a broad power range and setup to be very drive-able in traffic. I did not want a 'peaky' motor that lacked low-end torque and needed to be wrung out to get to the power band.
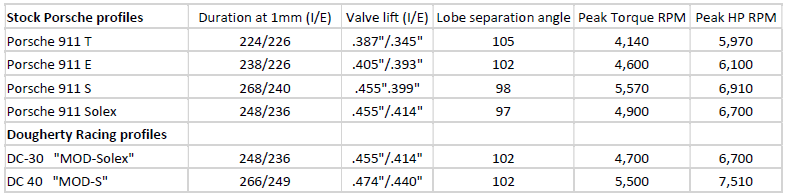
Below is a comparison of the stock 2.4 cams and the 2 cams I debated using from John. The DC-40 (Mod-S) is a great cam as well, but didn't quite meet my drive-ability preferences and John warned against it being used in a car that was being used primarily for the street. As you can see, the DC-30 durations are between the stock E & S with less overlap than S, same intake lift as the S, higher exhaust lift than the S. The DC-30 will give more low-end torque than S, with peak HP being achieved at lower RPM than the S (but still gaining HP most of the way up towards my redline). The DC-30 is a great blend of the E & S with some improvements over both. I am also able to use my stock valve springs with the DC-30; due to the lift of the DC-40, John recommended upgraded valve springs. I am setting up the motor to have a redline of 7,300, so the Mod-40 peak wouldn't be achieved in my motor. I am opening the intake and exhaust ports (port and polish) in my T heads, so I can take advantage of the improved lift and my MFI pump is being matched to my build by Mark Jung. Camshafts seem like black magic to me - I researched quite a bit, but I am by no means an expert, so others may have a deeper understanding.
The data for peak torque and HP are approximations based on my research.
Here are some pics of the beauties! John cuts these on new chill castings and uses the updated bolt/washer. The marks/substance on lobes/journals is oil
Congrats! Are these closer to an 'S' than to an 'E'?
Also, did he say anything about the ramp angles/profiles?
Best of both worlds. Has low end torque of an E but better power/HP band than the E. Some improvements over the S as well. The S is peaky. Yes, he uses a more 'modern' cut/profile.
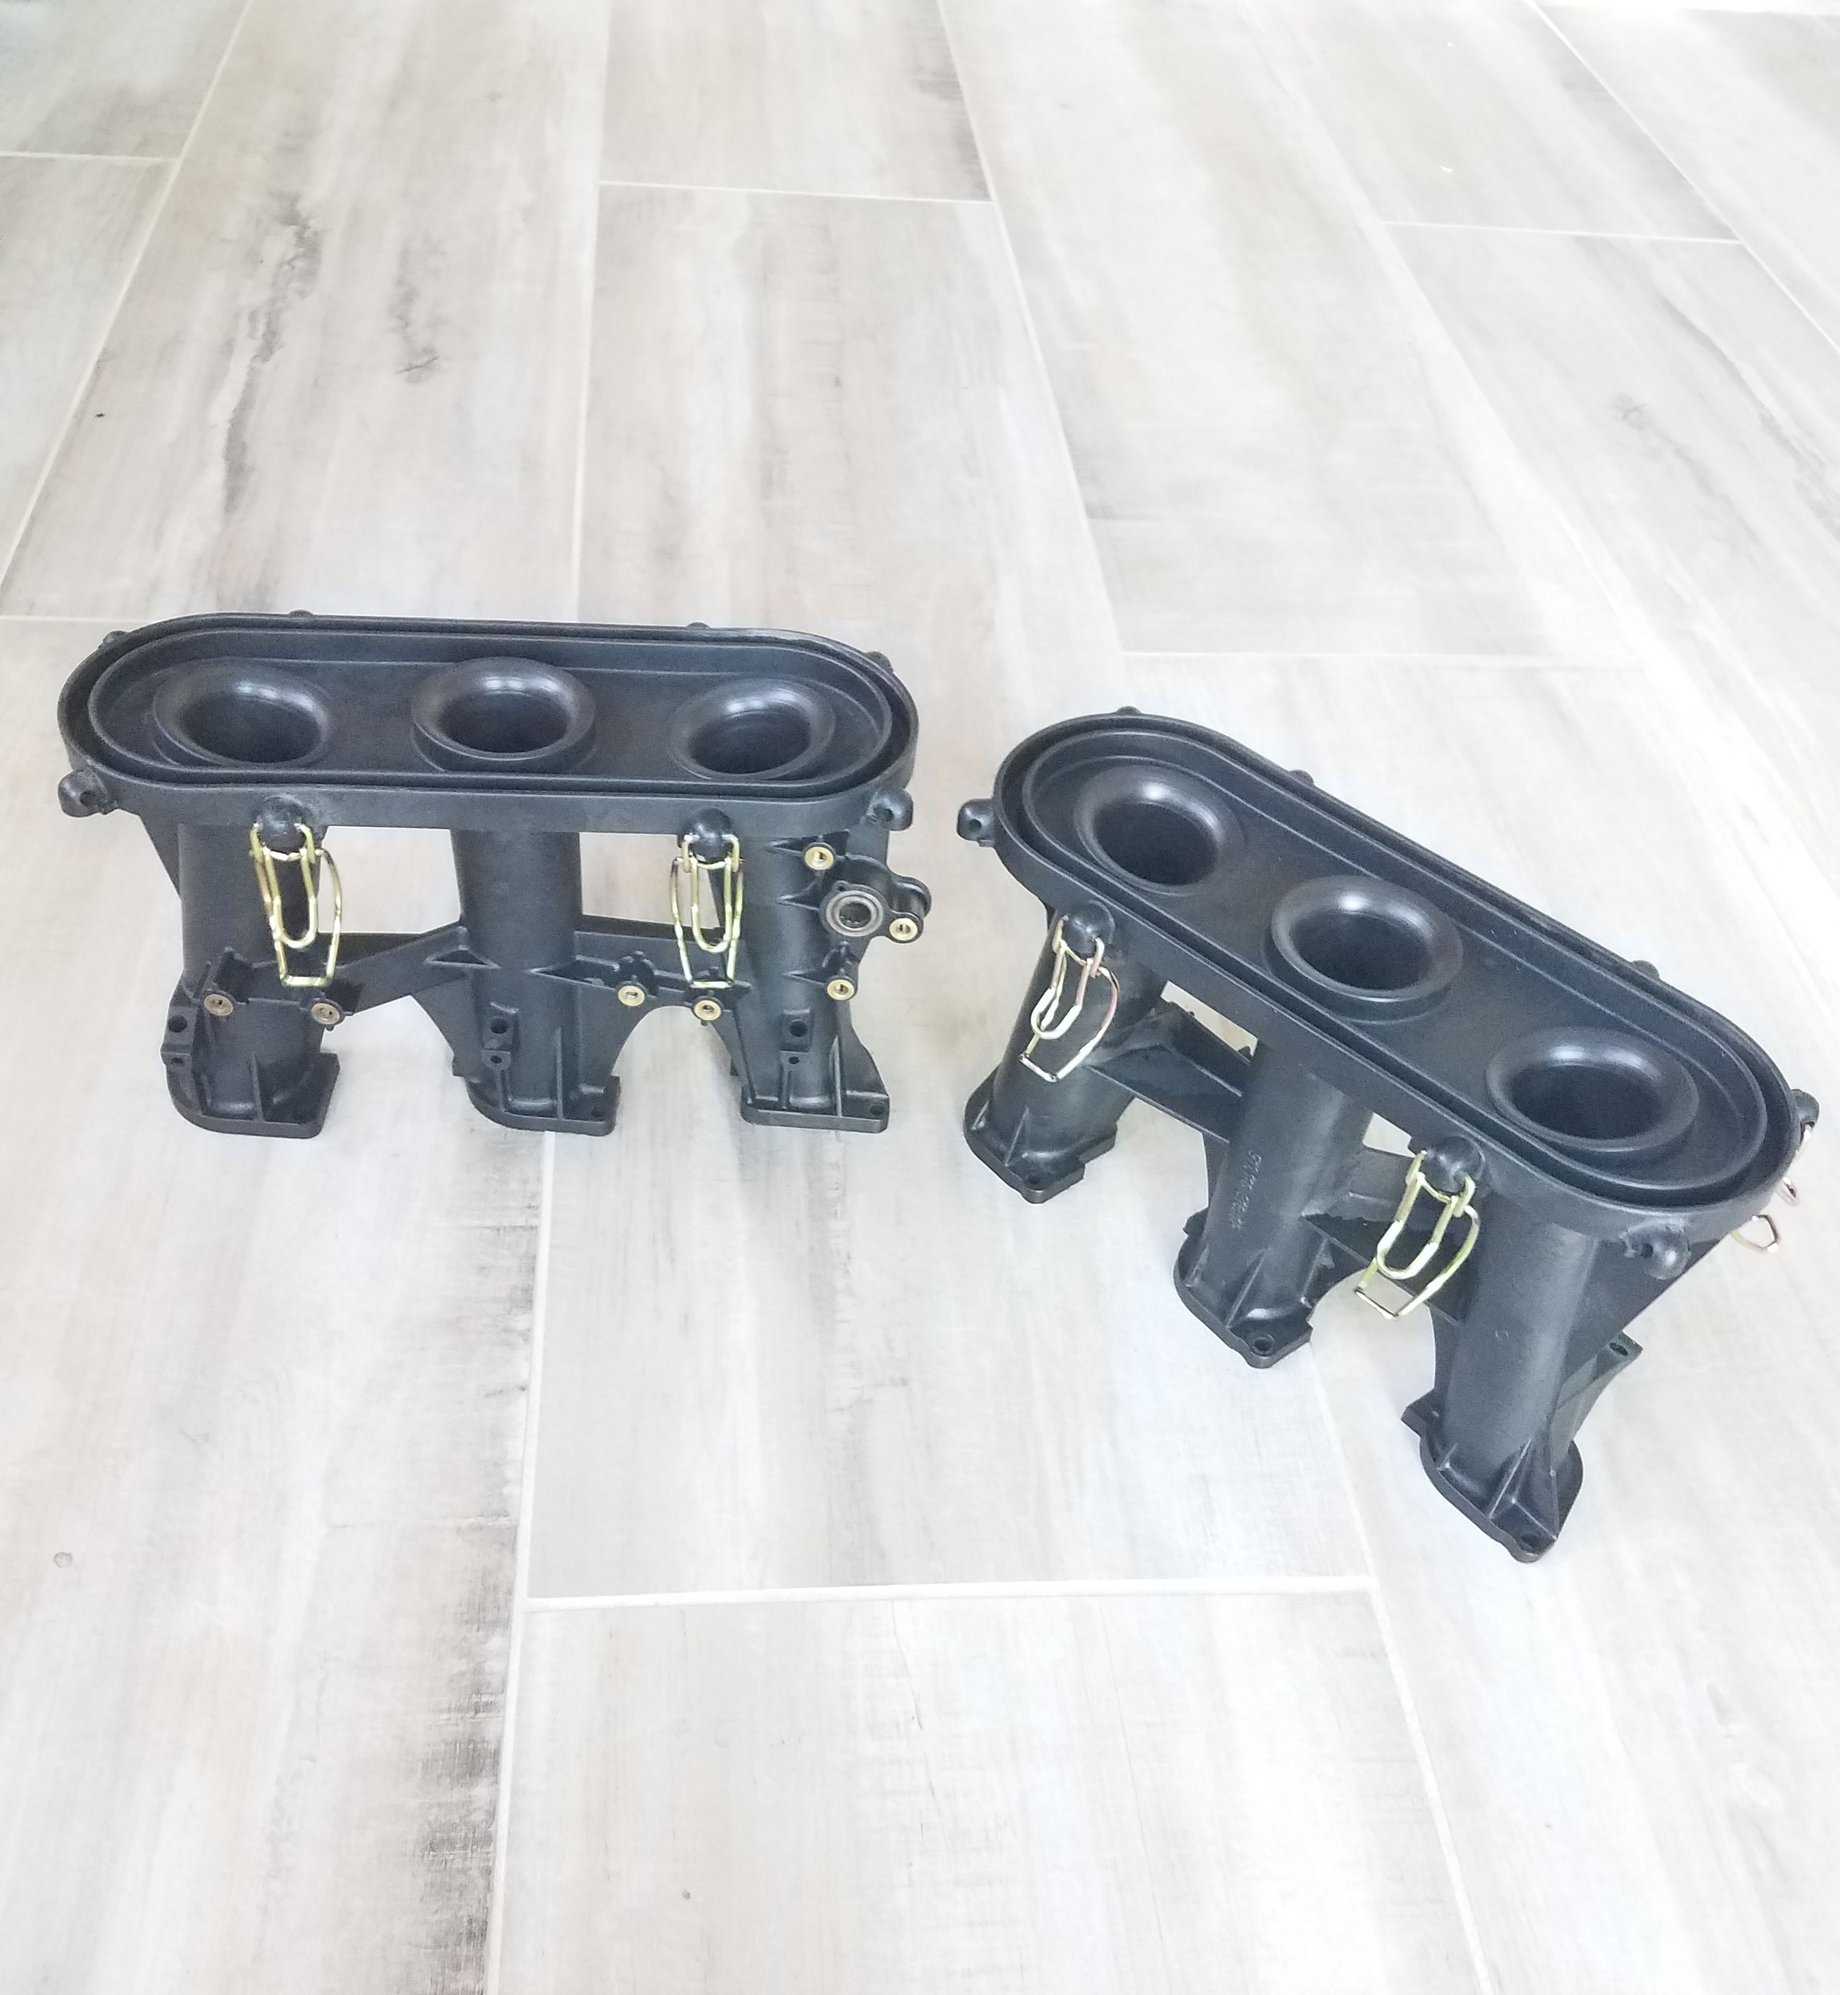
My MFI intake stacks are back from Aaron at Burnham Performance. They look great. He is one of the few that would taper bore these '72/'73 plastic stacks. I increased the bore (where it matches the throttle bodies) from 29mm to 36mm. I already have the bored 36mm throttle bodies so the intake is all set now. The stacks taper from 42mm at the top down to the 36mm bottom.
I already had the clips that hold the air cleaner cover on replated so they are looking nice and shiny back on the stacks.
I felt like a kid on Christmas opening this up today!
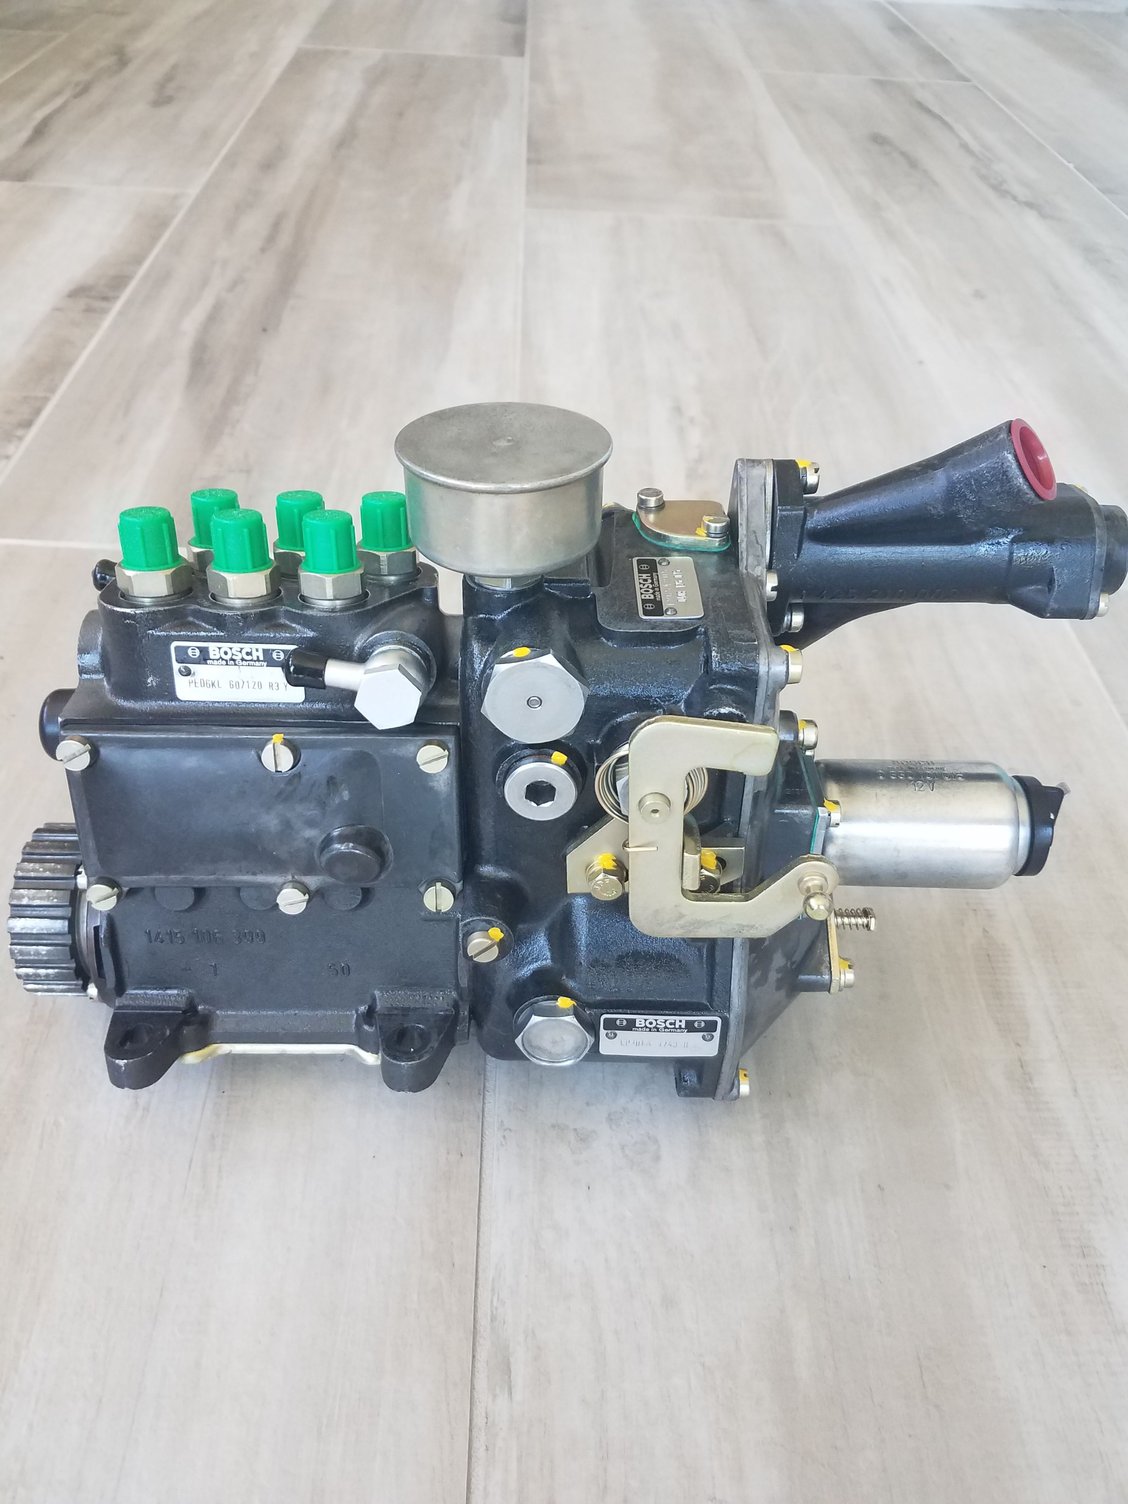
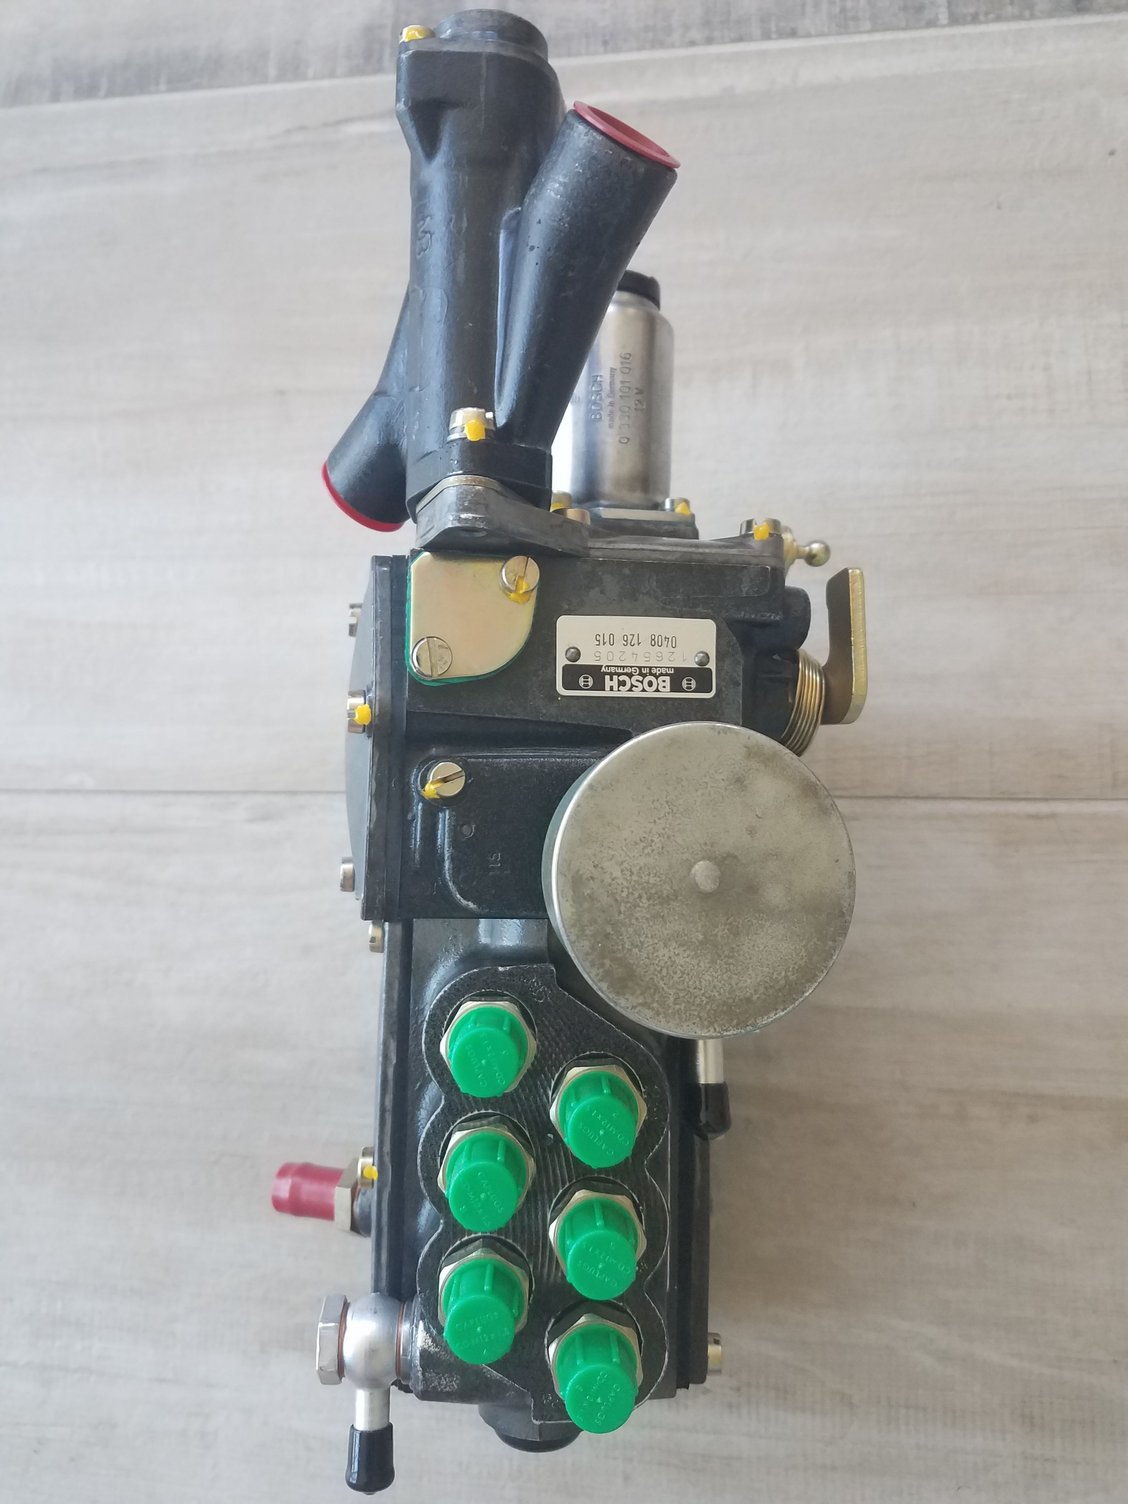
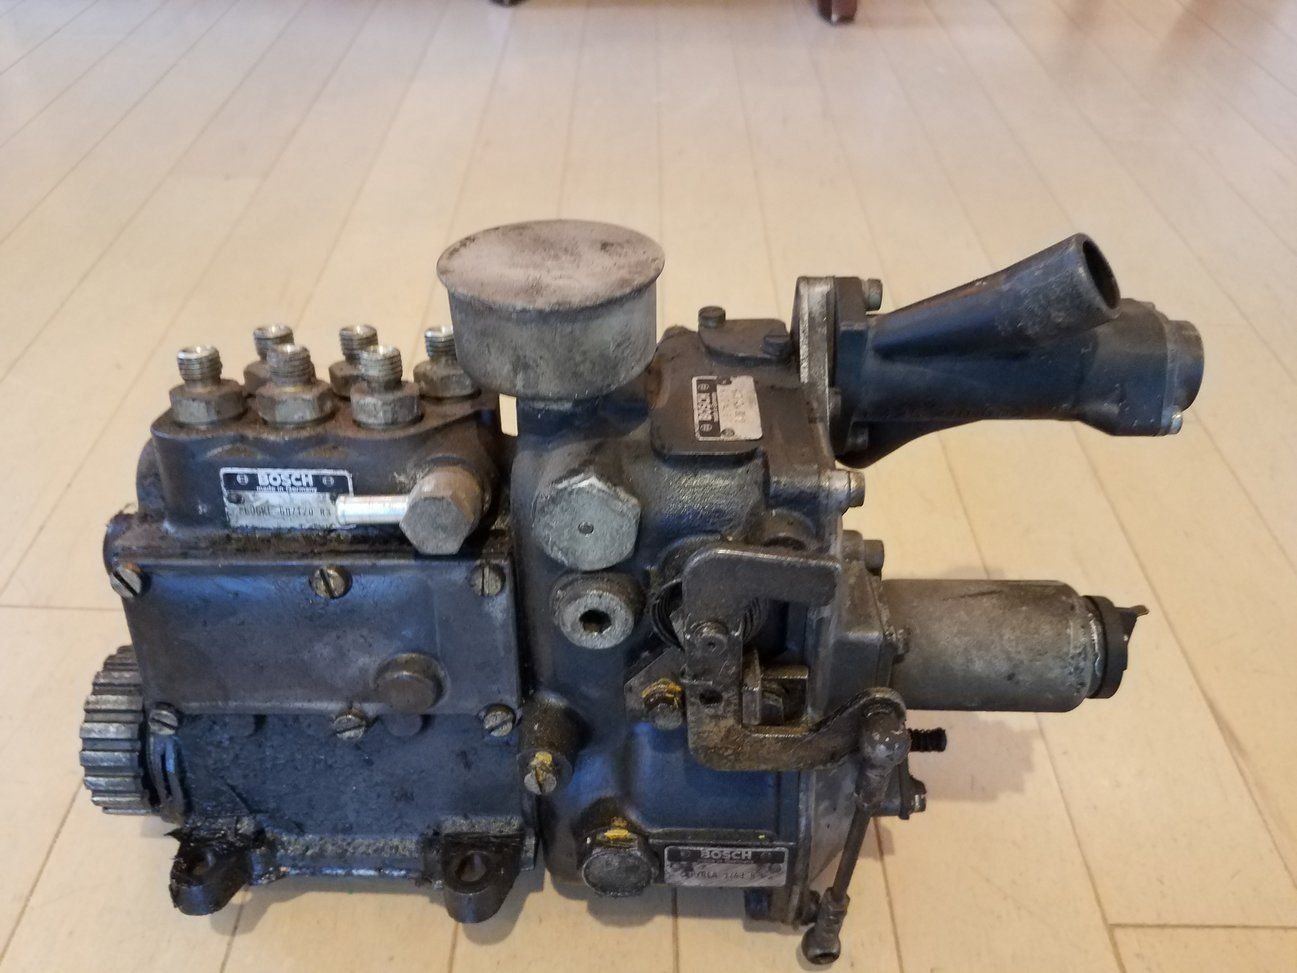
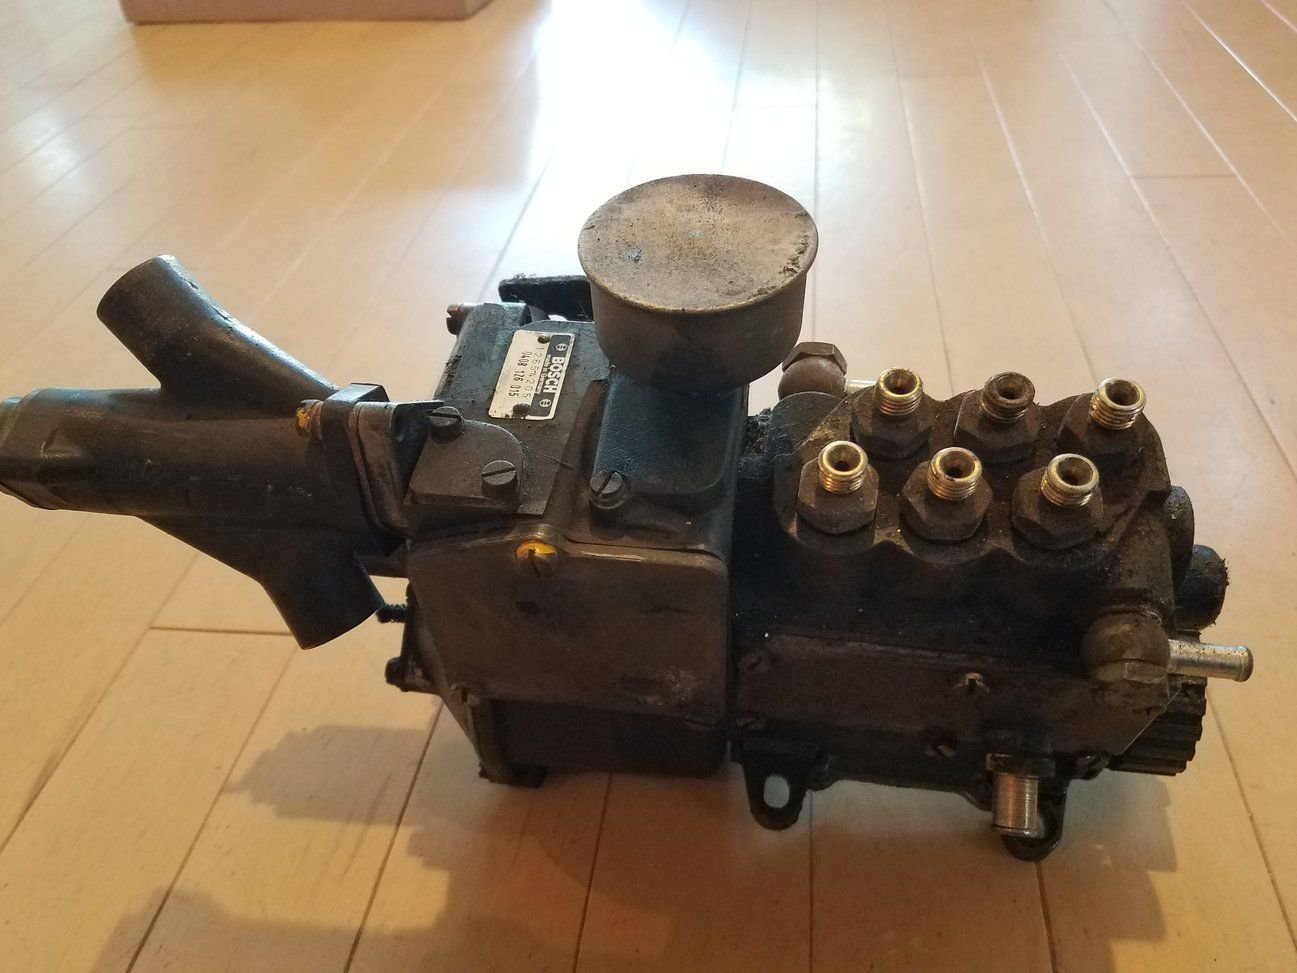
My MFI pump is back from MFI Werks. Mark Jung did a fantastic job bringing this ~50 year old pump back to life.
Here is what he did:
- Rebuilt the entire pump, including replacing the various bearings, gaskets and seals.
- Cad plated all of the original hardware
- Modified the pump to match my specific motor build specs. This involves modifying and re-mapping of the space cam.
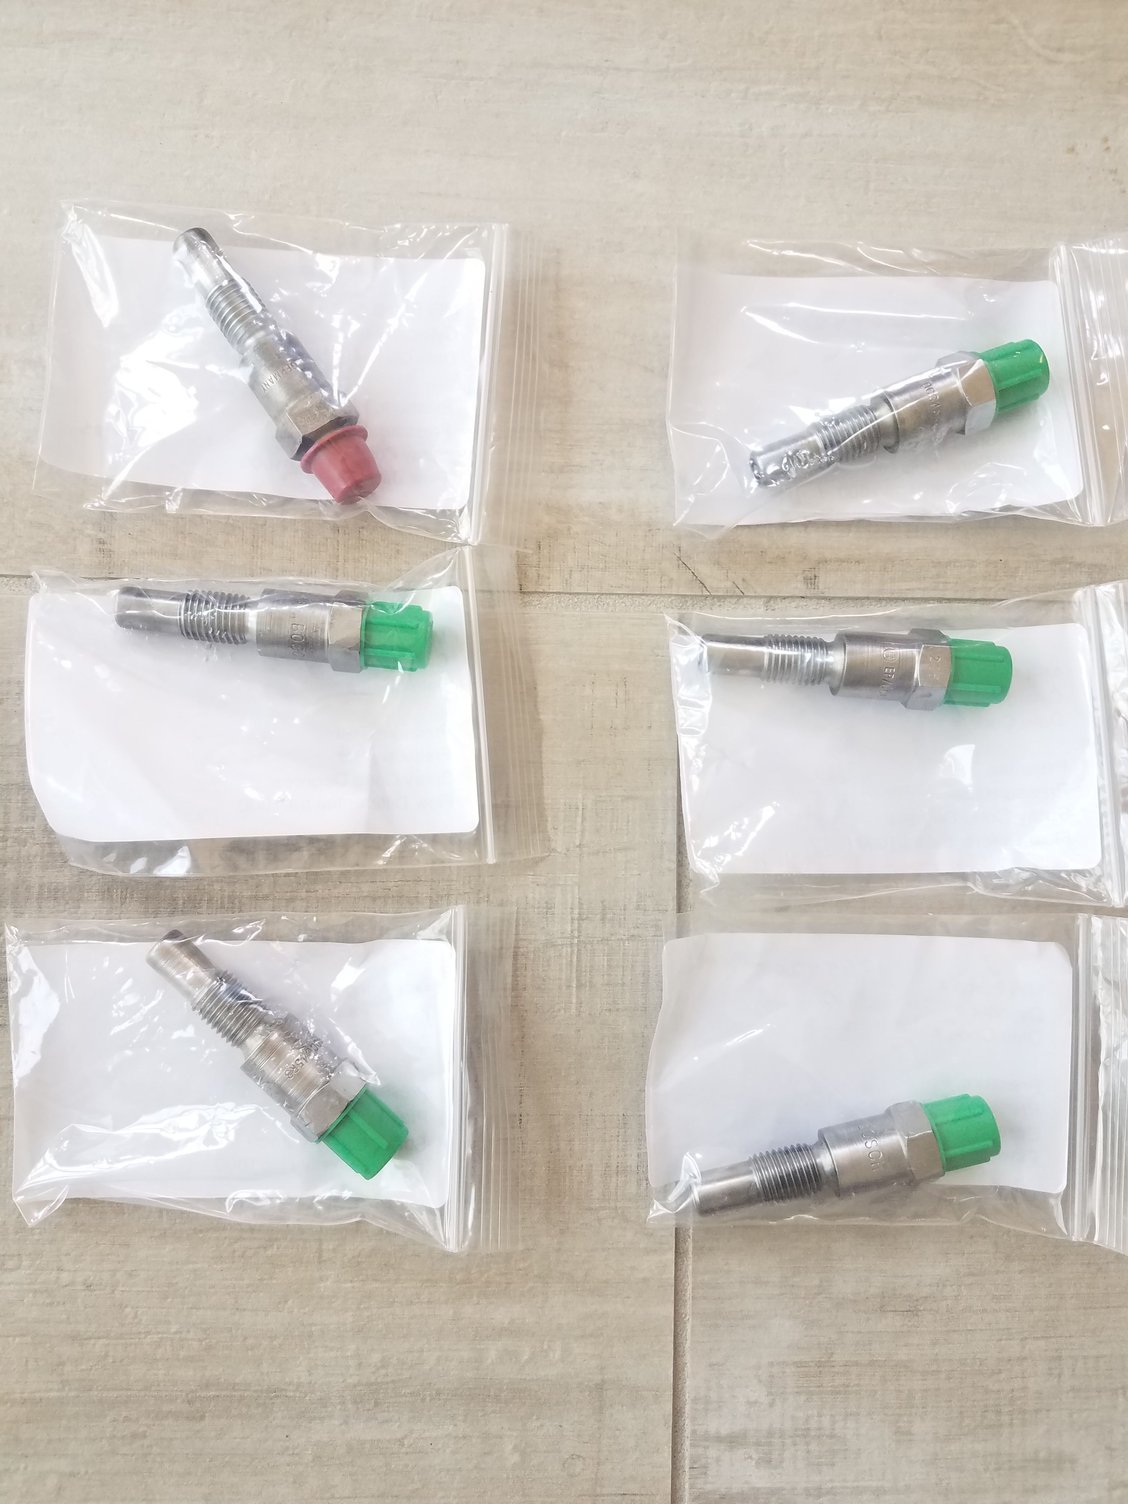
- He also cleaned and pressure tested my fuel injectors.
According to Mark, my pump specs are now better than the 2.4S, with better low end fuel mapping, better freeway cruising and better acceleration. Also, wide open throttle at the top end is now delivering a little more fuel, even past 7,000 RPM. This will match my DC-30 cam selection as well as the other details of my 2.5 MFI build specs.
Here are photos of the injectors. He cleaned and pressure tested, and identified 1 bad injector.
Here is the pump:
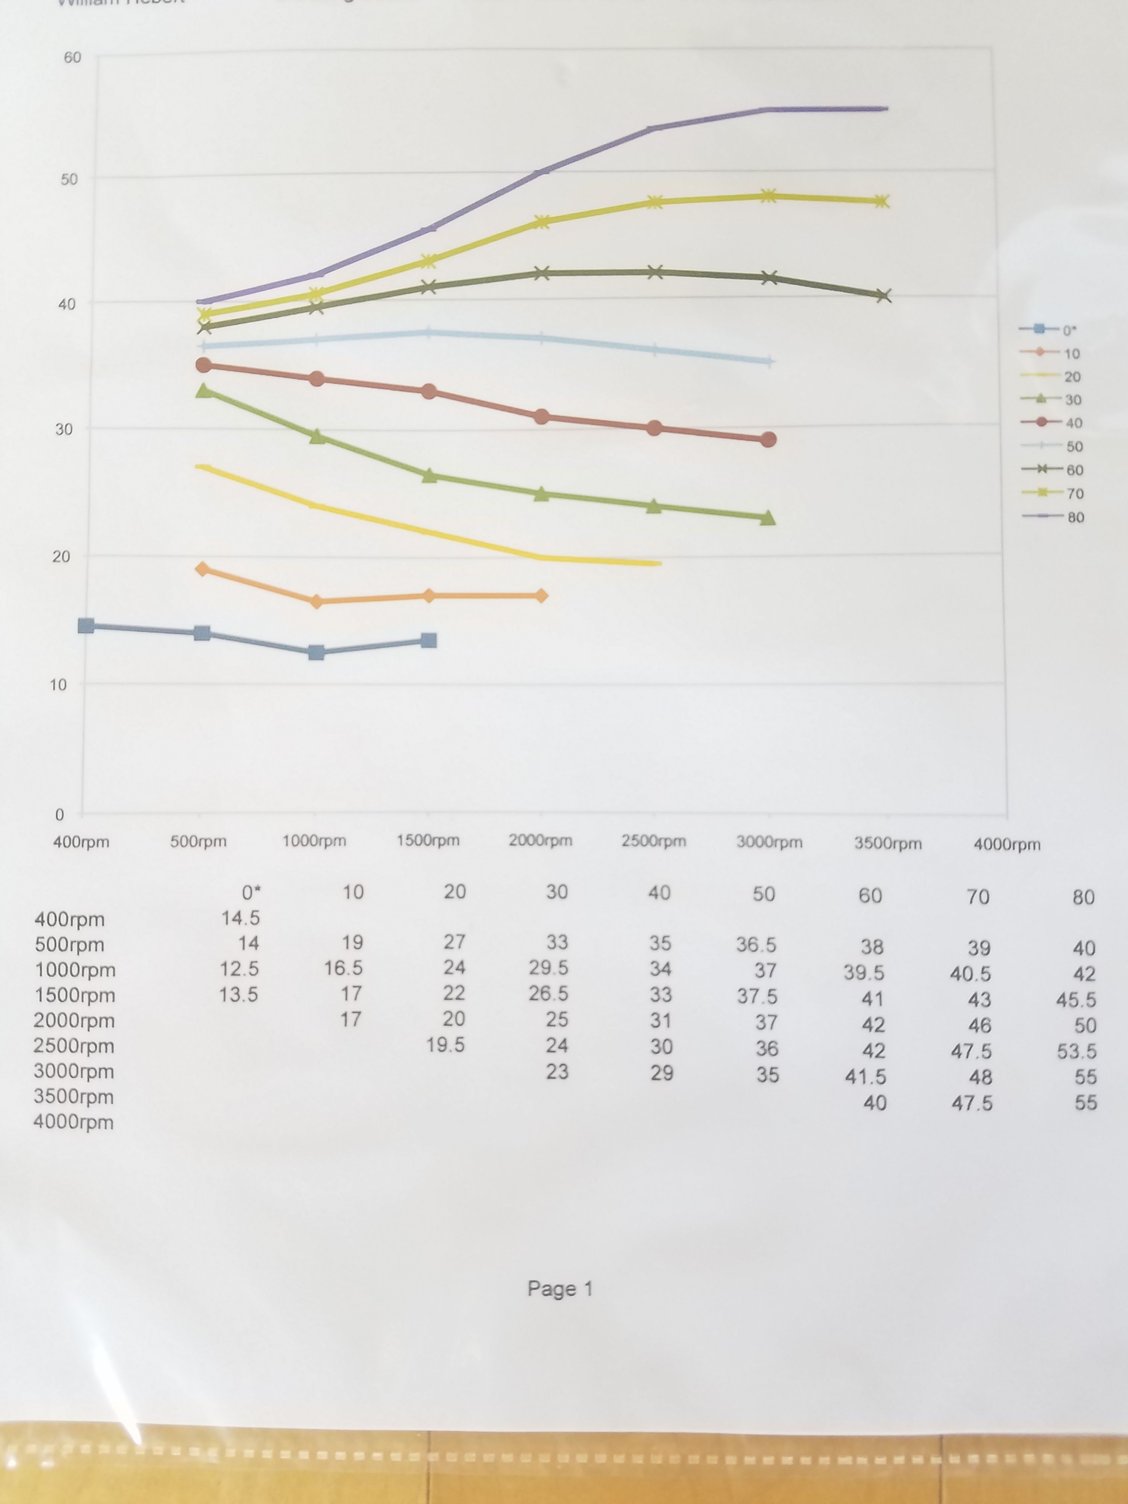
Here is the spec sheet for my pump. This is measuring fuel delivery at various degrees of throttle (idle to WOT) at various RPM's of the pump.
Things seem to be picking up a little more momentum. I am getting photos from Andy showing his progress and I think I may have snuck in to an opening at the paint shop I am leaning towards. Normally the wait is a year but I may get in there in June so I have Andy on a target now.
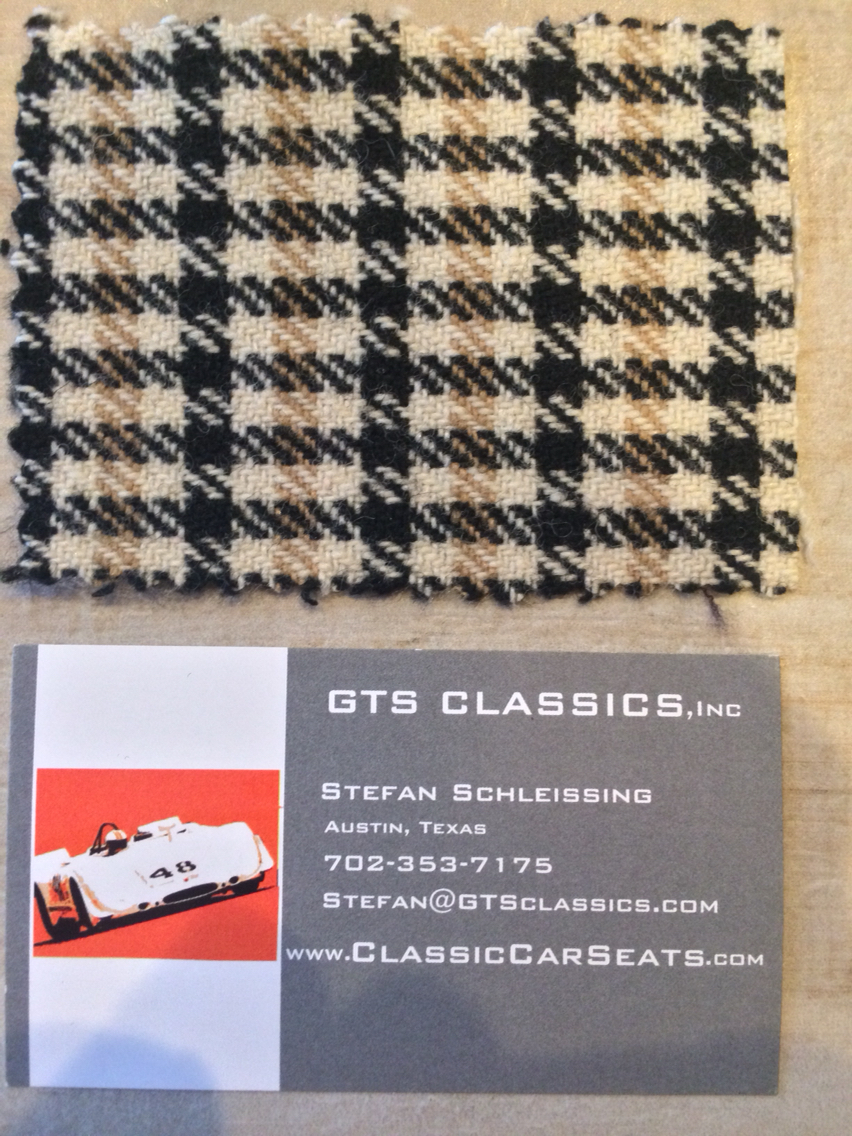
Since paint and sheet metal now have targets, I shifted some attention to the interior. Dashboard is already with Juan, and I have reached out to the usual suspects for custom seats. I received this sample from Stefan at GTS Classics today. I think this is exactly what I am want for the pepita/houndstooth inserts in leather S sport seats. I really like the tan - it will go well with Signal Yellow
Zack from Ollie's called today. After tearing my heads down and measuring everything he needed the green light from me to push forward. The intake valves were measured out of spec and the exhaust were barely within spec. I gave the green light just to replace all of the valves with new. Springs were all within spec Now off to port and polish!
I was also told that my machining work was still another 4-5 weeks out most of my stuff has been there since December. Oh well.
You'll be fine :-)
Body work and paint will be the long pole, it always is!
FWIW, my heads have been with xTreme since Dec. And still not done. Shop had a chat with them yesterday, they will ship this week... otherwise I call and light a fire. I'm very patient, but you only get 1 chance on expectations management with me.
Overall things are starting to move a bit better, but I have learned a ton from this project and would do many things differently if I started over again.


 04-13-2020, 01:48 PM


 most of my stuff has been there since December. Oh well.