When you click on links to various merchants on this site and make a purchase, this can result in this site earning a commission. Affiliate programs and affiliations include, but are not limited to, the eBay Partner Network.
for sound dampening there are 3 layers involved:
1. you can put a butyl compound over 25% of each panel - this lowers the 'Q' of the resonance (dampening)
2. a thin layer of foam goes on next to 'float' layer 3 so it does not touch the panel or layer 1
3. a MLD (mass loaded dampening) sheet covers everything with no gaps at all - this keeps vibrations confined
Dynamat attempts to combine all 3 types of noise control into one product and is not the best light wt. solution
Aircraft Spruce and others in the gen'l aviation industry did not have any real info on efficacy of their products
I wrote letters to a dozen or more sound control product sellers ("official" ones with PhD and a company letterhead) - the only reply that made any sense was Cascade Audio Designs in Bend, Oregon
- I haven't purchased anything for the rear bulkhead but they make some lighter wt. MLD sheets and other items
You might try just layer #1 above and see how well that works - any carpet will also reduce noise
Other noises are arguably more intrusive - tire, wind are biggies
The best thing for a light wt. heat barrier would be an aerogel - it moved quickly from research into commercial products but I have not seen anything using it for any cars
I also asked NASA to give me some of the ceramic foam tiles off the Space Shuttle, but they were not enthused...
I have some scattered info on this deep rabbit hole, and can send it to you if you want to burrow down - send me your Email if you want it
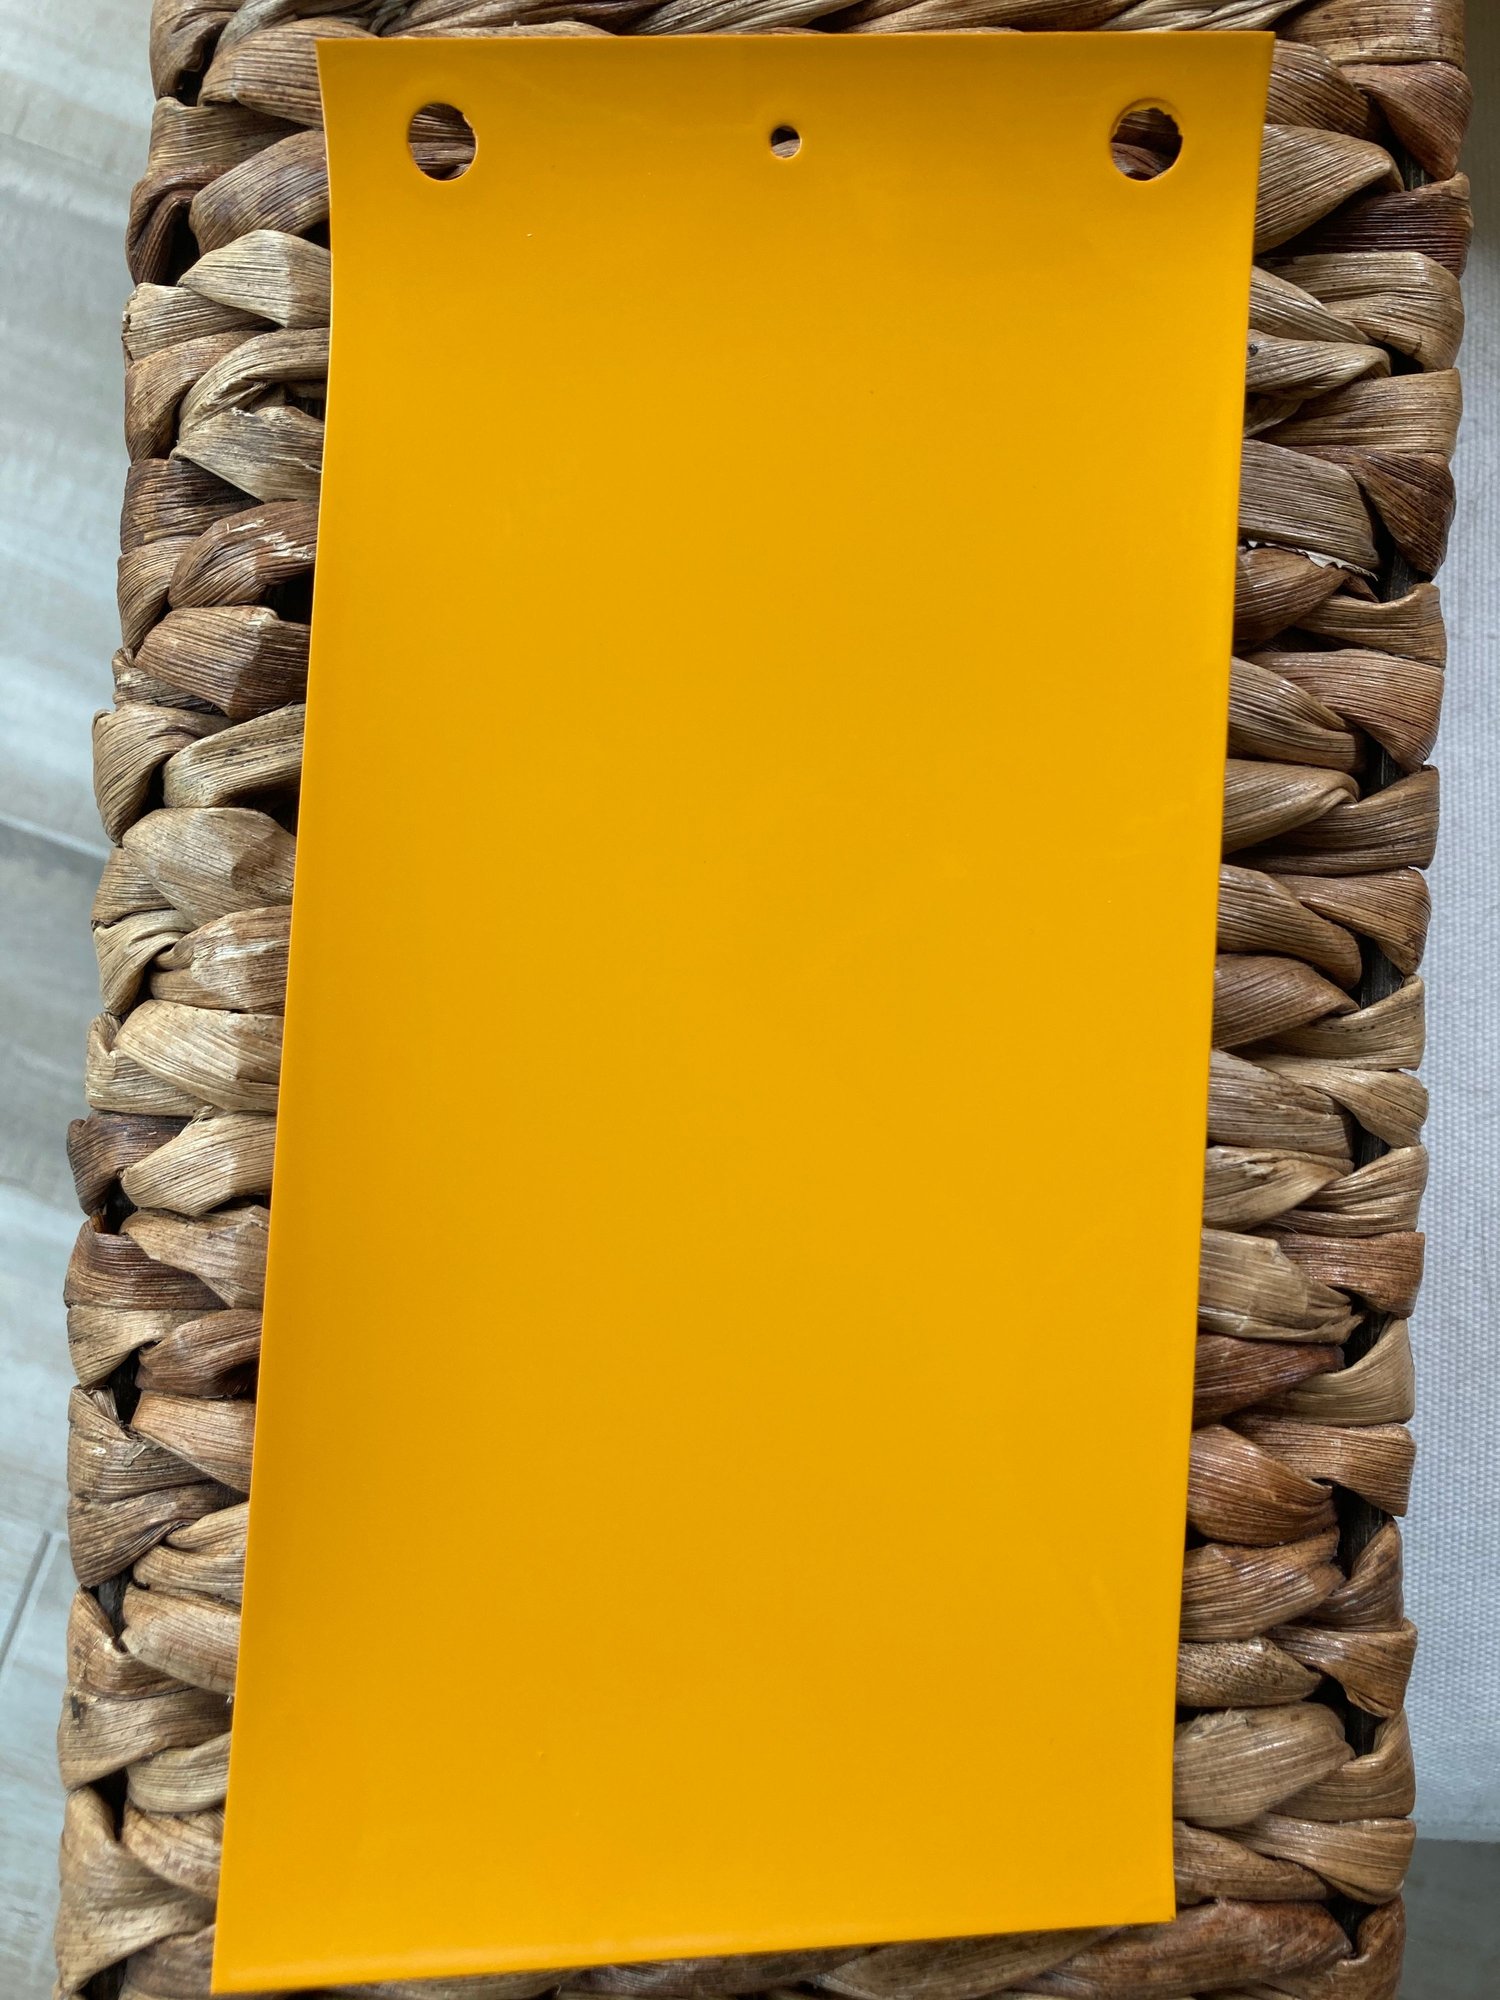
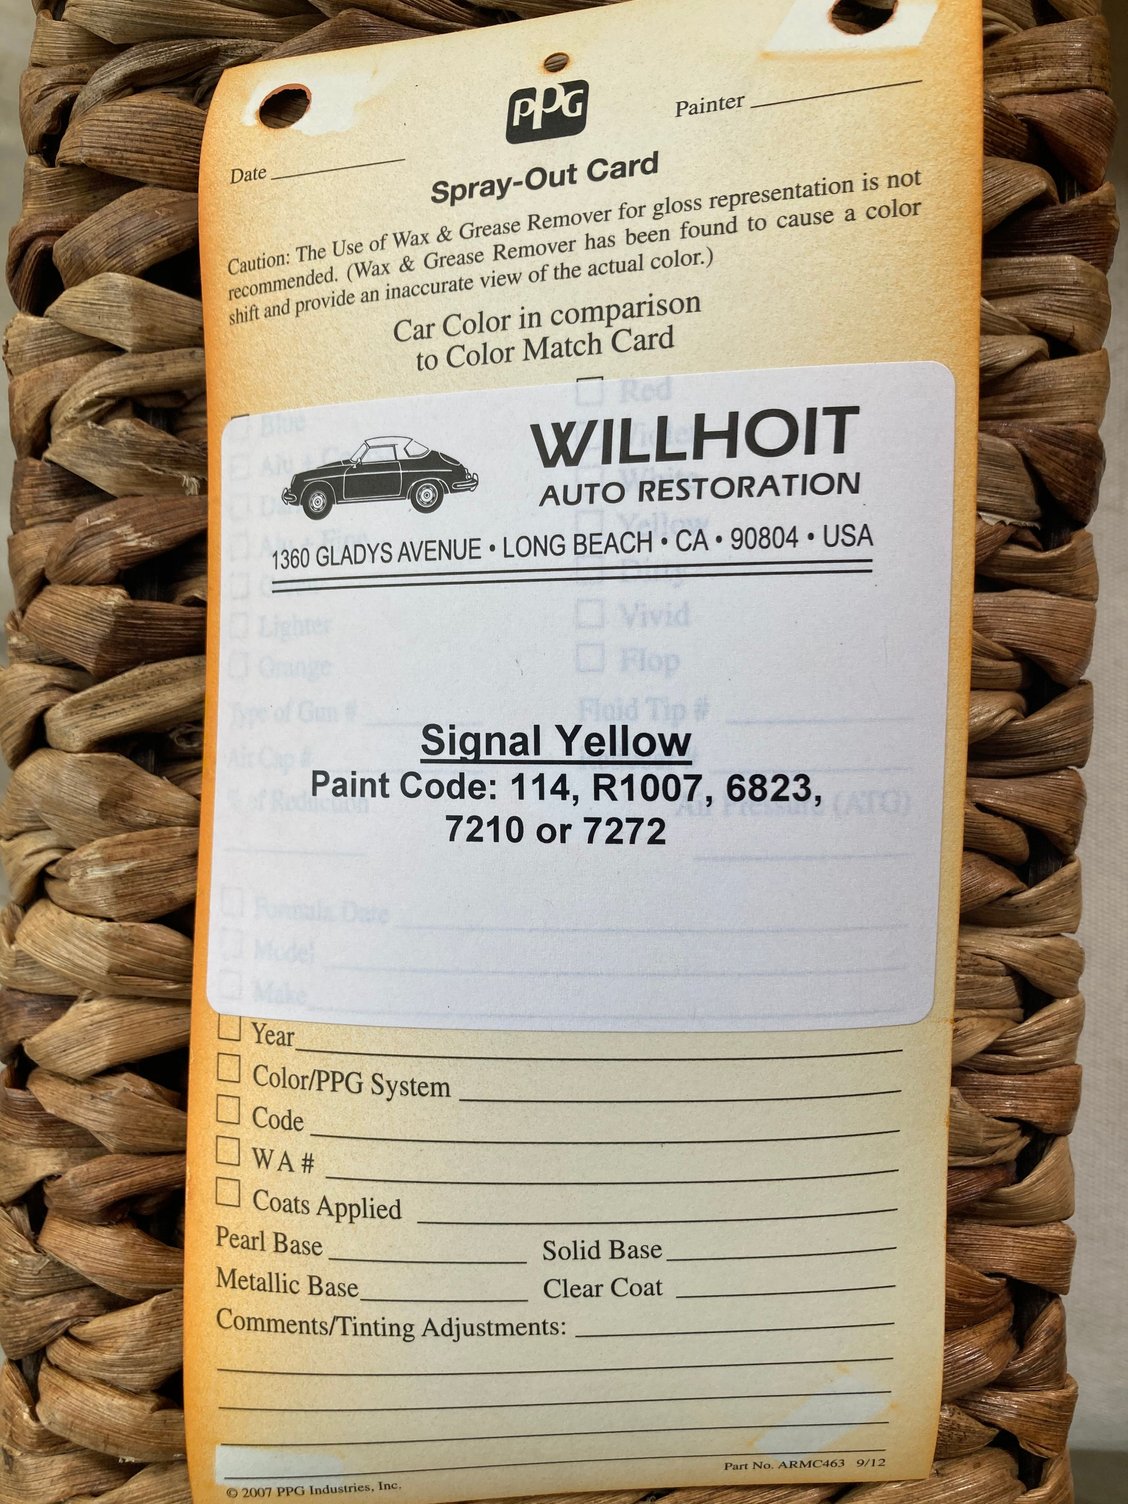
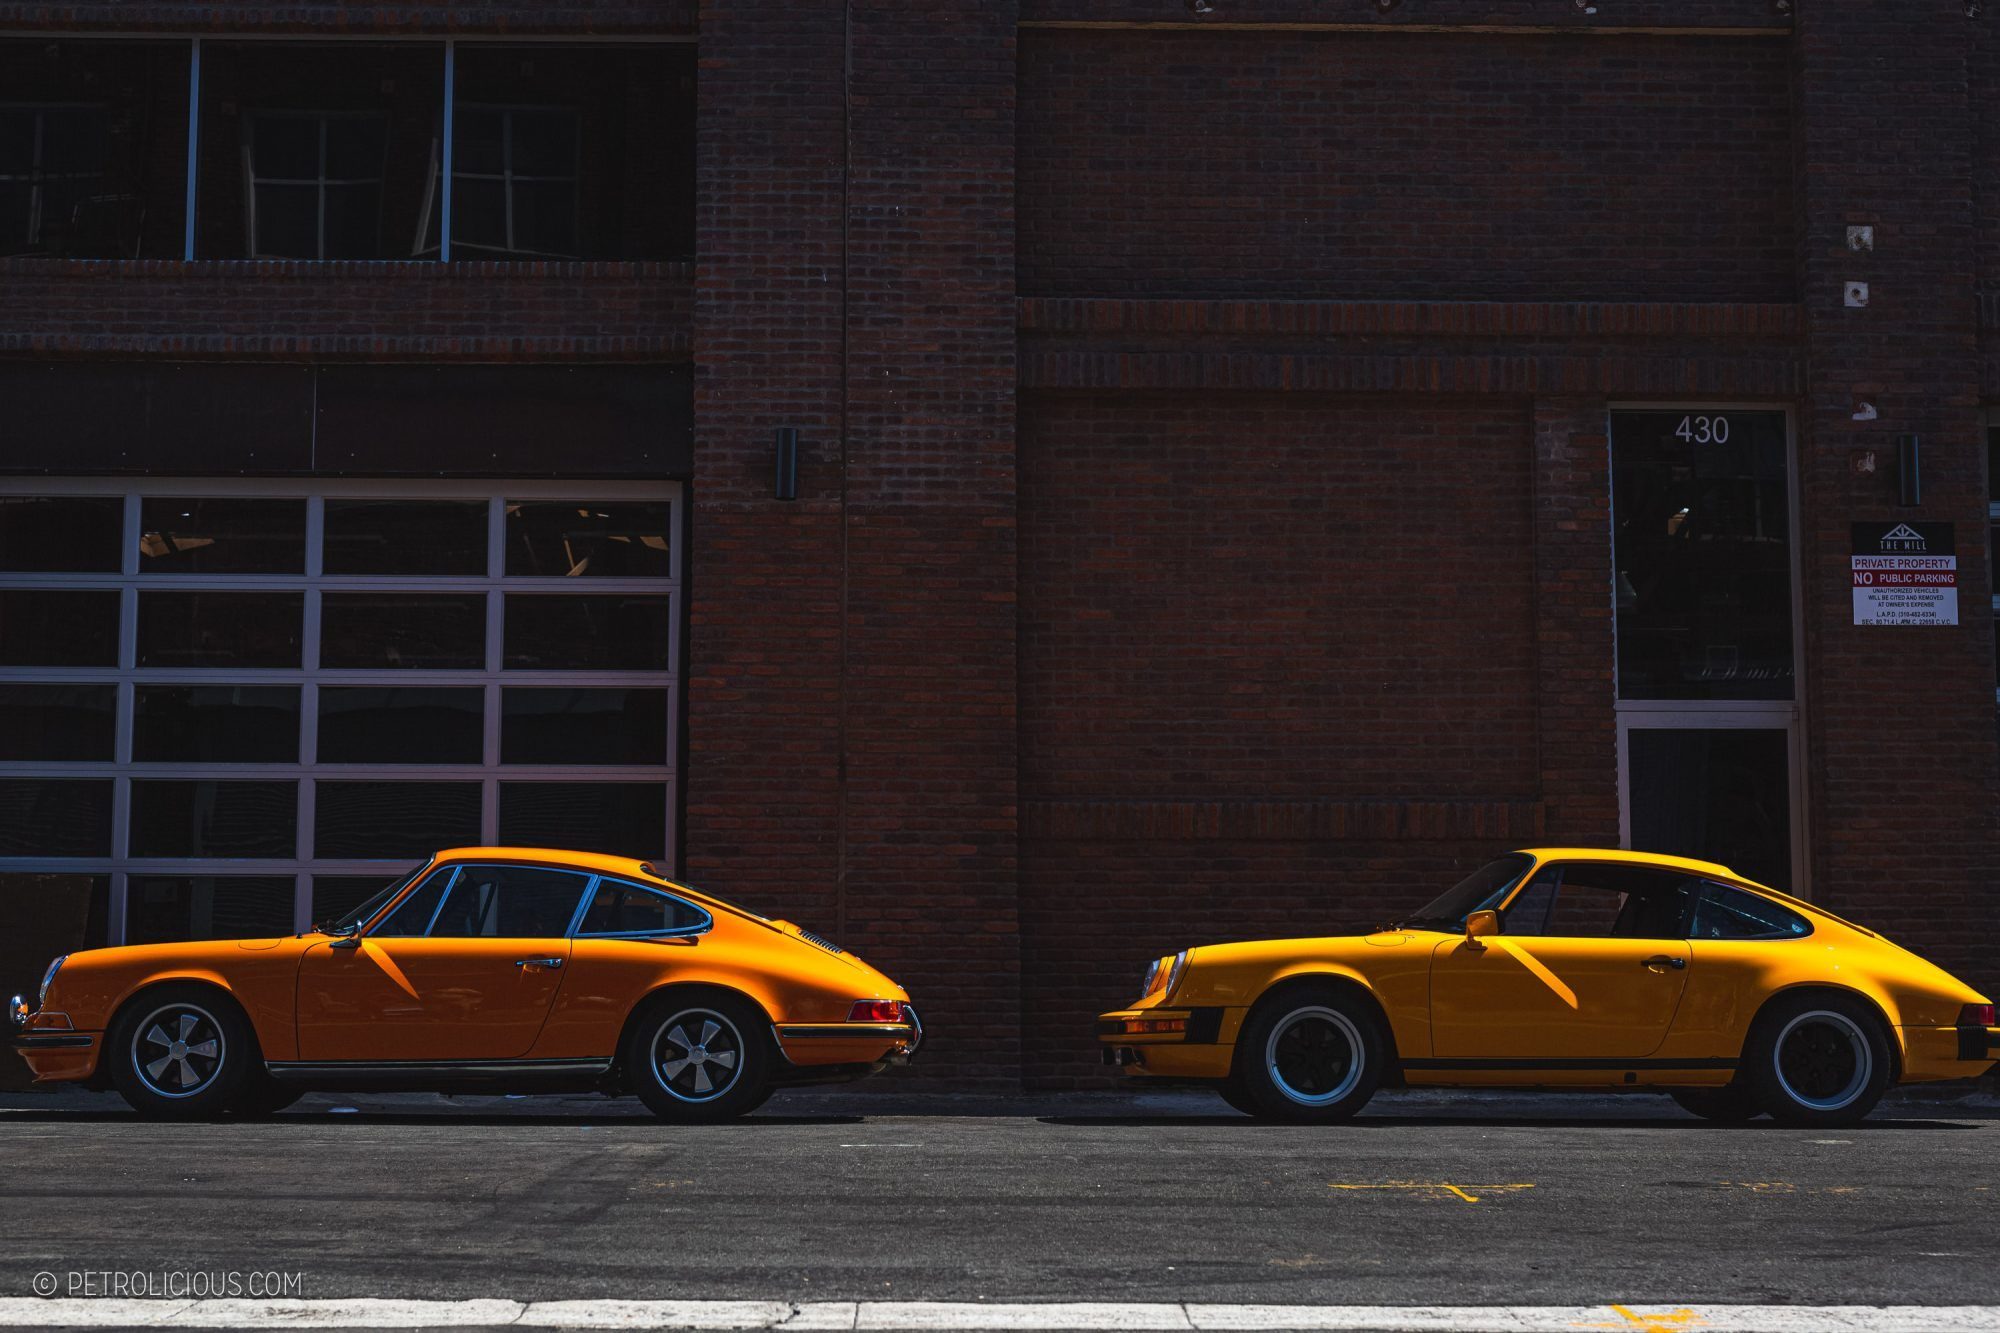
Still shooting for June to have my car to the paint shop. I have seen many Signal Yellow cars and for whatever reason the color seems to vary a lot. It is a unique shade of yellow - it has an oranginess to it but some are too orange and some are too yellow. The best signal yellow paint jobs I have seen were done by Willhoit. I reached out to John to get a paint card so I could compare it to my painter�s for matching.
The picture doesn�t completely capture this color, but I am excited to see my car back to this beautiful original shade!
^true. Willhoit also does base plus clear using PPG paint. I am going with a shop that specializes in single stage Glasurit Paint so I also know side by side these can appear different as well.
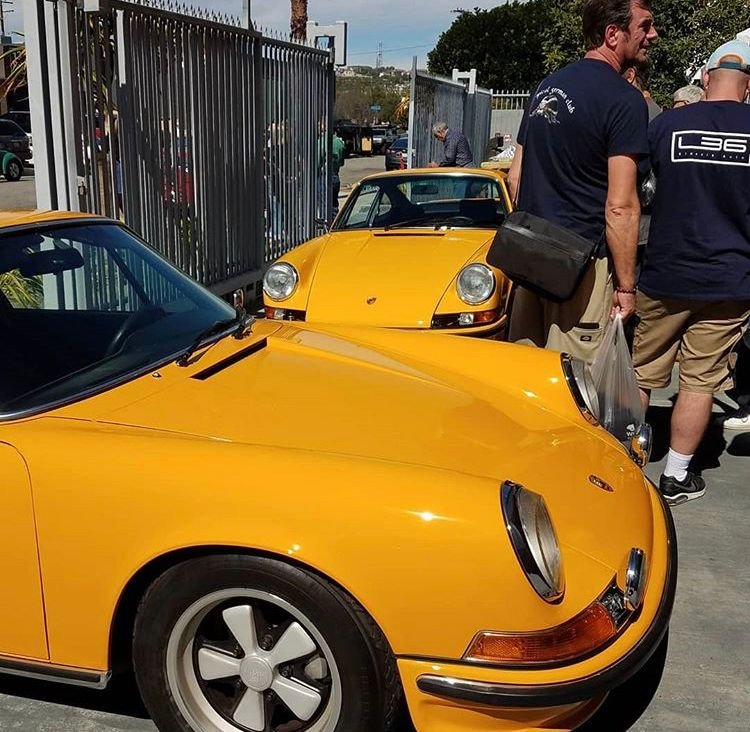
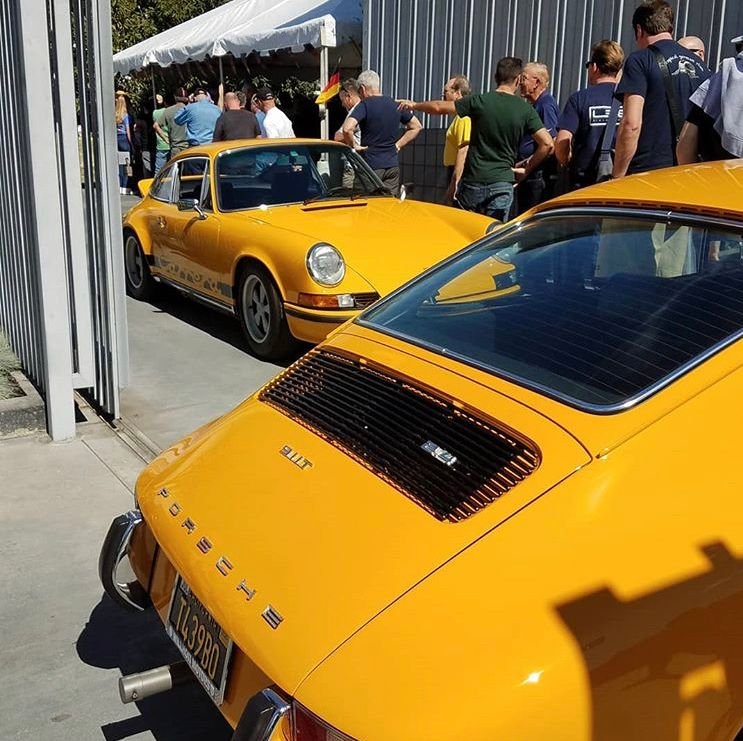
I love both signal orange and yellow. Here is a shot I took showing the colors.
You cannot go wrong with Signal orange...beautiful color!!
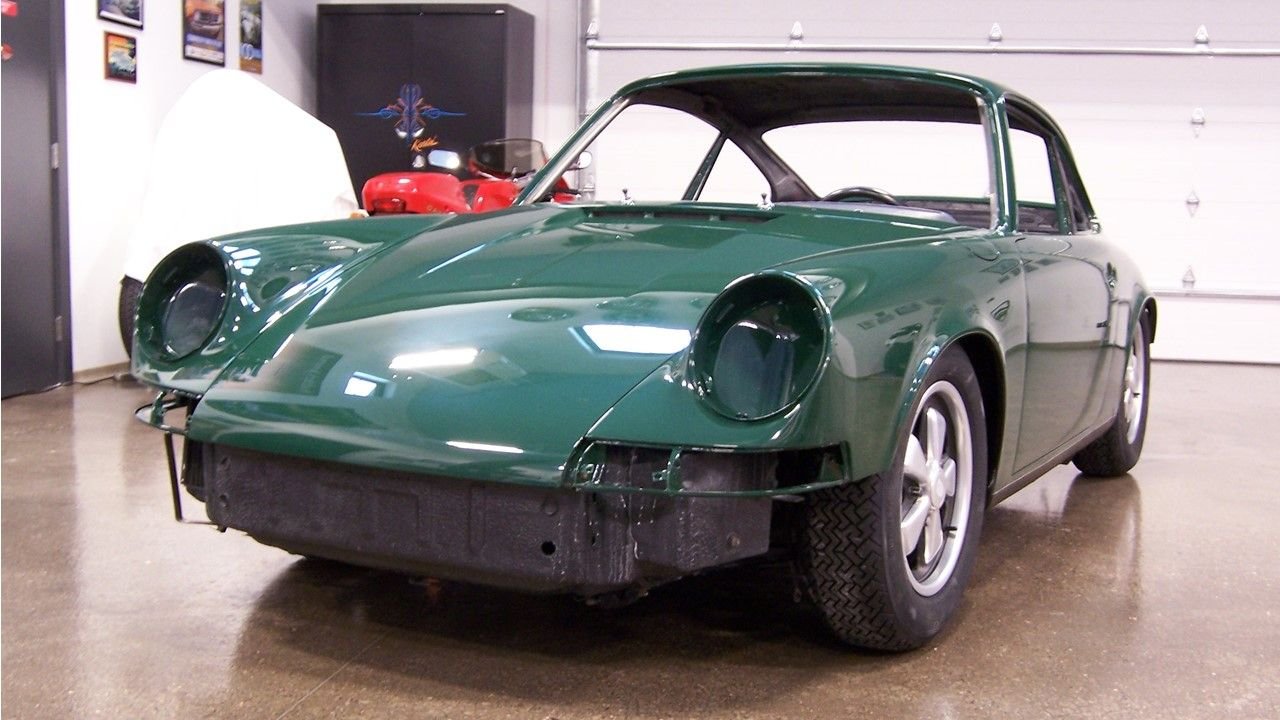
I am with Spyrex on that...Mine went back to original Irish Green; 4 coats Glsurit with 2 coats clear and still not completely wet sanded.
(It took 8 years and my car was 100% rust free since it had been a DE car for me and the prior owner for ~30yrs. But bare metal body process took 8 years due to challenges at the restoration shop falling in love with the car...)
Looks great! Irish Green is a great color. I recently went with my buddy to see his recently finished 356 in Irish Green. Was also done as 2 stage paint and looked great.
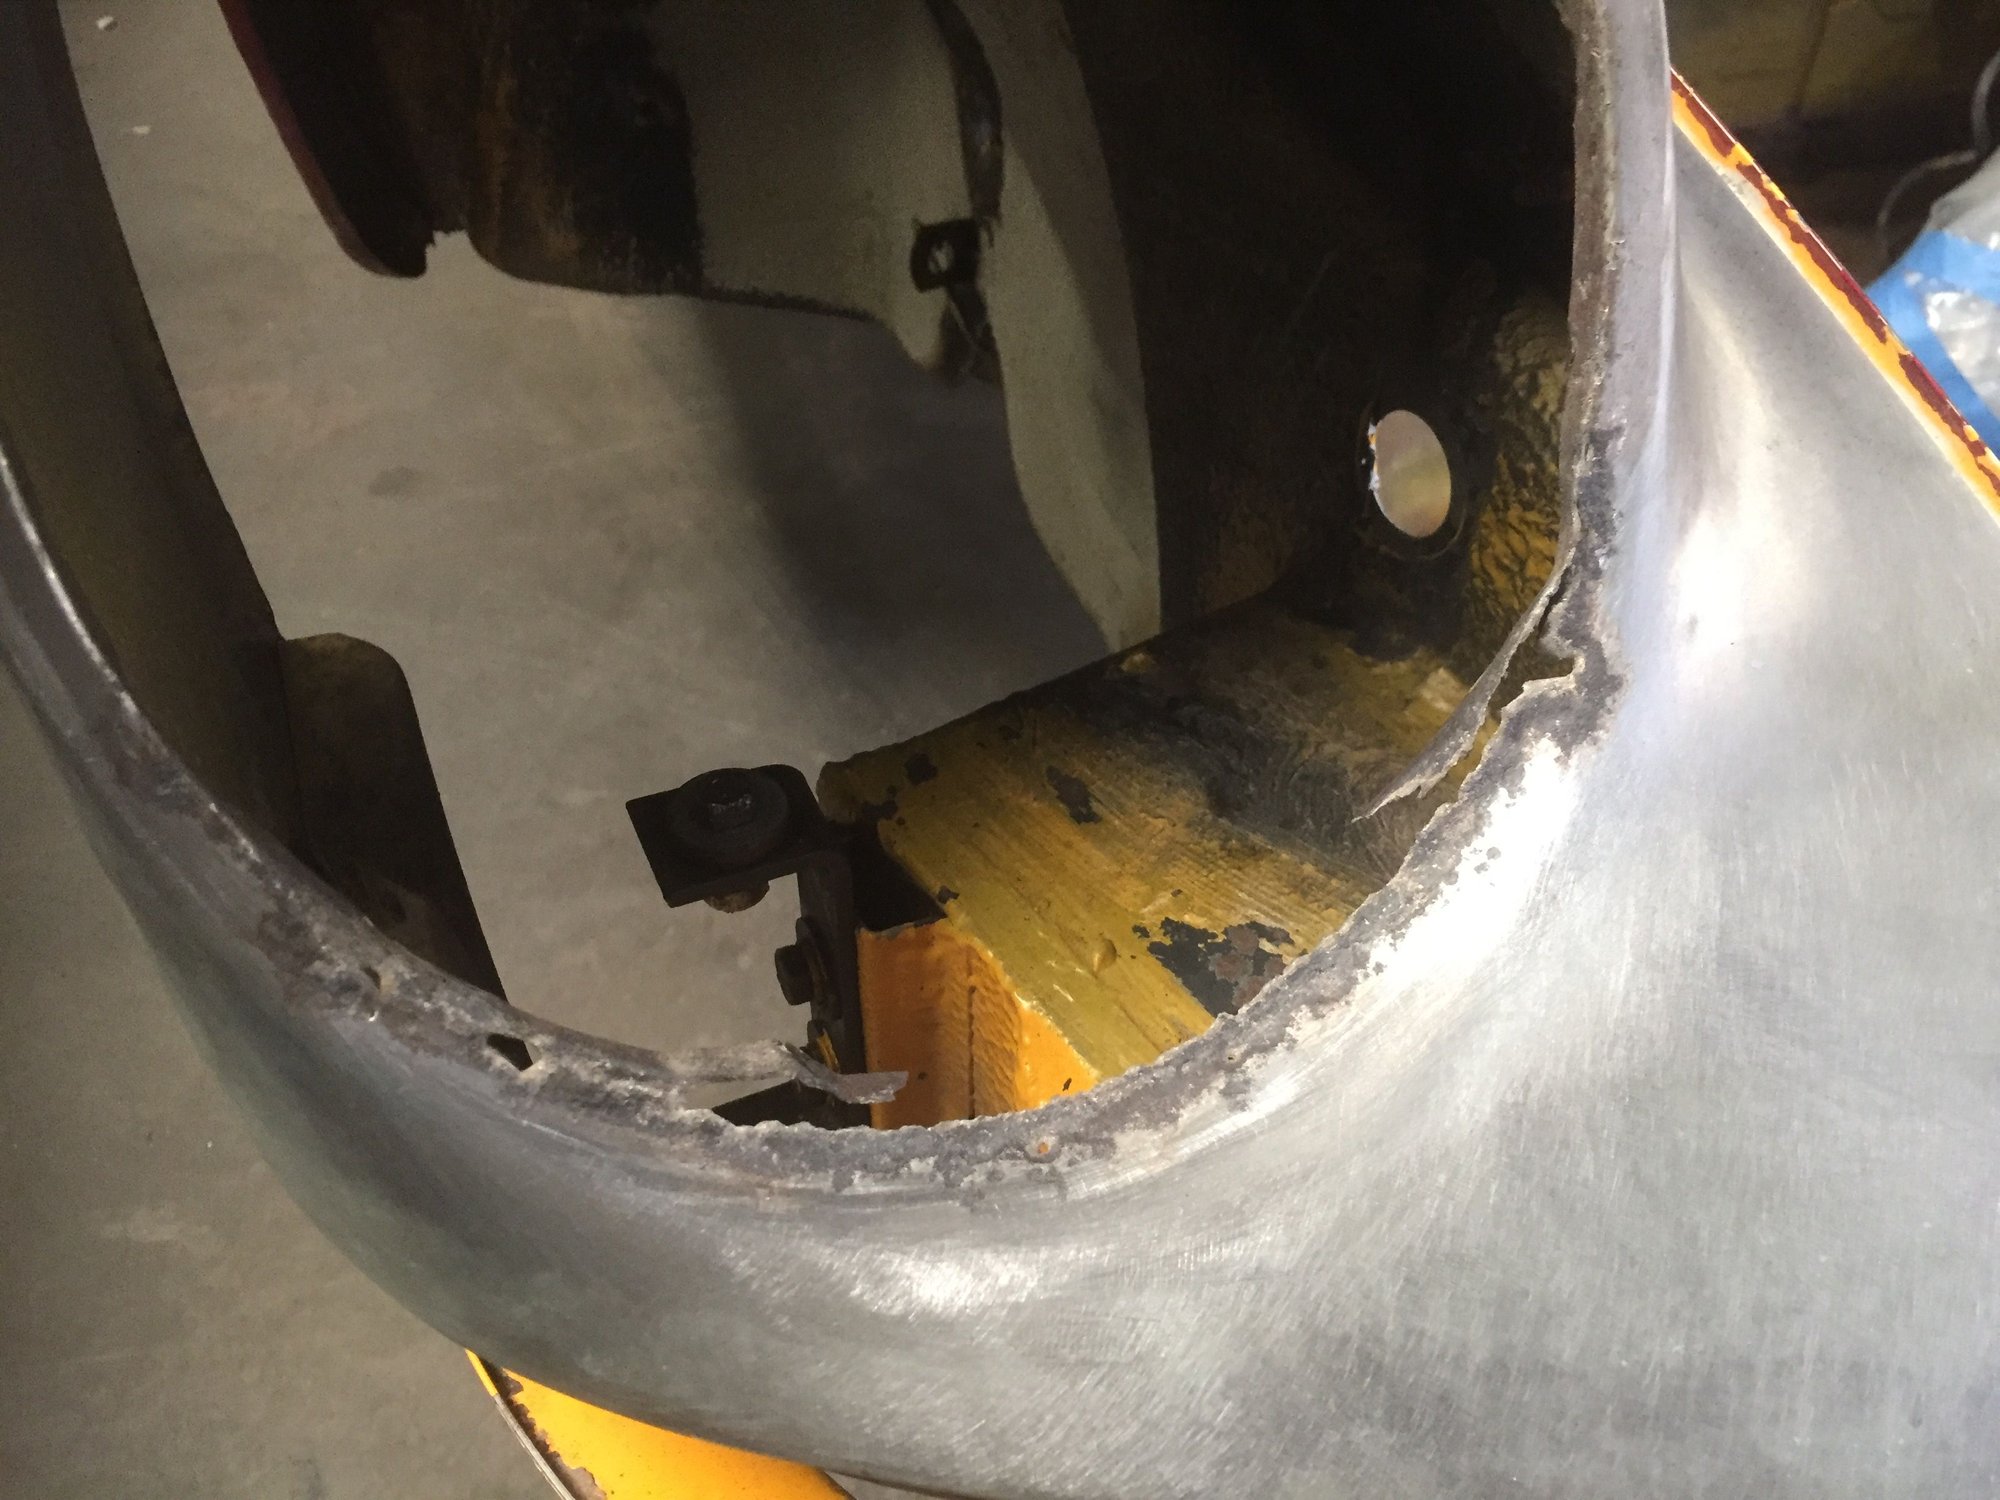
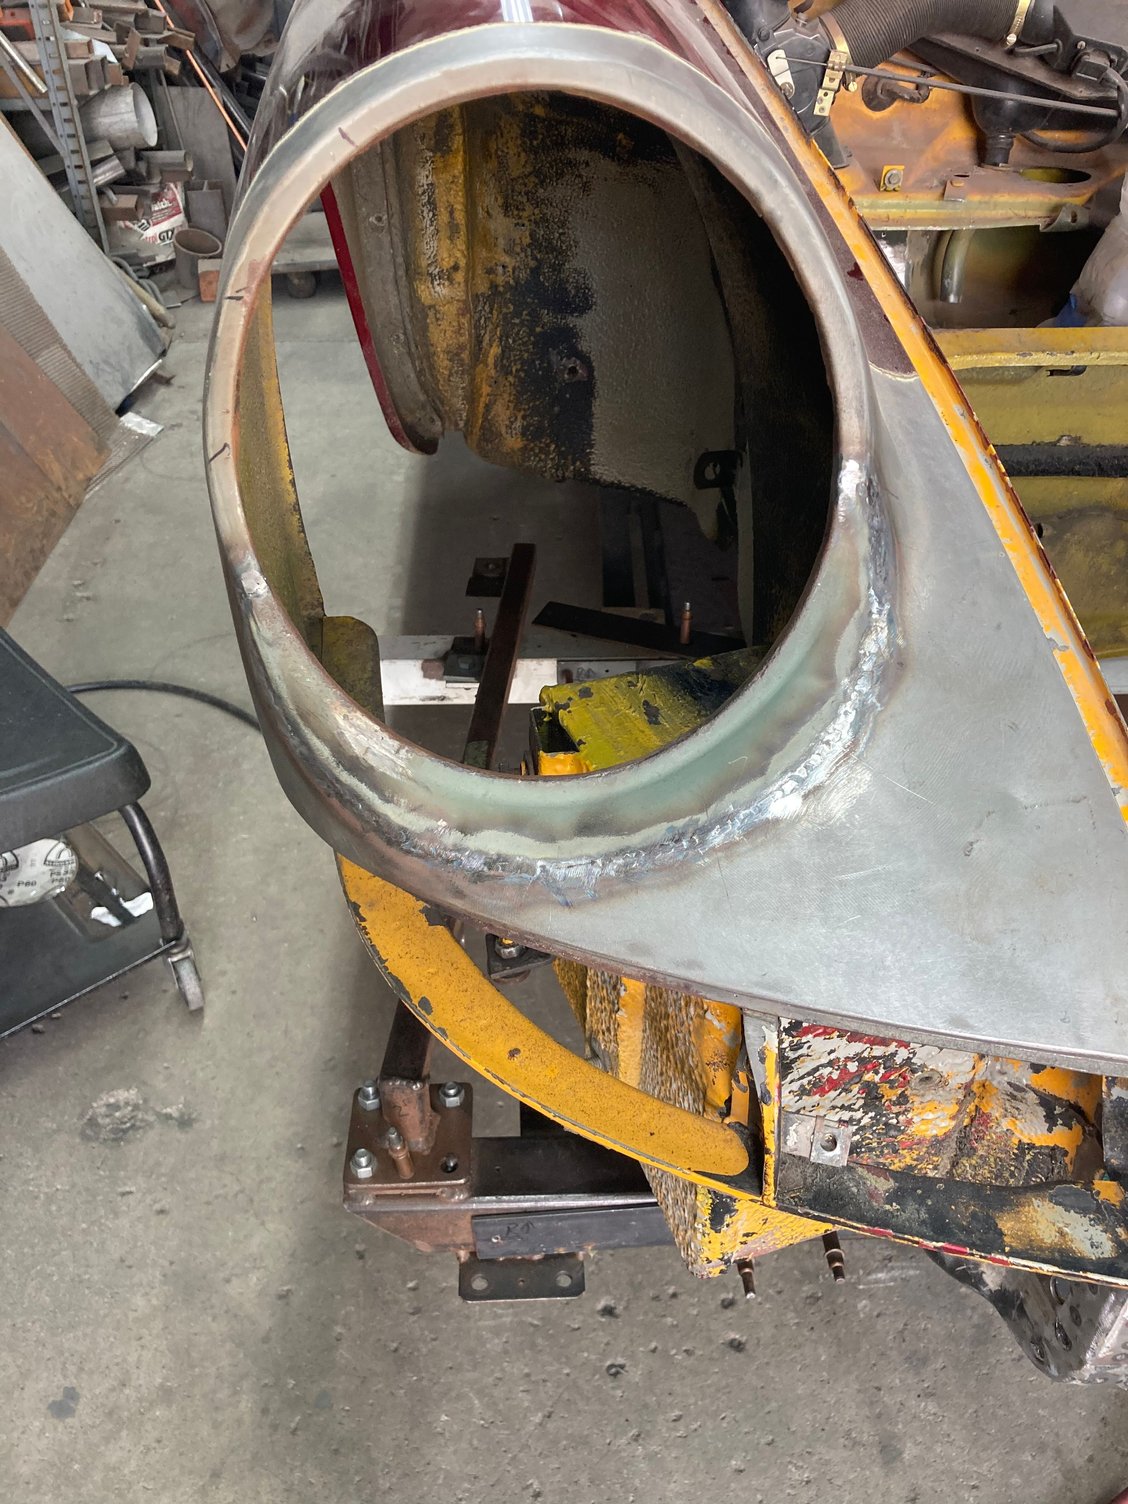
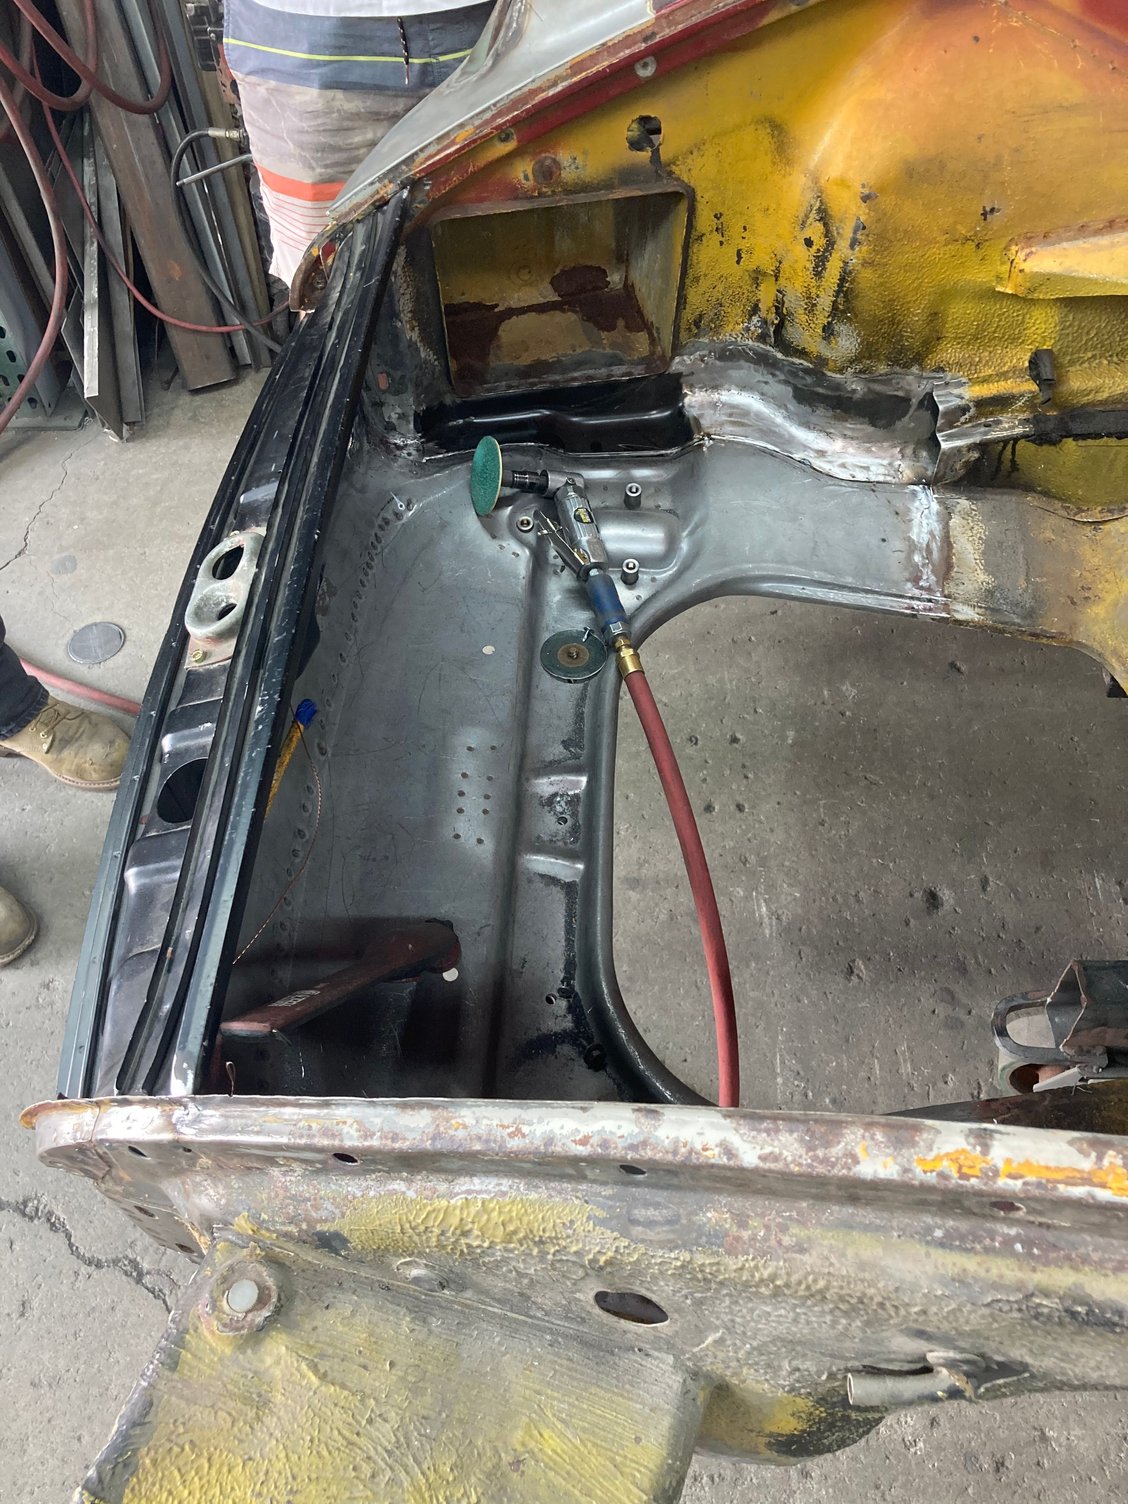
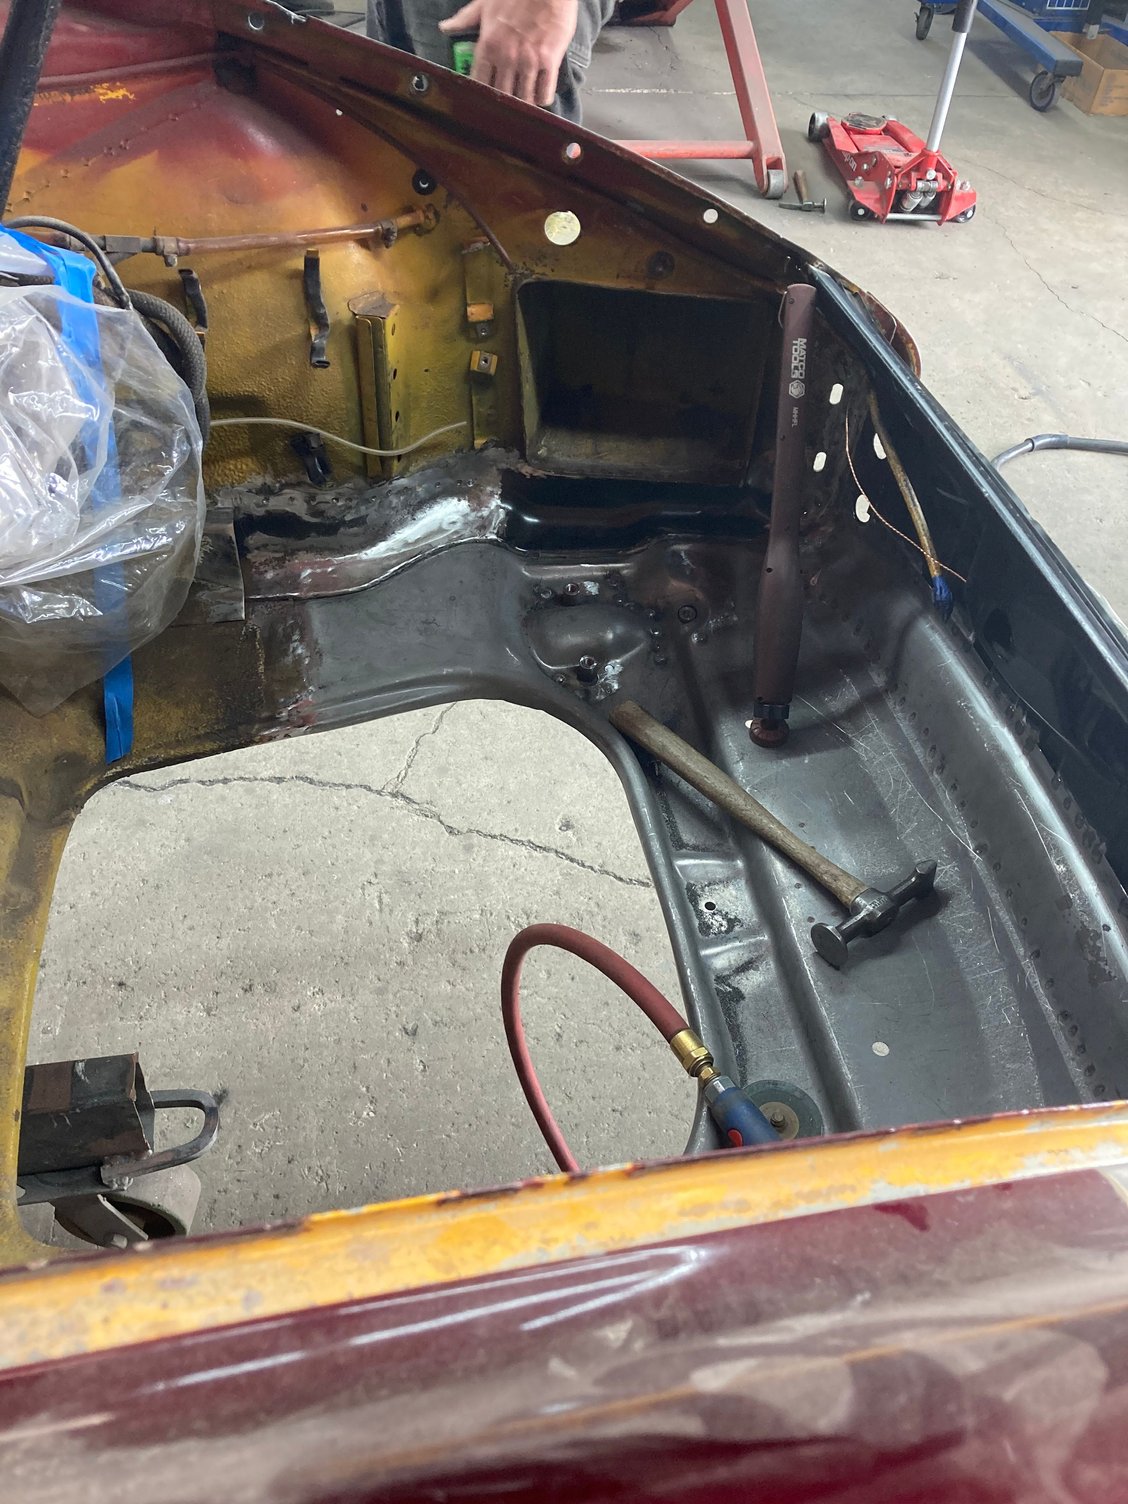
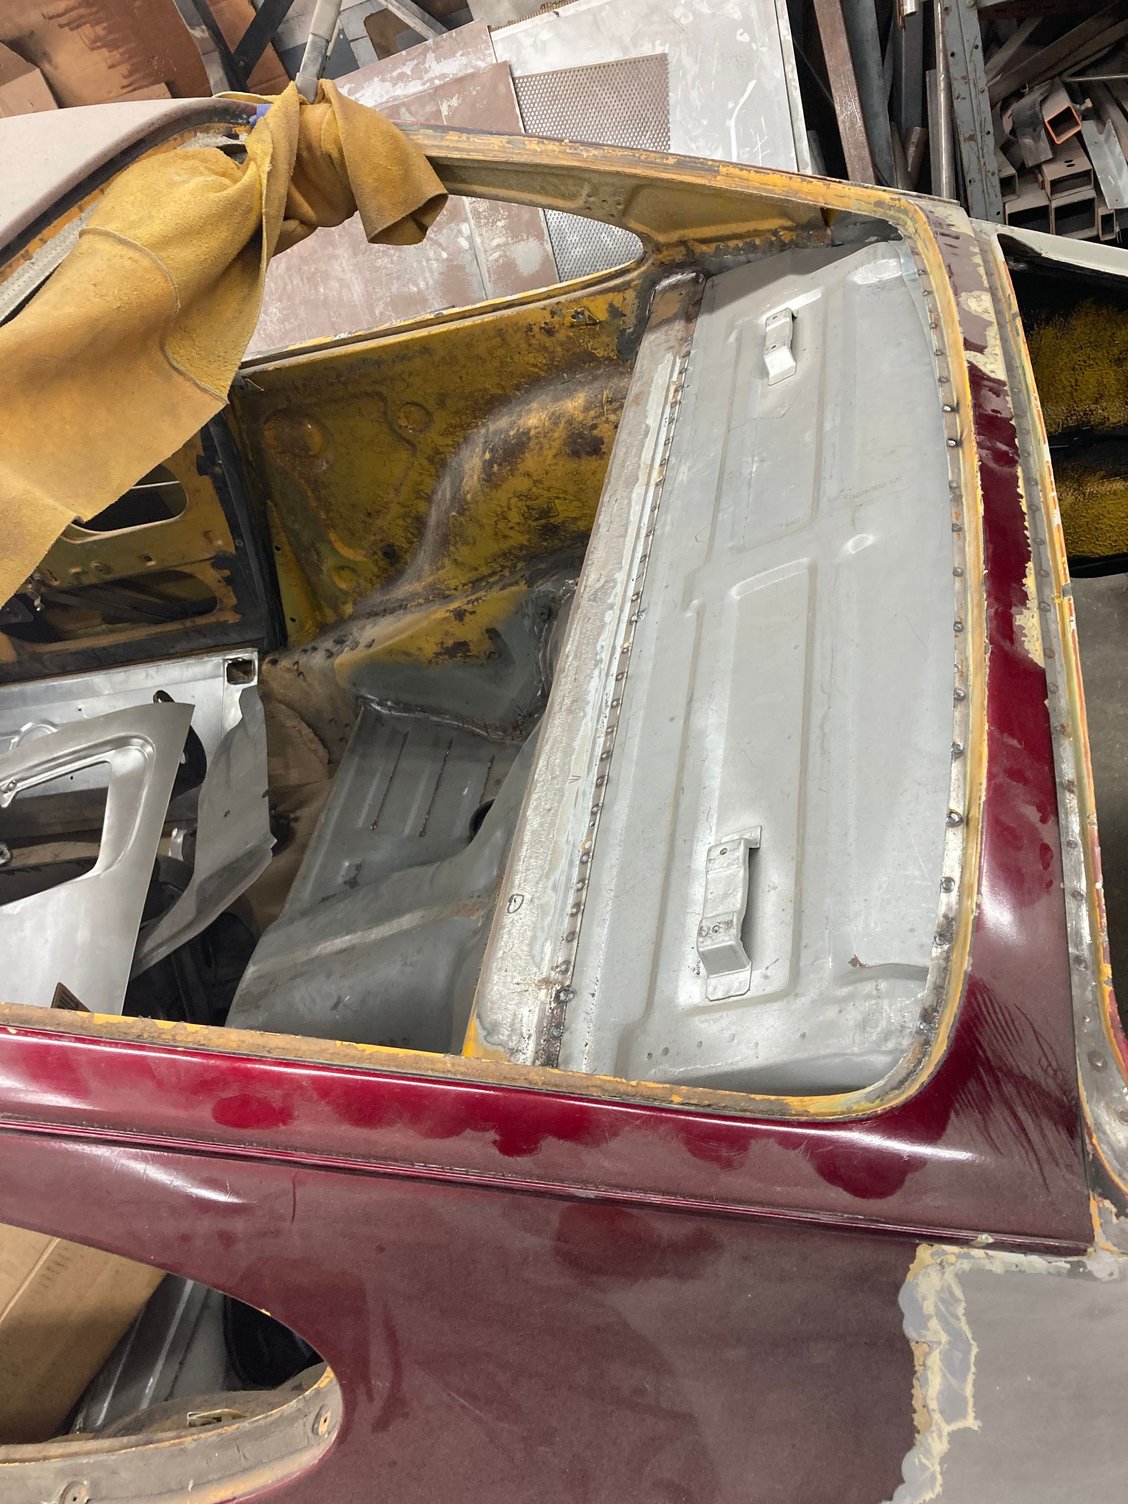
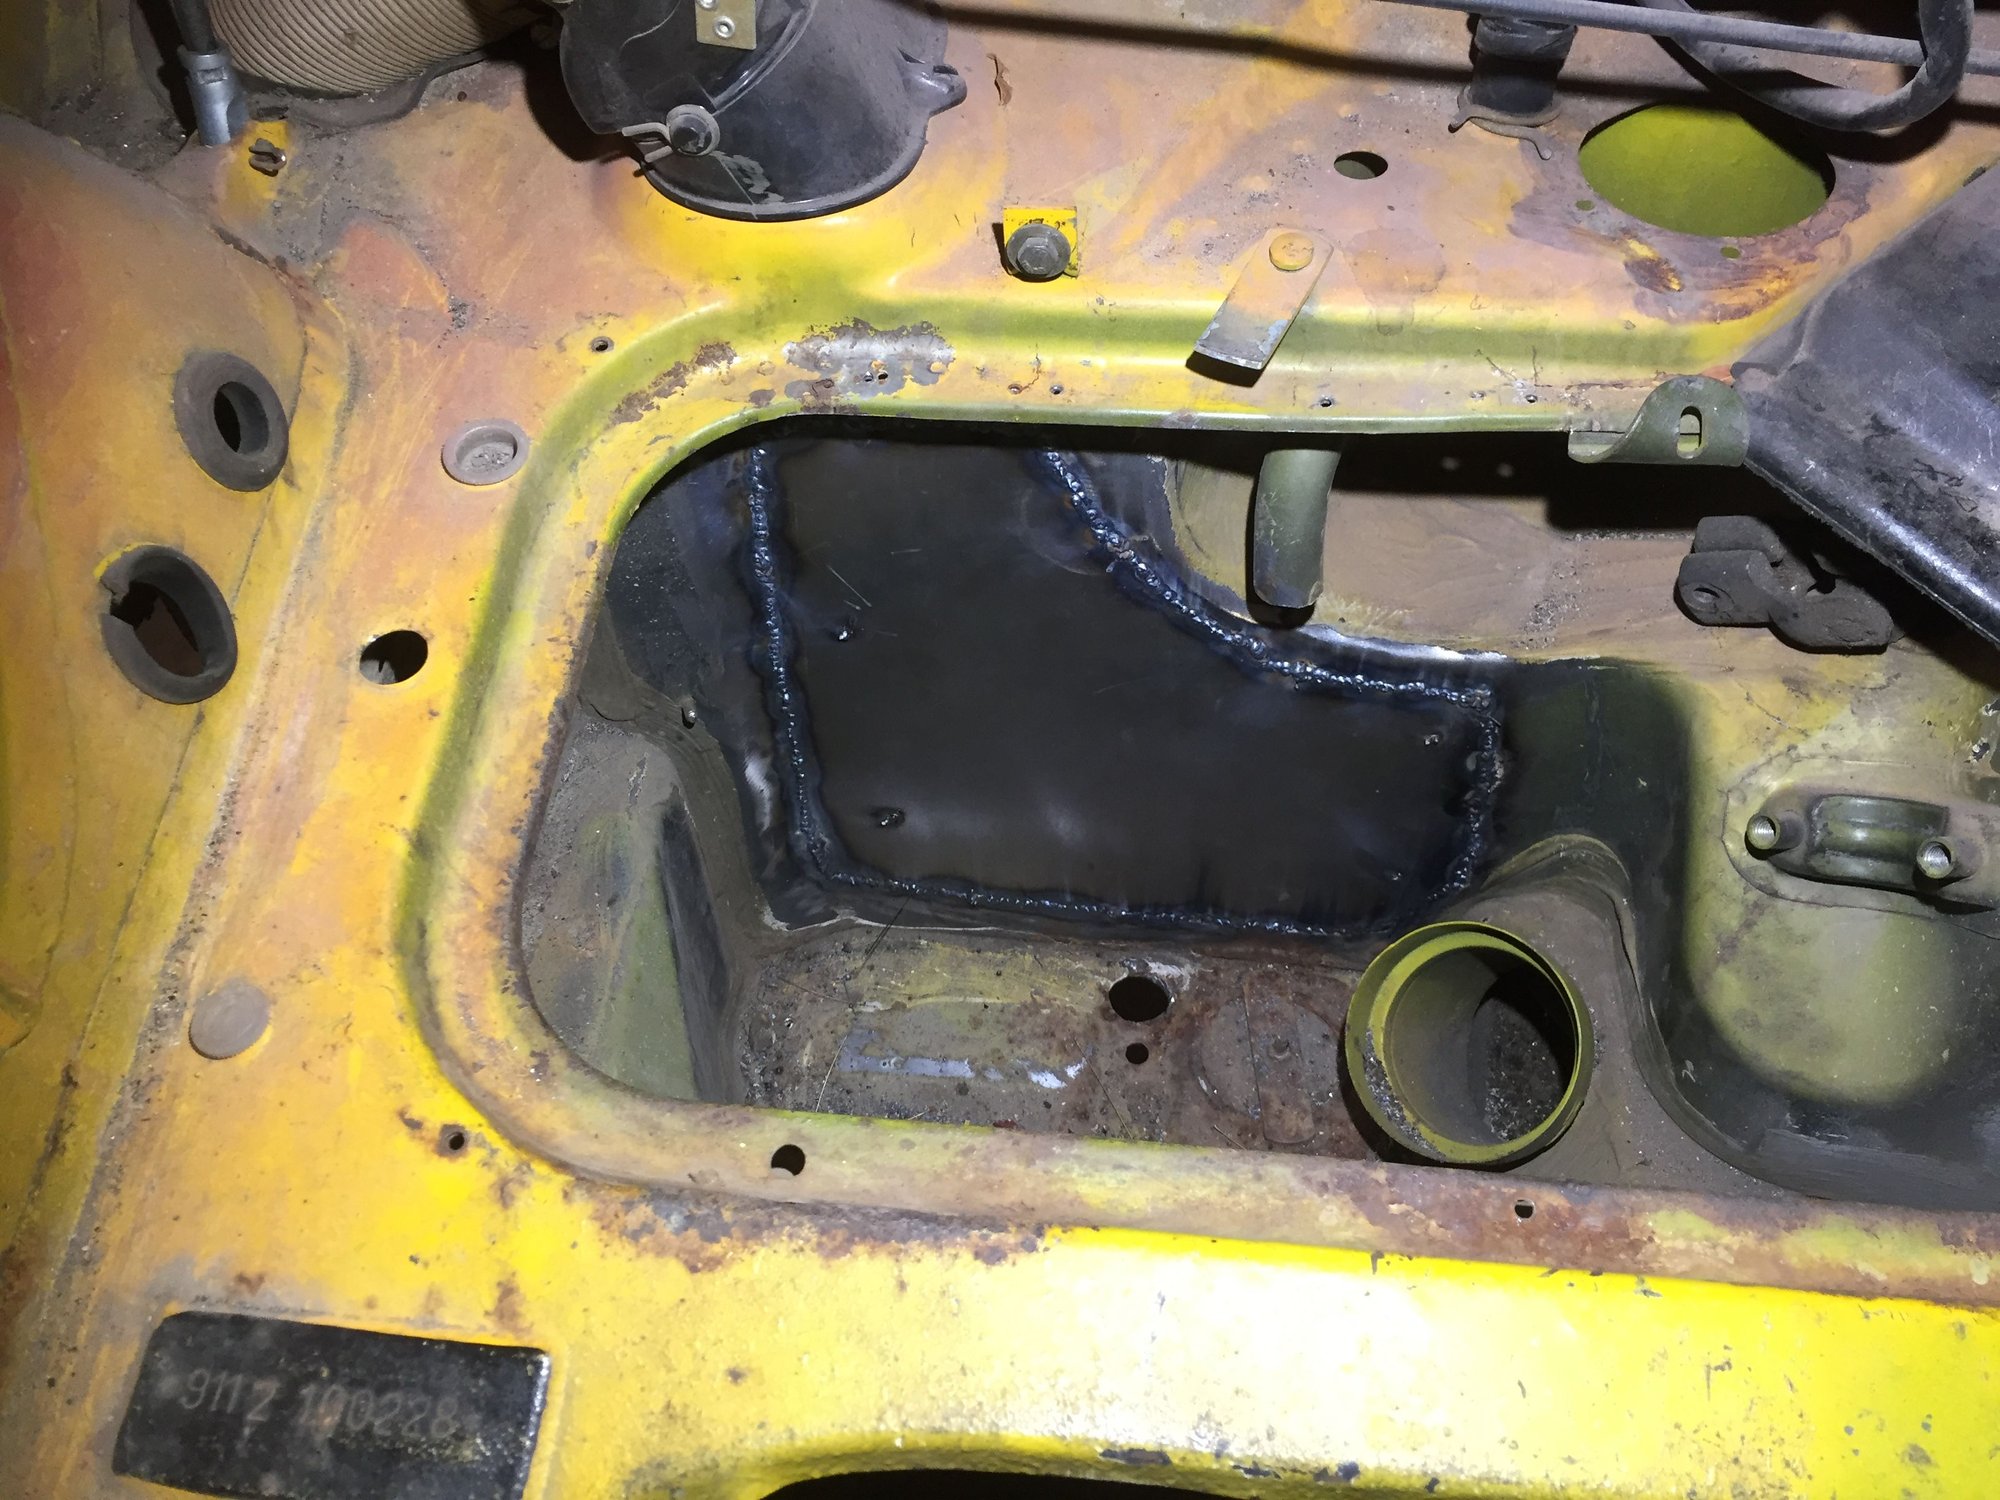
Stopped by Andy�s today. Car has about a week left for sheet metal before it goes to the painter.
Here are some photos of the work - still needs finish work.
The headlight bucket was rusted out. When they removed the bucket, they found that the rust extended into the lower fender lip. They grafted a lip from a donor fender. Bucket still needs to be welded in.
Here are shots of the front end coming back together.
Here are some shots of the parcel shelf being tacked in.
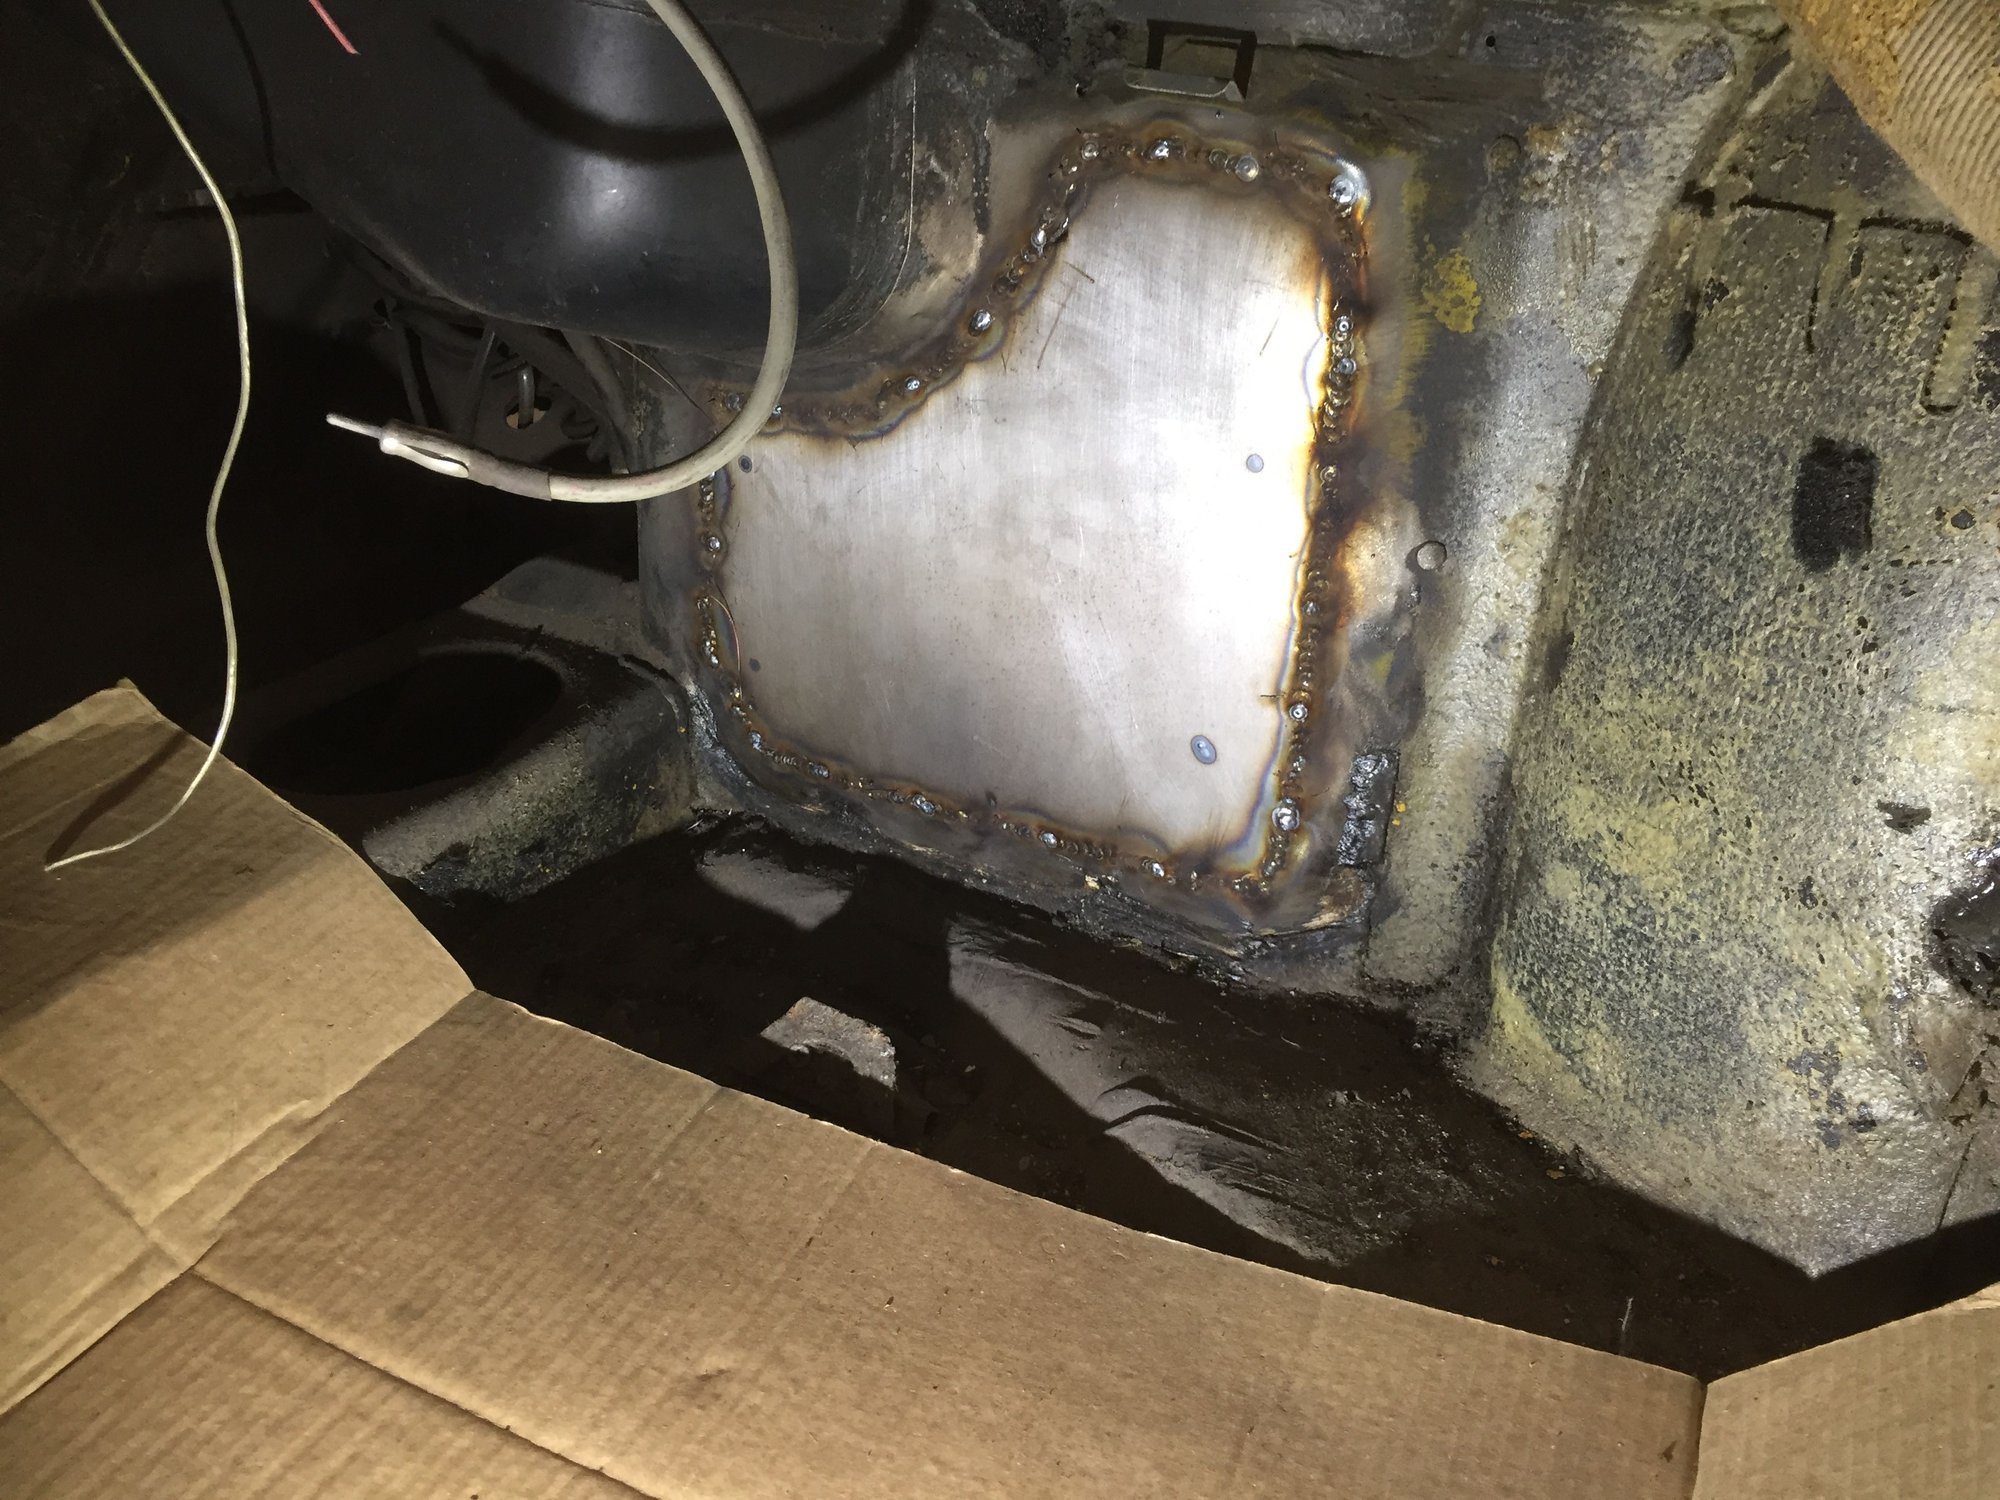
There was a giant hole cut from the passenger footwell to the smugglers box for the aftermarket a/c. They started closing that up. You can see the drainage tube is missing with a rusty stump left - they were removing that piece from a donor while I was there - will be welding that in. Andy joked that this hole may have been cut open to provide legroom for a tall woman lol.
That is a lot of metal work! But very much worth it afterwards.
If I may ask, why didn’t you completely strip the car of all things, and strip the shell/fenders/... of all paint with a dip or some sort of a blast to bare metal?
That’s what I did...100% strip to bare metal, which of course has resulted in redoing/refreshing/ or replacing everything!!!!
^well multiple reasons. This project went from something I thought would be slow and gradual with me doing most the work to slowly falling down the slippery slope. I removed most of the rusted panels myself and originally brought the car to just have the replacements welded in and I would take the car back and do more work myself. Now I am just letting the pros do this stuff and I will just reassemble. He will have to strip the rest of the paint before it goes to the painter. My sheet metal guy uses dry ice to remove the paint. Sandblasting isn't great for many reasons and chemicals are a mess and can cause issues if not done properly. He will do this before it goes. I am purposely keeping the original undercoat and just repairing areas that need it. You can see the black topcoat has been removed from the undercoating. I will also need to remove more stuff from the car before it goes to painter. If I would do this over again I definitely would plan it differently not the most organized or planned project but those following along this long thread will hopefully learn from my ups and downs and learnings
^haha true. One more thing about this sheet metal work. My car was second priority to basically everything else in there so it has been taking a while. Also, they hand made some replacement parts and basically modified every replacement panel I bought. Nothing is really a direct bolt in if you want things to fit right with good gaps, etc. They had to reshape the parcel shelf, drill out and adjust the front torsion bar mount in the replacement suspension pan and I was watching them adjust/modify the panels that were left to weld in around the gas tank (front and longitudinal pieces) to get the right fit. Way beyond my skill set and time allowance. They are still modifying the aluminum decklid to fit with good gaps and alignment. Craftsmanship!
Here is the reworked suspension pan front torsion attachment point:
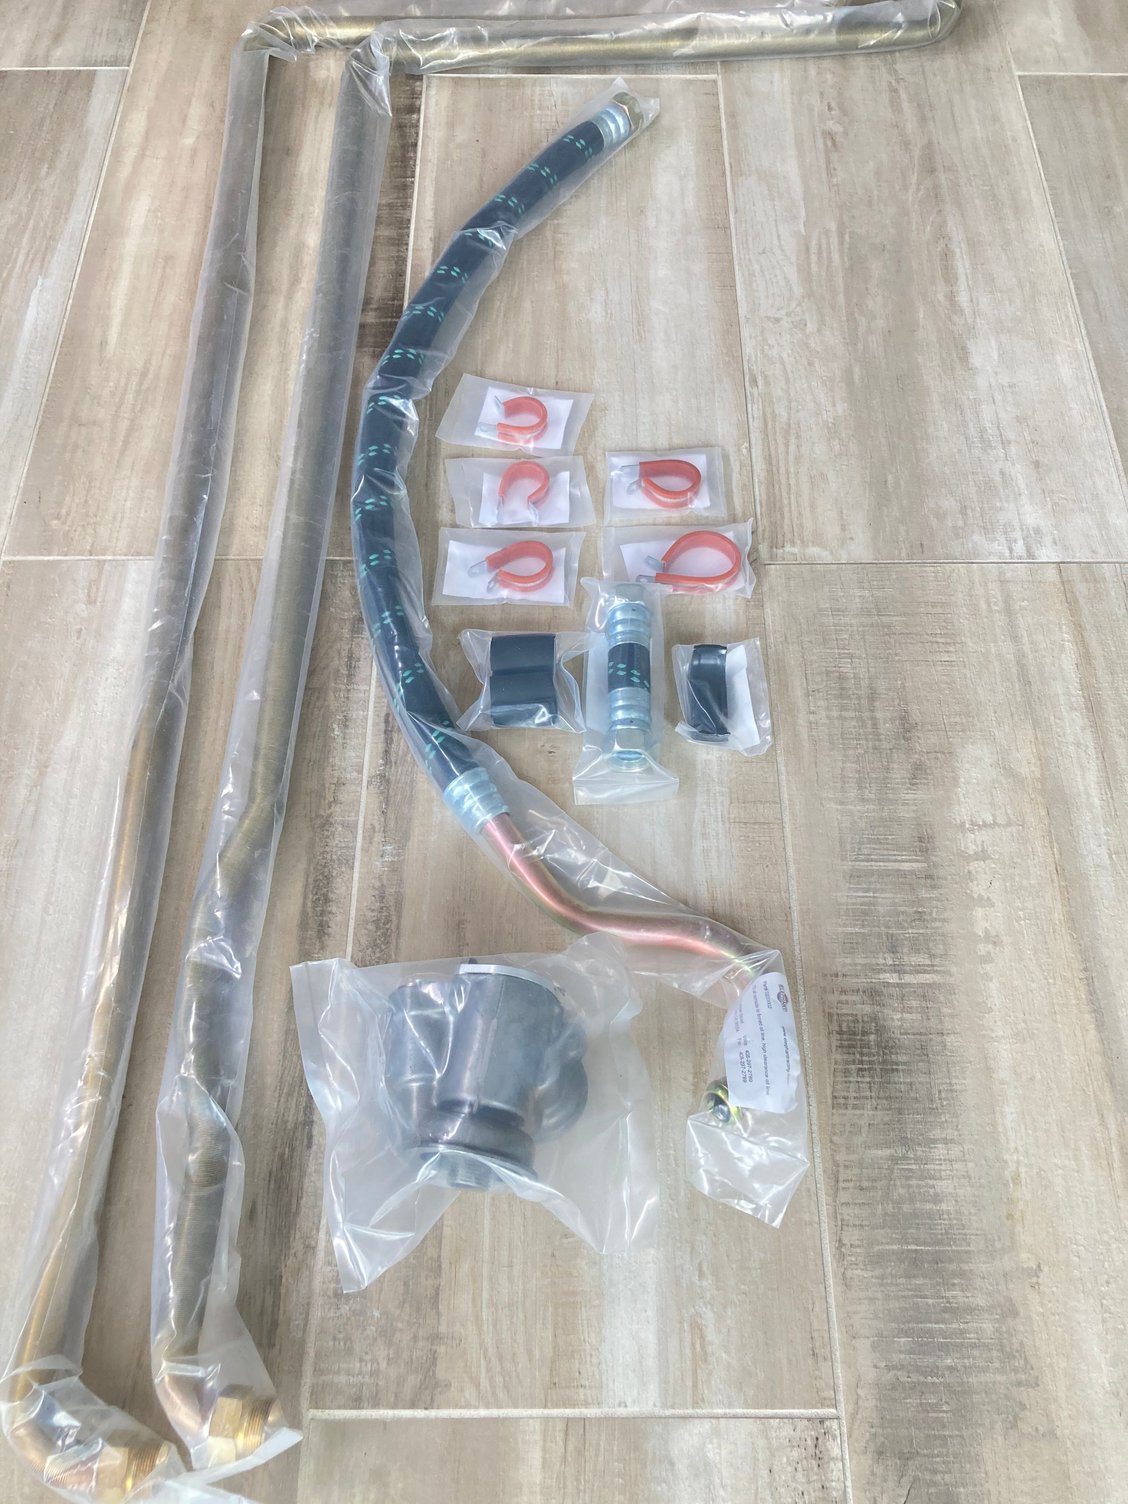
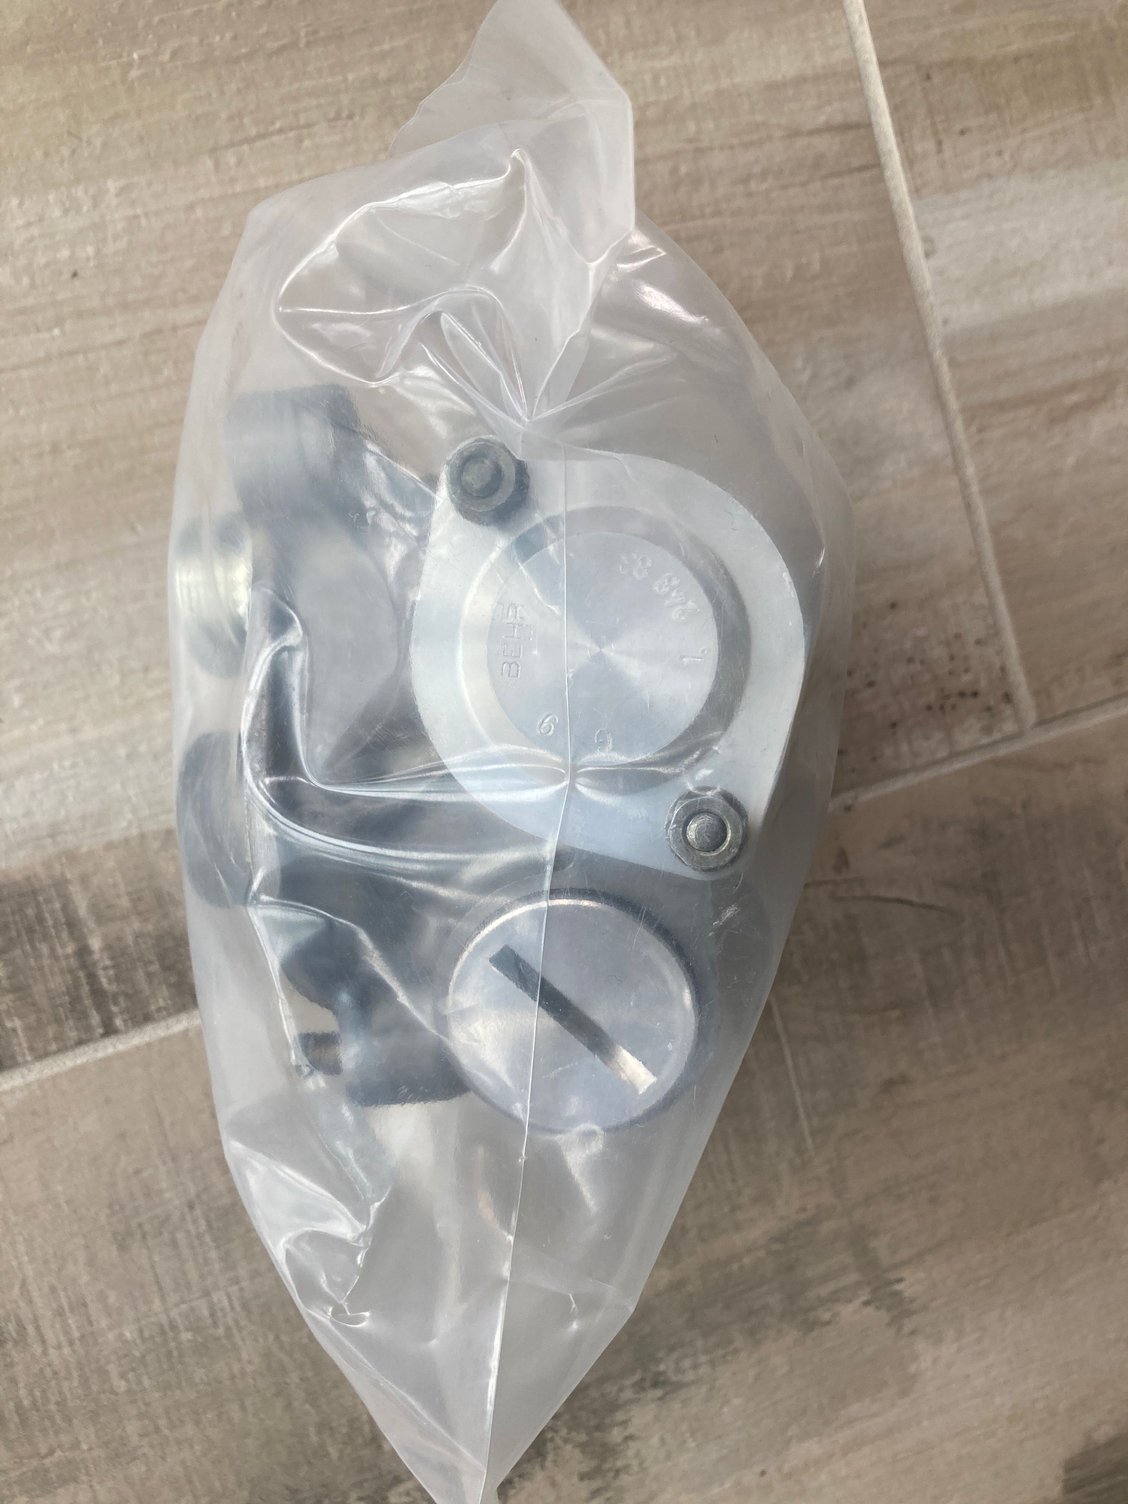
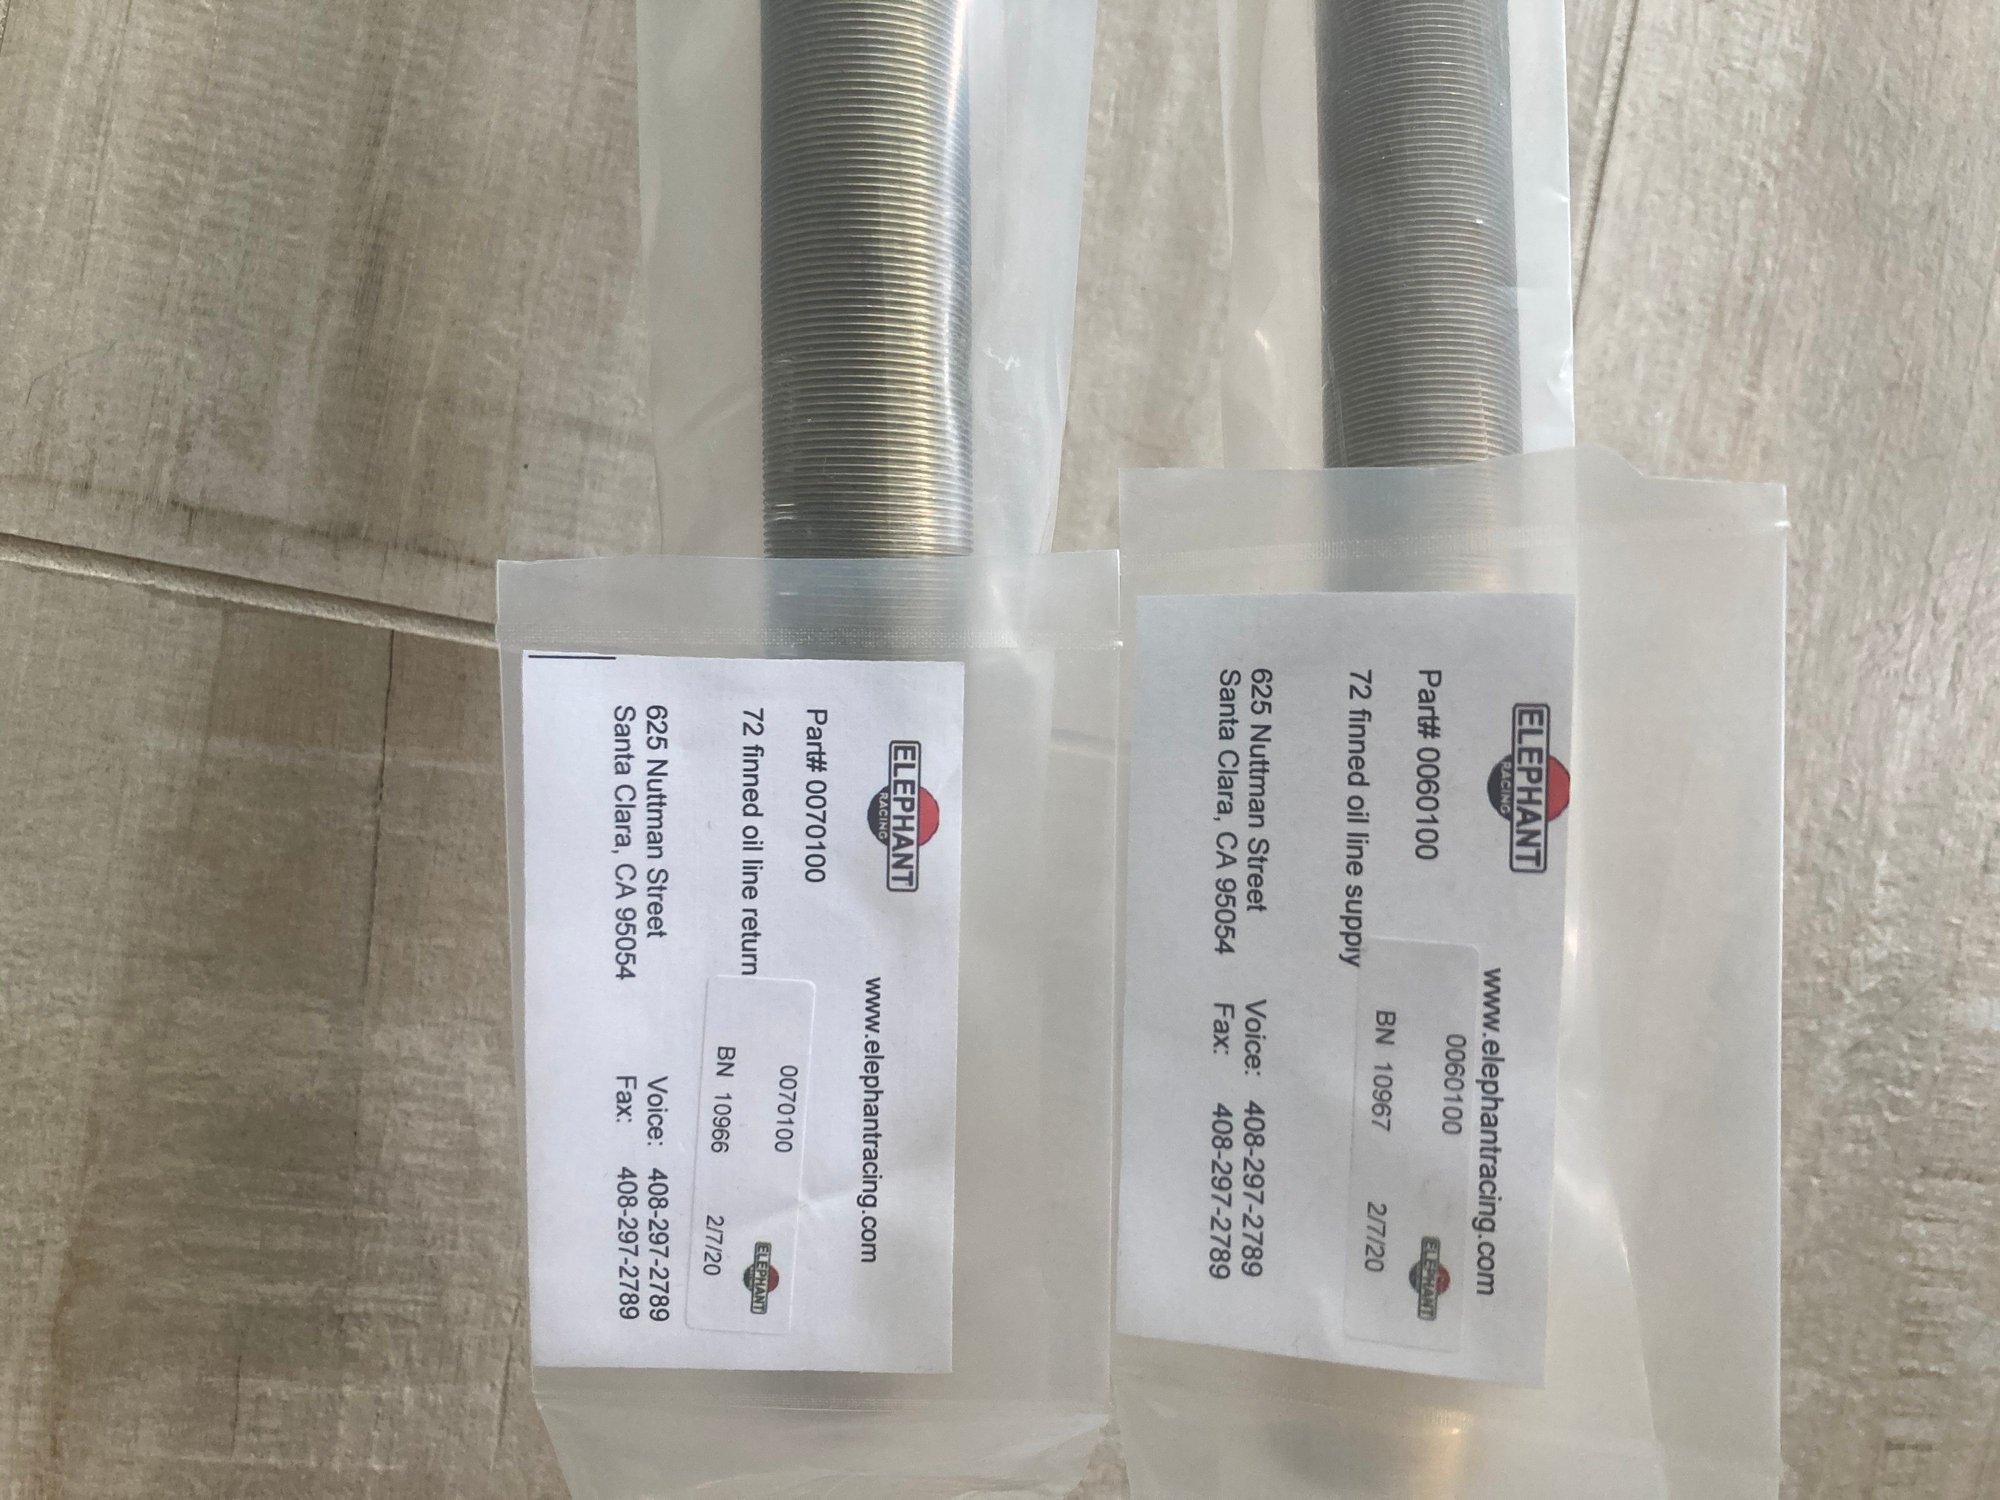
Couple updates. My machine work at Ollie�s is complete! Should have all those parts back soon. I also received my oil line kit and machined oil filter console from Elephant today.
I purchased their finned oil line kit for a �72 911. Referred to as their high clearance kit to work with the �72-only oil tank and filter console setup. They machined my filter console and installed a new thermostat module for the second line.
Here are some photos - I left everything sealed up so no debris gets in the parts before I go to install them, so photos stink.
That looks great! Where does the above fit? Are those the lines that run to the RF fender oil cooler?
Speaking of which...�..I am re-installing my Elephant racing RF fender oil cooler but I took it apart 10 years ago. Of course, I don't mark anything since I also have the mind of an elephant!!! Is there a top bracket with a rubber isolator that mounts into the Right side front headlamp bucket?! That seems cheesy...but that's what I am seeing?!


 05-22-2020, 02:52 PM


 not the most organized or planned project but those following along this long thread will hopefully learn from my ups and downs and learnings
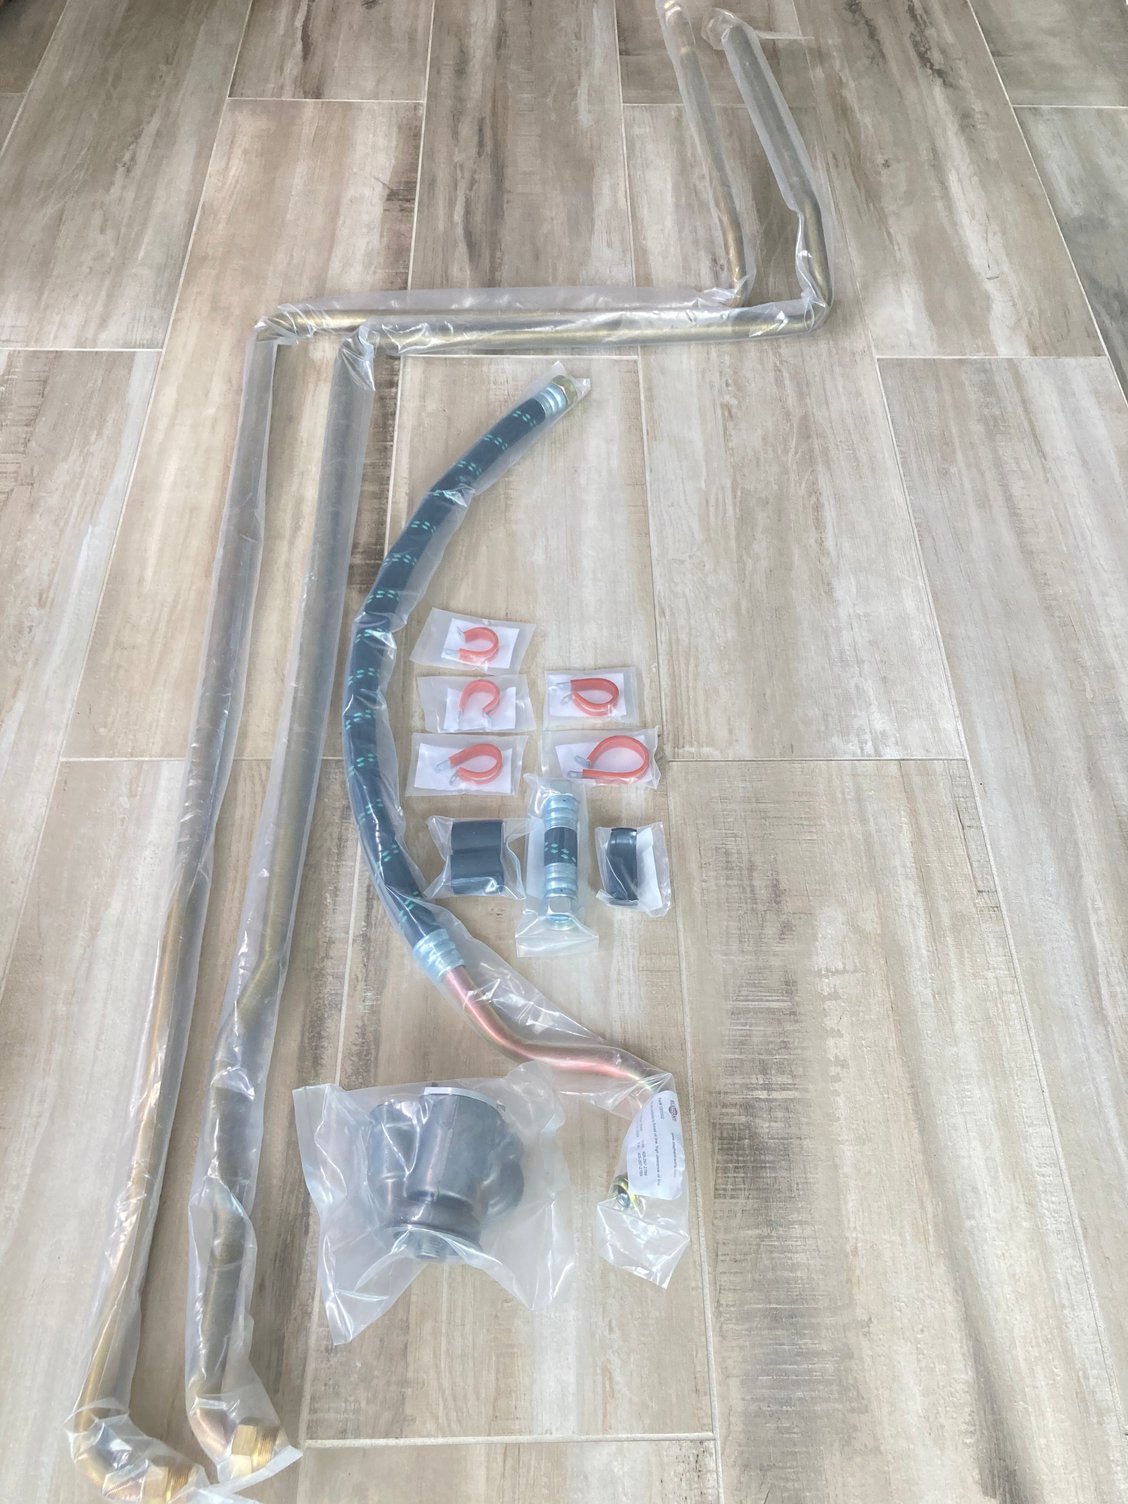


 Where does the above fit? Are those the lines that run to the RF fender oil cooler?