When you click on links to various merchants on this site and make a purchase, this can result in this site earning a commission. Affiliate programs and affiliations include, but are not limited to, the eBay Partner Network.
Both. The specifications are listed there. It is red due to the fact that the values fall outside of the spec.
Your shop didn't dial in enough negative camber. You will likely have more wear on the outboard edges of the rear tires since they will not be planted as designed (and as defined by the spec). You will also not get full grip potential of the rear tires as a result.
It looks as though you want -1.0 (+/- 0.3) degrees of camber.
The shop who did the alignment actually followed-up this morning to see how it was. They specialize in Porsche and other Euro cars, but it's always a good sign when the owner and his son both have their engine swap 944s in the shop.
Anyway, I was told that my car has been lowered in the rear and that there's a limited range of adjustment available in that situation.
This worked perfectly. Other than making two wire joints, everything snapped back together, and my temp control is functioning. No chirping squirrel sound under the dash anymore.
Originally Posted by 944TurboYYC
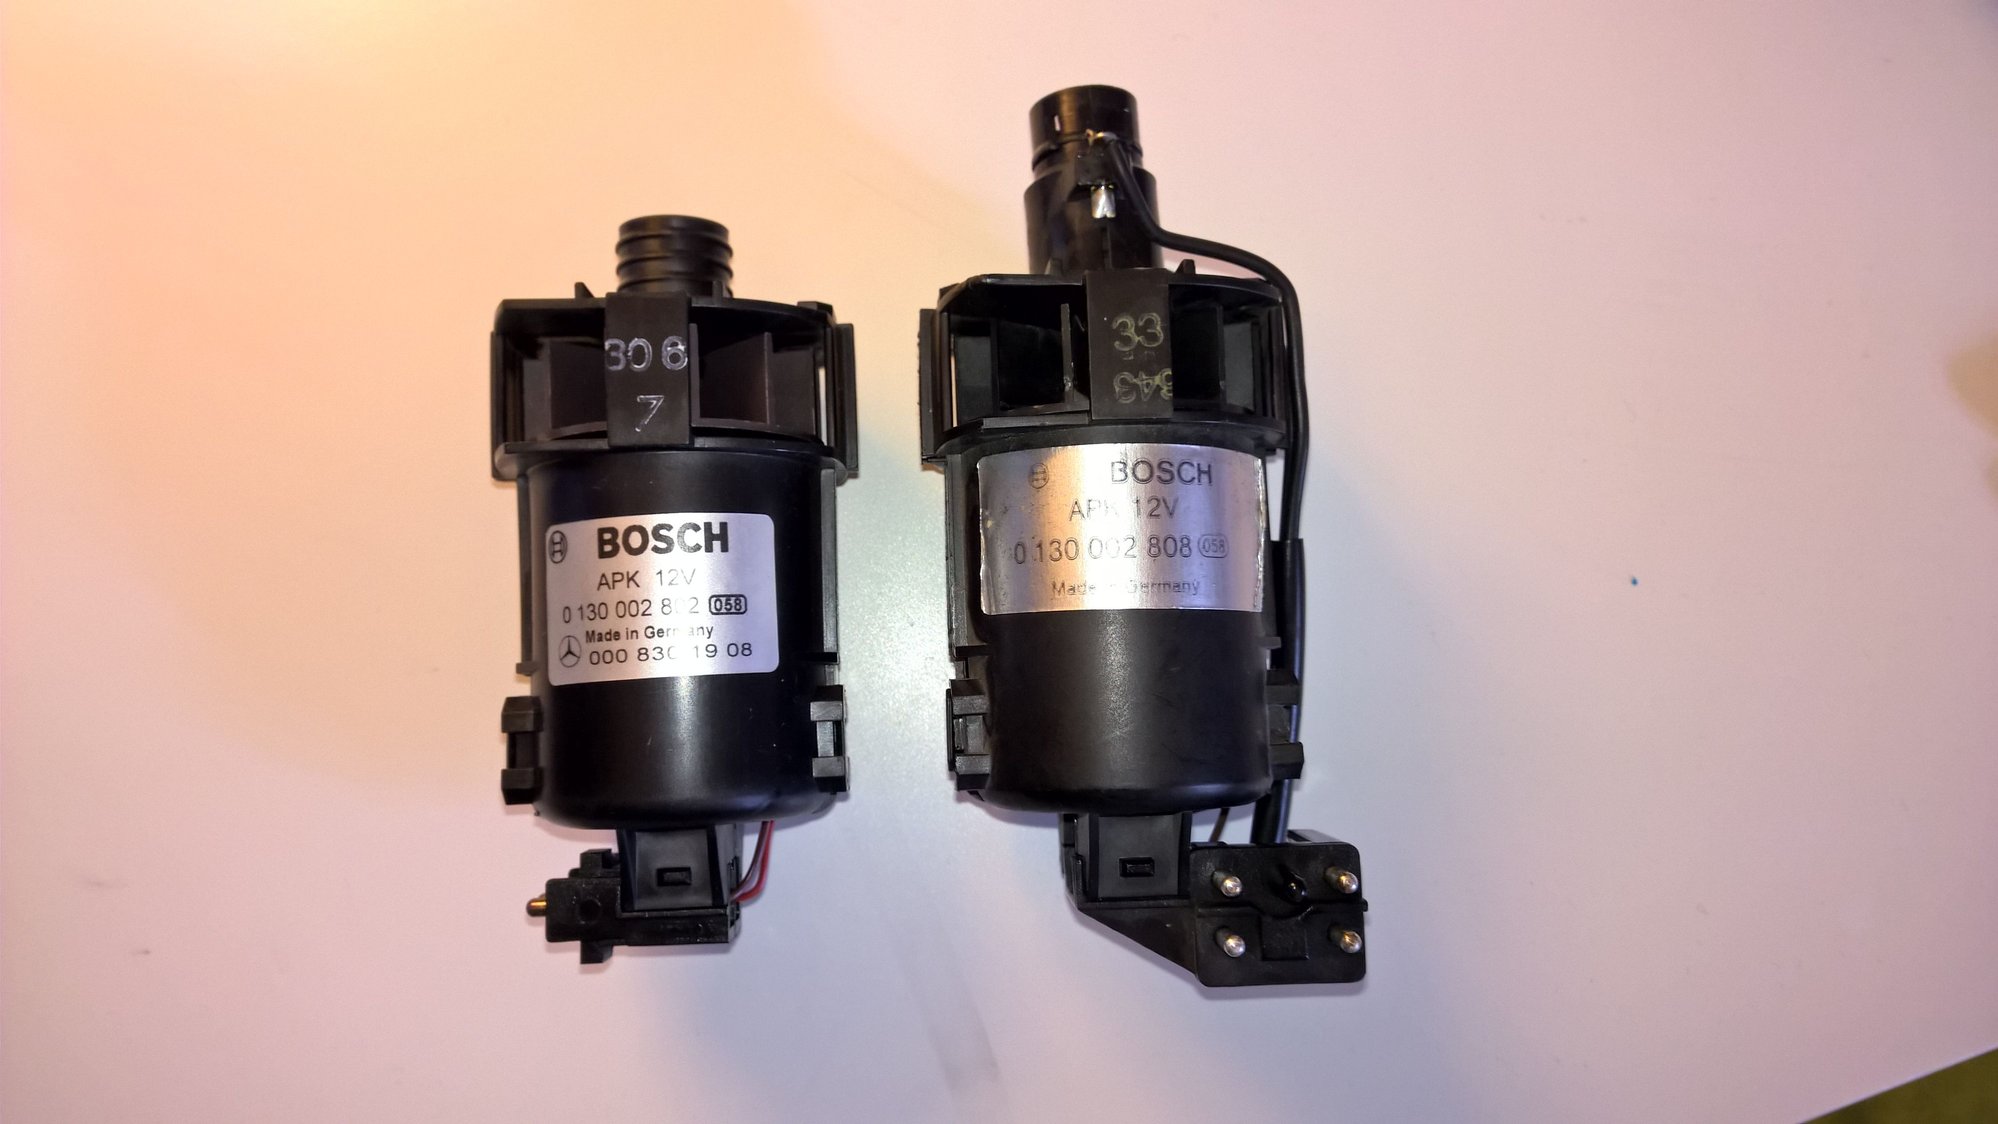
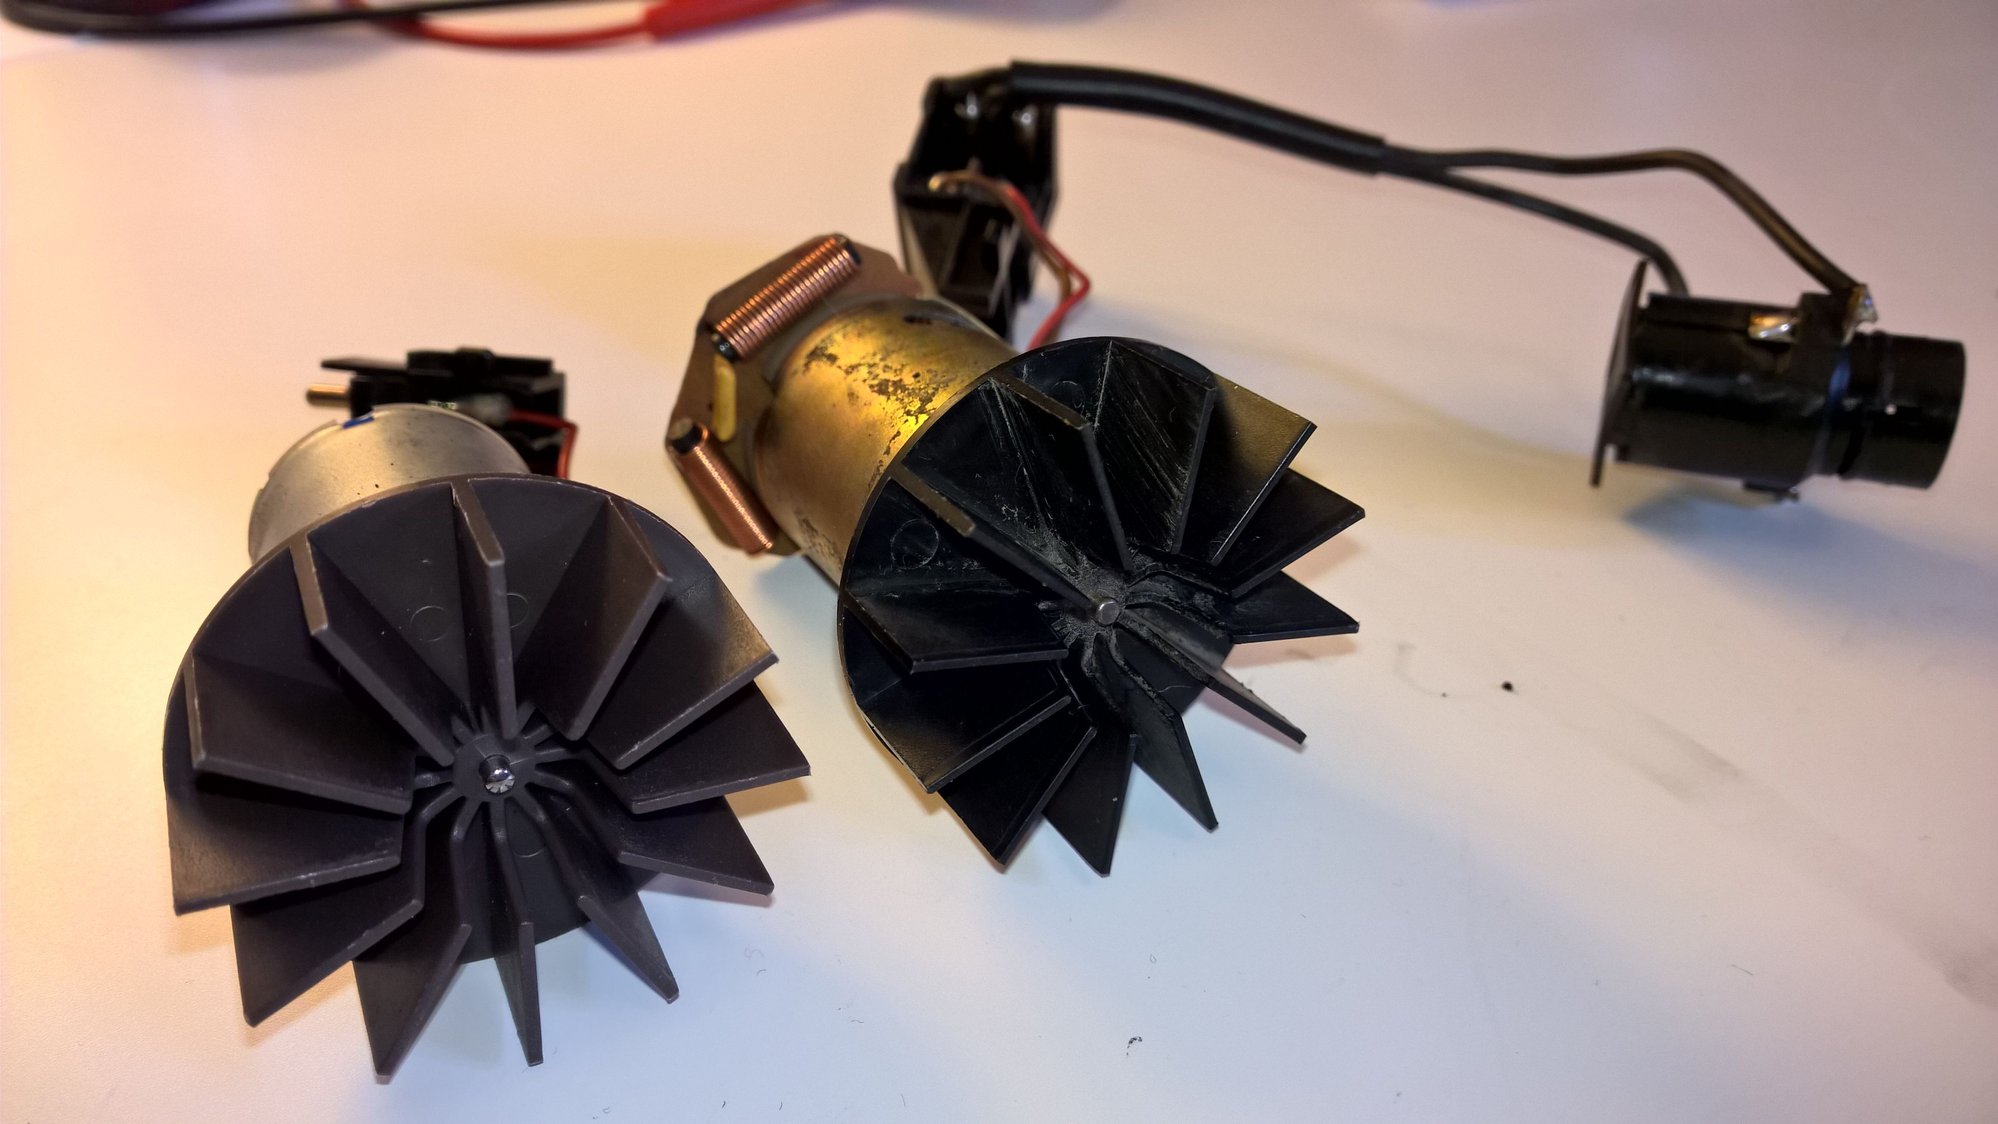
So my climate control sensor motor was failing and annoying me with chirping sounds - new ones are NLA. Searching around eBay for new Bosch parts revealed a similar looking NEW ($85) unit for Mercedes, so I took a risk and ordered it knowing some modification would be necessary.
New Mercedes left, old Porsche right
New Mercedes left, old Porsche right - Motor is smaller, weight feels similar.
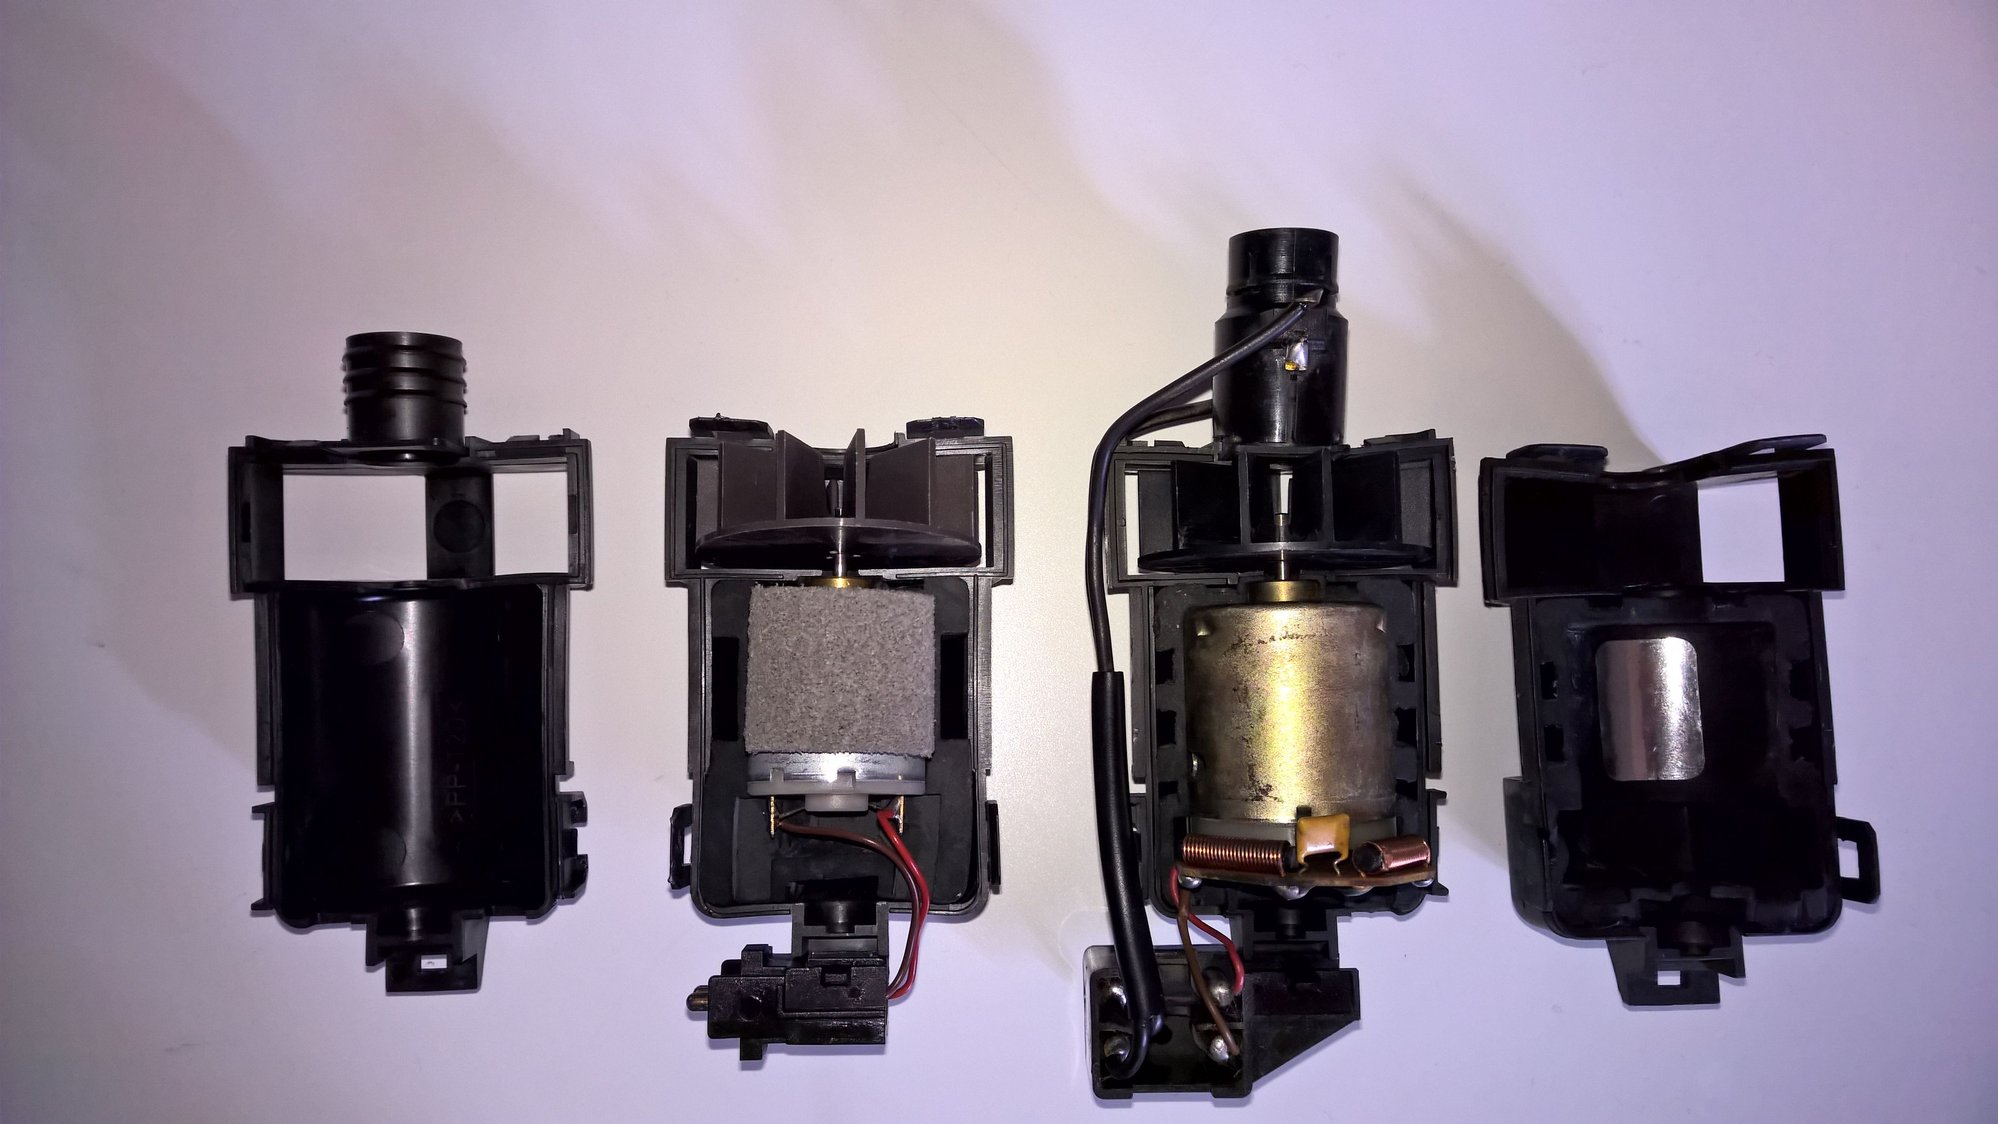
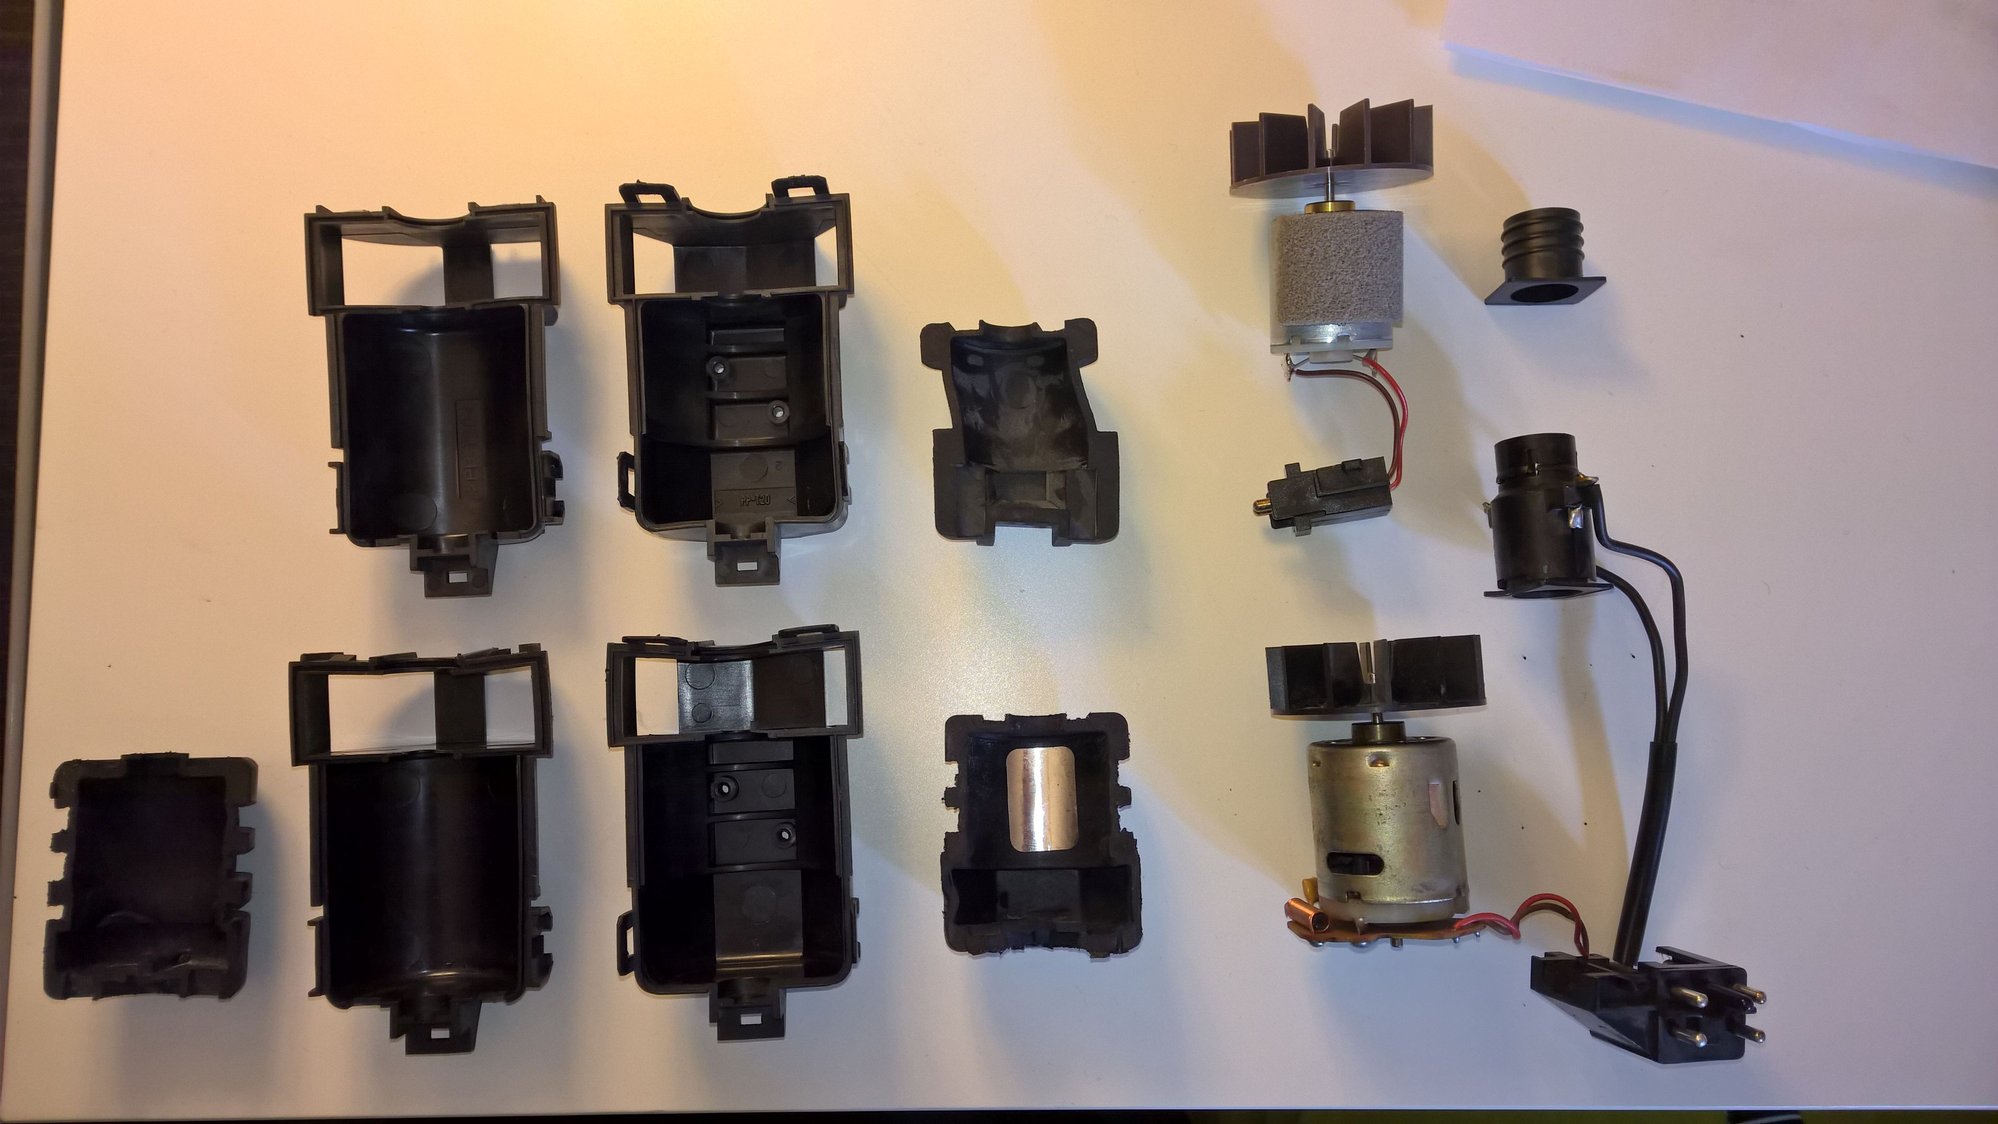
New Mercedes top, old Porsche bottom - Casings appear interchangeable.
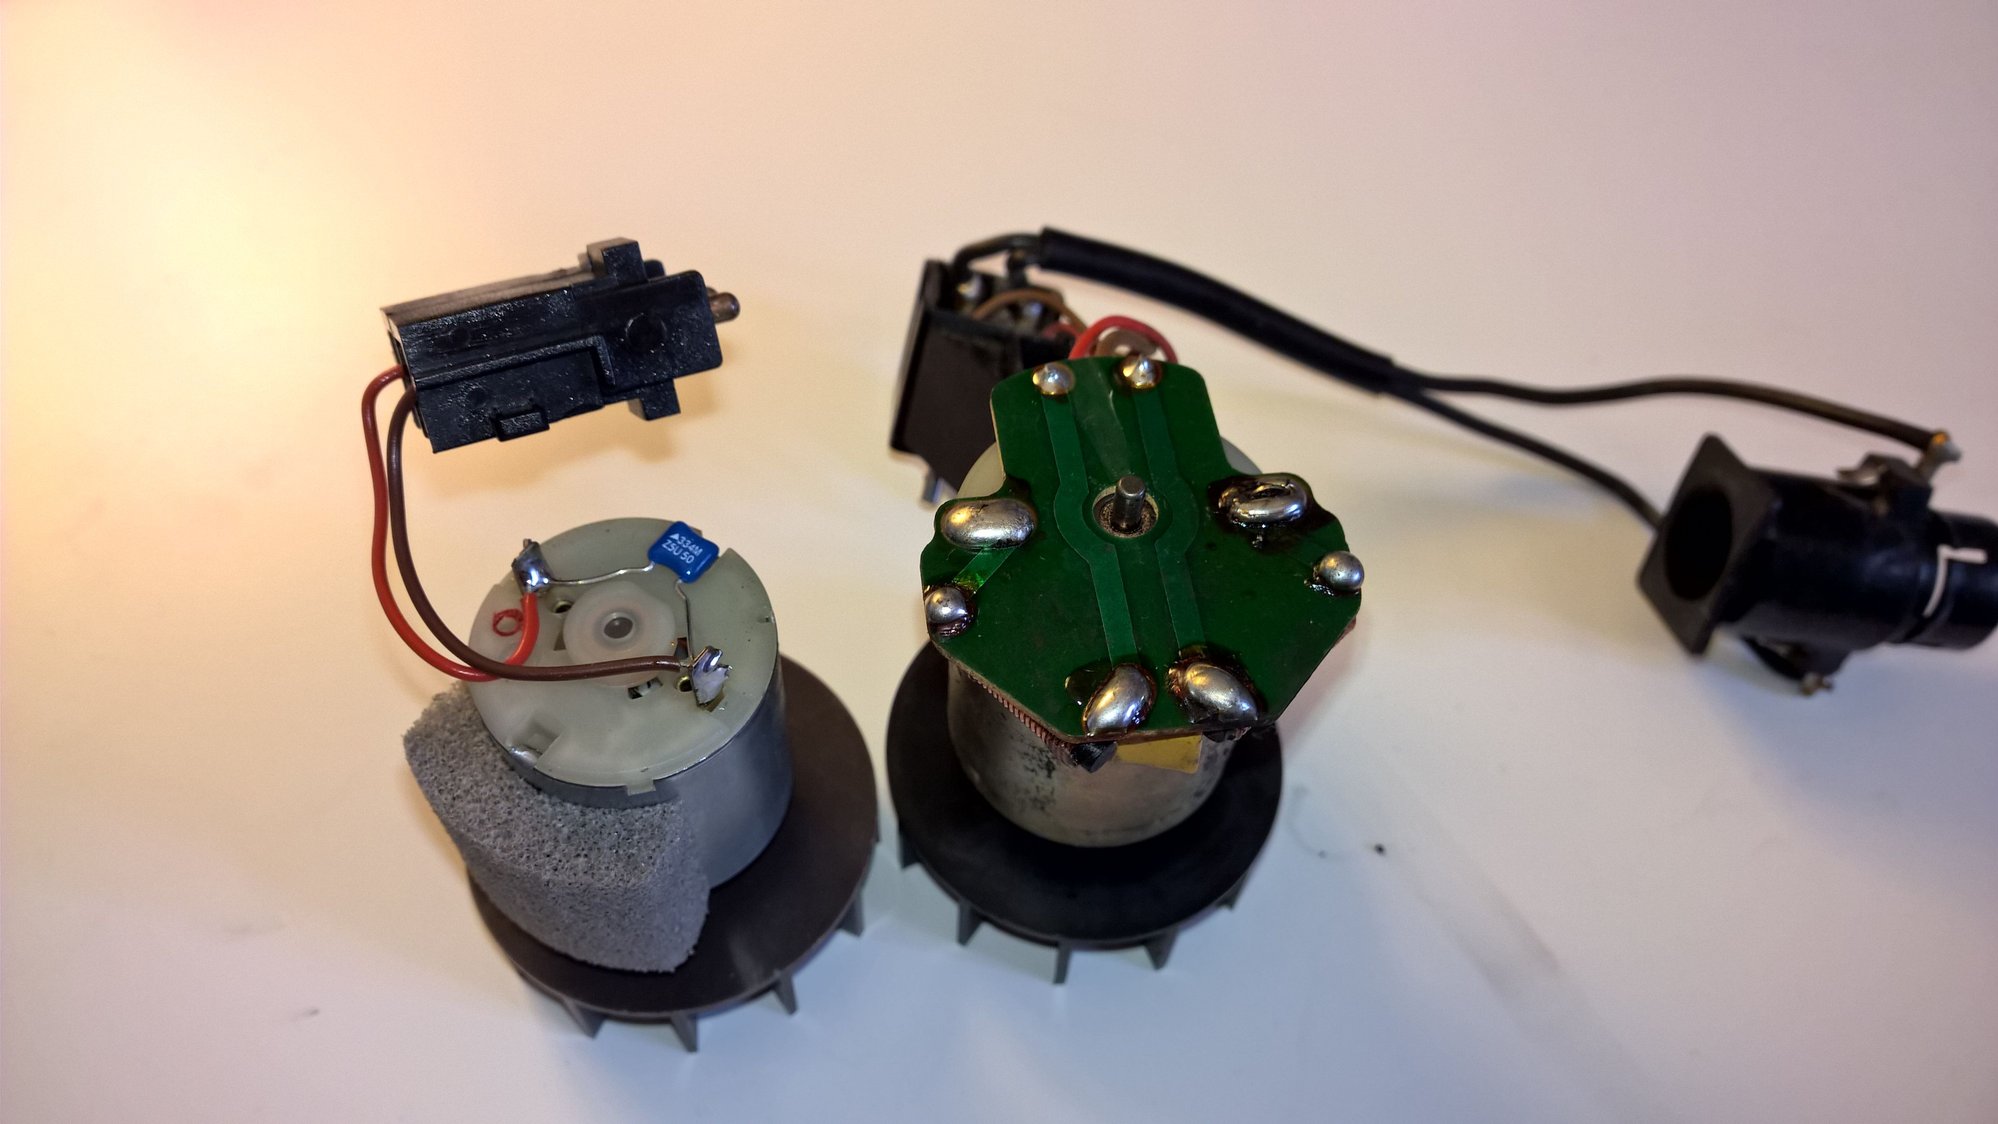
Simplified electronics - slightly thinner wires.
Near identical 'turbines'.
Assuming the motors spin at the same rate - I should be able to solder the old parts 4-pin connector to the new motor, and re-use the old inlet with what looks like a heated wire with resistor.
I've been ripping around in the car for almost two weeks now.
I used the 'oiled' oil pan gasket method without any sticky stuff. Installation was easy.
Results? I have a very minor leak at the front passenger side corner... A couple drips after a good drive. A significant improvement from before where it was seeping along the entire passenger side.
... but I also seem to have a small leak at the lower balance shaft and front crank.... so it's a bit tricky to tell if it's the oil pan gasket or not.
Either way, I consider the gasket replacement a success.
Originally Posted by 944TurboYYC
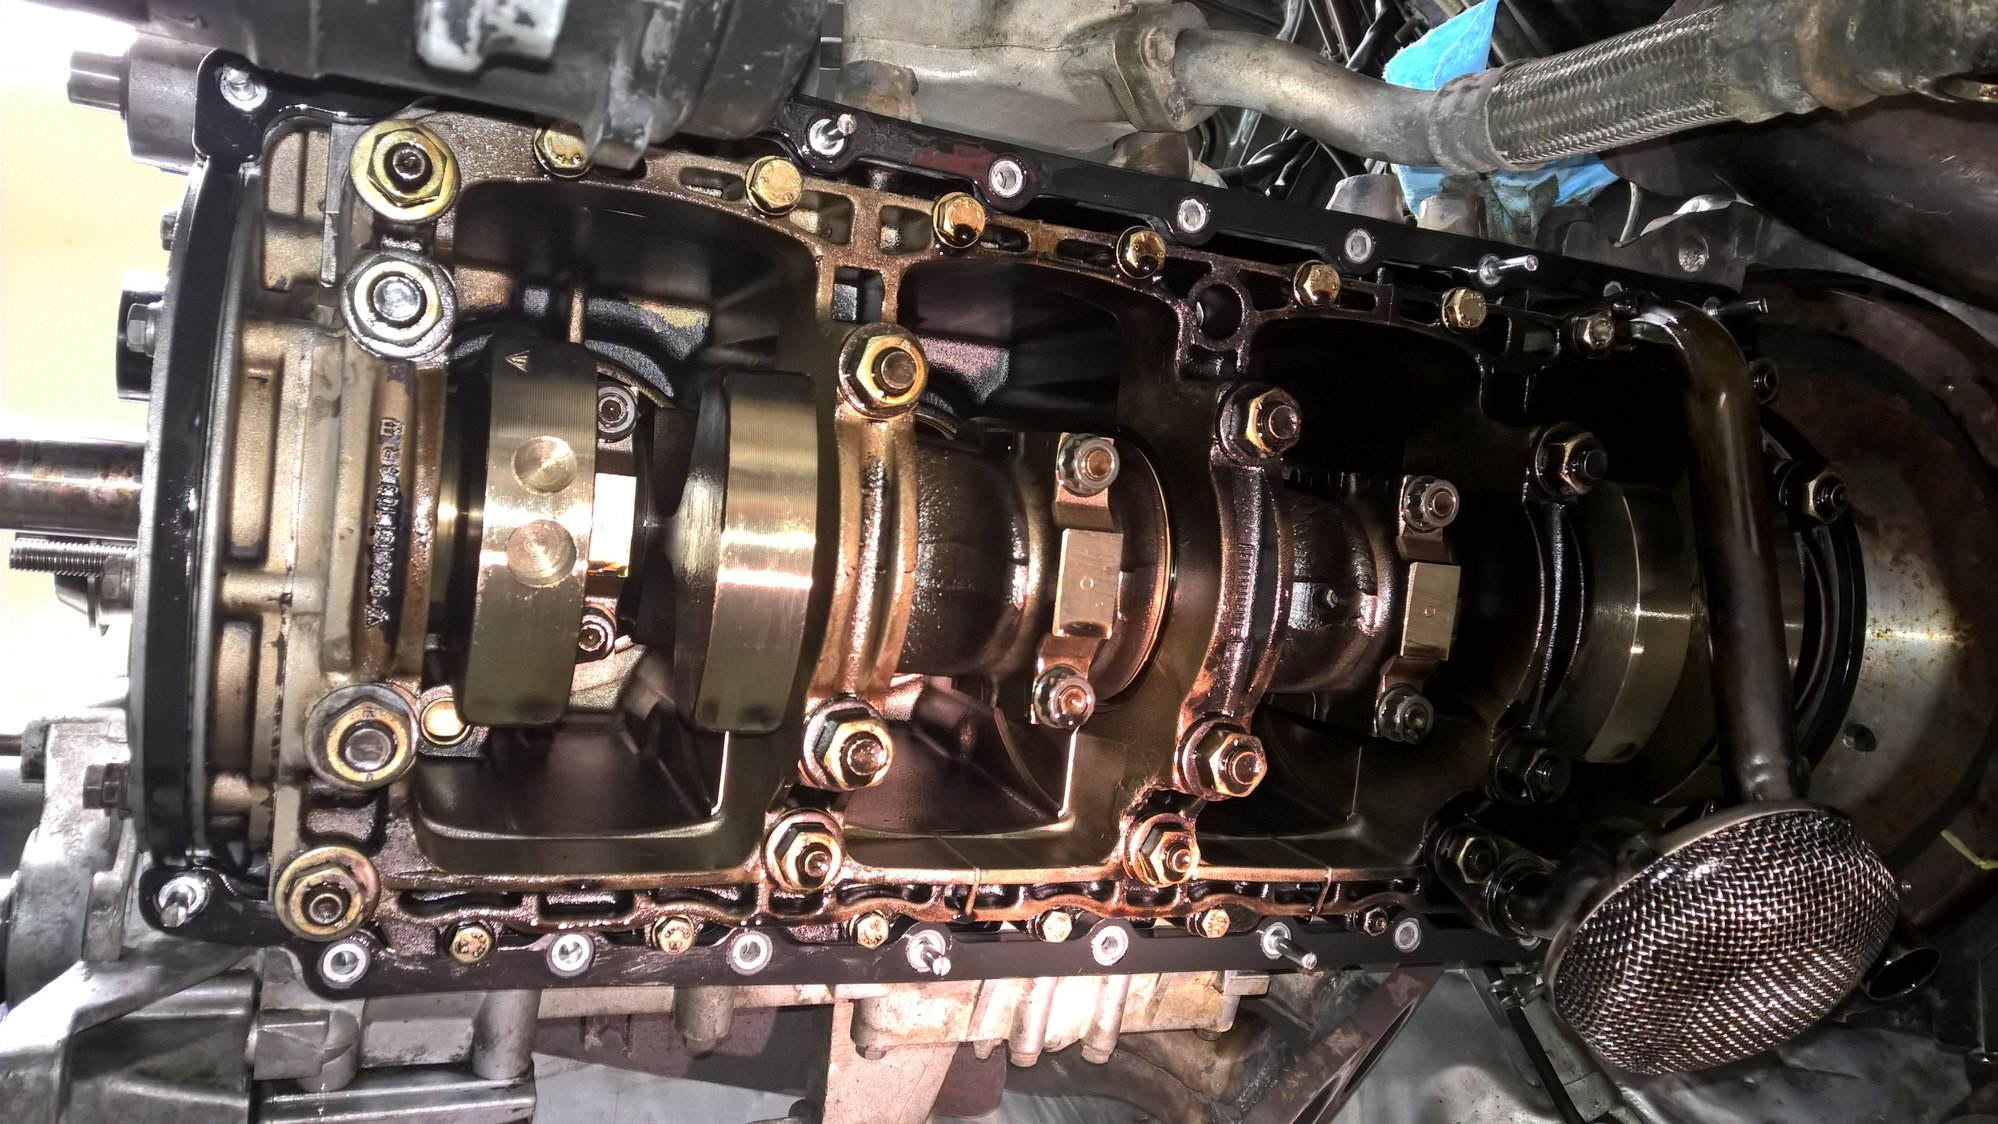
Finally received some Loctite 574 and was able to re-install the oil pump... which allowed me to install the oil-pan!
I tried the 'stud' method for holding the gasket in place. This worked EXTREMELY well, and I totally understand how it would be difficult to properly seat the gasket otherwise.
I cleaned the 'mold release' residue off the gasket and then decided to try not using any gasket goop of any kind. I wanted to try a recent recommendation on here to just use some oil on both sides of the gasket so it can move while torqueing down. Makes sense - I hope it works.
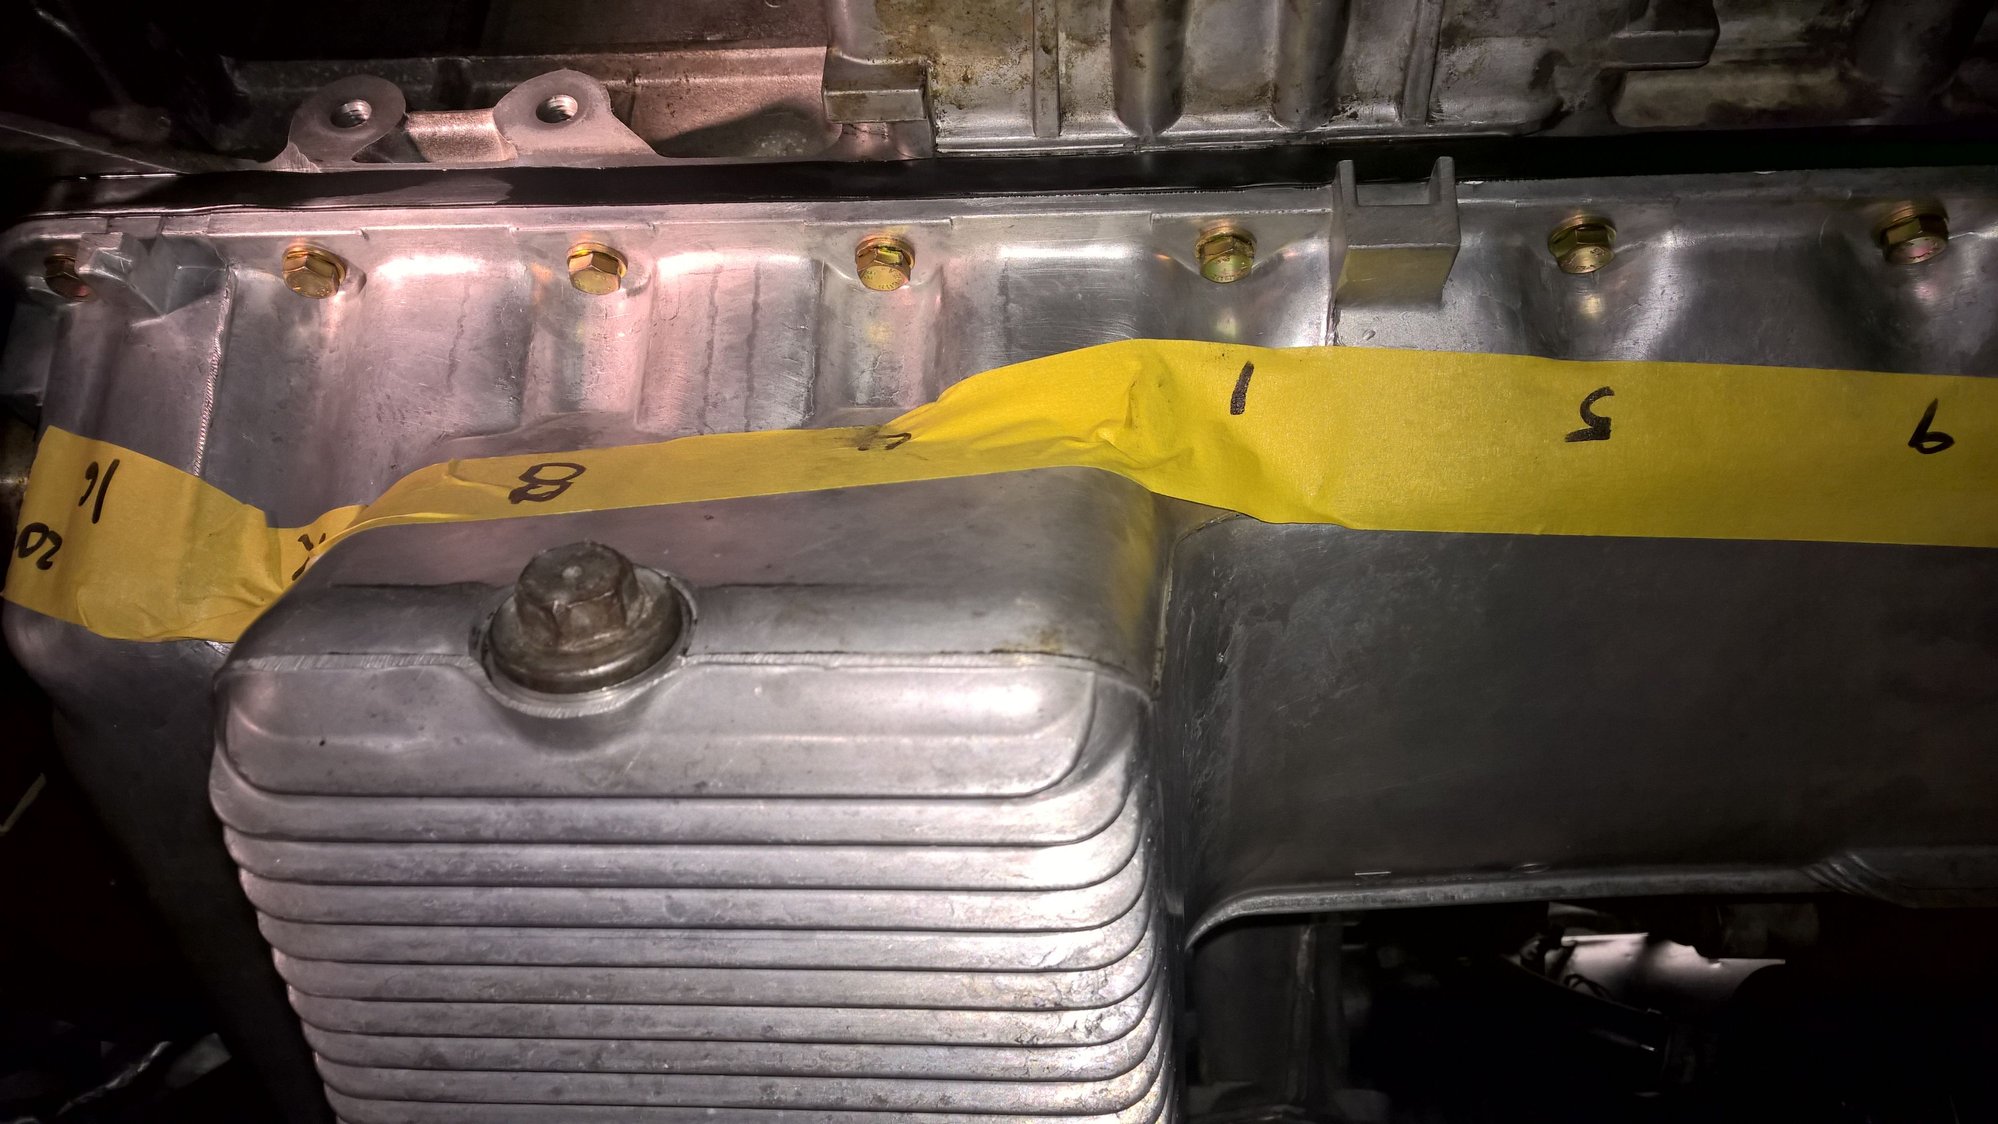
I know these numbers off by heart now. I probably hand-tightened them around six cycles, and then twice for the 3 ft-lbs and a few more times for the 6 ft-lbs.
Glad to be done. Other than getting a stiff neck looking up while torqueing all these bolts down, the worst part was trying to fit the pan into place without cracking the plastic insert (again).
Next up, cross-member and motor-mounts... I think - I've already forgotten the order of removing all this stuff.
Installed new hood shocks... I thought it would be a 5 minute job but I was so wrong. Getting the new ones to compress enough to fit in the pins took some serious MacGyvering... Way too stiff to compress by hand.
I had to strain the mechanisms just to get the tab into the clevis on the hood on each side...but the holes didn't line up enough to get the pins in. The solution was to hammer in a tapered punch, and then brace the struts using long pieces of metal butted up against stuff like the fender bolt heads. At that point the tapered punch could be hammered out, and the pin inserted. that's what I get for using $20 ebay shocks, although the hood stays up really well now
Installed new hood shocks... I thought it would be a 5 minute job but I was so wrong. Getting the new ones to compress enough to fit in the pins took some serious MacGyvering... Way too stiff to compress by hand.
This is a 5 minute job. Pop the socket end off first, then undo the pin at the hood. Installation is the reverse of removal. If you put the ball on the socket first - it is a royal pain in the a$$.
I'm in upper north east Indiana. Luckily there is a Father/Son duo who run a place called Evolution Customs and the father was the top 944 mechanic for the local Porsche dealership before opening his own shop when the dealership was phasing out those repairs.
Finally felt motived to install the Only944 shifter, short shifter, and linkage.
Backstory - I really thought I needed to get my transmission rebuilt. 3rd gear would always grind, and it was difficult to engage the other gears.
I changed out the fluid to Redline MT-90 and that totally fixed 3rd gear from grinding, but it still felt "crunchy". All my shifts would take an extra second to fall into place.
OH MY GOD. These three shifter parts have made driving the car so much more enjoyable. Downshift upshift downshift upshift just for fun now!
Unrelated - I discovered yesterday that my headlight washers go berserk when the lights are on. It was comical. Seems the switch (stalk) needs some attention. I just pulled the relay for now.
I love my Only944 short shifter linkage as well. Wonderful.
 04-12-2016, 03:55 PM


")

