When you click on links to various merchants on this site and make a purchase, this can result in this site earning a commission. Affiliate programs and affiliations include, but are not limited to, the eBay Partner Network.
I just had this installed on my 997.2, PCM 3.0. and works great.
The only issue I am trying to resolve is that sometimes the "RDS"
works and shows the song and artist playing and sometimes it doesn't,
then just shows the letters "KSLB".
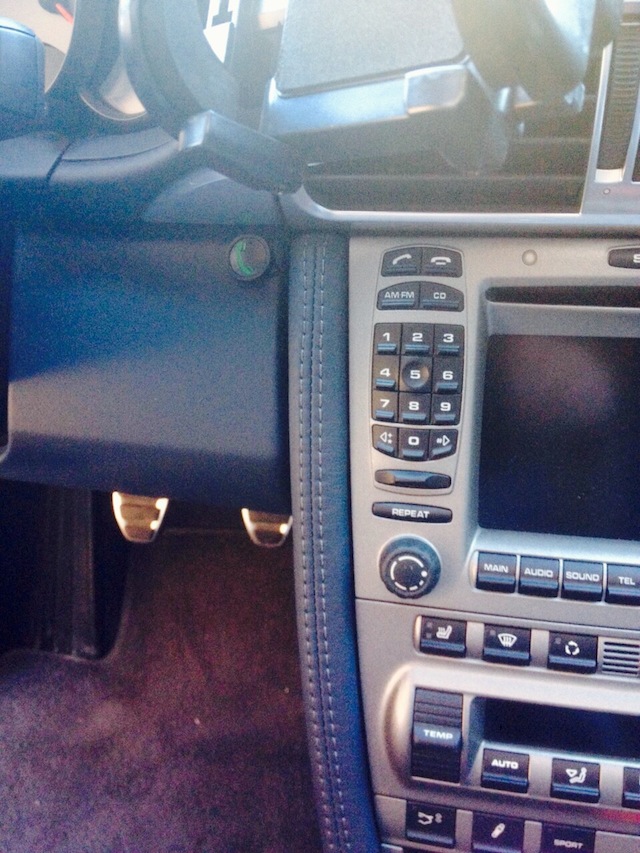
thank you to the OP for all the instructions. also put the 'button' in the same position as the OP. stealthy and can easily find without looking and doesnt feel 'awkward' when having to press the button.
audio quality is WAYYYYY better then the fm modulator i used to run a while back before it died (lol). i wouldnt say its 100% CD quality with the BT compression. However but when driving, the audio cabin inside the 997 is certainly no concert hall (regardless of bose or not) so i really don't think it will matter for 95%+ of 997 owners running this option.
phone conversation audio quality (with the mic at the top visor) is excellent; tested with a few users.
RDS is nice as well since the names of all songs played as well as people calling will be displayed on the PCM.
best of all the install went smoothly; i havn't done any self-car audio stuff since '02 lol so i took things nice and slow.
i didn't even bother to thoroughly test anything until i re-assembled everything.
tips to would-be-installers
================
- make sure to NOT USE the instruction manual that comes with your unit and download and print out the newest one. the wiring diagram on my (outdated) manual looked off, and when wiring everything i knew it didnt make sense having to wire 3 ground cables from the trazit into car. the new/recent manual made immediate sense. i believe the dip switch instructions have been properly revised on the current instructions books as well.
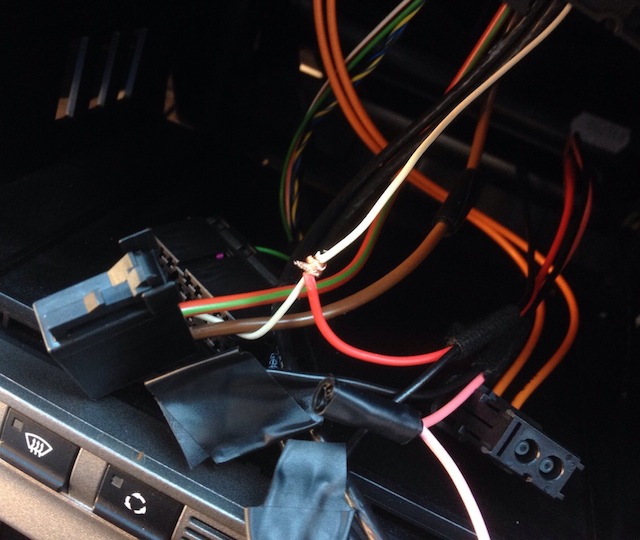
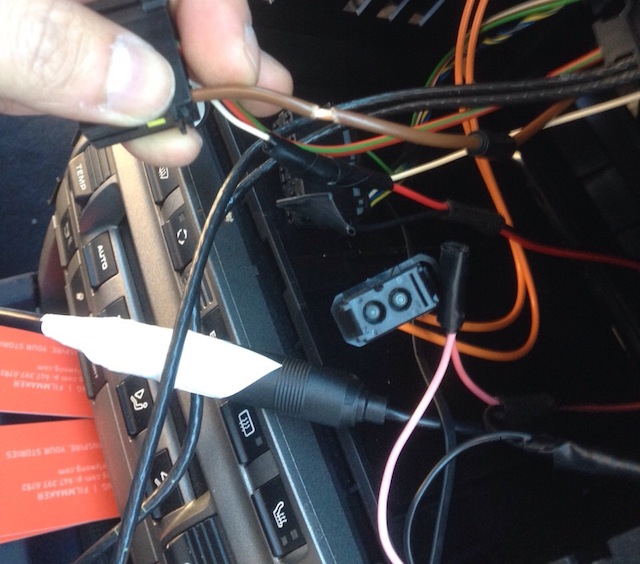
some photos. i probably overboard with the shielding of the 3.5 adapter, and i also heavily insulated fakra adapters. i have no idea why one of them antenna adapters didn't go in all the way…. i also read (on this thread i think) some users reported that some of their radio stations no longer sounded as strong… so i heavily insulated the antenna connections to make sure my fm/am reception wouldn't be effected.
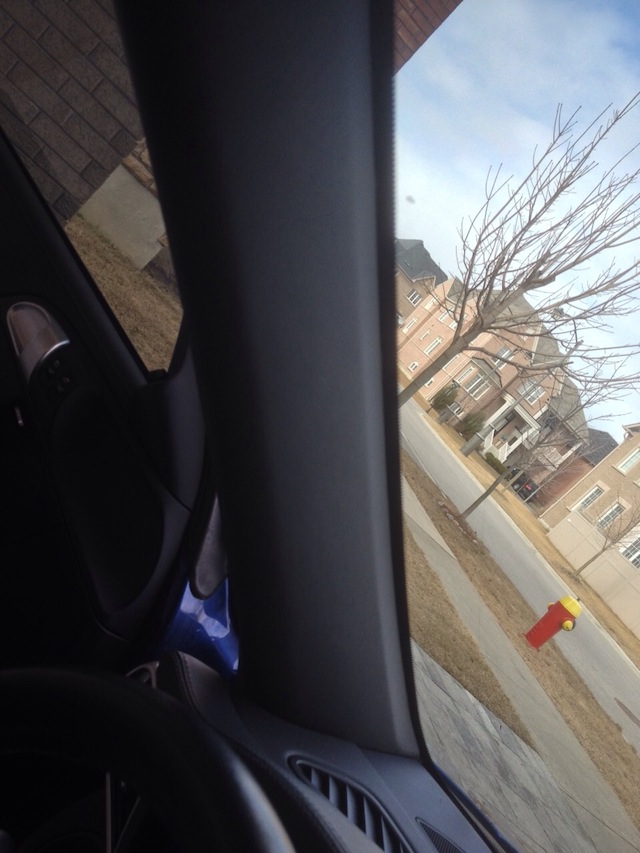
you can easily tuck the mic cable in the a-pillar. another kind member lemme know that there is a ton of space between the a-pillar and the windshield. so much in fact that you have to thicken the wire otherwise the wire will pop out of the a-pillar. i just used elec. tape every few inches while making sure the wire would still fit into the a-pillar. some adjusting/re-adjusting required.
elec. tape to thicken the wire. mr curtis used twist ties (another great idea)
pcm power cable (white) spliced into the red cable (Tranzit). if you use this white power cable you don't need to disconnect your battery provided your KEY IS NOT IN THE IGNITION. i don't know about some of you guys but i fully disconnected my pcm when doing my splices.
the most annoying part of these jobs, opening up wires. used a wire stripper + scissors + tons of elec. tape to insulate. i believe on this thread some people ended up using wire taps and had to redo stuff the old school way since the wire connections weren't solid.
connected the ground cable to the transit. re-insulated with tons of elec. tape.
ALL DONE!
crazy value for 100$… best part is that it forgoes and bypasses the fibre optic most system!!
Finally installed one of these as well. It really does work as advertised.
I have a slight issue where I only receive static when switching back to radio, but I'm guessing it's simply a short in the antenna adapter wires somewhere.
Hope to have it sorted out soon, but the Bluetooth mode works great. Nice to finally be able to interact with my iPhone.
insulate those antenna adapters. it may be the issue.
Originally Posted by IX XI
Finally installed one of these as well. It really does work as advertised.
I have a slight issue where I only receive static when switching back to radio, but I'm guessing it's simply a short in the antenna adapter wires somewhere.
Hope to have it sorted out soon, but the Bluetooth mode works great. Nice to finally be able to interact with my iPhone.
yes, tons of it where the connection point is. for some reason one of my antenna adapters woulnt go all the way in so i pushed as tight as it would go and then wrapped up with elec tape as in the photos.
Originally Posted by IX XI
Thanks for the tip, will do. What should I use to insulate, would electrical tape do the job?
yes, tons of it where the connection point is. for some reason one of my antenna adapters woulnt go all the way in so i pushed as tight as it would go and then wrapped up with elec tape as in the photos.
Excellent, I appreciate the tip. I had a hard time getting mine in as well, maybe I didn't seat it all the way and as a result it's not making a proper connection. I'll double check it and then insulate the adapter connection points as well.
So I finished installing the Tranzit Blu in my '08 C2. It took several days because I never get more than about an hour of uninterrupted time and I was going very slowly to make sure I didn't break anything expensive (almost made it).
It's all done now and I tested it for a few minutes. I'm not an audiophile (and it's silly to pretend that a car is anything but a terribly compromised acoustic environment) so I won't compare the quality of the music playback other than to say that it's clear and without any noticeable hiss except on very quiet sections or between songs � I can live with that. I made a couple calls including my office voice-mail and left myself a message via the Tranzit Blu. On playback through the car my voice sounded clear. Another success � consider me a satisfied customer. For the price it just can't be beat.
Goals and observations
1. I didn't want to splice into the PCM wiring harness so I went the fuse-doubler route. Qi wireless charger - fuse-doubler
2. My main question about using the B8 fuse location (as suggested above) is how can I prove to myself that the fuse location I used is switched? After I turned off the car my phone still registered that it was connected with the Tranzit Blu via BlueTooth. I don't want to kill the battery. Ideas?
3. Interesting about the doubler is that I needed to have both slots in the doubler occupied by a fuse in order for it to work. To confirm this behavior I tried with just one 7.5A fuse in each position and got nothing at the Tranzit Blu. At first I thought I had messed up my soldering or it was DOA but then I tried both fuse positions filled and I got power. Is this normal?
4. As a result of not splicing into the PCM I needed a ground location. The Qi wireless post had a solution so I used that as well.
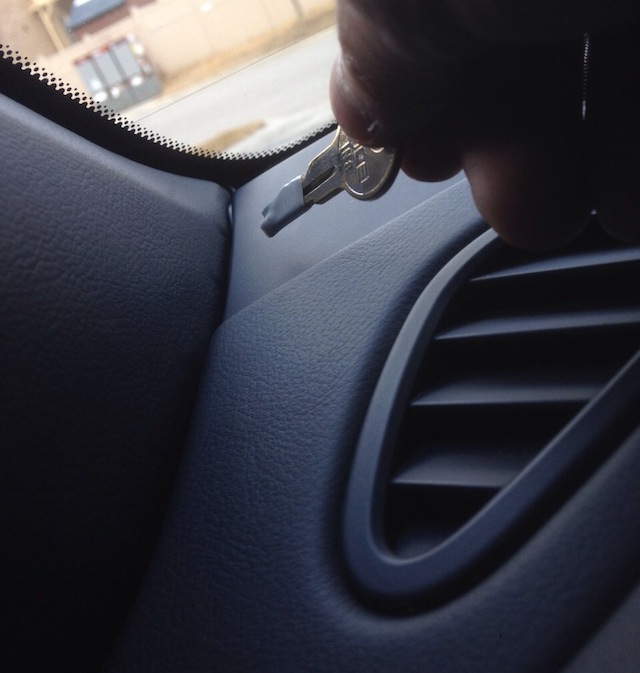
5. I had planned to place the mic in the factory steering column location but when I got to that point I decided to wait to see how the overall solution worked before taking anything else apart. Instead I tucked it in the gauge cluster where as others have said it's almost invisible. Factory steering column mic position
6. You MUST test things out before you hide the wires and close up the trim pieces. It's a pain to have to open everything up again if you need to troubleshoot.
7. The install was actually pretty easy.
My steps.
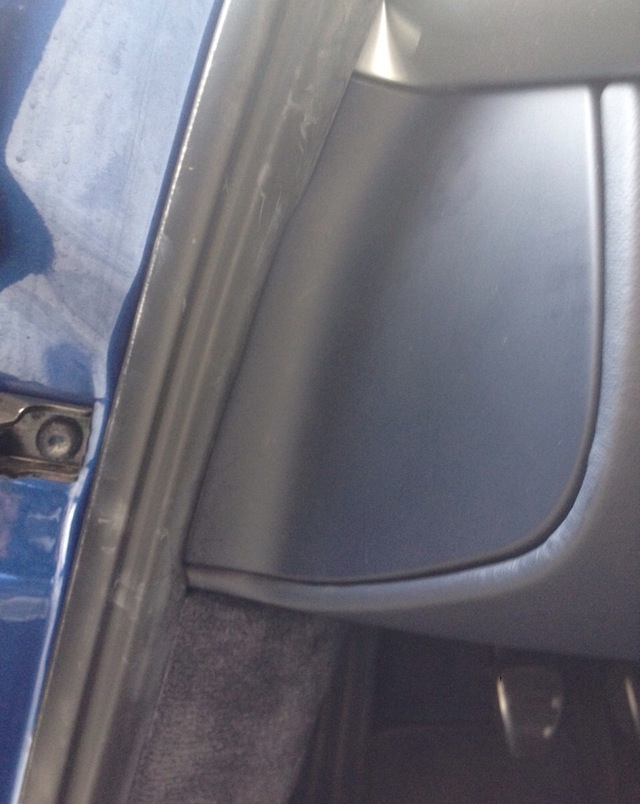
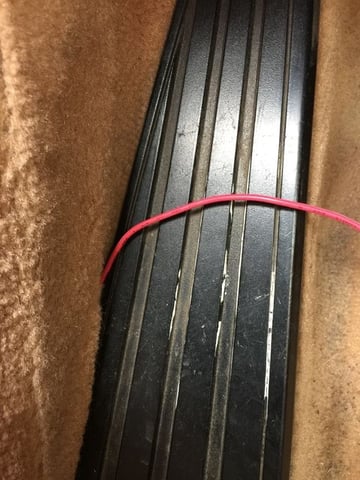
1. Remove PCM. The OP of this thread shows as good a video as any. Two points here. The retaining screws on the left and right rear trim pieces are REALLY tight. One of the how-to guides I watched mentioned they are tight but I didn't quite realize what that meant. I thought I was stripping the head or my torx driver but it turns out I just wasn't pressing hard enough to keep the torx mated to the head (no jokes please). Second, when you ease the front leather/vinyl (as in my case) side trim pieces out be careful. I got the right side out smoothly but when rocking the left one I tilted it up too far and snapped the little retaining clip off. After putting it all back together this piece seems to be quite stable and hopefully won't rattle. This is the one piece I broke during the surgery. :-(
2. Once the PCM is out I attached the antenna connectors and insulated them with a bit of aluminum foil wrapped with electrical tape to try and eliminate any interference. My quick and unscientific tests don't show any reduction in signal strength of the radio.
3. I used velcro to attach the Tranzit Blu to the side of what looks like an AC vent for the passenger foot-well. I attached it from the passenger side since there's more room to maneuver. It feels pretty stable and hopefully won't come loose.
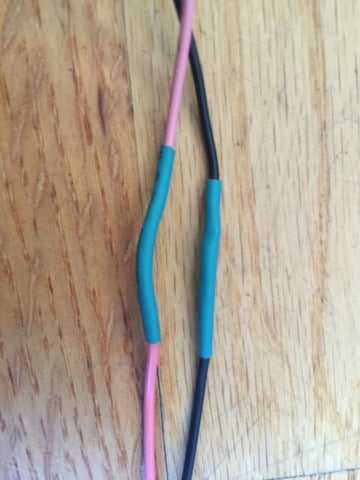
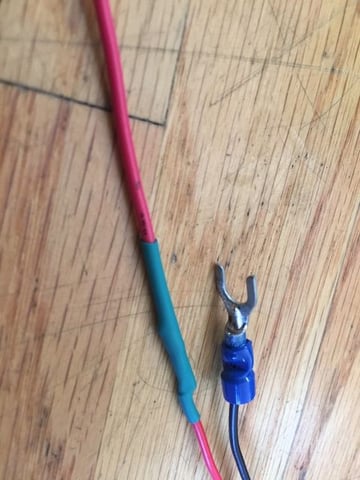
4. I trotted out my trusty (and rusty) soldering skills and pre-soldered the harness together with the button and grounding line and covered the exposed joints with heat-shrink tubing.
5. I used the including butt-connector for the fuse-doubler to attach it to the main harness. This was not the best idea since I then could not thread the assembly through the fuse box. More below.
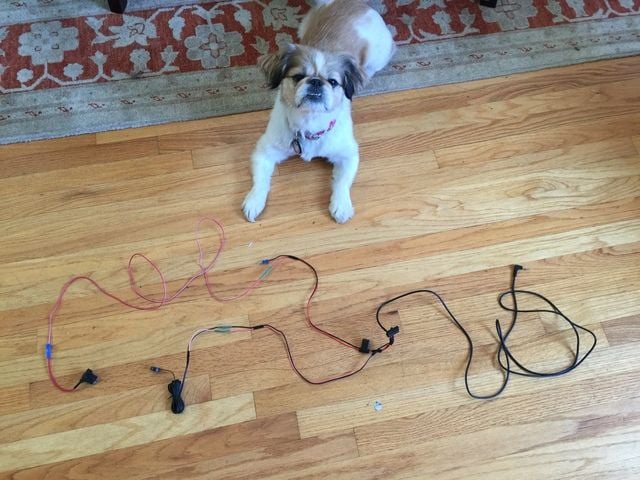
6. Our Pekenese, Holly, wanted to be in the picture � for scale I suppose.
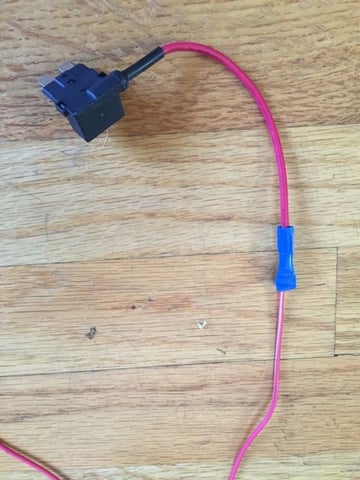
7. This shows some close-ups of the fuse-doubler and grounding plug.
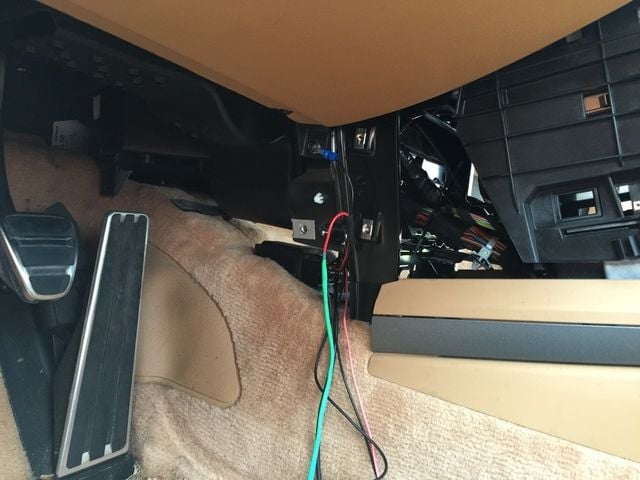
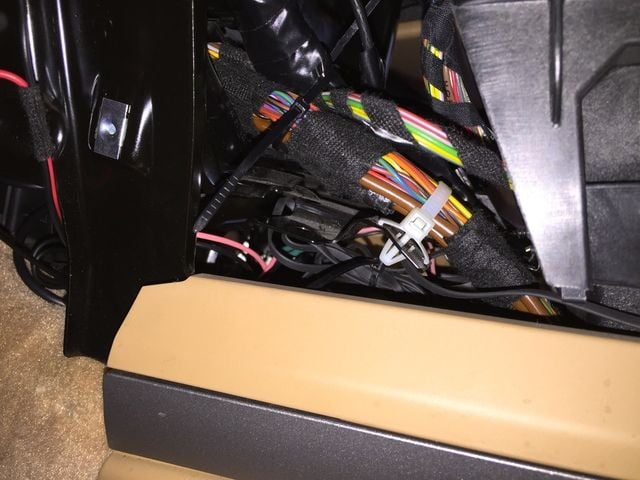
8. Here's the harness sticking out from the drivers side of the center console prior to wiring it to the fuse box. You can see the grounding point I used.
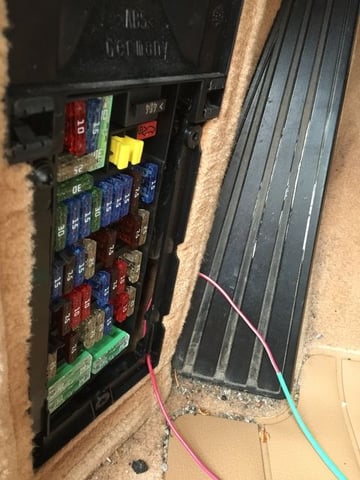
9. Routing the power was actually pretty simple. As other instructions indicate. remove the fuse box cover, insert the fuse-doubler into an unused socket (B8 is suggested) and route the wire through the hole where the cover hinges on the bottom. You'll need to remove the bottom screw and top right screw from the fuse cover to get it lose enough to fish the cable through.
10. This is where my pre-connecting the full wiring harness was a mistake. There was no way to get the connected fuse doubler through that little spot in the fuse box so I had to cut off the provided butt-connector and use one of my own. Seems to be fine. Please excuse the dirt in the foot-well - with the drought in California I've been washing my car far less.
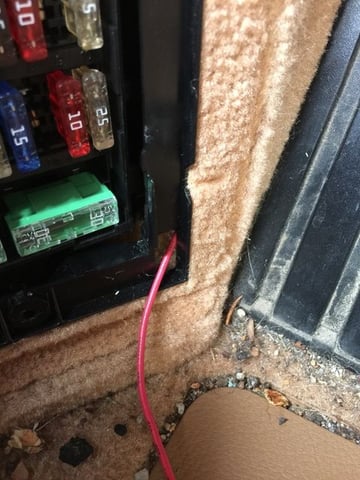
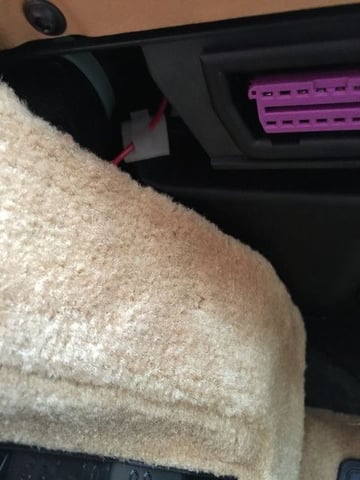
11. Once the power was threaded through the fuse box it easily goes up and out the top of that panel where you can then route it around the ODB-II connector and underneath the steering column trim piece completely hidden from view. I used wire-clips to tuck the power lead out of the way. This first picture is right at the top of the fuse panel � you can see the purple (mauve?) ODB-II connector to the right. As you travel towards the center of the car you can attach the wire clips up above the lip of the steering column trim. The second picture is a wire-clip attached to the power cable about to be tucked under the steering column trim.
12. I used wire-clips I bought at Frys.
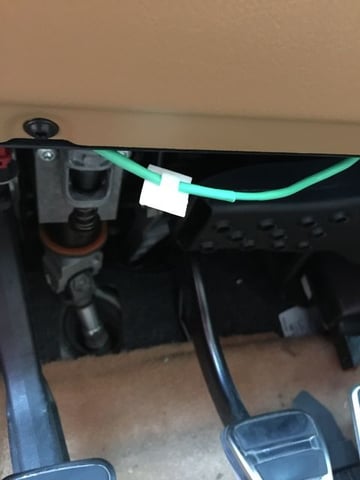
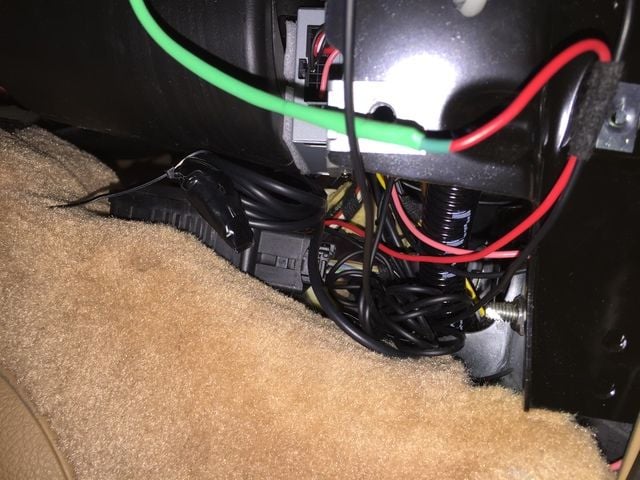
13. I coiled up the unused aux cable, used a zip-tie to keep it together and tucked it between an existing harness and the AC vent where the Tranzit Blu is velcro-ed. The aux cable is toward the left side in this picture while the Tranzit Blu is in the middle of the picture just above the out-of-focus green wire.
14. In the above picture you can also see some black tape in the foreground coming off the coil. This is the taped aux connector. Since it is unused in our situation I thought I'd be smart and isolate it with aluminum foil and tape to keep it from shorting against something in the back of the PCM area. Bad idea. When I tested it out again after all this routing and tucking work I got some weird behavior. No sound!!! My phone connected via BlueTooth, I could press the button and have the radio cut-out and I even saw song names on the PCM when playing music. Just no volume!?! I was worried because my test-fit showed everything working perfectly. Uh-oh. The rest of the car was fine (lights, radio, dash, etc.). I read the instruction manual � no help. Then it occurred to me that the aluminum foil may be shorting the aux connector and causing the Tranzit Blu to misbehave. Unwrap the plug and. . .duh. . .my setup works just perfect. For take 2 I just wrapped it in tape and all is well.
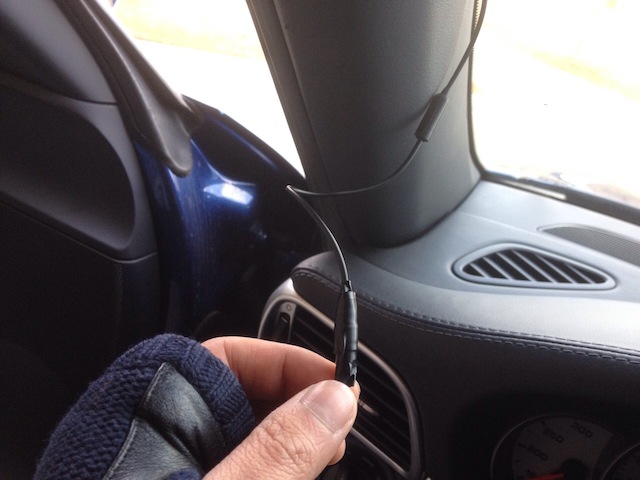
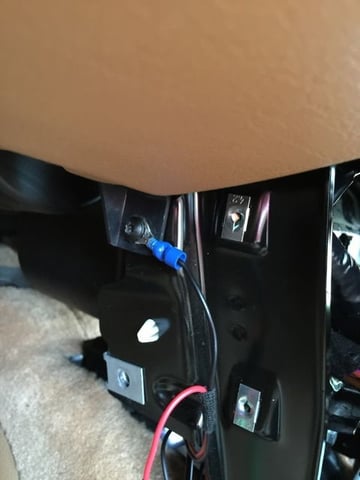
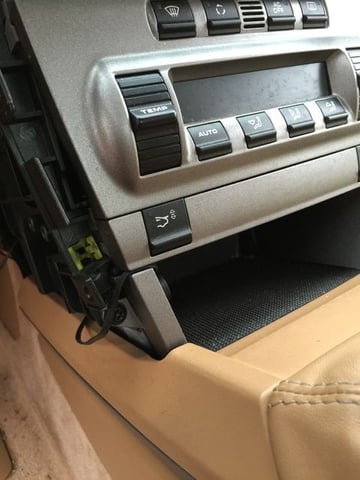
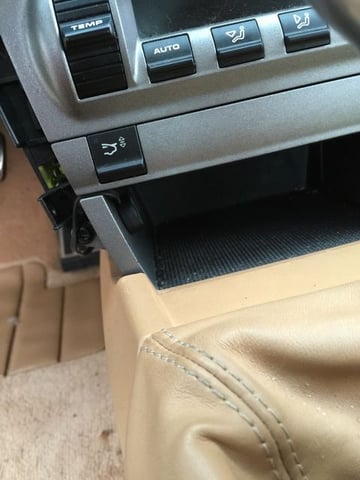
15. Last I attached the button. I angled it back a bit to help the cable stay in that small cut-out space. I may dab some glue in there to fasten it better if it comes lose. The third picture is the coiled up extra button cable tucked behind the AC control box.
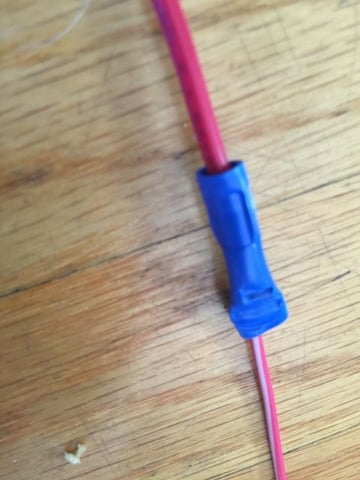
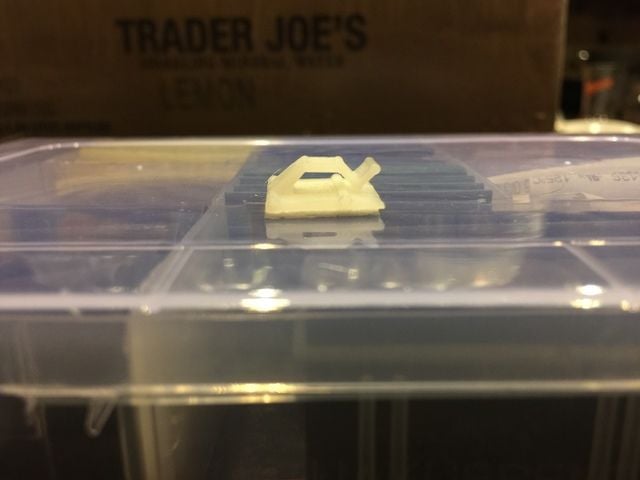
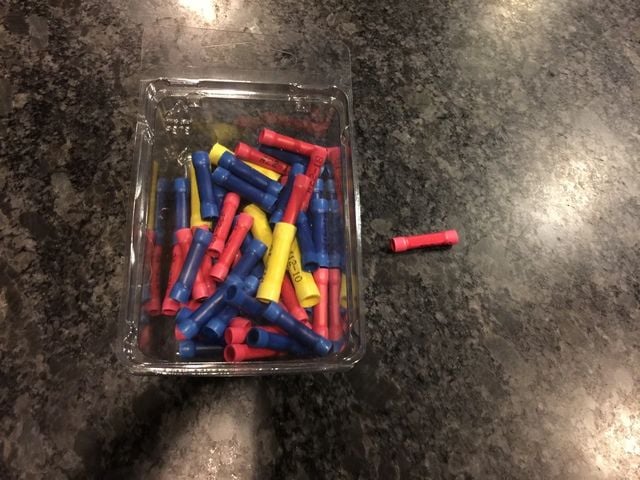
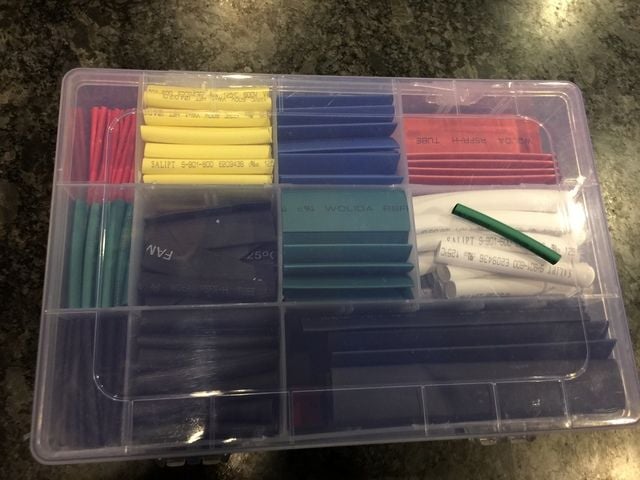
16. For reference, here are pictures of the butt-connector (I had no idea that's what these parts are called) used to connect two wires together without soldering and the box-o-shrink-wrap.
I have full-size pictures of everything if anyone is interested.
I'm thinking taking out my MOST-HUR aftermarket stereo and reverting to PCM + tranzit to keep the OEM look. The one thing I would really miss is having a hard wired iPhone cable for power (currently it is plugged into the back of my pioneer receiver).
Does anyone have a solution for hardwiring the iPhone cable? I'd rather not have to keep a cigarette USB adapter plugged in.
I am getting an odd static sound when the iTunes radio goes to commercial and they speak words with "S" at the end. Also when using Bluetooth it is quieter than the radio so I have to turn it up. Anybody else with this issue?

 04-07-2015, 07:10 PM