When you click on links to various merchants on this site and make a purchase, this can result in this site earning a commission. Affiliate programs and affiliations include, but are not limited to, the eBay Partner Network.
About to tackle this project. Did you guys need adjustable toe links to get back to get the rear camber and toe back within specs?
Good luck and have fun with the job! It's not required but suggested to wait a bit for things to settle...so planning on getting done within a week or two. I was pretty methodical about marking bolts and getting them exactly back where they were originally - and post installation the car still tracks perfectly - but am sure due to the change in geometry it's scrubbing the tires to some degree. As others noted here, doesn't sound like adjustable toe links are required. I did run across a post or two on the forum here saying they were needed, but appears may just be more of a choice or for those that like to get more extreme with their alignment...or maybe are just wrong.
Based on my searching around here on the forum and trying to learn more about alignments in general and the different specs that can be adjusted, it seems like the main debate is on camber settings on front/rear. Looking through shared alignment sheets that I came across in the forum generally seems like:
Front: -.4 is within spec, others go out to -1.5 or more which is outside of spec that are more concerned with track performance. @TheBruce I saw a post where you shared yours, and your fronts were -1.1, was that generally a recommendation from the shop in balance of your performance requests? Did you notice a material difference in front end feel adding in a bit more negative camber?
Rear: Seems like about -1.5 is pretty typical and safe to shoot for. Saw Bruce you landed around -1.7/1.6. Saw a few others that went with as low as -.5 to stretch the rear tires, but not sure if that is crossing that line of sacrificing too much performance in trade for reduced tire wear.
Any opinions on all the above would be welcome - these final steps are important pieces of the puzzle for anyone tackling this job.
Last edited by maxw; 07-16-2019 at 08:06 AM.
Reason: Reduce content
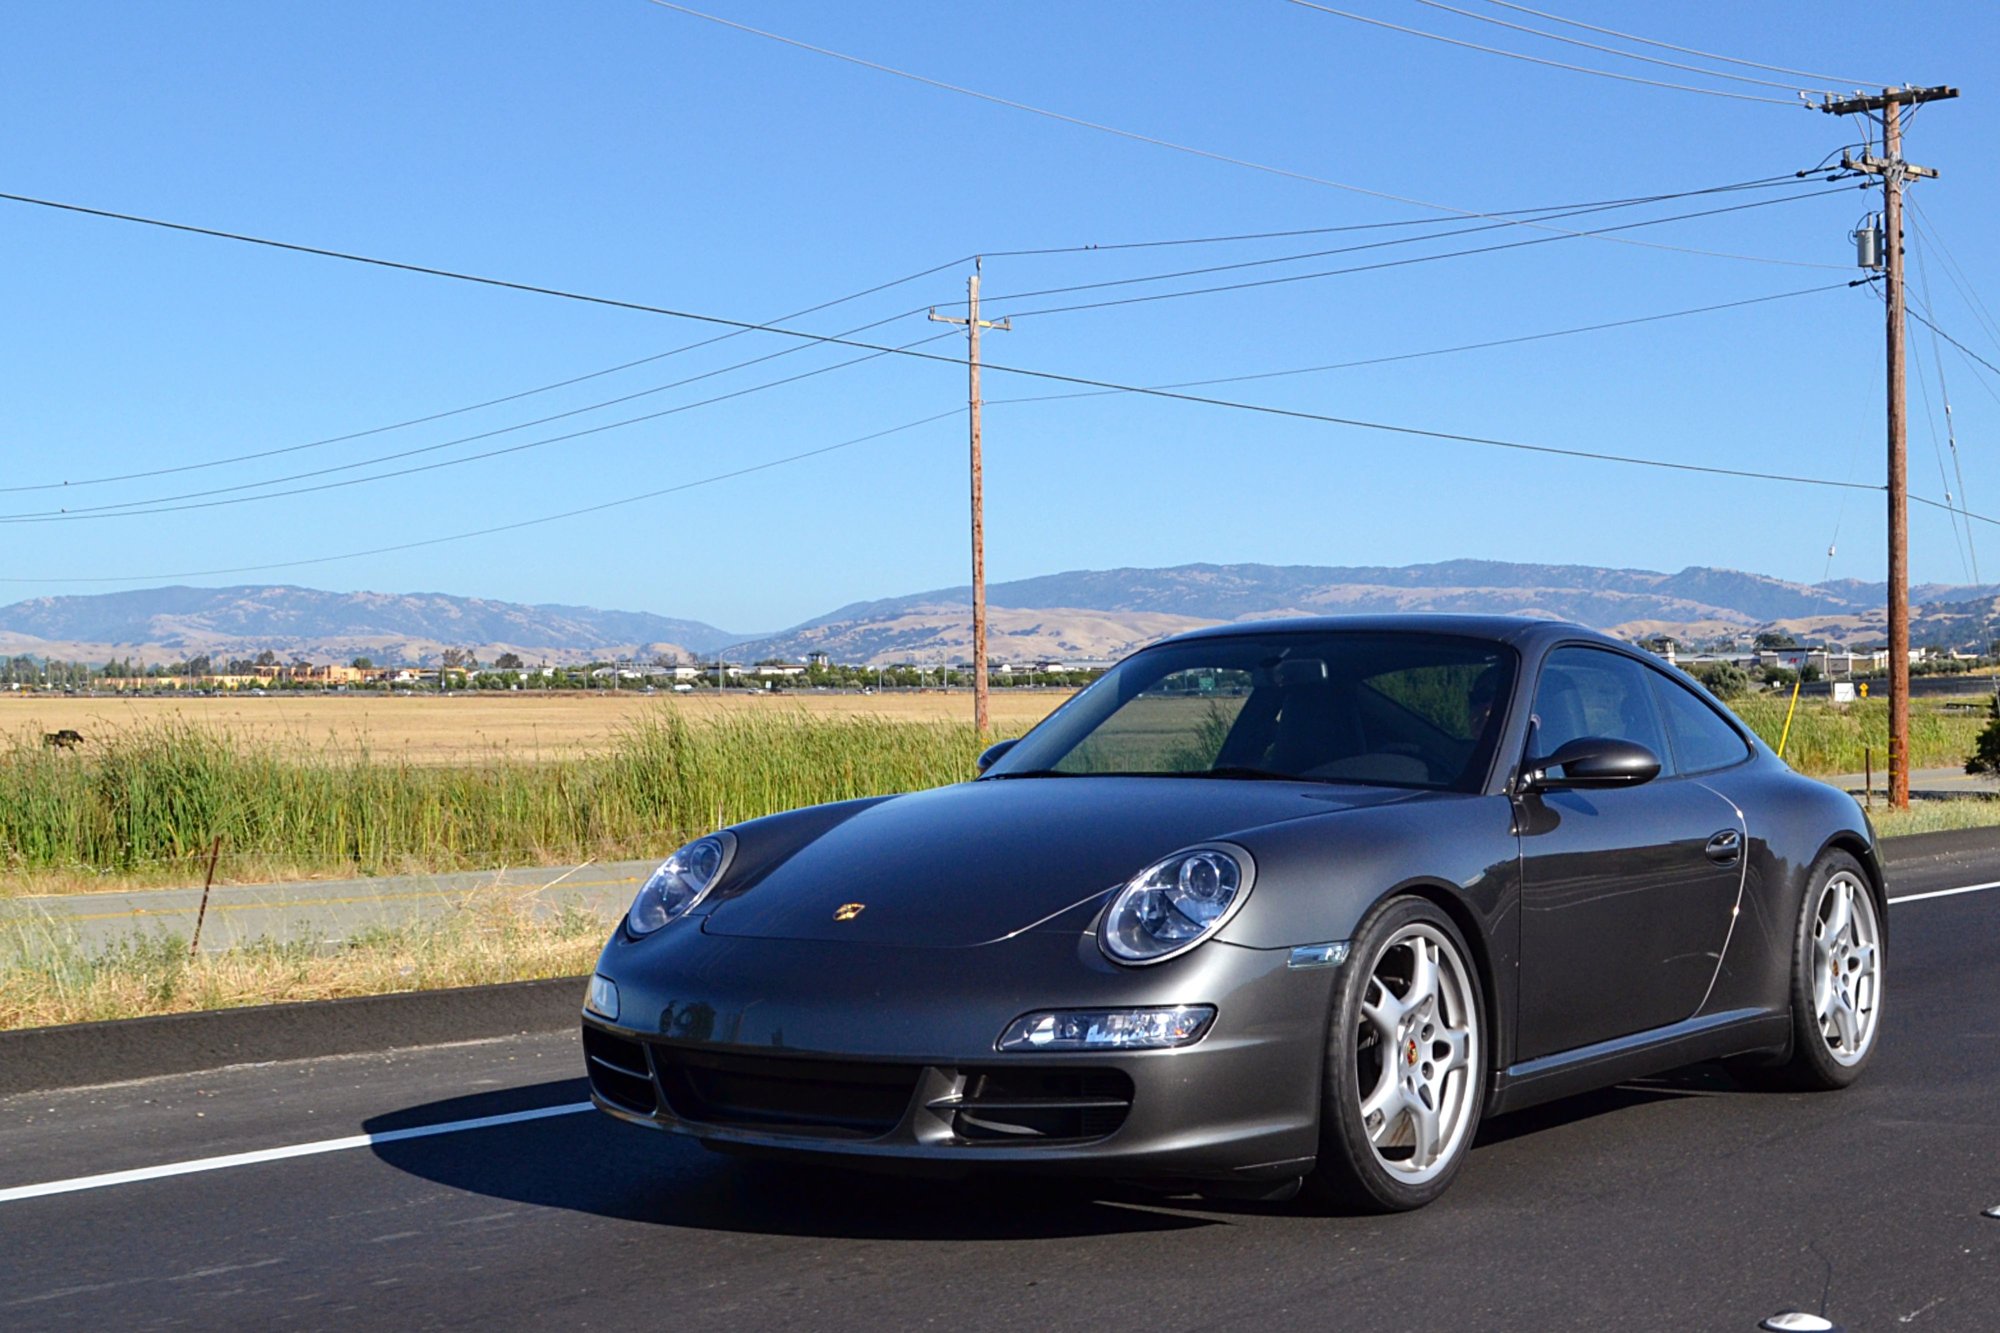
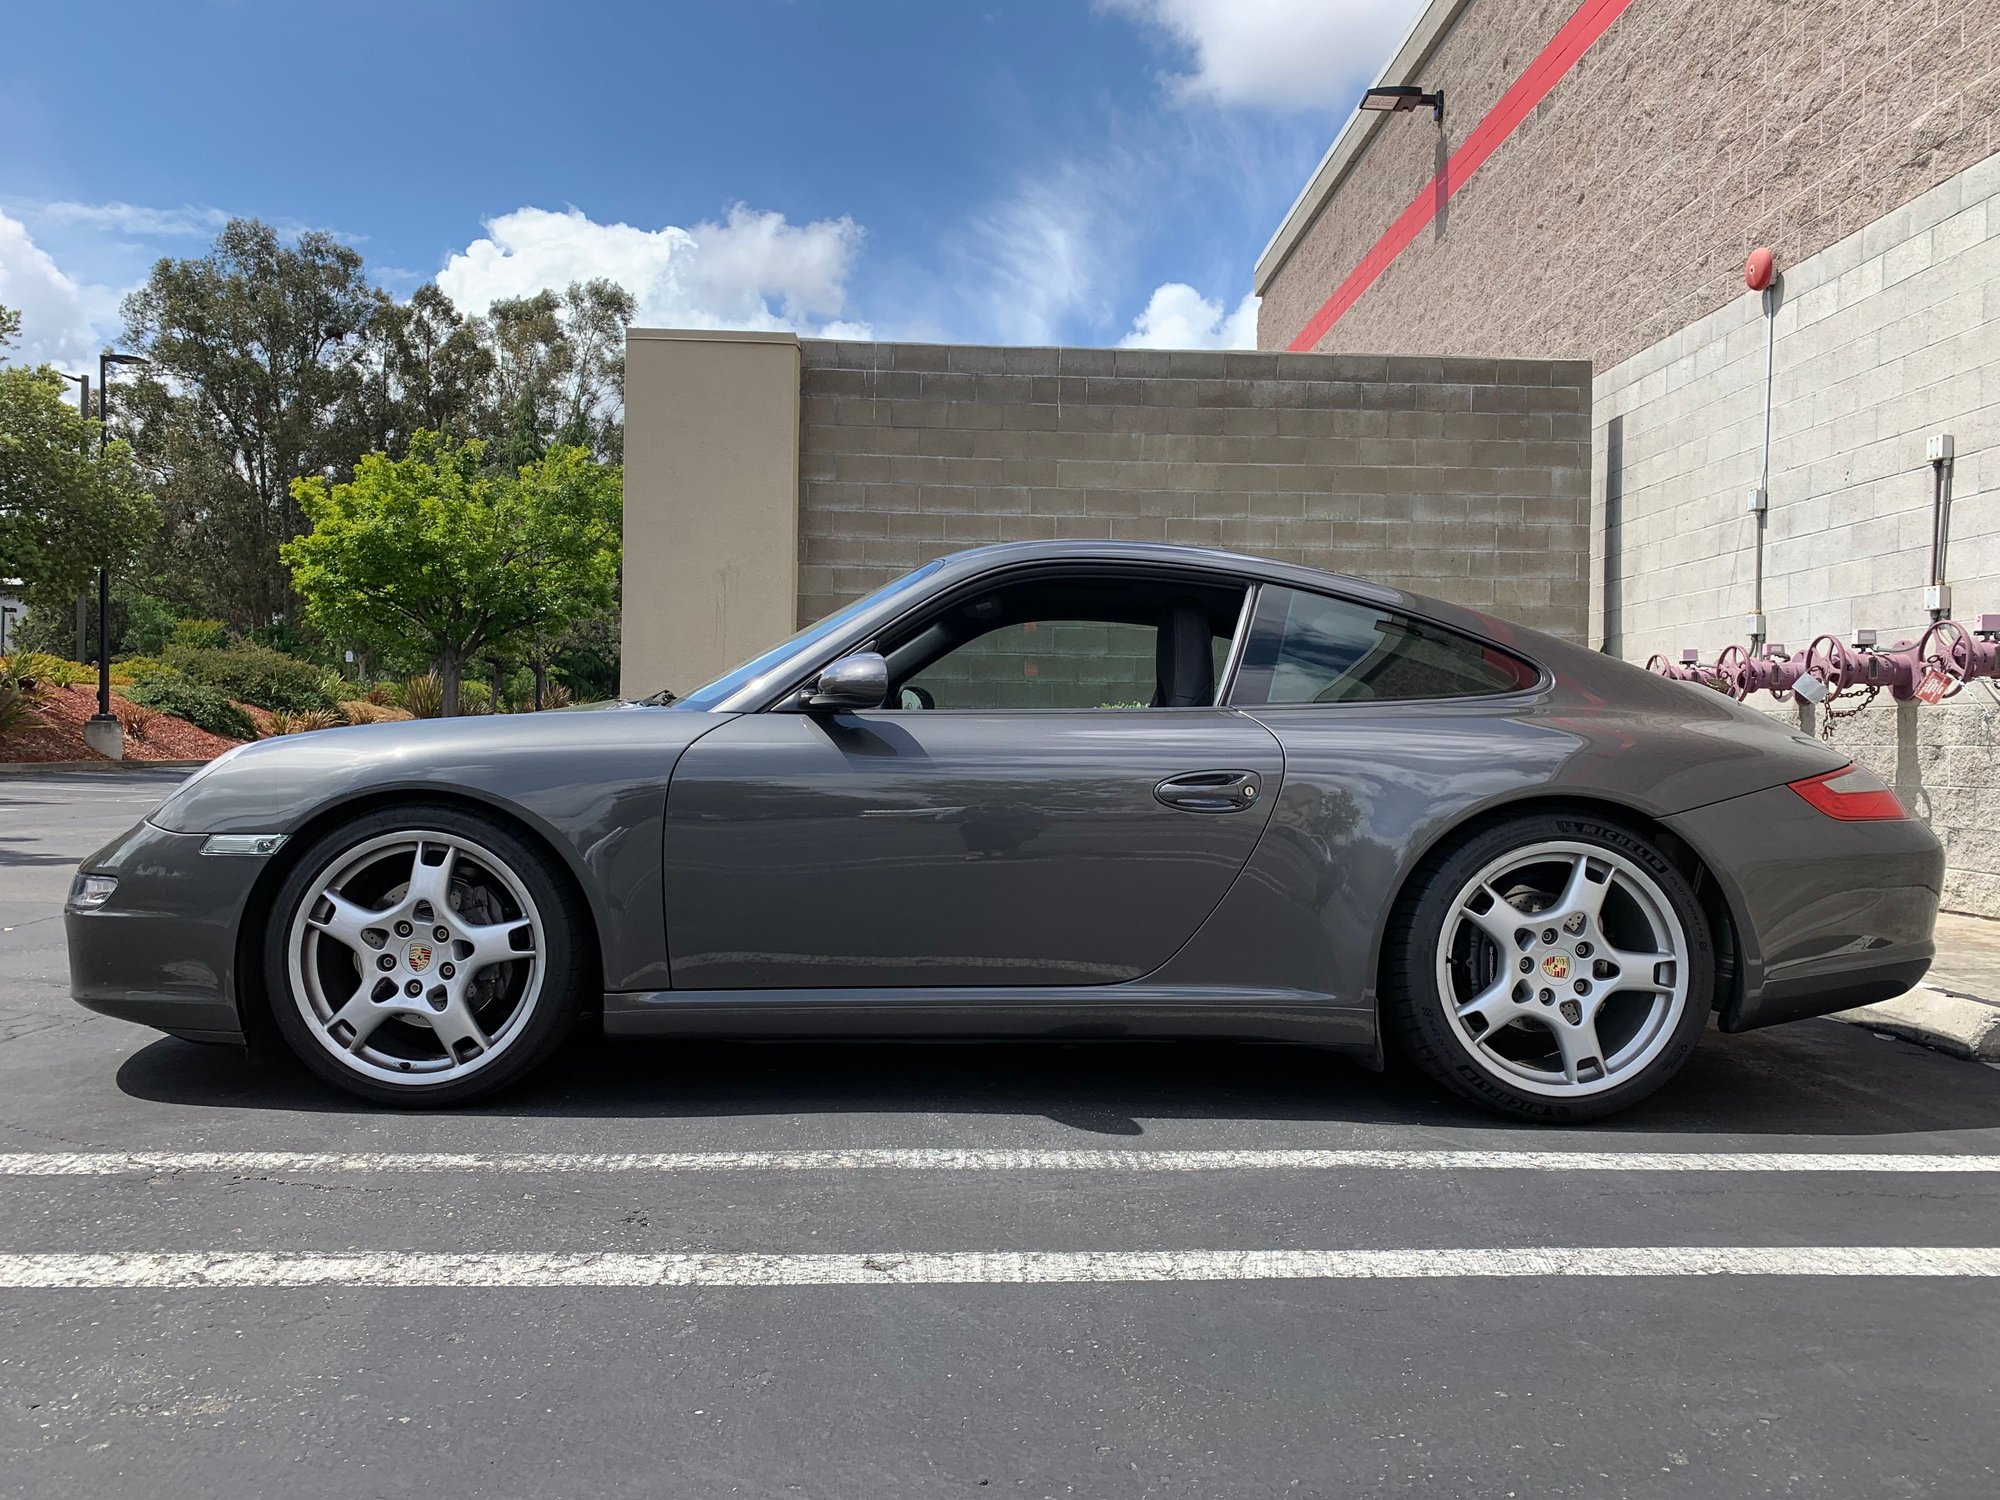
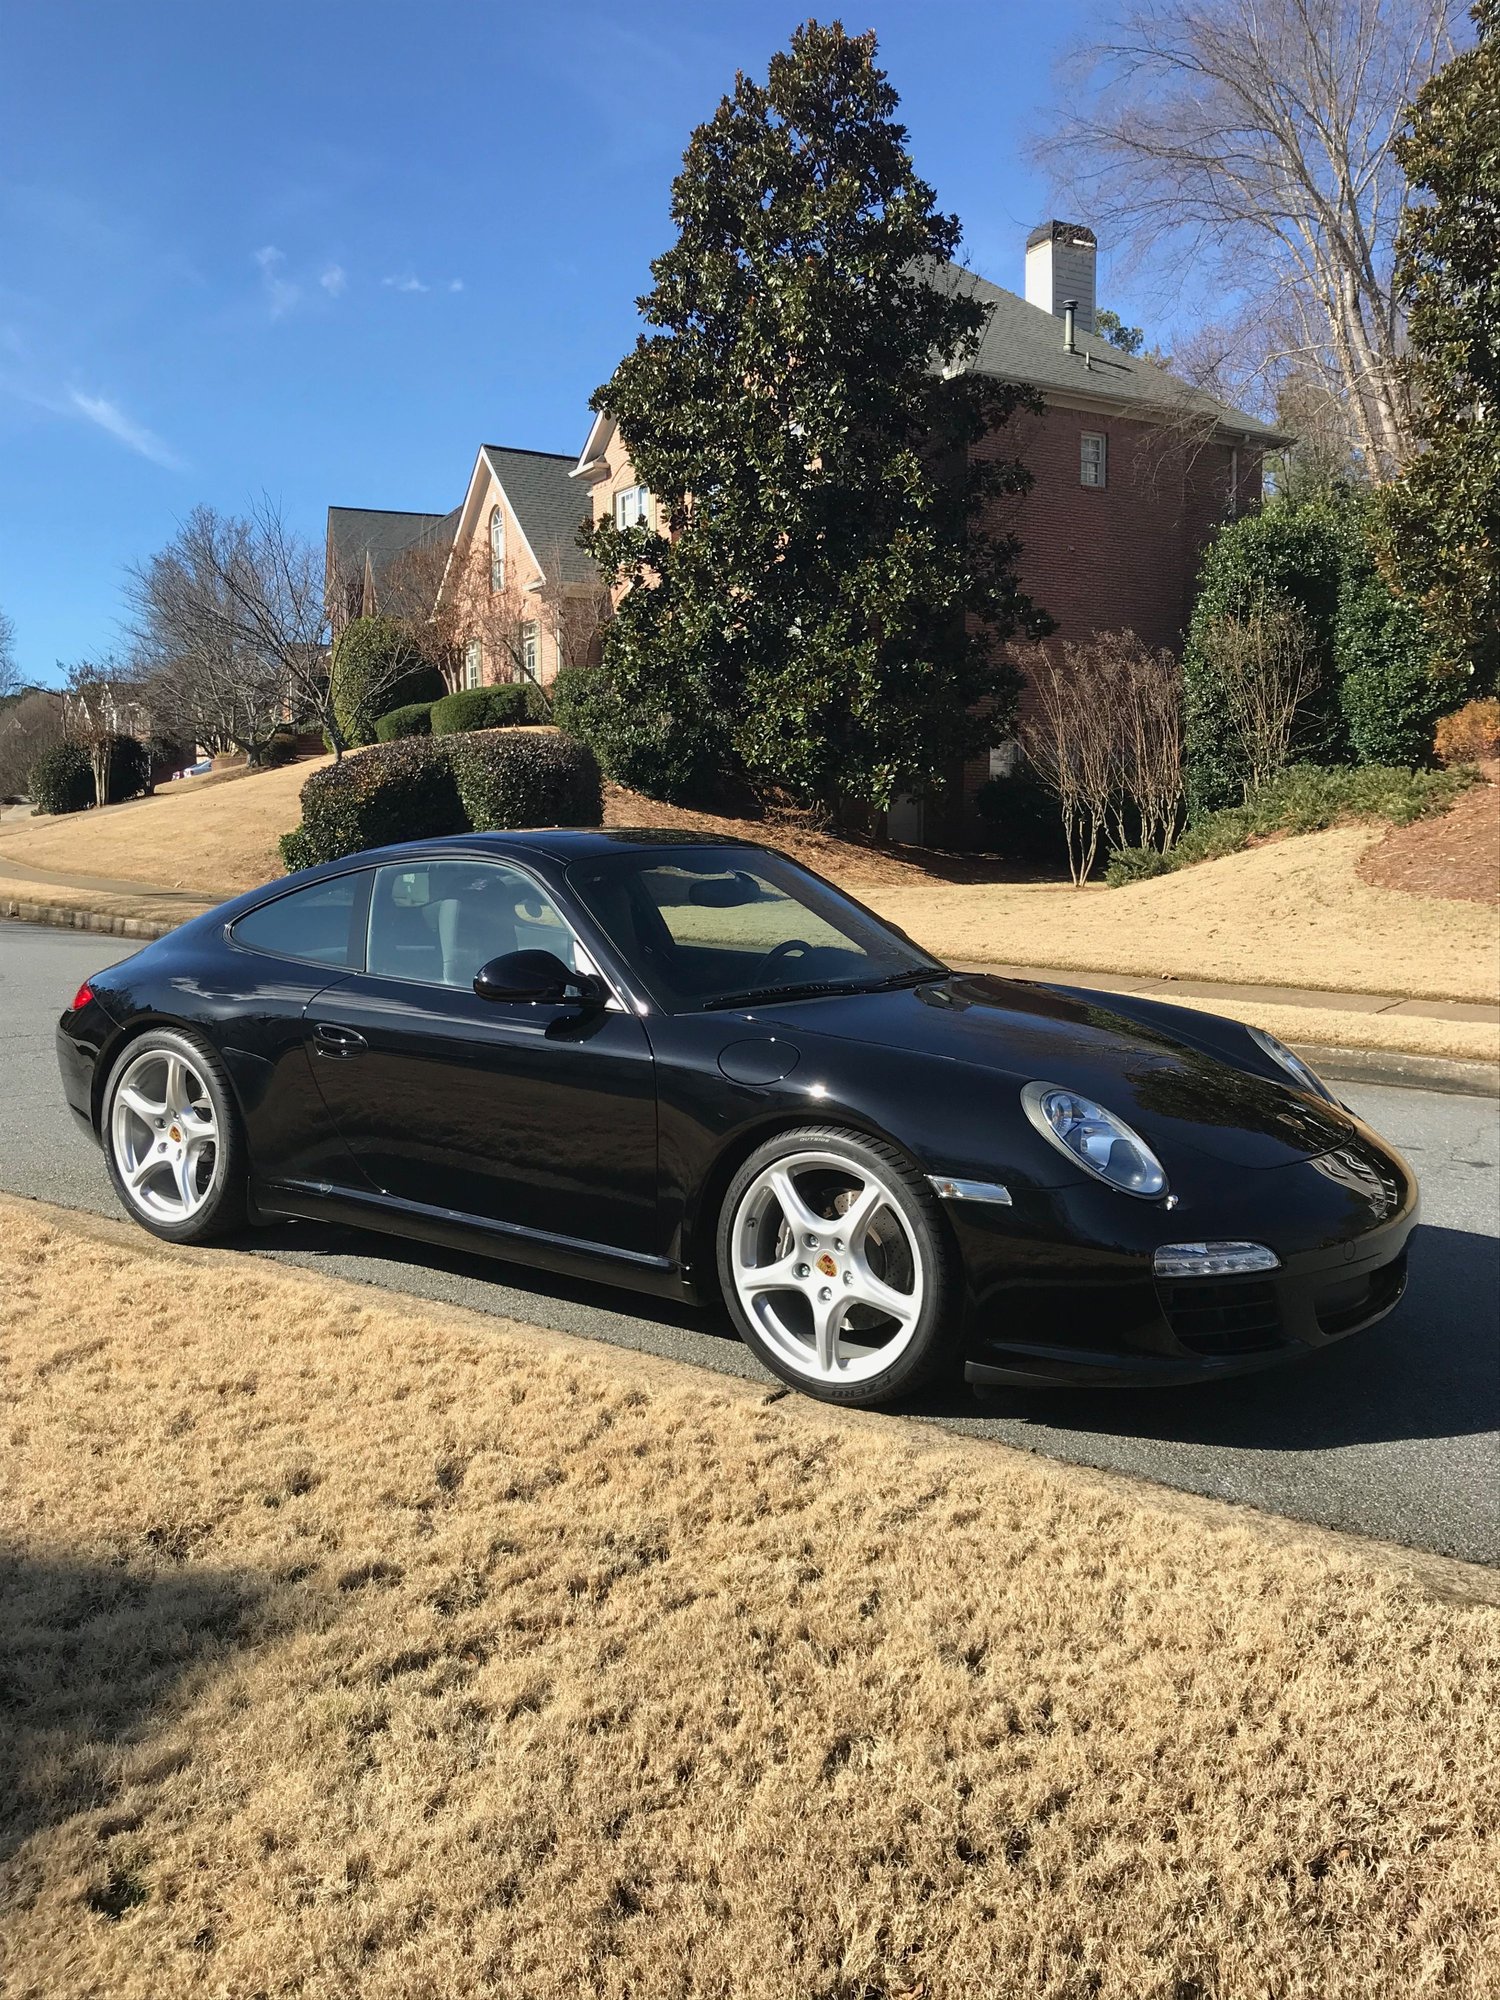
I finally am done setting up my PSS9's after many weekends of tweaking. For the rears, I did not remove any arms, just the sway bar. I was able to get the struts out by just compressing the springs with 3 carefully placed spring compressors. After raising and lowering the car many times get the perfect (in my eyes) ride height, I drove the car a bit, checked again, and took the car in for an alignment. I had the front camber set to -1.0, rear camber set to -1.5 as I felt this would be a good balance between tire life and performance. I did end up purchasing adjustable toe arms to avoid the possibility of having excessive toe, buying the arms anyways, and paying for a second alignment. After the alignment, I put 15mm spacers all around and I think the stance is great! This guide was super helpful.
I installed Eibach Pro-Kit Springs in my 2007 Carrera over the weekend. While I referred to and worked from the threads above, the process can be simplified a bit if you are just replacing the springs (as I did). I followed these steps and it took approximately 5 hours to do all four corners (using a lift, no spring compressors necessary):
Fronts:
(1) Remove the drop link from the strut housing
(2) Remove brake sensor/ABS wire connector and disconnect
(3) Loosen the inner lower control arm bolt (don't remove)
(4) Place a jack under the outside of the lower control arm
(5) Remove the strut to upper strut mount nut (the 21mm, don't loosen or remove the upper strut mount to tower nuts (3 per side))
(6) Lower/remove the jack under the lower control arm
(7) Compress the strut shaft (I used a small ratchet strap/tie down)
(8) Turn the spring to its side and remove by rotating it out (like a corkscrew over the strut shaft)
(9) Install new spring and follow steps above in reverse order (except, as noted by @original in post #30 above, the inner lower control arm bolt should not be tightened without weight on the wheel or hub)
Rears:
(1) Remove the drop link and sway bar
(2) Mark the orientation of the inner rear toe link bolt and alignment washer
(3) Loosen (don't remove) the inner rear toe link nut
(4) Remove the rear toe link nut from the wheel carrier and separate the shaft using a ball joint separator
(5) Remove the lower strut mount bolt
(6) From inside the car, remove the Bose subwoofer box (if applicable) and the front portion of the parcel shelf/insulation to gain access to the upper strut mounts
(7) Remove the upper strut mount to tower nuts (3 per side)
(8) Pry the lower strut off the wheel carrier and remove strut assembly out the bottom
(9) Remove upper strut to strut mount nut
(10) Remove and replace spring and follow steps above in reverse order (notes: (a) confirm orientation of spring insulator before tightening upper strut to strut mount nut, and (b) you'll need to pry the wheel carrier downward to get the bottom of the strut into position over the wheel carrier mounting ear)
Coming from non-S ride height, the Eibachs are perfect in my view and the ride quality does not seem compromised in the least. Very happy with the result.
Just doing some studying on this to see if it's something I can do.
1. For those that have done this install, curious on any tips for torquing the rear lower shock bolt -- access is blocked by the lower arm (toe arm?)?
2. I've studied Dan Tsuchiya's video as well as this excellent thread, curious on torquing the front upper shock bolt. It seems best to tighten with a hex/crowfoot counter/socket before installing -- then tighten in the car. Is the schwaben tool (my car is non PASM) needed to apply the final torque?
Rear shock lower bolt: you should still be able to get a wrench in there. Or just pop off the ball joint and move it out of the way.
Front shock: if you have RWD (without PASM), then you can tighten after installing into the wheel well, just use a box wrench or a longer pass through socket. If you have AWD, then it's best to tighten the shock fully out of the car, because the angle of the AWD front strut mount makes it harder to do this after installing into the wheel well.
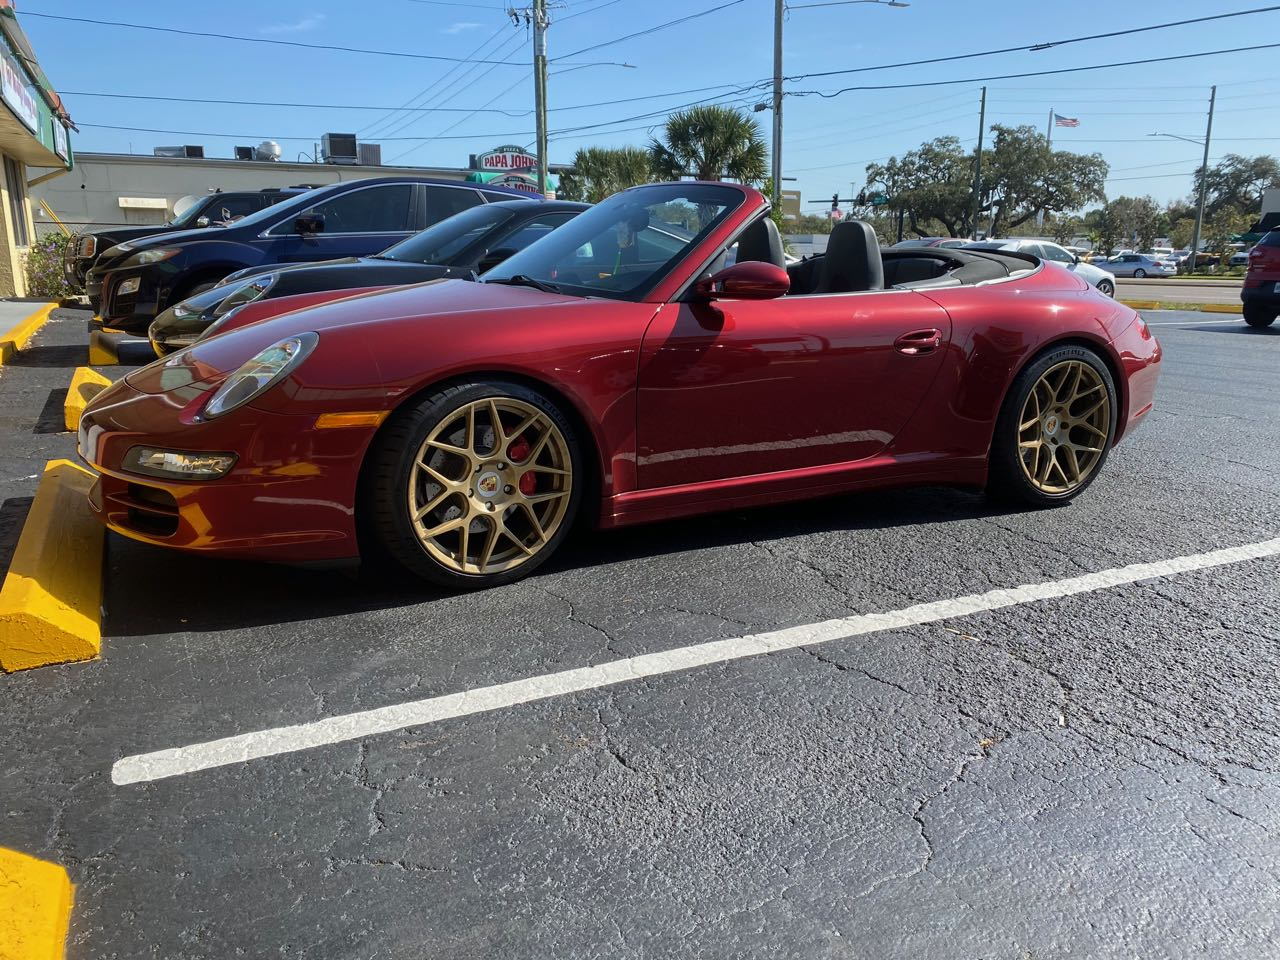
After lots of research here, did the PSS9 install on my car and quite happy with the results. This was a pretty straightforward but time consuming project. Thankful to have help from a very talented friend. Also have new upper strut mounts and bearings as an added bonus.
Guys, Are You still happy with the spring change? Any side effects? Did not see any 4WD:s in the thread�.
Yes. One of the best mods for a 997 in terms of performance and looks. Only downsides are your upper strut mounts will need to be replaced when you install as they tend to wear out faster. You also need to be a bit more thoughtful not to scrape in driveways.
Car looks great @mercman! Great job. How do you find the PSS9's compared to stock suspension?
Thanks. I'm still playing with some of the settings, currently 6/8 (i think). Ride is more firm, but not overly harsh (I didn't think these cars were pillow soft to begin with), and it's most noticeable on pockmarked roads. Most of the roads here are fairly smooth. The lateral transitions are definitely more controlled -- seems to be a lot less roll -- which was my biggest complaint with the stock set up. The rest of the suspension is completely stock save for the new front mounts and bearings. The new ride height (a tad conservative) really makes an incredible aesthetic difference.
I did the springs on my 997.1 C4S cab last week and thought I'd share so tips. FYI, I'm a shadetree mechanic and anything you do/follow here is at your own risk.
The rear was exactly the same. Since it was a cab, it was even easier! Just put your top almost all the way up, with the top cover in the far back position. You can disconnect the two cables that tether the glass portion of the top to the car, secure the top in the far forward position (I just wrapped rope around it), and then you can access the rear strut tops. You can do it as one person, since you can simultaneously reach both sides of the strut.
But the 4 part: I wasn't able to find a lot of information beyond "disconnect the shaft from the final drive unit." This is something you certainly need to do to be able to articulate the suspension down. But I ran into a problem -- even disconnected, the shaft hits the swaybar before you can rotate the string/strut assembly out freely. I tried a couple of things (removing the inner liner, etc.) but came up with a better method that was much quicker on the second side. What I'd do from scratch on the front end of a 4 now:
1. Remove front undercover. This makes access to the bolts connecting the final drive to the CV shaft much easier, certainly on the driver side.
2. Brake the center bolt loose on the strut top.
3. Remove brake caliper and rotor as described before. Access to the CV shaft bolts is greatly increased through the window in the rotor backing plate.
4. Unbolt the CV shaft. (Note, I've seen it called a couple things, which makes it harder to search for, by CV shaft, I mean the shaft that connects the front final drive to the wheel carrier and wheel).
Now, what you want to do is basically connect the wheel carrier from the car. This is the easiest way to get it off for me, since you cannot rotate it down enough to get it out without either removing the CV shaft from the front carrier or the swaybar. If you ARE changing out the swaybar, maybe it would be easier to do that, but I wasn't and changing it isn't trivial like the rear bar is. My 15 seconds of research on removing the CV shaft from the wheel carrier side showed two problems, the 350 ft.lb. of torque needed on my car already up on jackstands and one comment that it is involved to press the CV shaft back into the wheel carrier.
Ok, so now let's separate the wheel carrier and strut:
5. Disconnect/separate the tie rod to wheel carrier connection, ball joint to wheel carrier, and swaybar to strut body connection. You should now be able to get the ball joint/wheel carrier to separate.
6. Unbolt the three small bolts on the strut top, and you should be able to drop and wiggle the wheel carrier/strut/CV shaft assembly. Careful with the CV boots!
It's more of a pain than the six step plan, but this was the most straightforward way I found to do it. YMMV of course.
In general, here are the other things I'd recommend:
-Get new bumpstops. My car has 28K and has lived a pampered life. The bumpstops/helper strings were nearly disintegrated.
-Get new bolts for the CV shaft to final drive. I think these are the most susceptible to strip due to both how you have to access them (lots of extensions/small easily rounded head).
-I probably would have just went through and bought new bolts/nuts for everything. Ordered from Pelican or another supplier, it would have been reasonable. If you disconnect the toe arm to control arm bolt, that is ~118 lb/ft and if you are doing it on the ground, it's not too hard to not line it up right one handed and have it round off.
On tools, I'd order both the Schwaben open 19 and 21mm sockets (since I have PASM) and the 21mm/22mm deep offset wrench that Pelican says. I'd get the deep offset if I didn't have PASM. Using a pass through socket set isn't really workable on the front, at least on mine where the strut nut is offset towards the front, accessible but not fully accessible. I'm not sure if all are this way, or if it is a 4 or cab thing. Also, without a proper socket it makes accurate torquing a problem if you don't have a good way to accurately measure it sans socket.
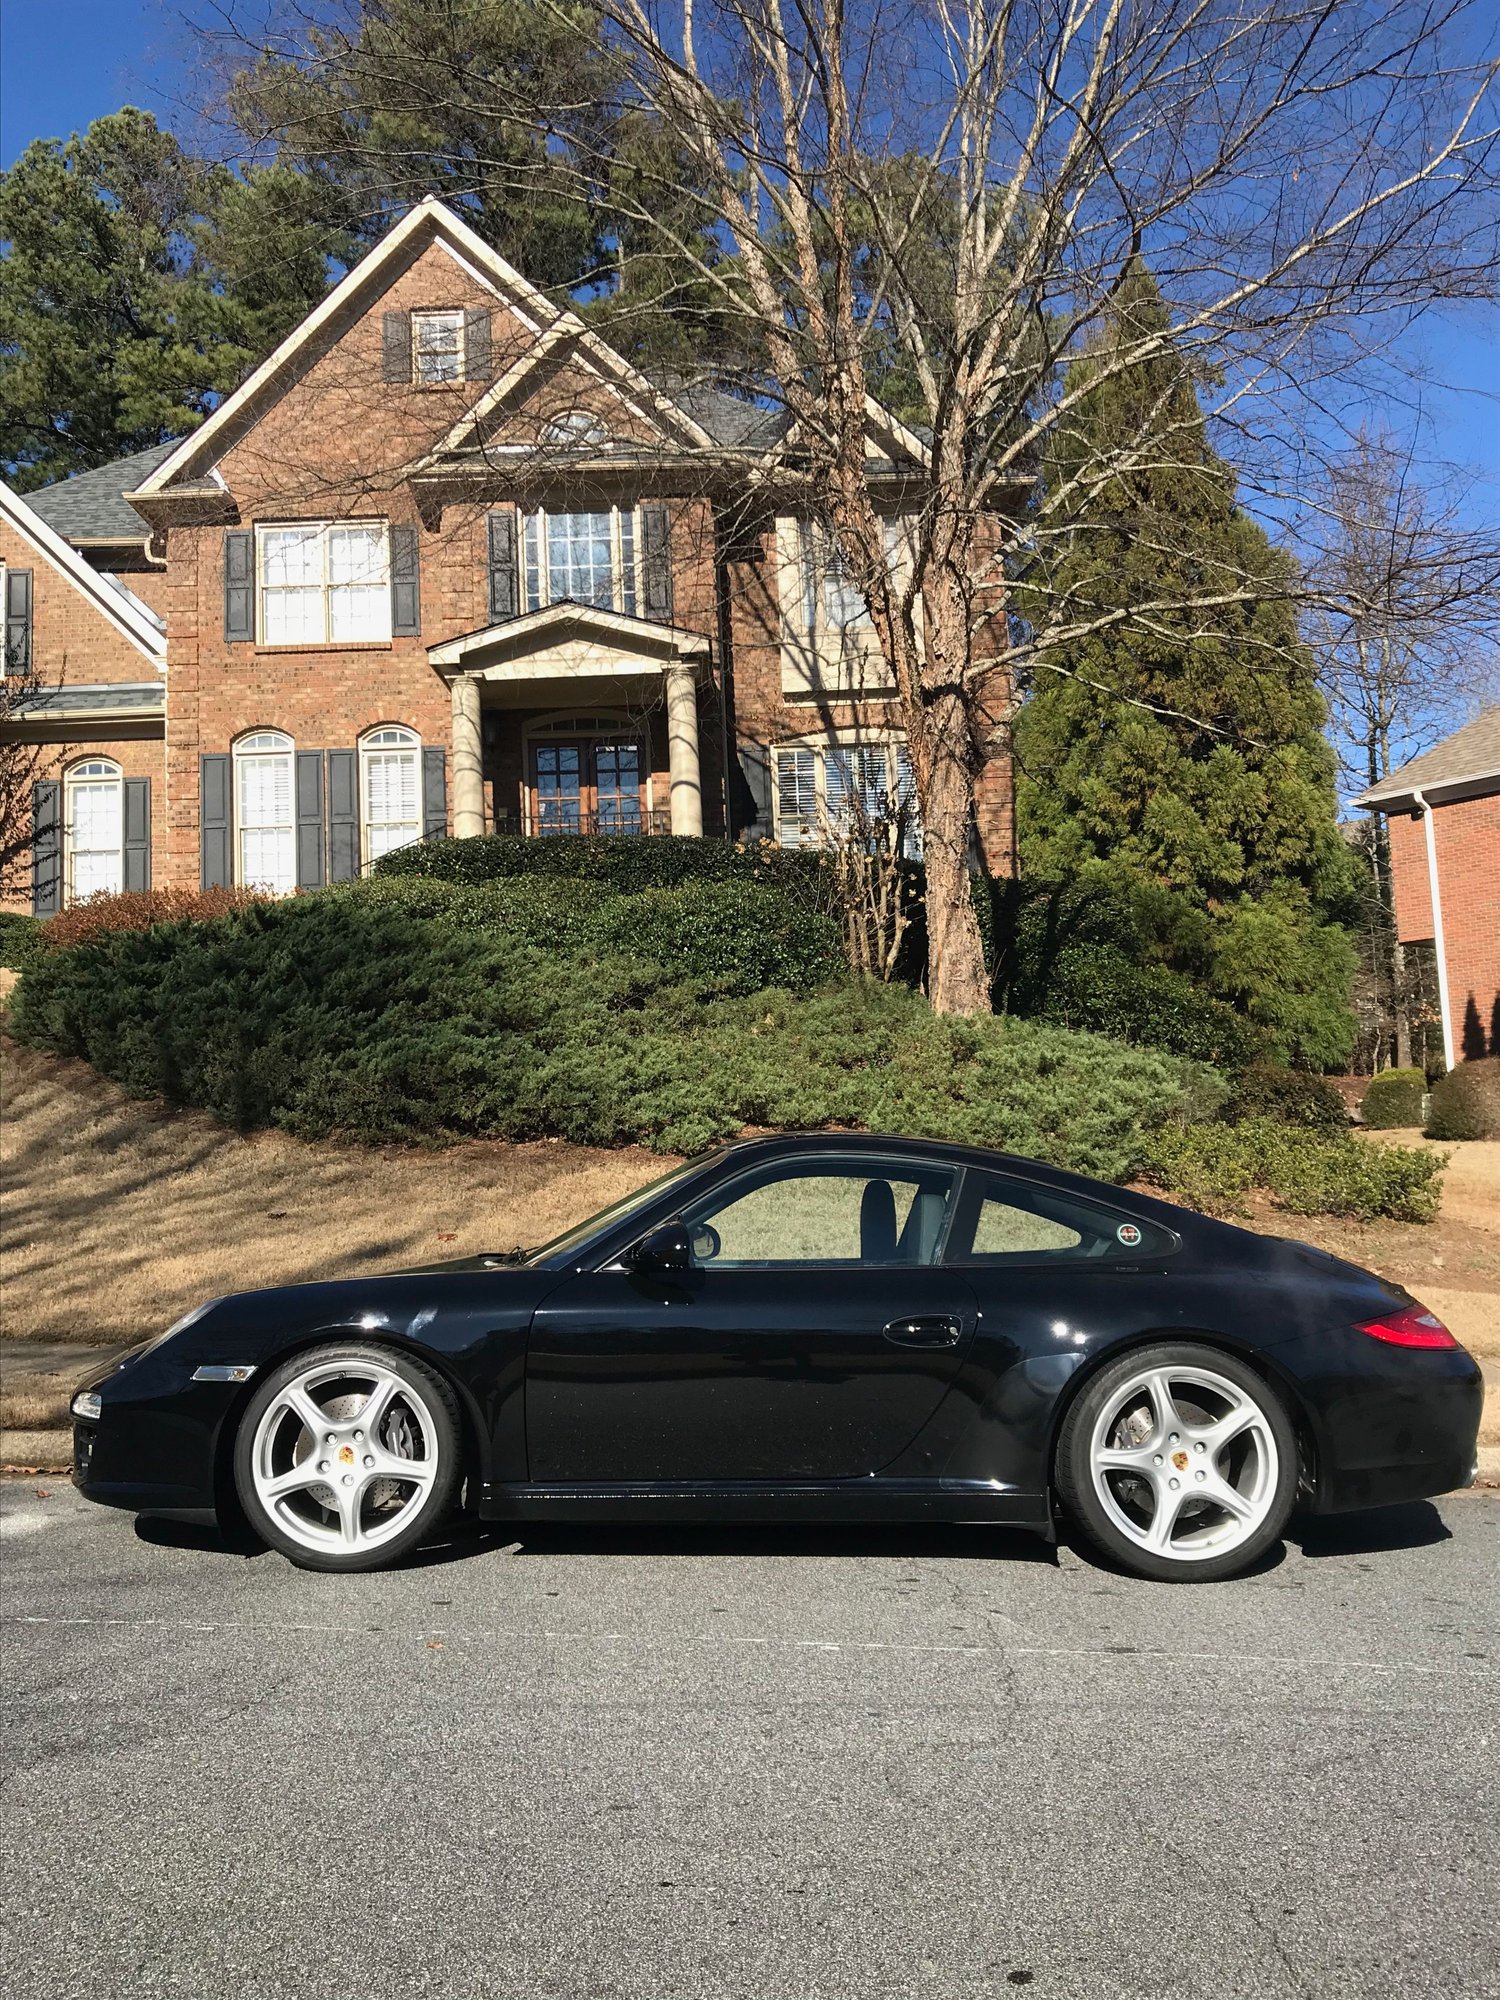
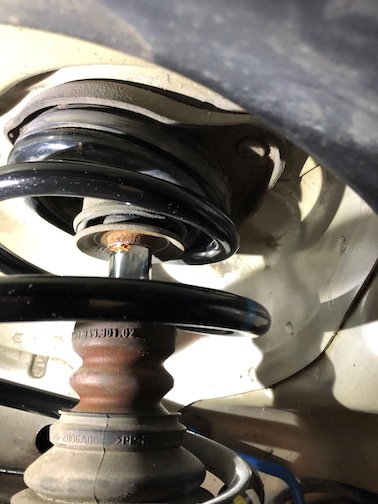
Non glamor shot of the finished product (H&R Springs)
Last edited by codywms; 01-23-2020 at 04:29 PM.
Reason: added picture
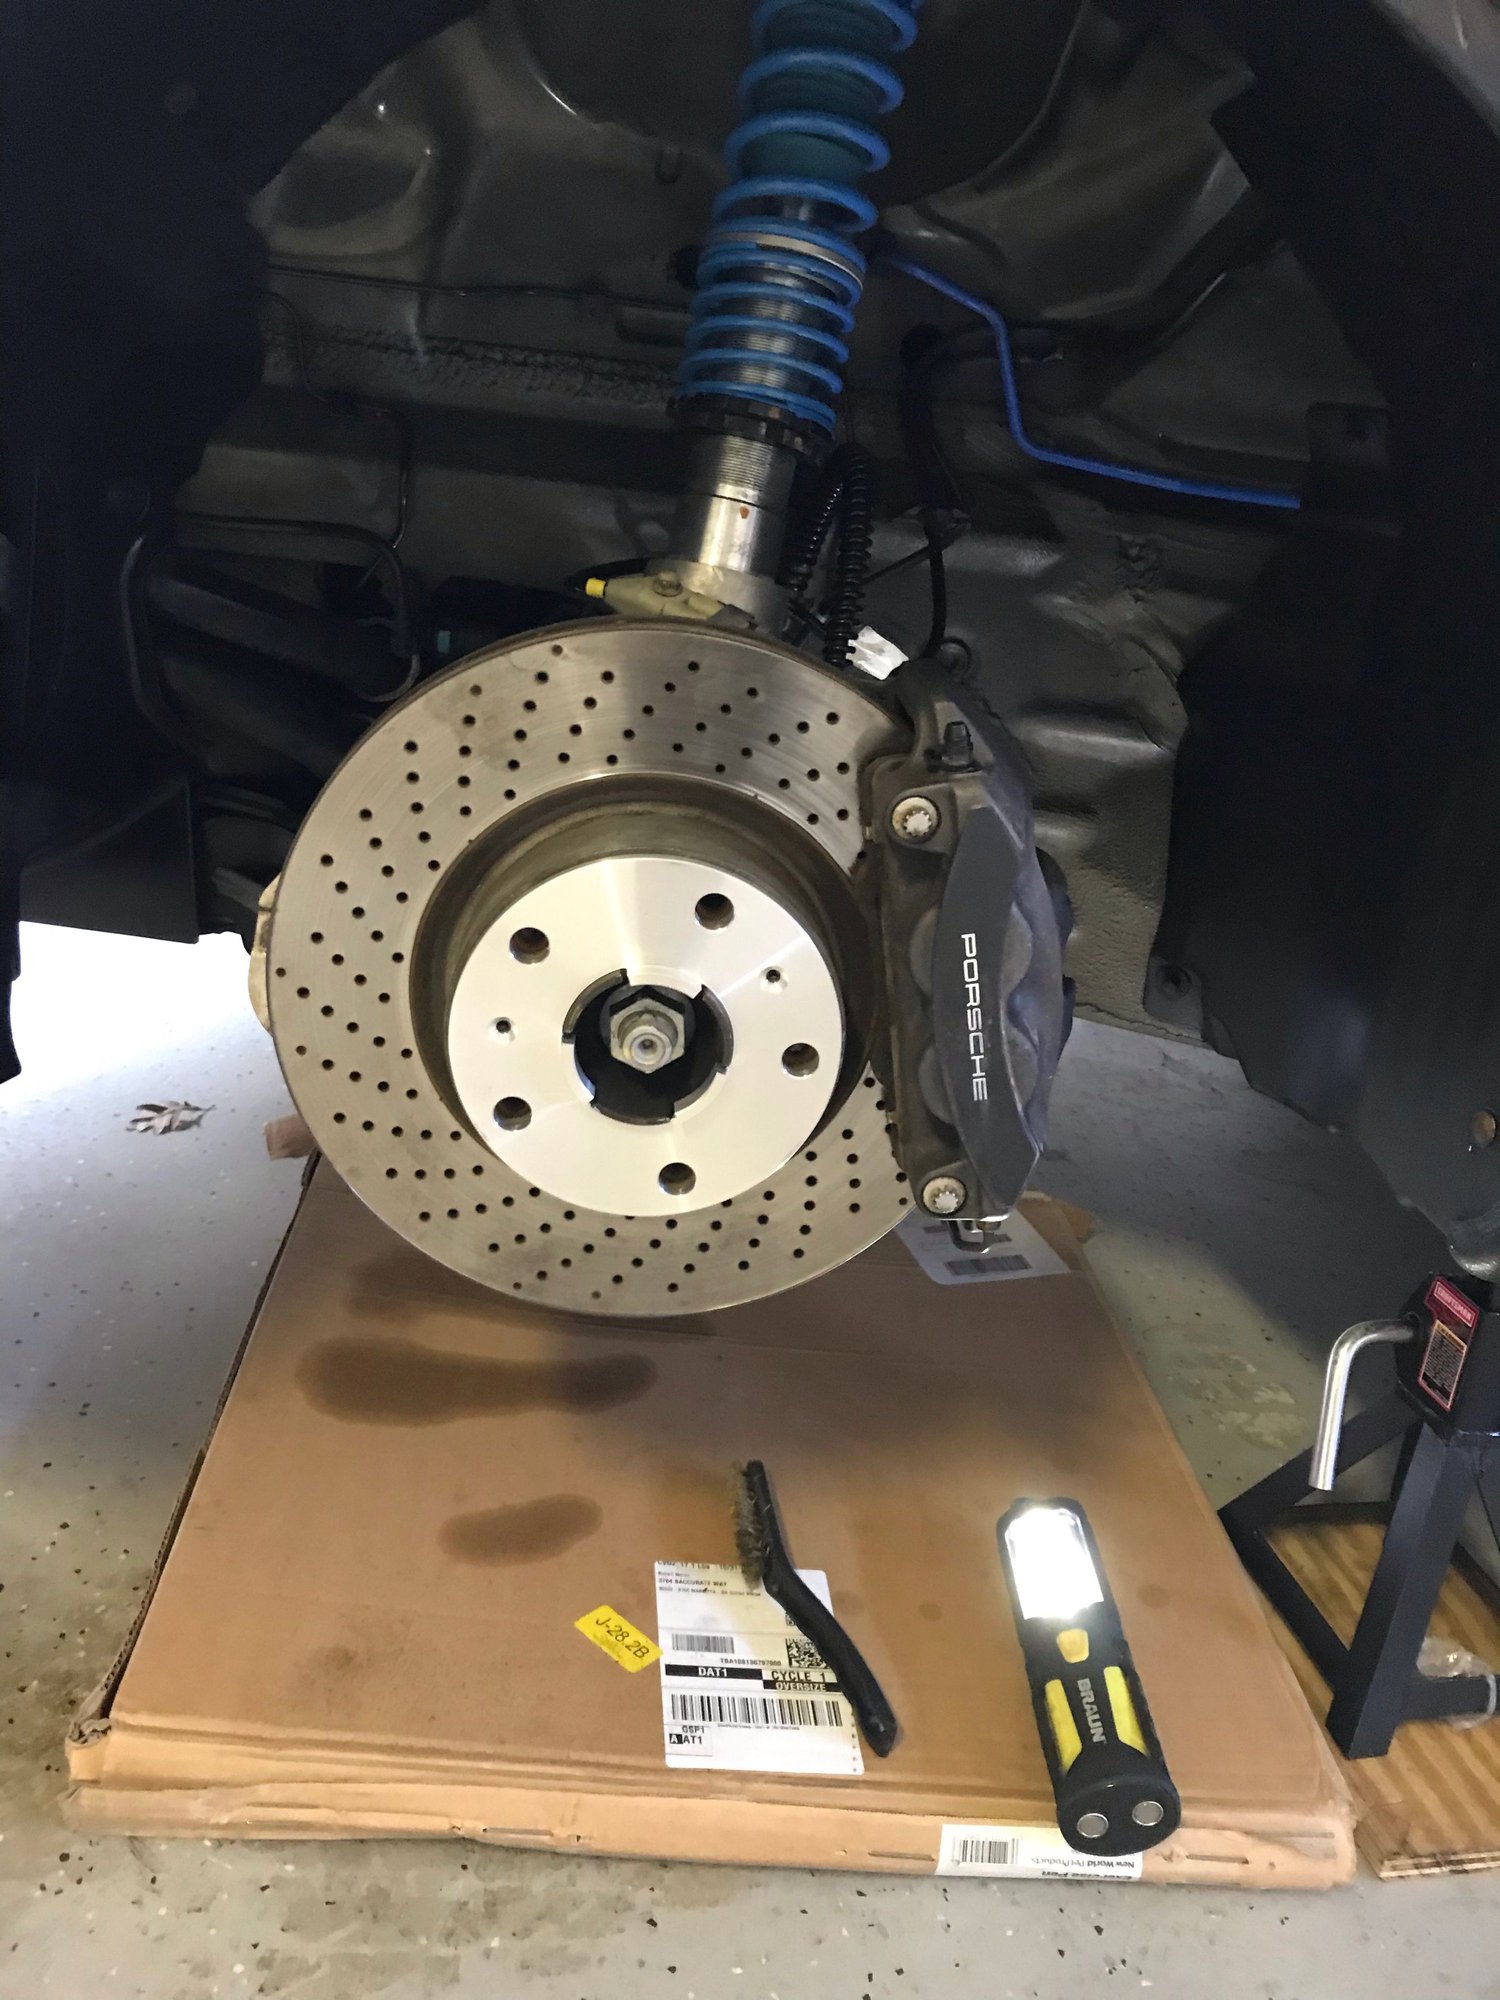
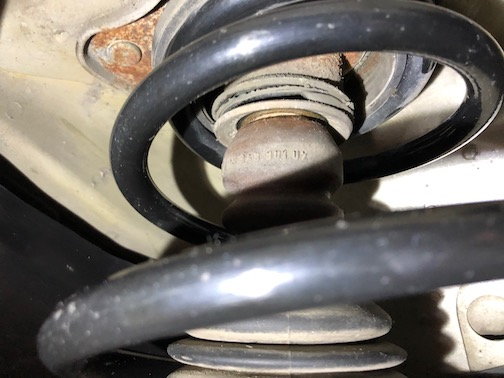
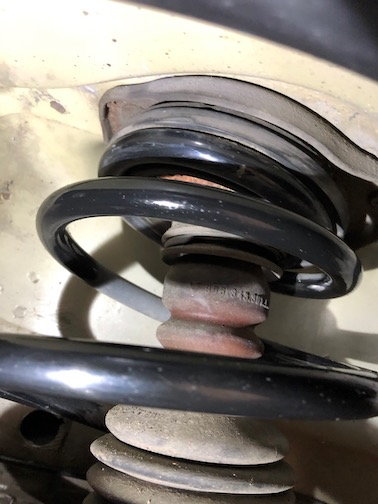
Not trying to borrow trouble, but happened to be in the wheel wells fixing my CV boot and took a look at my bushings / strut mounts while unloaded. Those of you with experience here on struts/wear, any thoughts on the condition (see pics):
2010 C4S, fronts. Thx
The strut mounts split up top, so you really have to remove the strut to see the condition of the rubber. Bump stops look fine, as long as they aren't disintegrating when you poke em.
If you're not having noise going over bumps, then I think you're good.
First of all many thanks to the OP. Very helpful write-up. I will shortly post my personal "saga" but first I would like to get rid of these pesky error codes. I have a Durametric Pro and in the past I've had no problem in getting rid of the error PSM, ABS and Brake Pad codes by driving the car up and down my 100 ft driveway a few times (winter salt on roads around here so no real driving). Re-checked all connections, downloaded and reloaded the Durametric software and still can't clear the codes.
Wonder if I should pull the battery for 10 minutes and start all over. Thoughts?
TIA

 12-22-2018, 10:47 AM