When you click on links to various merchants on this site and make a purchase, this can result in this site earning a commission. Affiliate programs and affiliations include, but are not limited to, the eBay Partner Network.
I know we often talk about the ride hight lowered within the wheel well, but I'd also be interested in the drop just in the front. Was wondering if you did a measurement for clearance at the front bumper? Or maybe anyone can share their experience of front bumper clearance level change after lowering.
Also, I really like the gloss black of the re-finished calipers....something different that red or yellow.
Originally Posted by TheBruce
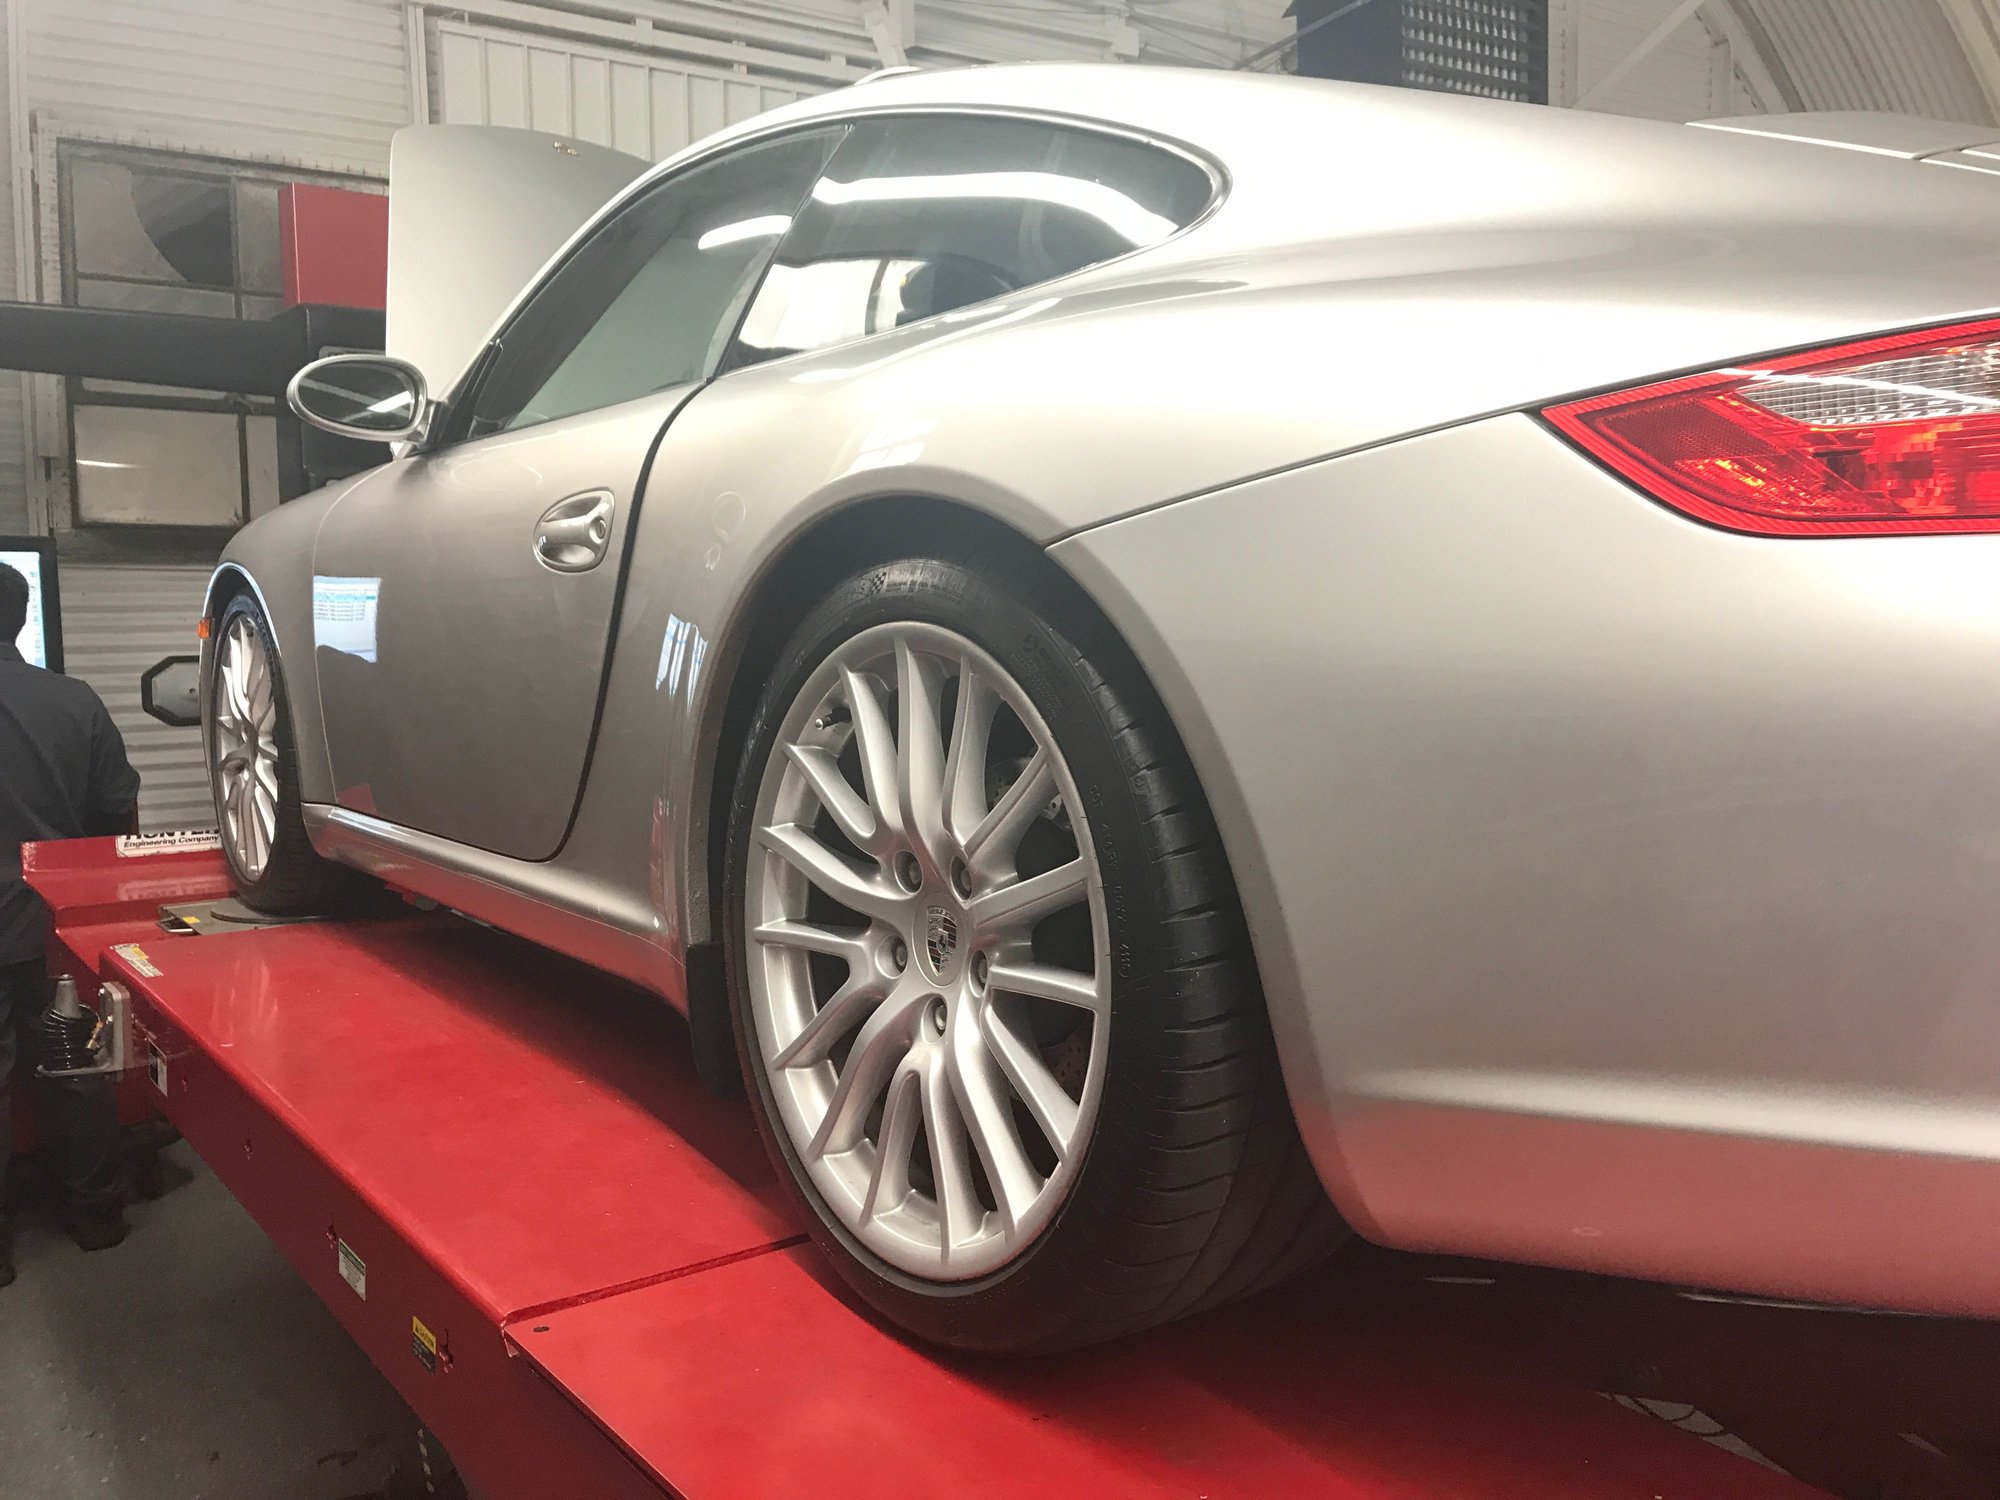
I really like the Eibach height. Its 1/2" lower than a S and 1" lower than the base model. It fills the wheel well nicely and I can get it in the driveway and over speed bumps taking it slow. H&R were out of the question as I wouldn't be able to get in my driveway and had a bit too much of a slammed look in the front. I also like that the Eibachs have rubber tubing around the spring to eliminate squeaking.
Re spacer, I bought RSS spacers from Sharkwerks here in the Bay Area. They came with longer lug bolts and locating pins. I think they are $175 for the 15mm rears and $135 for the 7mm fronts. I had also looked at ECS and the brand Suncoast sells. I think they are all about the same price however ECS only makes them in black and the Suncoast 7mm spacer didn't look to be hubcentric (but its not really needed at 7mm).
They took 20minutes to install. The rears were a really tight fit on the wheel wouldn't go on flush. I was worried about jamming them on crooked so I ended up putting the spacer on the wheel first and tapping it flush with a rubber mallet (making sure to keep the holes aligned with the locator pin) then installing on the hub. That worked better.
The only thing I don't like is the lug bolts are chromed and don't look right with my silver sport design wheels.
wow! how did you do it? take the caliper off or leave it on, spray paint or brush on...
This was the forth set I did. All came out great. I use VHT and never Duplicolor. Well I tried Duplicolor but the spray and color were not as good. I learned this very quickly. I did most of them on the car, just lots of newspaper and painters tape. I probably can find a pic from my 986forum entries. It all dries very fast. Then I put on the Porsche stickers and clear coat it with VHT engine clear. I did this back in 2011 to my first Boxster and I know the guy that now owns it and it is holding up great.
Good luck!
Does anyone know if this procedure is applicable to the Carrera 4? I was told to pull axles out rather than drop hubs and tear up my bushings if they aren't already shot.....anyone care to weigh in? I'm on the verge of B6 and Eibach 30mm spring drop. I've never realized for AWD cars it's a different beast of a job. 8 hours labor at my dealer. I just don't want to get started and then screw myself.
I remove the front axles on my C4S. I actually ended up removing the entire front upright/hub, but that made removing the strut very easy. The rears were very simple by comparison. I did also buy a very large 3/4" torque wrench to make sure the axle nut was torqued properly to 350 ft lbs or whatever it was - my 1/2" torque wrench was 100 ft lbs short.
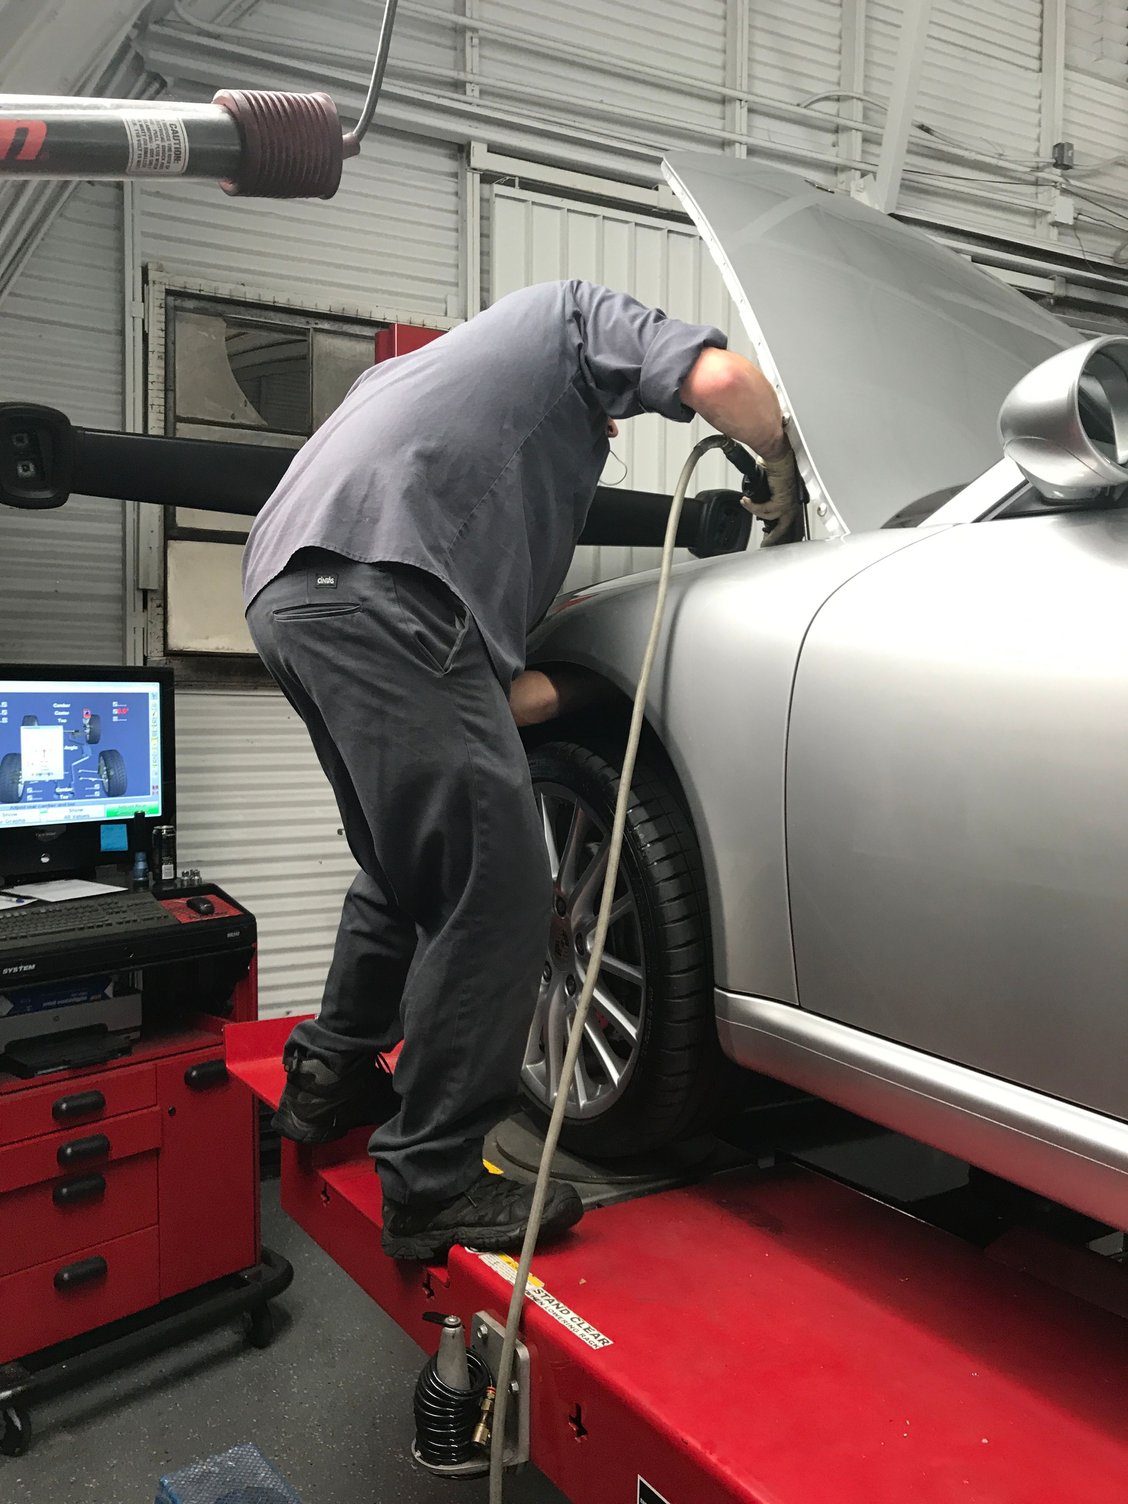
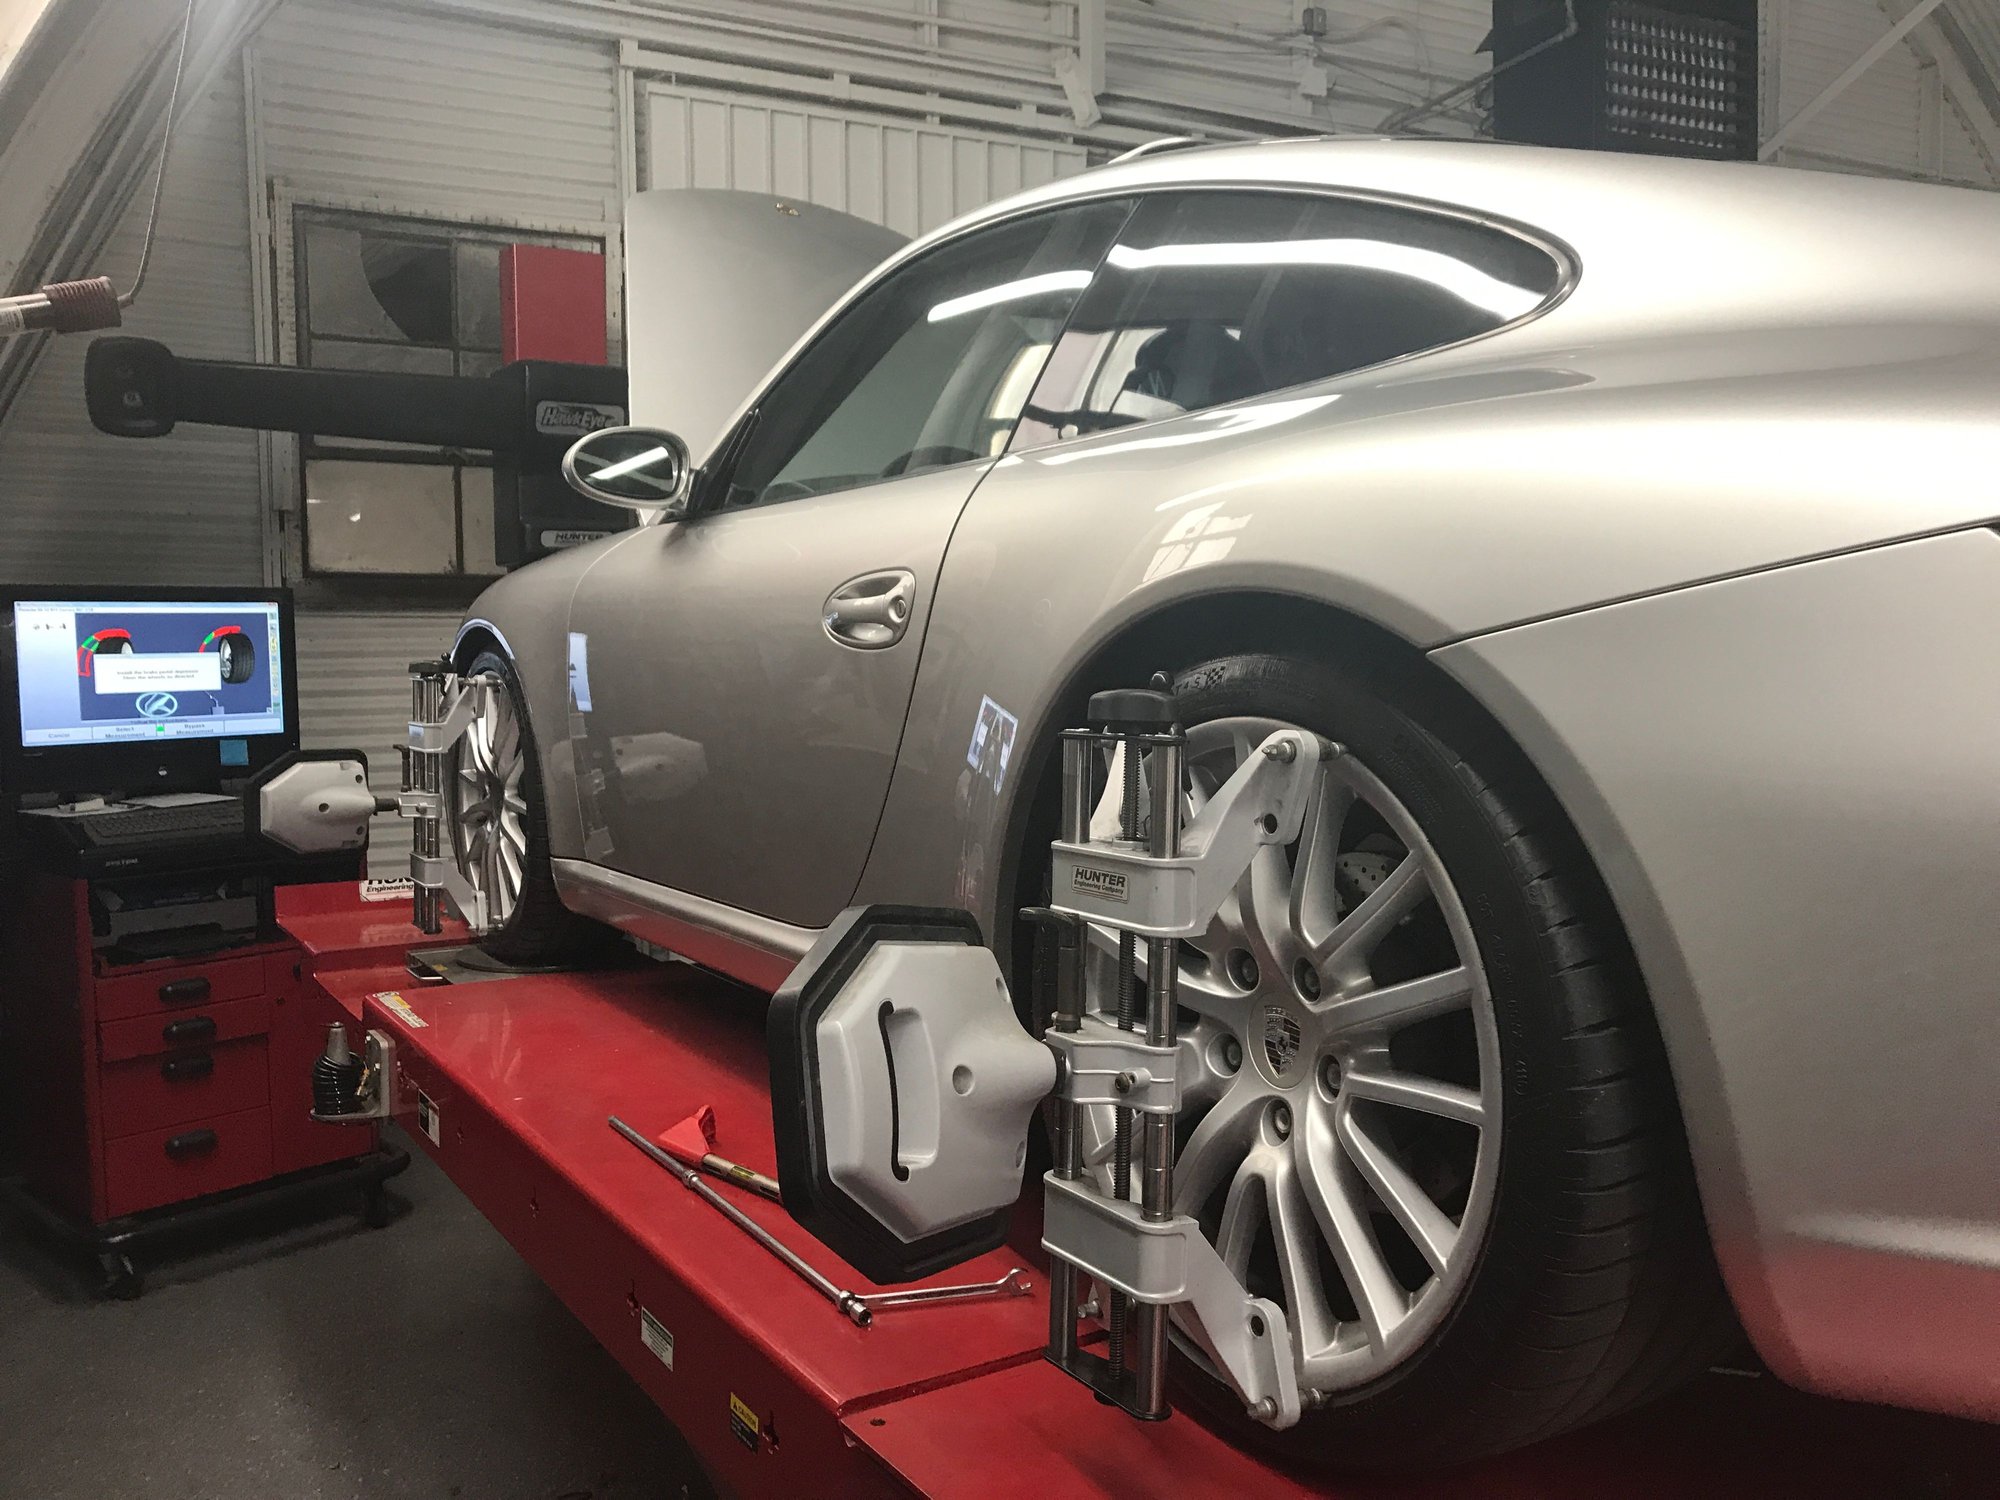
Ouch. Brought it over to the guys at S-Car-Go racing for alignment and asked Wells to check my work in the process. 2mins later he smiles and says..."so you installed the front cup washer upside down dumba$$!". Amazing. I installed the top front left cup washer facing down instead of facing up. Left was installed correctly.
Wells is a rockstar and was able to jack it up on the alignment rack and reach in to flip the washer without taking the strut out. Pretty impressive. That's why these guys are the pros. I got a great education from him in the process.
I couldn't tell from your writeup, but did you compress the suspension to normal ride-height before doing final torque on all the control arm bushings?
I couldn't tell from your writeup, but did you compress the suspension to normal ride-height before doing final torque on all the control arm bushings?
Oh good catch. Yes, I compressed by putting the floor jack under the wheel carrier.
I did this project last weekend. I don't agree with all the steps the OP took in his post (if you are following it). It looks like he went back and corrected a few things. For the rears, you don't need to separate the rear toe control arm/bushing. Just leave them. The rears come out super easy. I let the spring/shock drop down towards the ground and then tilted them out. Plenty of room. Also, don't remove the upper control arm bolts at the chassis. Remove them at the carrier. It is much easier and they go back in much easier. They have some tension on them, so you'll need a rubber mallet to tap them into position. Once in position, simply hold the arm and slide the bolt in. I can't imagine doing this on the chassis side.
In the front, same thing, no tie rod removal. Also, don't put spring compressors on when the front struts are in the wheel well. Simply loosen the inner control arm bolt (control arm to frame). You'll need a swivel socket and an extension. I think I used a 1/2 swivel and 18" extension. The (nut side) bolt is a little hard to get to, but once you loosen it (just loosen, don't remove), the whole knuckle will drop allowing you to remove the spring and strut. It's a little tighter up front, but if you put a towel over the threads on the upper plates, it will come out nicely. DON'T TIGHTEN inner control arm bolt UNTIL THE CAR IS BACK ON THE GROUND. To do this, you just turn the front wheels a little when you have the tires on and it's on the ground. Use your long extension and a swivel to tighten it back up. That won't get you perfectly aligned, but it will get you close. You will need an alignment afterwards. I did mine at the Porsche dealership for $199 (figuring if they broke something, they would replace it). The local tire shop does alignment for about half that ($100), but I was more worried that they would use an impact instead of hand tools.

 08-17-2017, 12:33 AM