When you click on links to various merchants on this site and make a purchase, this can result in this site earning a commission. Affiliate programs and affiliations include, but are not limited to, the eBay Partner Network.
I can only imagine how satisfying it must be for you to be in the assembly phase after all your prep work. Hope all of the assembly continues to go smoothly for you.
So if the deck height is off, is that an issue other than the influence on compression ratio? Is it a valve clearance issue or ?? I know there is an ideal number but so what if it is off a few thou?
So if the deck height is off, is that an issue other than the influence on compression ratio? Is it a valve clearance issue or ?? I know there is an ideal number but so what if it is off a few thou?
pistons travel higher than the deck and make contact with the valves. buhbye motor
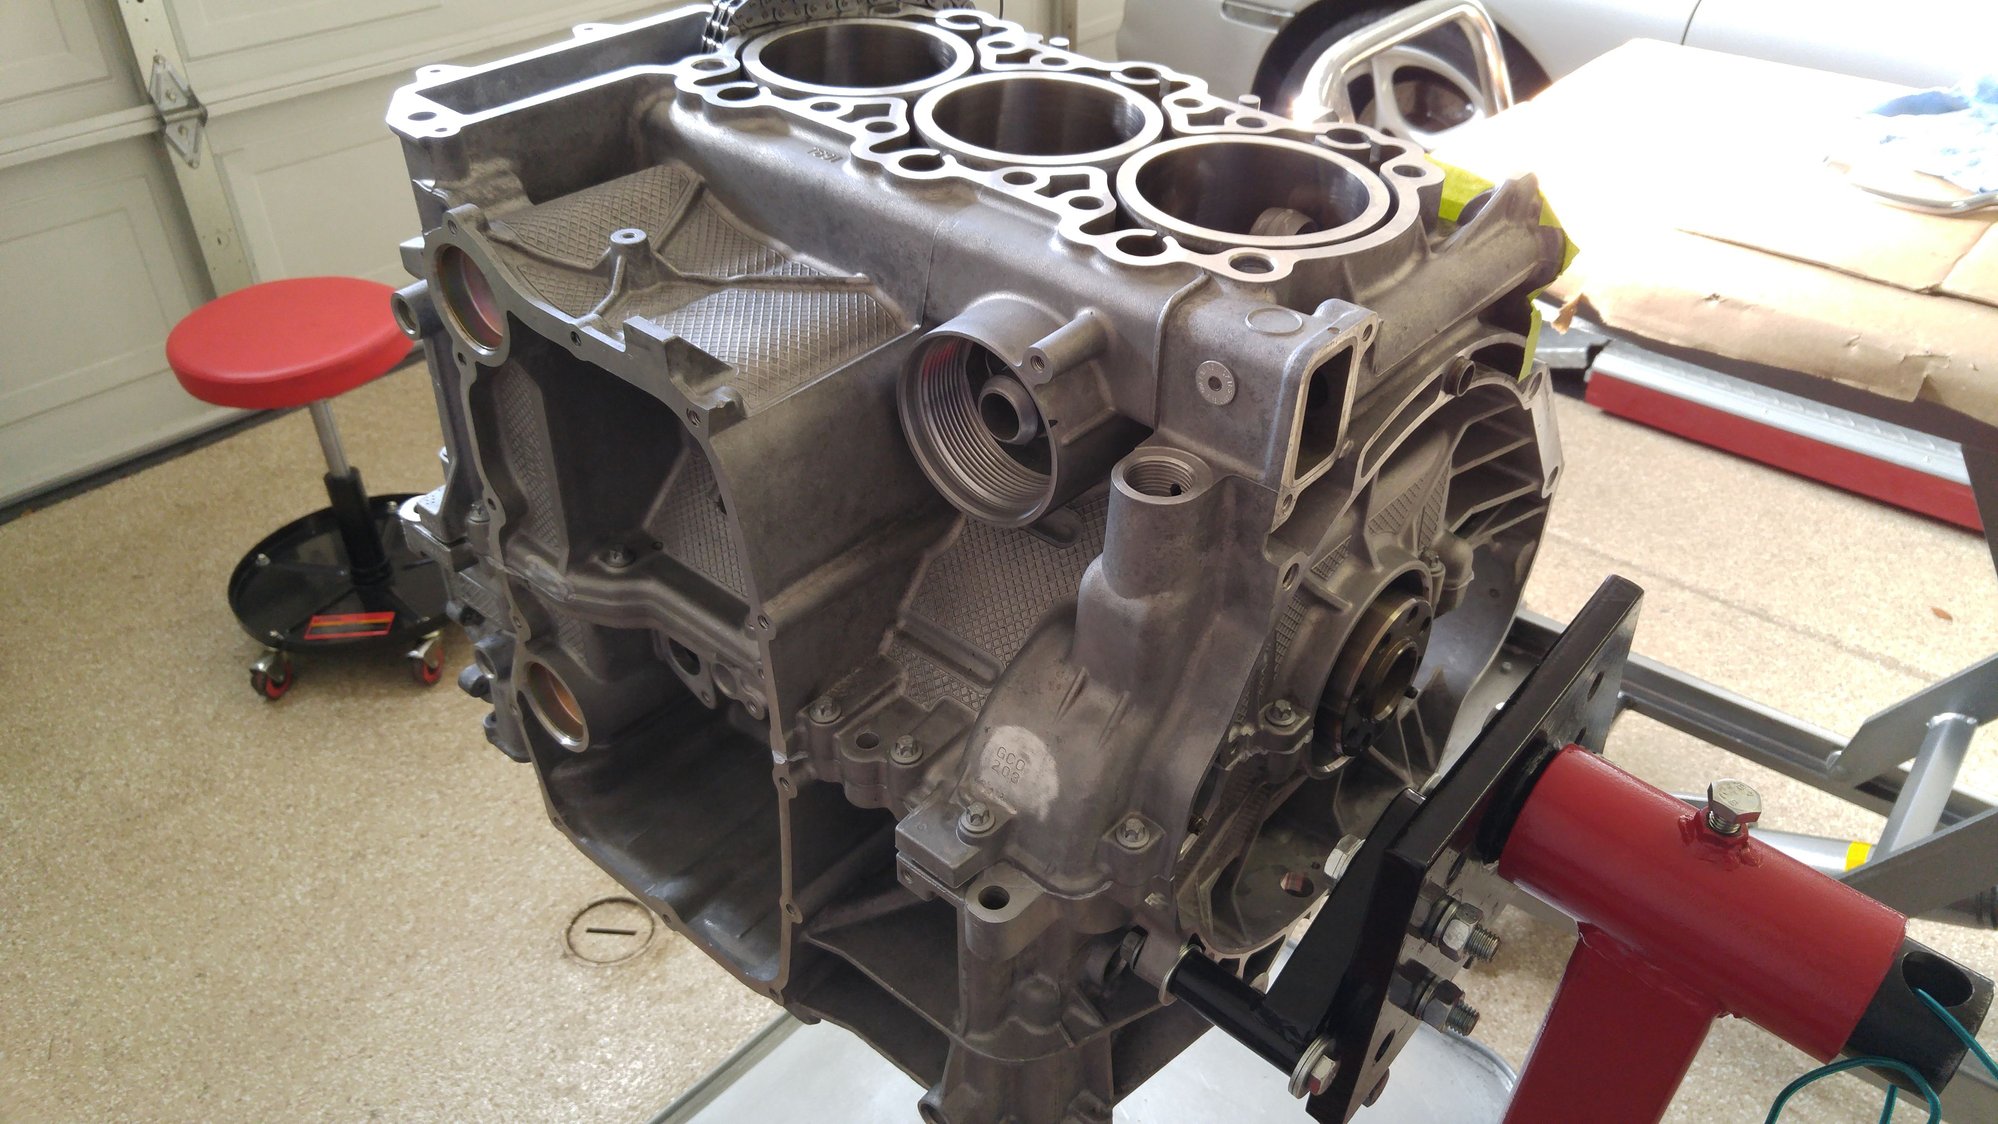
I love Jake's analogy of building this engine (or maybe any engine for that matter). It's like the engine is trying to kill you (your wallet) so it's like going to war with it. Everything needs to be checked out. I'm big on sanity checks hoping to catch an issue before it can bite my ***. Essentially only the rods, crankshaft and its cradle are original parts (in the short block). The pistons, rings, pins, and the engine block are either aftermarket or machined so there are plenty of possibilities for issues.
One example is one of the second rings has some non visible burr on one of its ring ends. Not visible and you can barely feel it even if you know where to look. Once installed, the ring can't rotate freely. I was able to free it by dressing the end slightly.
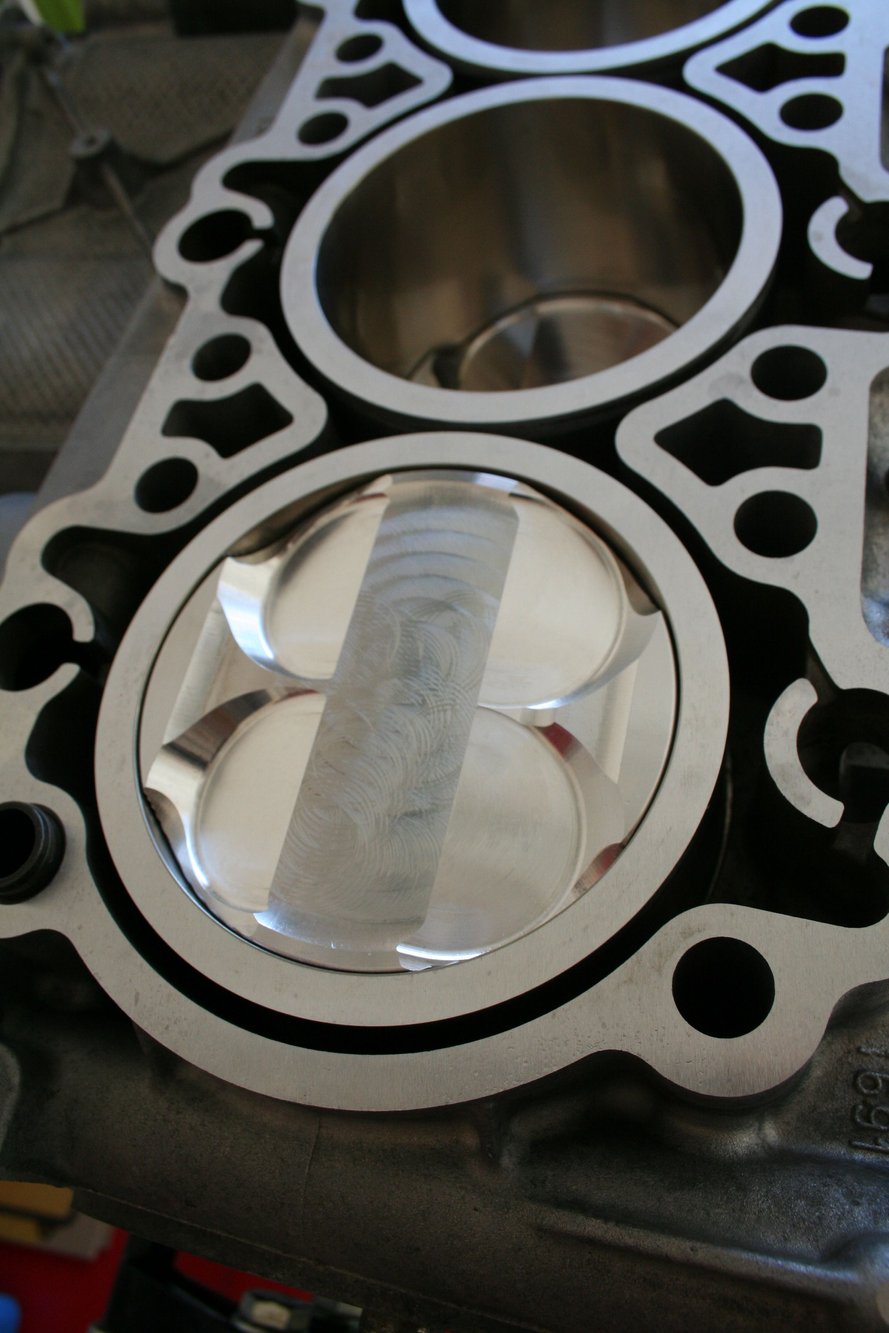
Measuring the deck height ensures the pistons don't hit the head/valves like AwDguy said. Also it indicates all the mating surfaces are clean so nothing is stuck between them. Also, it let's you estimate the C.R. which is another sanity check.
Thanks. Is it likely the sharp edges of the engine block/parts can catch and pull a fiber from the cloth inadvertently?
Originally Posted by JohnCA58
Sorry, should have mention what we use, large lint free shop towels, usually find 3 X 4 ft towels at the Linen company or even Huck surgical towels from company like this one, they are blemish but work.
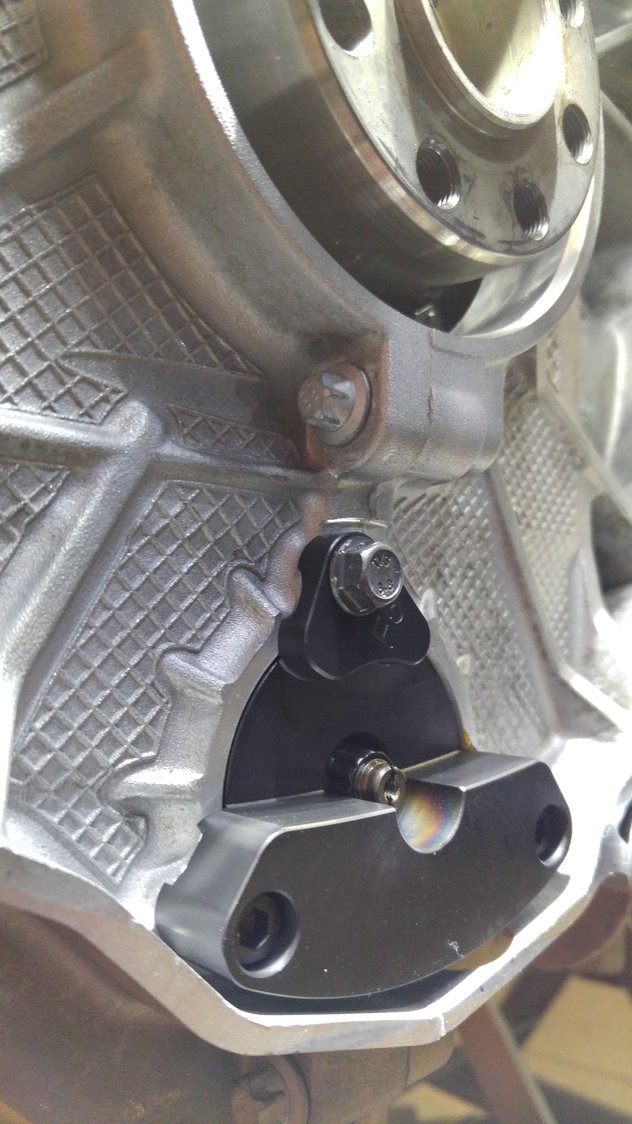
Tools needed to install bank 2 pistons. This is the same EWK tool I bought and found the delrin rod to be 3 thou fatter than it should be. After they held an engineering meeting reviewing the evidence and measurements I had submitted, they machined a new one to me to my specification and I returned the old one to them. It's a great company that's willing to do the right thing and help out the customers.
Mark the tool by putting a piston in the bore and mark it like the next photo right at the access hole
Cleaned the mating surfaces with carb cleaner and rubbing alcohol then apply Driebond. It's cool in CA here so it worked to my advantage (takes longer to cure so I had more time).
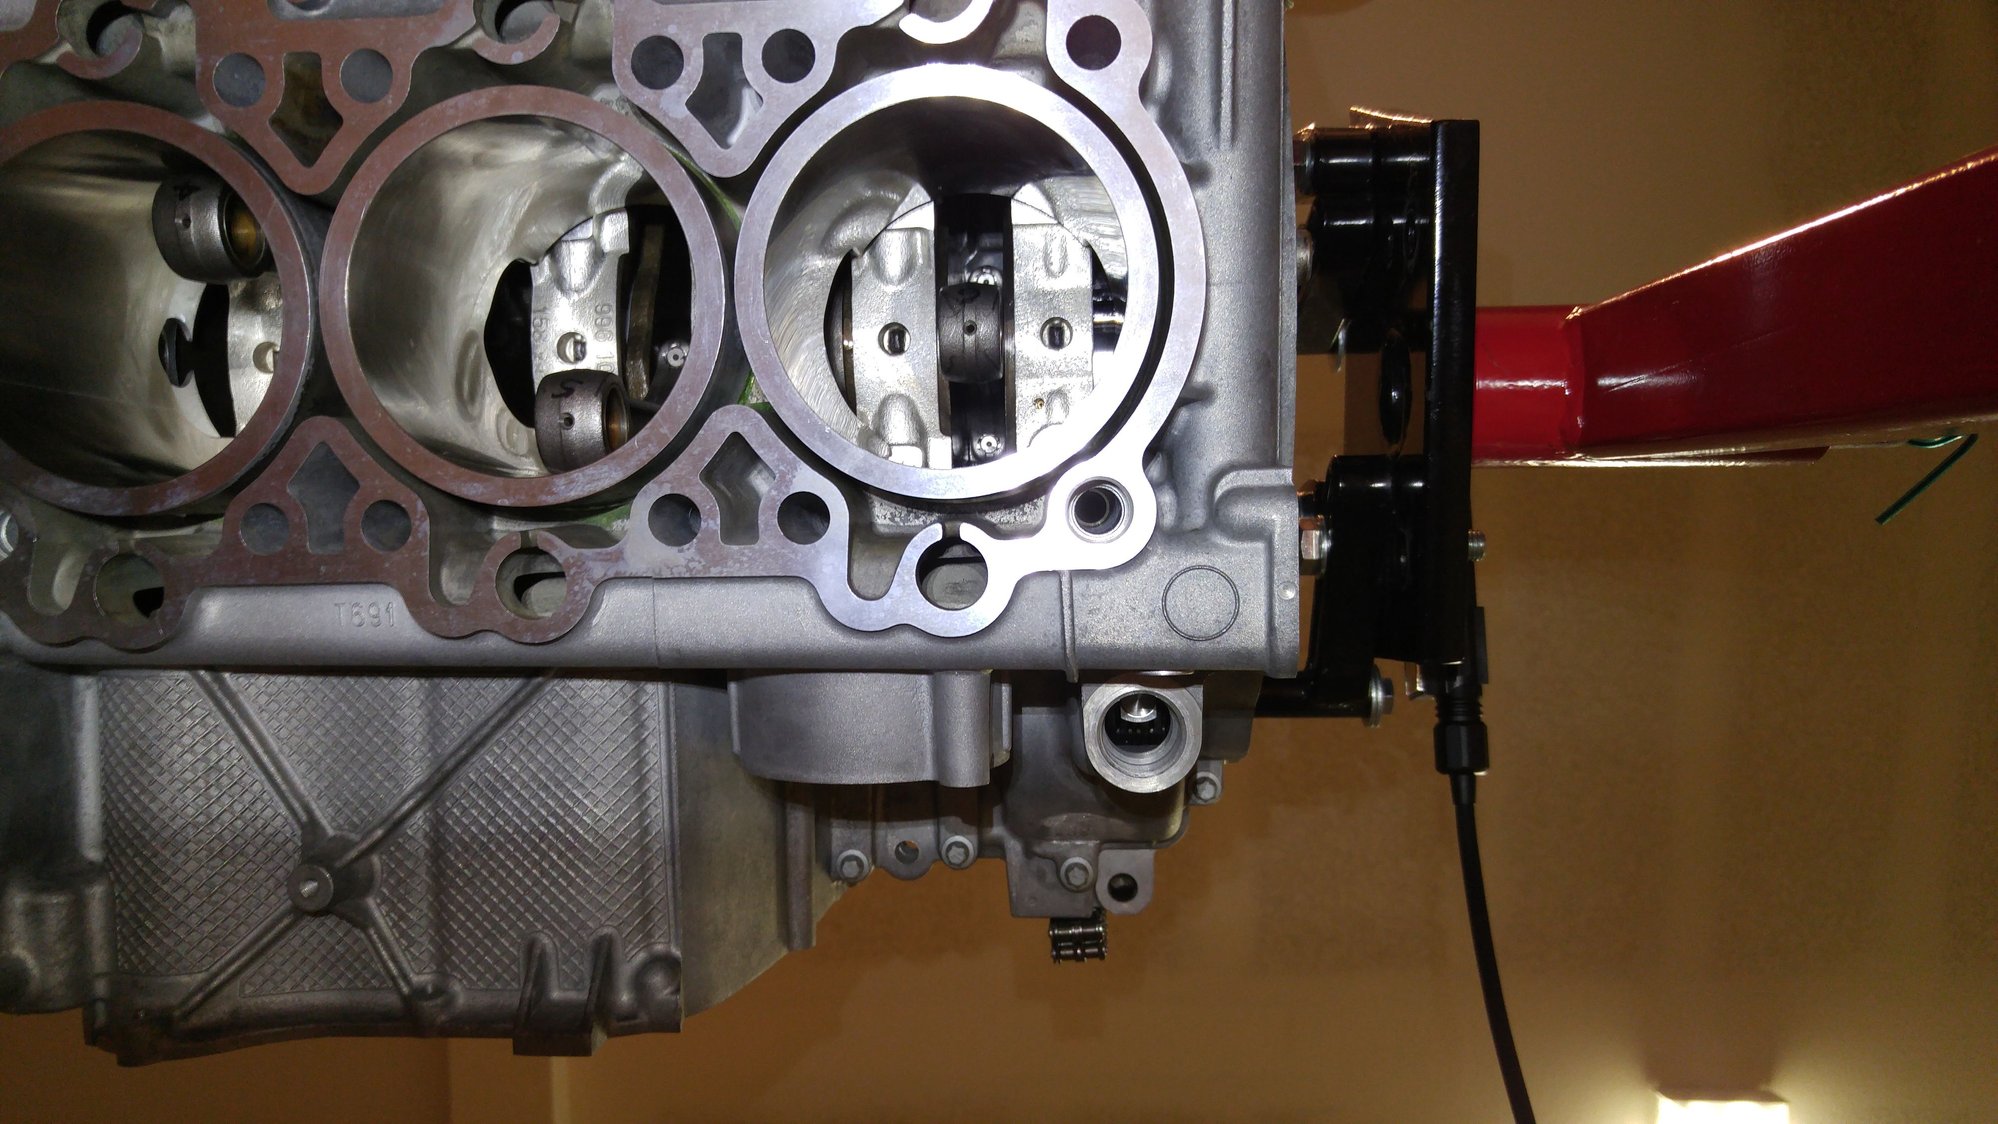
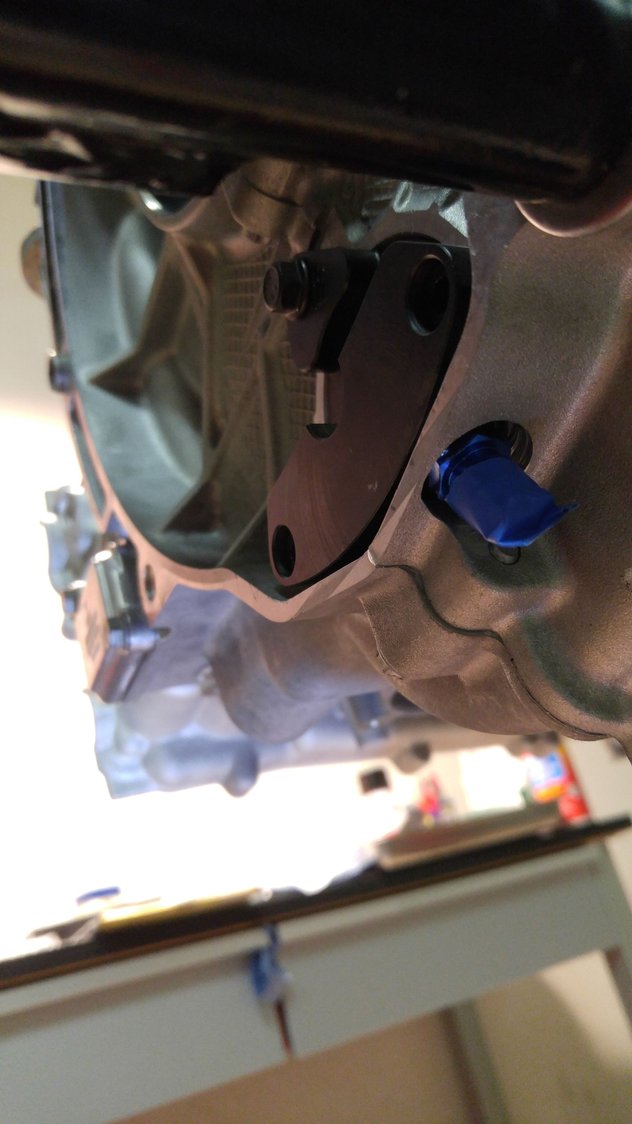
Bank 2 case installed
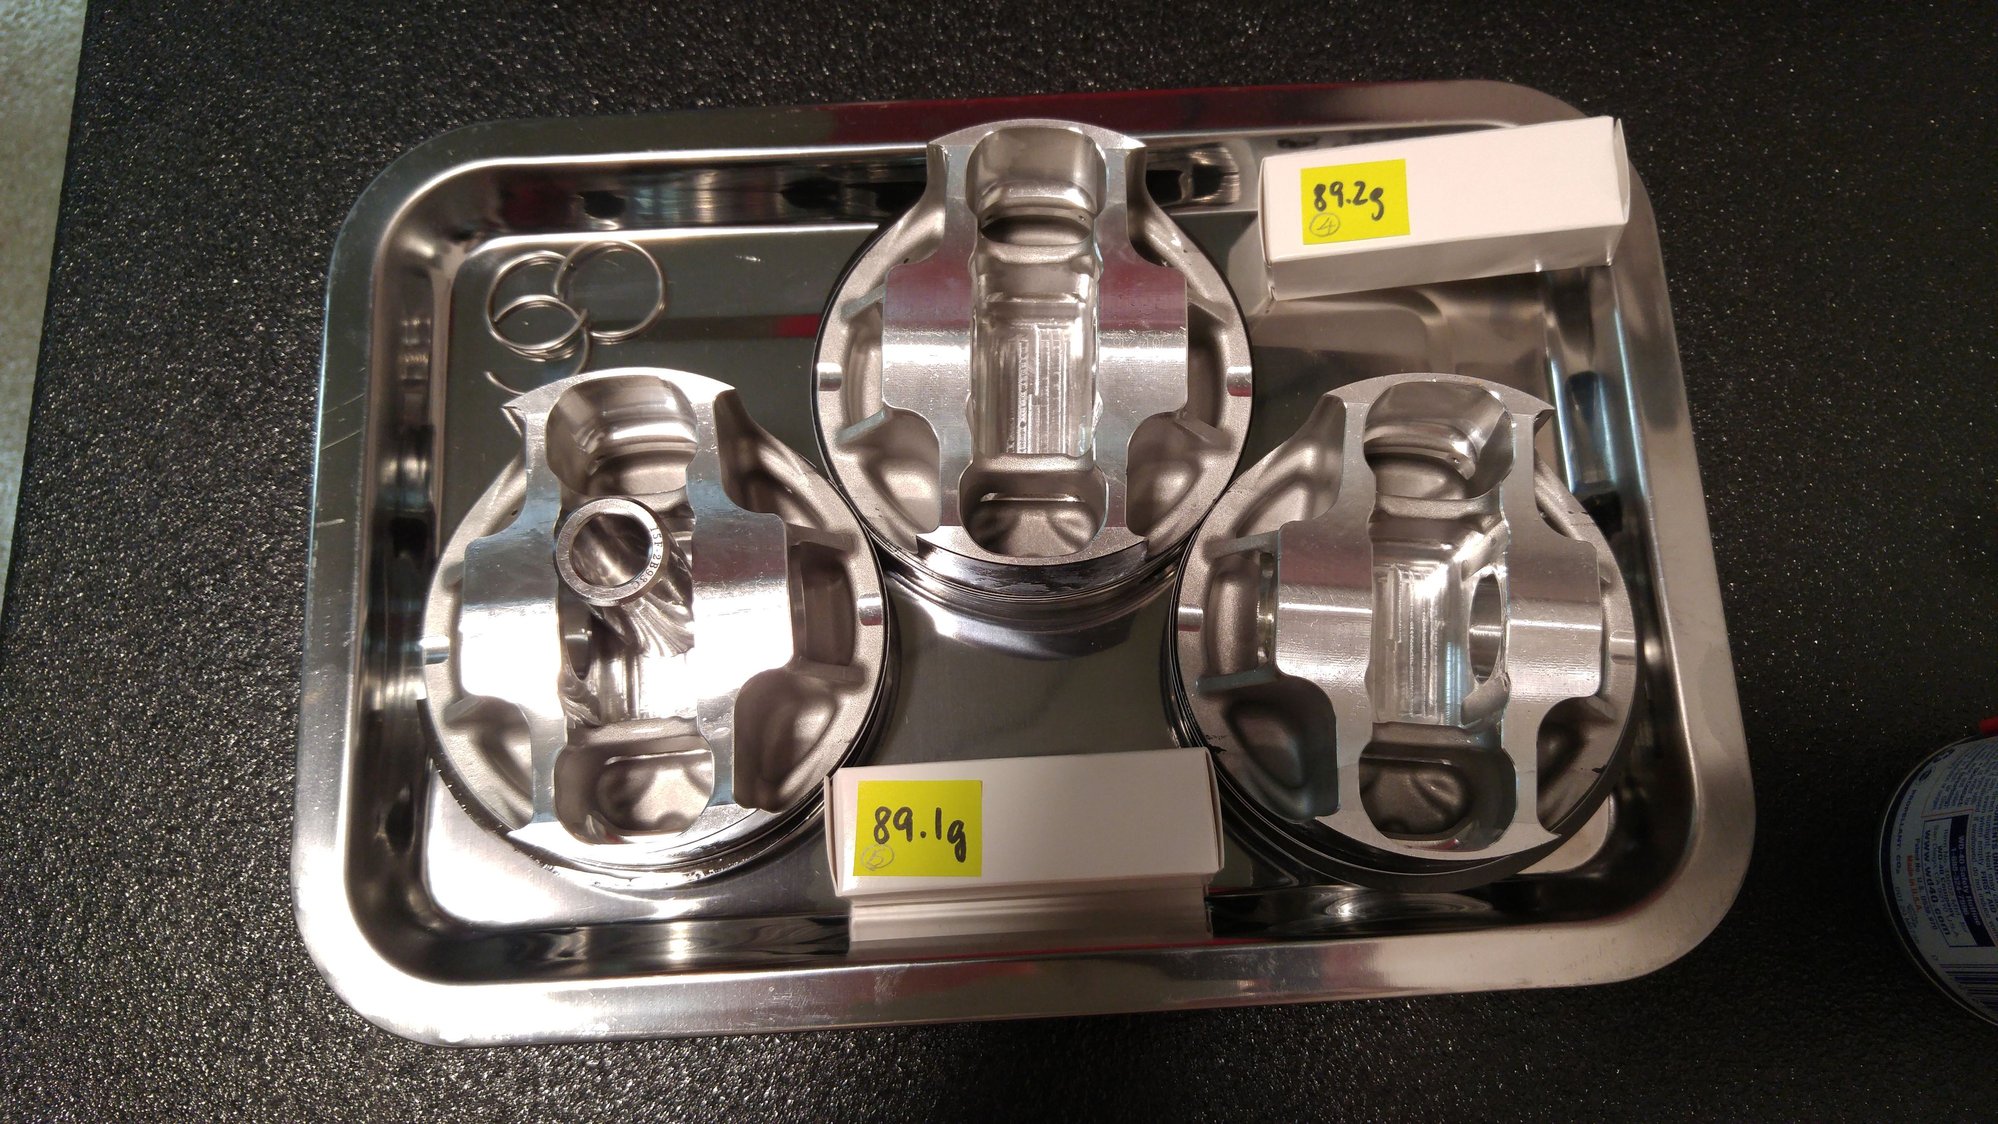
Bank 2 pistons with rings and one wrist pin clip (flywheel side) installed, ready to go
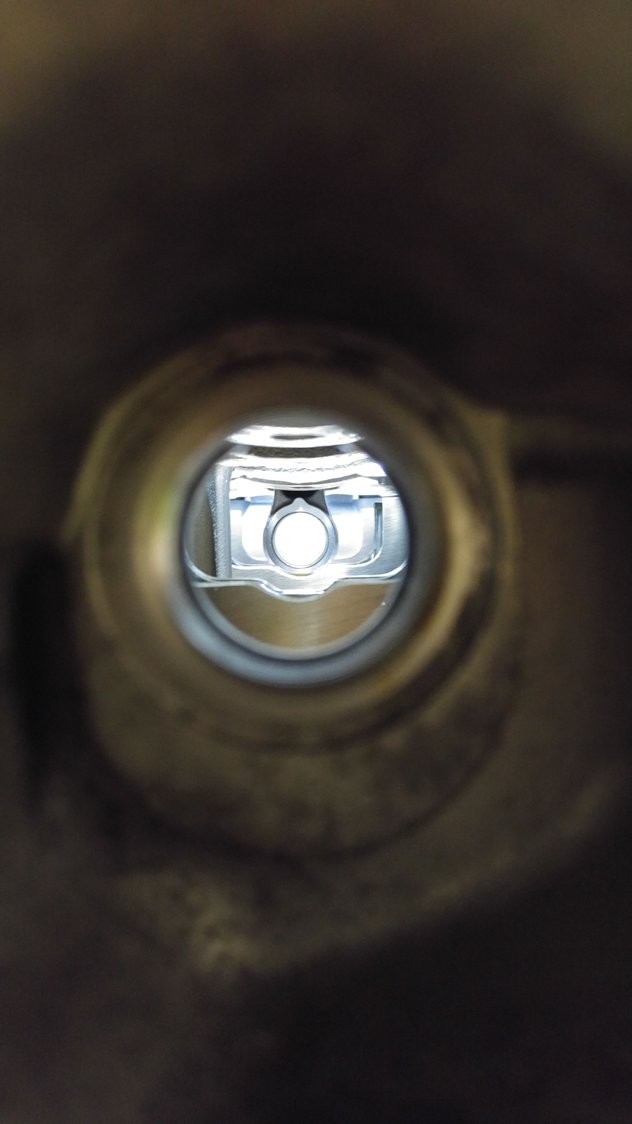
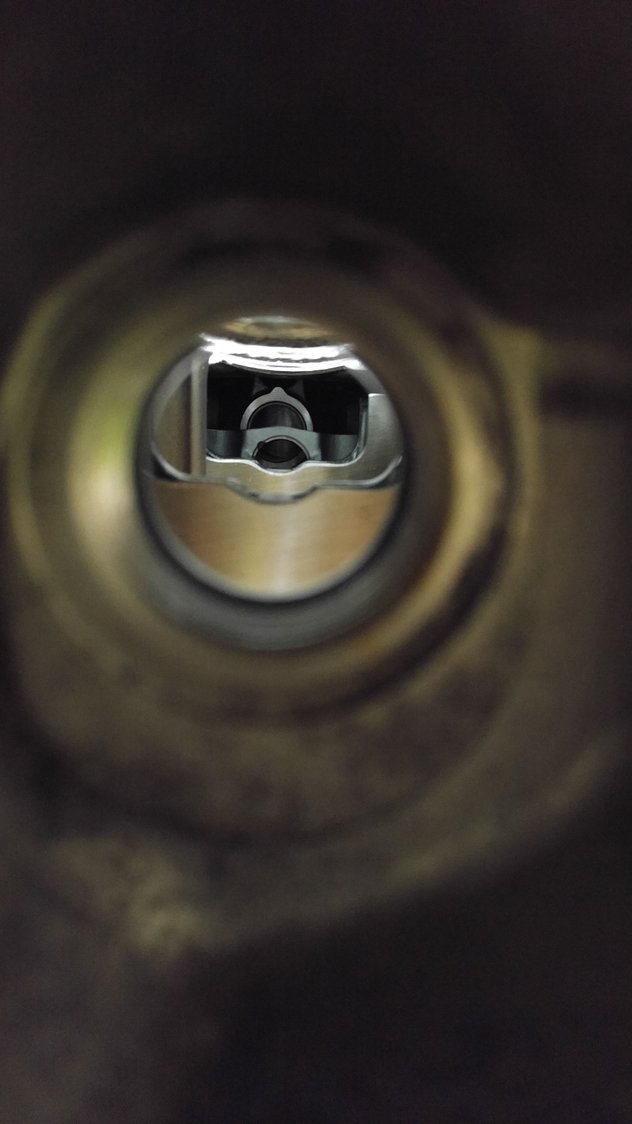
I used Jake's famous upside down gravity assisted method where you turn the whole engine so the bank 2 rods point to the ground. The other two rods #4 and #5 just got out of their way automatically! This is how it looks through the access hole, the small end hanging down
A view from the bottom
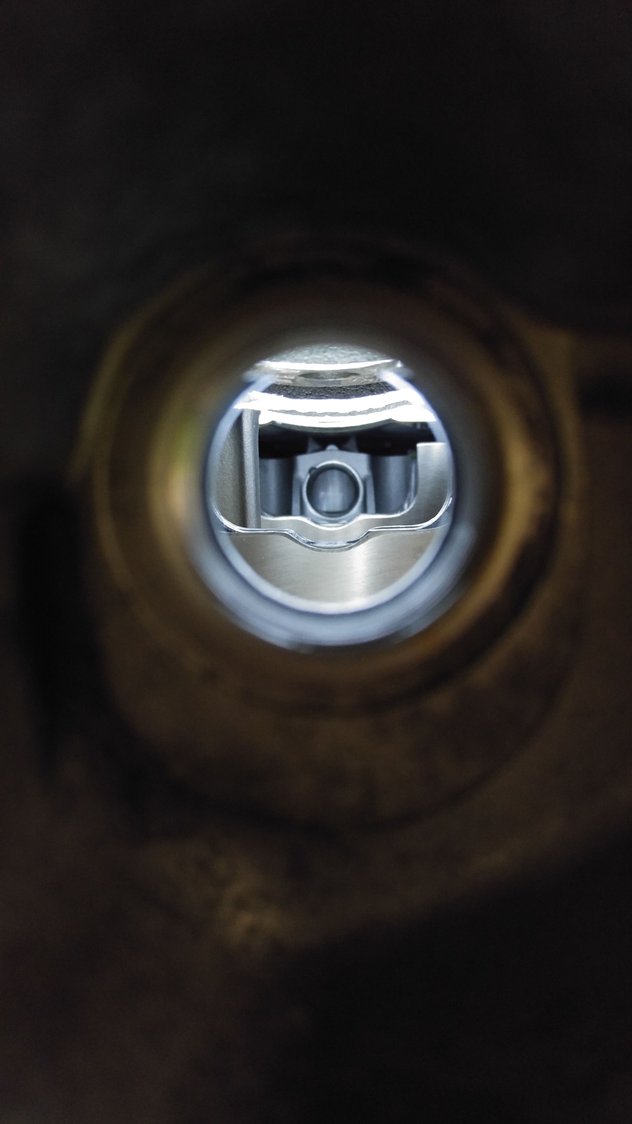
Piston installed and pushed UP to meet the rod small end
Piston and rod aligned
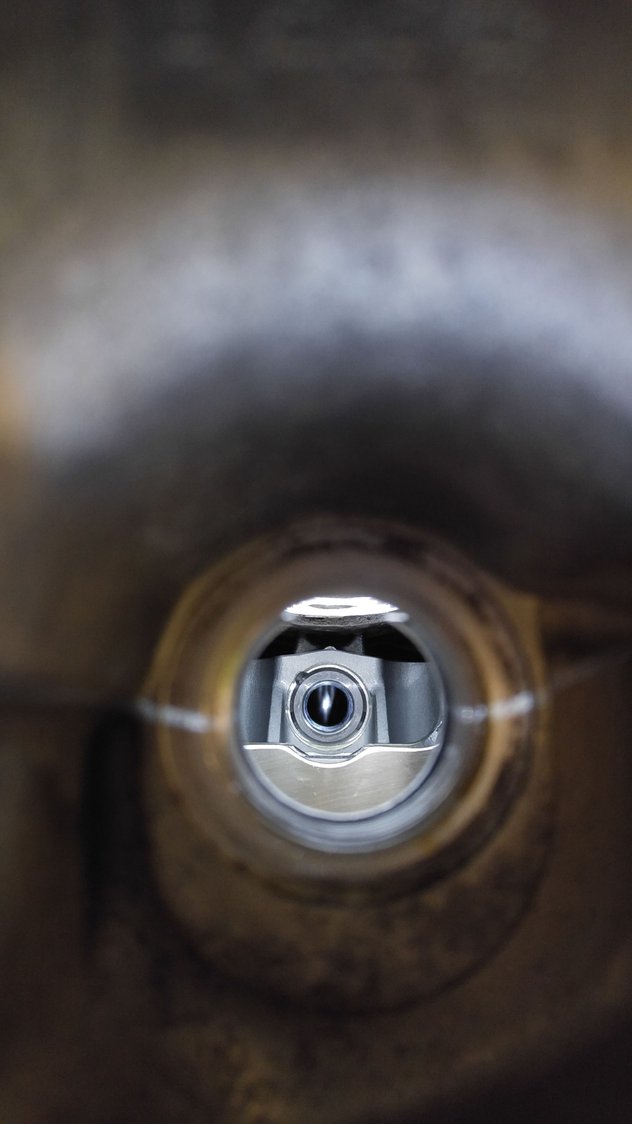
Wrist pin installed
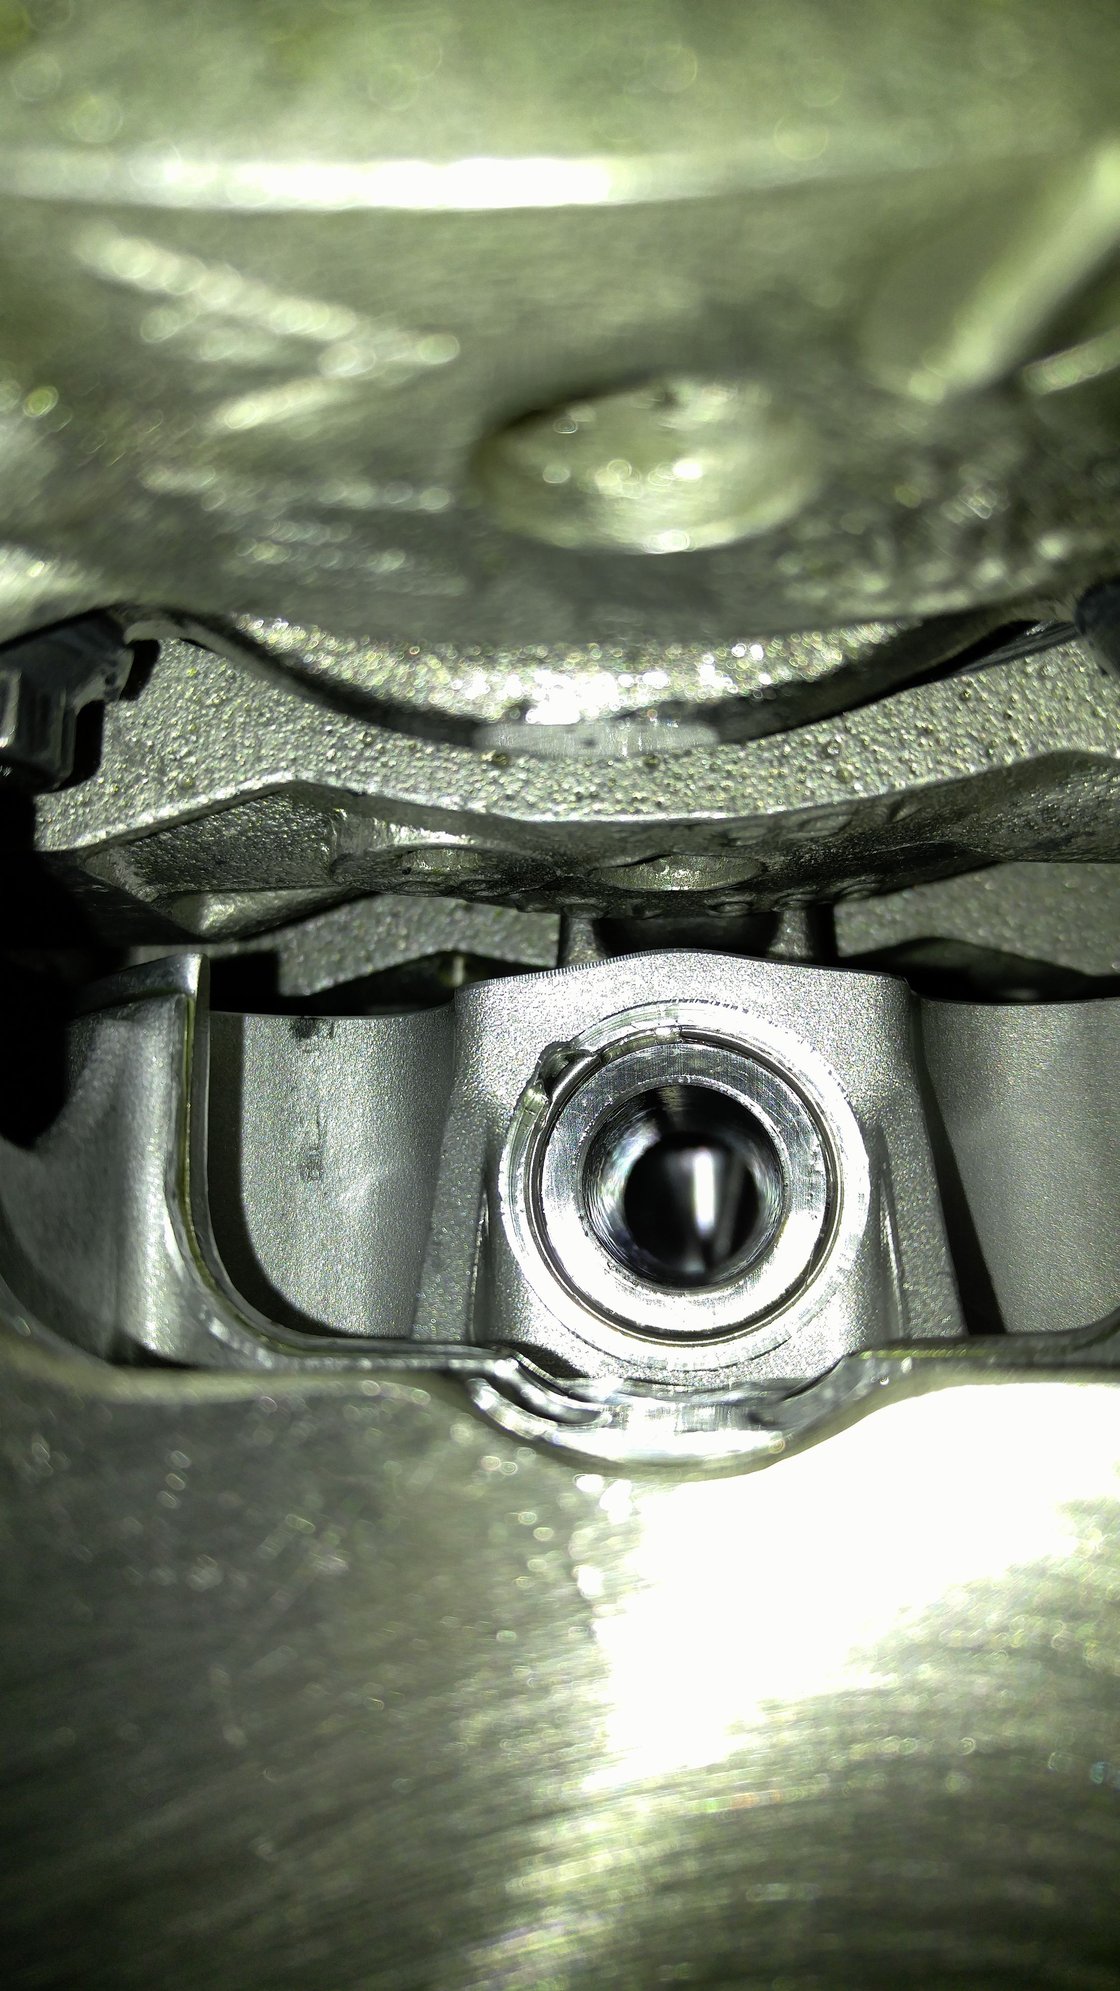
Money shot! Wrist pin clip fully seated. It's a breeze after the practice in Jake's class.
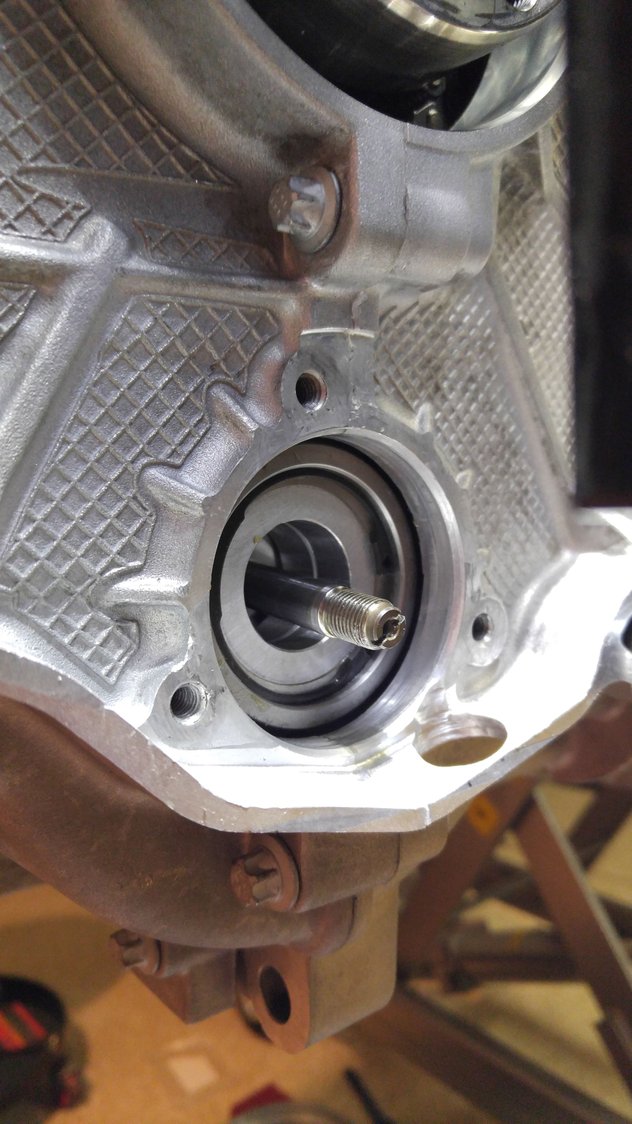
Sorry but mine came pre-assembled and I never tried to remove the plain bearing. That cover plate hides behind the bearing but my understanding is it's just a cap closing the ims opening so no oil can infiltrate the shaft.
Originally Posted by Schnell Gelb
Duncan, It would be interesting to see a photo of the 'plug' that seals the IMS tube. I doubt many Rennlisters have ever seen one.
What ? You didn't dismantle it to polish it down to the last nano particle? LOL
Thank you anyway. And particularly for the best M96 rebuild thread by far !
 11-23-2016, 06:44 PM