When you click on links to various merchants on this site and make a purchase, this can result in this site earning a commission. Affiliate programs and affiliations include, but are not limited to, the eBay Partner Network.
Just because he makes a few diy videos ,does not make this self-publicist an M96 expert. His point of view may be valid(or not). The place to find out the truth is here where he has to debate others who may have more experience/knowledge. Despite all it's limitations Rennlist is a far more rigorous debating chamber than You Tube !
I agree. I wanted to post this so the folks who know these engines better than the back of their hands could comment, if they felt so inclined.
I watched the video. His view is the LTT should only be applied to 997 and not 996 because 996 is designed differently so it doesn't need the LTT. I'm glad you clarified your view. I thought you endorsed his view.
I tend to agree with your assessment more, for sure. He didn't spend a weekend reading a 10 page technical document about the issue.
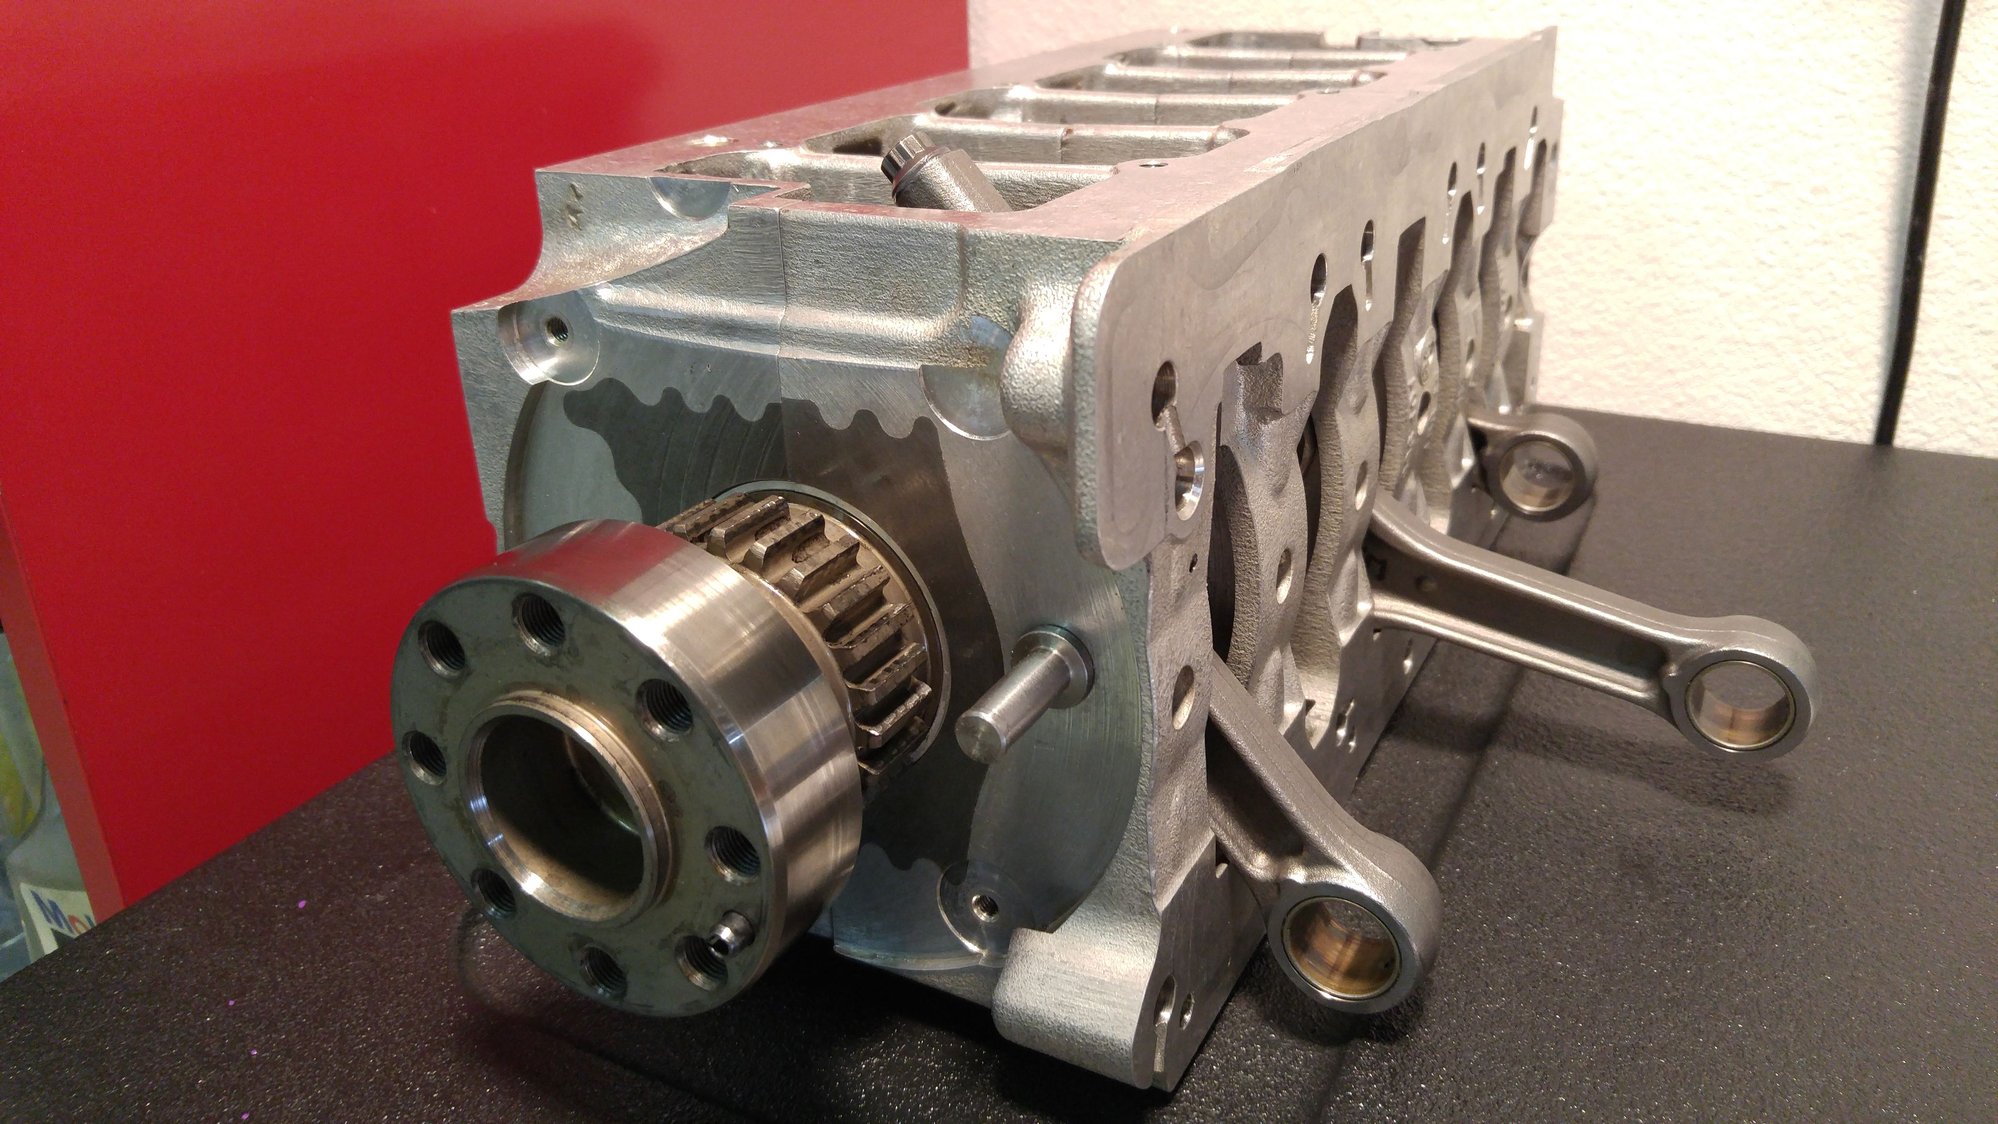
Ring gap and IMS Solution spin-on filter adapter dry fit
Spent the whole afternoon matching the rings and here's my final gap at 78F (sorry Jake, it's too hot here to get 72F). No grinding was necessary so I guess I'll just return my ring grinder. Actually I had the opposite problem that one of the top rings had too wide of a gap (more on this below). Here are my final numbers in 0.001".
LN included 6 ring sets as part of the 3.8L Nickies package. All of the top rings have ~0.015" ring except one set, which has 0.022". LN said they had no control over the ring gap so it's luck of the draw. Charles helped by checking his ring inventory but all the top rings were also ~0.022"! The 0.007" difference was driving me crazy so I had to do something about it.
I ended up buying one extra set from eBay and 2 extra sets from Cycleplicity, hoping there's at least one with the correct gap. Now I got 9 ring sets for 6 cylinders Luckily one set from Cycleplicity has one right at 0.015". I was delighted even though that's the most expensive steel I've ever bought - $90 for 0.007"
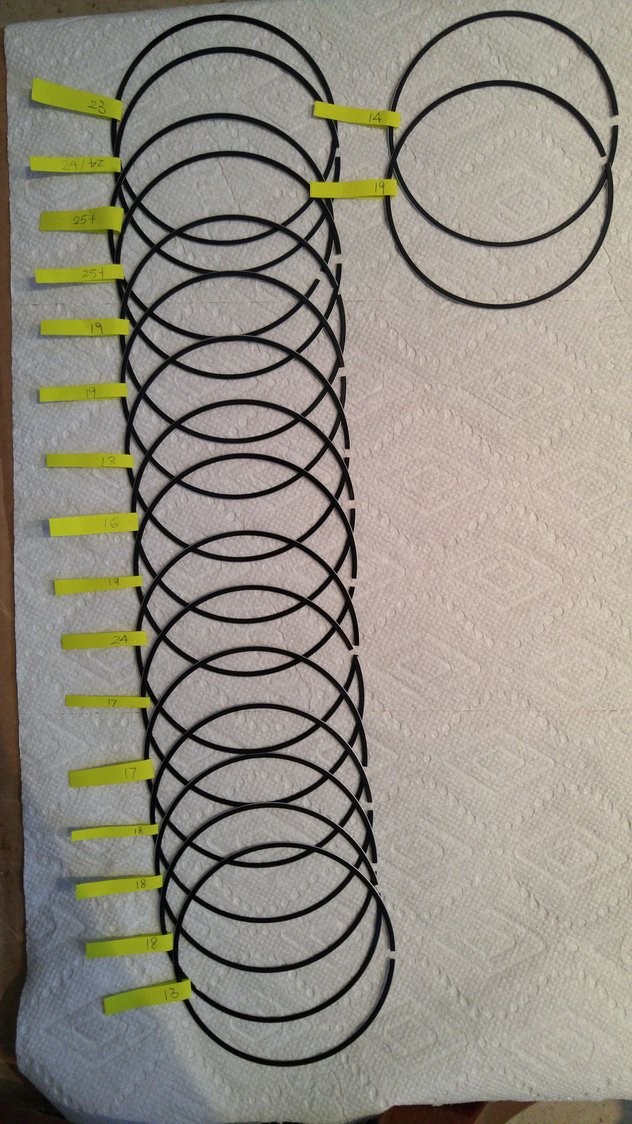
BTW, the gap of these oil rings vary a lot so I measured all 18 of them and just picked the tightest ones. Overall I'm pretty happy with the numbers above.
Oil rails of the 9 ring sets. Each piston needs two to scrape the oil. The numbers shown in the tags are the ring gaps in 0.001". I fitted and measured all of them one by one in a single cylinder. You can see the gap varies from 0.013" to 0.025"+
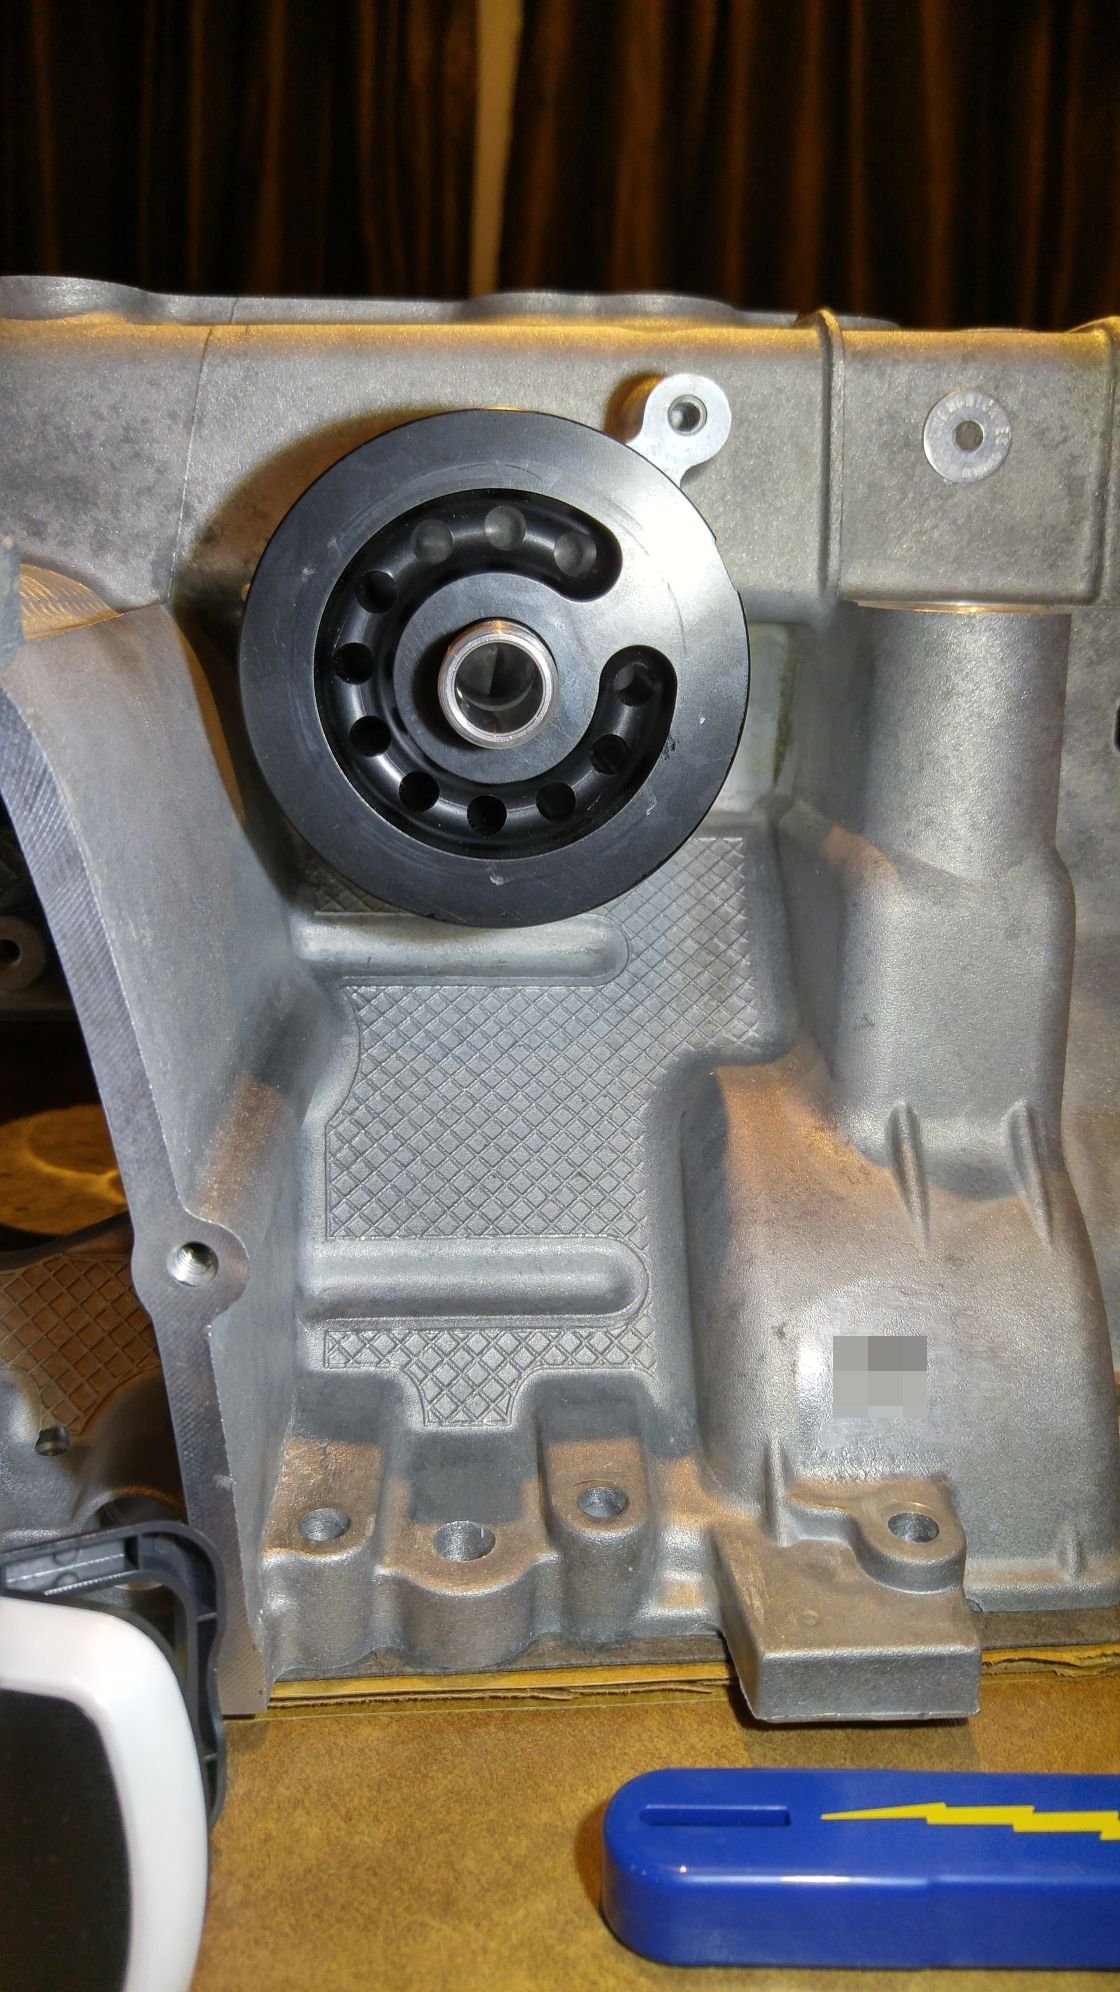
I also dry fitted the IMS Solution spin-on filter adapter and found that the output port is facing the wrong direction when tightened to the required torque spec (18 ftlb). It's about 230 degrees off so I'll need to get some shims from LN to make it right.
You can see the output port at 2 o'clock position. It needs to be turned counter-clockwise to 6 o'clock
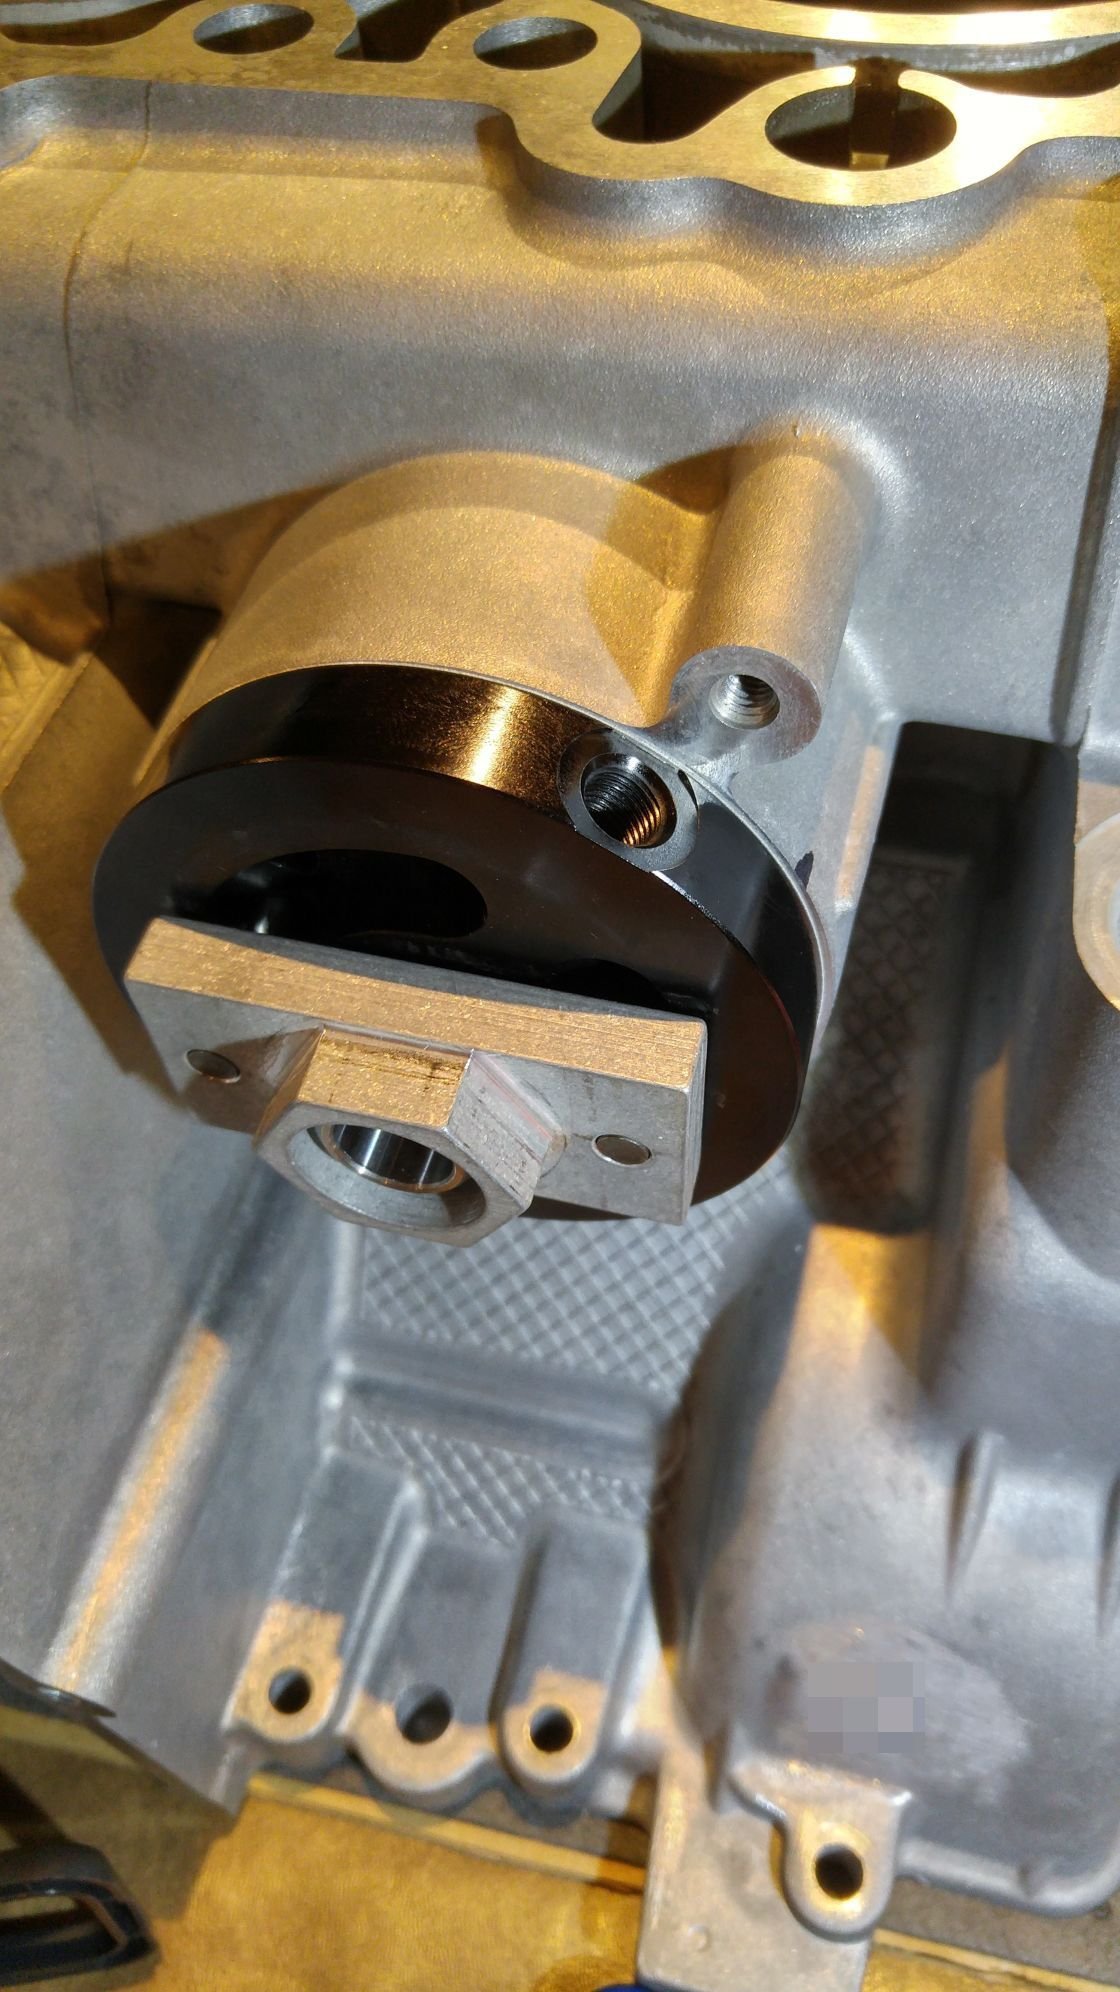
Currently the output port is at about 242 degrees and it needs to be turned back to ~0 degree in this photo
The threaded output port and the pin spanner. Here I installed the supplied 0.01" shim and it's good for turning it 30 degree so it's at 1 o'clock with this shim. I need a 0.08" shim. You can spot the shim if you have really good eyes.
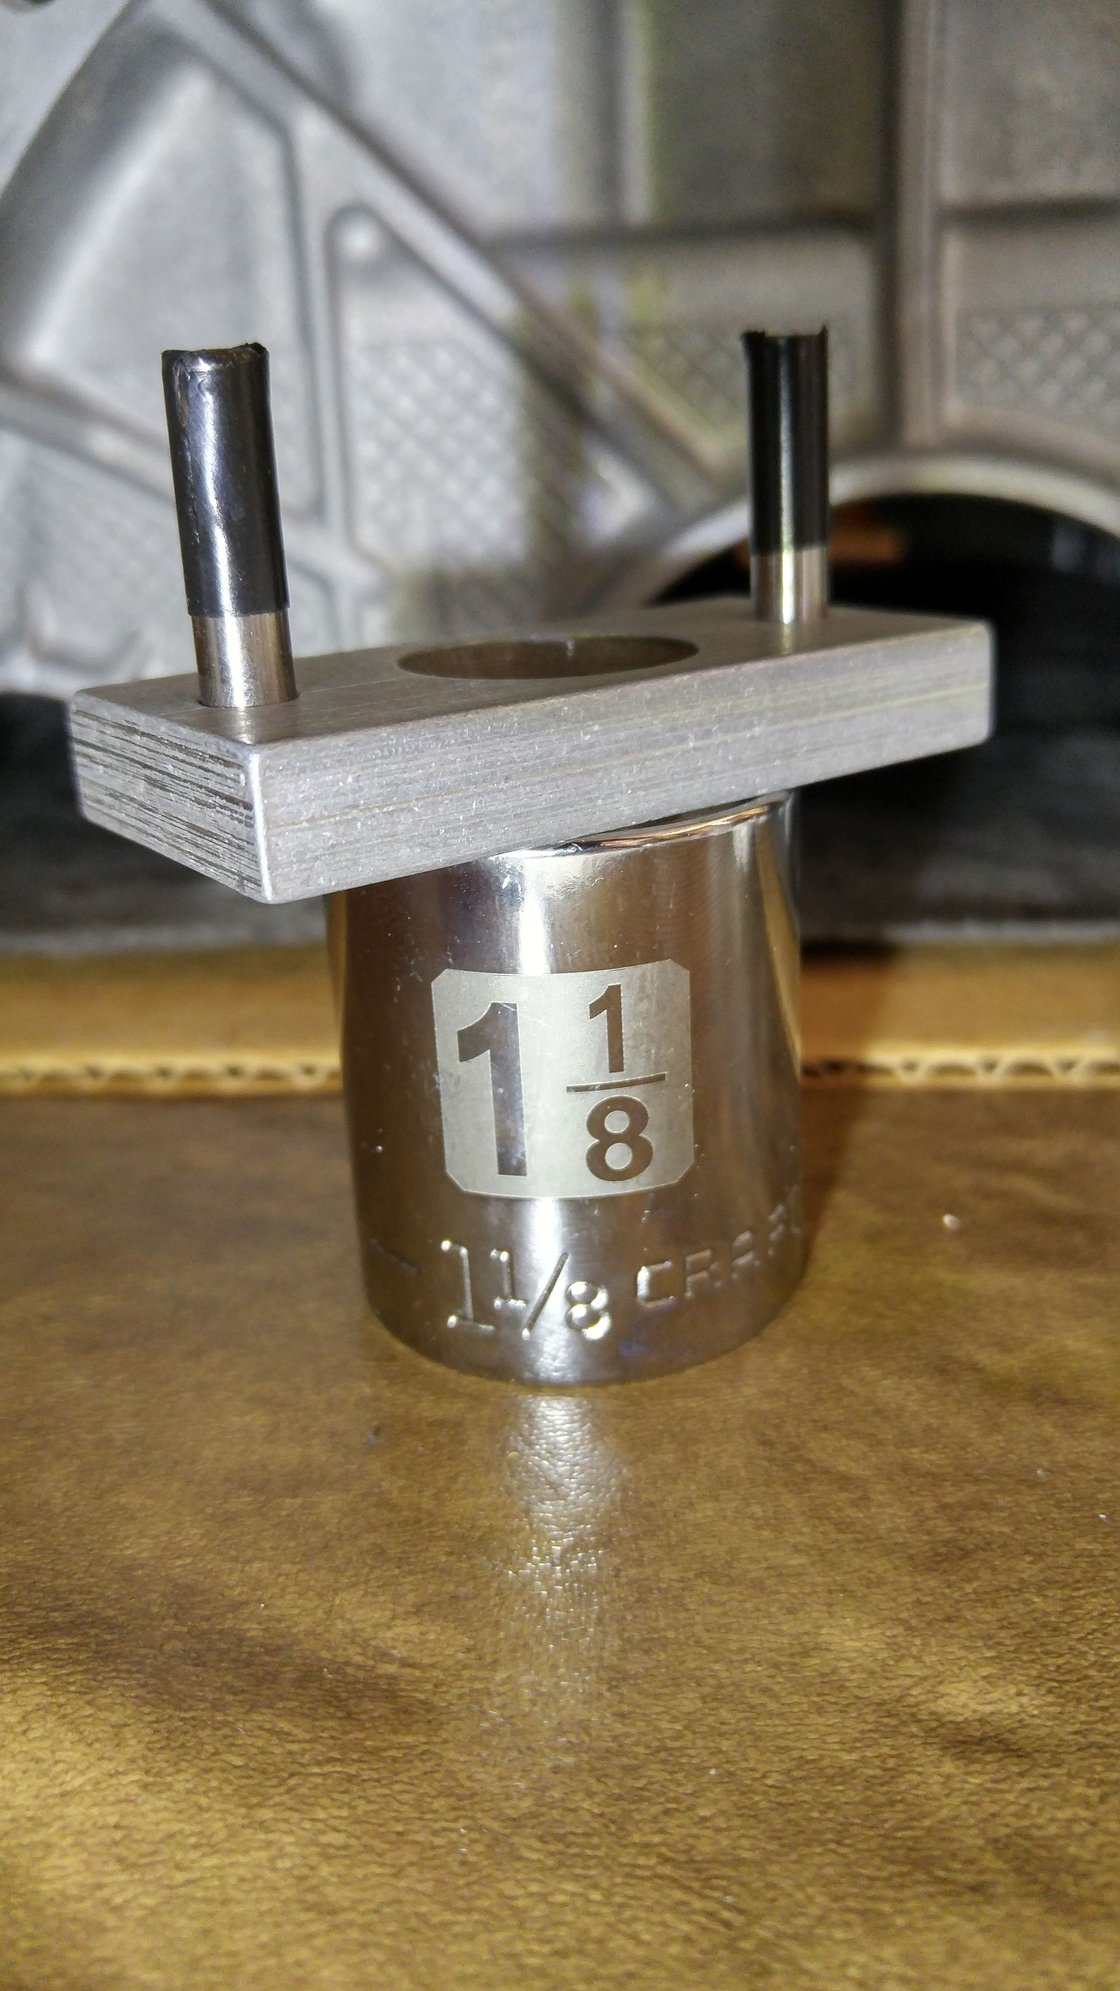
A 1-1/8" socket to turn that pin spanner. One layer of electrical tape to protect the adapter from scratch. The billet aluminum is too nice to put tools on!
Yeah I know the Baum kit ($800+) is the proper one. I was just trying to see if there's a cheaper alternative. May try the Kommen kit next if EWK let me return this toolkit.
If someone knows a good deal of the Baum kit B9612KPLUS, please let me know.
Ahsai
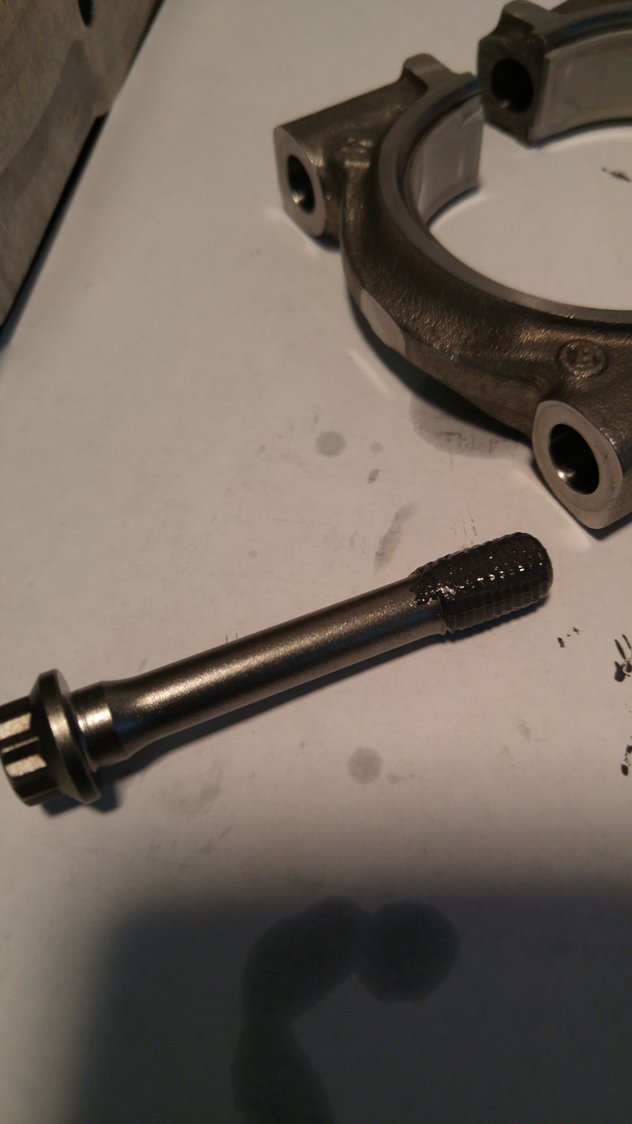
I had the same problem with the wrist pin tool it was tight going through the block, I just took it down a little with some emery paper until it passed through freely then it was fine , my Deleon rod was ok but maybe you could do the same with this or have a machine shop put it in a lathe and take a couple of thou off, a lot cheaper than spending more money on tools to do one job, also that fat bit on the end of my wrist pin tool will come off, easier to machine just that piece. I was annoyed like you, you would think these companies would check their products work!!
Thanks Noz. I might just do that as returning it is a hassle too. For the steel pipe, I can just flip it around to use the non short piece end to mount and insert the tabless circlip. The short piece will then be pointing away from the piston so it doesn't need to pass through the engine case and the overall length is maintained. The main issue is the delrin rod, which is at least 0.003" fatter than the wrist pin! It needs to be turned down by a lathe.
The whole point of getting a toolkit is to have precision ready-to-use tools...so frustrated.
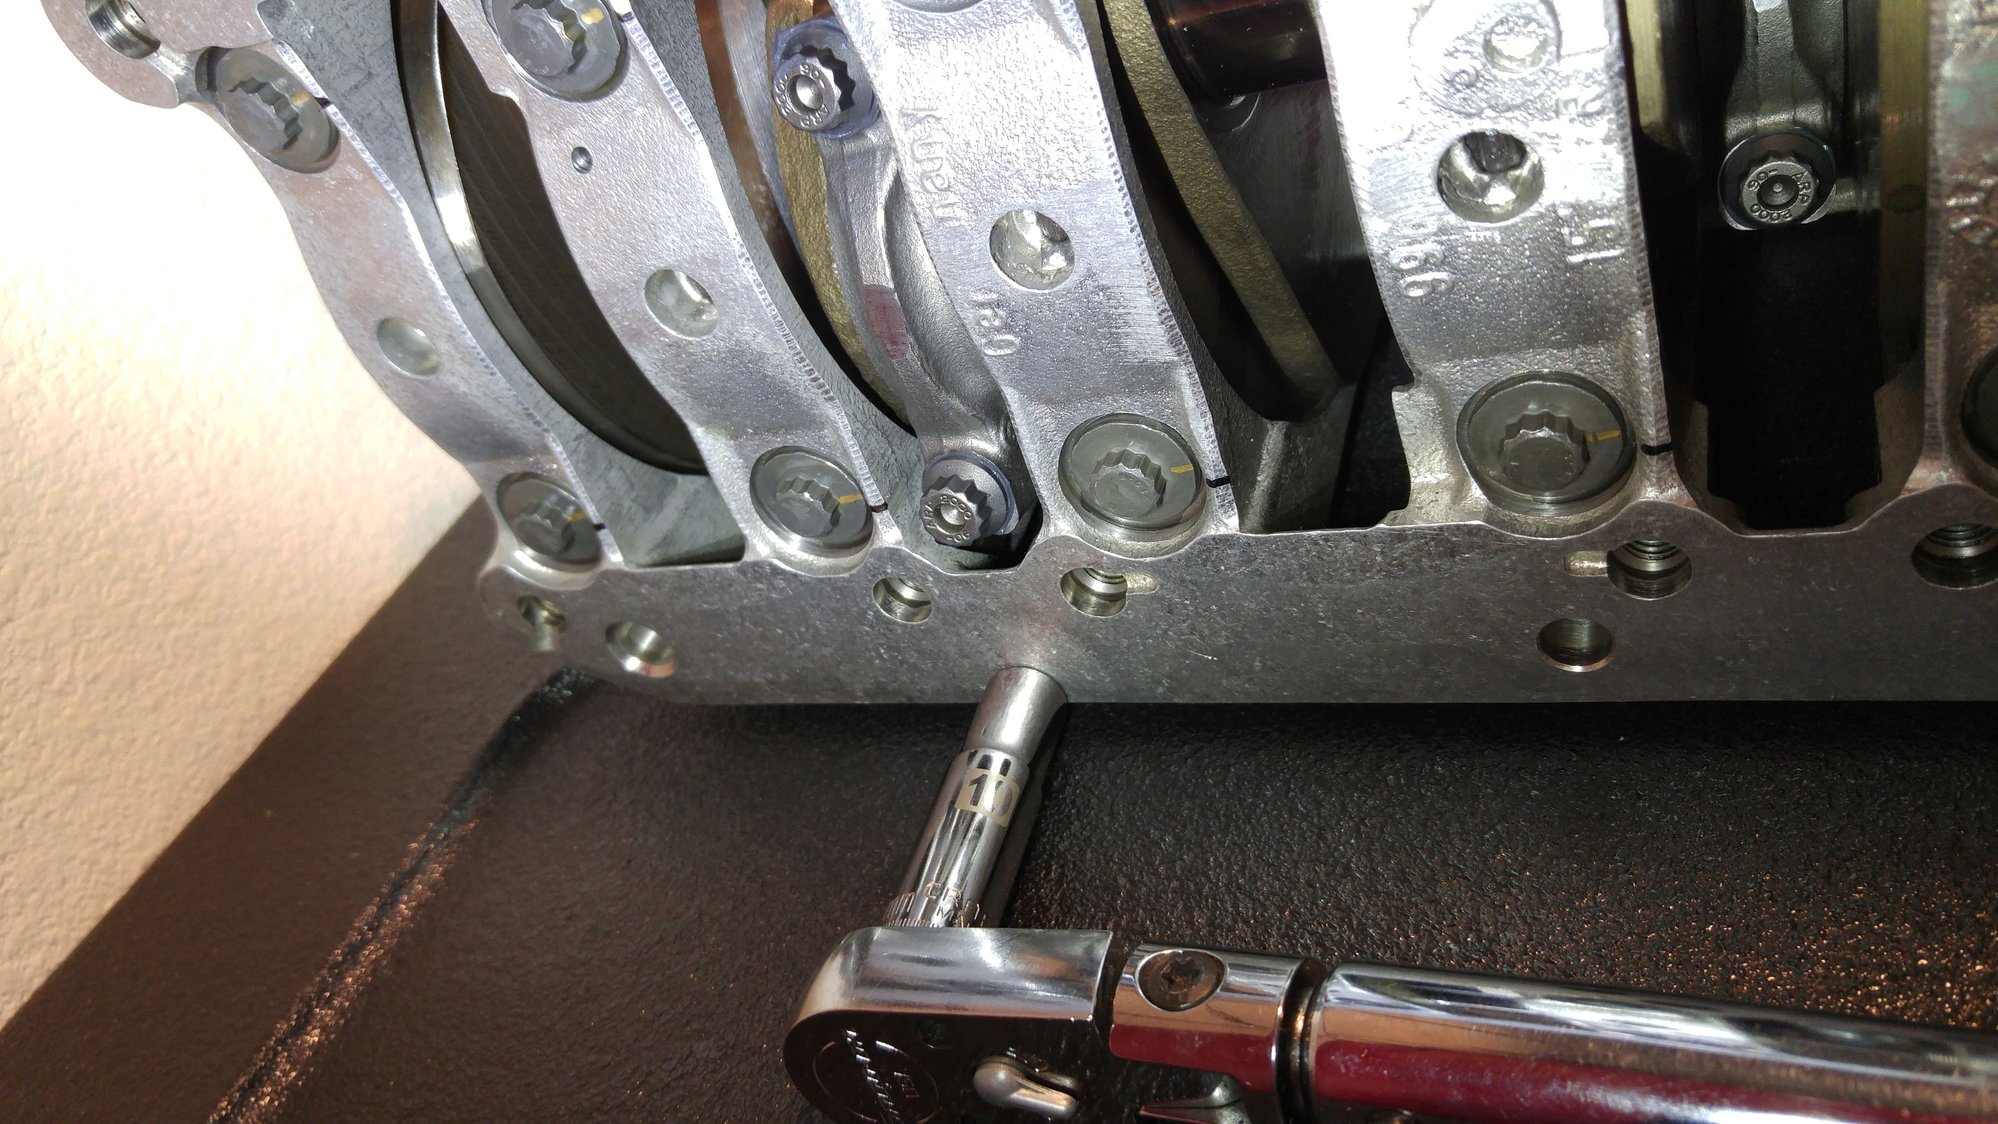
I've started putting back the engine together but before that I verified the ring taps again at 74F and also did fish scale pull on the oil rings on all cylinders. They were 8.25 to 8.75lb, which is perfect.
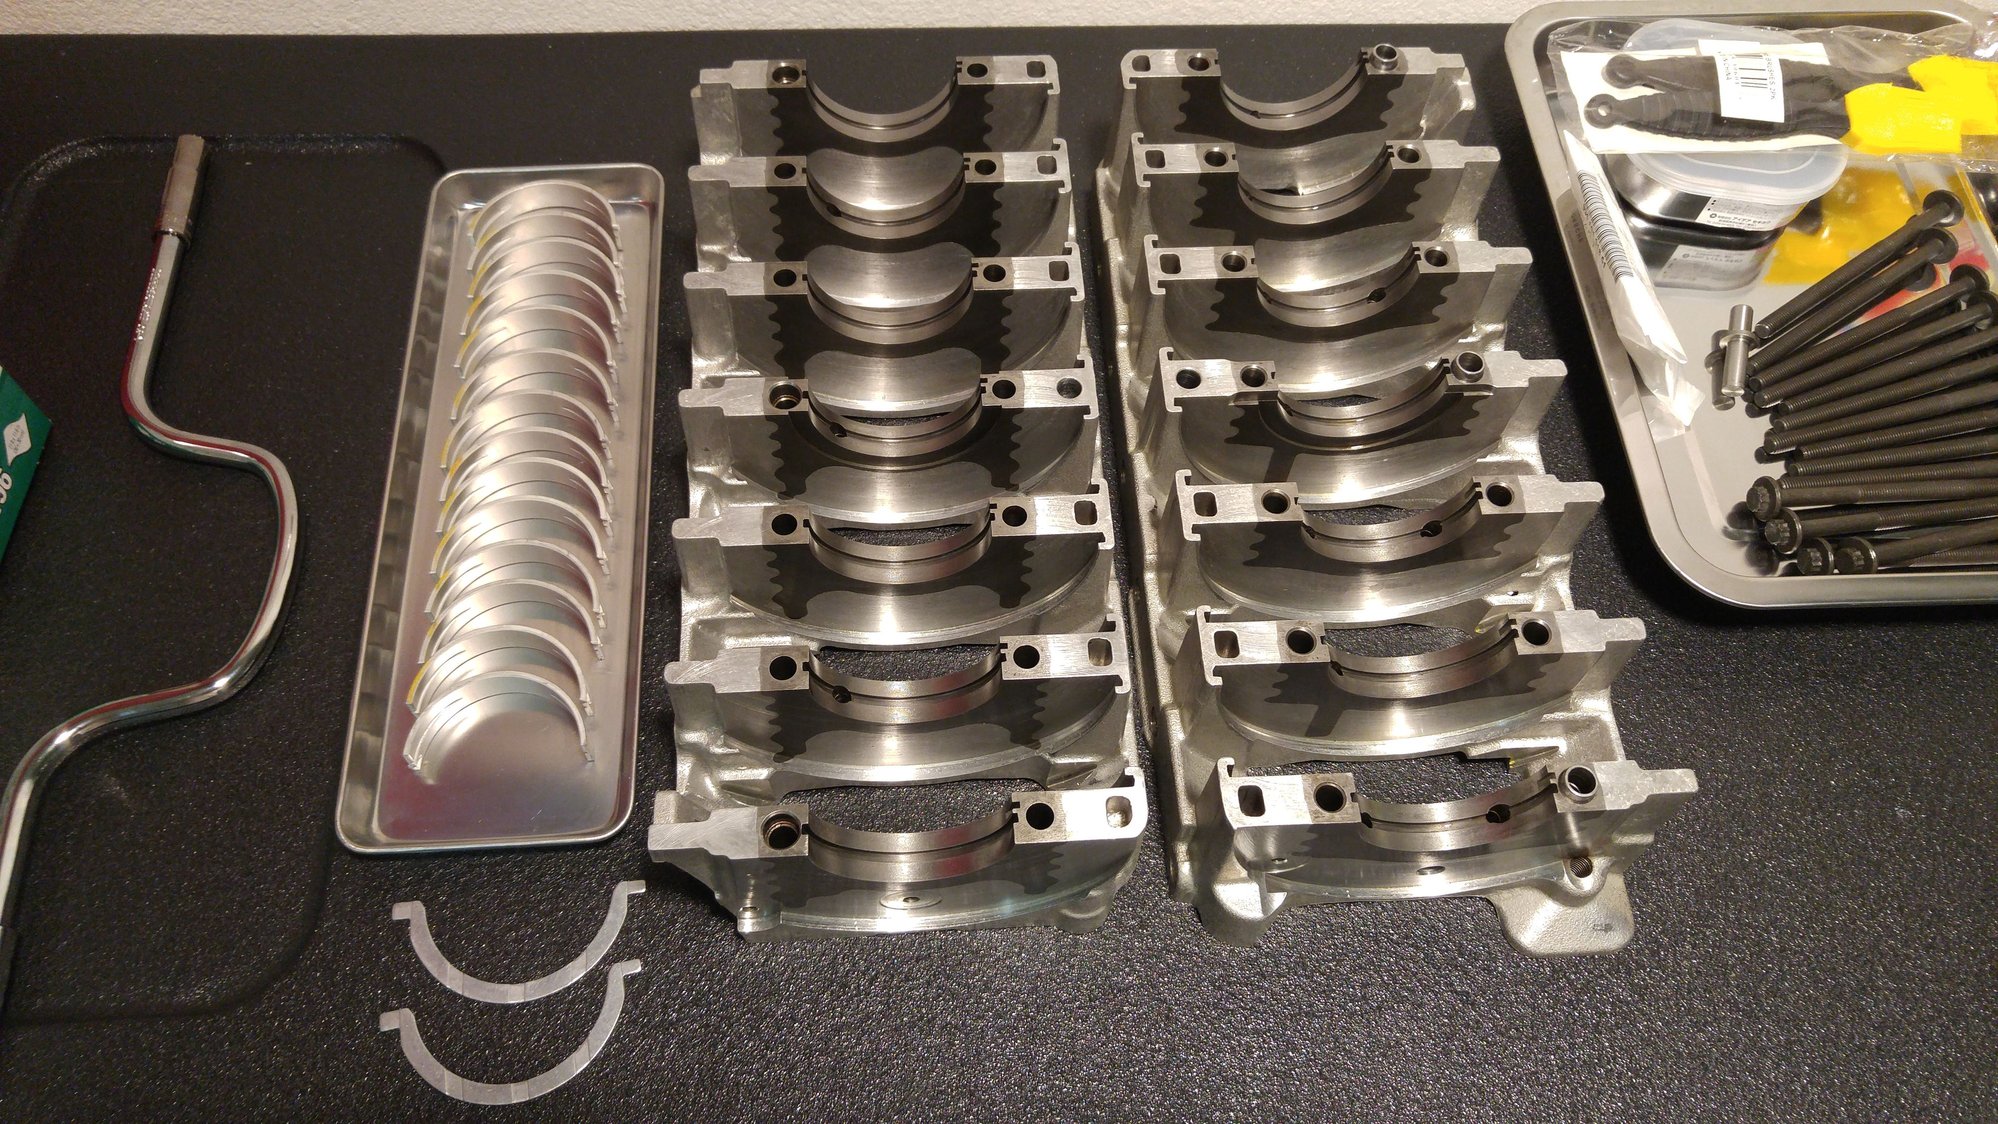
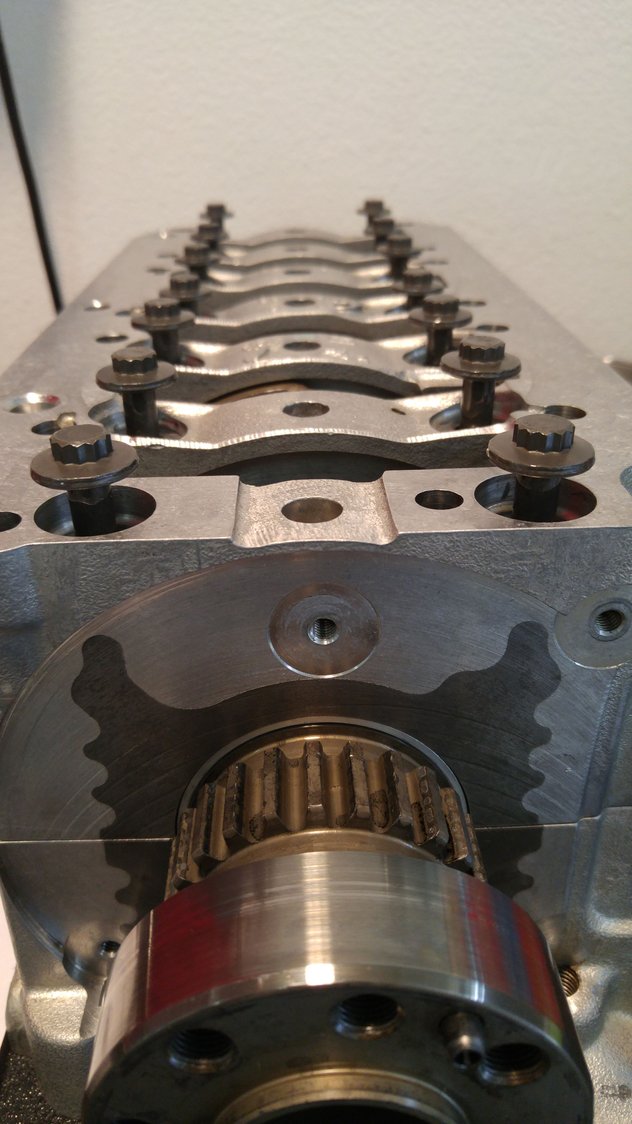
New crank bearings, thrust bearing, IMS pin, torque-to-yield crank cradle bolts and oil jet sprayers (not visible inside the white plastic bag). All tested to open and spray at 1.5 to 2 bar
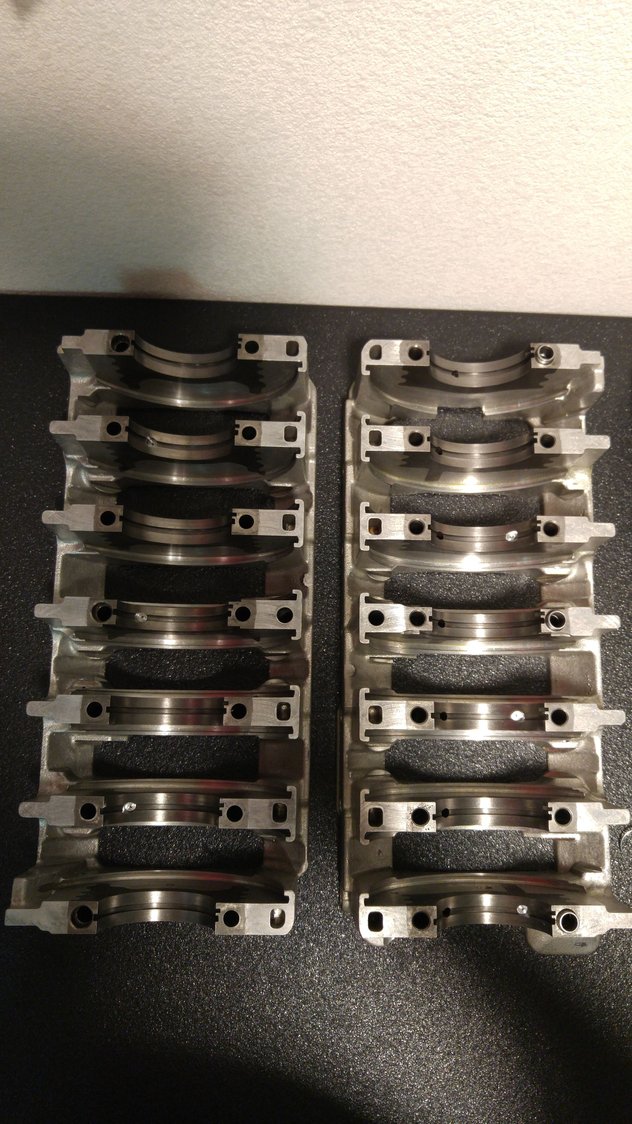
All the 6 jet sprayers installed (the silver dots on the journals)
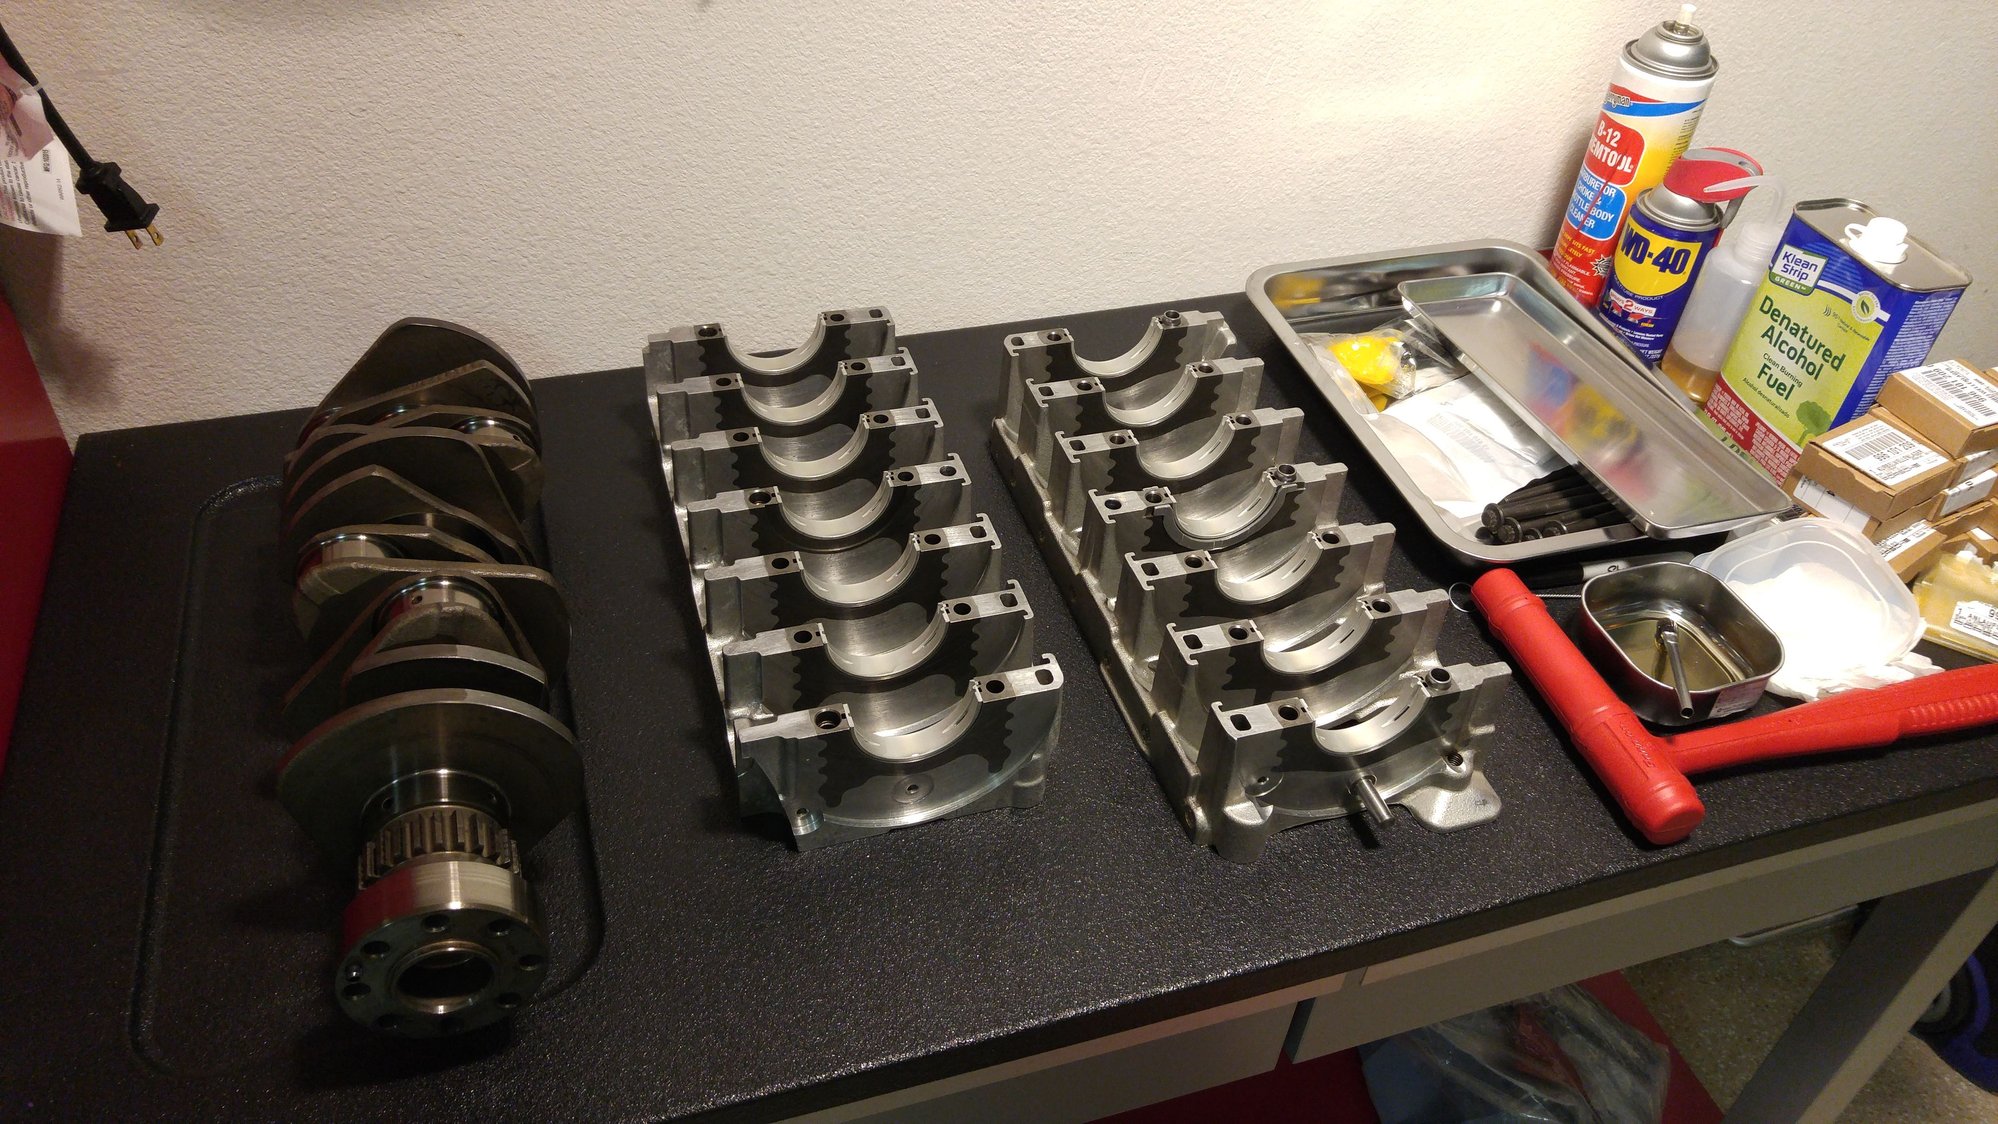
Crank ready to be installed
Correct thrust bearing orientation with the grooves facing the crank fillets
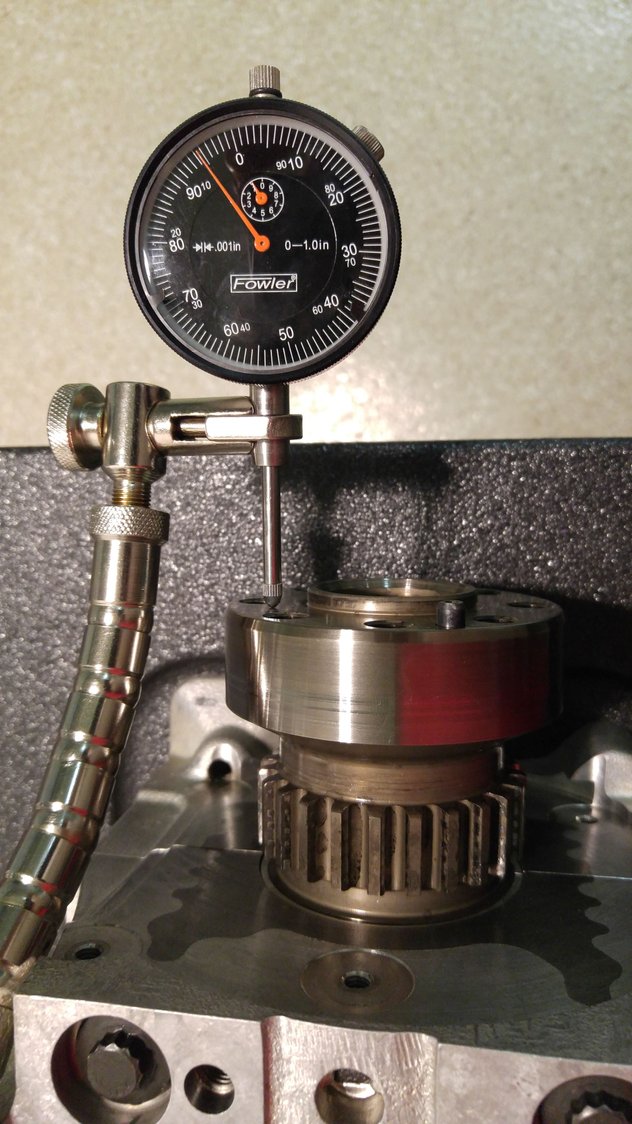
Axial free-play @0.0055", right in the middle of the spec.
New bolts
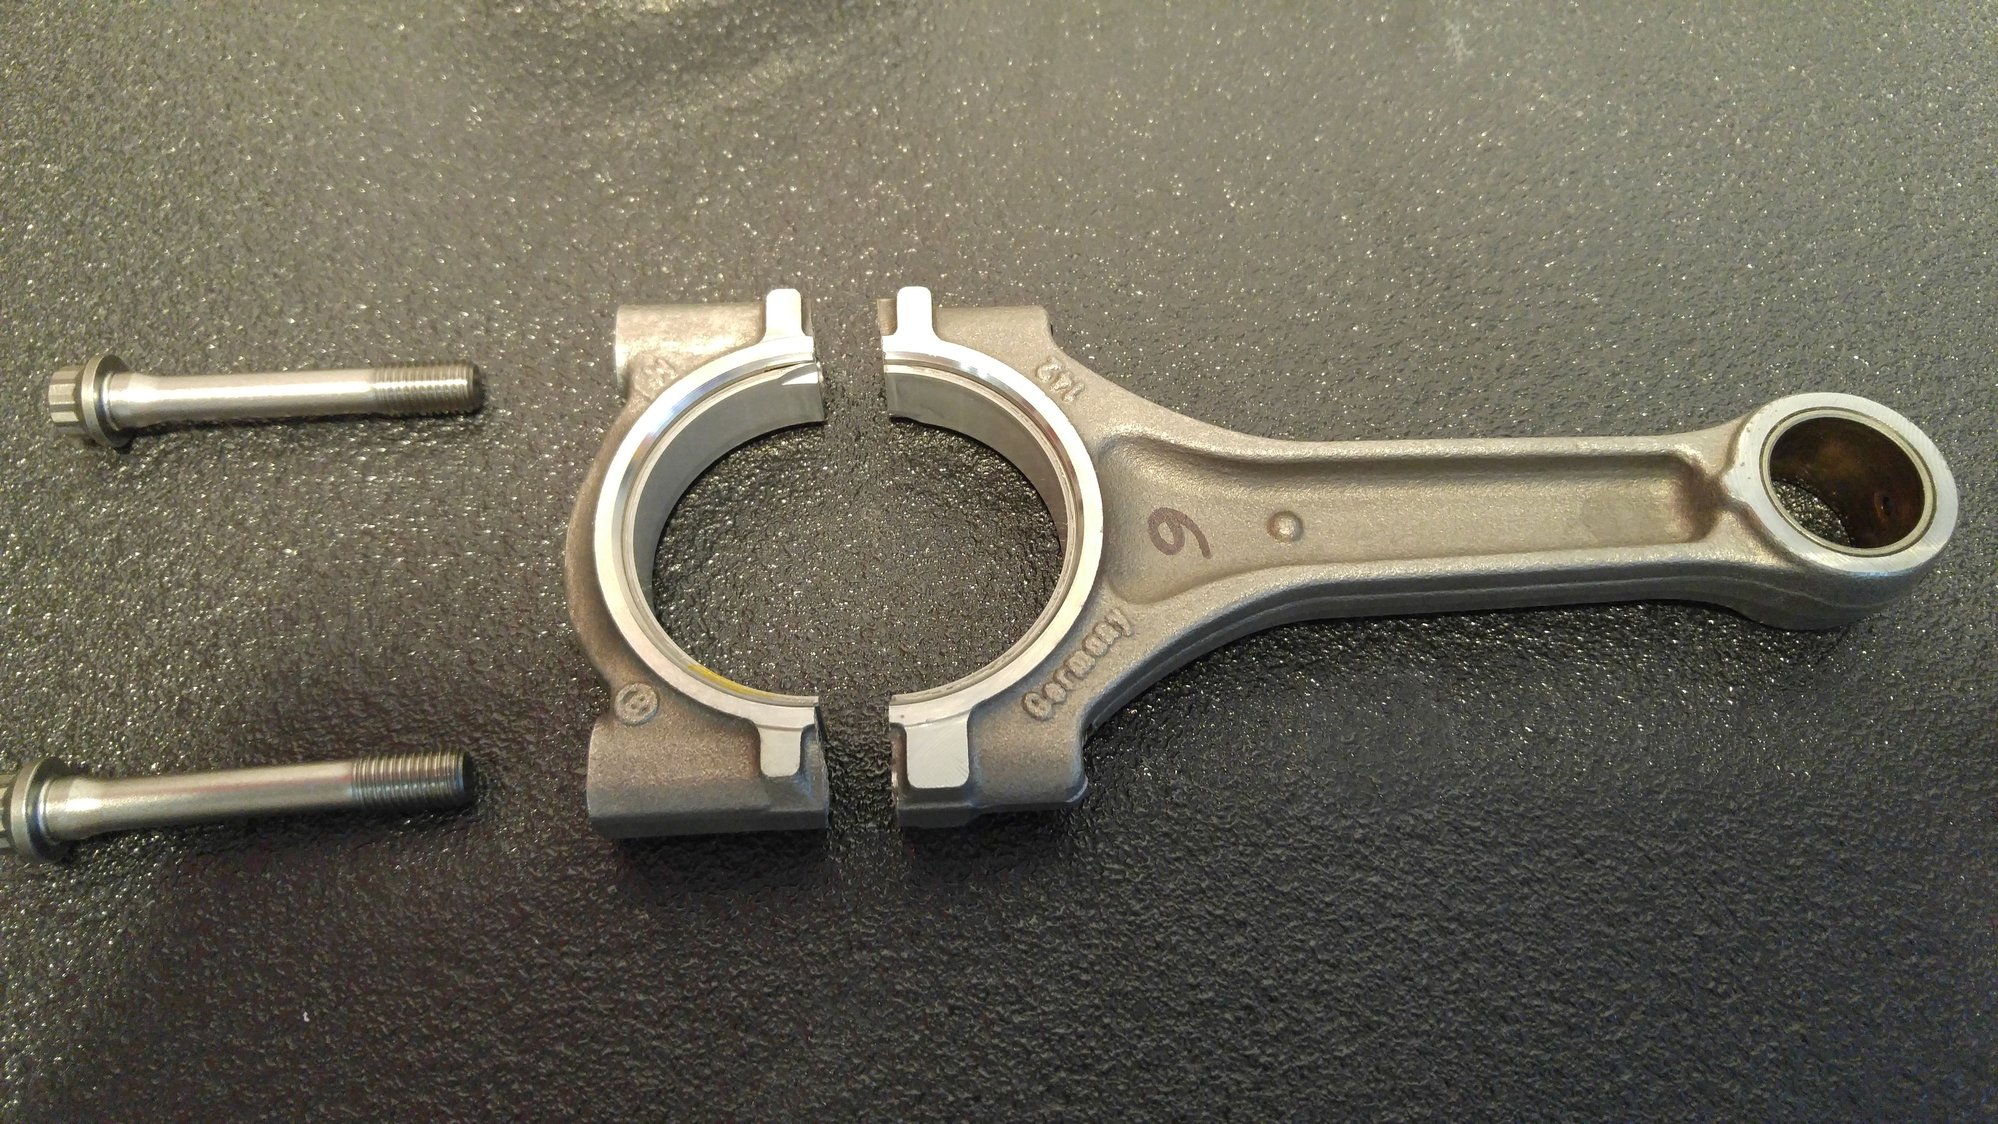
New rod bearings and ARP bolts
Thread greased with ARP lube supplied with the bolts. Also greased under the bolt head (not photographed) to reduce friction between the head and the crank cradle.
New oil scraper gaskets and encapsulated pan head bolts
IMS and the IMS Solution unbelievable courtesy of LN Engineering! Thanks, Charles!!
New LN billet IMS paddle, IMS chain guide, 3 bolts with captured washers, one washer, one c-clip, IMS chain and two timing chains, All purchased from LN Engineering.
All the parts installed and ready to be dropped to the bank 1 engine case. Note the whole assembly was moved to a hydraulic table (got from harborfrieght) getting ready to be lifted.

 06-28-2016, 11:45 PM


 Luckily one set from Cycleplicity has one right at 0.015". I was delighted even though that's the most expensive steel I've ever bought - $90 for 0.007"