When you click on links to various merchants on this site and make a purchase, this can result in this site earning a commission. Affiliate programs and affiliations include, but are not limited to, the eBay Partner Network.
New Zealand has long vacations over the New Year so it will be a wait until the workshops are open and have time to do my alignment. As I didn�t touch the toe, and the castor was set back to original, it was really just camber that needed sorting. I bought an Ali Express camber meter a while back so I decided to use it.
Firstly, I went for a drive to settle the springs and new shock absorber combination.
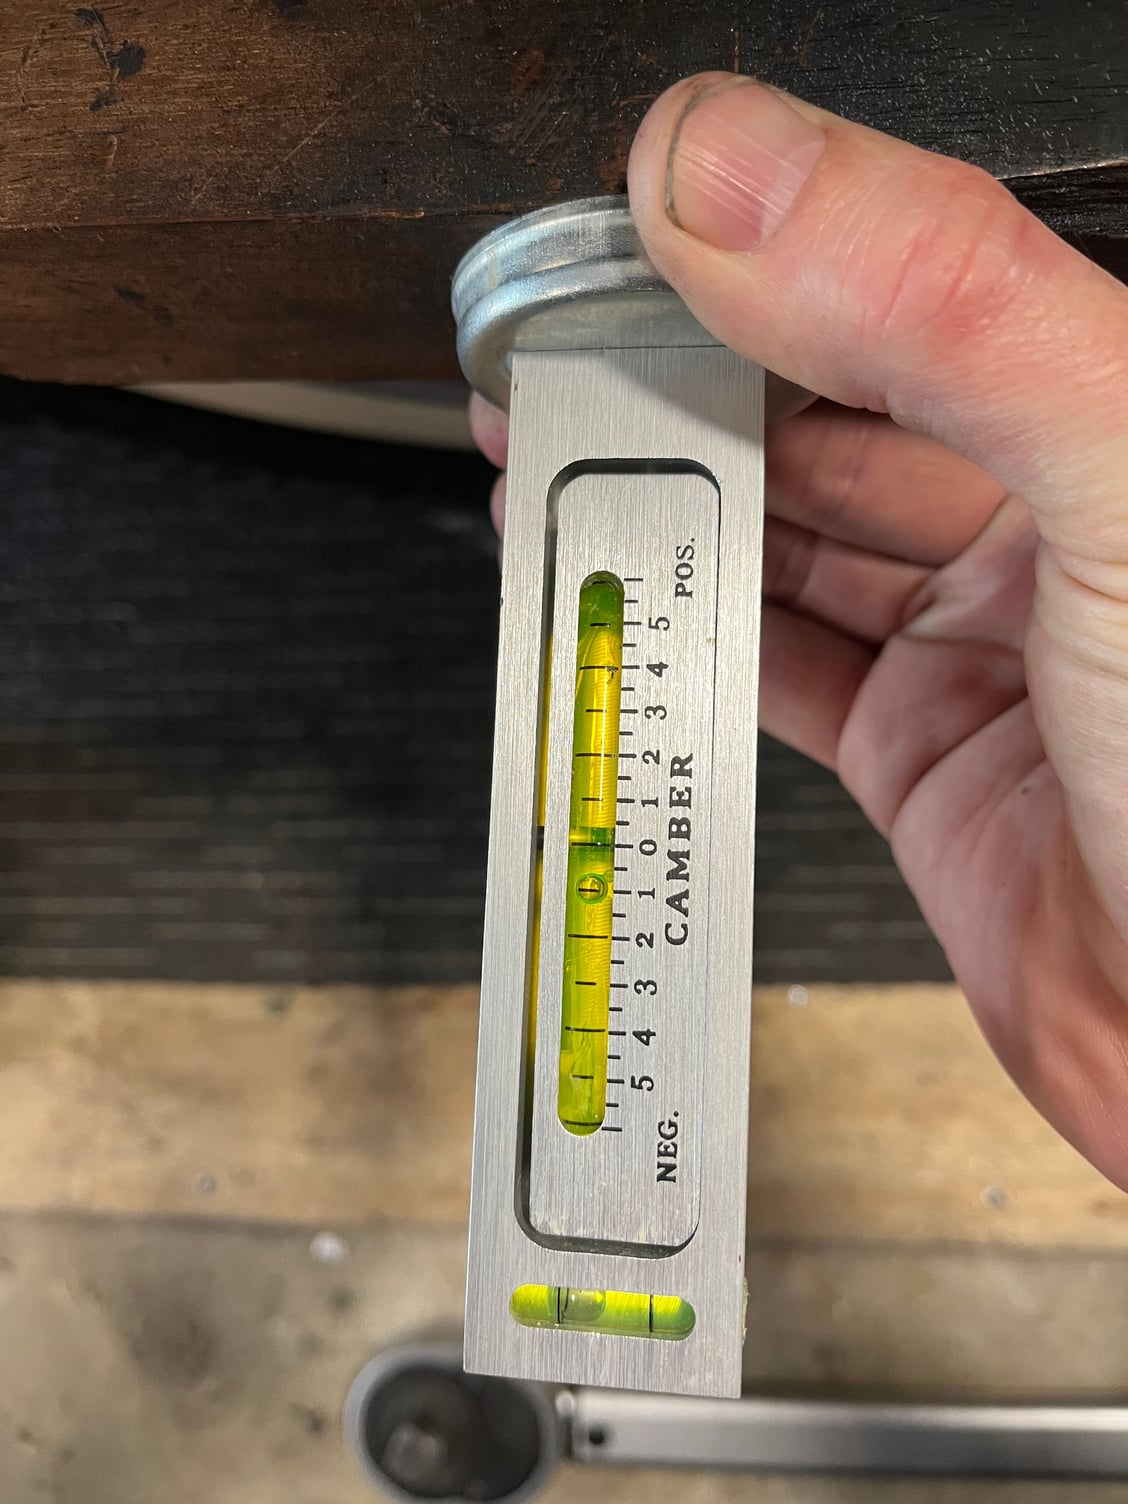
Then I measured the camber on each side, by placing a square piece of lumber on each side over the wheel centre with the meter on top.
The right front wheel was 0.75 degrees negative and the left front wheel was 4.00 degrees negative. My desired camber setting was 1.00 degrees negative.
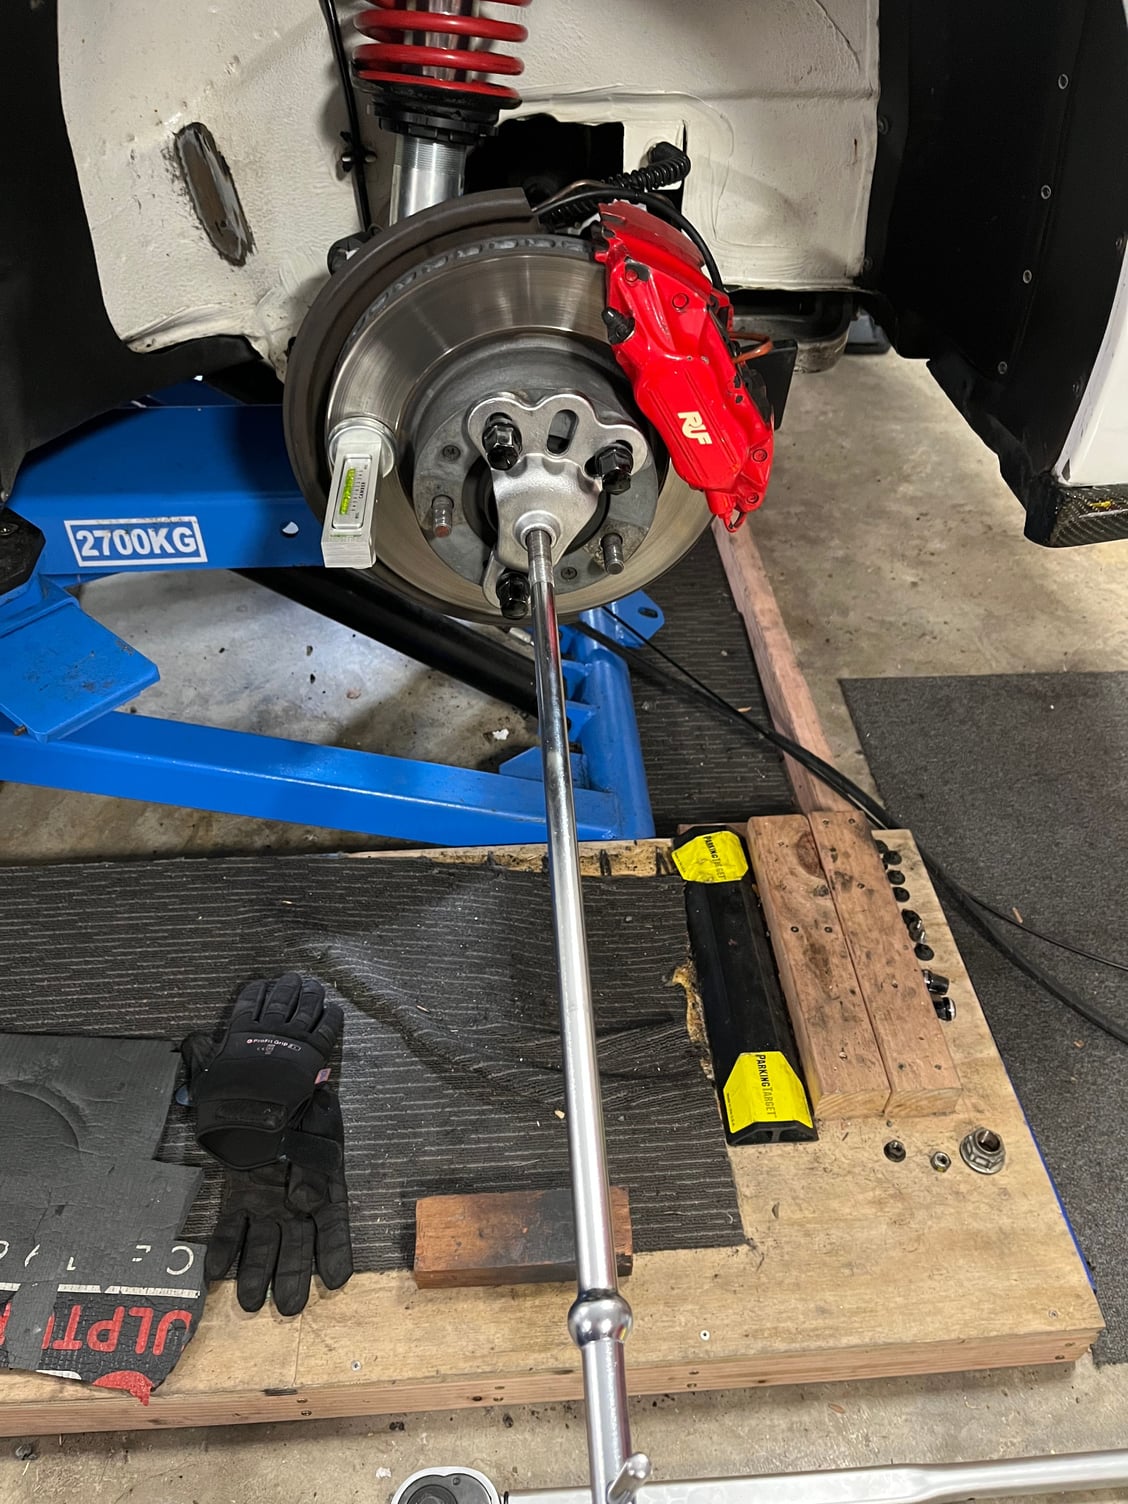
As I don�t have specialist tools, I raised the car on a lift, removed the wheels and attached a slide hammer shaft to a hub. The camber meter has a magnetic base so I placed it on the rotor.
The camber measurement changes when the vehicle is lifted off its wheels. However, that�s irrelevant as the camber meter has an adjustment ****. On the right hand side, I changed it to measure 0.75 degrees negative. I then loosened the two bottom bolts on the strut. Adjusting it to 1.00 degrees negative was super easy with the slide hammer shaft. I then torqued the two bolts to 135 Nm.
With that set, I repeated the process on the left hand side. I then put the wheels back on and took the car for a drive. Retesting showed 1.00 and 1.25 degrees negative. That�s a win.
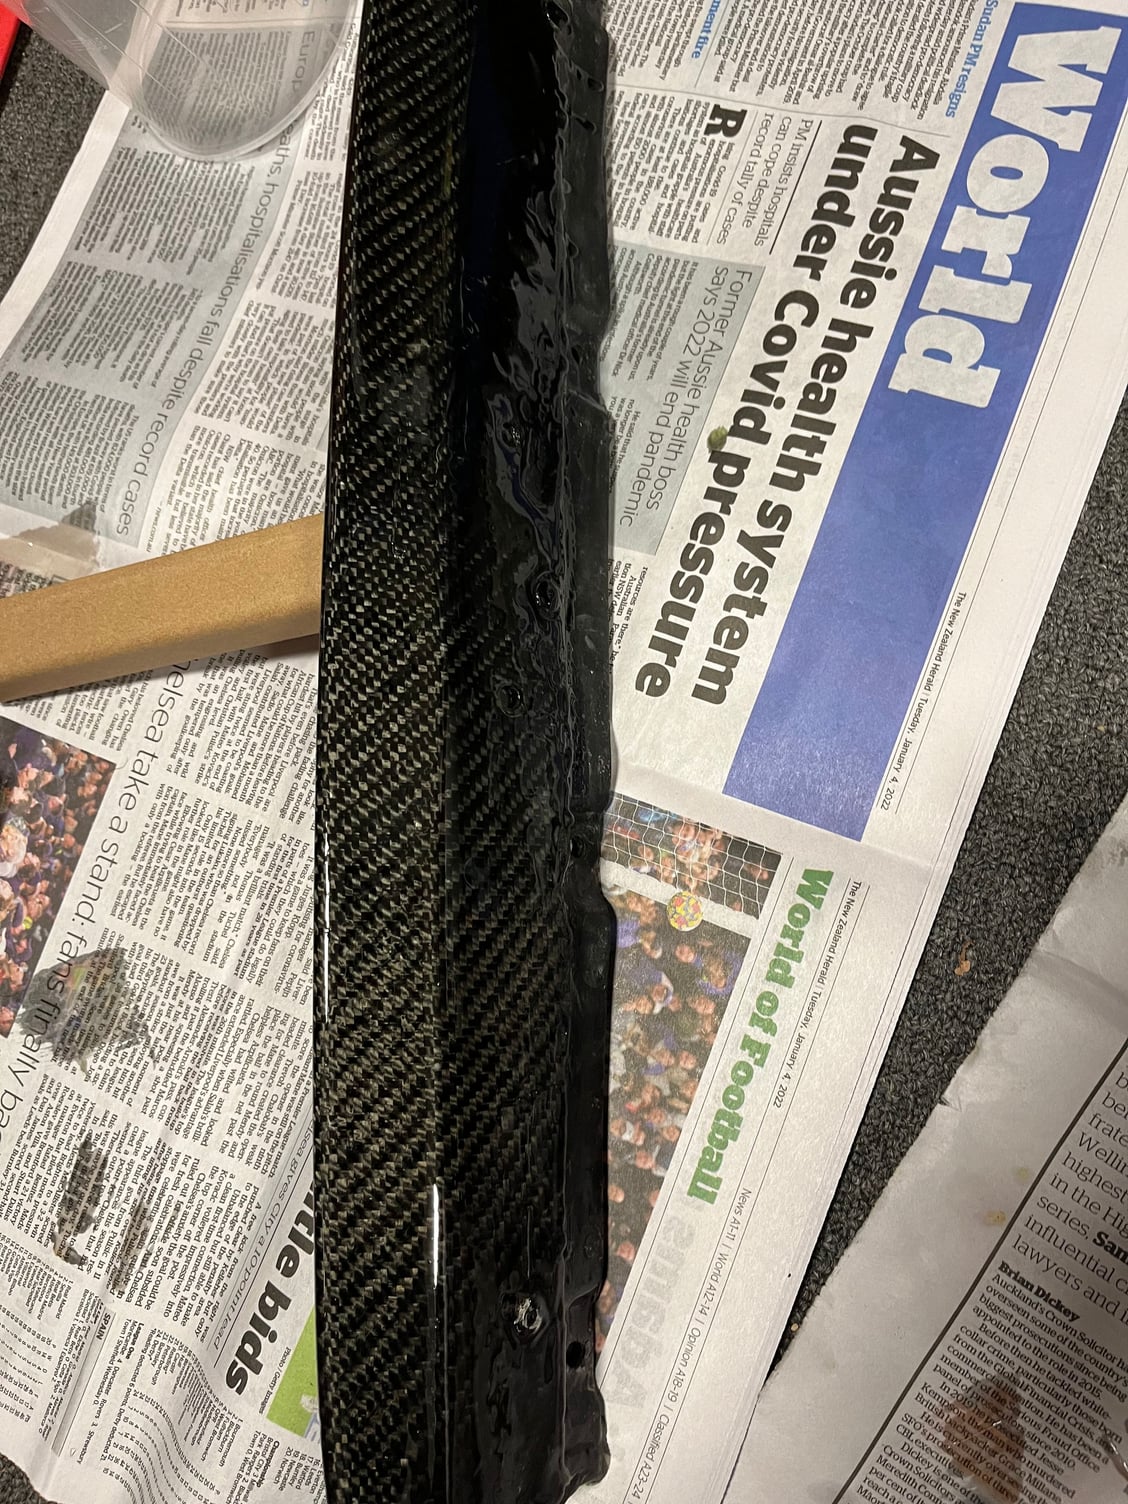
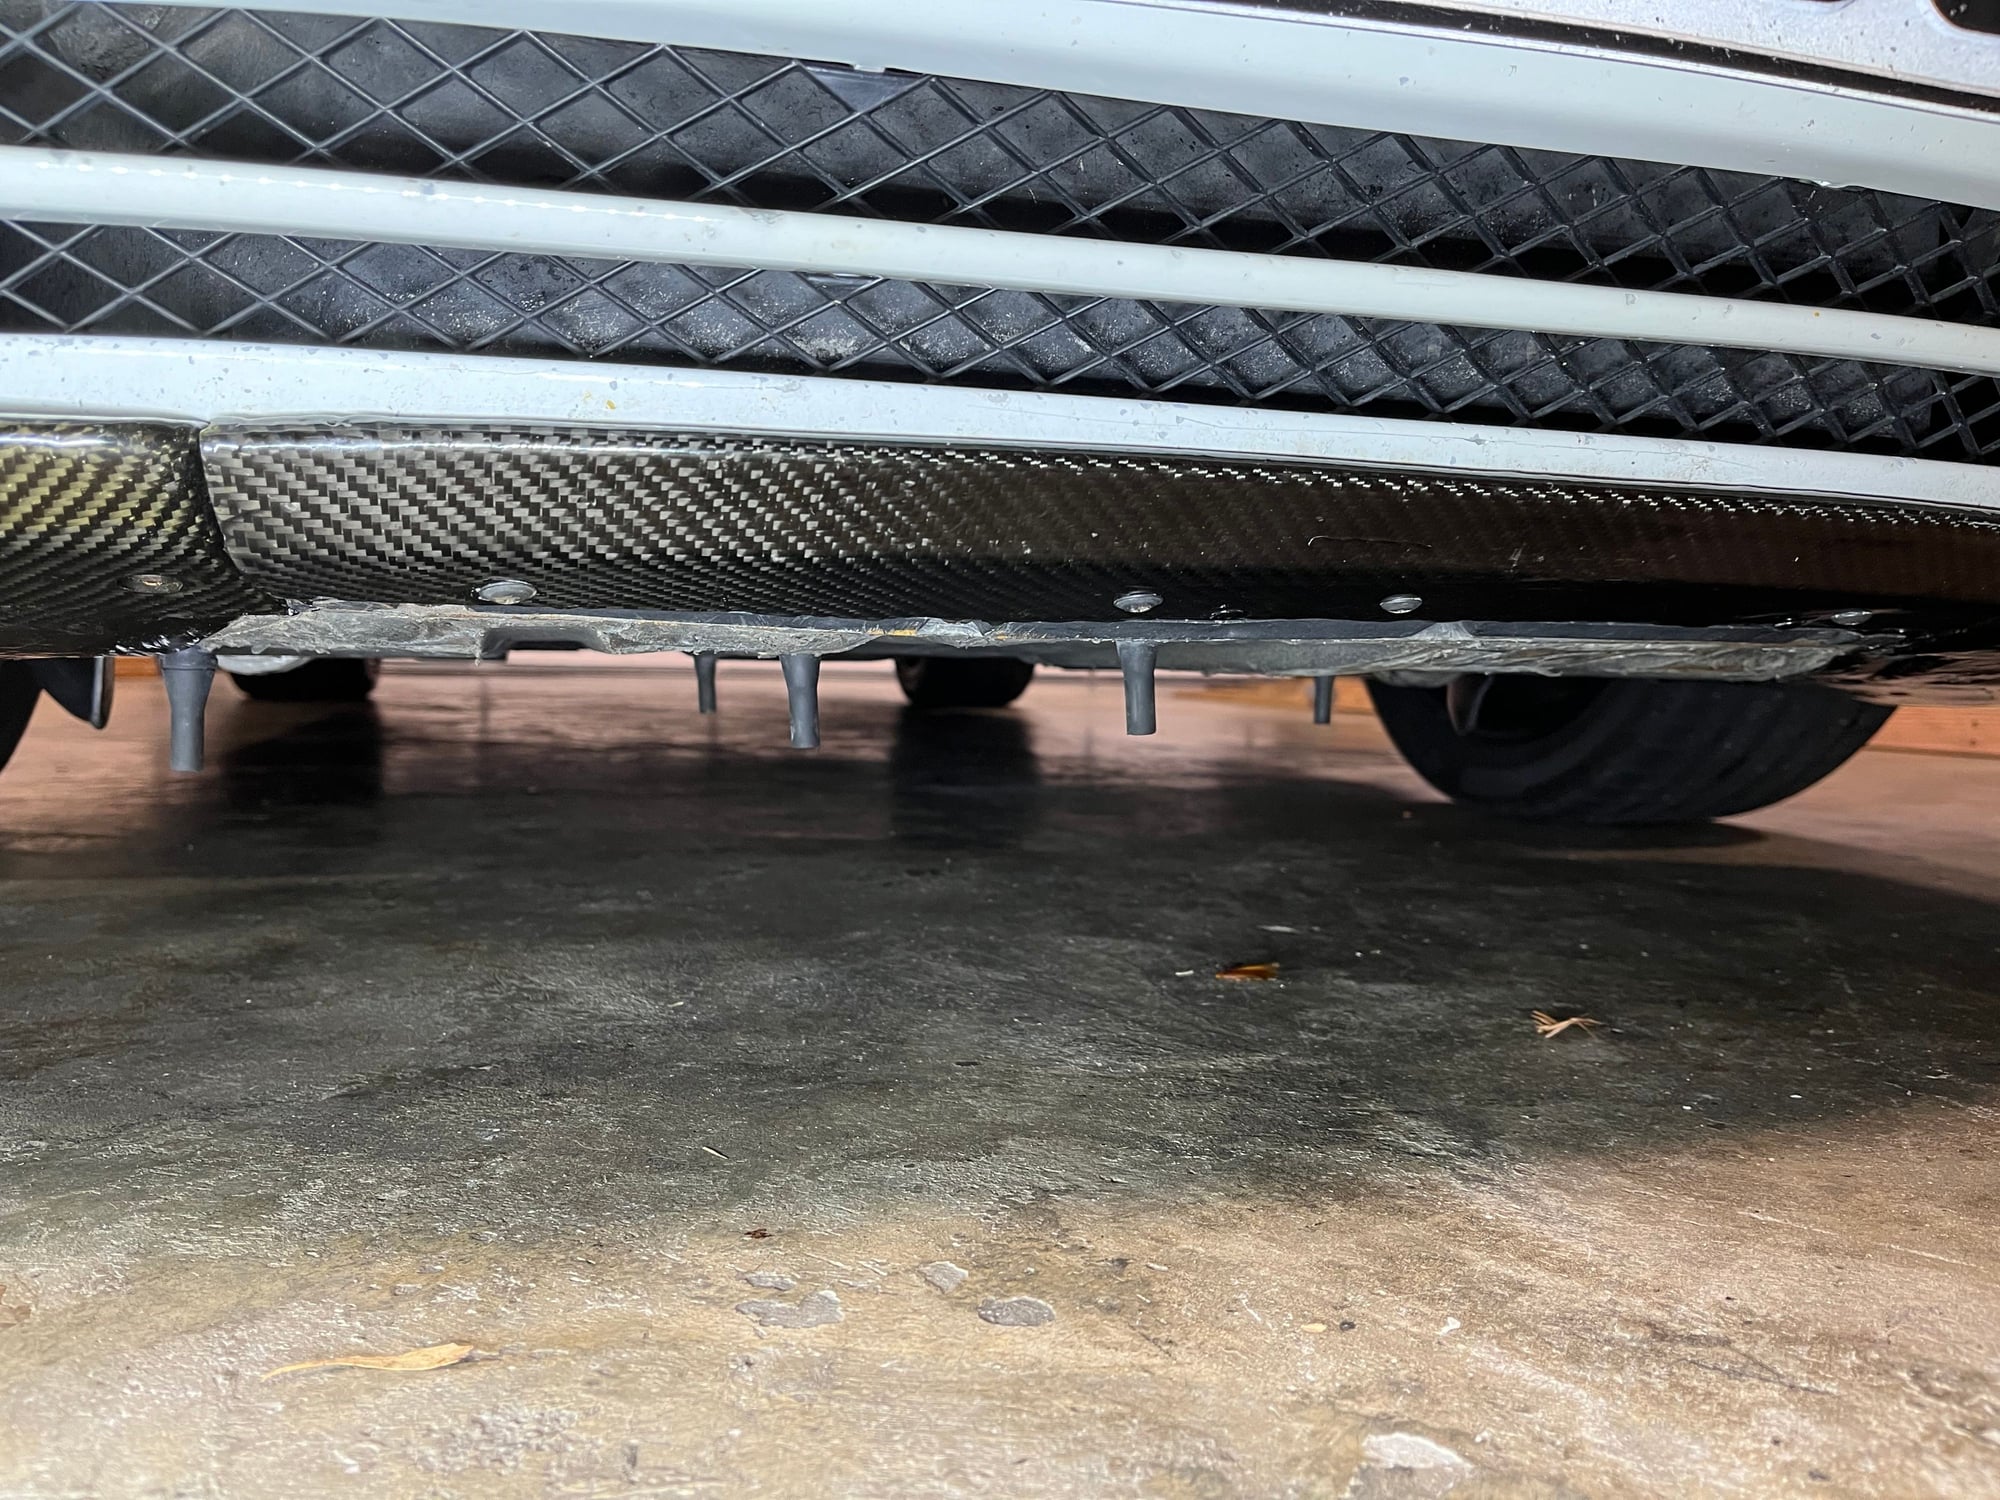
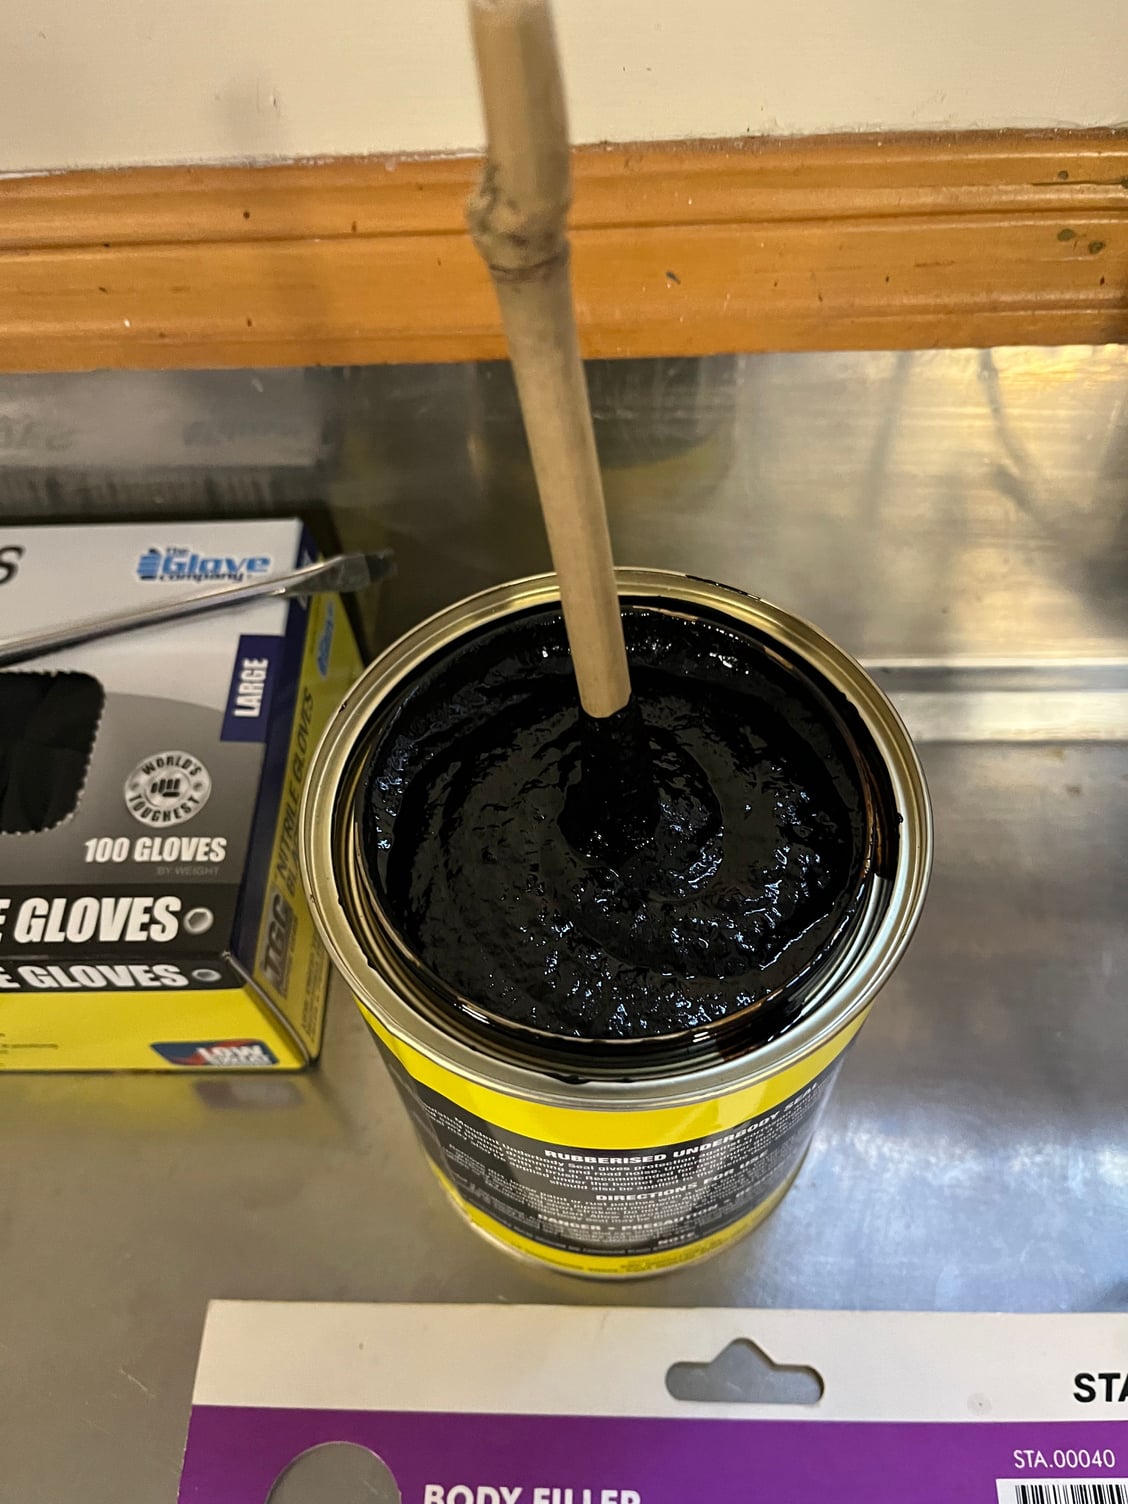
The existing under seal looks like a rubberised product.
I doubt there�s a matching DIY product so it�s either accept it as is with bare metal in places or use a generic product.
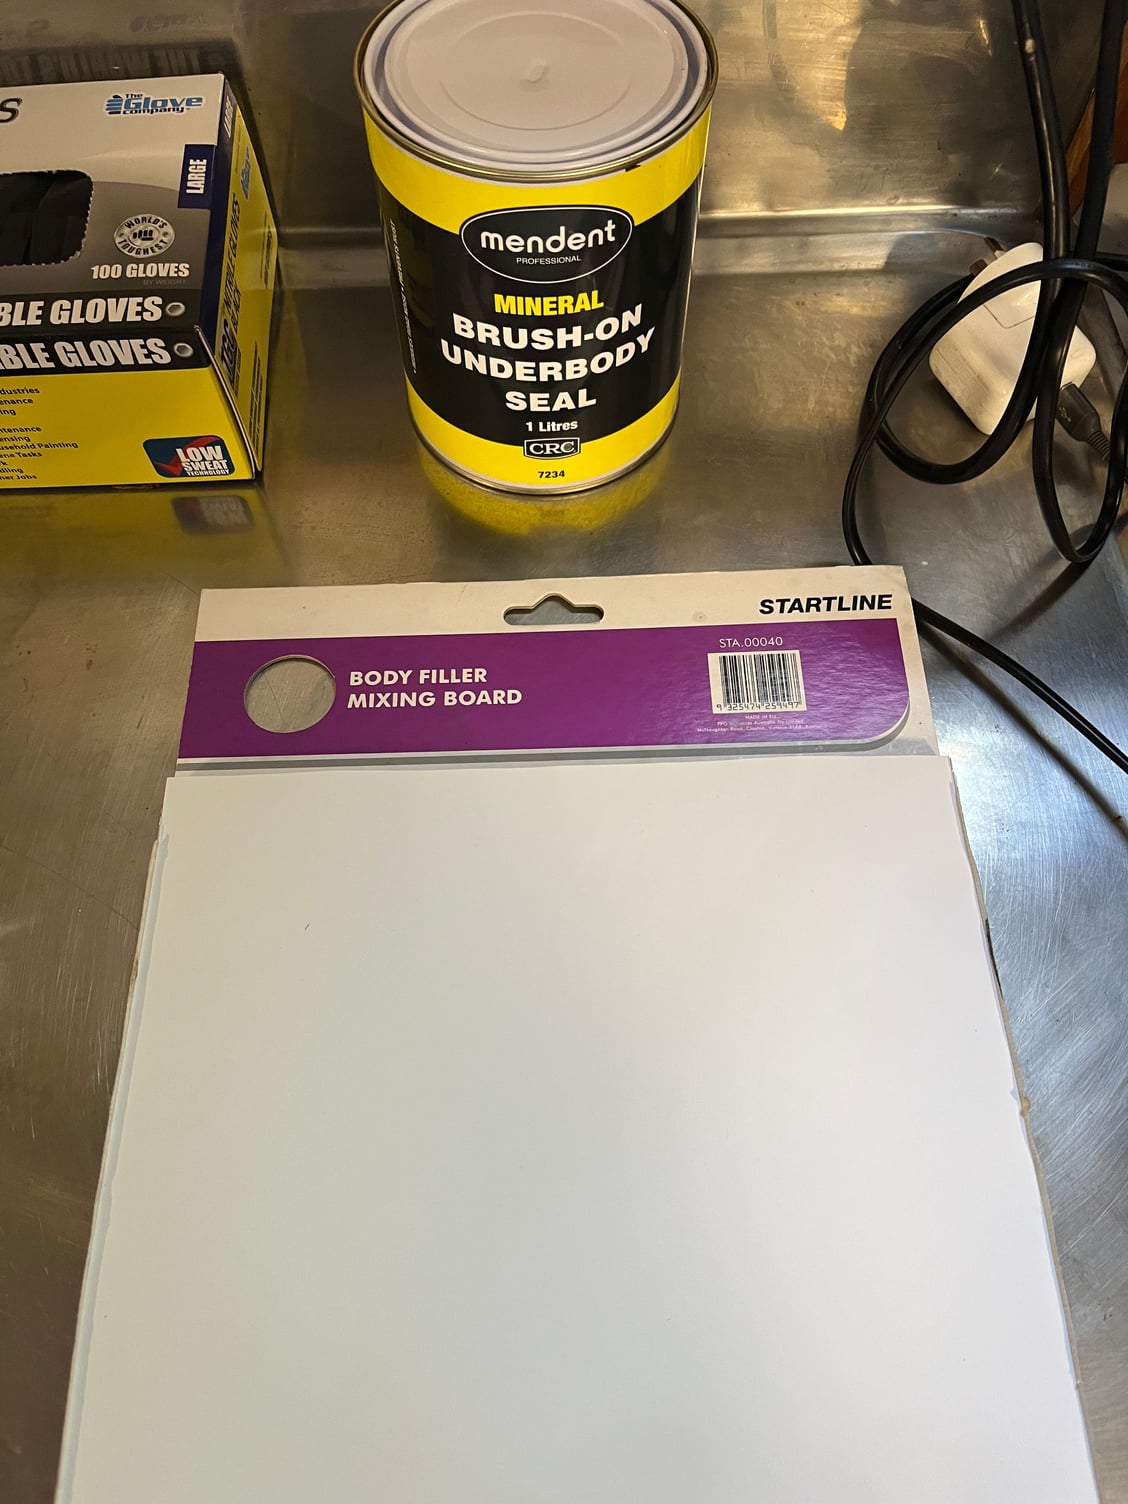
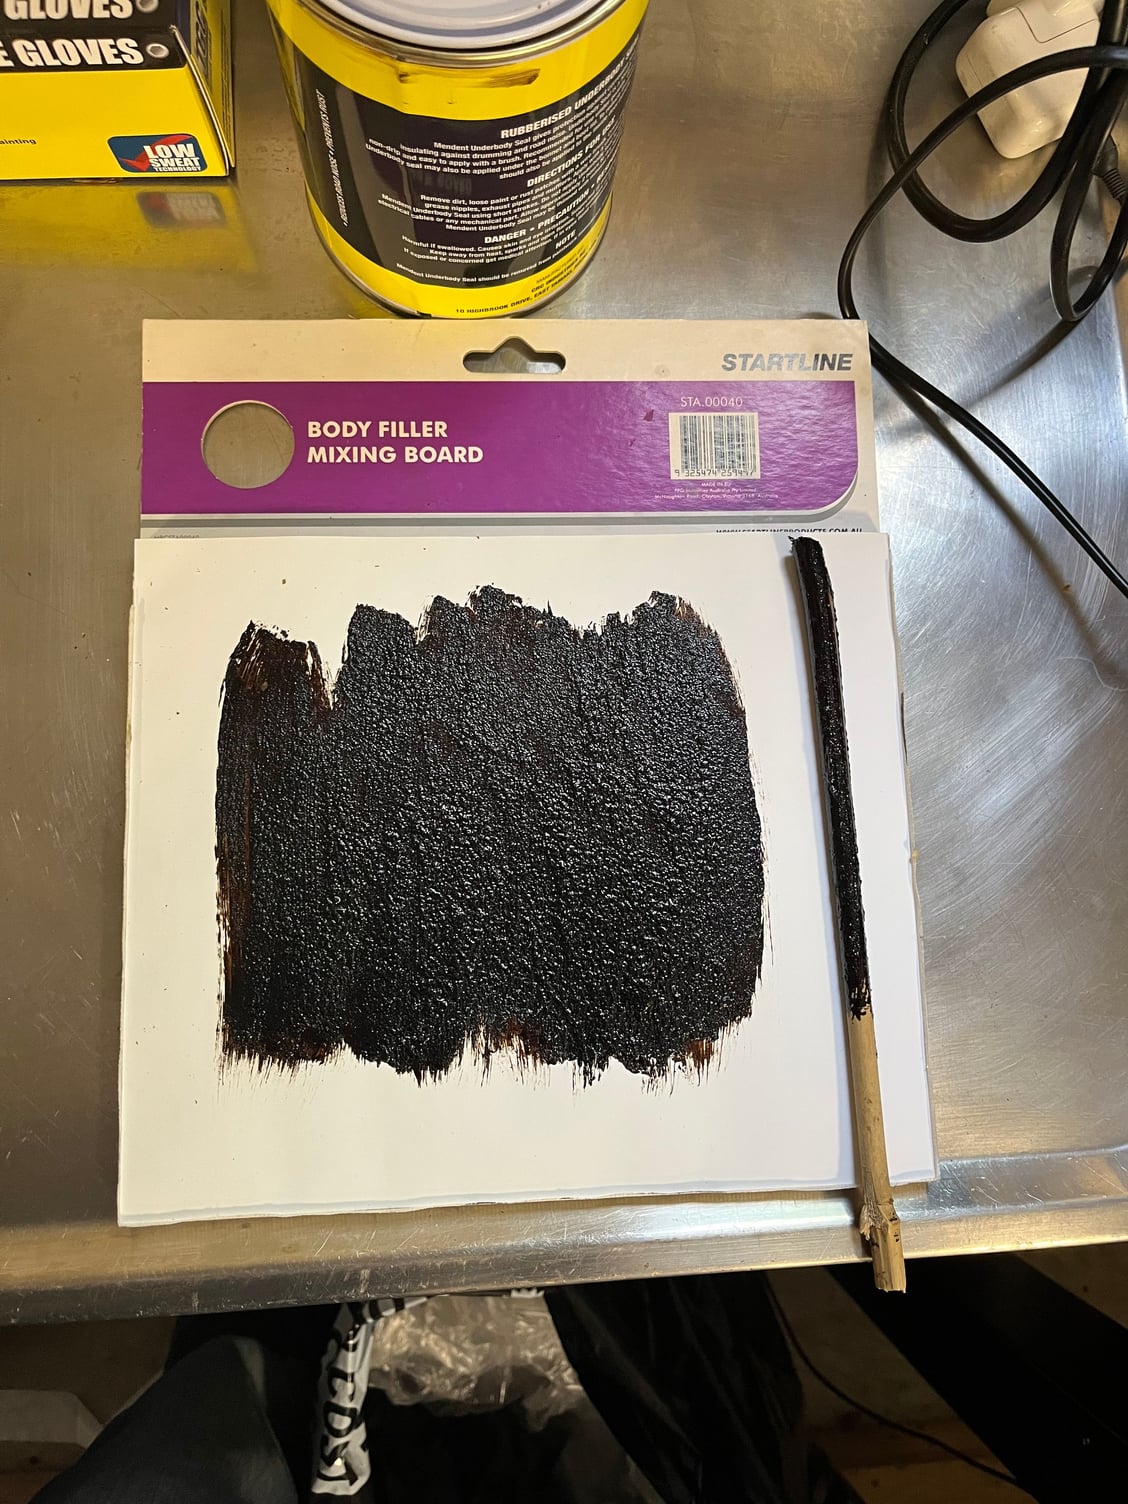
Yesterday, I tested a possible product. It looks and smells like a bitumen based coating with lots of rubber. It dries with a slight tack but nothing comes off on finger touch. Next test is to see if paint adheres as I want to repair my wheel wells as well.
It requires an simple applicator gun that conveniently screws tight onto the bottle to be applied properly and seals really well. Also the application goes very quickly so as always mist of the work is in the prep.
It requires an simple applicator gun that conveniently screws tight onto the bottle to be applied properly and seals really well. Also the application goes very quickly so as always mist of the work is in the prep.
Pete
My local expert has suggested a similar product but in a grey colour so it hopefully looks close to original. I have to rust treat and put an epoxy layer on first.
John, where did you find the foam for the center vents? The standard hardware store or maybe hobby/craft store? Just as you mentioned about rattles I started hearing it in my car so I figure I'll change mine out
John, where did you find the foam for the center vents? The standard hardware store or maybe hobby/craft store? Just as you mentioned about rattles I started hearing it in my car so I figure I'll change mine out
That foam came from an upholsterer supplier but any craft store should be able to help.
Looks really great John and mine is in need of the same but with so many products and processes out there how does one decide what to use? Did you do a lot of research? Consult some experts?
Looks really great John and mine is in need of the same but with so many products and processes out there how does one decide what to use? Did you do a lot of research? Consult some experts?
Thanks. Detailing product choices and methods are almost as contentious as oil discussions. Given products aren�t always available in all countries, I�ll just outline what works for me.
Firstly, the car was fully glass-out resprayed with Glasurit paint in late 2015 so I have worked from an excellent starting point.
I have never corrected an original paint. That is a task I would leave to someone who knows Porsche paint, has good paint depth meters and knows which products work. When they have done that, I use the following methods to maintain the gloss.
1. I tend to use my car on Road trips and always wash the car before I put it away. That way, the dirt, bird droppings, cow excrement (New Zealand back roads are often next to farms) and tar don�t get a chance to affect the paint.
2. I harvest rain water into a medium size water barrel and use that to fill wash and rinse buckets, plus supply the water blaster. That way I don�t get water spots.
3. I use a water blaster to remove as much dirt etc as I can, I then spray a pre wash foam, and water blast that off.
4. I then apply �Dragons Breath� to the wheels with a brush and water blast off. Dragons breath turns purple in the presence of brake dust. I�m sure the same product formula is sold under different brand names. I also check the car at this point for any obvious tar spots to remove.
5. Next is a car wash shampoo in one bucket with a separate rinse bucket. I use a hand mitt to apply the wash and rinse it between each panel. The soap residue is water blasted off.
6. I apply a hydrophobic foam, wash it off and dry the car using a large microfibre towel (Rapid Dry is a local brand).
That regime works well for regular washes. I have no water spots or serious swirls in my paint. However, the paint does dull after a bit. Then it�s time for a more intensive clean, like I did today.
I use a generic dual action DIY polisher. Rupe seems to be the professionals� choice. I use two heads, one for smaller pads and one for full size pads.
Before polishing the car, I use tar remover on the paint and a lubricated clay bar. That means there are no contaminants to grind into the paint with the polisher.
As I have looked after the paint, I only had to use a final polish compound and a sealant here. I taped off areas I didn�t want the polish to go. The pad hardness was matched to the product when I bought it. A final wipe with a fluffy microfibre towel finishes the task. It�s an involved process but I like the result. Ammo has great YouTube videos.
You will note that I haven�t given much guidance on product. I don�t think it matters that much with modern products. Use good brands and work on the premise that minimising scratching paint and water spots will give a good long term result. I can see the benefits of Ceramic and PPF but don�t use either, except the bumper was covered in PPF for a promo.
Thanks for that super detailed response John. After making my post I did start to wonder if polishing was as contentious as engine oils and I see you have skillfully avoided endorsing any particular product.
I have one final question: By "water blaster" do you mean a pressure washer or is this something else?
I cannot wait until I get the last few items on my C4 sorted so I can work on the car's aesthetics (like making the paint look like new) and of course, start driving it the way it was meant to be driven.


 01-04-2022, 10:32 PM